Search This Blog

Showing posts with label Embroiderers' Guild of SA.. Show all posts

Saturday, October 5, 2019

Silk shading workshop with Di Kirchner

The Embroiderers' Guild Certificate Course Workshop on the last Saturday in September was on Silk Shading, and taken by Di Kirchner. Di is undertaking study with the Royal School of Needlework, and passed on some of her extensive knowledge at this workshop.

She had chosen a pansy as the basic design for us to work. It was a brilliant choice - giving a standard design for us to work, but with infinite possible variations for us to choose.

I based my colour choices on the threads I had brought with me - a bag of stranded cottons left over from some kits I had worked a few years ago. I had plenty of blues and yellows so worked around these, adding a few purples I bought from the trading table on the day.


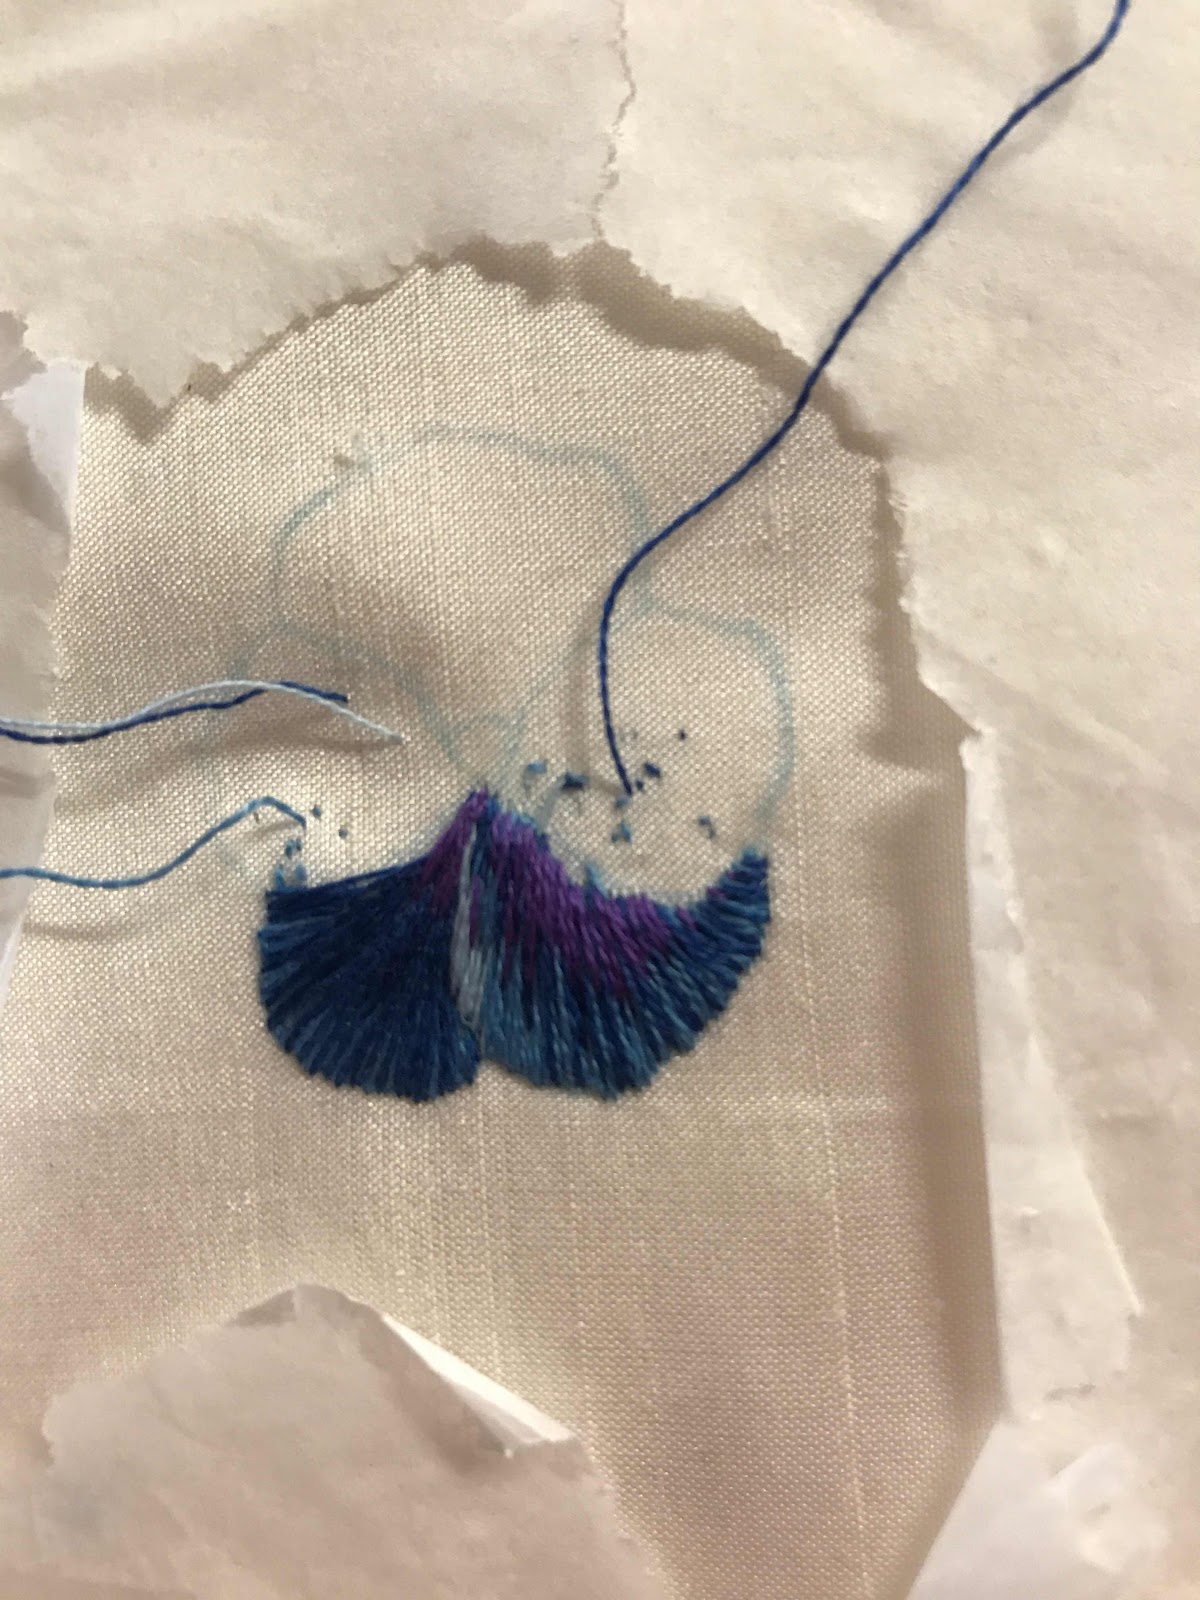
Di had prepared some silk for us to use and we brought along our own calico backing.

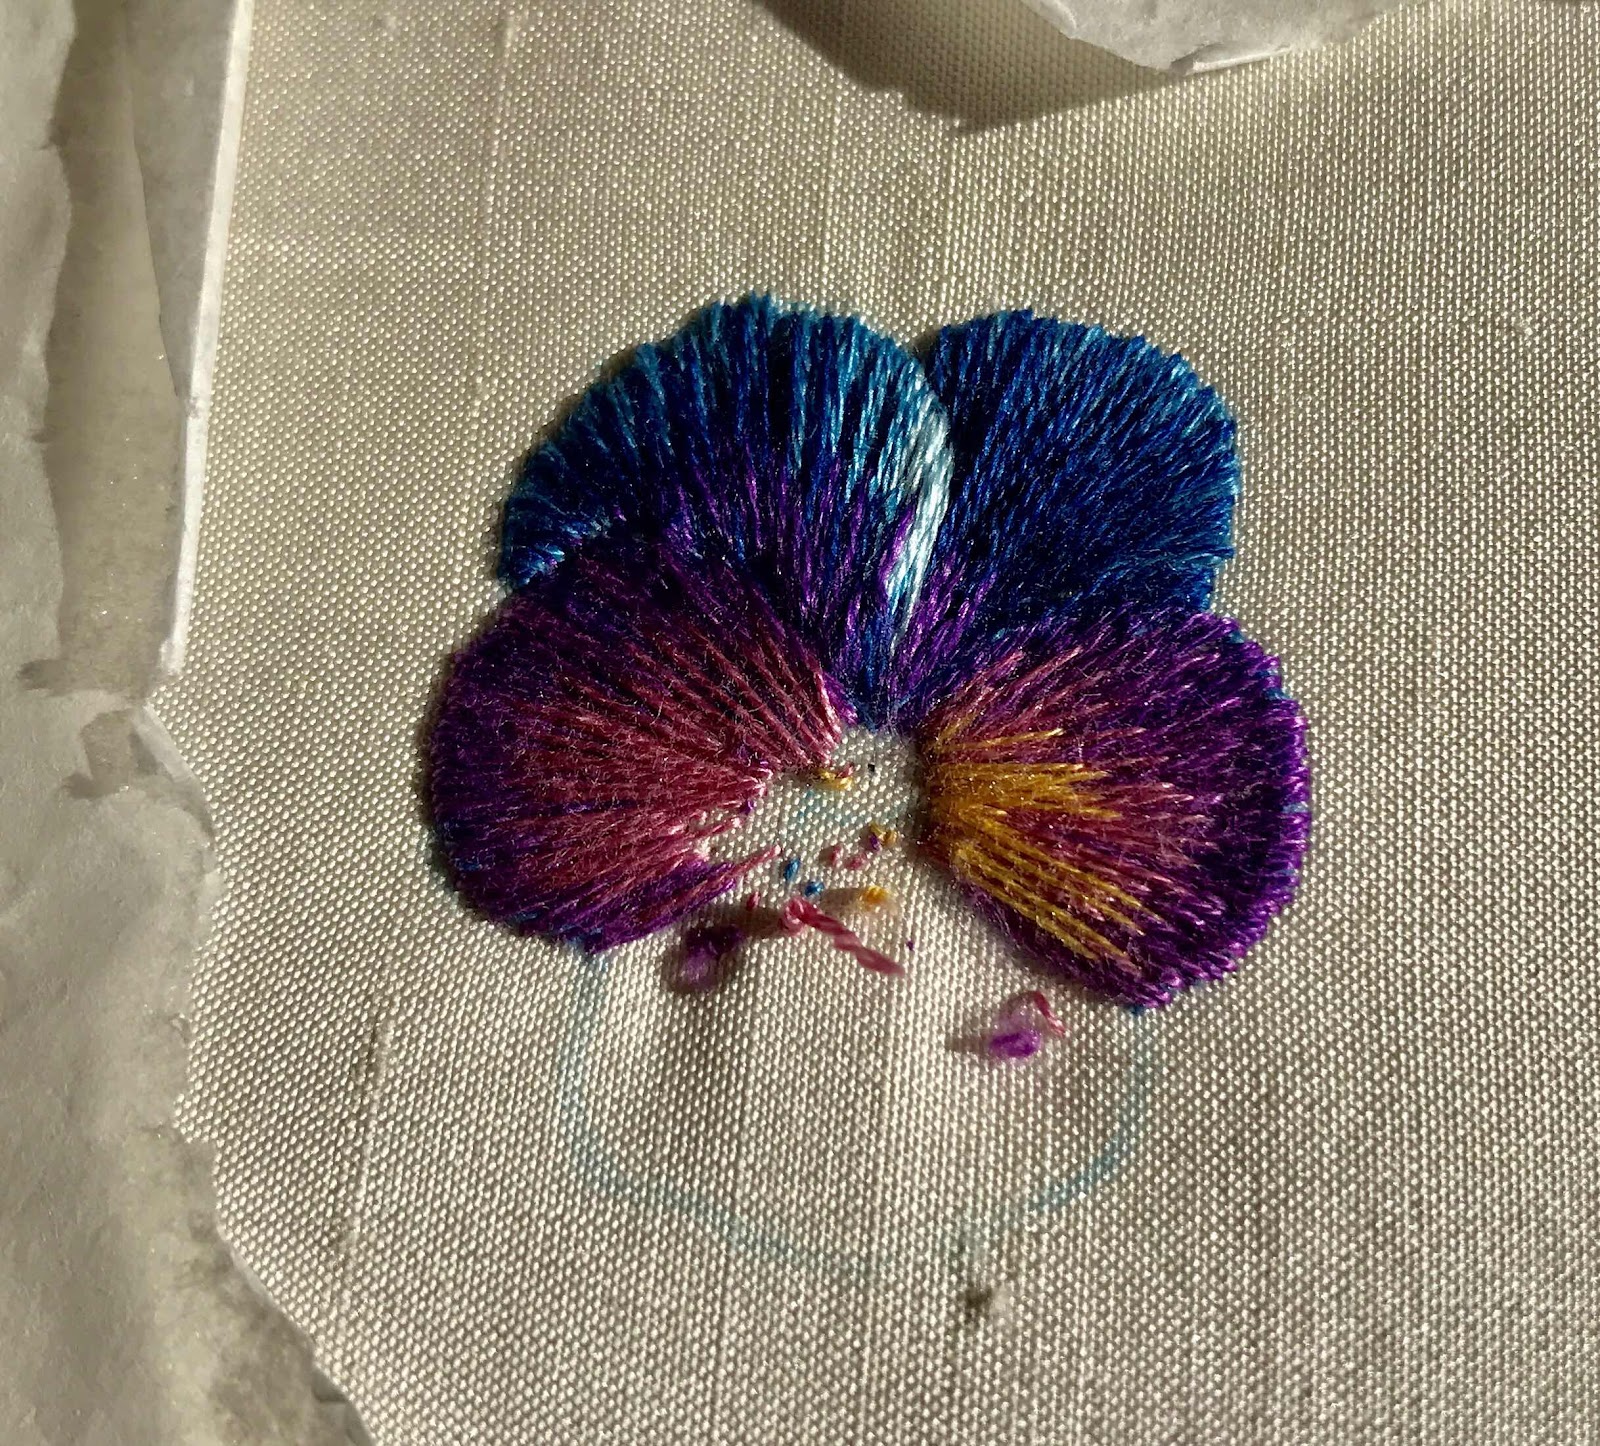
Di's teaching is meticulous - she teaches the process of thinking through the project - colours, light, direction, shading, technique. I had worked the two darkest petals by the end of the day, but hurried home to continue while it was fresh in my mind.
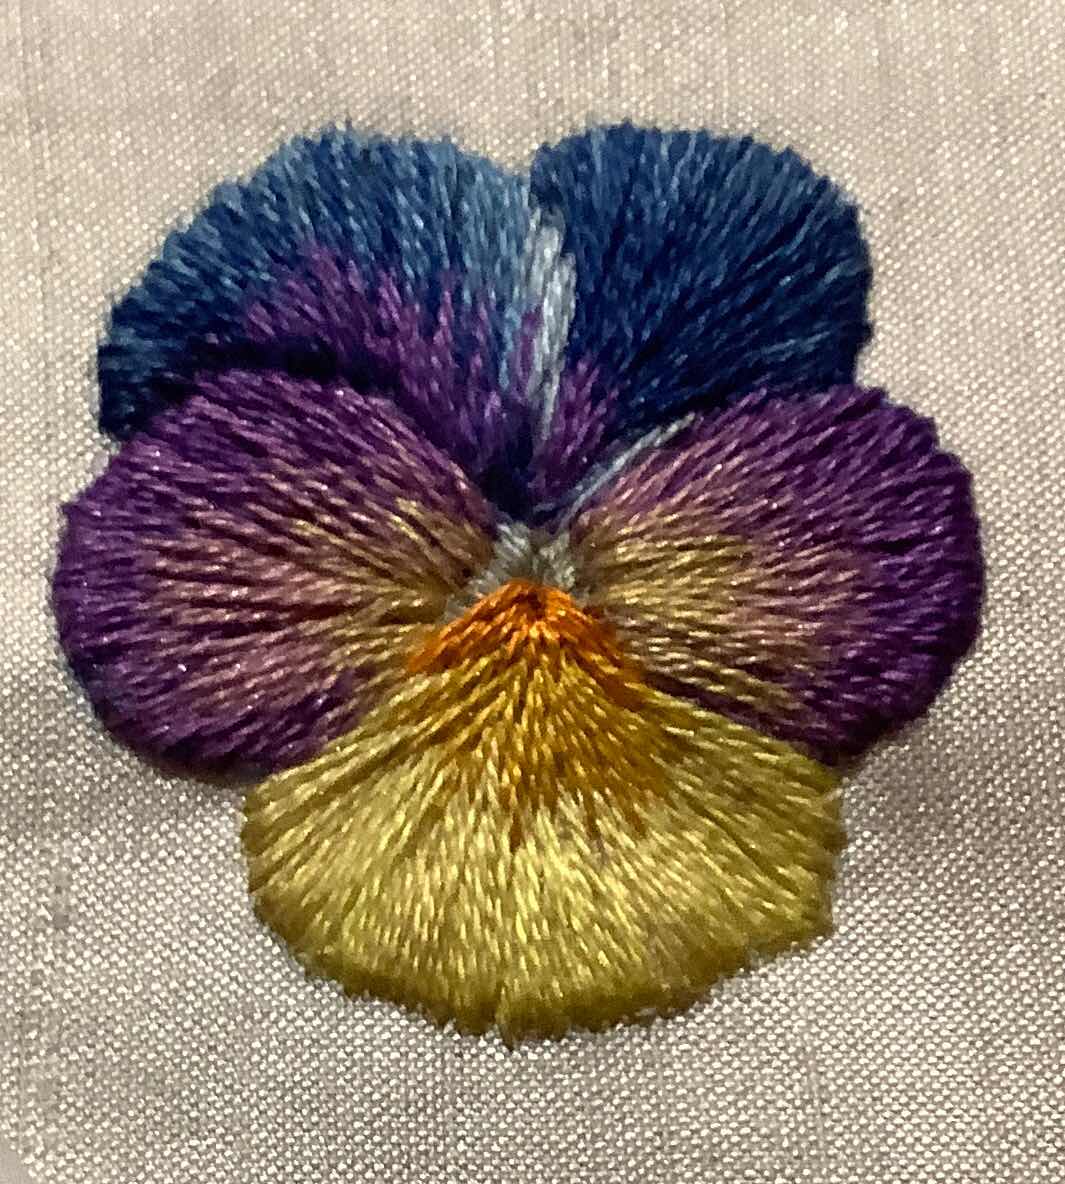
I was pleased with the result I had (left) by the time I went to bed that night (rather later than usual!). I left the dark veins until morning.

I also added a little more purple to the darkest petal.
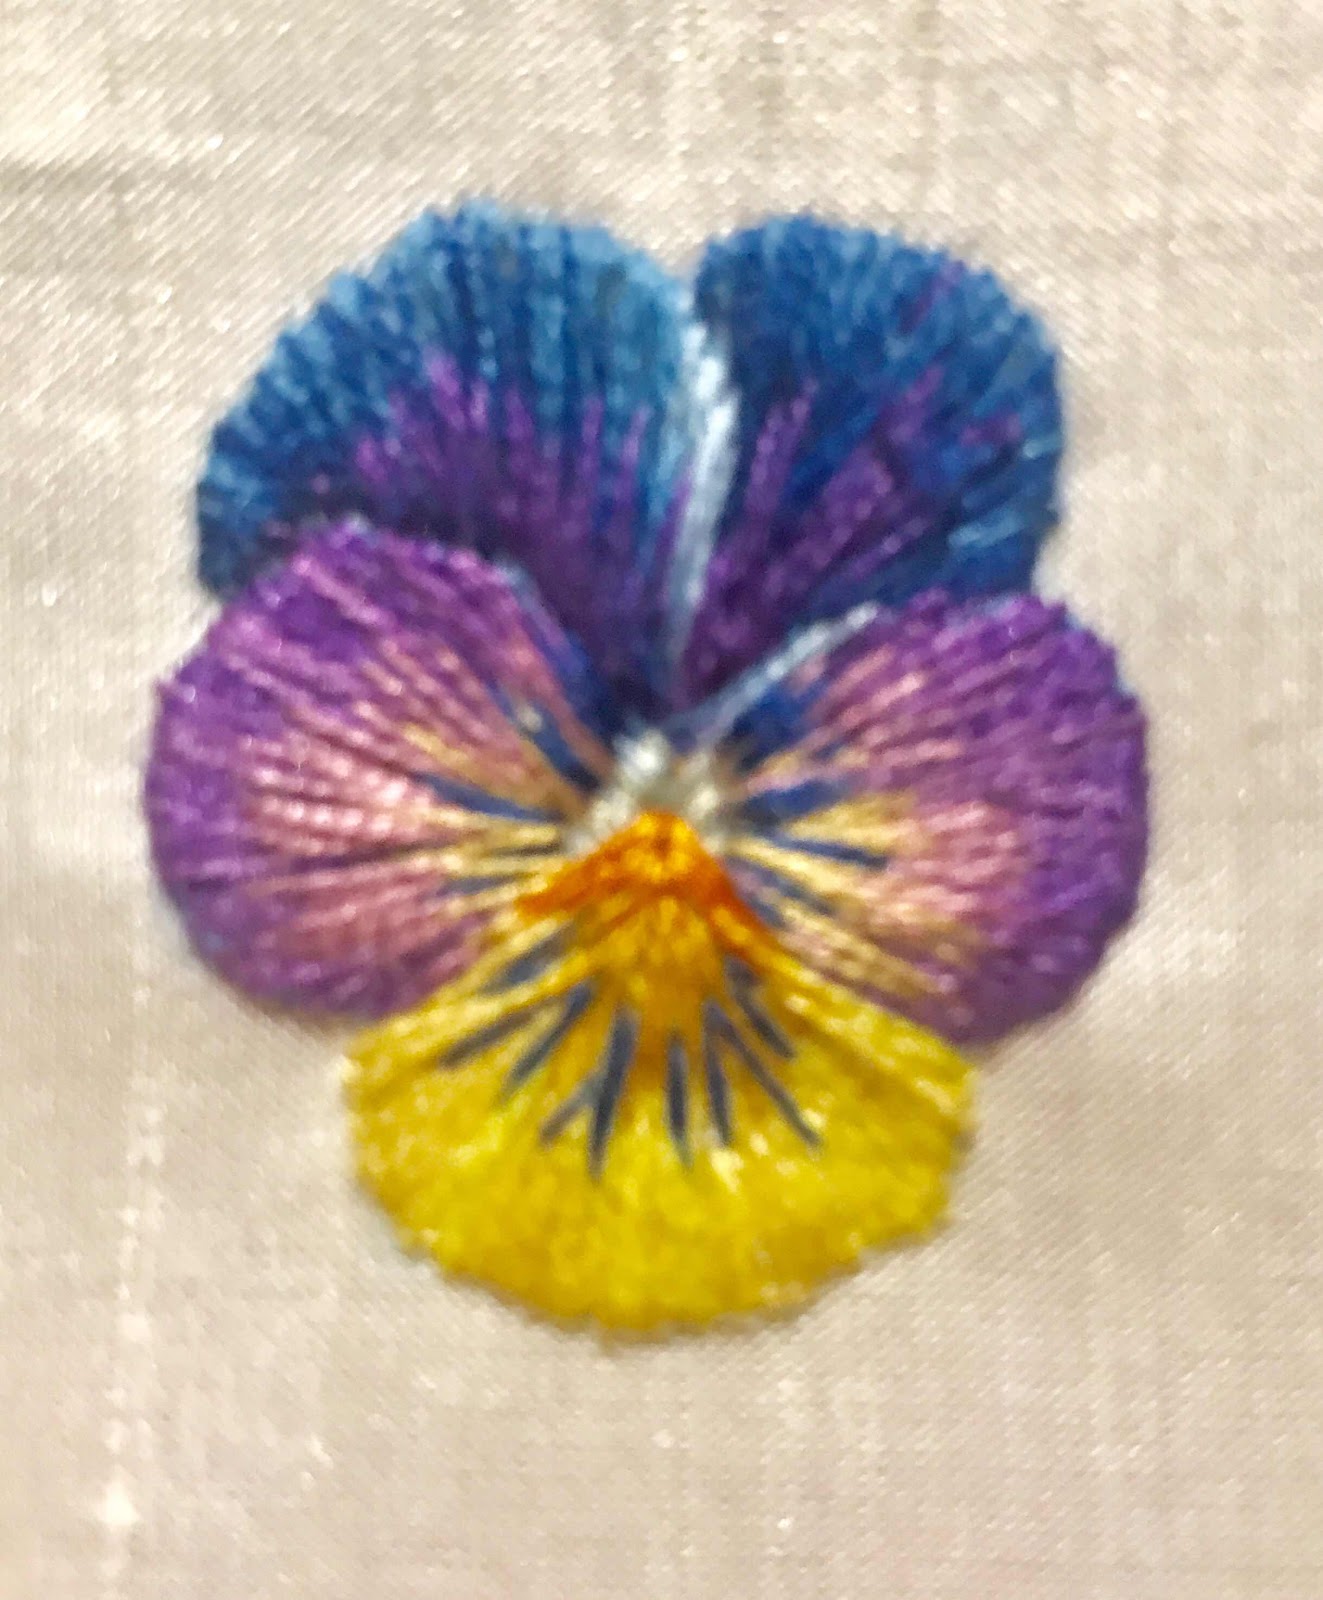
While working it, I had an idea for using it. A friend at the Guild had given me, weeks ago, a section of a cardboard postal tube to make a small box.


It is VERY small - but the perfect size for the pansy to form a lid.
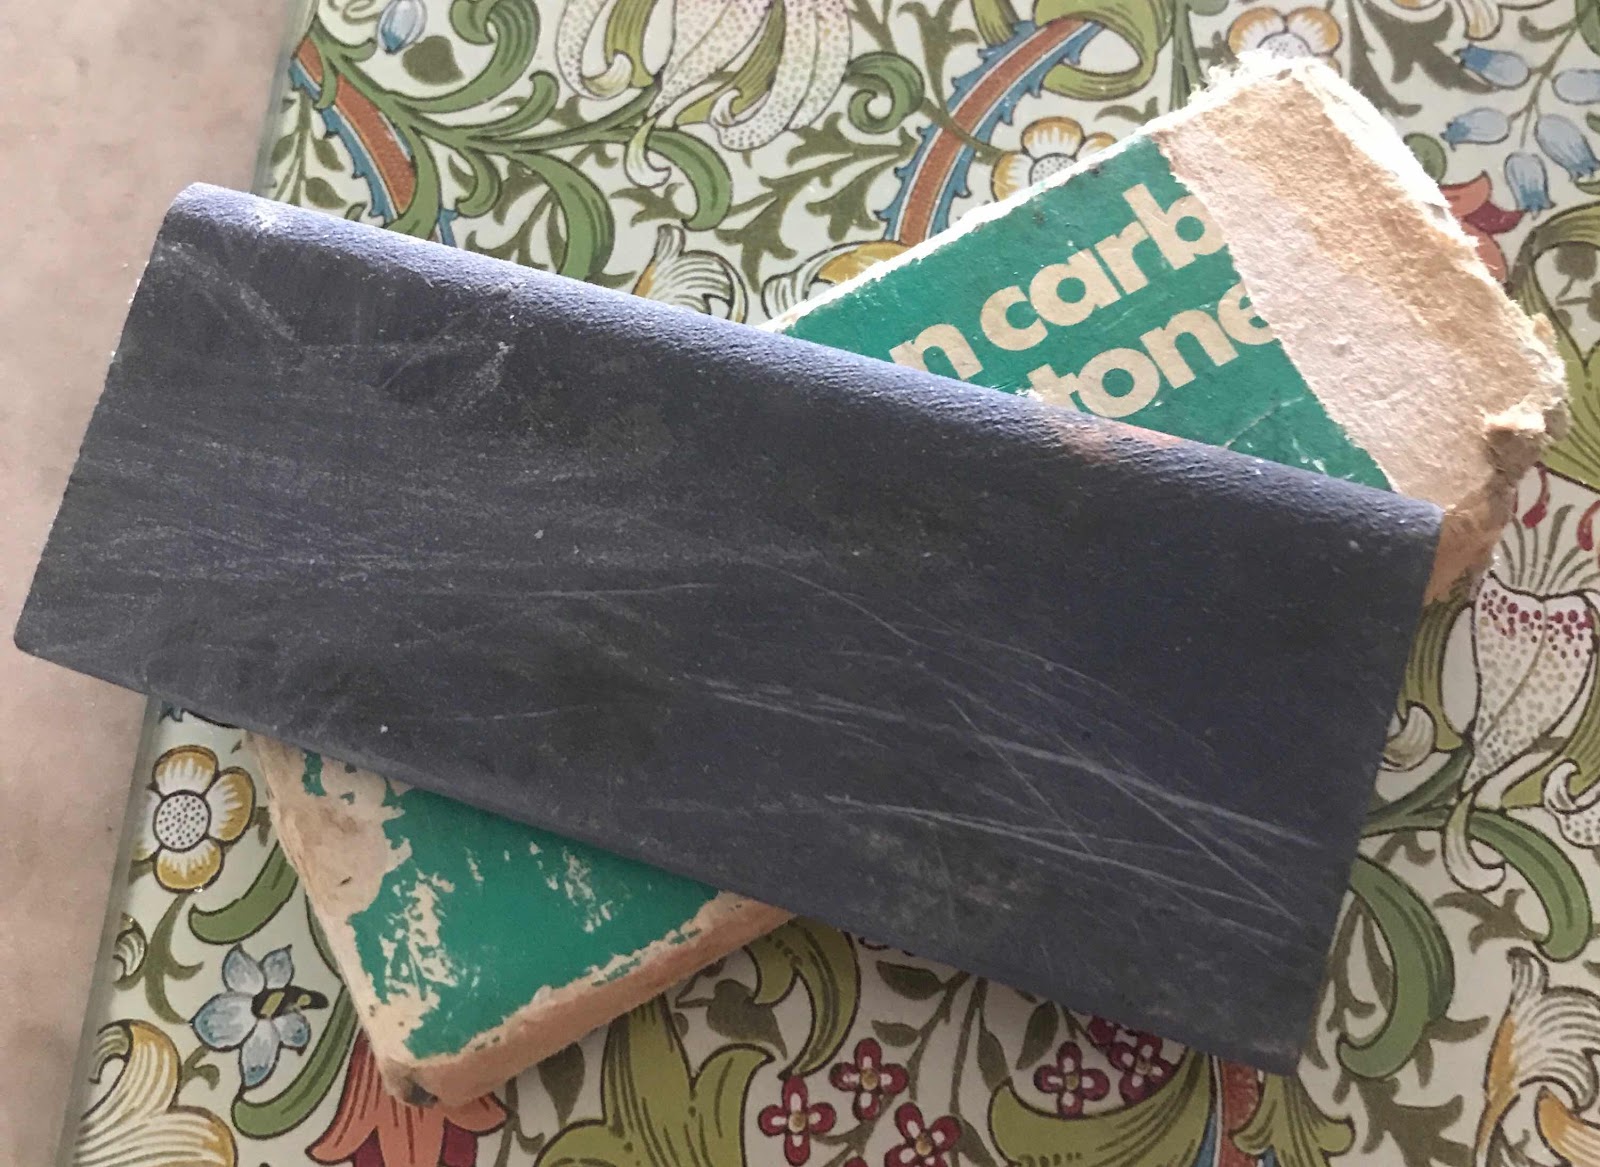
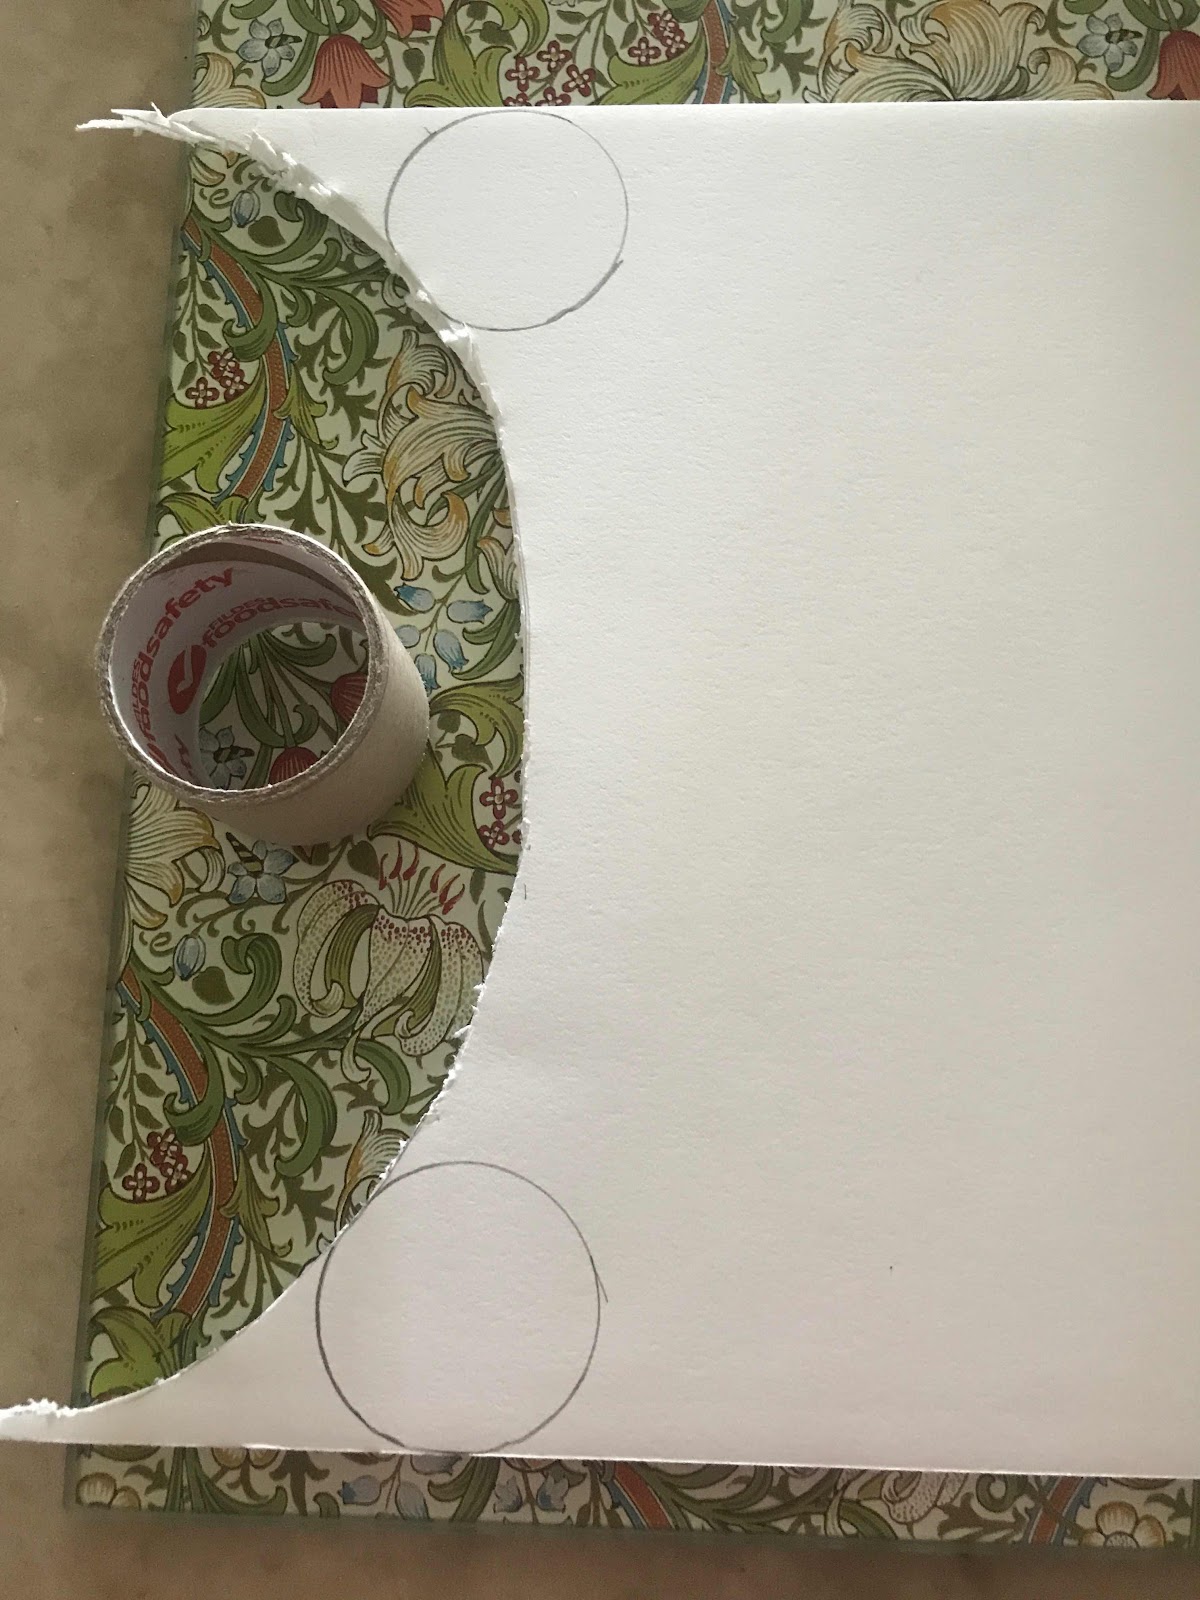
I used some acid-free backing board to cut circles for the top and bottom. While the right thickness, this was not easy to cut into small circles with smooth edges. I used a sharpening stone to file the edges smooth as best I could.
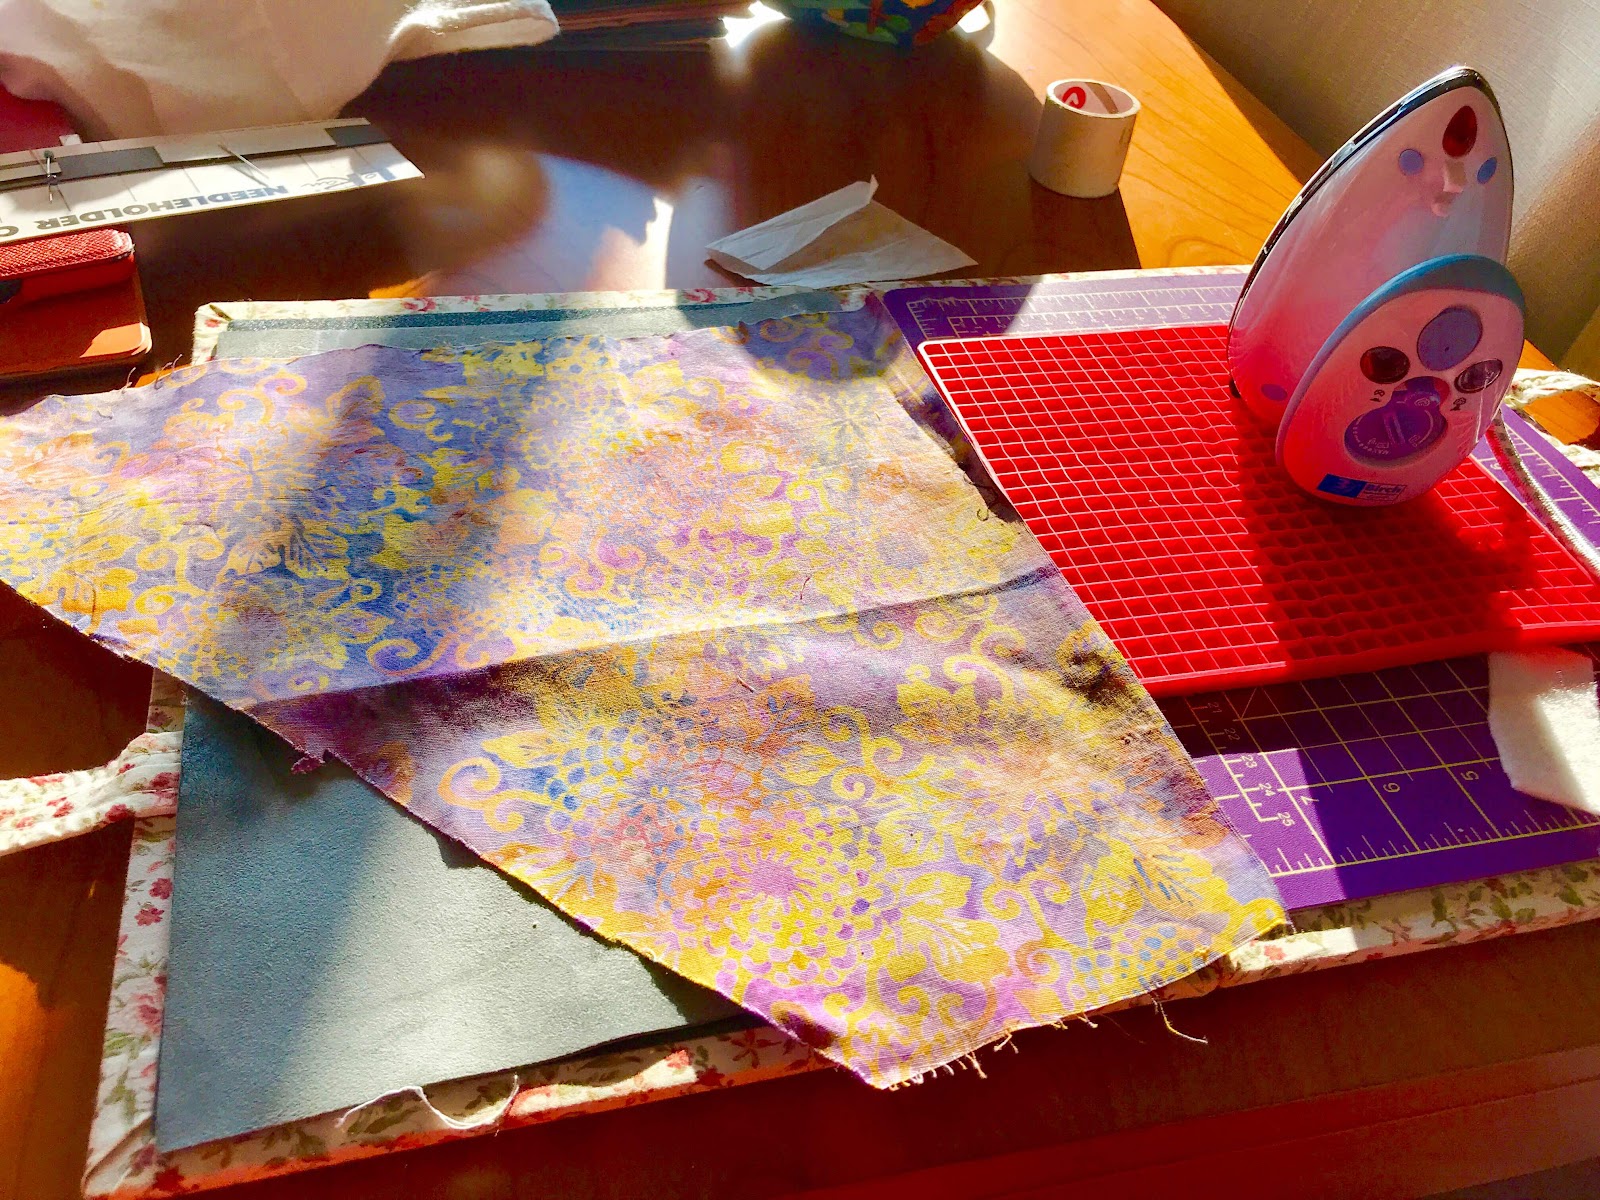
I went through my stash for fabric of suitable colour, settling on a scrap of batik.
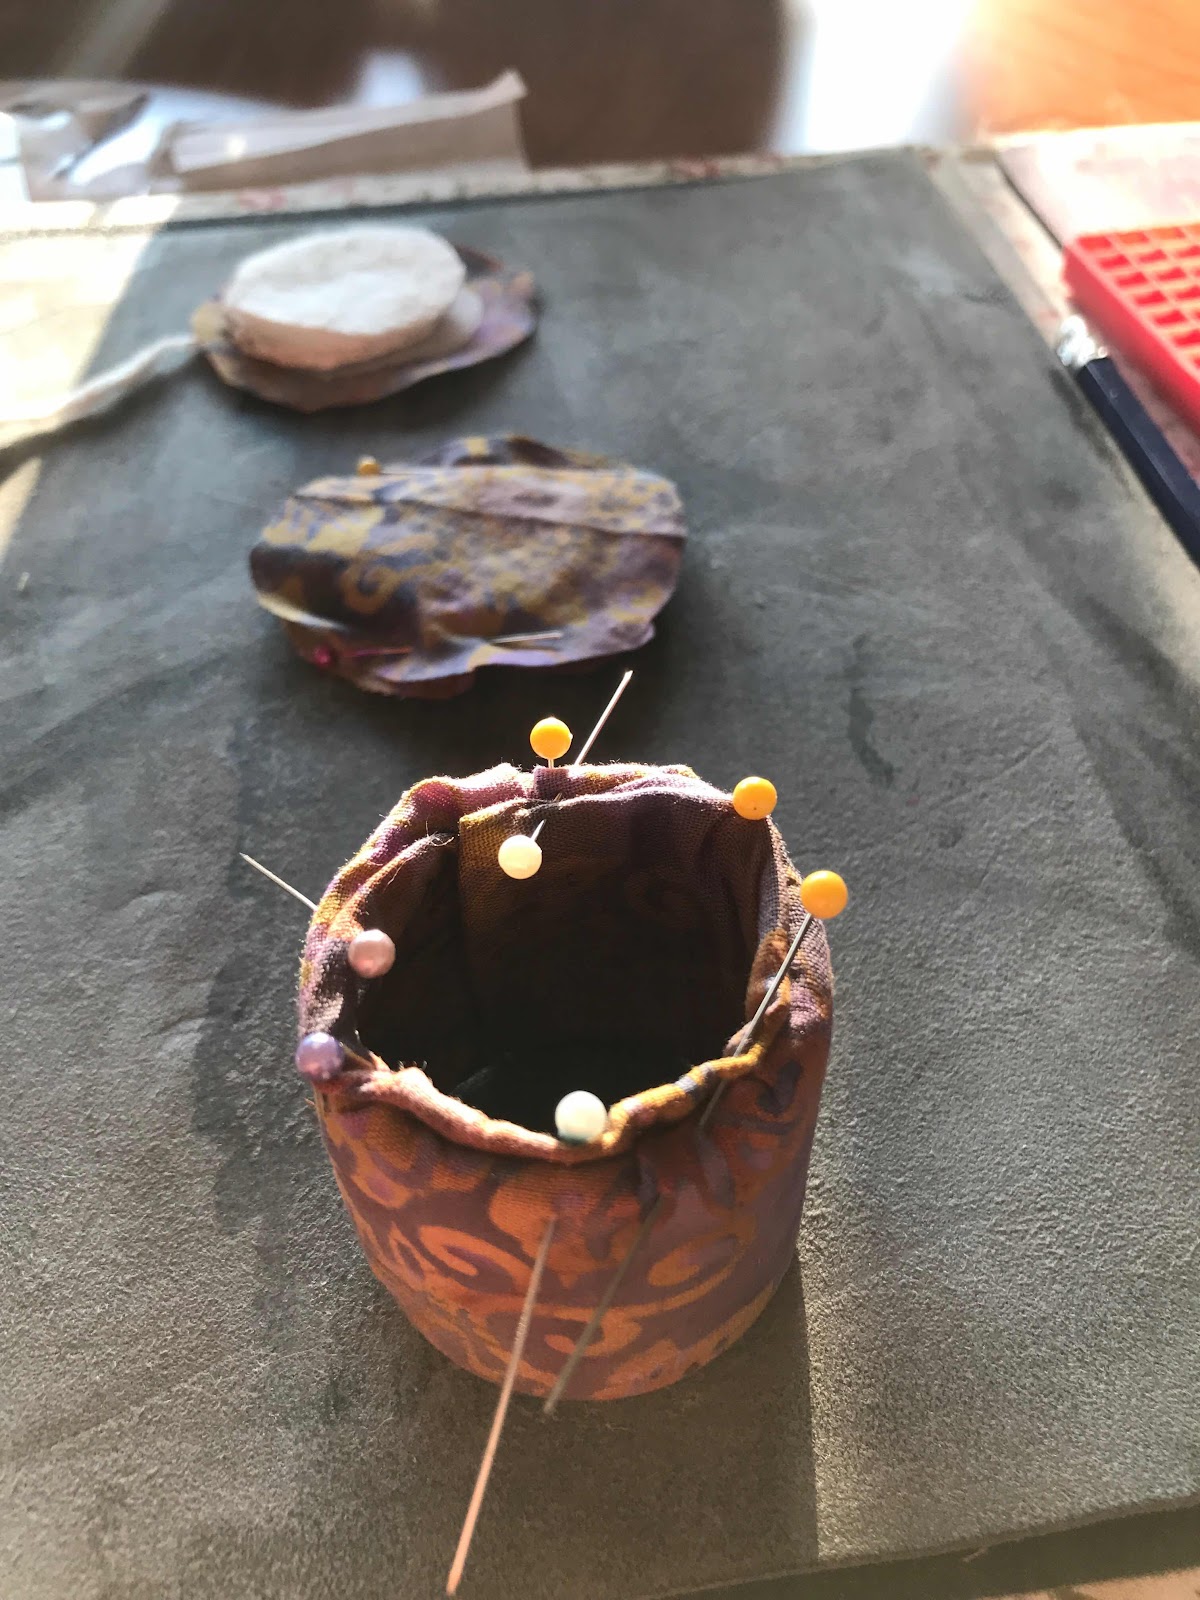


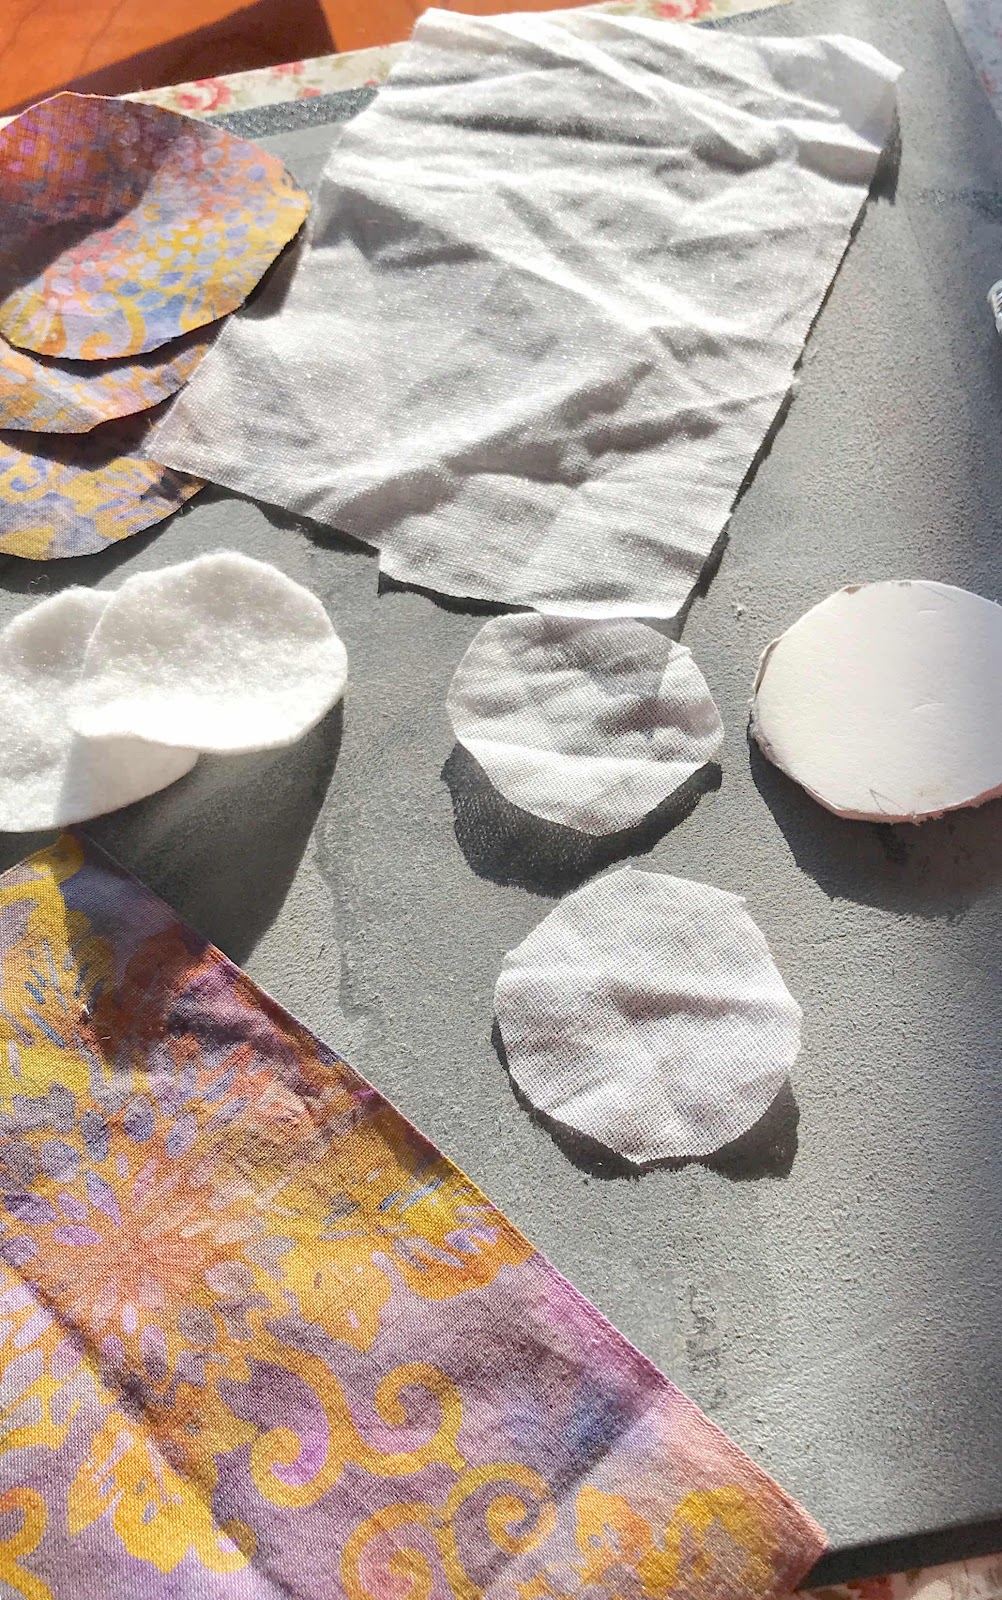
I assembled various bits of backing - both pellon and felt. I cut it all to size, ironed the pellon to the main batik piece, folded it over the cardboard tube, pinned it and stitched it down.
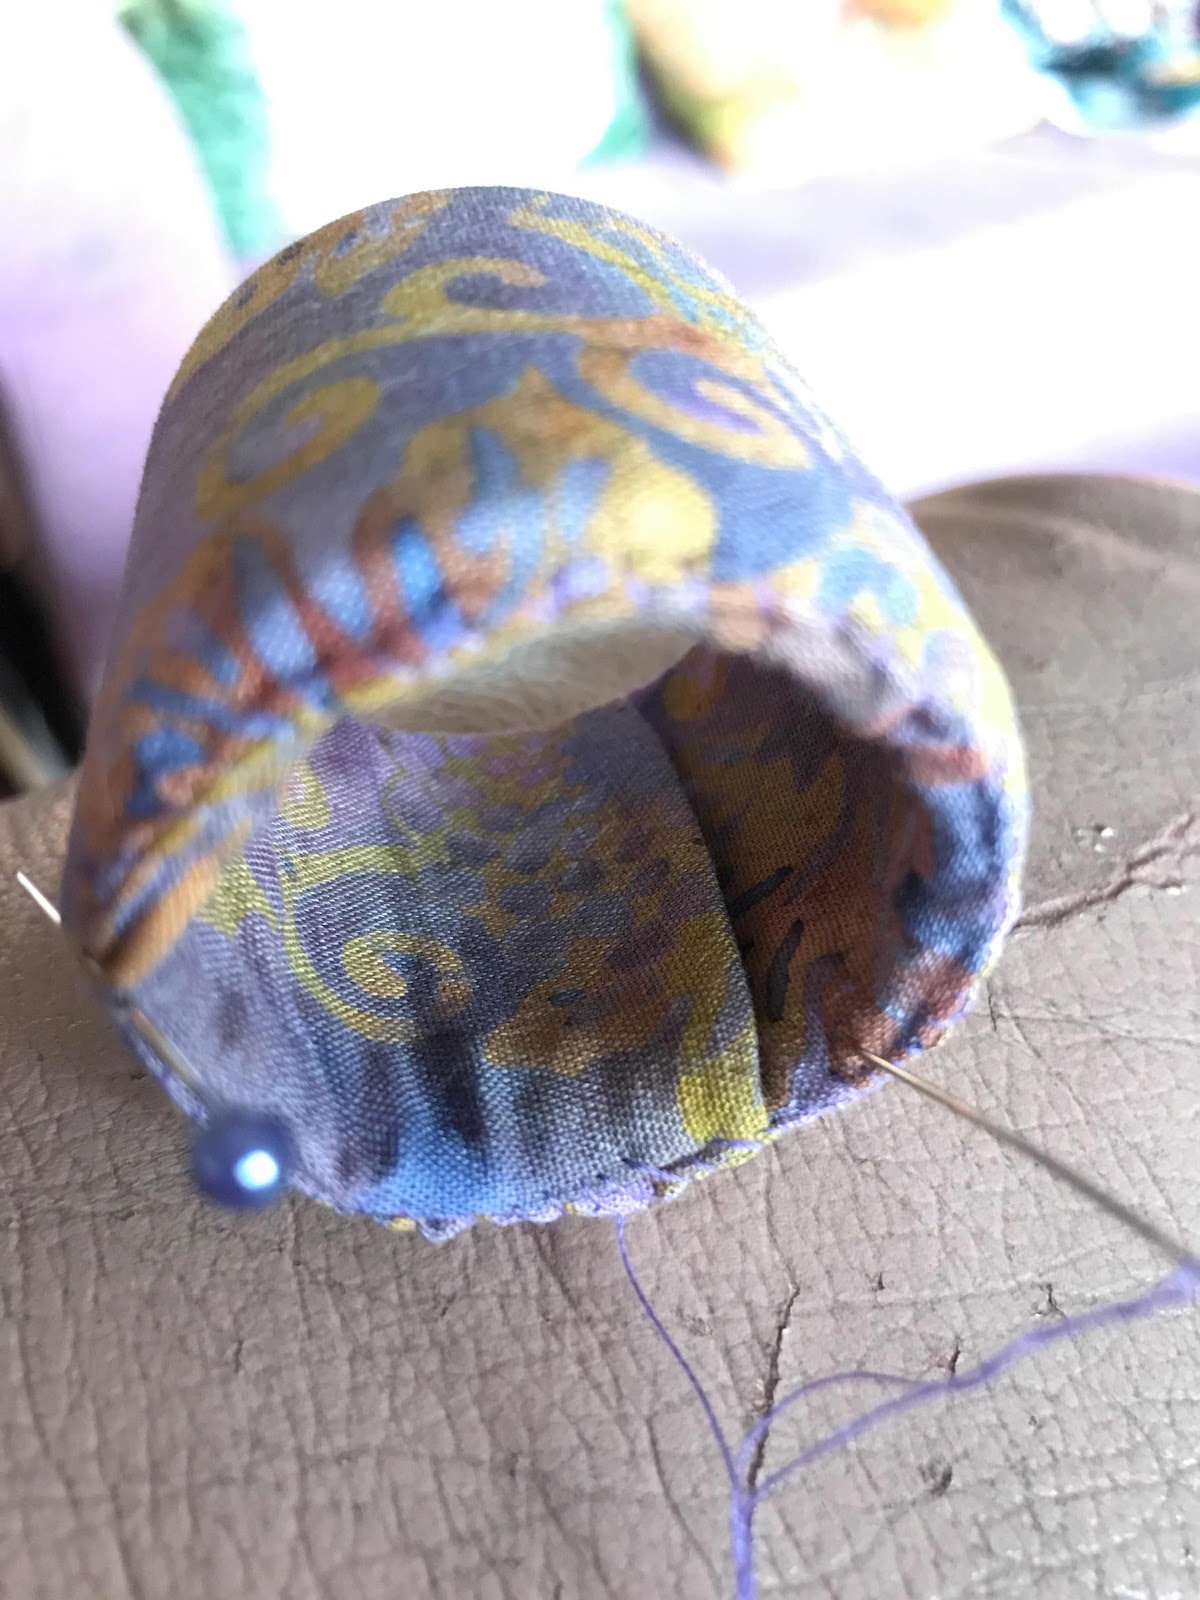
I made a base with the circles of mounting board, felt padding and batik.
I stitched in the bottom one.


The top one I used for the pansy, cutting it out and gathering it.  I cut a smaller back-board circle to fit inside the box, making a base to hold the lid in place in the box.


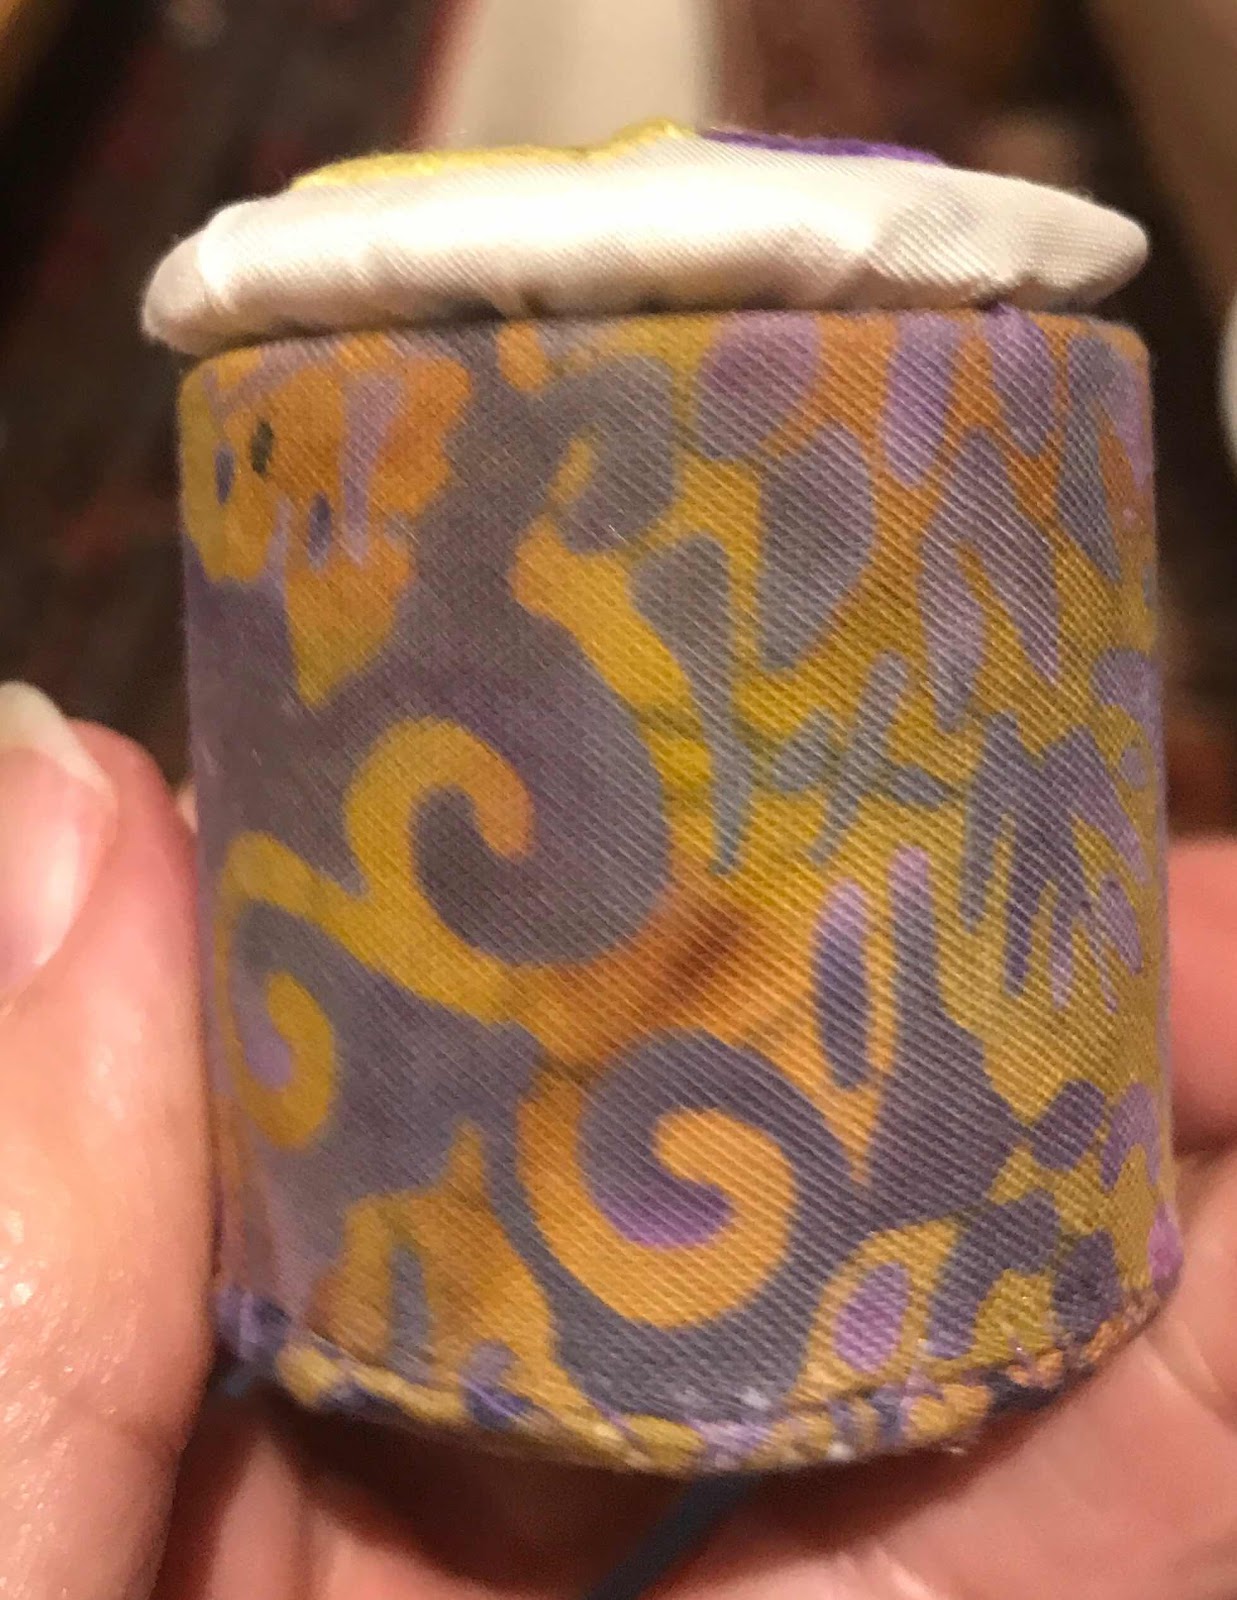

I wasn't happy with the look of the box. The lid was too much of a contrast when viewed from the side and although it fit quite well, it wasn't tight


I found some cotton lace and some braid. The braid I stitched on the inside of the lid, to help it fit more tightly.

First I painted the lace with fabric glue, then with  two coats of gold  acrylic fabric paint.

When it was dry I pinned it on, cut it to size and stitched it to the lid.


This worked well. The lid is now held firmly in place, and the white silk of the lid is not such a stark contrast to the sides of the box.


Lots of learning, along with a happy experiment and outcome.


Friday, January 16, 2015

Embroiderers' Guild 2015 Challenge

2015 is the fiftieth anniversary year of the Embroiderers' Guild of South Australia. As part of the celebrations, each member has been given a small (about 10 inch square) piece of gold dupion silk to embroider. These will be put on display in August.

I have never taken part in a challenge before and the photos of the last anniversary (Ruby) challenge ten years ago did not fill me with confidence to get started.

In the end I took the plunge, deciding to embroider an owl in silks, using an image from the Colouring Book, Secret Garden - the book Mary Corbet has been using as the basis of her kingfisher embroidery.

I like the owl and intend it to symbolise the collective wisdom of the Guild accumulated over 50 years.


I traced it to tracing paper, then to the gold fabric using pencil and my LED lightpad - really good for the job. I have simplified it a little, figuring I can always add detail back in.


I sorted through my silk threads and collected a good range of colours - a number variegated -around a generous and somewhat fantastic palette. I plan to use them as I go rather than planning it out in detail.I will buy more threads as need arises.


My initial play has resulted in some button hole stitch around the eyes, bullion knot eyebrows and fly stitch breast feathers.


I have no idea if this is going to be worthy of display, but I'm looking forward to a challenge of imagination  - focusing on colour, harmony and finding the appropriate stitch as I go along.

Tuesday, November 25, 2014

Embroiderers' Guild Workshop: CILAOS – CUTWORK FROM THE FRENCH REUNION ISLANDS

Last Saturday I did another workshop with Christine Bishop at the Embroiderers' Guild. This was a workshop for the Certificate Course the Guild runs. All members are invited to attend, whether or not they are enrolled in the Course. I have attended a few Certificate Workshops this year. On Saturday there were ten attendees enrolled in the Course, and ten not. Quite a big group for our generous and accommodating teacher.

Wikipedia has a bit of background on Cilaos embroidery. The Guild's description of this cutwork embroidery says:

This is possibly the easiest form of cutwork with the grain of the fabric.  It is worked on a 38 count Ricamo linen. This style developed in the village of Cilaos in the late 19th to early 20th century but was based upon the much earlier Spanish Teneriffe lace of the 16th and 17th centuries.

Christine had very generously prepared fabric for us -  cut ready to start. There was a choice of a heavier or finer fabric. I went with the heavier. 

We did the preparation in class - folding back the cut sections and overstitching them, before tacking the linen to calico to mount it in a hoop and removing the short cut threads in the dividing sections.

Then we began the process of laying the threads - from one edge, through the middle threads where they are secured with knots and over to the other edge.

The design is then woven between the laid threads. We used a DMC Cordonnet No 10 for all work on this heavier fabric. Those working on the finer fabric used a DMC 40.

It requires quite a lot of concentration. I needed to check my steps a number of times with Christine - who is patient, spots errors at a glance and always has a solution.

As this is the last Workshop for the year, there was a shared lunch with a lot of relaxed discussion.

Nevertheless, we got back into stitching in the afternoon. 

As I have a number of unfinished products from recent workshops I really wanted to finish this one, so continued working on it over the weekend. I got this first motif finished the same night - but had to undo a bit the next morning.

As I progressed the work I realised the trickiest bit, for me at least, is achieving an even tension. It is not easy to ensure each section is as tight as the last.


 I finished the motifs on Sunday, then embarked on buttonholing the edge.

My motifs are not even - but I have improved as I went along and could, I think, improve significantly with finer thread and fabric (assuming I can see to do it!).


Today I constructed the pincushion, using an ecru linen. 
It is a bit wonky- a beginner's piece. It will, however, act as a record of the class and a guide to the technique. I'd be able to work out how to make it more even and precise in future efforts.


Once again, I am grateful for the chance to attend the workshop, to Christine for her knowledge, skill, commonsense, generosity and patience and my fellow students for their companionship and sharing.

Saturday, November 8, 2014

Italian Banner Sampler - SA Embroiderers' Guild.

I have been in Sydney for a few days, helping my brother to photograph some paintings under glass - quite a difficult task, but one that can only be done in good daylight.

Christine Bishop's demonstration sampler
While there, and travelling, I have been progressing a sampler I started last week at an Embroiderers' Guild Italian Banner Sampler class taught by Christine Bishop. The Guild description of the class reads:

This sampler gives you the basics of 7 different styles of Italian embroideries from surface stitches , counted work and fabric perforated. Choose to work as many of the four sections of the sampler. Instead of Sicilian cut and drawn you will be given this same pattern in Assisi or cross stitch.

While the focus required wasn't ideal for travel conditions, it was all in one colour and there were blocks of repetitive work that could be memorised, so I found it worked quite well, especially for the time on planes without distraction.


In class we worked the little dragon at the top left,  in Perugina embroidery,  then the outline of the box for the Sicilian cut and drawn (Punto Tirato) dragon below it.


The first part of our homework, before the second day of the course in two weeks' time, was to draw the threads in this box in preparation for the weaving.

With a bit of planning I was able to set this up before I began my trip, cutting the threads before I left home, so I could work on the plane without sharp scissors! I could draw the threads quite successfully without scissors, and also secure them under the border.
I made two errors in drawing the thread - but was able to fix these by, in one case, inserting a new thread, and in the other, by gently moving a thread.

I also completed the Punto Antico quadrant - essentially satin stitch. I didn't get the spacing quite right in this - but I am not after perfection in this sampler. There is one component I may take out and redo if time permits.

Now all I have to do by next weekend is prepare the Italian four-sided stitch grid for the quadrant with the Casalguidi-style initial! Given that I am doing another Embroiderers' Guild class all this weekend, I may be pushing my eyes. 


Saturday, October 25, 2014

Baubles, Buttons and Beads

I have just returned from a day at the Embroiderers' Guild of South Australia Certificate Course. I am not doing the Certificate Course, but members are invited to attend any Certificate classes, so I, and a number of other members, went along to today's class by Christine Bishop on Fastenings, Closures with Buttons and Fancy Knots, or, as her notes said, Baubles, Buttons and Beads. I have a few other projects to write about, but thought, for once, I might report on this one immediately.

It was a well-attended class and we worked quite hard. There are ten fastenings in the class notes and most of us got about 5 done in the 5 hours of the class. We also had lunch and quite a bit of cake.

The first, and simplest was a toggle button, made from felt. I tried it on a piece of handmade felt I bought on my recent trip - in Berry in NSW.


This is an effective, and very quick closure that would work well on a bag.


Another toggle took a little more time and has plenty of scope for variation - using different threads, stitches or contrasting colours. The stitch on this one is chain stitch.


The loop closure appealed to me. My stitching is not as neat as could be hoped, but I can see quite a few ways this might be varied to fit on a bag, or even a jacket.


The covered bead closure took rather longer to do - using twisted buttonhole stitch. This is similar to the closure we made in Alison Snepp's hussif class a few years ago, although the base and the stitch are different. It is a very satisfying object to make.


The final one I achieved today was a button that can be used on shirts. It needs a pearl button on the top to complete it.


Christine is a meticulous teacher and her notes are clear and thorough. I will complete the other 5 closures in the notes - but not before I have finished a couple of other things I am still working on - one of them from another of Christine's classes ( the French birdcage she taught at Beating Around the Bush).

I had a very pleasant day making these today, not the least because of the company!

Sunday, September 21, 2014

Hungarian Point Bag construction.

I delayed finishing my little bag while stitching birthday dresses, but I set myself a goal to finish before the next meeting of the Embroiderers' Guild Back to Basics group, which is tomorrow. The construction isn't as highly focused as the counted thread work, so it's easier to find a little time here and there.

First came chain stitch around the edges, and backstitching along fold lines.


After some hesitation I decided to add tassels at the bottom - an optional extra in the instructions. It is, after all, over three years since my tassel binge!

The scary bit is cutting the border away but it all folded up as it was meant to.


I used a small piece of silk ikat for the lining, top stitching it down.


The sides were then whipped together using the chain stitch outline thread.

A twisted cord secures the top.

I'm pretty pleased with my little Hungarian Point bag. I learned quite a bit and have a pretty, tiny bag to show for it.

Thanks to Carol Mullan for the teaching and design.


Wednesday, September 3, 2014

Hungarian Point update

I have not posted for a couple of weeks. While I continued stitching on my recent visit to friends and family in Sydney, I wasn't in a position to post and I've had a backlog of other things to do since I returned. Usually I have a couple of posts in reserve for such situations, but have run my reserve out!

I had intended to finish the Hungarian Point work while away. I didn't want to take the many skeins of stranded thread I might need as I figured it would end up tangled. I therefore devised a little aid. I chose the graduated colour threads I thought I might use, cut a 40cm length of each and threaded them into a spare piece of linen that Gay Sanderson had kindly given me in class.

This worked really well - I could draw out individual strands of the thread and also see where the gradation was or wasn't working.


While I managed to do a bit of this stitching on the plane, I discovered I couldn't manage counted thread work AND talk to friends - so the counted thread work didn't progress very far until I got home.

It is then much harder to pick it up again, as you are out of the rhythm and have forgotten a bit.I had hoped to extend the pattern a little to enlarge the bag slightly, but was having so much trouble getting back into the flow of it that I decided to stick with the original size of the bag.


I finished the counted thread work yesterday. As keen eyes will see, there are a few errors evident in the last colour waves on the left-hand end.


My little linen thread sorting mechanism helped me a to repair some of the damage by identifying the colours I needed to fill a couple of gaps.

I debated unpicking back to the green, but I doubt my eyes are up to it. I will move on to the construction phase and use it as a learning tool.

I wasn't idle while talking to friends - some more on my knitting project soon!