Search This Blog

Wednesday, April 24, 2019

Metalwork Fox

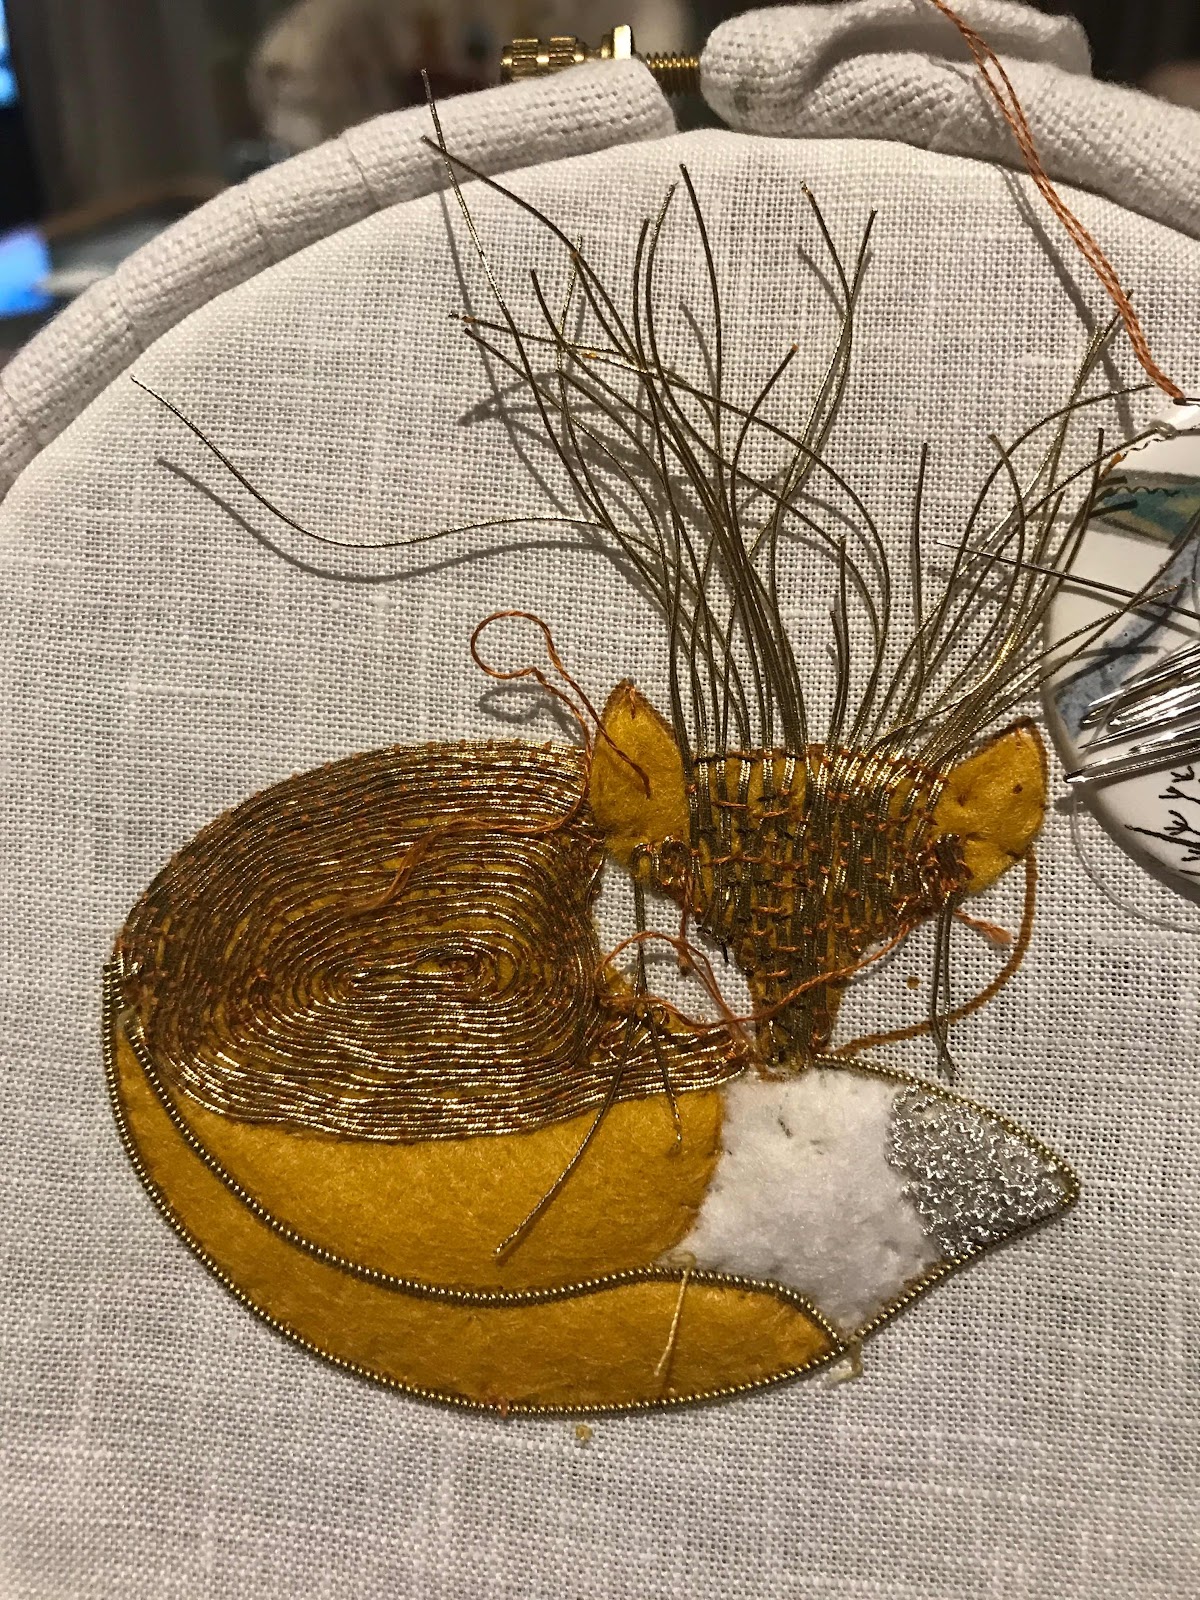
Having finished the embroidery for the two projects at the Spring Retreat, I turned to the final project of my March visit to England, the metalwork fox. I chose to stick to the order in which we worked at Hampton Court, so  worked the passing thread around and around on the back of the fox, the up and down on the face. It took a bit of thinking to get the required circular effect on the back and fill in the bits that wouldn’t fit into the oval shape, but it wasn’t too hard. The face lift an alarming amount of plunging to be done!


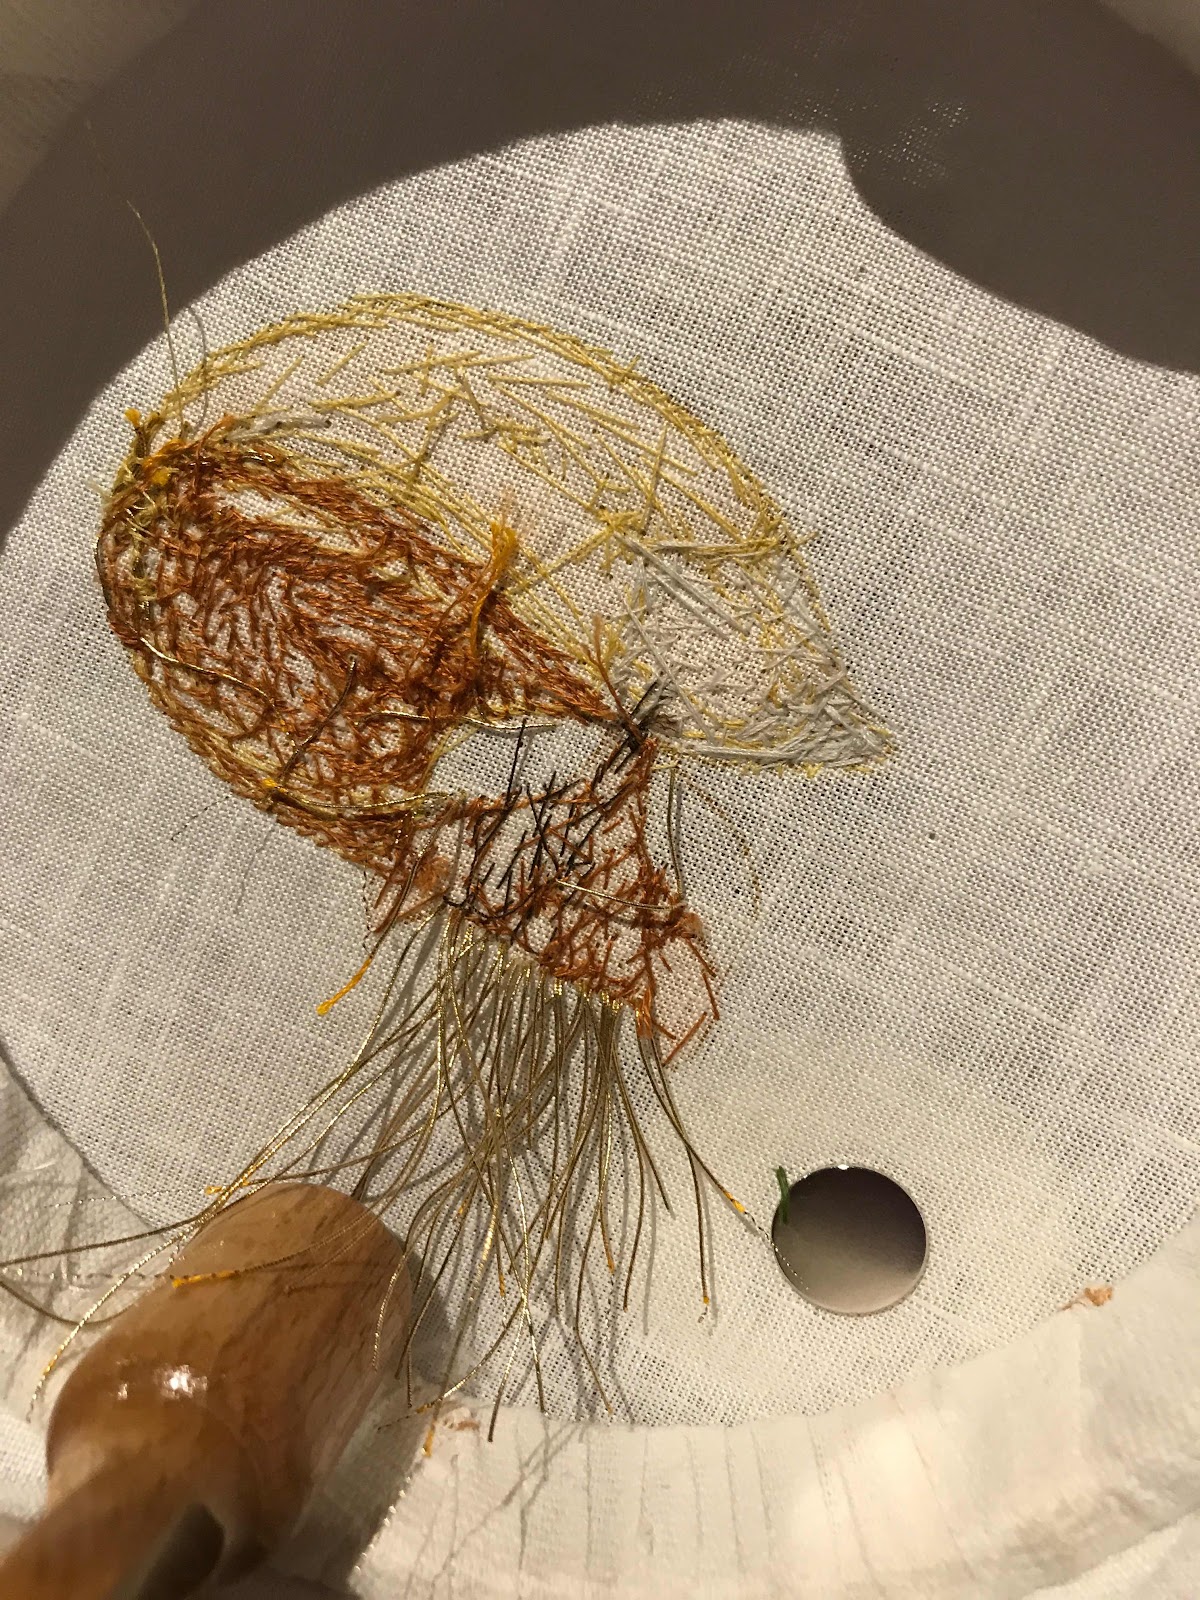
The plunging was nothing, of course, to the ends that then needed to be secured on the back!


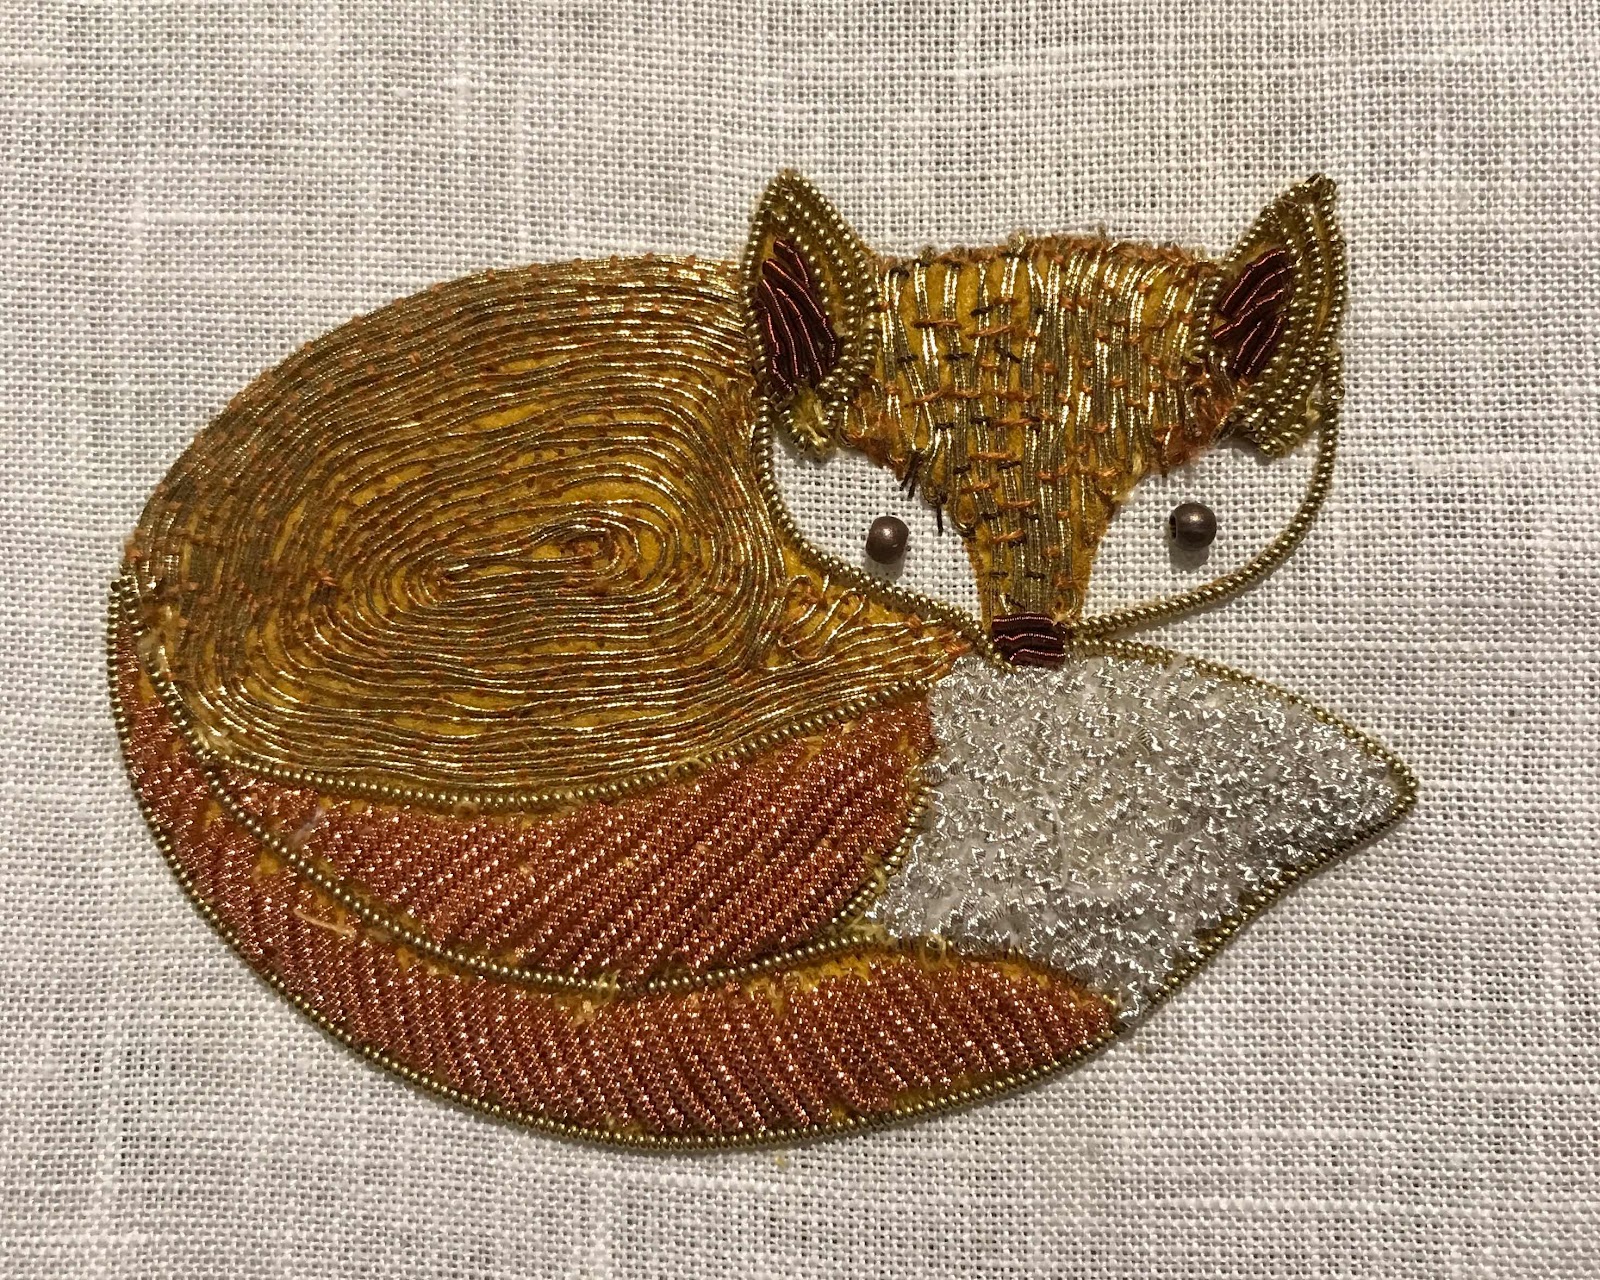
The chips were quite relaxing after that. Even the cut work proved to be ok. I took it along to a first Sunday Come and Stitch at the Guild and got quite a lot done.

I was pretty pleased with the result - but it is a simple, well designed project that doesn’t require great experience.
I had in mind to mount it on the lid of a small box that was advertised at Create in Stitch, however, when I got to the shop they had sold out, but were not, in any case, quite big enough. 


What they did have, however, was an oval glass paperweight. It was ALMOST the right size. It covers up a tiny bit of the purl  pearl along the bottom, but the reflection makes up for it. The other advantage is that, while not perfectly airtight, it does reduce the chance of tarnish.


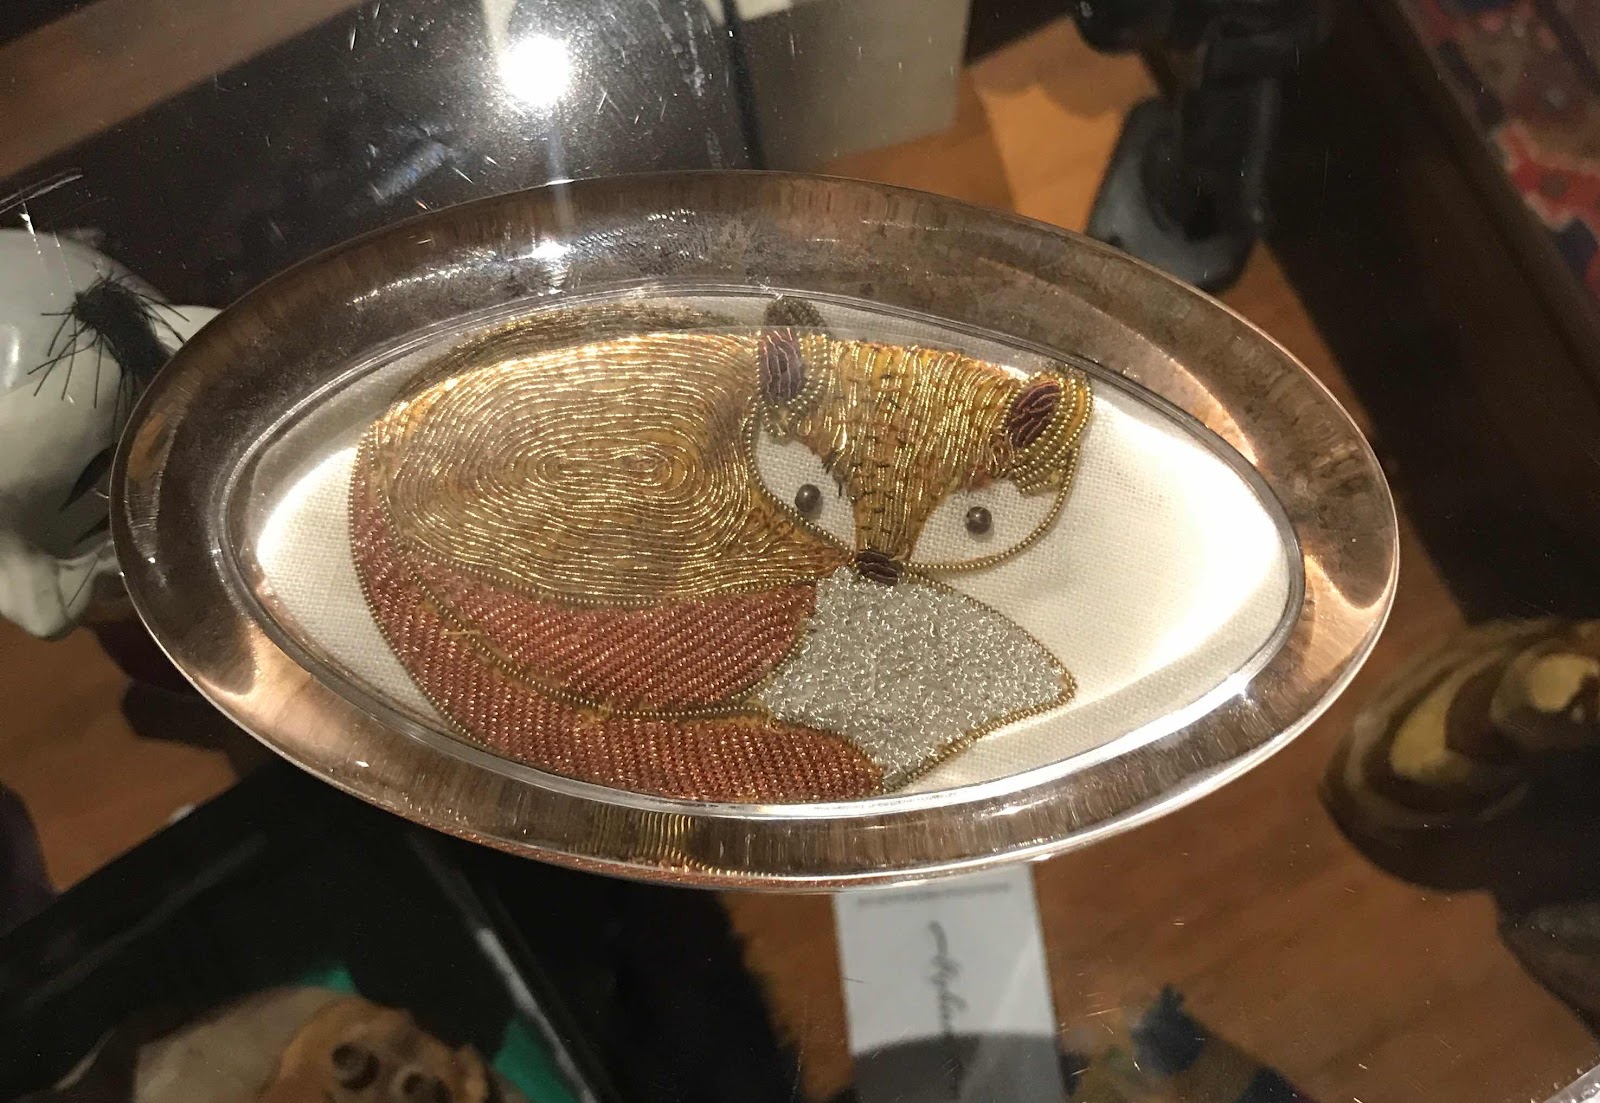
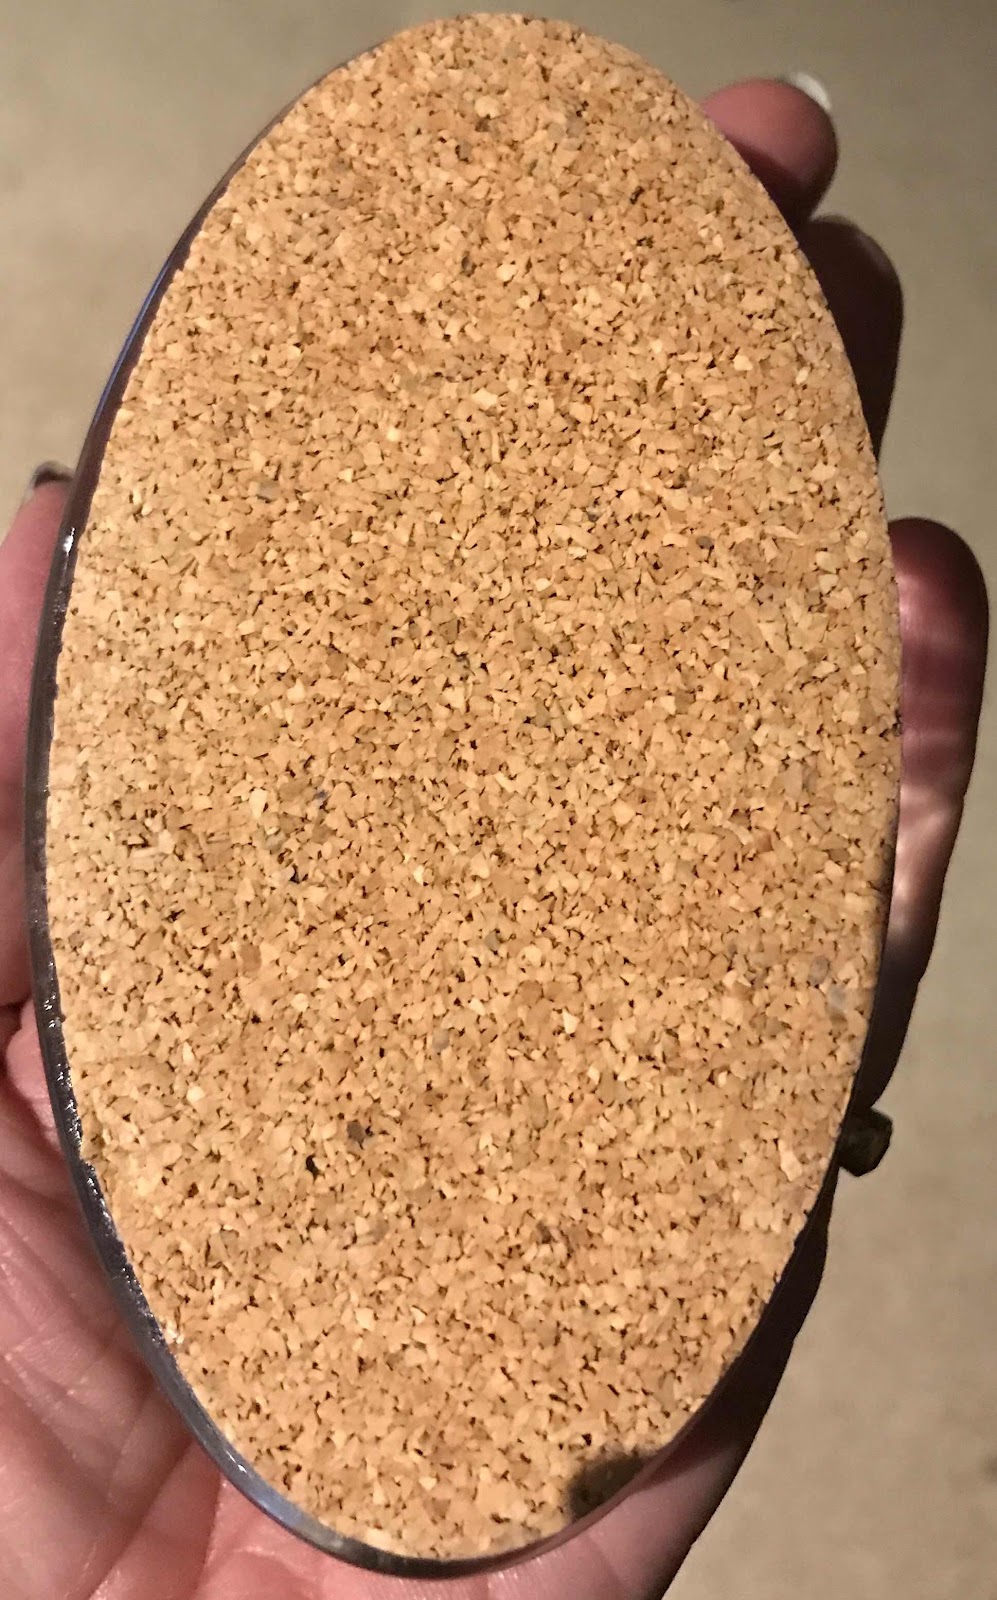
The embroidery is stretched over an oval base that comes with the glass and would normally be secured down with a cork base with a peel-off sticky back. In this case the thickness of the embroidery meant that the cork base didn’t stick uniformly around the edge. After some hesitation I helped it out with a couple,of drops of superglue.

I’m delighted with this result. It stops papers blowing around on my table and looks great. 


Friday, April 12, 2019

Herdwick Shaker box

This week my Shaker Box arrived. I didn't waste much time in getting to work to attach my version of Nicola Jarvis's Herdwick sheep design.


There were instructions for the mounting.
The fit was very good, but in order to fit in the edges of the leaves on the diagonal, I needed to mound the piece to raise it up.

I did this using a layer of felt and a lot of wool-based stuffing over cardboard. I gathered the embroidery over this, cut off the excess and then  lashed it across the back.


I decided against using glue, and opted for double-sided tape. This worked well for most of the piece, but the short ends would not stick easily. I clamped them overnight but they still lifted a little.


In the end I bought some heavy duty double-sided tape and again clamped it.


The inside of the box is plain. I think I might use it as a sewing box, and keep a complete set of tools in it. While I usually assemble a set for each project bag, it would be really useful to have a set that always stays in one place.


So here it is, finished. Flora amongst her flowers.
I am very happy with it.


Sunday, April 7, 2019

Flora, the Herdwick Sheep


This was originally a very short post begun in 2017. While visiting Ruskin Cottage in the Lakes District that year, I bought a single ball of Herdwick wool. It was a natural coloured boucle and I thought it would make a good shawl.
I found a pattern I liked that I thought might do justice to the wool. It was knitted as a rectangle, folded and joined to form a kind of poncho. There was a patterned border along the front edge.

After knitting about 4 inches I decided it was a bad idea. The pattern did not show amongst the boucle and the wool merely looked grubby. I was hoping it might come in useful for one of the projects in the March 2019 Lady Anne's Needlework Retreat in the Lakes District, which focused on the life and work of Beatrix Potter.  This didn't work out either, so the boucle wool is down to experience.
I mention this by way of introduction to Nicola Jarvis's 
Herdwick sheep project from the retreat.                                                                                                                                                                    This is the project as it began. The beginning of the work, conducted in Bowness-on-Windermere last month is outlined in my travel blog.                             
By the end of my travels I had finished the sheep and a little of the dog roses. At the suggestion of one of my daughters, she is now called Flora.


As soon as I arrived home I got to work on the remainder.


I finished embroidering the dog roses


then moved on to foxgloves.


I found these quite tricky.  While I felt confident on light-shade balance on individual flower heads in front and behind each other , I was less convinced I managed the colour change up and down the stem.
The harebells and foxglove leaves were the last to go in.


Finally, I returned to the centres of the dog roses. I varied the stitch a little.


I'm very pleased with this result. I have enjoyed working on this. The texture of the finished piece is marvellous.

I am waiting for my Shaker Box to arrive to mount this piece in the lid. Wendy, from Australian Needle Arts has it ready to mail as soon as she recovers from the flu.


I will post again when the box arrives and I have the embroidery it mounted.