Search This Blog

Tuesday, December 31, 2019

Greek Museum of Adelaide Exhibition


I spend an extraordinary hour or so this morning at an exhibition at the Flambouron Hall, 18 Fulton St Glenelg, guided by Chrysoula Melissinaki, president of the Greek Museum of Adelaide Inc. Chrysoula has lived in Australia for eight years and is passionate about collecting, preserving, displaying and cataloguing art and craft items belonging to the Greek-Australian community in Adelaide.


Most items have been donated by members of the Greek-Australian community. A few come from Museums in Greece or are on loan.


The association hires halls for exhibitions and stores the collection at other times in boxes in Chrysoula's home.

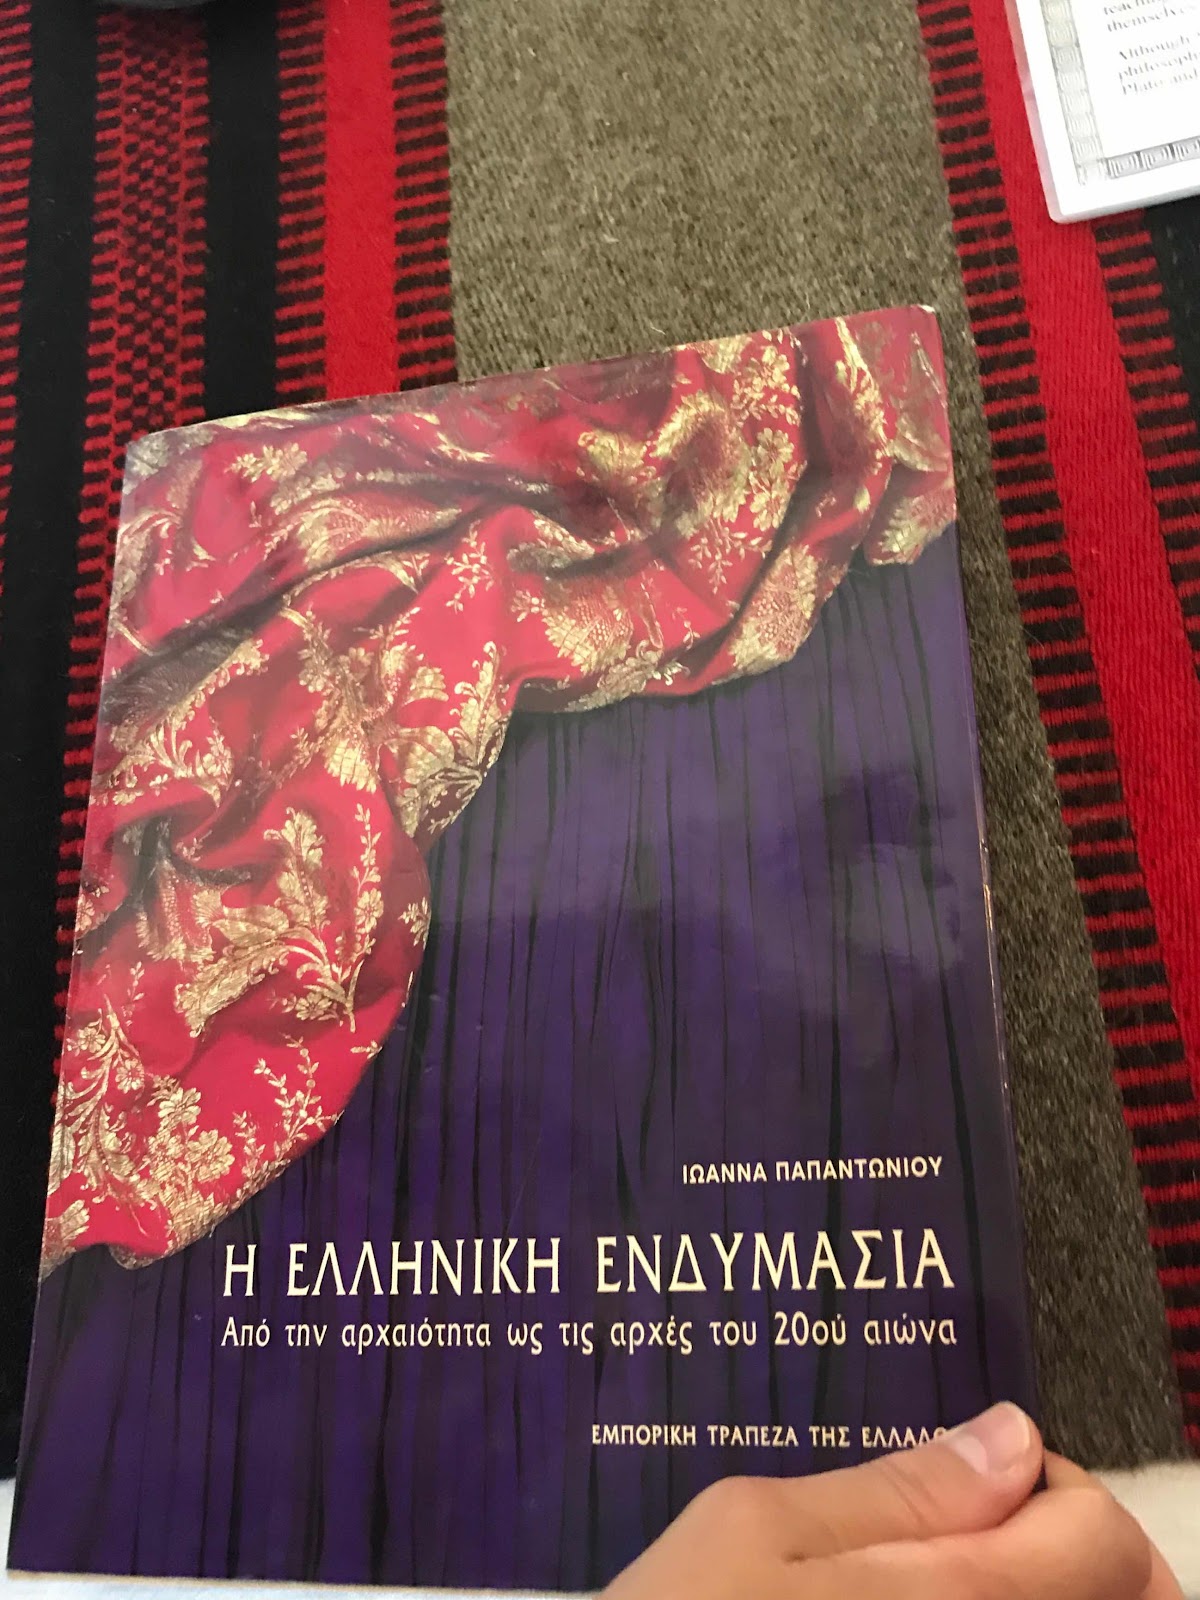
They hope to create a permanent home for the collection. I was mightily impressed. Items were beautifully displayed - indeed curated, with ample descriptions in both Greek and English. Chrysoula has found videos of various elements of the exhibitions and these can be viewed on screens. Also available are books that provide further information.

I was able to take photos, and given permission to use them on social media. Chrysoula took me through the whole exhibition and gave me background on the items.  The exhibition deserves more detailed cover. I am, however, anxious to publish and distribute this tonight, so that friends and Guild members in Adelaide might be able to get to the see it before it closes on Saturday around lunchtime. It will be closed on New Year's Day, but open from 10am -5.30pm on Thursday 2 January and Friday 3 January and 10 am- around 1.30pm on Saturday 4 January.


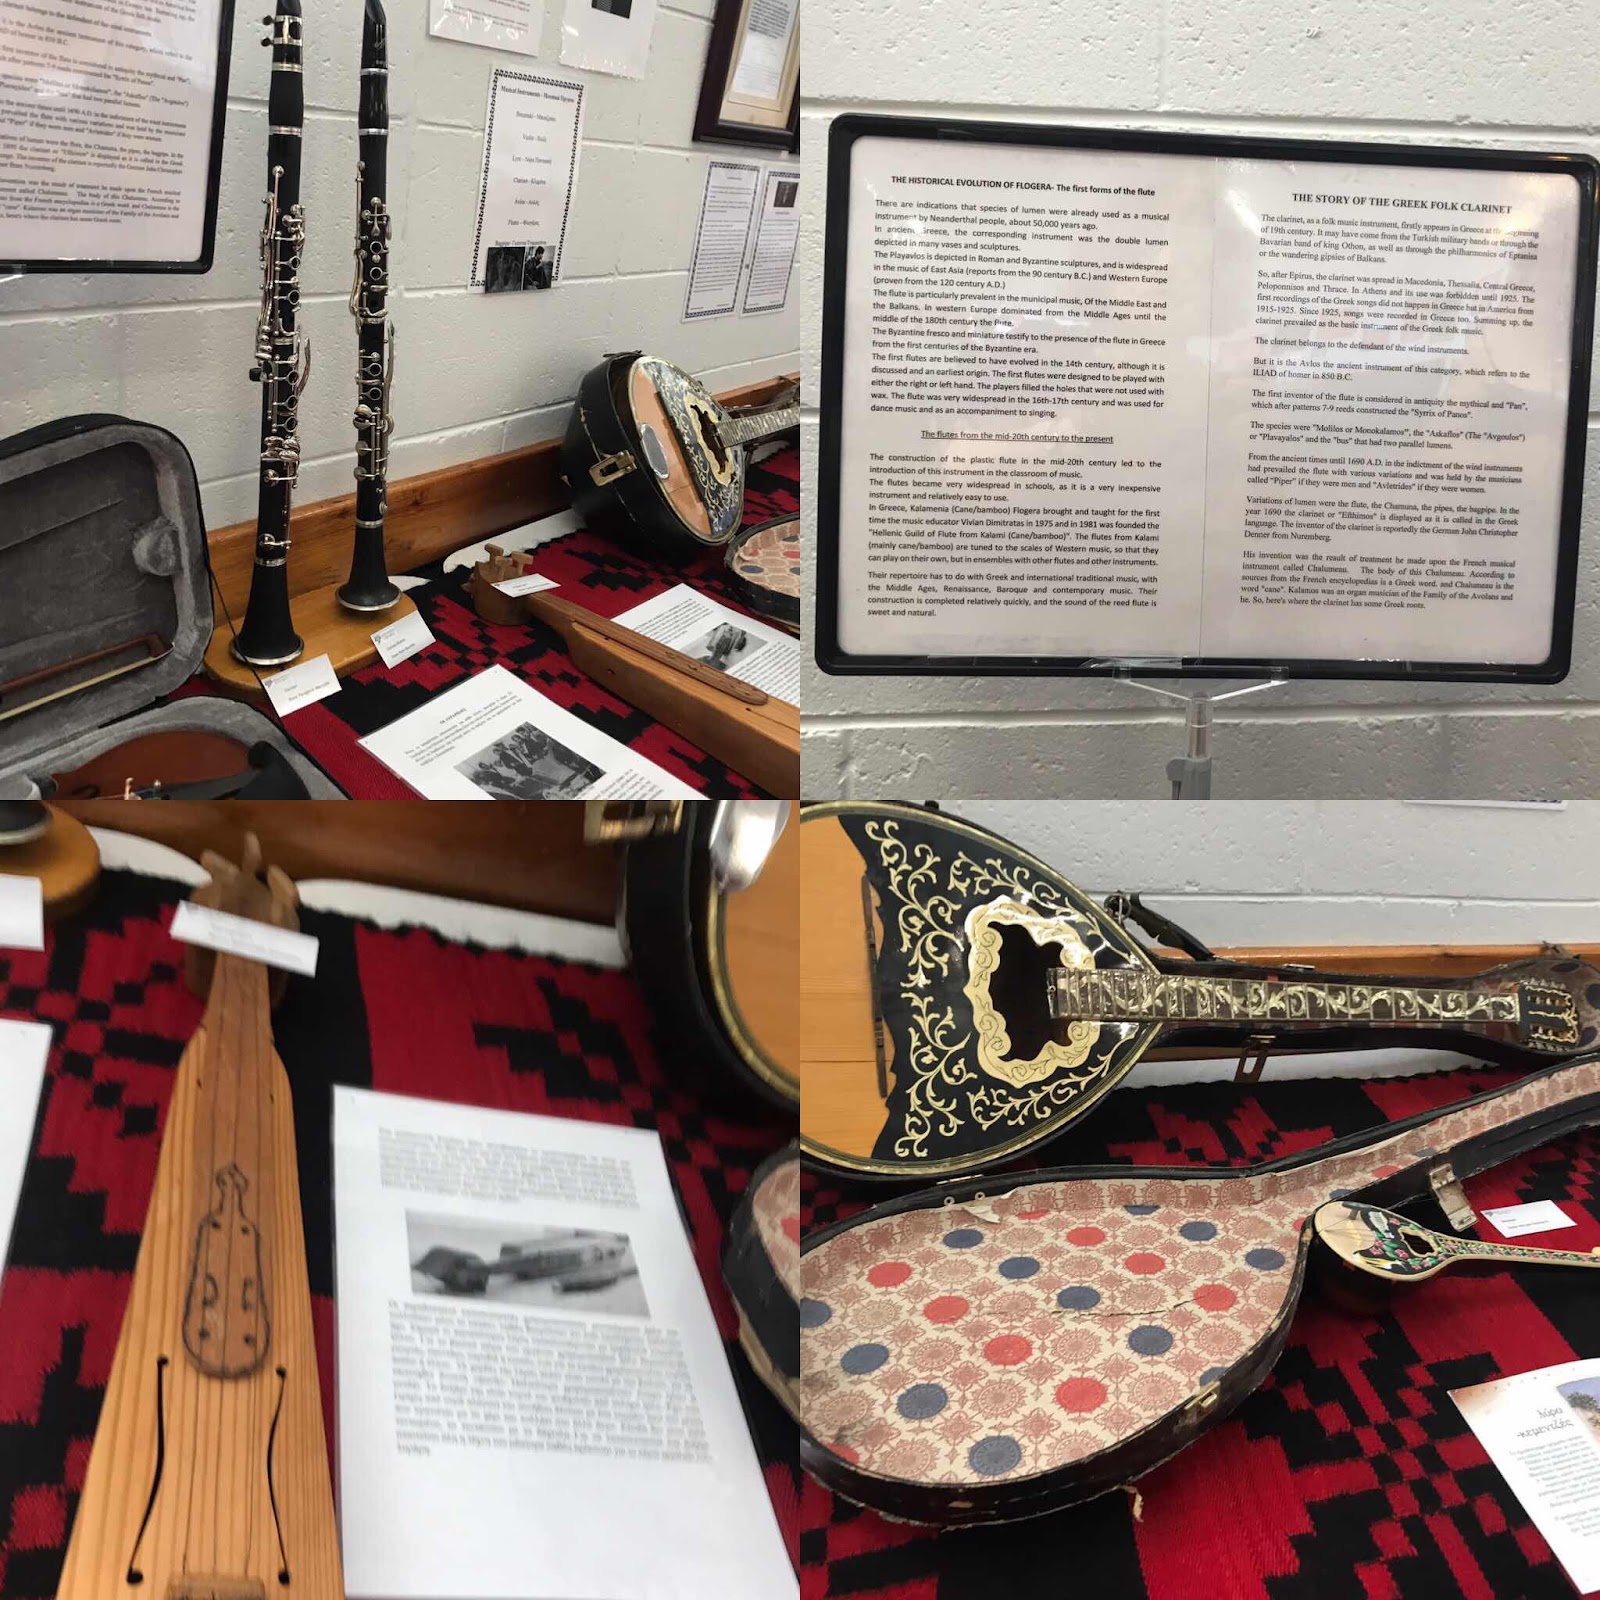
The exhibition covers a wide range of handcrafts, including musical instruments, pressed metal, lamps and a fine collection of old irons.


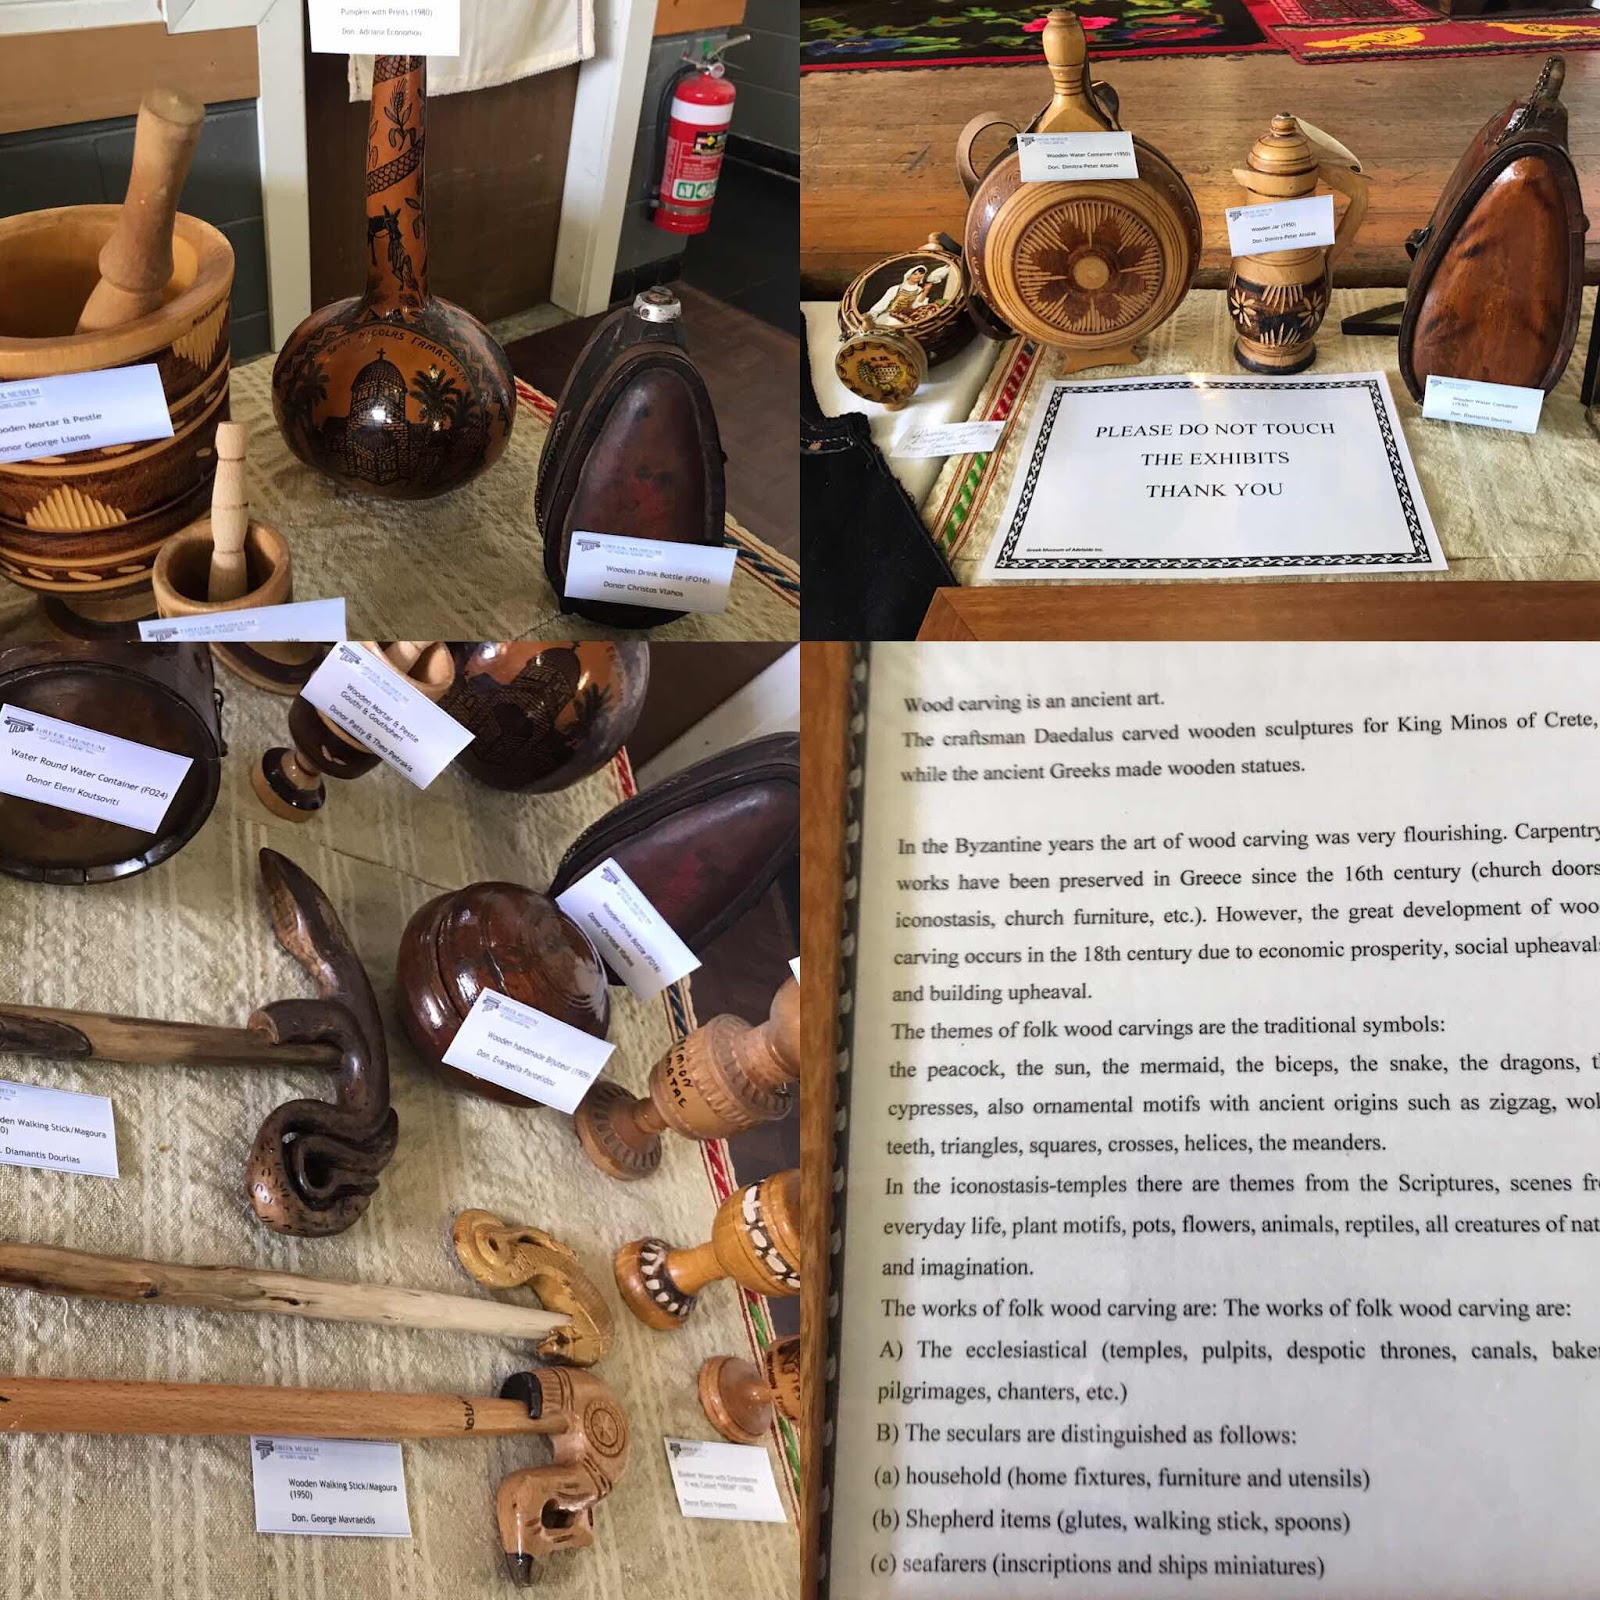
There are beautifully crafted wood items.


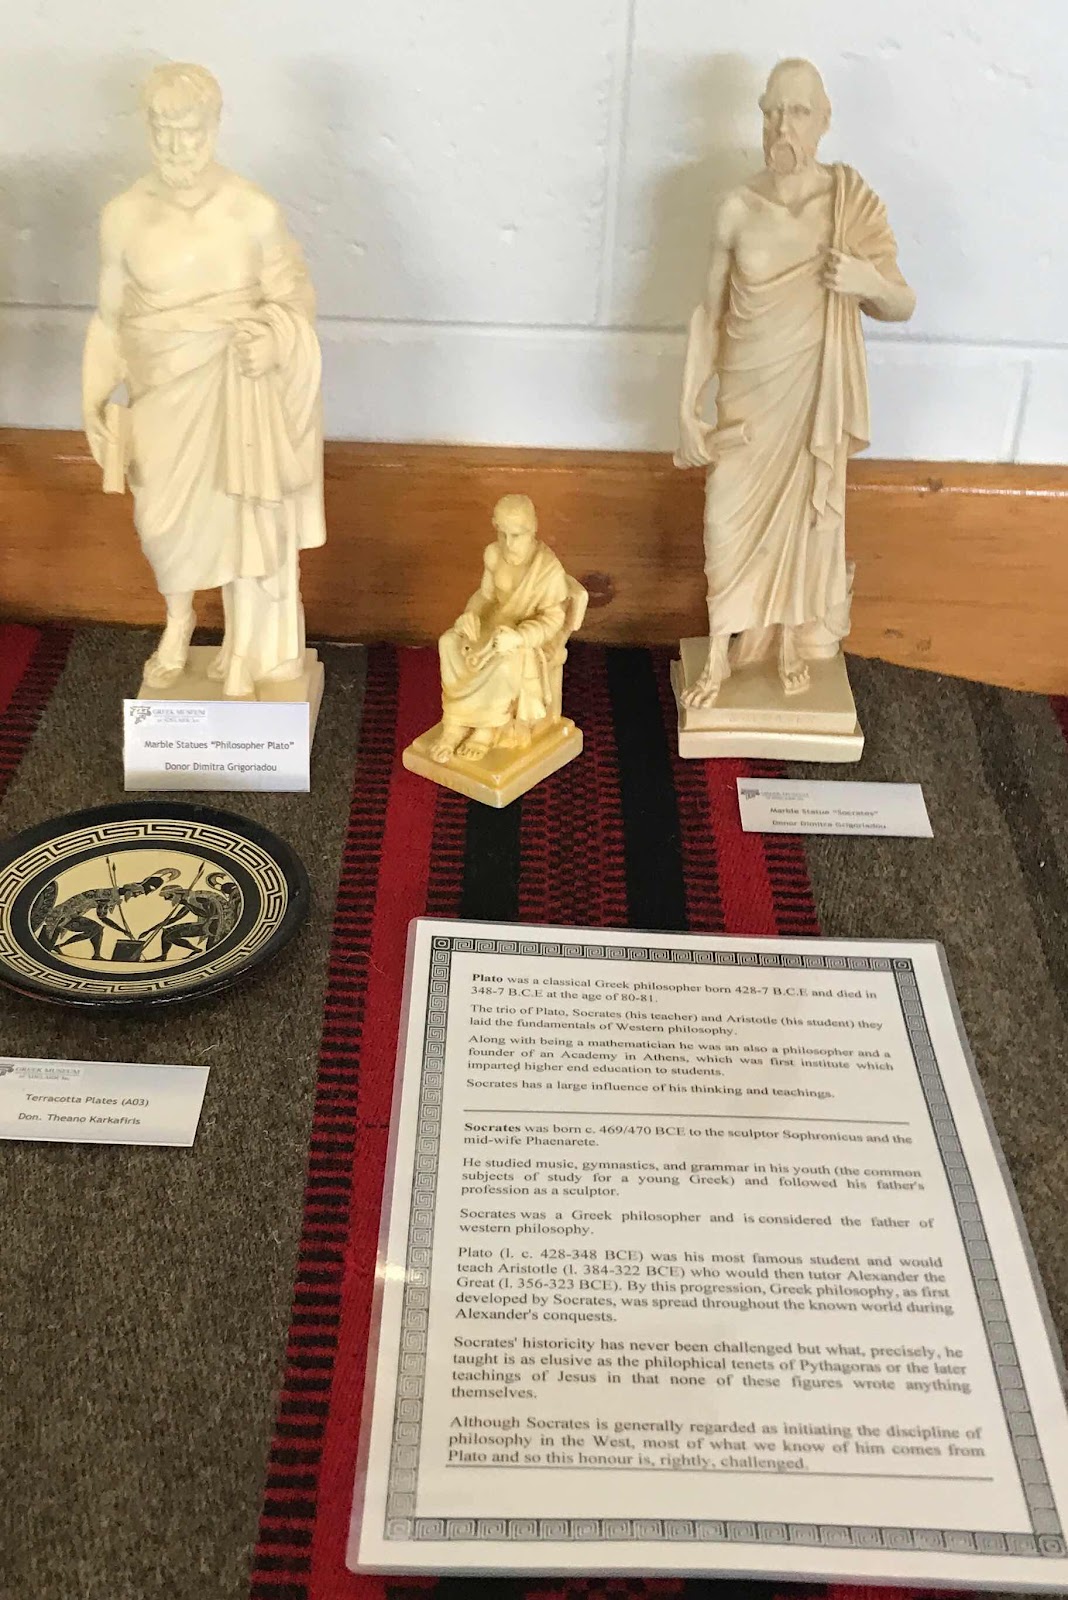
The importance of Plato and Socrates to Greek culture is acknowledged in many homes, and in the exhibition.


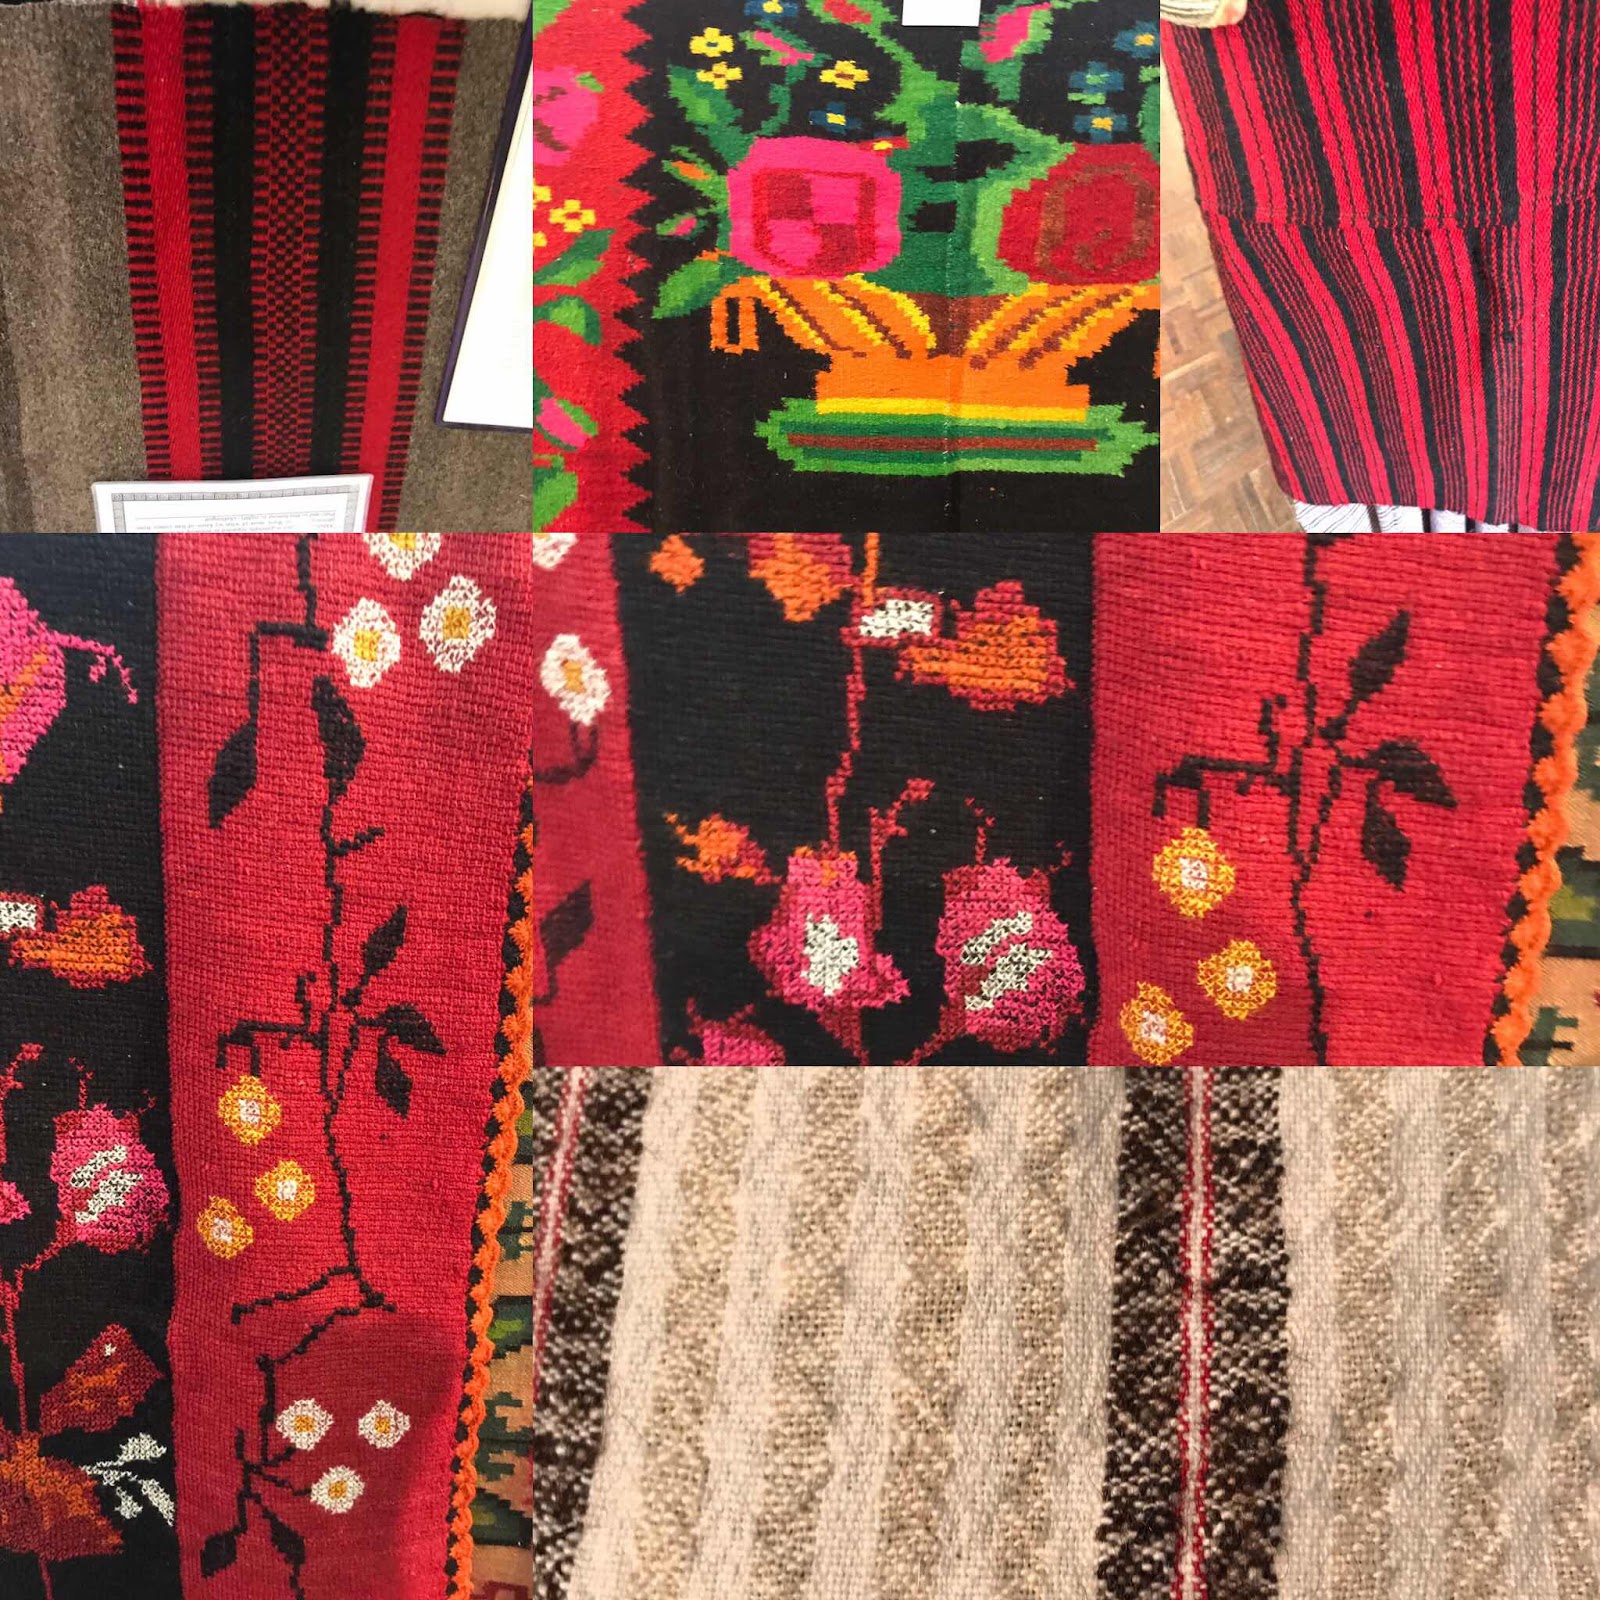
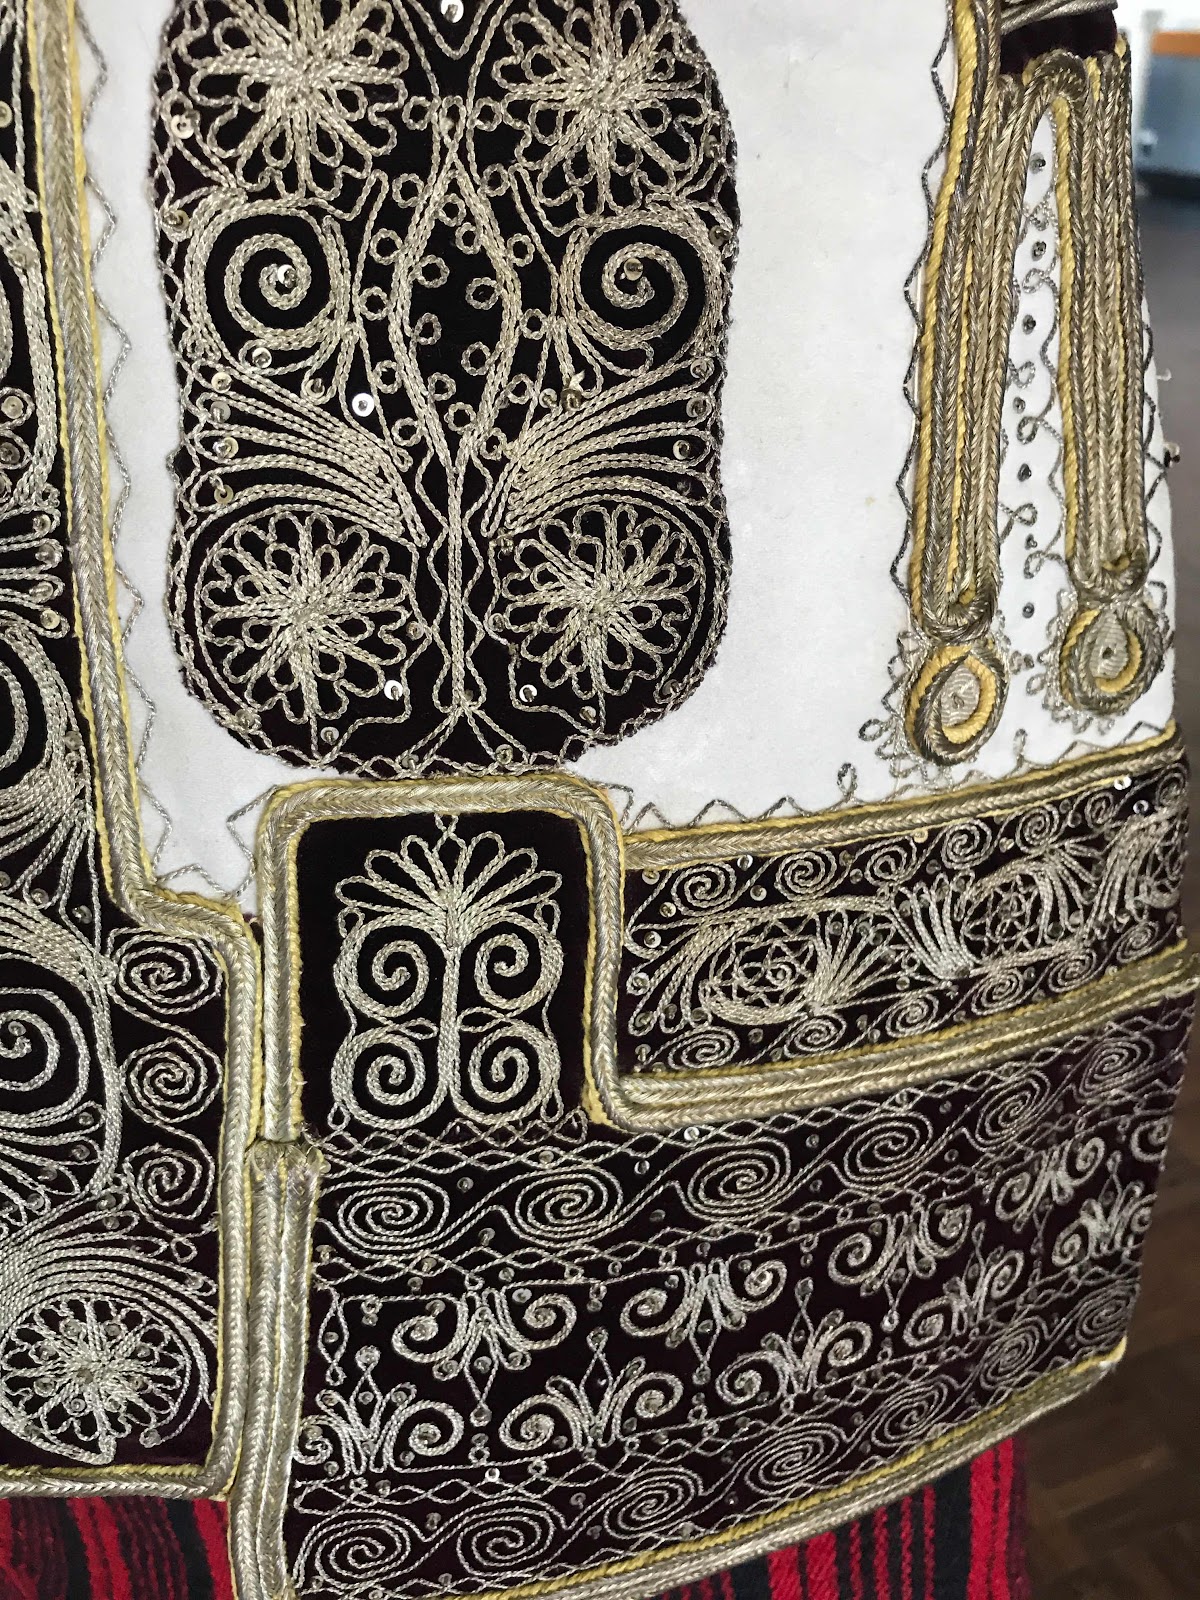
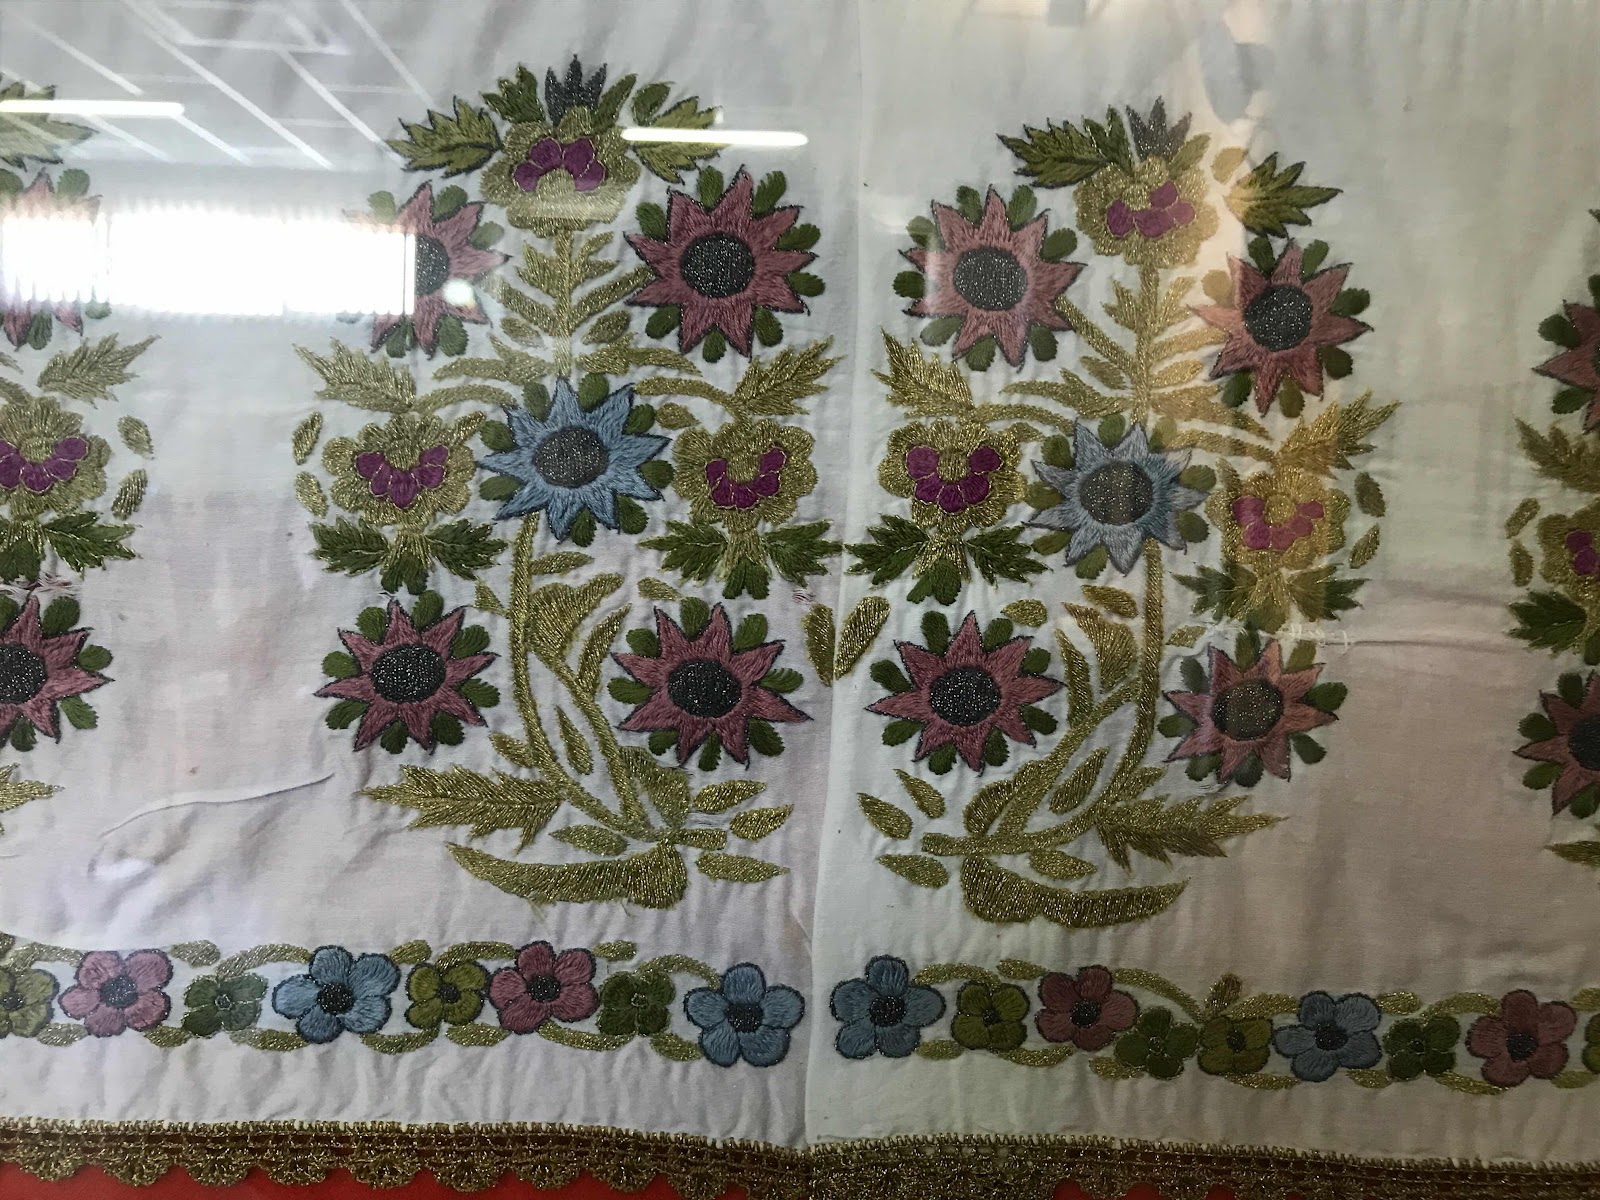
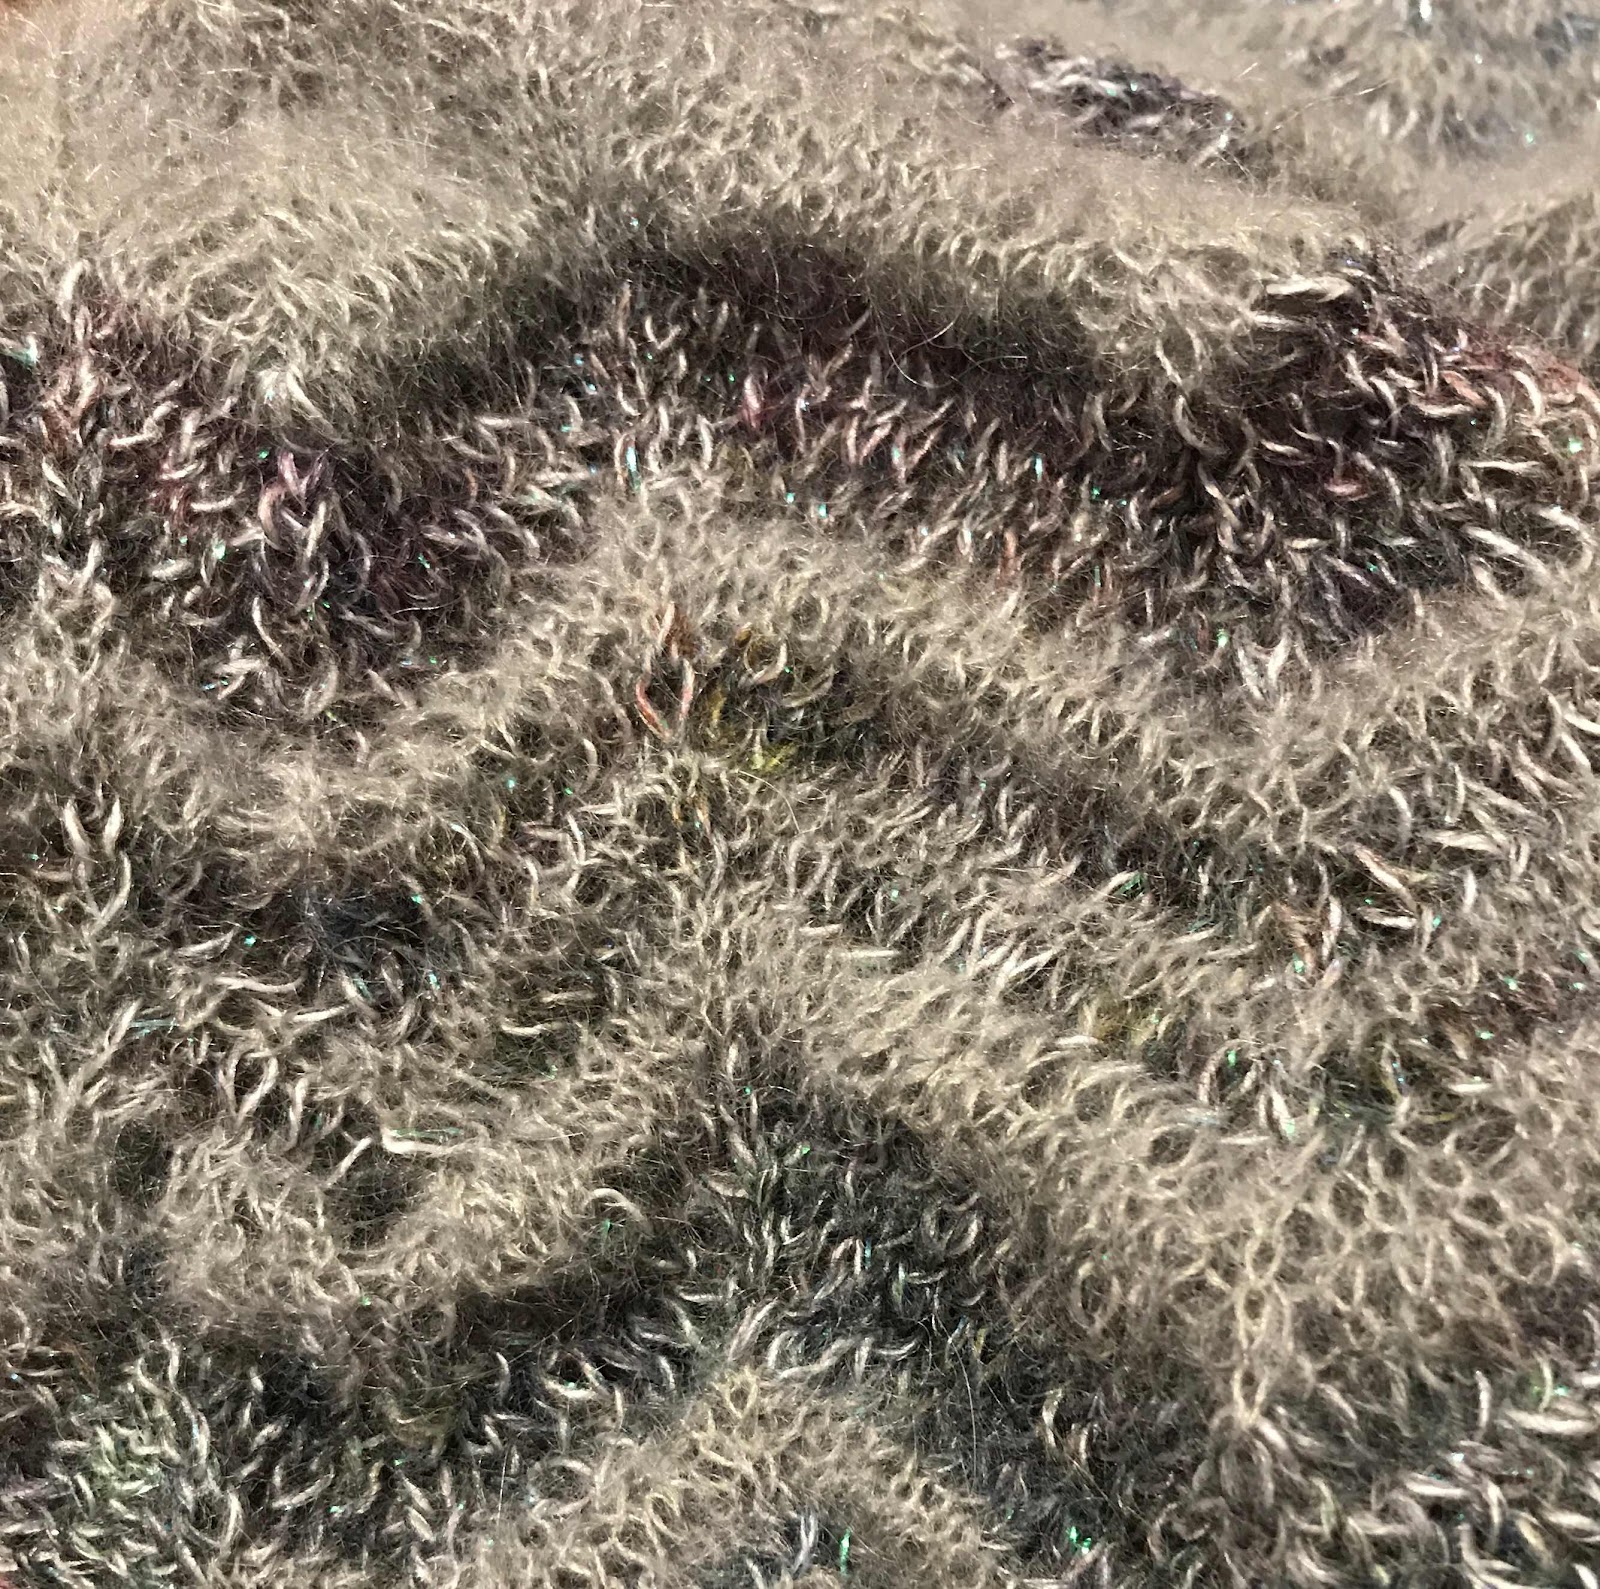
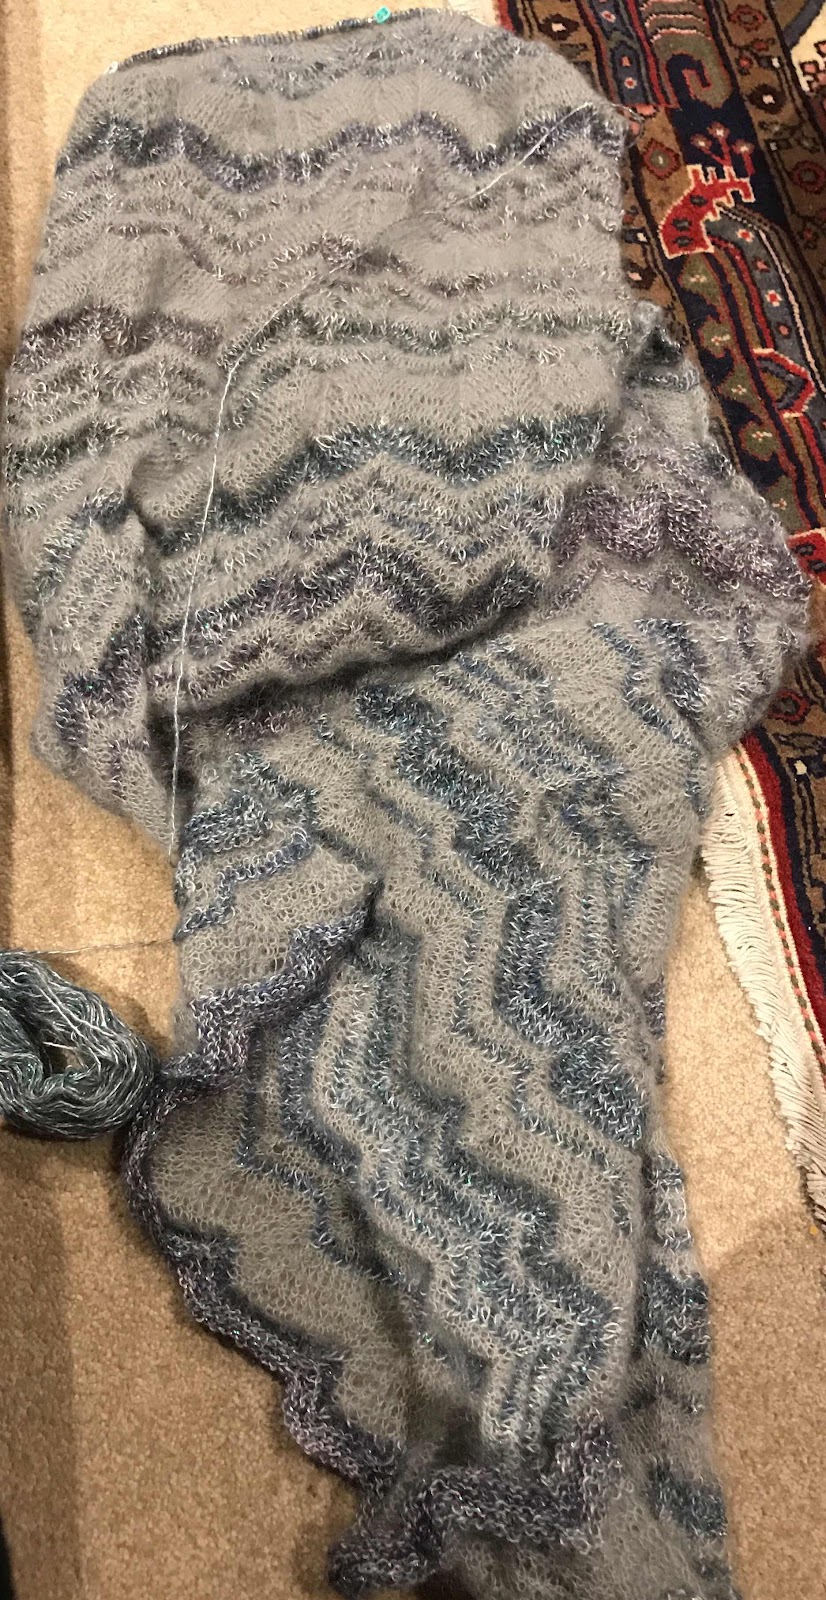
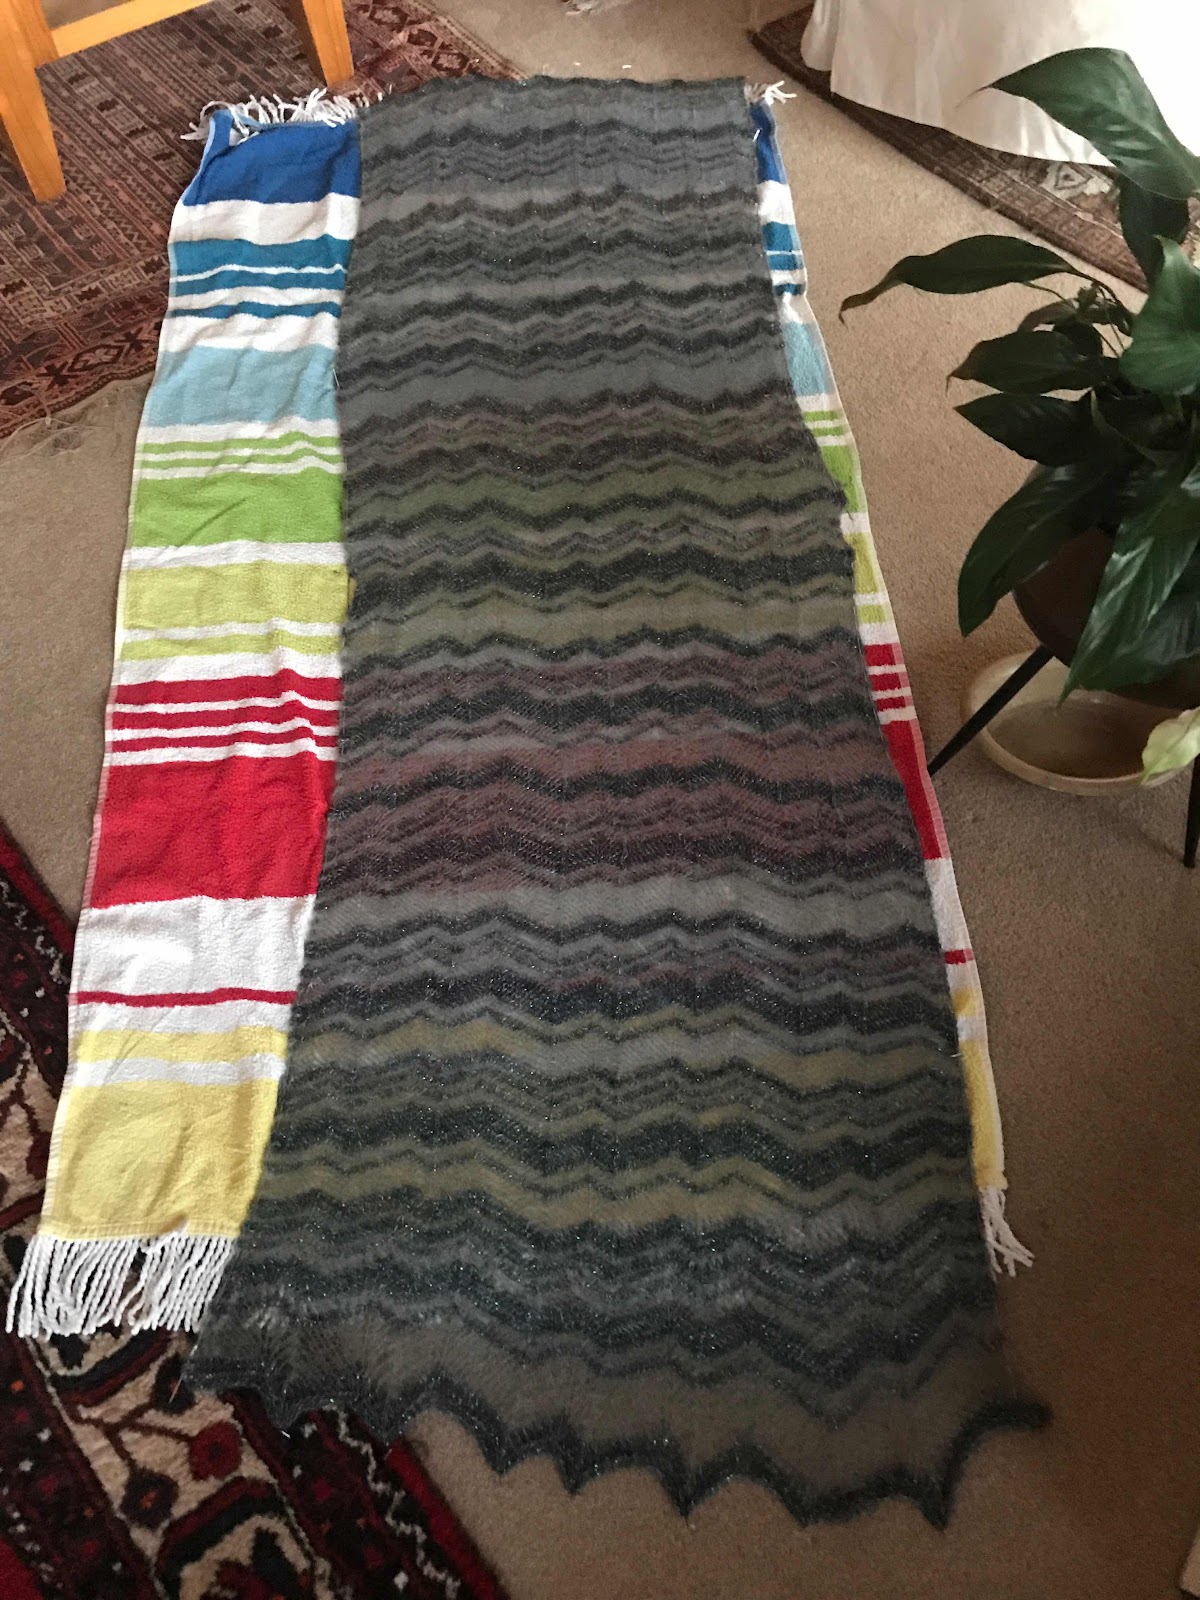
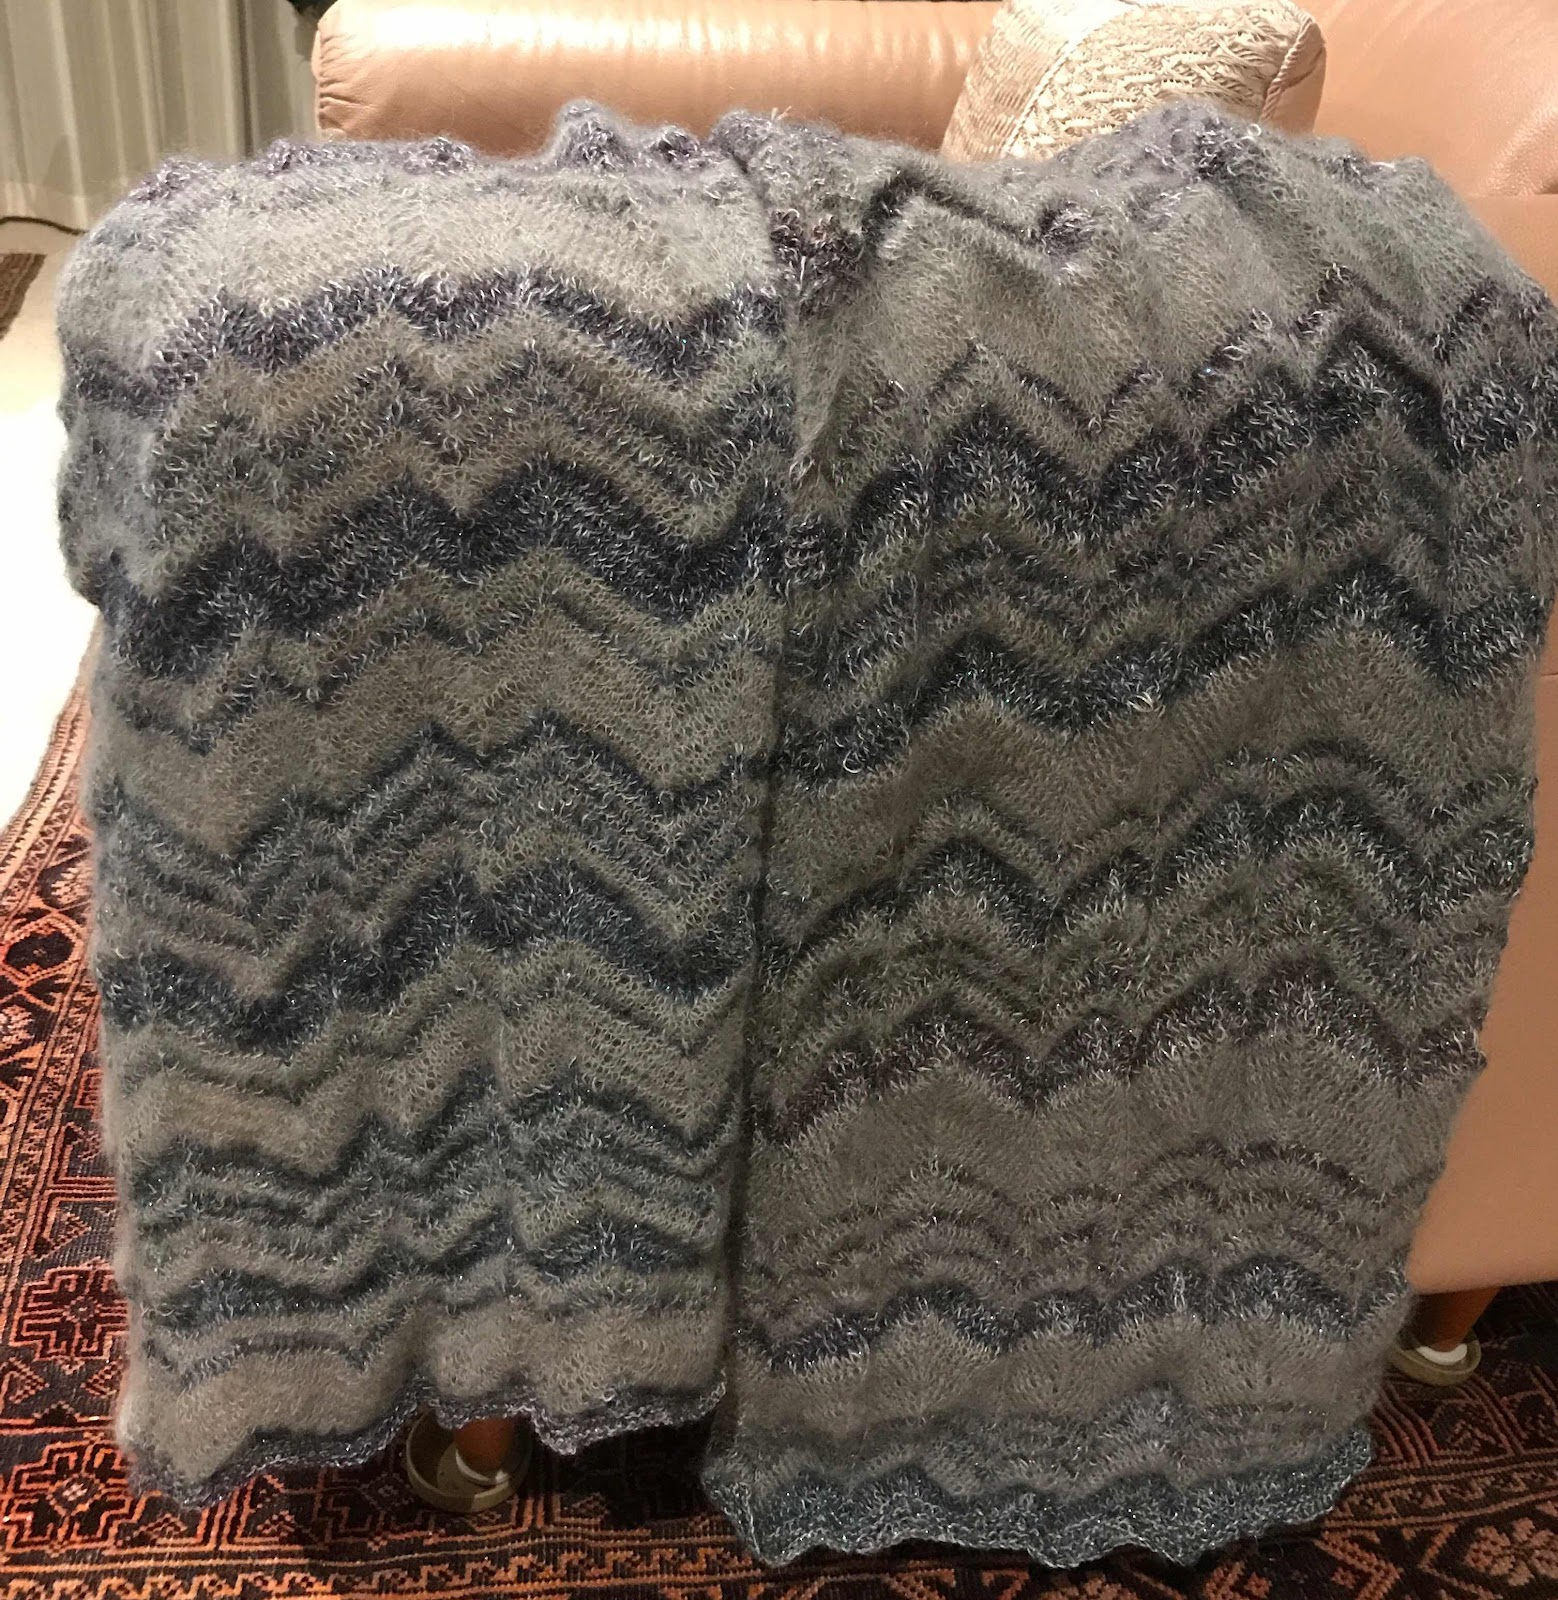
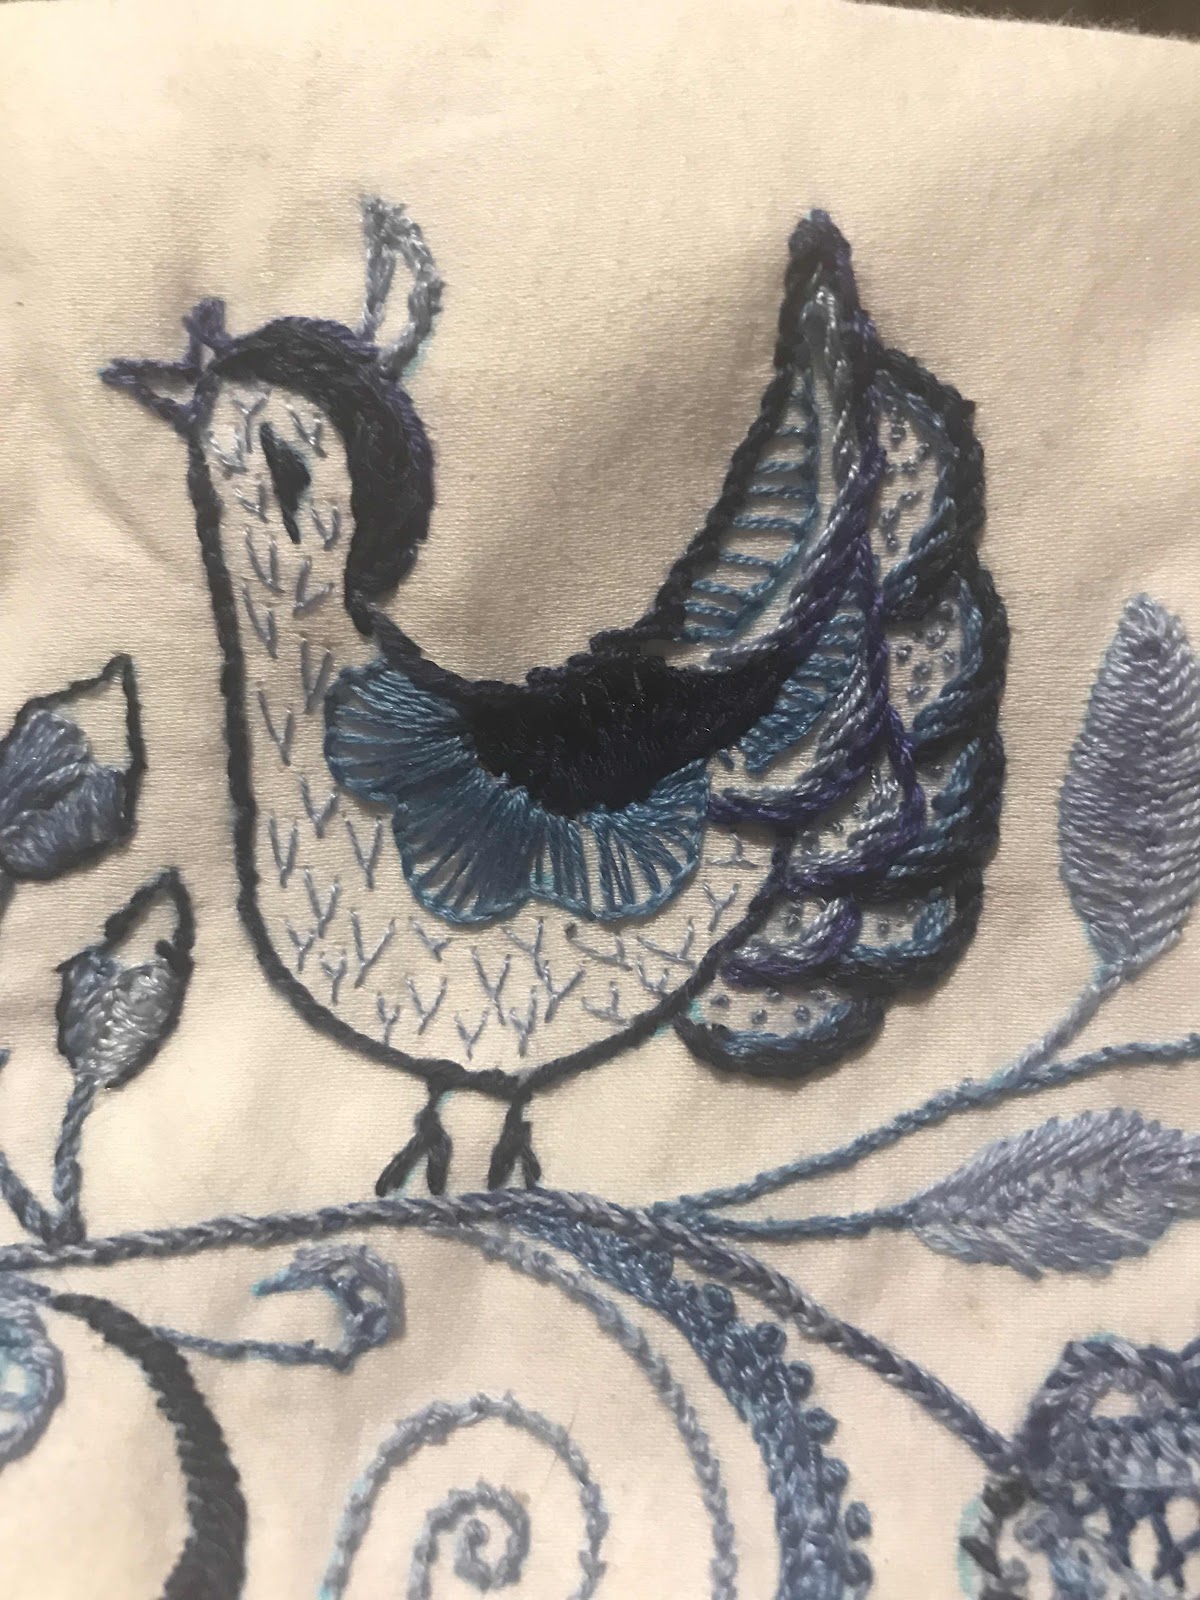
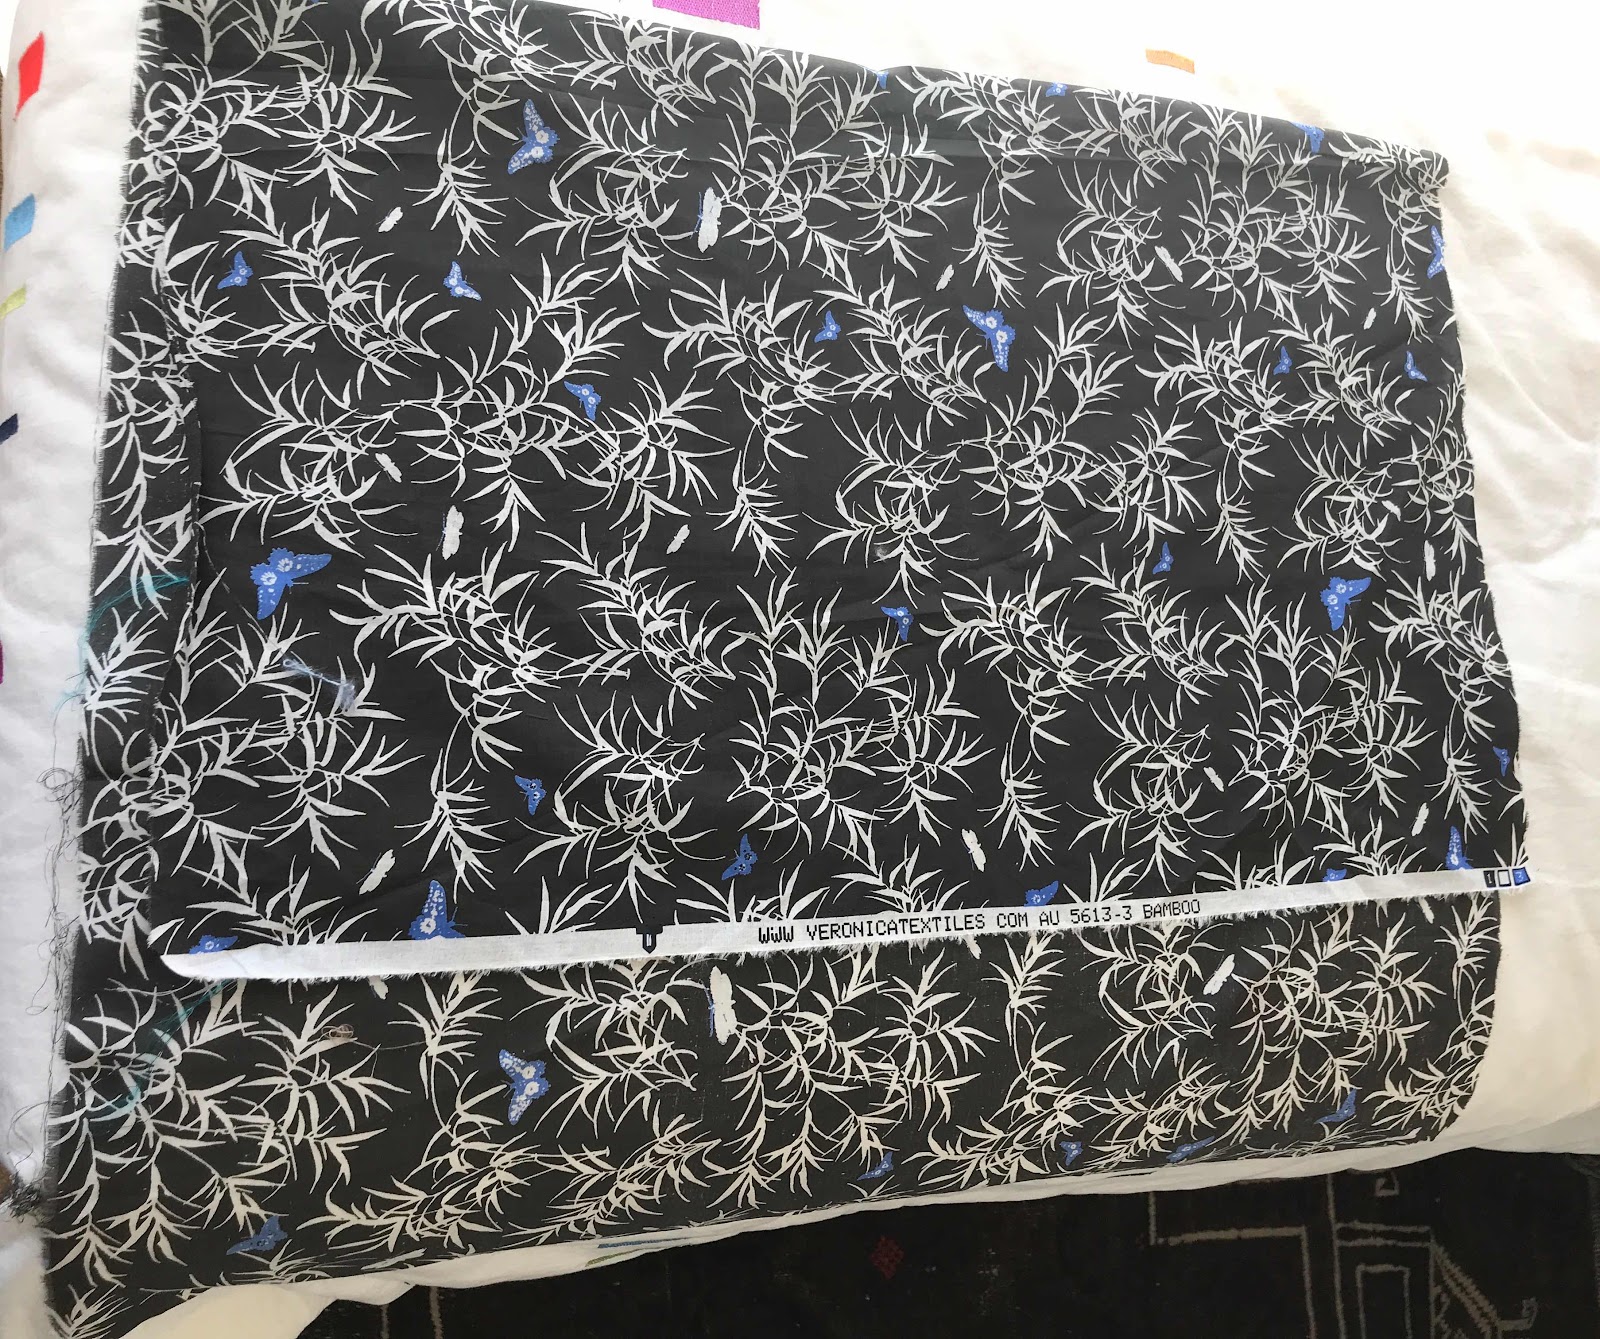
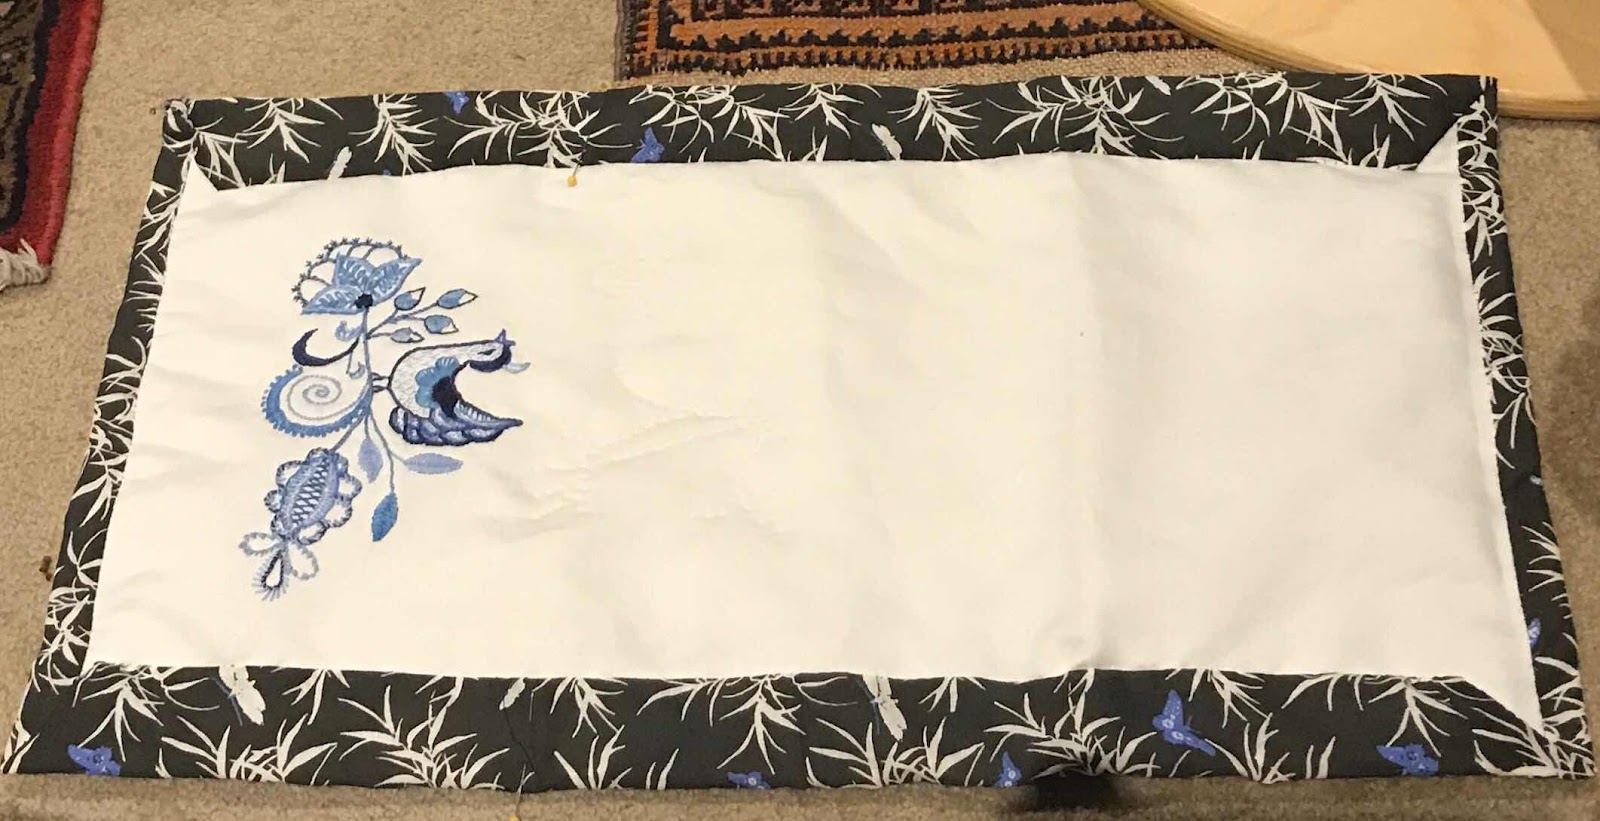
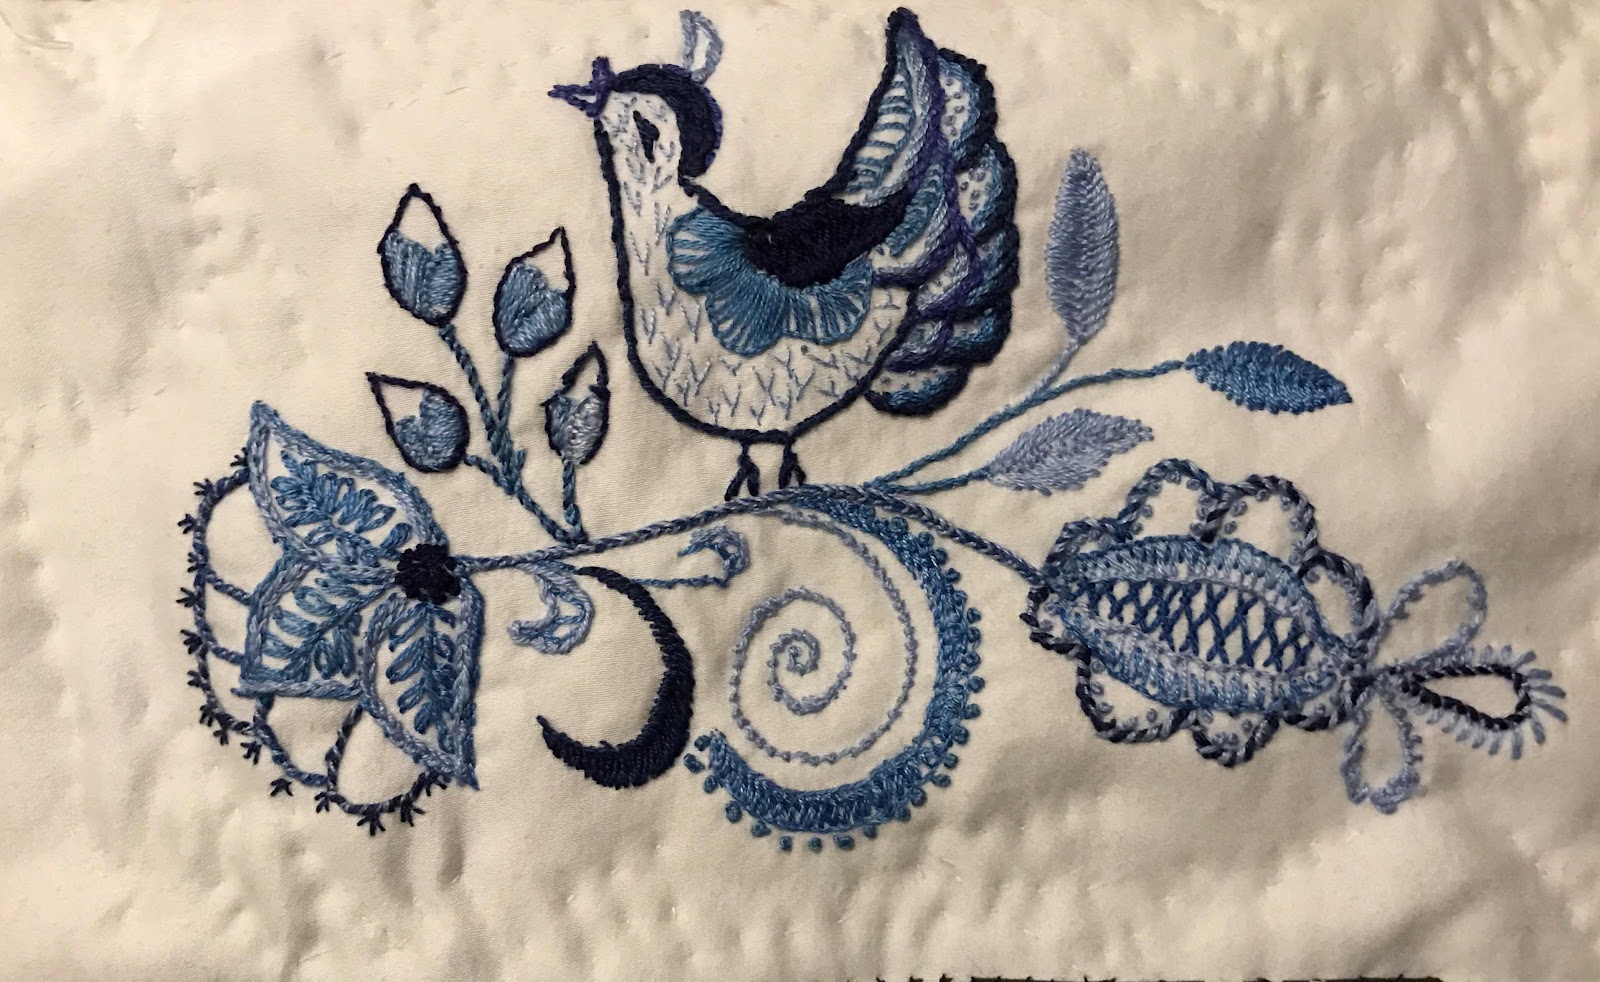
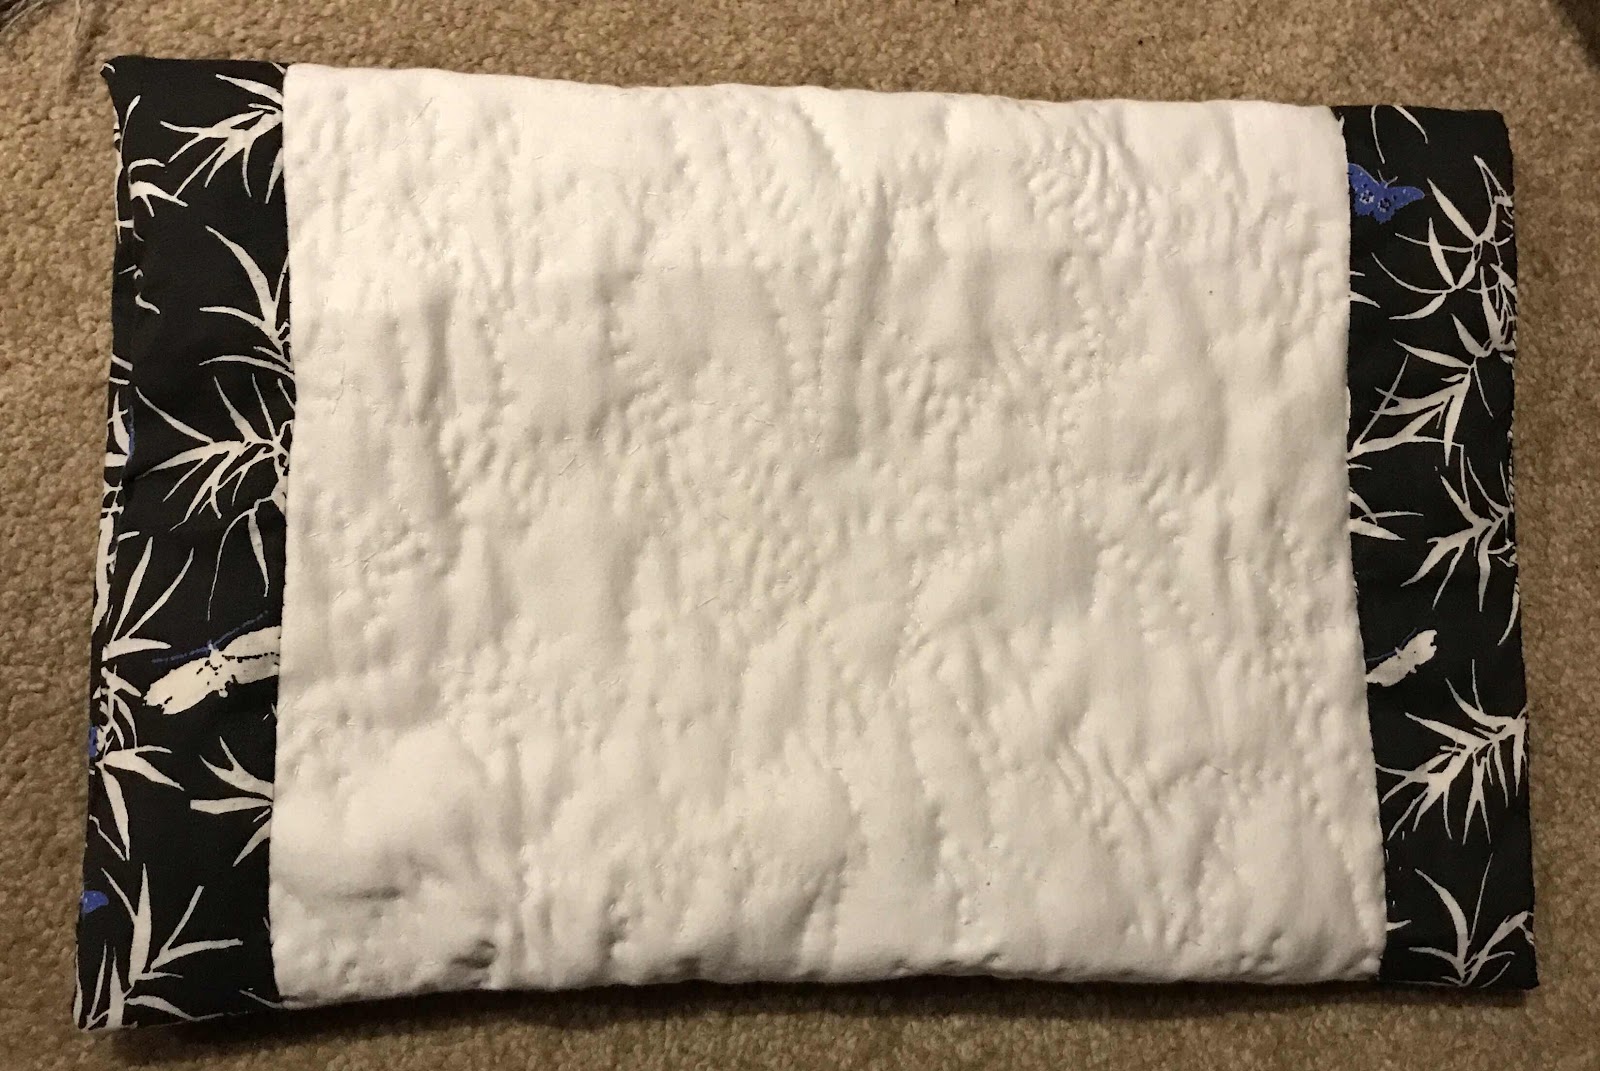
It is, however, the textiles that took my breath away.


There are many examples of historic and vintage weavings, many arriving with migrant families. The two on the left were made by Chrysoula's grandmother.

Many examples are behind glass - great for viewing but not so good for amateur photography.


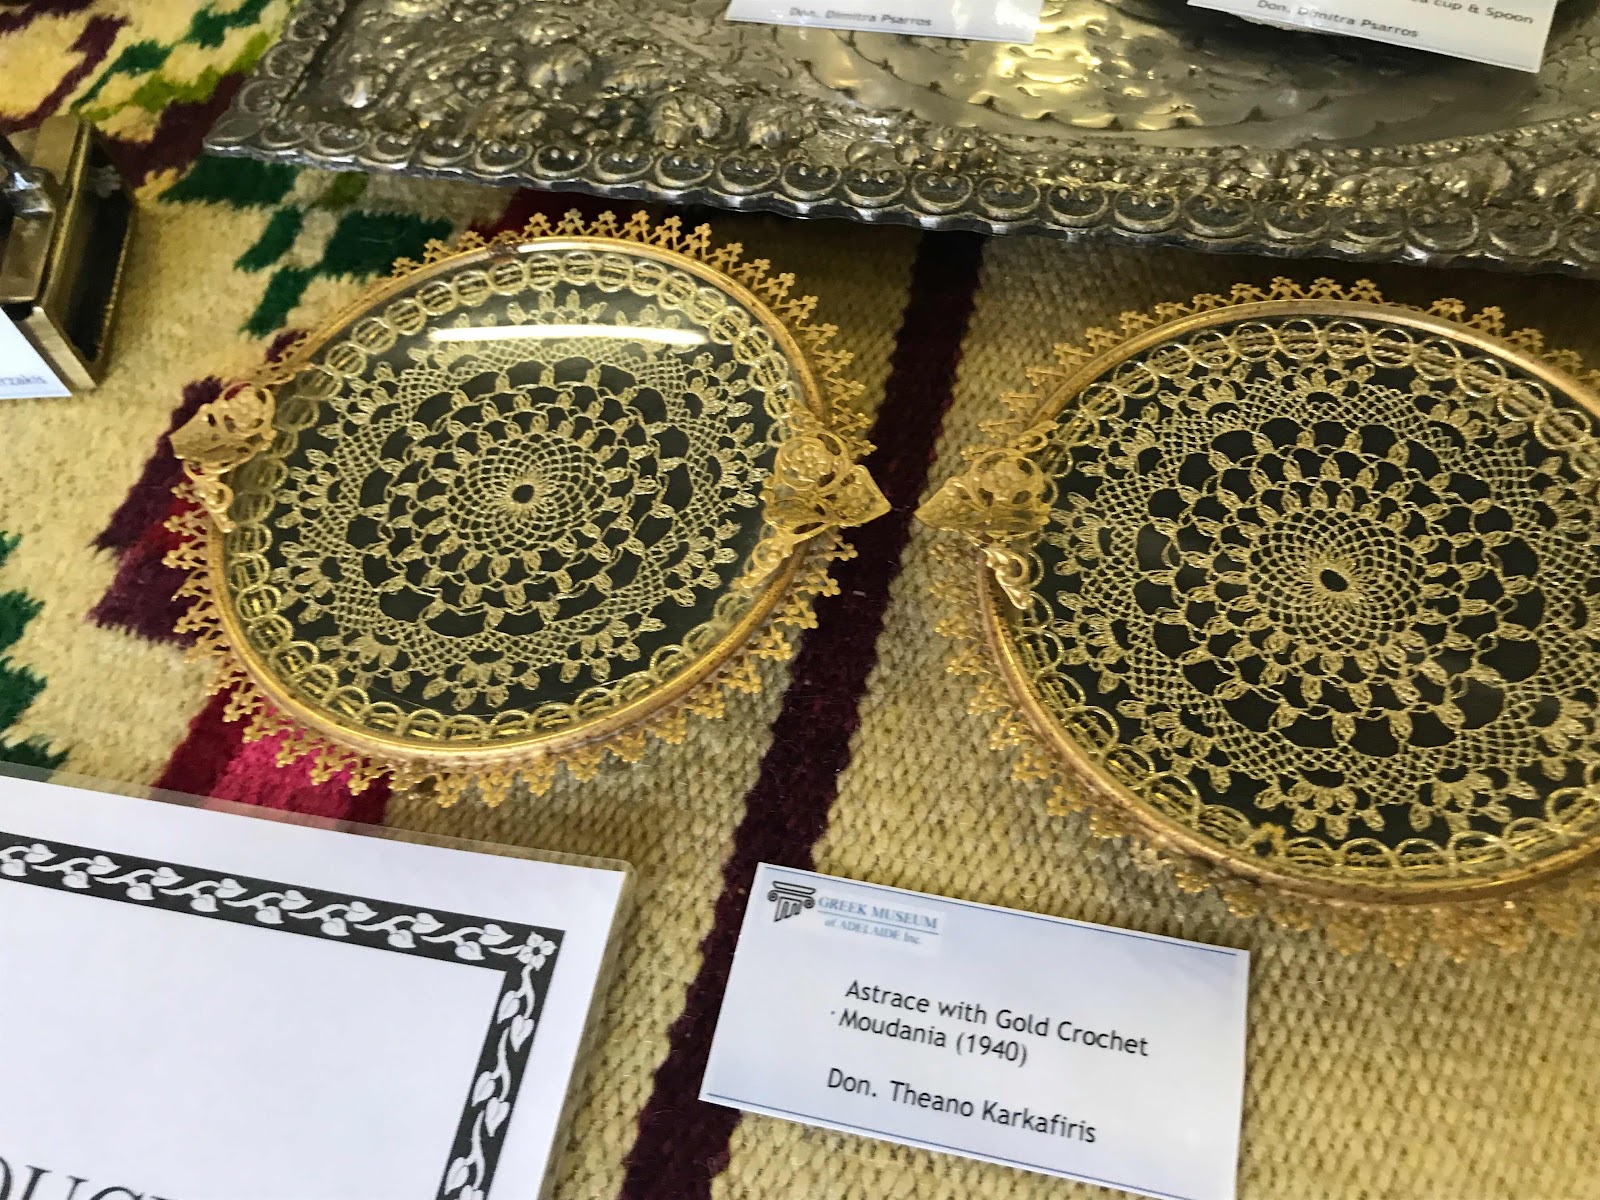
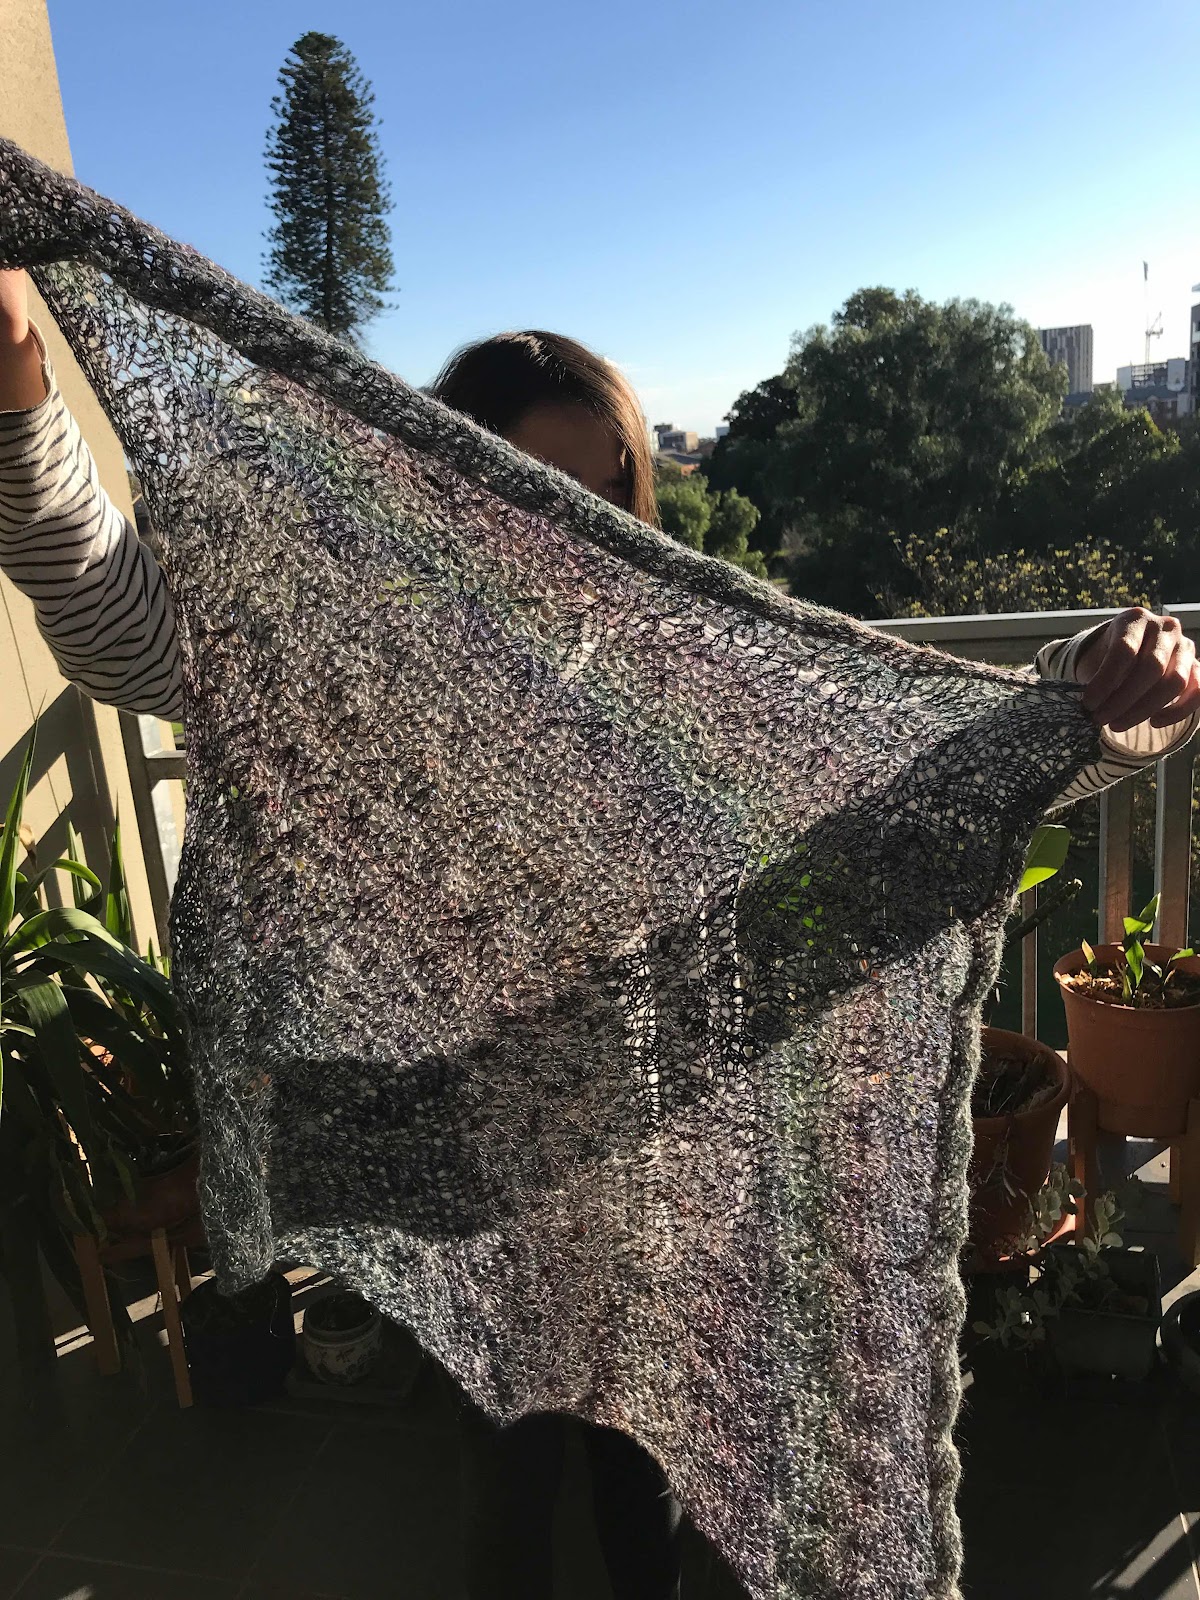
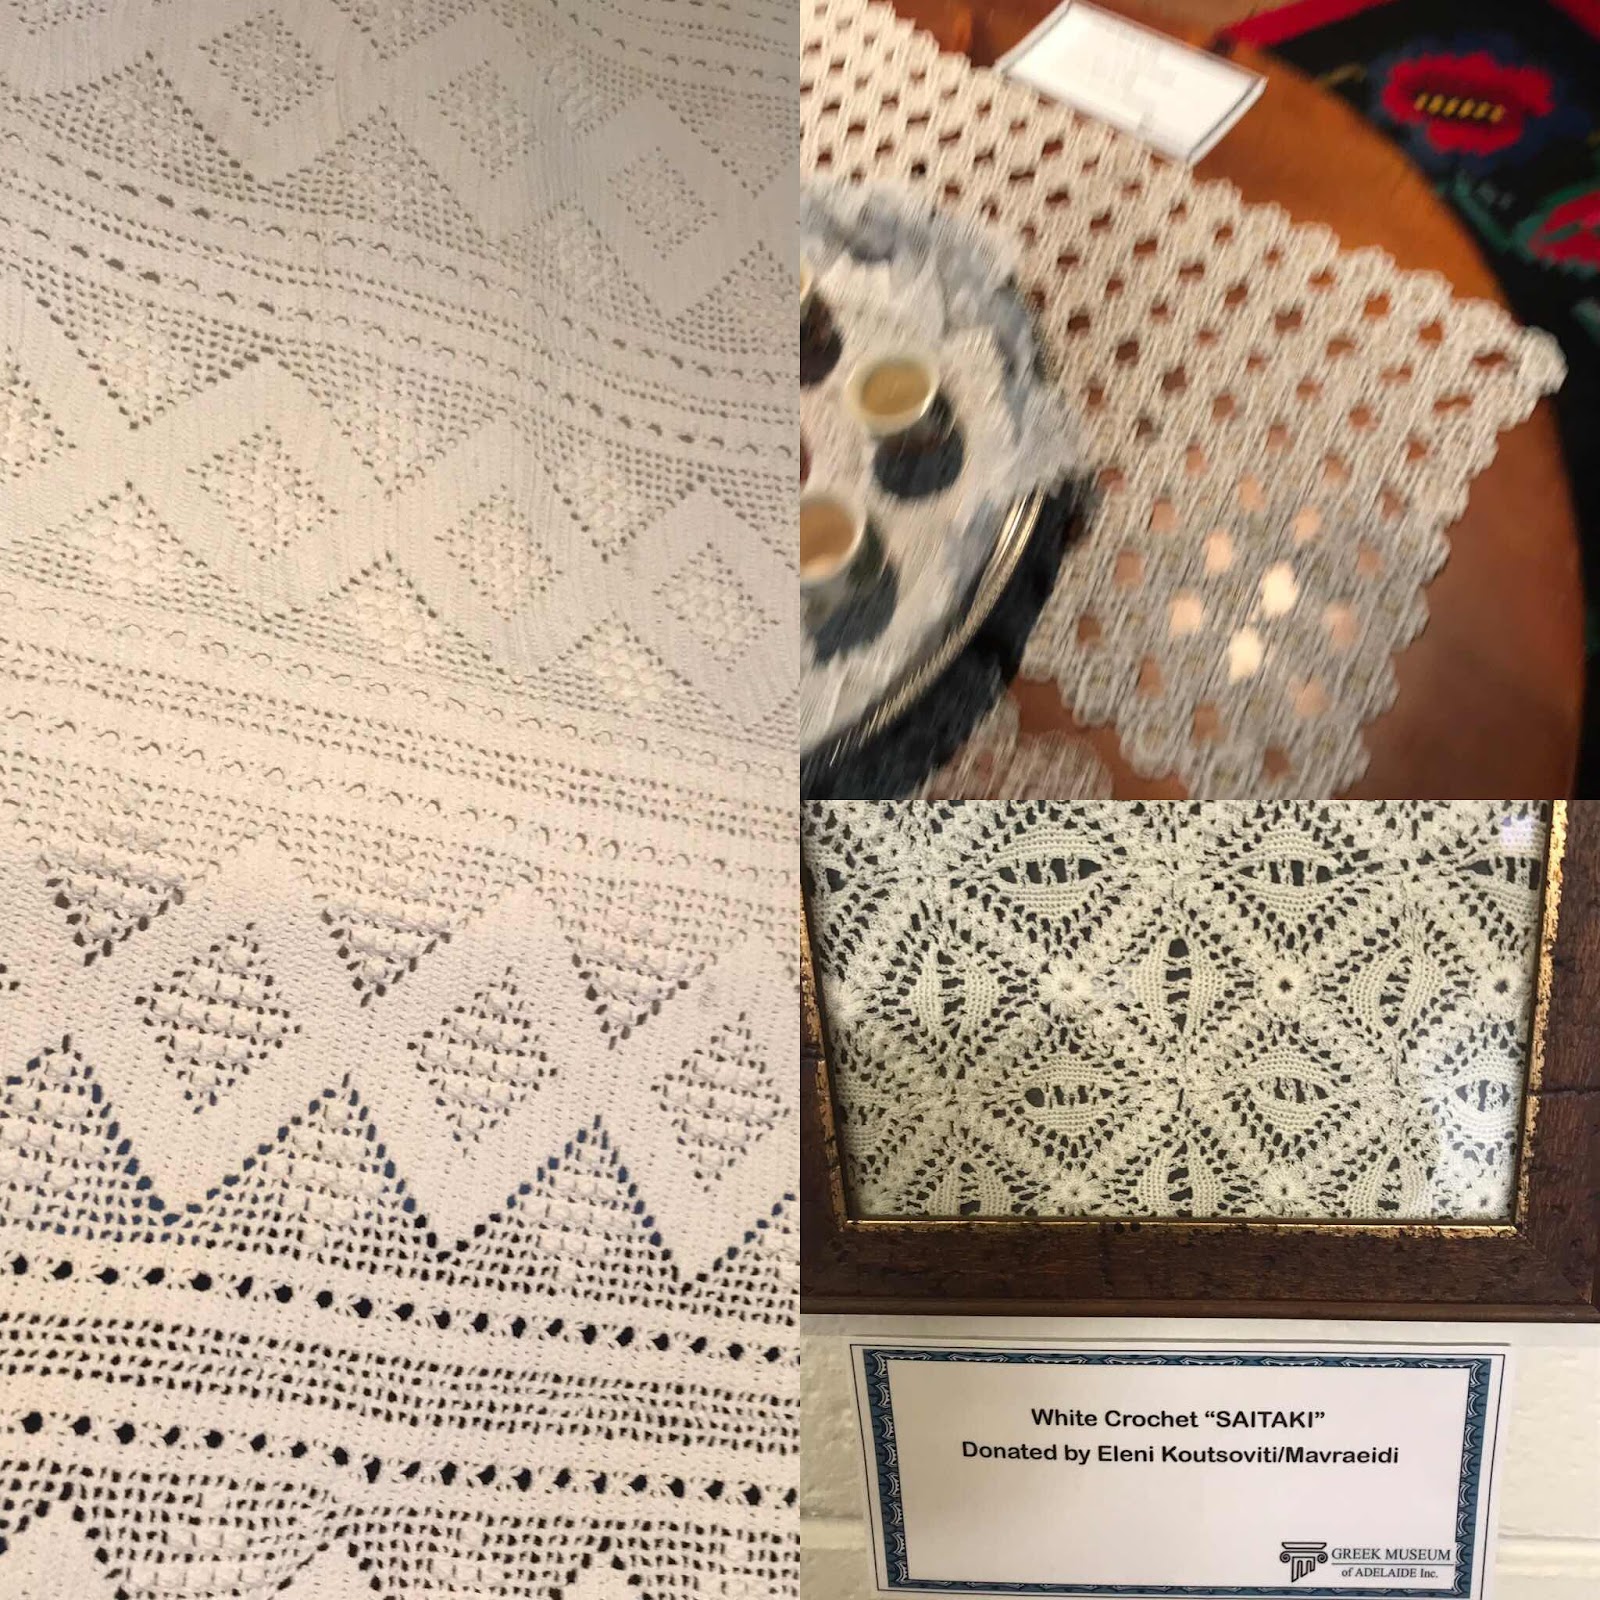
This is just a tiny sample of the crochet on display - from spider-web fineness to heavy bedspread quality.


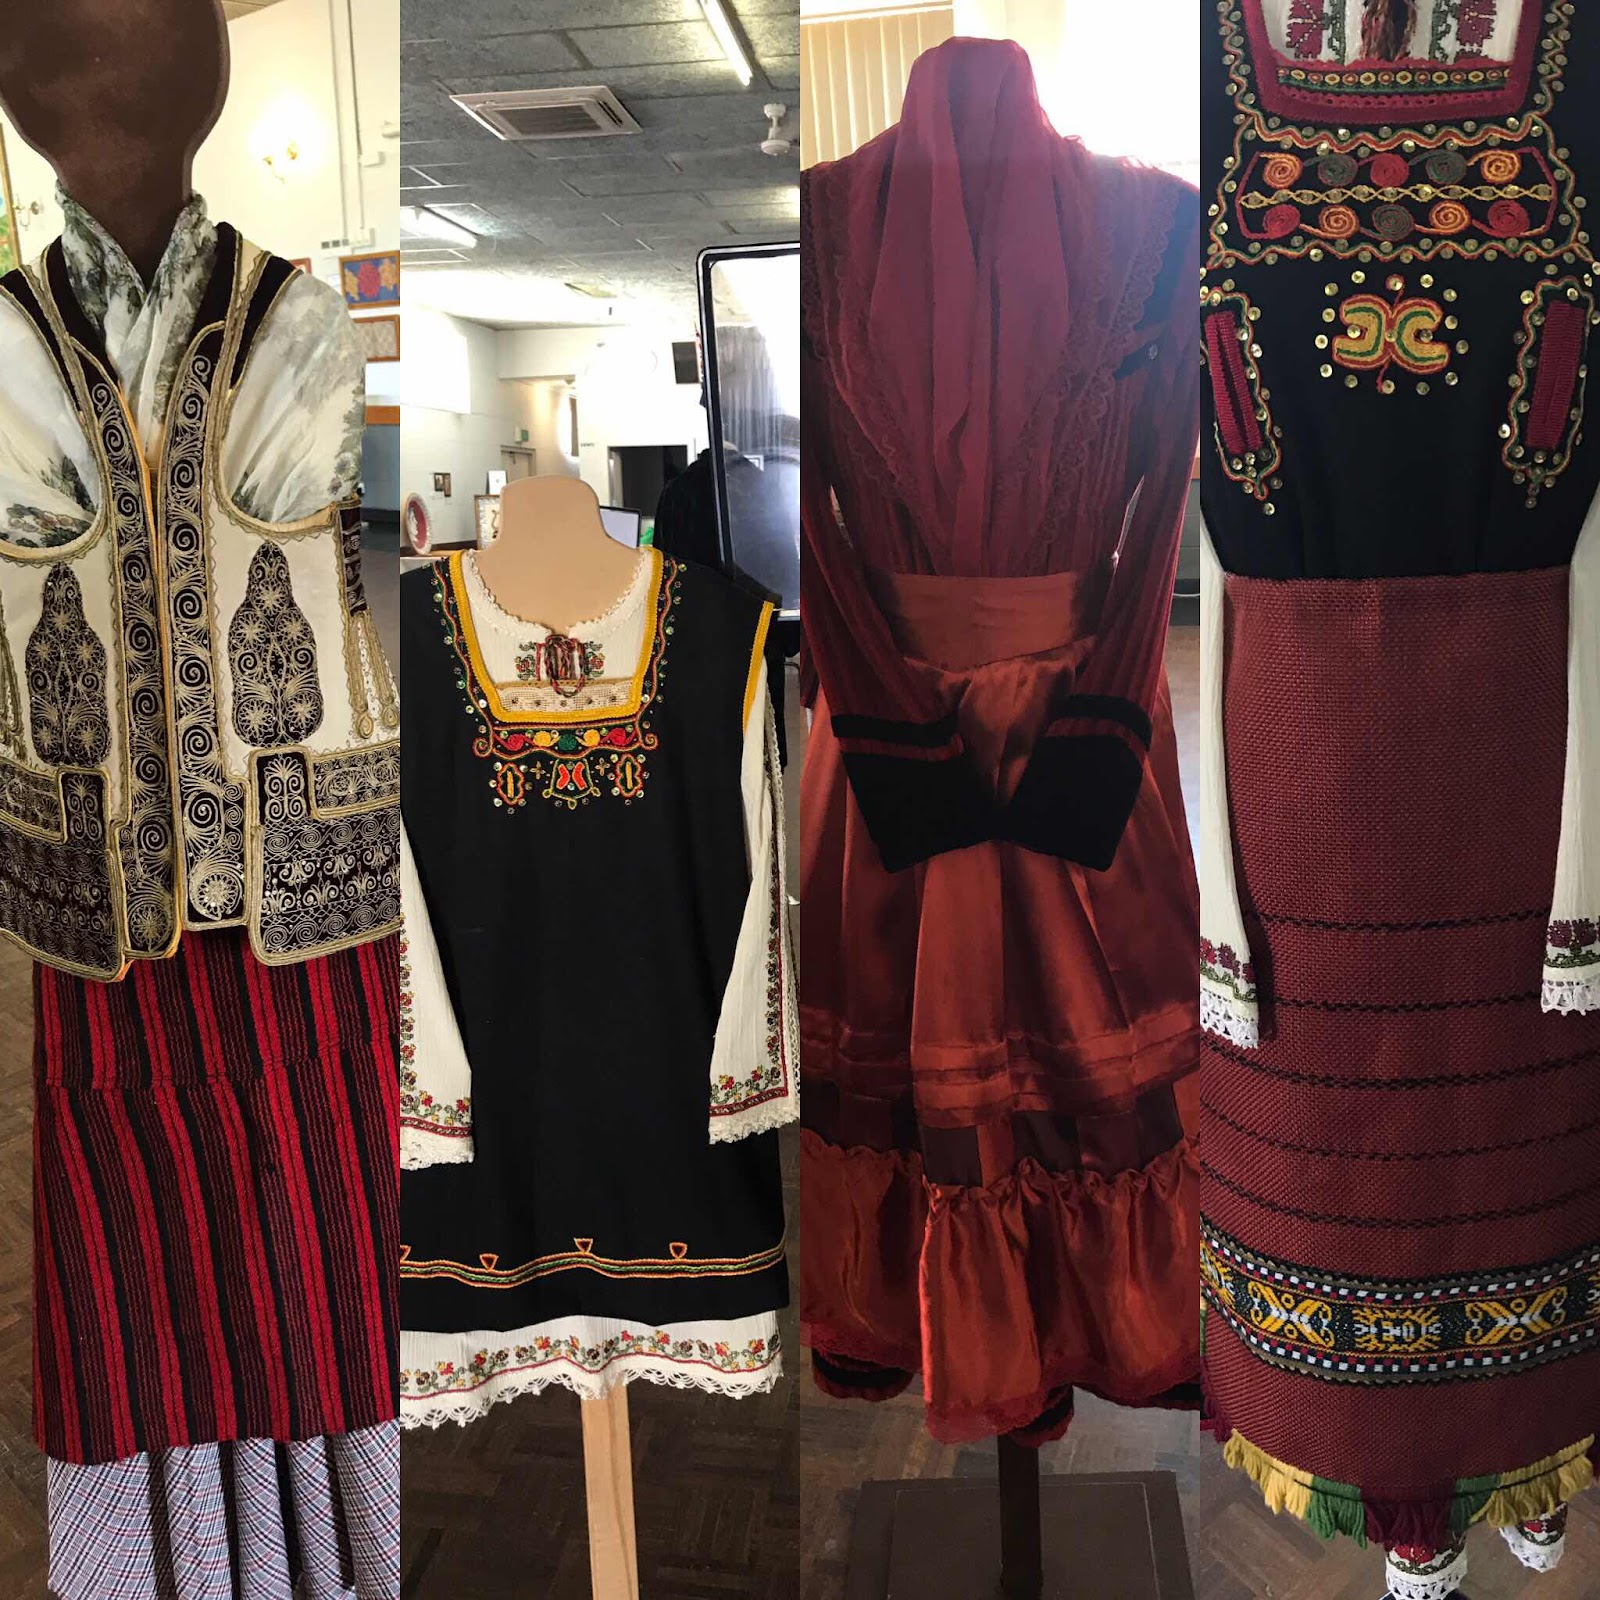
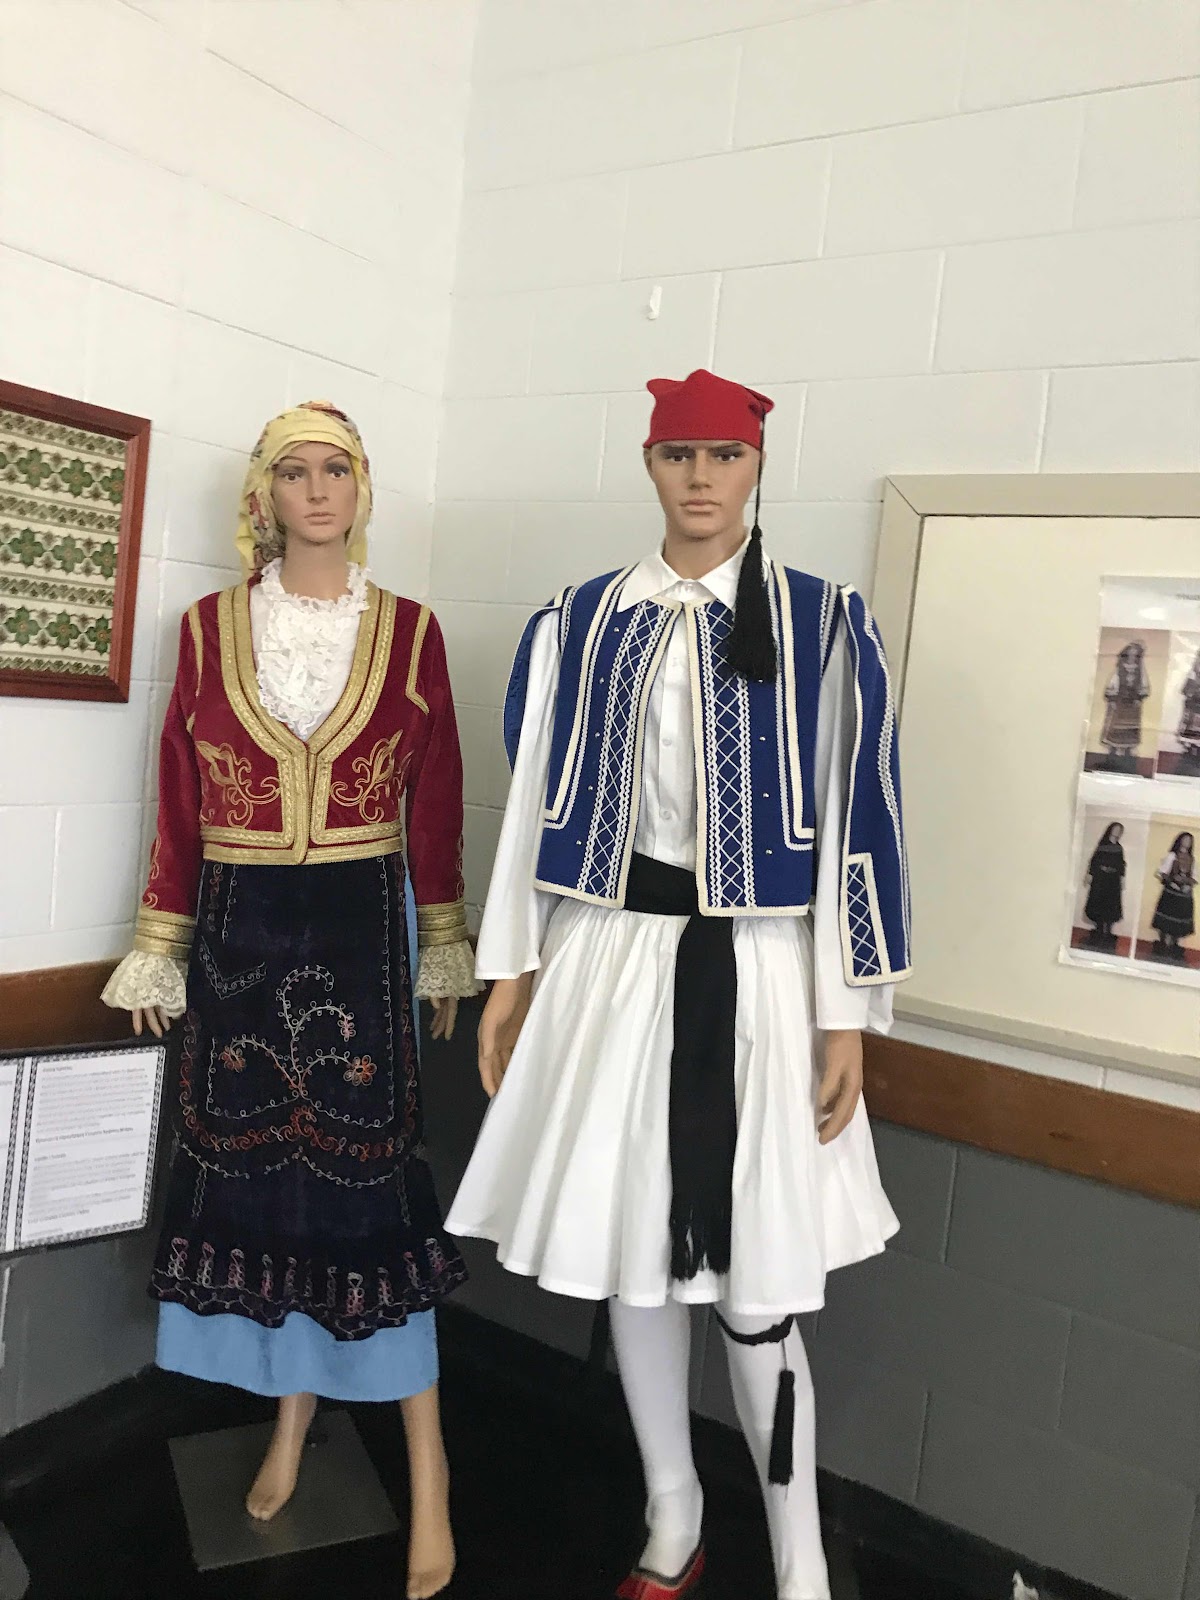
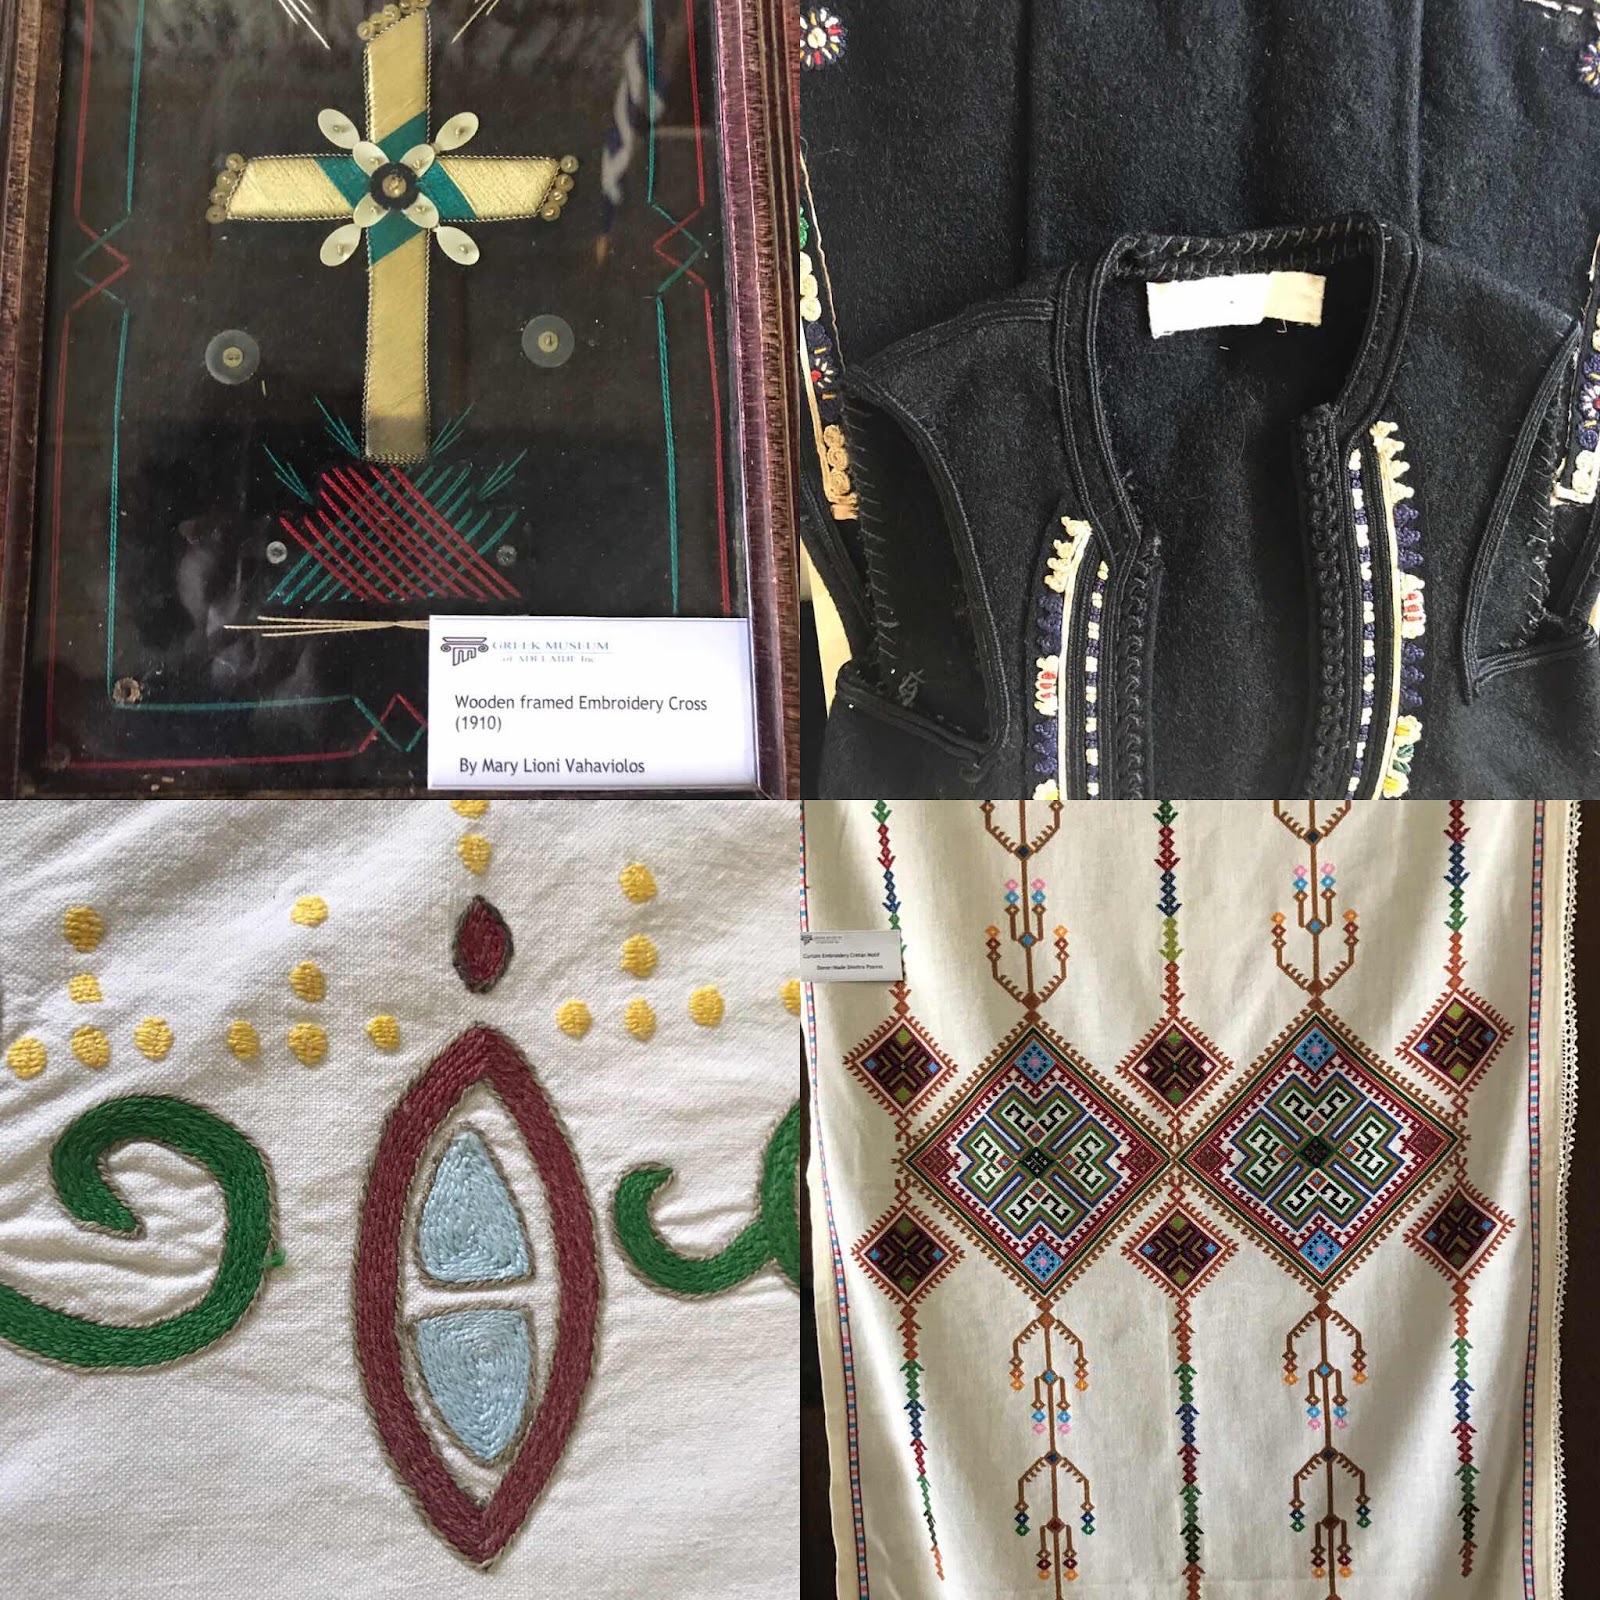
Similarly, the costumes vary from skin, to heavy wool to fine silk.


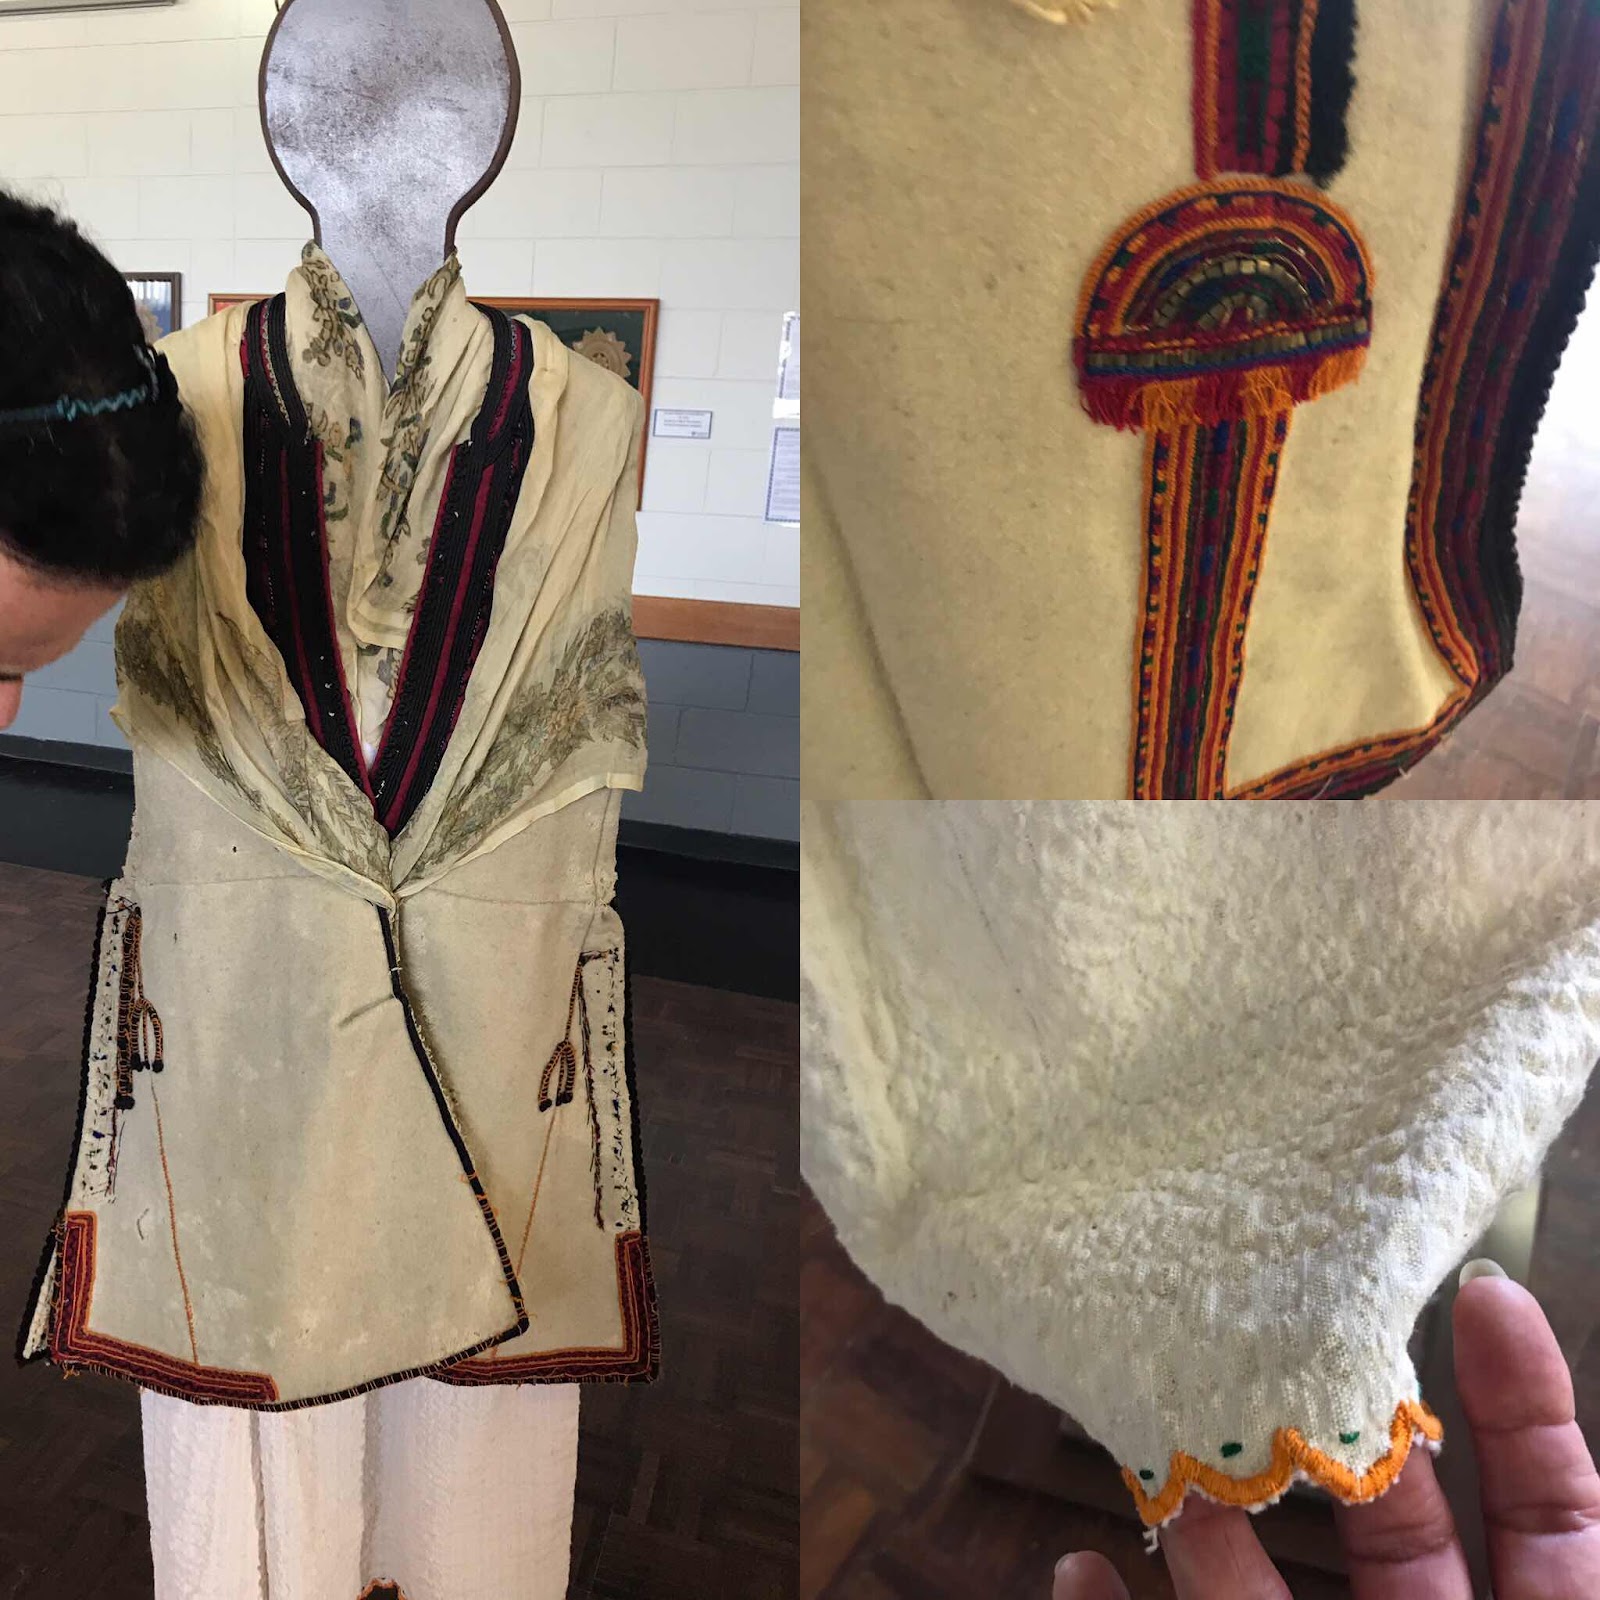
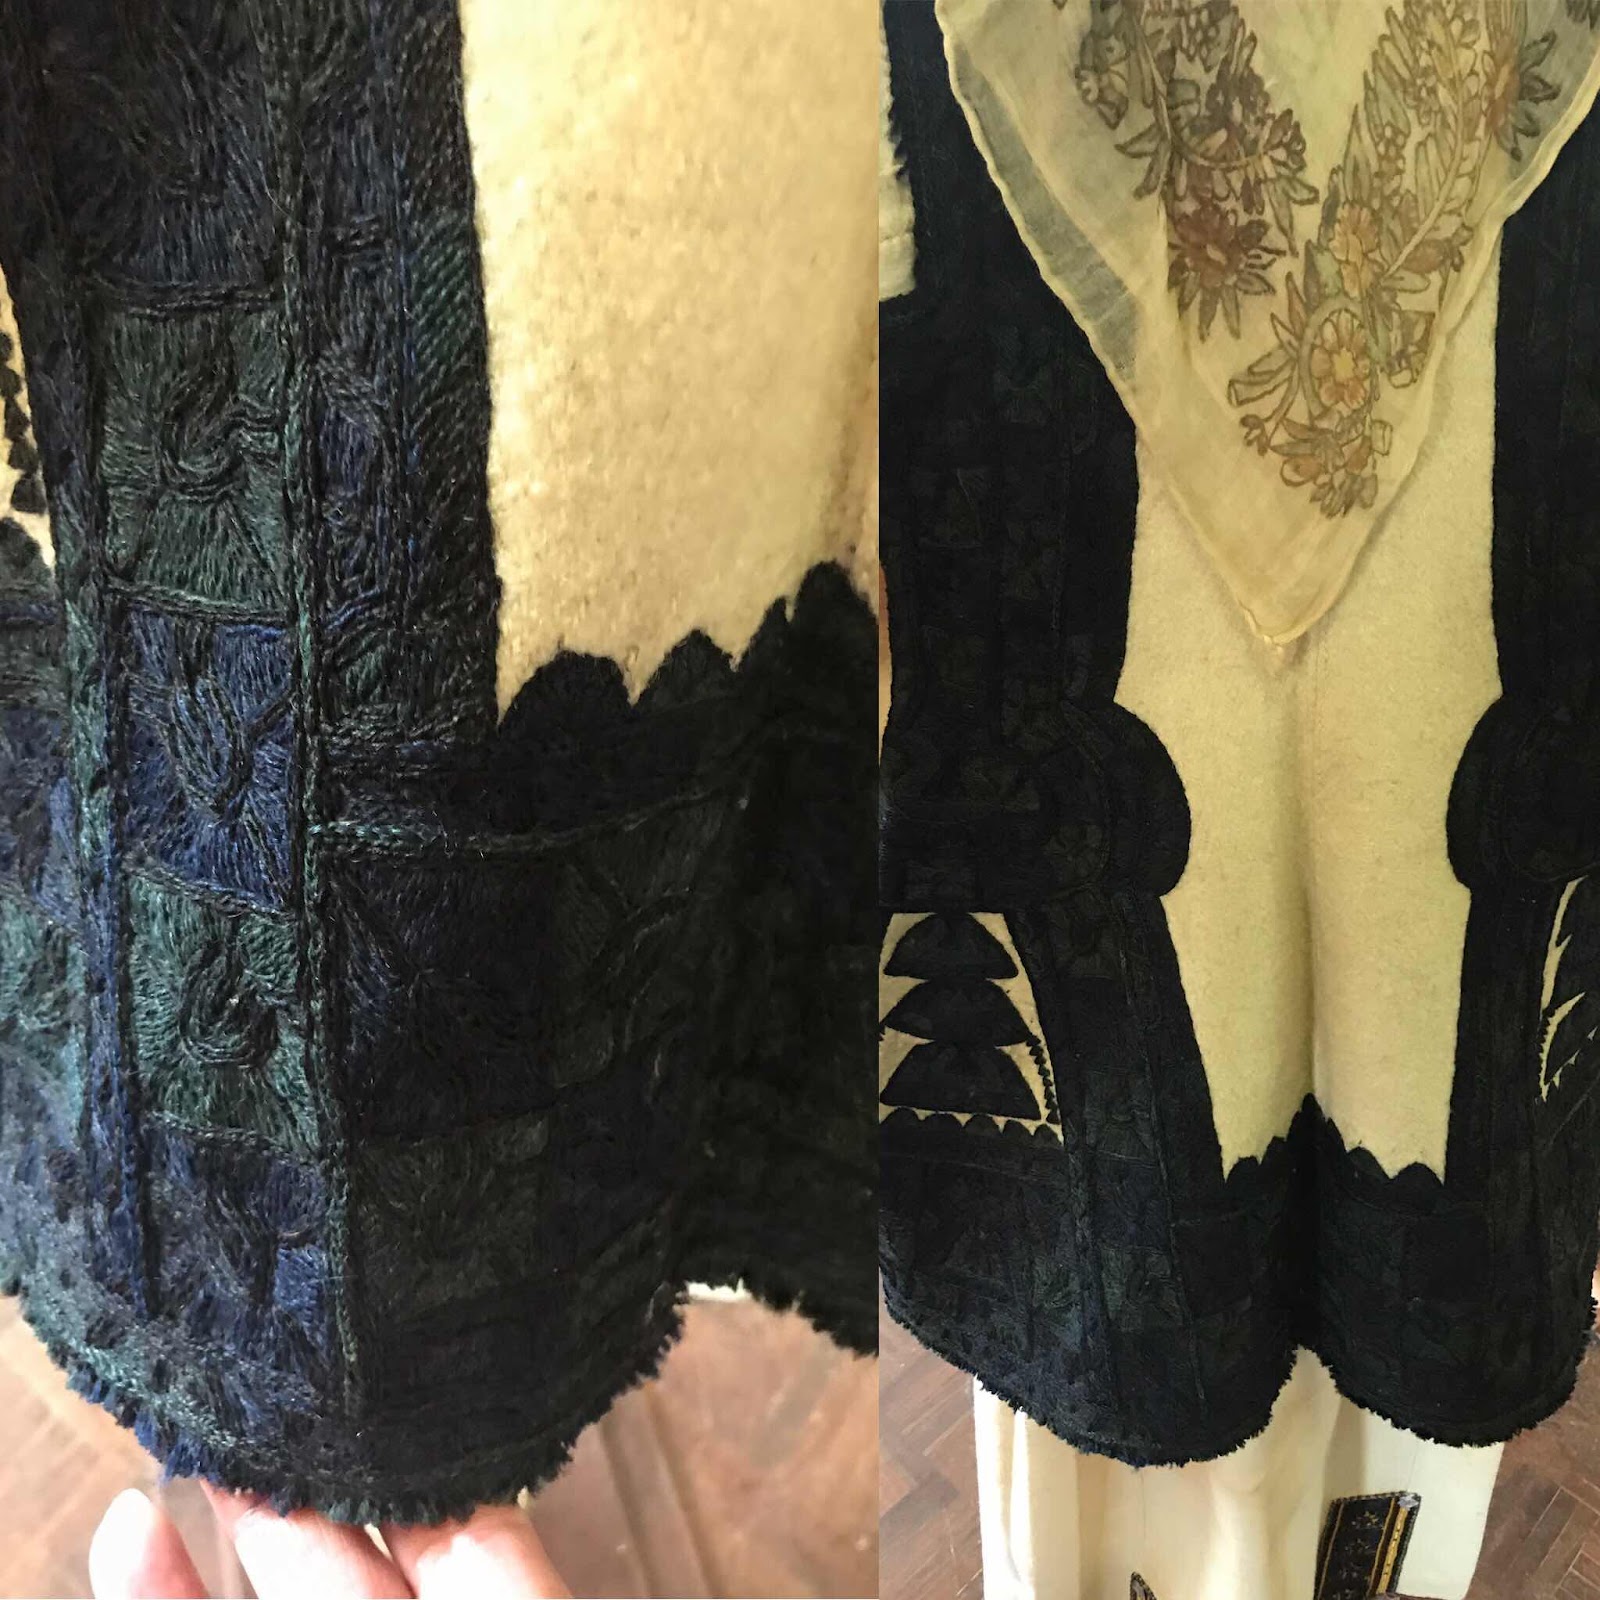
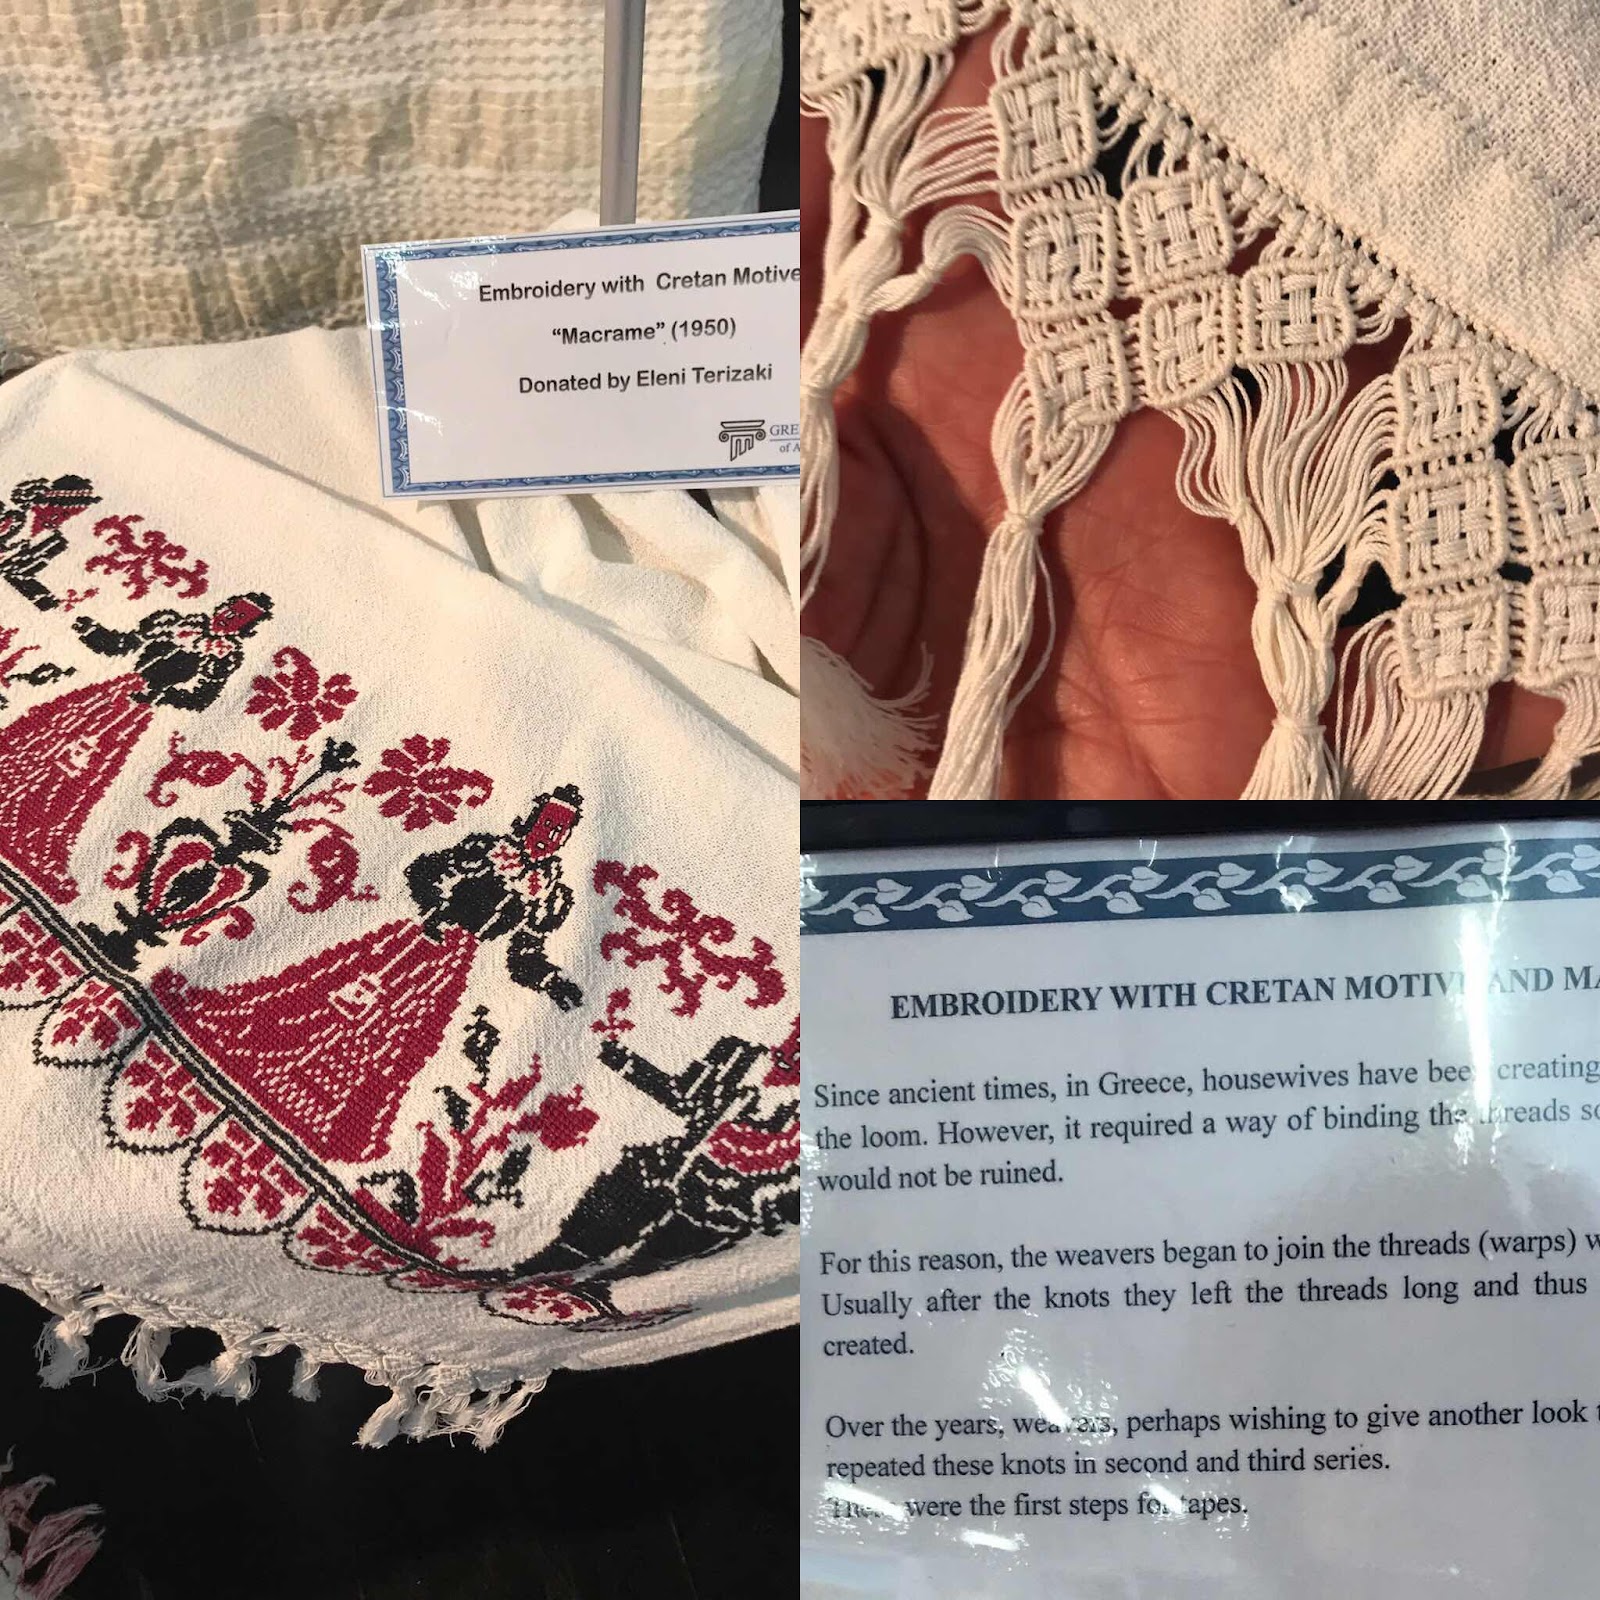
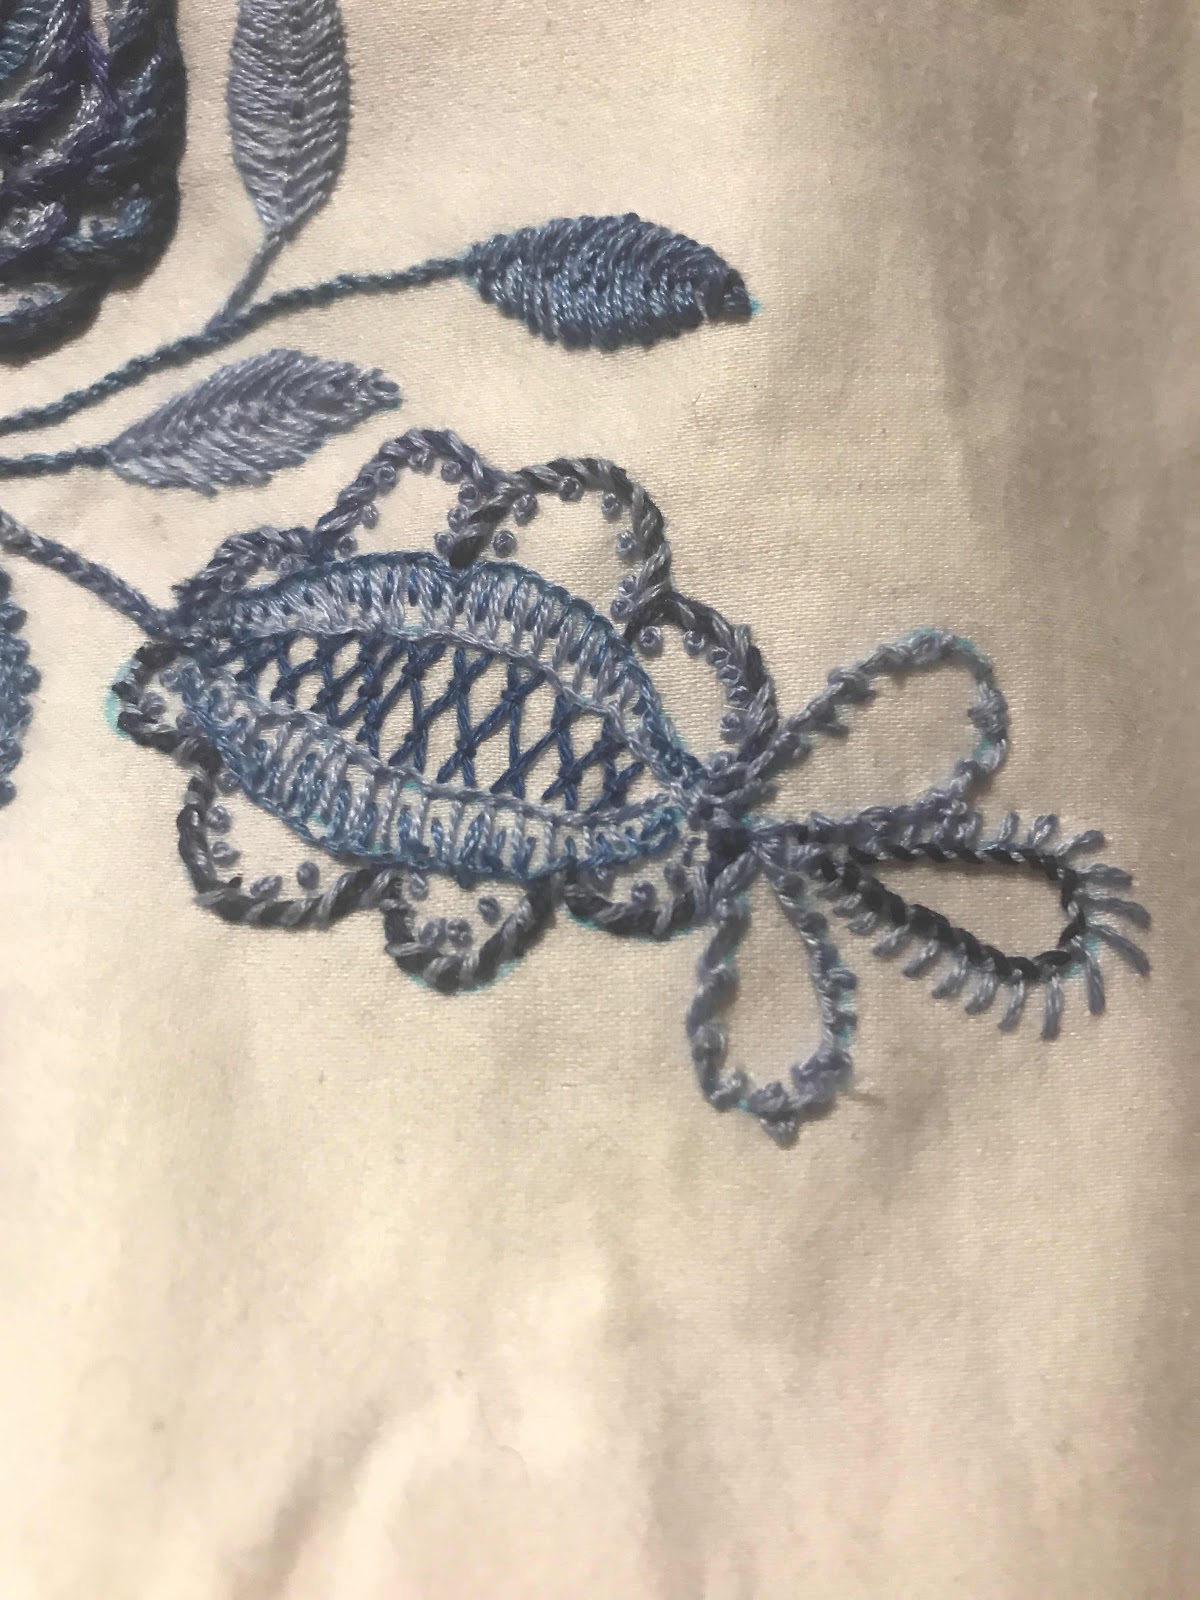
I loved the Cretan work, and the examples from Skyros.


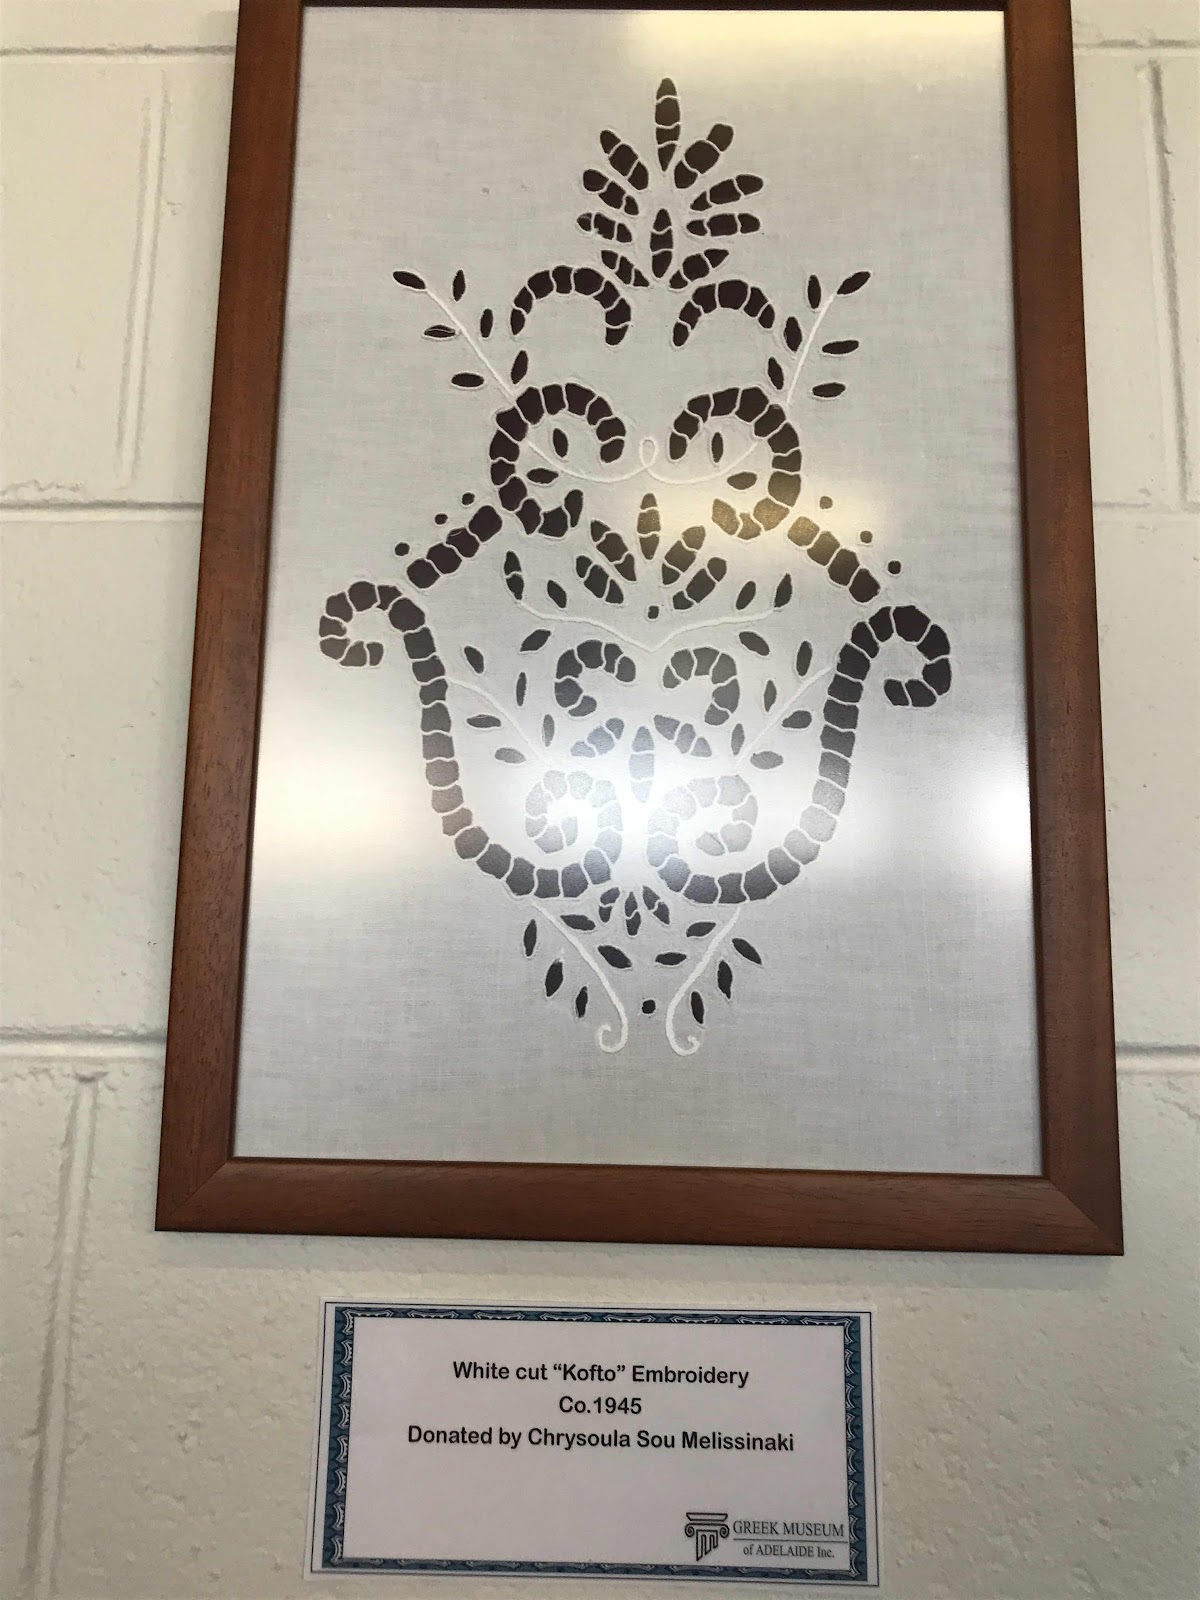
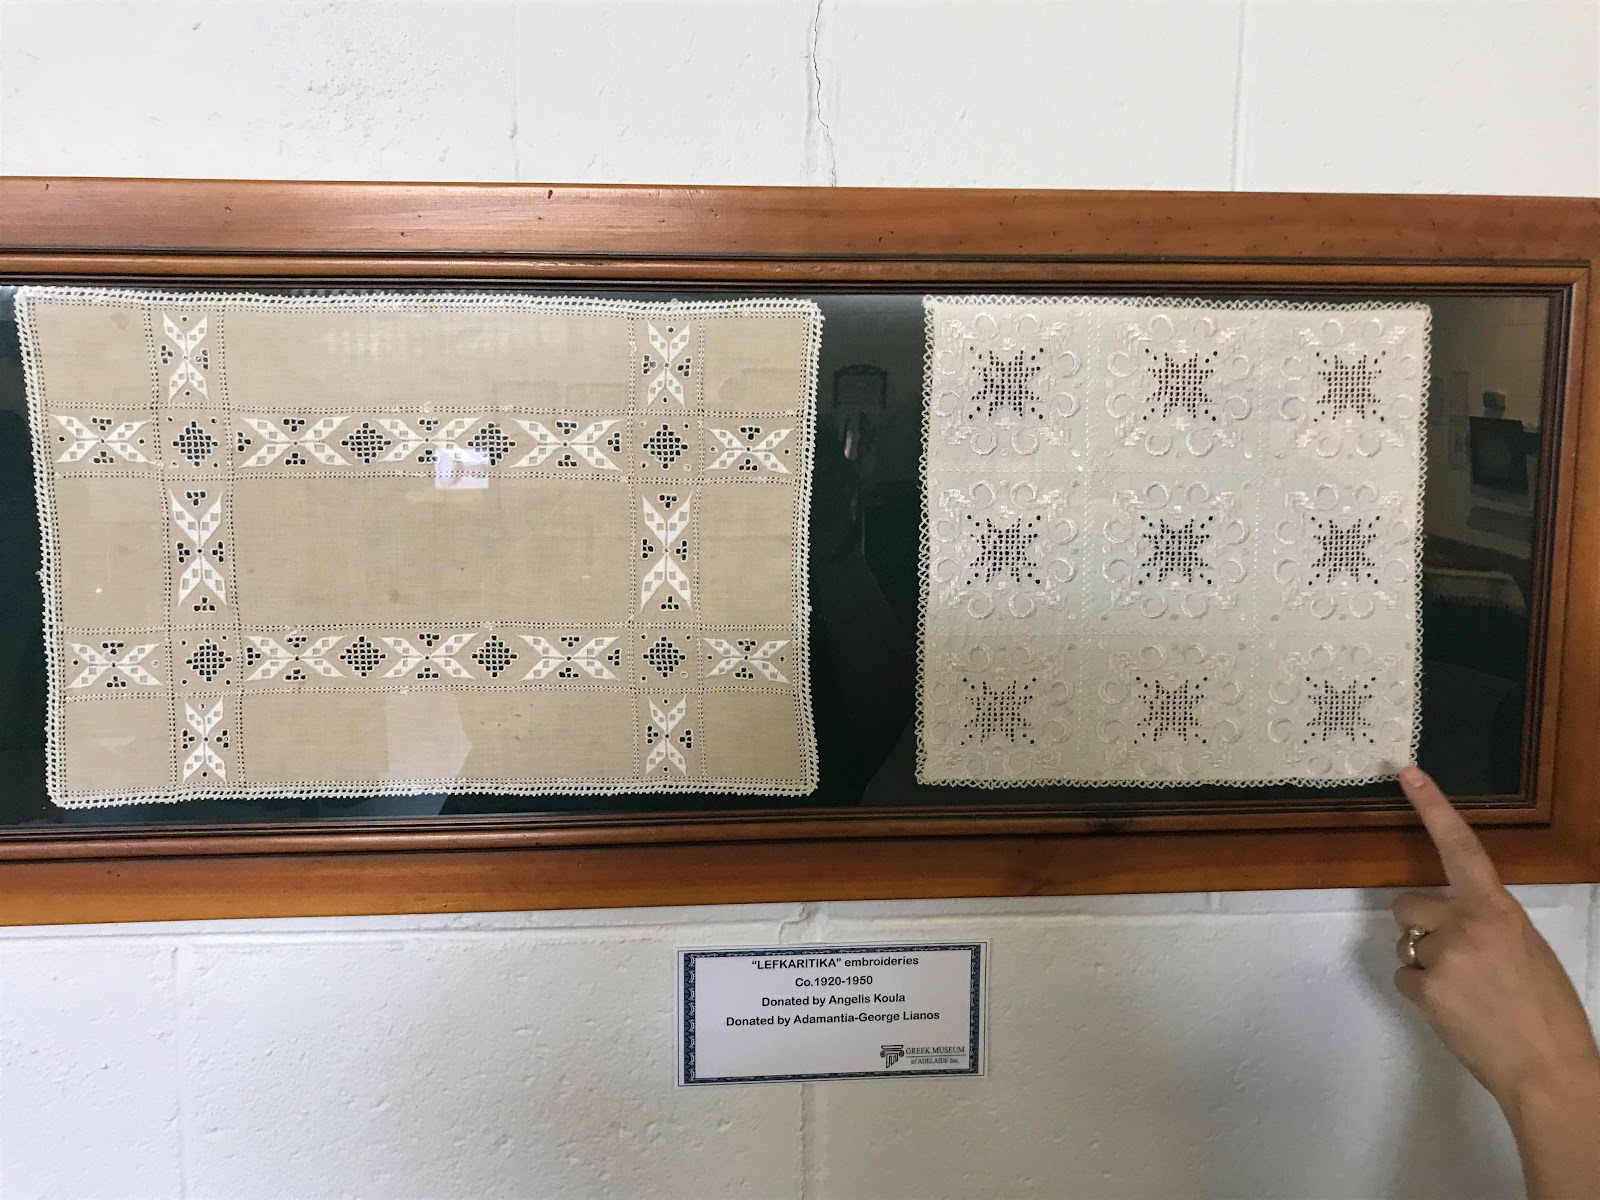
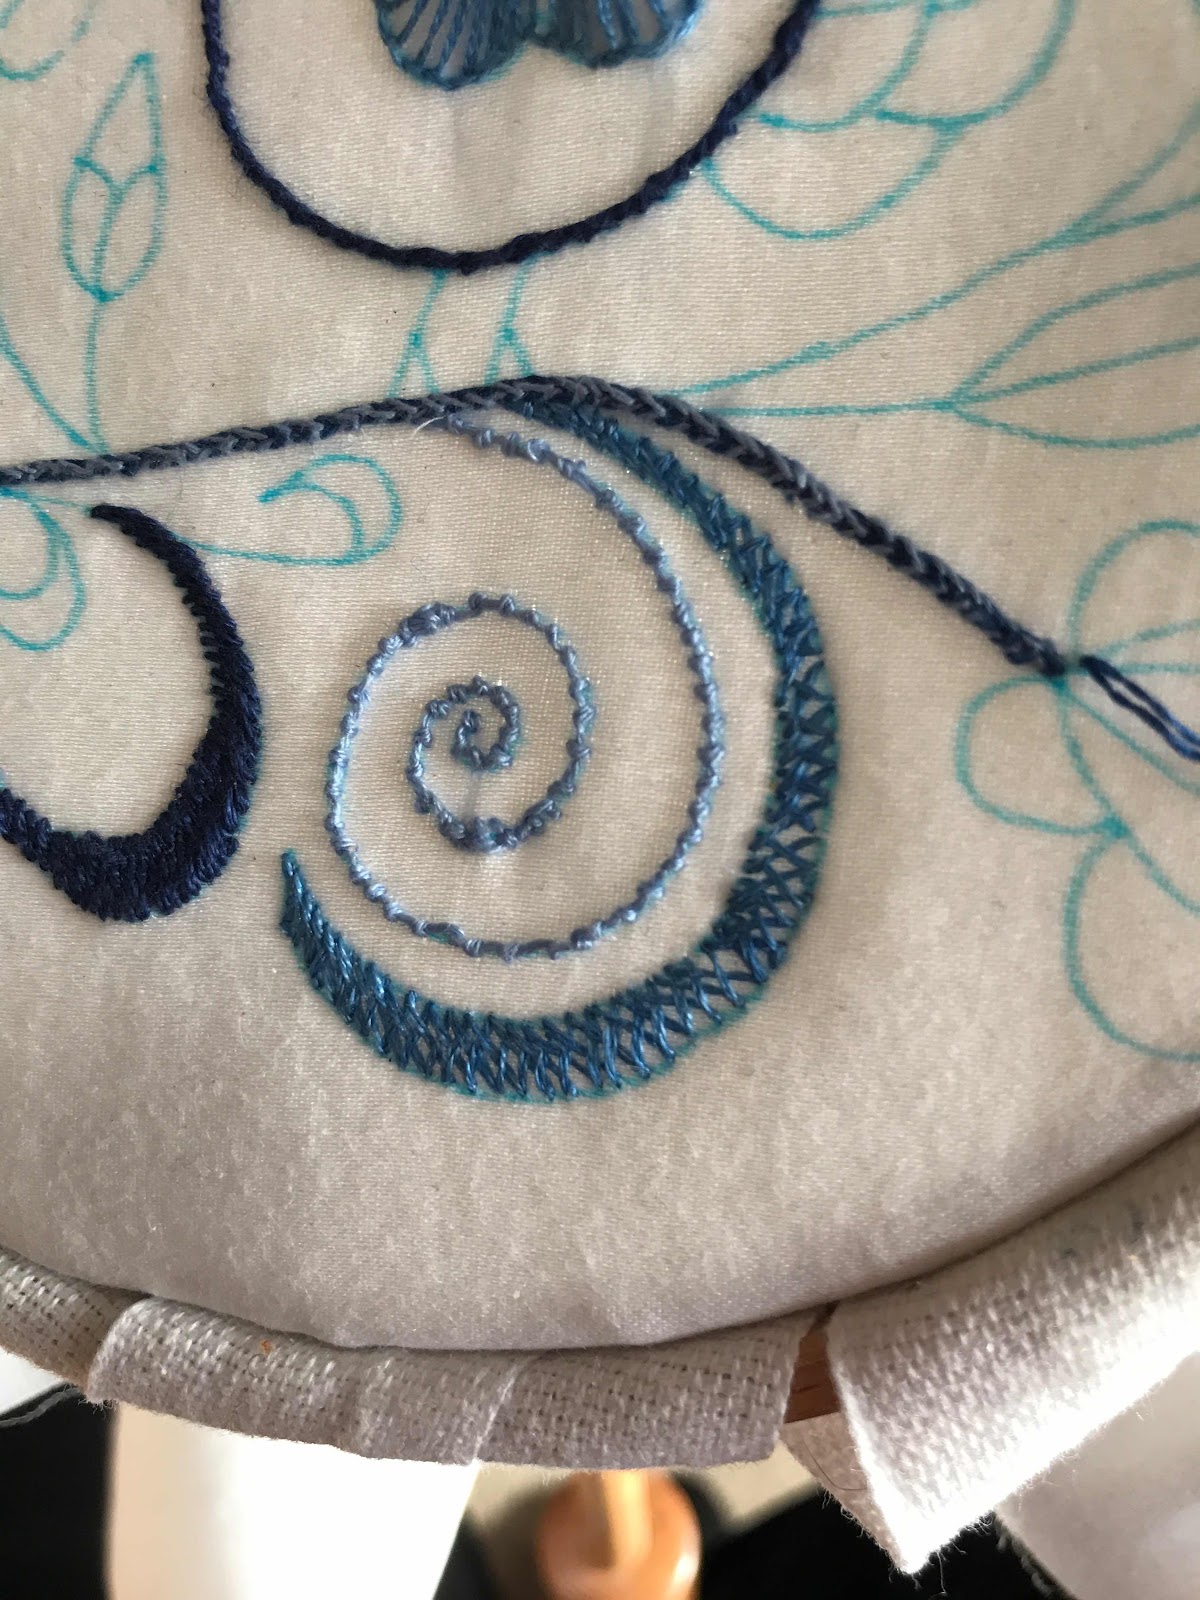
Some fine cutwork, and Lefkaritika, one (left) hand-stitched and one machine.
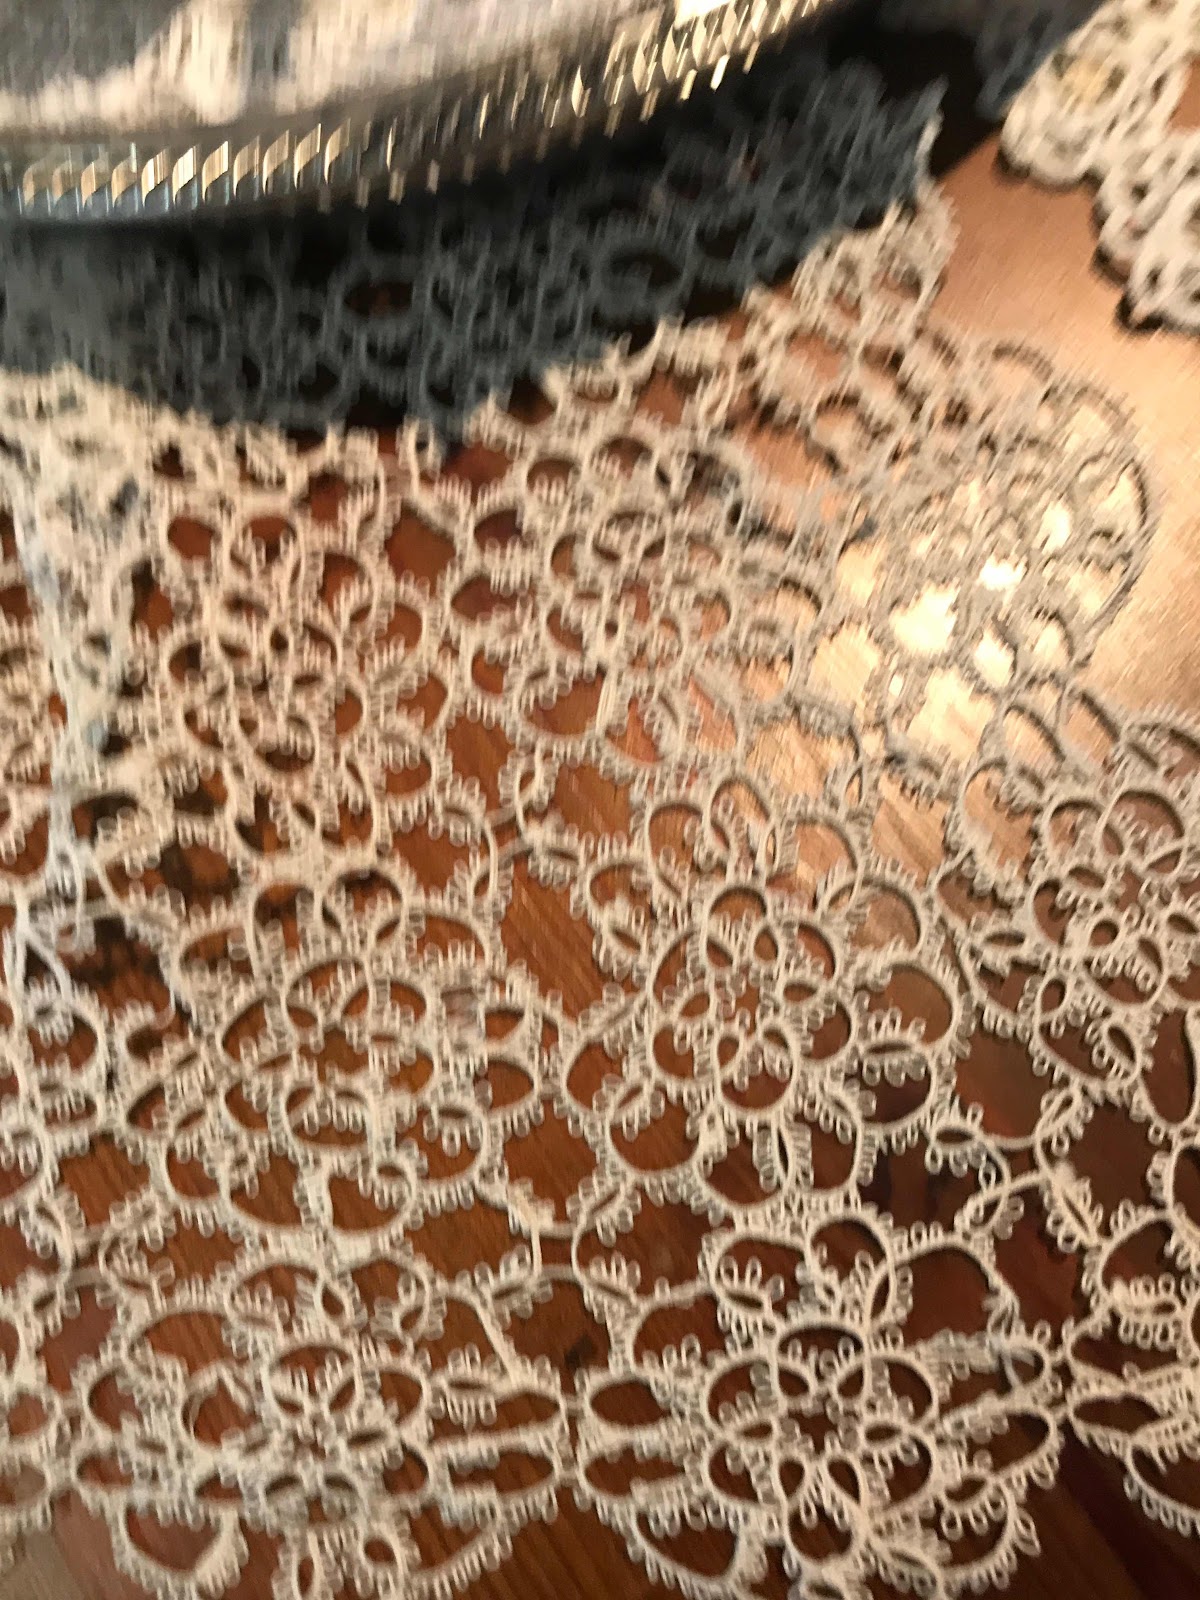


Tatting


I have tried to capture the scope and depth of this exhibition.  If you have a chance to see it, don't miss out. It is a remarkable achievement for a non-profit community group. It is a huge commitment of time, effort and shared knowledge. I do hope this develops into a full-fledged museum - and that other groups take inspiration from it. 


This is Adelaide's heritage.
Thank you Chrysoula and your Museum volunteers.

Saturday, December 28, 2019

Christmas sacks

I think it was my grandson's first Christmas - fourteen years ago, that my late husband and I bought two Santa Sacks in which to place our Christmas presents for our two grandchildren. We bought them at Cheap as Chips. They were made of red felt, with a Christmas motif on one side - and much bigger than the children. I appliqued the initial of their first name on the front.

When their twin sisters were born two years later, we managed to get two more, with different motifs, and again, attached an initial to the other side. We  used these every year for Christmas presents for the children, and I have continued this in the five Christmases since my husband died.

The sacks, however, are a bit ragged and tattered. Some years they have been opened in the garden, acquiring a few burrs and prickles. I have never dared to wash them, lest they felt further. They are also very large - more suited to bulky presents for young children than adolescents. The children, nevertheless, have become very attached to them.

A few days before Christmas I got the bright idea that perhaps I could make new replacement bags. I fell asleep planning a visit to Spotlight for some Christmas fabric. In the morning I decided I should first check my stash, since I was sure it contained at least one piece of Christmas fabric. Half an hour later, there was fabric all over the floor and I was sorting it into piles so I would be better able to use all my discoveries.


I found one piece of designated Christmas fabric and several pieces that would, as my mother used to say, pass with a push.

Abandoning the plan to shop for fabric (or anything else, like food) I cut out fabric, stitched  bags, found ribbon, variety of matching buttons, bells and toggles.

By 1.30pm when I needed to be at a friend's place for an afternoon of stitching, I set off with four bags, a safety pin, needle, thread and an assortment of ribbons and fixings. As my friend cut out squares for her next quilt, I finished off my sacks.


They are smaller than the original Santa Sacks, but still fairly large. I needed to convince the recipients that change was a good thing. The older two were willing to give it a try. The younger two were reluctant. I didn't want to push it, so suggested I place the new sacks inside the old ones.

So on Christmas Day I set off (no, not to St. Ives) with two felt Santa Sacks. Each sack contained two ( no, not cats) new sacks and a drawstring bag for each of the adults. When I arrived at my daughter's place for lunch, I unpacked the older children's new sacks and the adults' bags, leaving the younger children's new bags inside the old Santa Sacks. Everyone was happy.

Everything in the sacks (or bags) was of course, in its own drawstring bag, mostly from the supply I made last year - no wrapping paper for me! These bags get recycled many times, which pleases me no end.
I haven't asked whether the younger children are happy to transition next year. Maybe I will keep a couple of the old felt sacks to transport the new sacks and their cargo of bags - a bit like a turducken. Maybe a Sansackag.

Saturday, December 14, 2019

Silvery Grey Shawl


This is the most ambitious of the knitting projects I have worked on over the last few months. Amongst the wool my brother gave me from his auction adventures, was several balls of fine Rowan mohair. I paired this with the slightly metallic silvery Rico Creative Reflection, from which I had knitted a triangular shawl.

I was inspired by a chevron shawl on display at The Yarn Trader at Port Adelaide, knitted in mohair and four ply. I bought the pattern with a view to trying these two textures.


It proved a brilliant match. I'm so glad I saw the sample at The Yarn Trader, because I would never have thought of trying it otherwise.

The pattern is only one row (with a purl return). It is a long row to remember, but once you have it, it's  straightforward.  It did, however, take quite a while. The shawl is two metres long.


I really enjoyed knitting it. It looks and feels beautiful as it grows. While the pattern specifies the variations in the width of stripes, there is endless scope to improvise.

Blocking was a challenge, but I used a beach towel on the floor with success.

Nor was it easy to photograph the finished product because of the length.


To the left it is draped over a chair, to the right, hanging in my balcony window.


Feedback from my Adelaide family was very firm about who this should be for, so I took their advice. It is good to have this in mind early on, because I like to knit specific thoughts and wishes into the fabric.

The recipient is happy with it and will get good use of it.

It's a good lesson in the creative possibilities of lovely yarn, contrast, and a simple idea. It works so much better than either yarn on its own.

Tuesday, November 26, 2019

Knitting bits

For much of winter I knitted up some yarn my brother bought at an unclaimed post auction late last year. There were two huge boxes of yarn - more than I could ever use, so I chose three modest bags of what I thought most interesting. I've been trying to work my way through it. My new resolution is to use up yarn as far as possible as I buy it, rather than adding to the three drawers I have stashed. I succeeded in knitting up the wool I bought from North Ronaldsay, and some alpaca from Adagio - ands I've been trying to reduce this pile from my brother.

I tackled the easiest one first - a ball of Joy Rainbow tape designed to make a scarf. I adapted a pattern I found online for a scarf, and it knitted up quickly. 


The colours are attractive and the texture interesting. I narrowed the ends and created a loop on one end through which the other end slips.


It's a bit of fun - not really my style, but  someone might enjoy it for a while.


Next I tackled a
couple of balls of this rather attractive Sirdar Aura. These screamed 'hat' to me, so I tried out a couple of patterns, one for a beanie and one for a slouchy.

I rather like these, although I'm not sure it was a good idea to practice a new elastic cast-off on the slouchy. I think, however, some family members who like bushwalking will get good service from them.


I then turned my attention to some silvery Rico which I knitted up into a triangular shawl.


Once blocked, I got Veronica to model it for me. I think it needs to be blocked again, and stretched out a bit further. The yarn is spectacular but I'm not convinced  it works on its own.


I still had three balls left, so I tried a bit of an experiment, matching it with some fine one-ply mohair and a pattern for a chevron shawl that alternates one-ply mohair with four-ply merino. This is taking me a long time to knit, but is coming along beautifully. I think I might save that one for its own post.
In the meantime,  I bought a bit more Adagio alpaca - because Adagio are needing a bit of support through the drought, and I also bought a kit for a scarf from Marie Wallin - because it was beautiful. I doubt I am half way through my brother's wool - so I'm afraid there is no rest for my needles regardless of the heat!

Friday, November 15, 2019

Linen tunic


Although I stopped making most of my own clothes in the 80s when work pressure left little time for sewing, I still get sucked in every now and then - usually when I get an email from Tessuti Fabrics with some natural and non-iron fabric that inspires me. This time it was their crinkle linen.

In September they had this in a range of colours. I chose the cherry one. I like linen to wear - but not to iron. It also takes much, much less water to produce than cotton.

The crinkle takes away the ironing problem (in my experience, even if I put in the effort to iron linen, it crushes as soon as I sit -especially if I drive).

I also like Tessuti patterns, which are simple to make and to wear, so I chose this one.
From the layout information online I figured I could get the length in the photo economically by cutting across the fabric but when I had the fabric in hand I realised this wouldn't work. The crinkle needed to run the length of the fabric.

Not to worry - I'm generally happier with a slightly shorter tunic anyway.
I also altered the pockets to make them side inserts rather than external. The fabric is a bit light for useful external pockets.

The hardest bit was cutting out. I added very generous seam allowances to make sure the garment was really loose. This is a summer, hot-Adelaide-days garment.

Cutting out took longer than sewing it together. In cutting it larger I forgot to leave the neckline untouched, so I have added strap holders at the shoulders.  I wouldn't want my underwear to show!

It's a comfy, happy summer garment!


Tuesday, November 5, 2019

Deerfield Class

Deb Richardson's Pouch 
In October I attended a one day class on Deerfield Embroidery, taken by Deb Richardson. I had done a very similar class with Deb two years ago . I had enjoyed the class and the embroidery style so much I was keen to repeat it.

Deerfield is, of course, a derivative of Crewel - with all the ensuing advantages.

This time, Deb supplied a kit, with the design (same as last time) already drawn on the fabric - enough to make this pouch. 


The fabric - 1200 thread-count sheeting, was lovely to work with. There were 20 of us in the class - large by Guild standards but no trouble at all for Deb who is a great teacher. She demonstrates to small groups and constantly circulates, helping and advising individuals. She teaches the students - not the content, focusing on where each student is up to and taking them forward.

There was a great atmosphere in the group, plenty of energy, enthusiasm and consideration.


This time I worked with the suggested stitches - a good variety. I love working like this. I had a range of stranded thread in shades of blue and just picked the shades as I went, working my way through the design. Because I was familiar with both the design and the style and because Deb is an accomplished, relaxed teacher, I could indulge my preference for finishing each element before moving on.


Although we didn't get anywhere near finished in a one day class, I could continue at home and finished the stitching within a week.


It was hugely enjoyable.

Although I had been drawn to the class by the elegance of the constructed pouch, during the class Deb showed us a version created by one of her students, which squared off the design and added some quilting.

This got me thinking and mining my fabric stash for blue toned fabric. After trying 7-8 pieces, I unexpectedly settled on this predominantly black Japanese fabric with white bamboo leaves and the odd blue butterfly. It's a bit of a culture clash - but then,  it's bound to be an adaptation.

I put wadding between the two layers. The width of the fabric gave me enough to line the embroidery and put a narrow edge on the length - stitching by hand.


By hand-stitching around the bamboo leaves on the printed lining I could quilt the three layers together.


It gave me effect I was after, however,  I decided the edging needed to be a similar width all around, so cut a bit more fabric to create a wider edge on the short sides.


I'm pretty happy with the result. It does not have the elegance of Deb's pouch, but it works in a rustic kind of way.

I'm not sure what use I will put it to - but then a bag lady can never have too many bags!