The last Certificate Course Workshop for the year was on braiding, with two methods being taught, first hairpin lace braiding with Arrienne Wynen and second, Kumihimo braiding with Margaret Adams.
 Hairpin lace braiding uses a simple U shaped loom and a crochet hook. It took a while to get the hang of it, but was fairly simple once I established a rhythm. It works a little like a lucet, which you rotate from one side to the other after passing one loop of thread over another. In the case of lace braiding you use a crochet hook to pass the loop over as opposed to using your fingers with a lucet.
I was using a coarse thread, which allowed me to see what I was doing and looked good on the loom. The idea is to join lengths of the braid together, by linking the loops along the side. I had thought to make a string bag.
 However, as my length of braid came off the loom I changed my mind. I did not fancy unrolling the braid and keeping it flat to join it.
It will make a handle or strap for a bag!

The Kumihimo took longer to set up and to establish a rhythm. The result was, however, a bit more attractive.

It is worked on a rather more complex loom, and the braider follows a sequence of moves of the threads, drawing the braid through to the other side
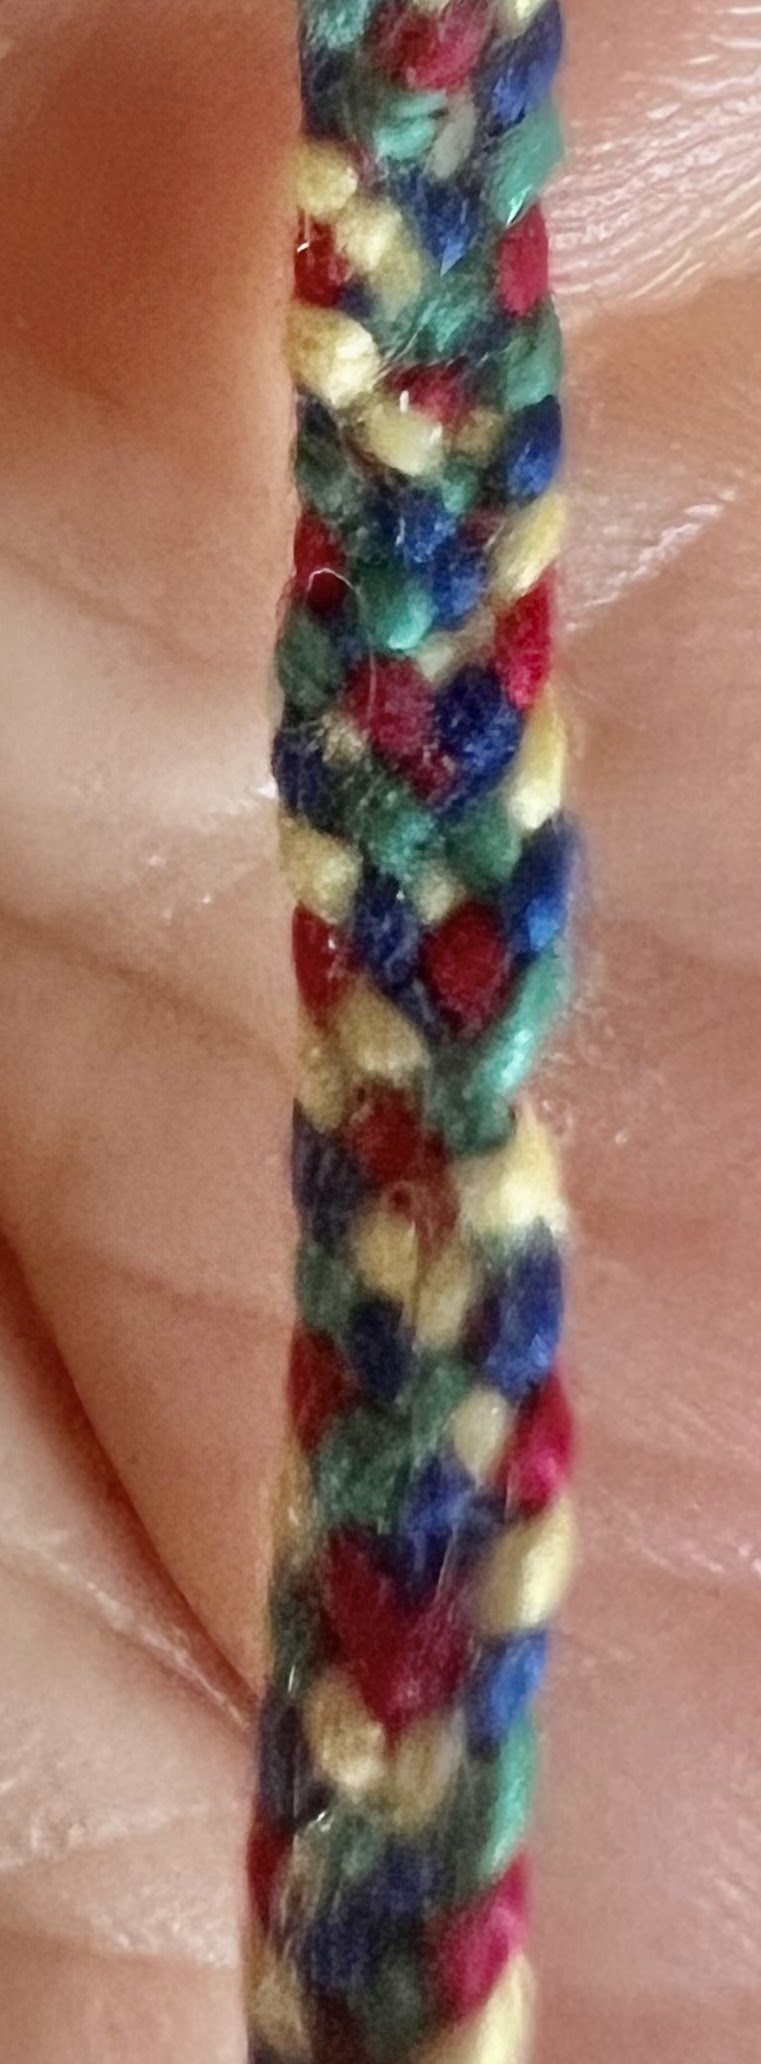
The sequence and colour of the threads determines the pattern.
I made the mistake of working in single threads of perle 5, which I thought would be thick enough. In one sense it was. The resulting braid will make a good drawstring for a bag - but it is not thick enough to progress quickly and several hours of work went into producing 30 cm of braid, which has used about half my thread lengths.
Our notes had clear descriptions of the 10 steps in each braiding sequence. It took quite a few times through before the rhythm caught and the steps became automatic, but now they are I can do it while talking or watching TV.
It is the kind of task I can imagine a group doing together while chanting the steps - then developing songs or chants to facilitate the work, rather like the Buckinghamshire lace making schools did.
I am now braiding without chanting (aloud at least). Although each round of the sequence only progresses my braid maybe 3mm, it is, to me, a more attractive outcome than the hairpin lace. For lace effects I'll stick to knitting!

I will not, however, stop using either ribbons or twisted cords to secure bags in future!
I might though, have another go using much thicker threads. I can see the interest that might develop in experimenting with different colour combinations and patterns.
I have a few Christmas projects to finish, none of which involve braiding! I can see this working well in rehab or de-stressing settings. It develops a very soothing repetitive rhythm which is relaxing, addictive - and produces something attractive and useful.
I'm well satisfied with that - and again grateful for these workshops.


