Search This Blog

Monday, July 29, 2019

3D Applique, Fabric Origami: Embroiderers' Guild of SA Certificate Course


This was a really fun workshop, taken by Melissa Walker in late February. We learned to apply the art  of paper origami to fabric.

Melissa brought along some sample fabric and we brought some of our own. These are made using Melissa's fabrics.


The square of Aboriginal designed fabric proved to work brilliantly with the hexagon design.

I decided to turn a couple of mine into pinwheels.
I find these useful. They fit compactly into a bag and the pins are secure.

It was an experimental and playful workshop with lots of interaction, laughter and sharing.

Tuesday, July 23, 2019

North Ronaldsey shawl


Ever since knitting the shawl from Elizabeth Lovick's Patterns for North Ronaldsay and other 4ply/fingering and Aran Yarns last year, I have periodically checked the North Ronaldsay Yarn site to see if they had any yarn available.  Sheep on North Ronaldsay, the most northerly of the Orkney Islands, live on seaweed and their wool is spun and sold from a local mill. It is sought-after and sells quickly once released.  Eventually I got lucky, and managed to buy two skeins of natural 2 ply North Ronaldsay yarn to try out.


I got a friend to help me wind it into balls and found a pattern In Elizabeth Lovick's book that could be made with two balls. It is a pattern for a Striped Triangular Shawl by Elly Doyle, on page 86 of the Elizabeth Lovick book mentioned above.

The wool is surprisingly soft to work with and lovely on the hands. The pattern is straightforward, working from an initial 9 stitches outwards with the line on the needle becoming the straight top edge of the shawl.

It has high lanolin content, so is lovely on my hands and carries a lanolin smell.

The wool is fairly evenly spun, but does have sections that are thicker or thinner. It is slightly heavier than an average two ply, each ply being a little thicker than the finest wool. It was easy to split - or even drop - a stitch. I suspect my knitting would have been a bit more smooth and even if I had I gone down 1-2 needle sizes.

The cast-off picot row was meant to be in the lighter main colour, but I ran out at the end of the last light colour band. I had plenty of the darker brown, so finished in that.  I like the effect in the dark colour. This is the first time I've used the picot edge and I will certainly use it again.


I was pleased with the overall effect of the finished product.


It blocked nicely, the stocking stitch stretching out to a slightly open effect.  I didn't have a recipient in mind when I made this, but liked the finished product enough to keep it.


It's been a fun exercise to try out some of this special wool.


Sunday, July 14, 2019

Croatian costume embroidery

The June workshop for the Embroiderers’ Guild Certificate Course was taken by Dragica Sosa on Croatian Traditional Costume Embroidery. It was really interesting and a lot of fun. 

Dragica had brought along a number of costume pieces from the collection of the Lenek Folkloric Dance Ensemble, which we were able to examine in detail. Regretfully, I didn’t take photos. They were truly beautiful and a treat to see.

Dragica also talked about her own experience of learning and practising Croatian dance and of the differences between costumes in the four geographic areas of Croatia.

Much of the traditional Croatian embroidery is pattern darning and Dragica had charted a series of traditional designs for us to try. I used a 28 count linen. 30-32 is more commonly used but even with 28 I need magnification!

I worked my way through the designs. It took me several days to work them and there are a few errors in there. It was compelling - so satisfying seeing the patterns emerge. I found it easier to hold the linen in my hand and maintain tension by grip than keep moving a hoop. I find pattern darning is also better scooped than stabbed.


By the end the piece was quite raggy so blocking was required .


I decided to turn it into a pouch. I had thought to line it with silk but the red I had was too dark. I played around with two pieces of cotton. I went with the plain red, purchased a red zip and had it done in no time. I went with the red fabric on the back as well. Plain white 28 count linen didn’t feel right. I would always think I should have embroidered the back as well!


I am delighted with my finished piece. I could see myself using these patterns on the yoke of a dress. 


For now, however, I am very pleased with my bag and the learning that went into it.

Thanks Dragica and to Christine and Barbara who run the Certificate Course.


Sunday, July 7, 2019

Sashiko Workshop


I have a number of printed Sashiko cloths in my stash, so when Barbara Mullan offered a Sashiko workshop at the Guild, I jumped at the chance to enrol, even changing tickets I had for a Voces8 concert at Ukaria in order to go!

I didn't regret my decision.

An enthusiastic and eager group of us gathered on the day. Barbara had thoughtfully reorganised the tables so we could see and hear each other.

I had read my preparation instructions carefully and assembled a bag with the items. The day before the class I bought myself the last item - a fat quarter of blue fabric. My mind not being what it once was, I did not immediately put the fat quarter into the bag I had prepared, so found myself at the class without my fabric! 
Barbara, of course, came to the rescue, with some fabric she had 
indigo-dyed some time ago at a class at Marden TAFE. It was lovely, and I only used the minimum I needed.
.
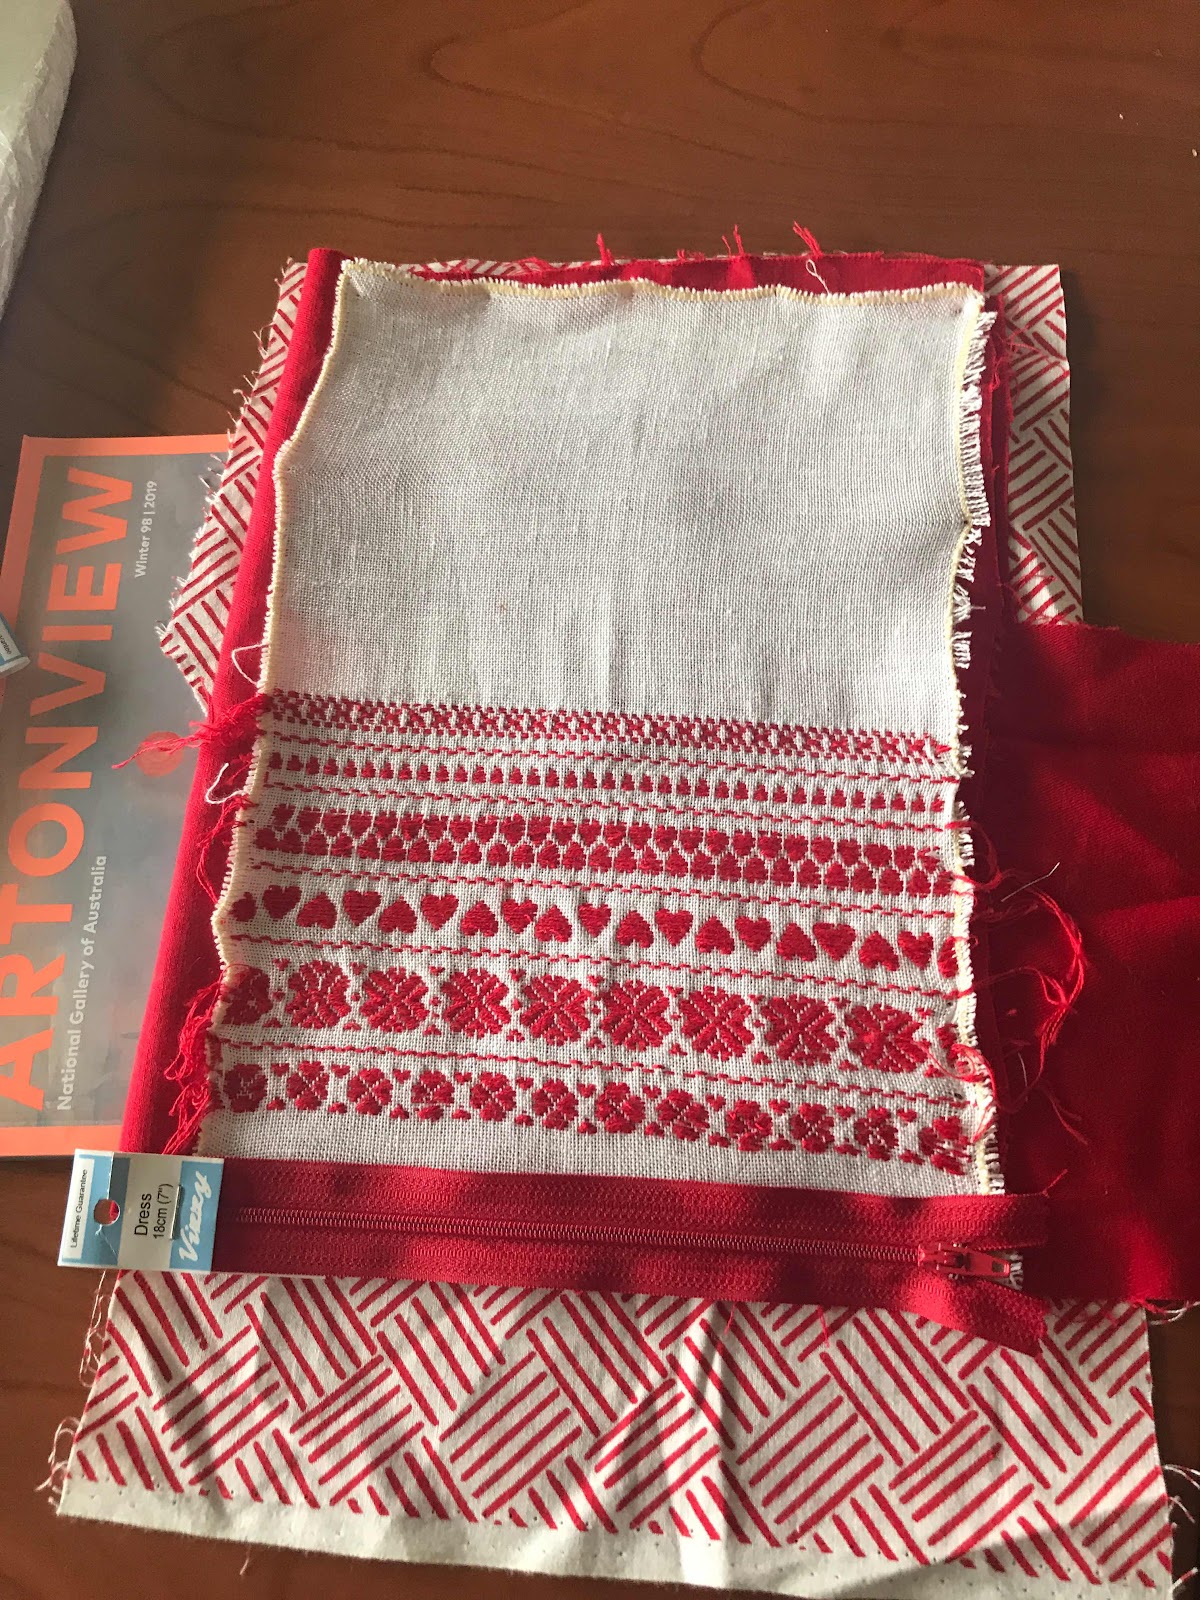
Barbara had prepared templates of some Sashiko patterns. The suggestion was that we choose 4 of these and work them on four squares of fabric, backed with cotton.

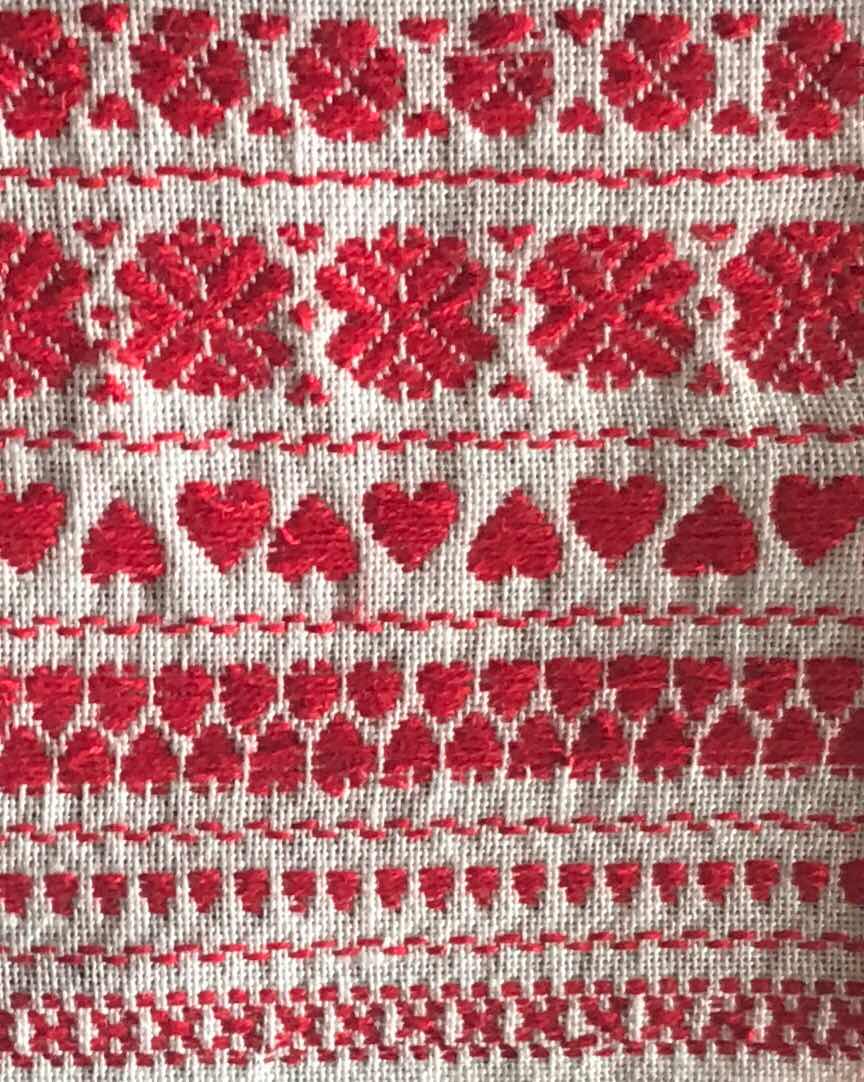
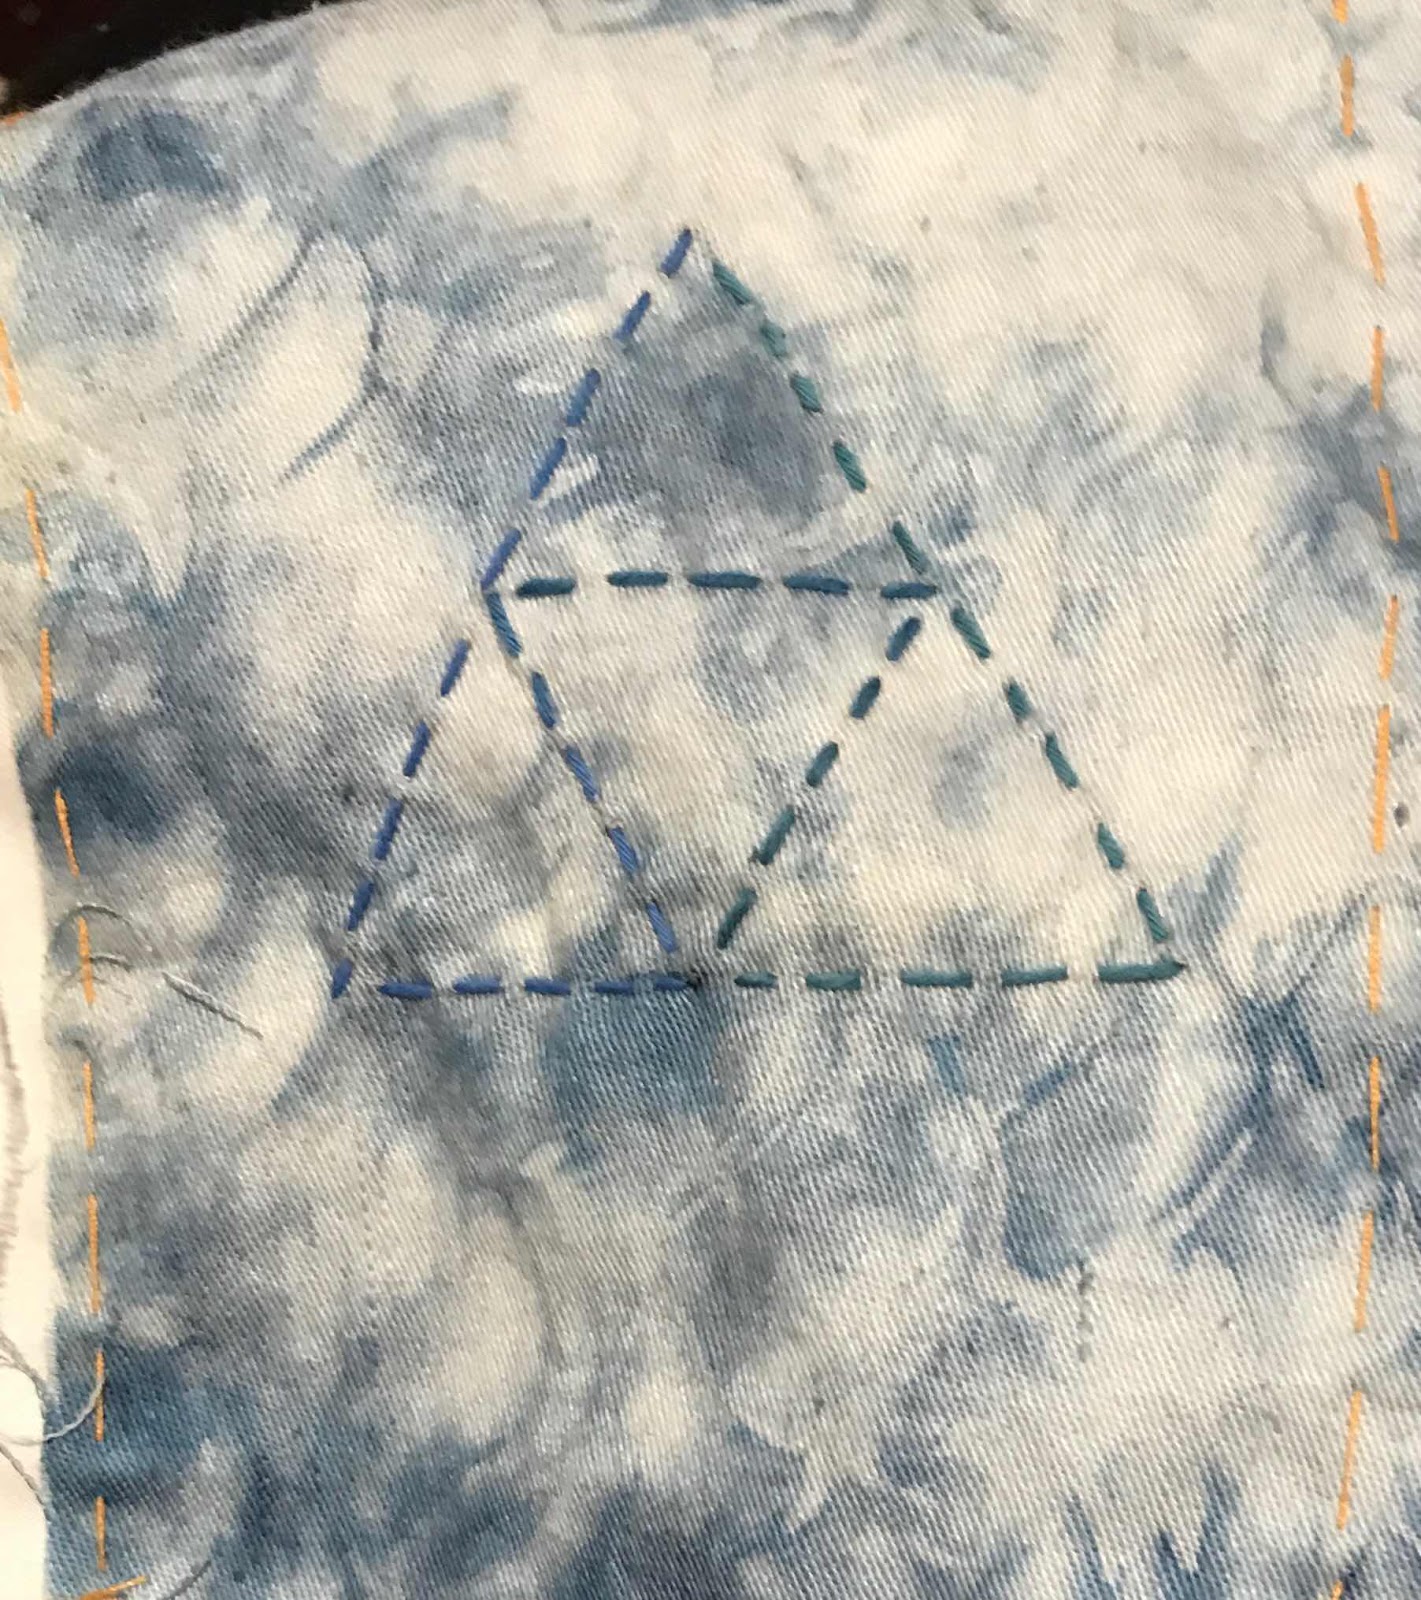
I had my cotton, so tacked it on to my four squares (well, rectangles, anyway) and began with a very simple triangle.


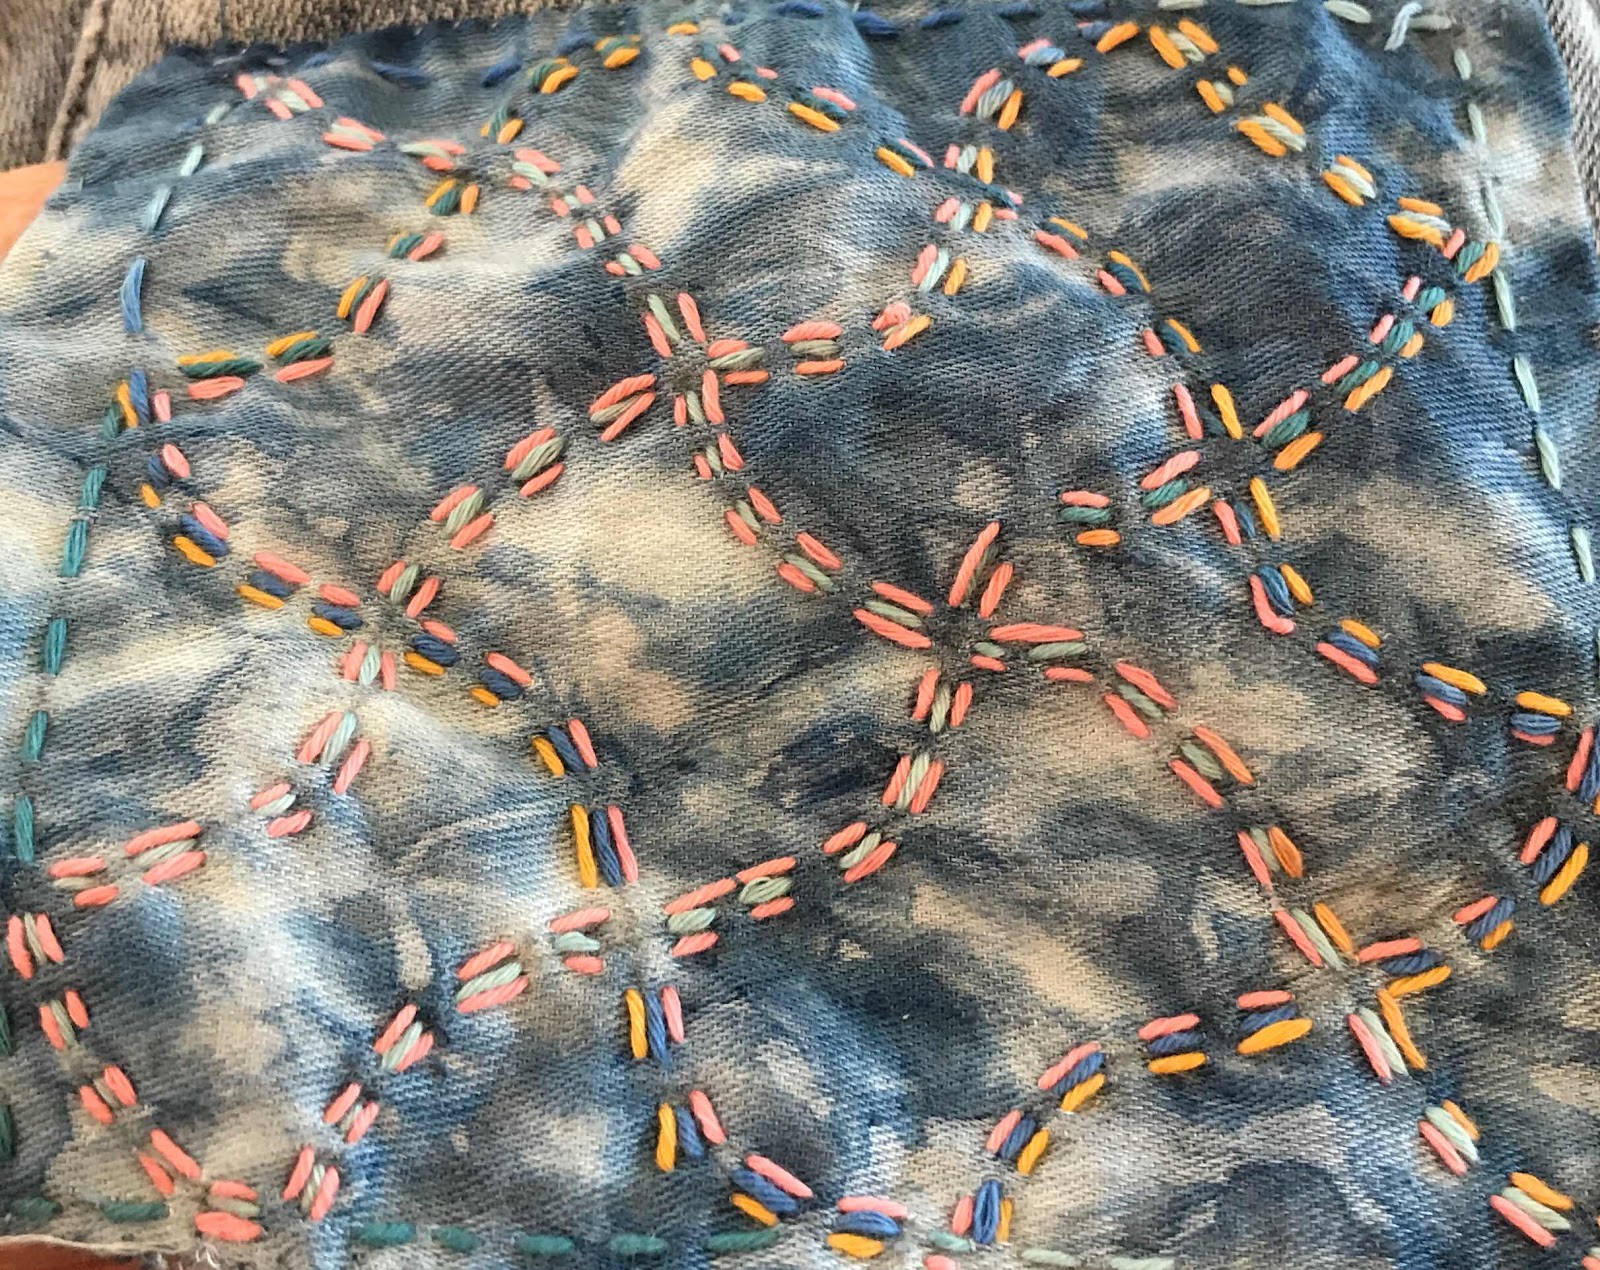
We learned the conventions (rules?) of evenness of stitch, even numbers of stitches and dealing with corners. All these were new to me and invaluable in doing anything with the printed pieces I have.

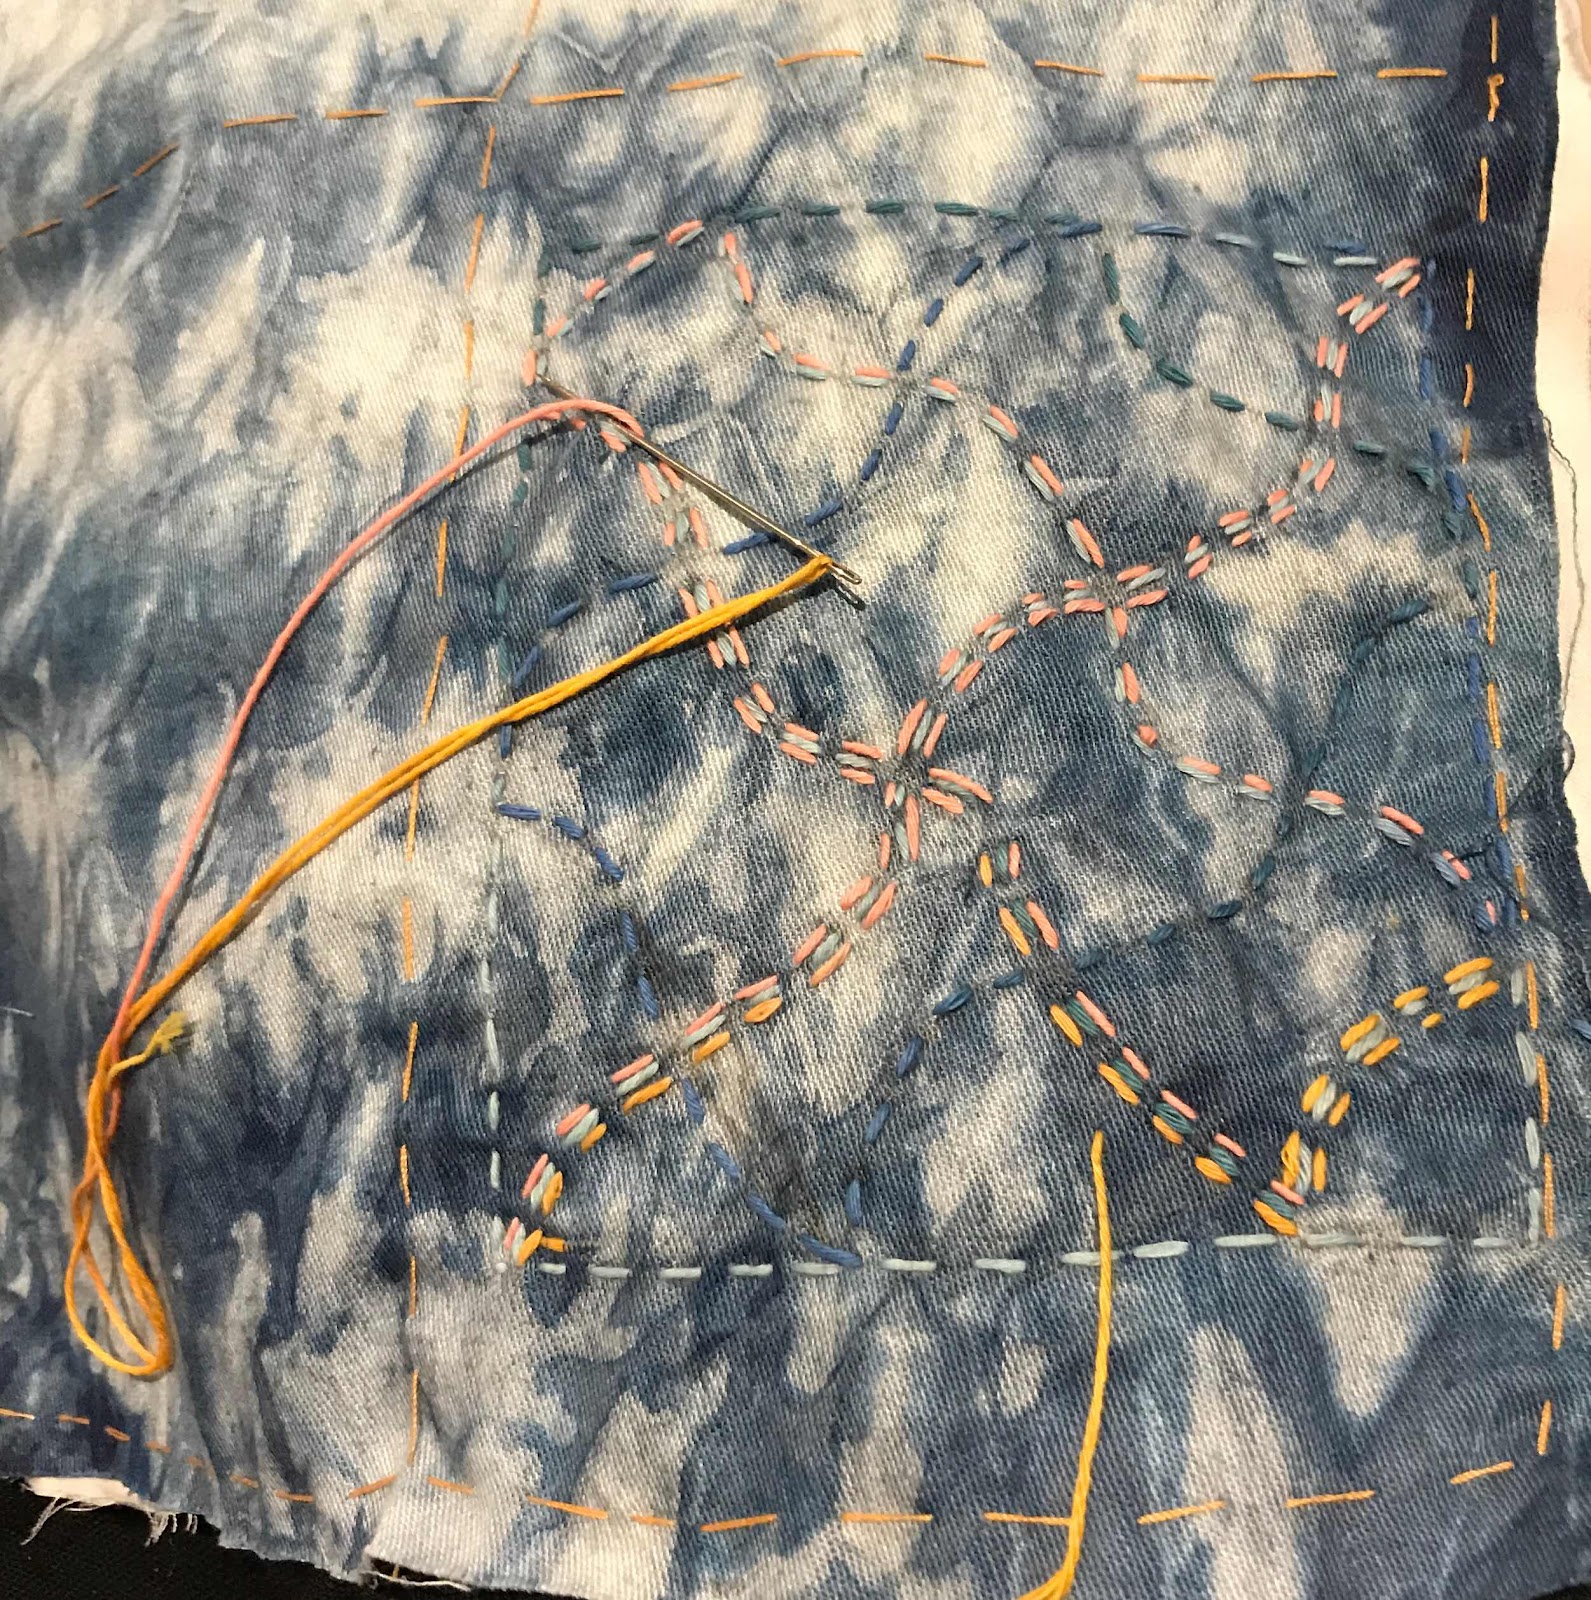
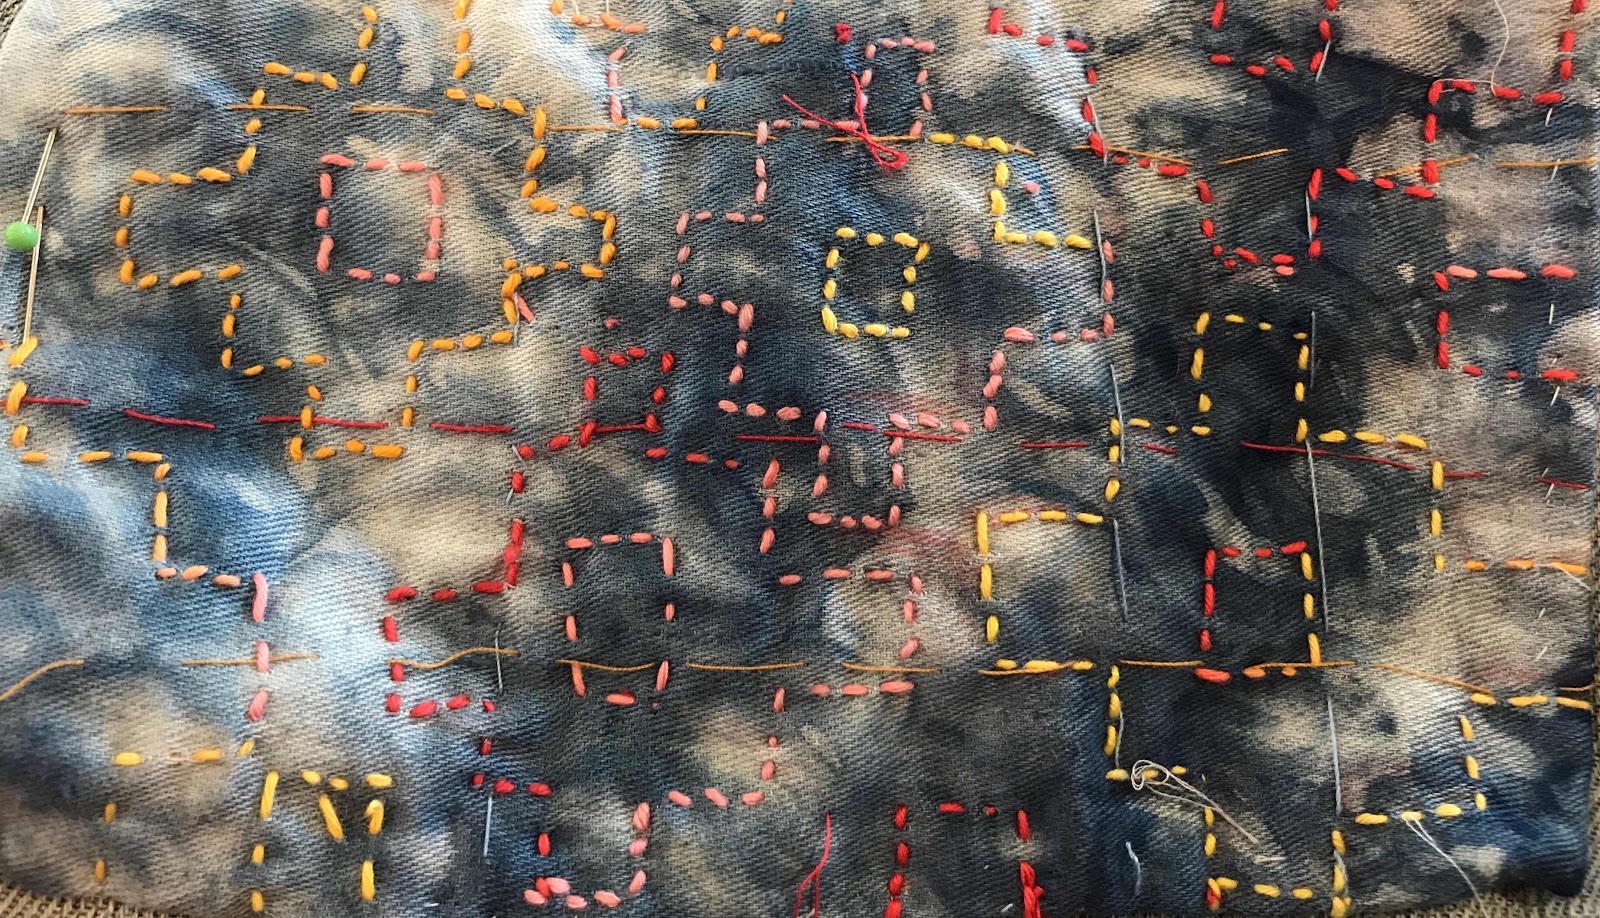
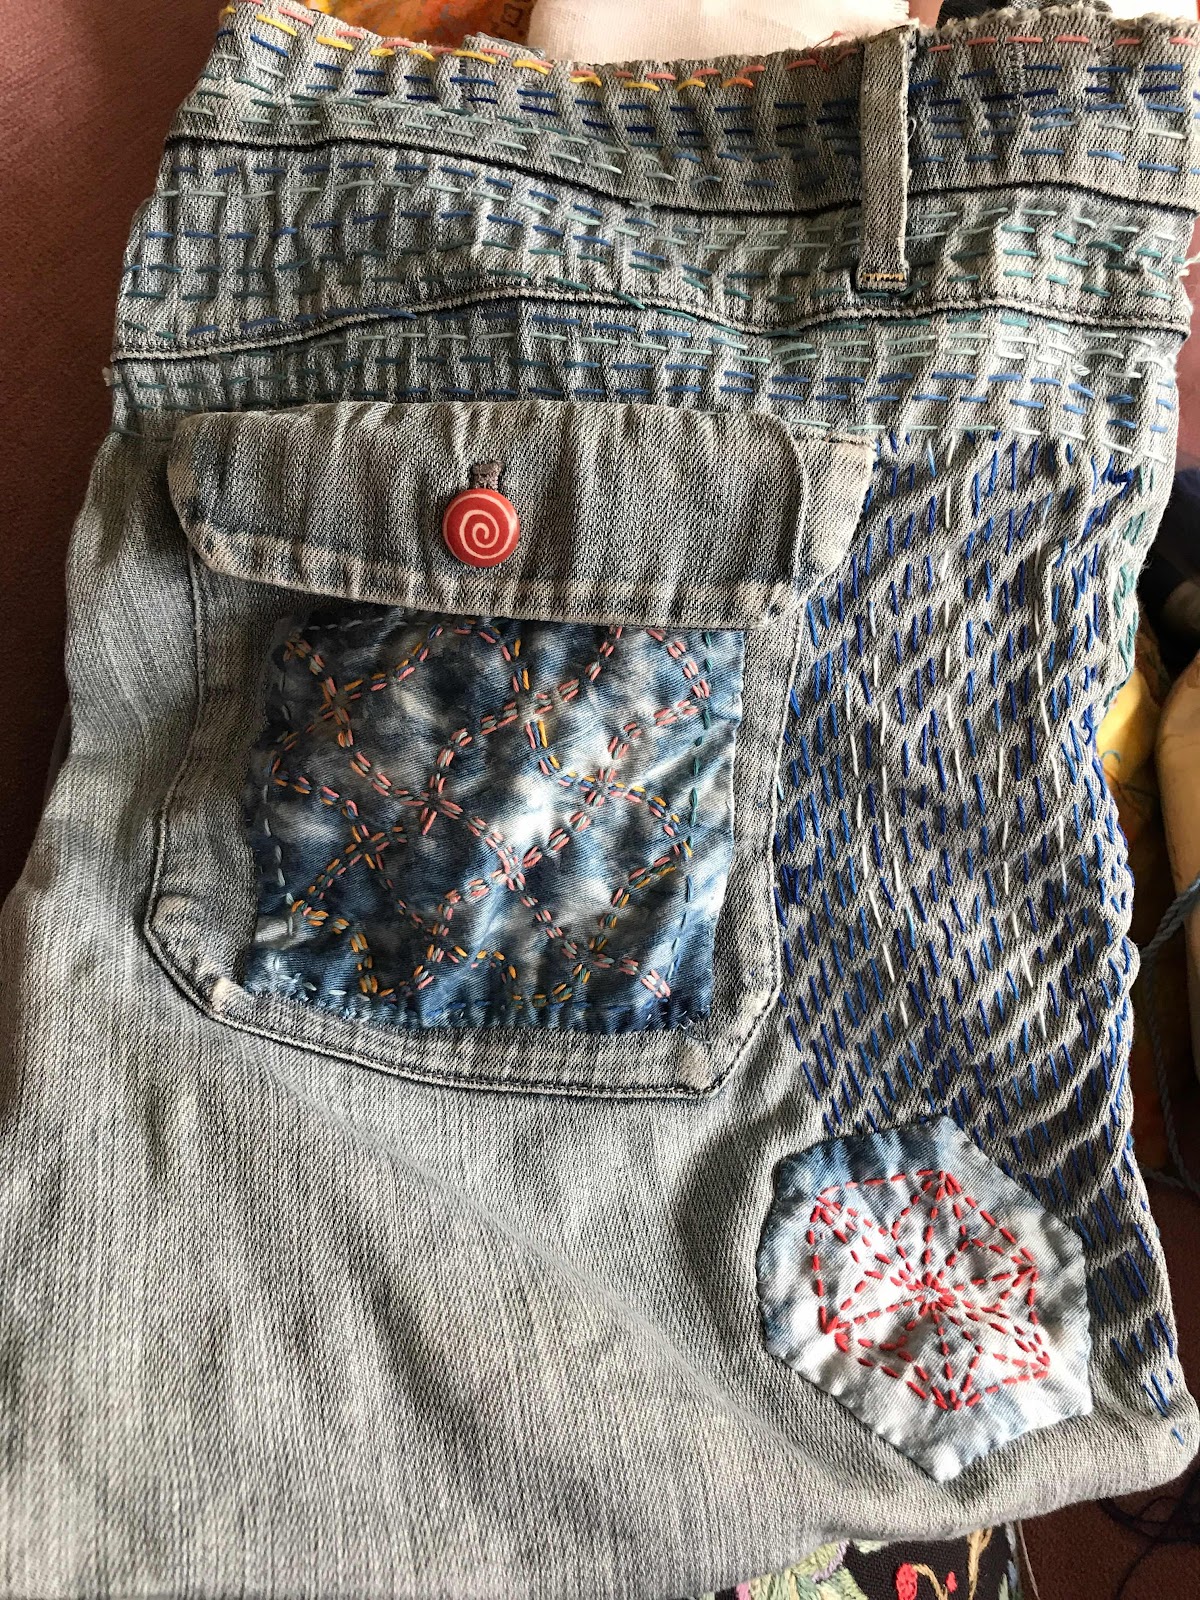
I tried to move from simple to more complex. I had variegated Sashiko thread in blues and yellow/orange/red as well as white. I had thought to use the blue, but it didn't show up well on Barbara's lovely hand-dyed cloth so I went around the original blue, 


which worked, I thought, quite well. 


I then switched entirely to yellow/orange/red for the last two pieces.


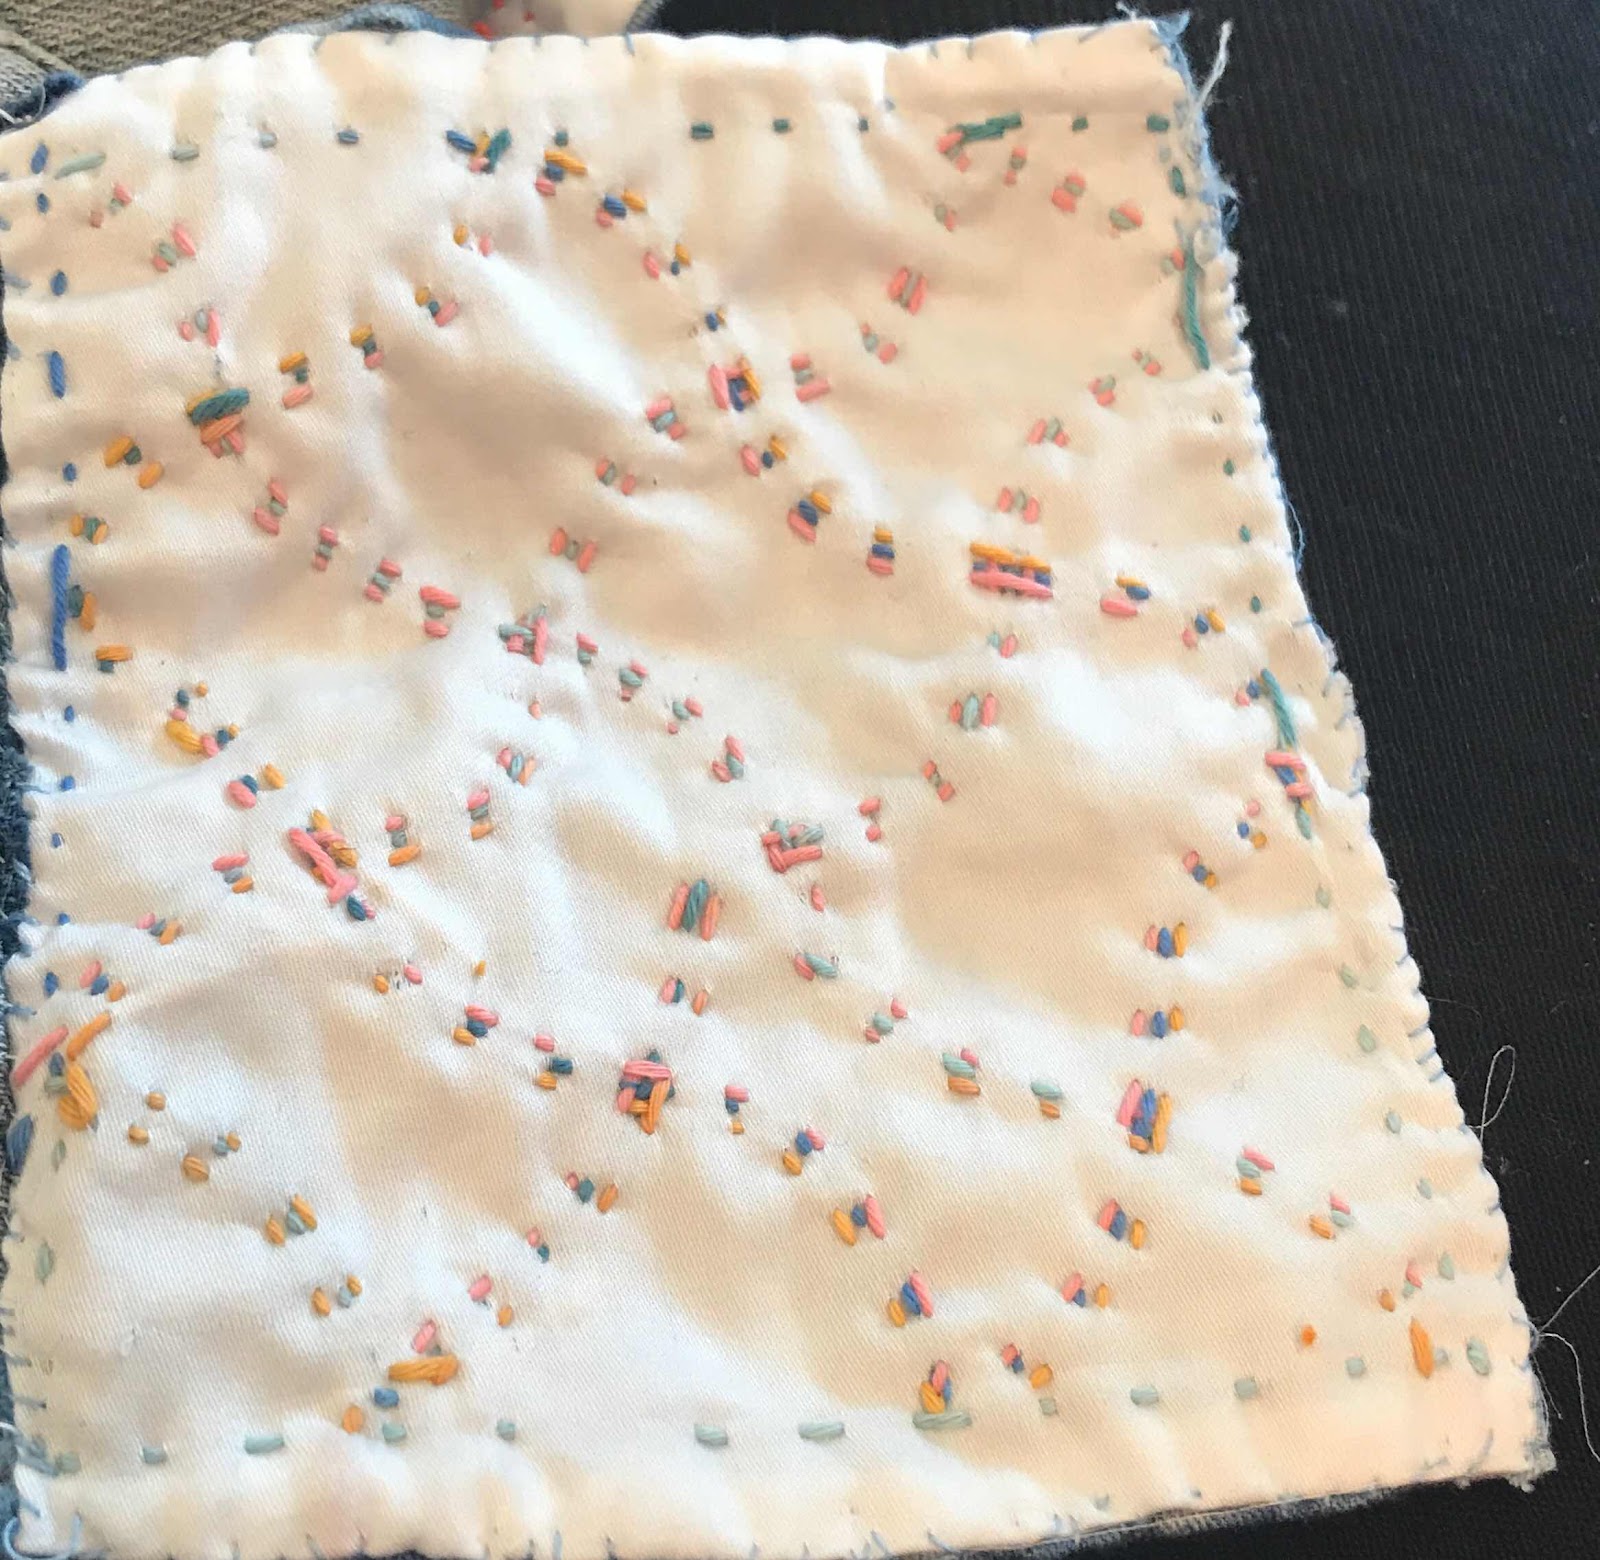
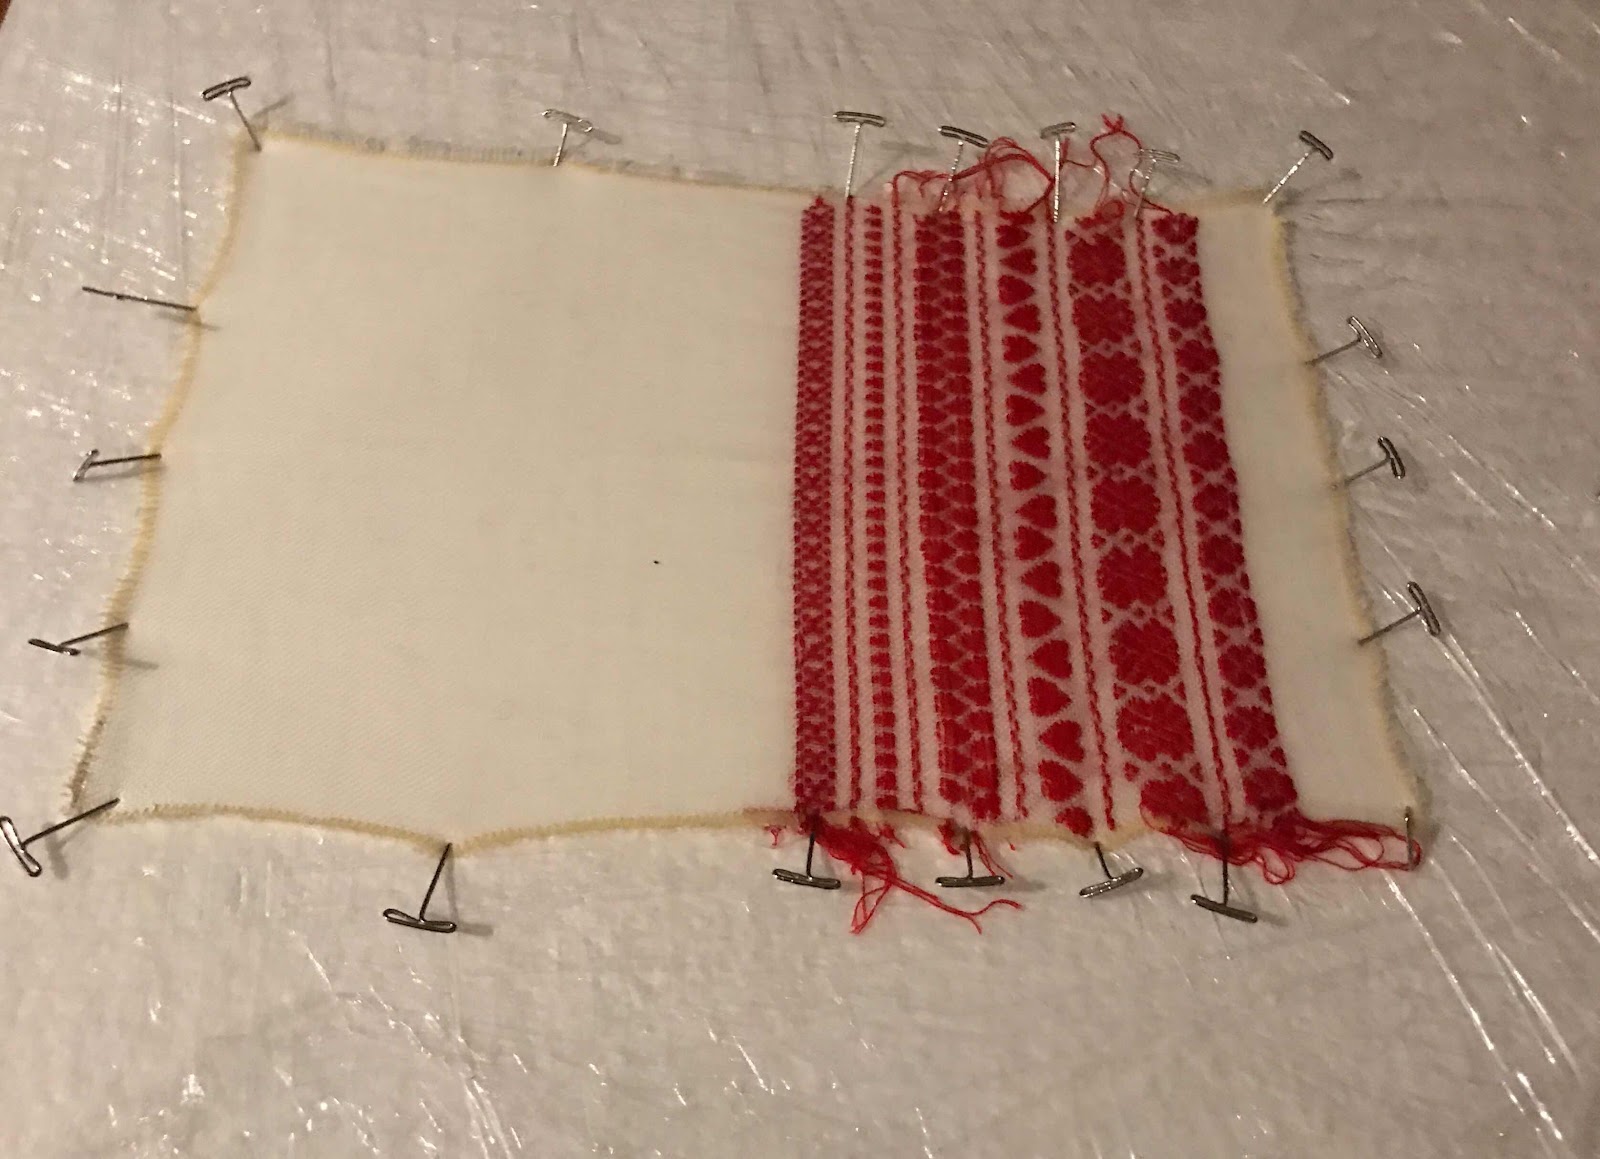
We learned too, how to finish the edges off with slip-stitch so that the backing did not show. Miss Monk, who first taught me slip stitch, would not be happy with my work here. I had, however, by now the germ of an idea of what I would do with these pieces, and it didn't require invisible slip stitch!
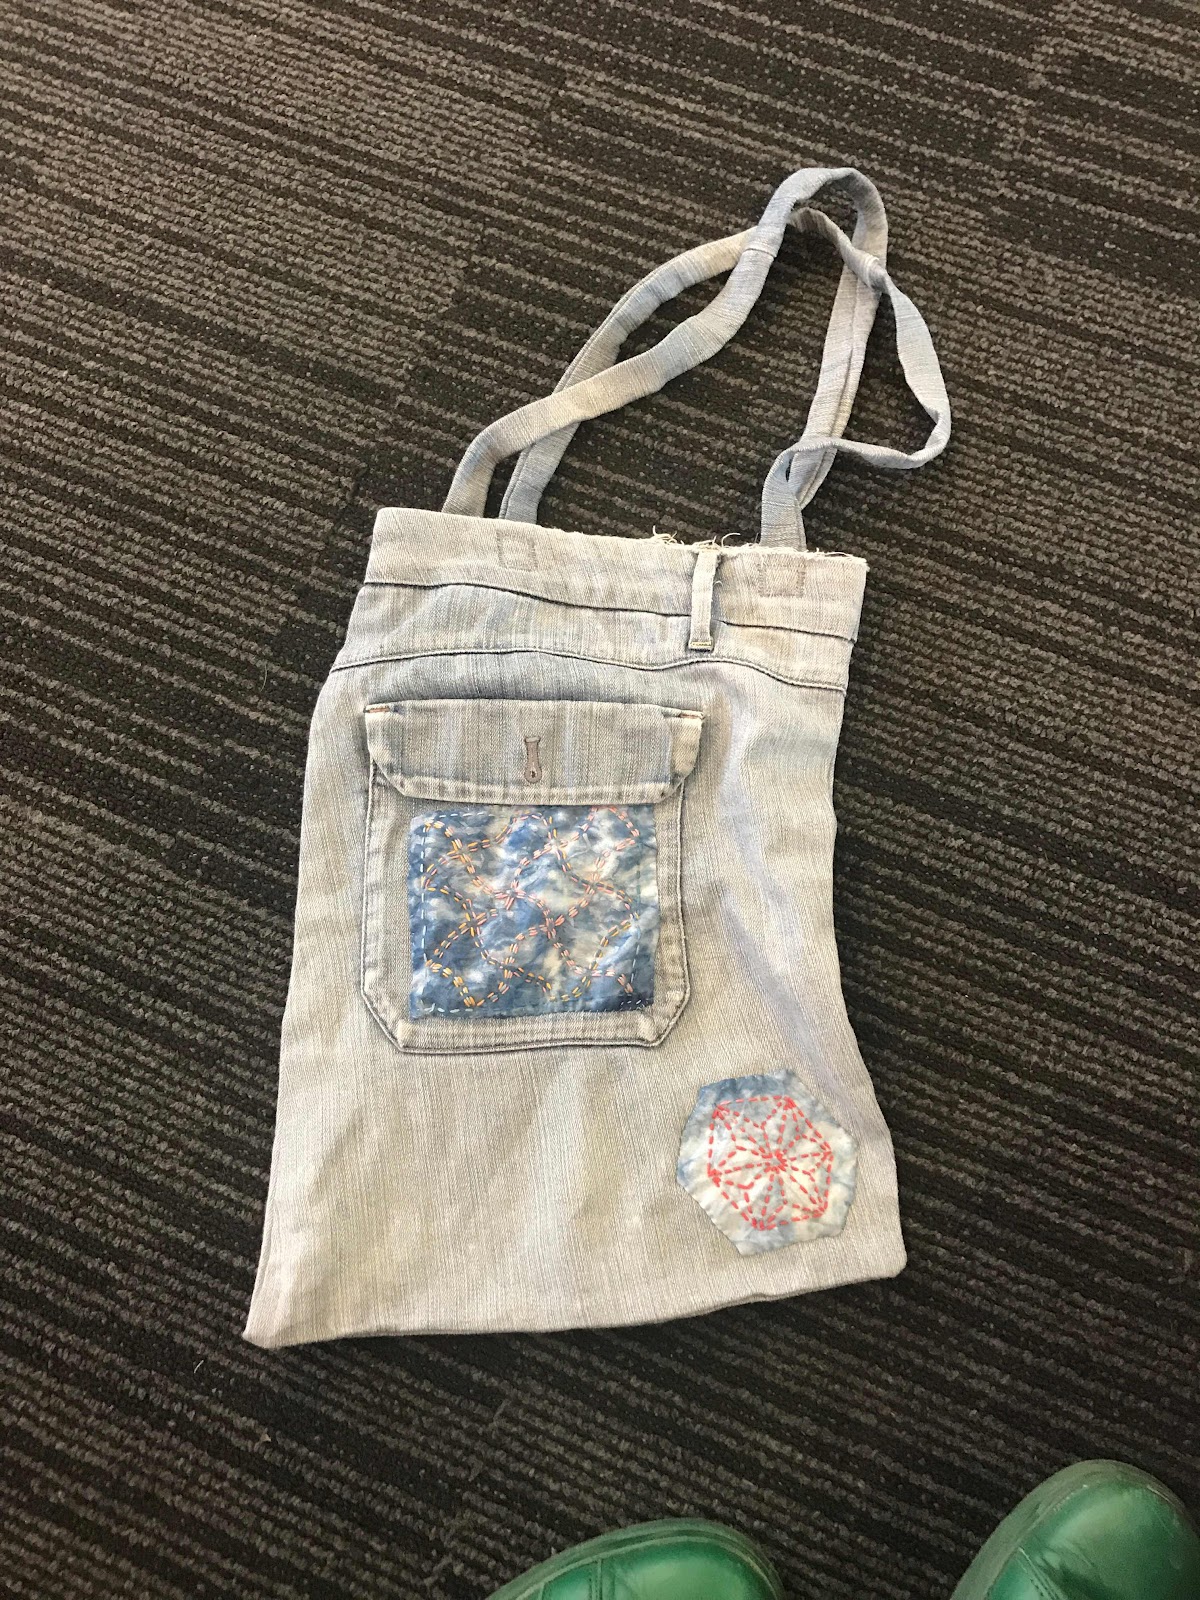


I dug out a bag I had made ages ago (can it really have been 2011? Afraid so!) from an old pair of jeans and applied the patches.


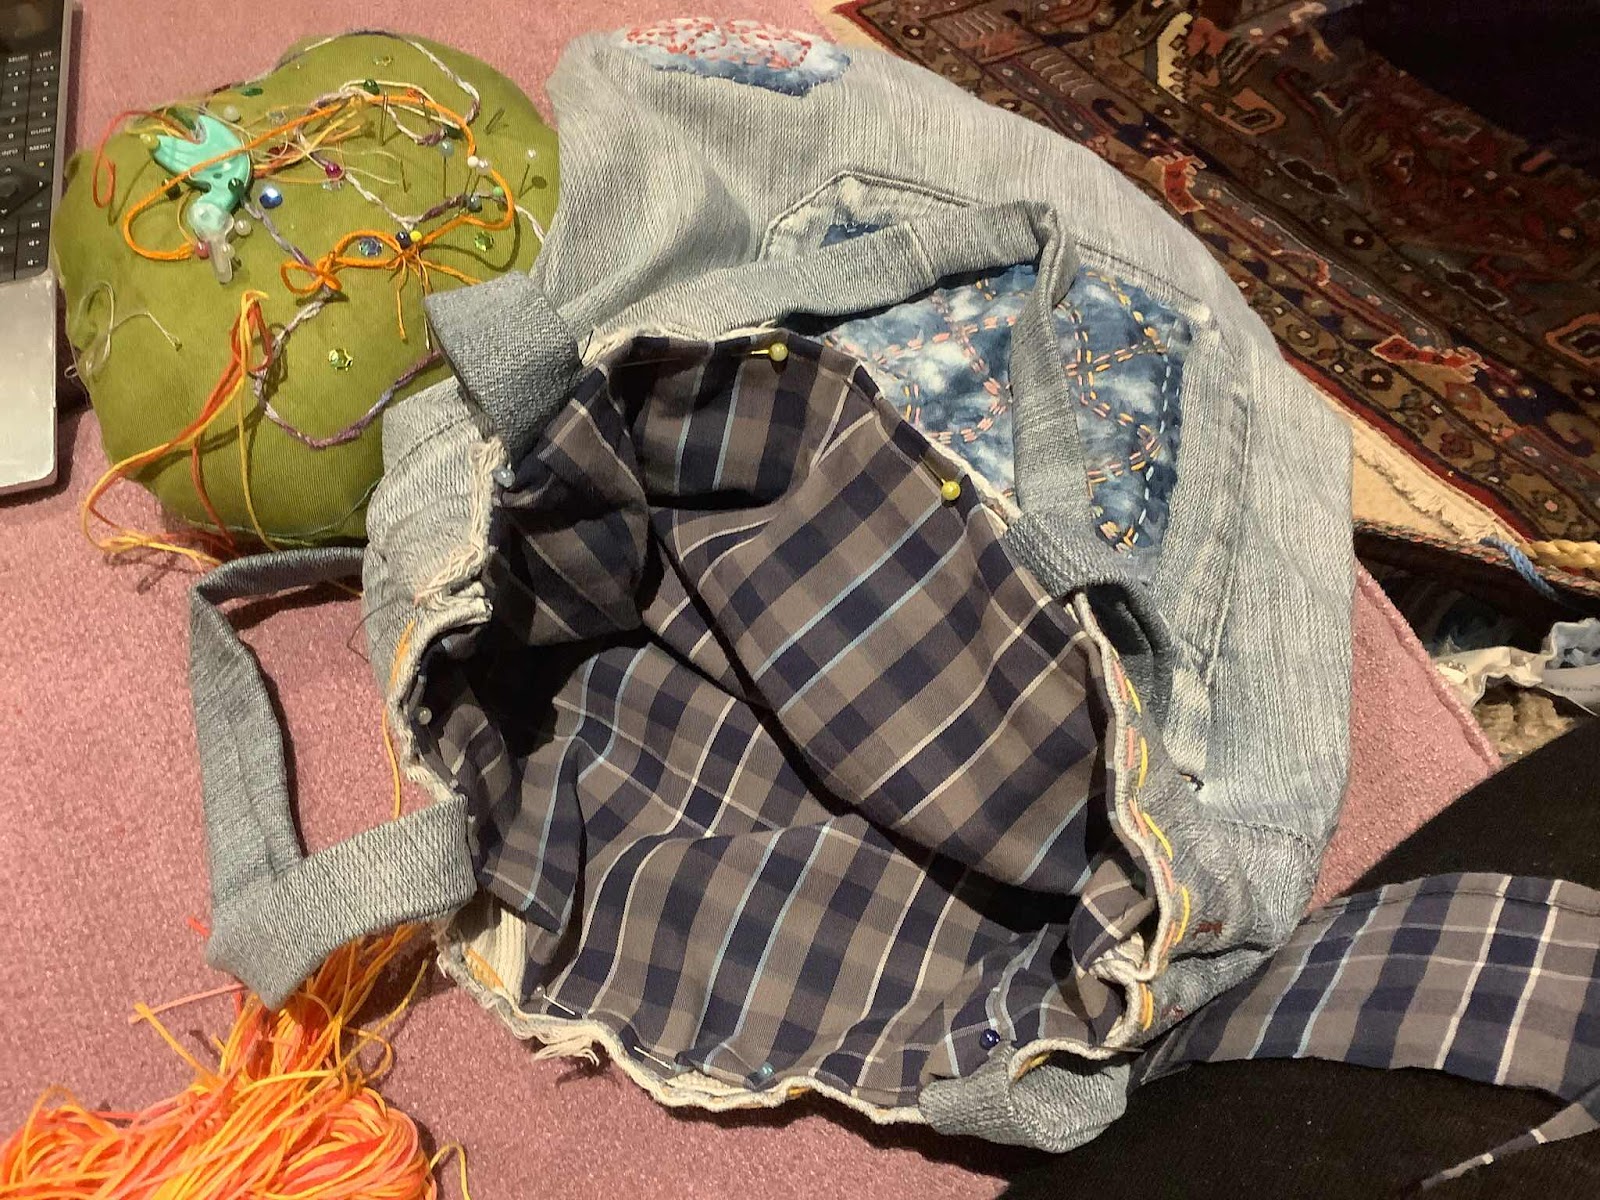
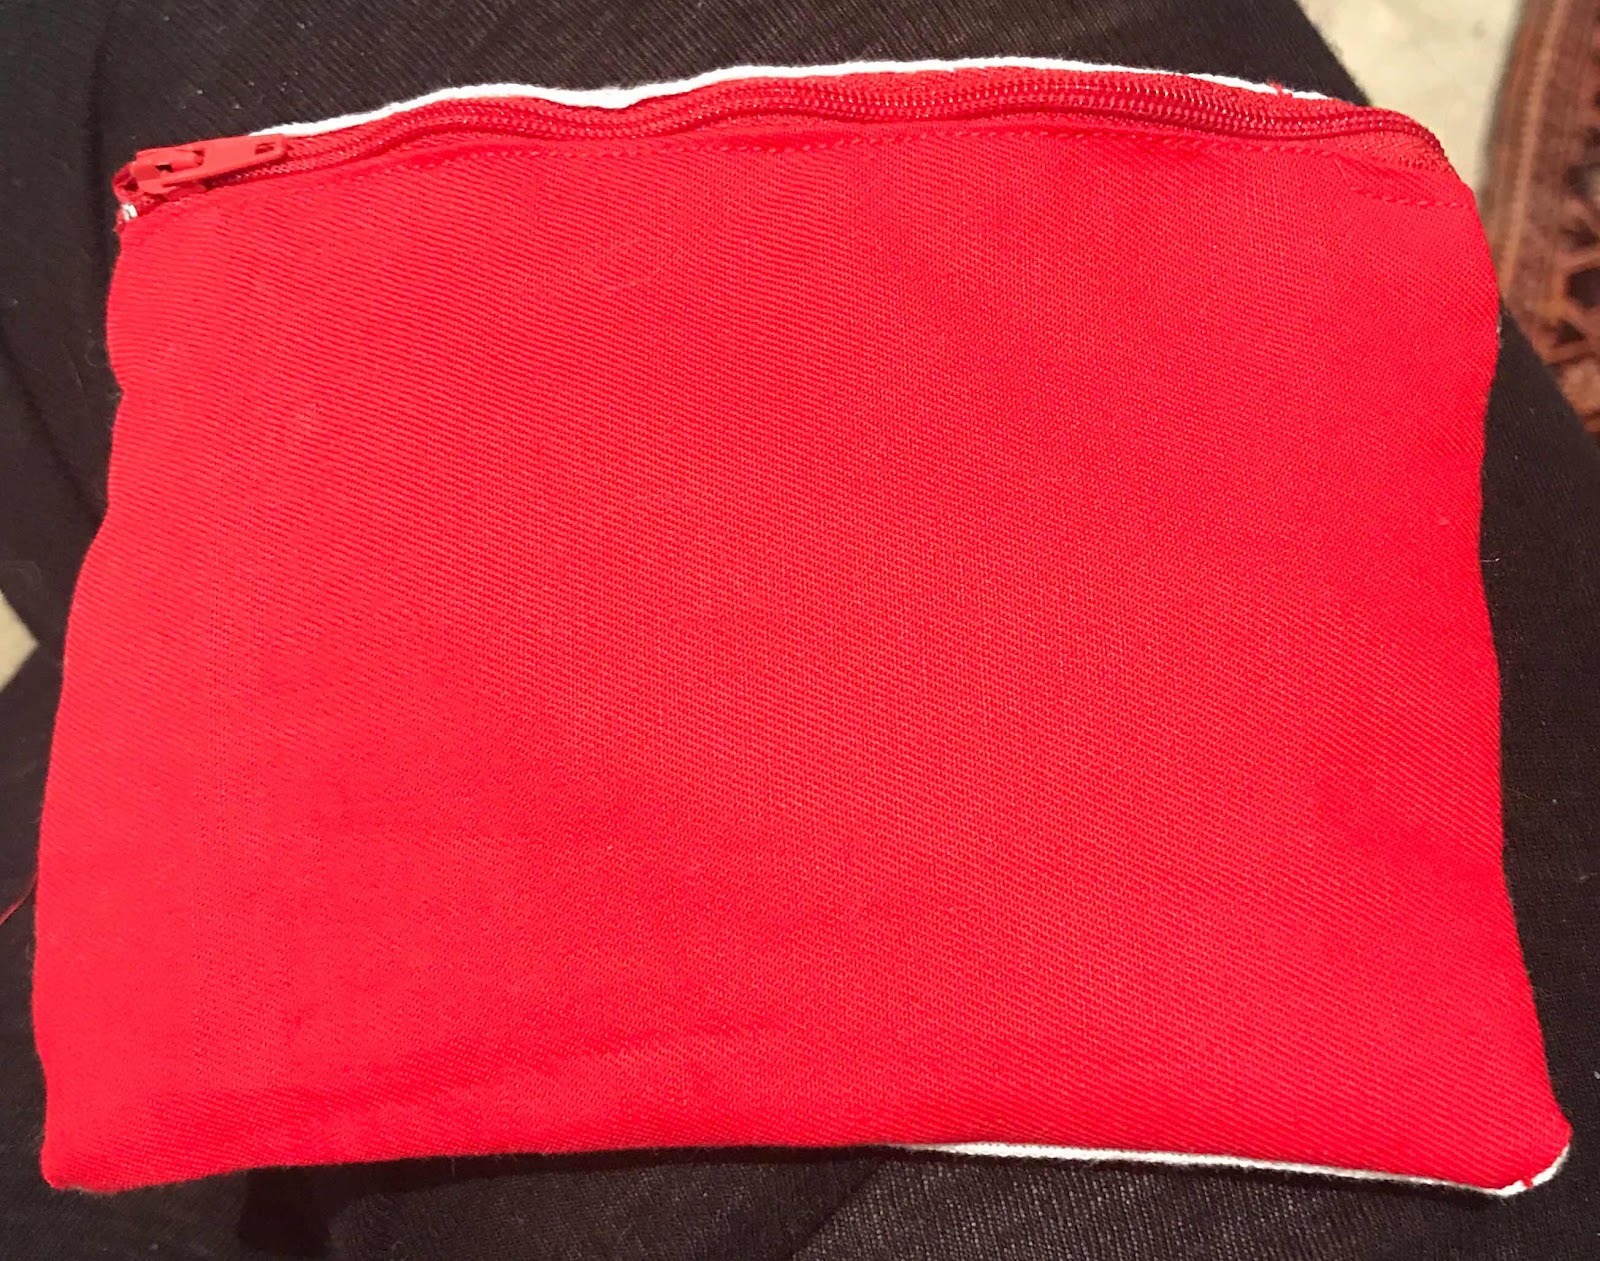
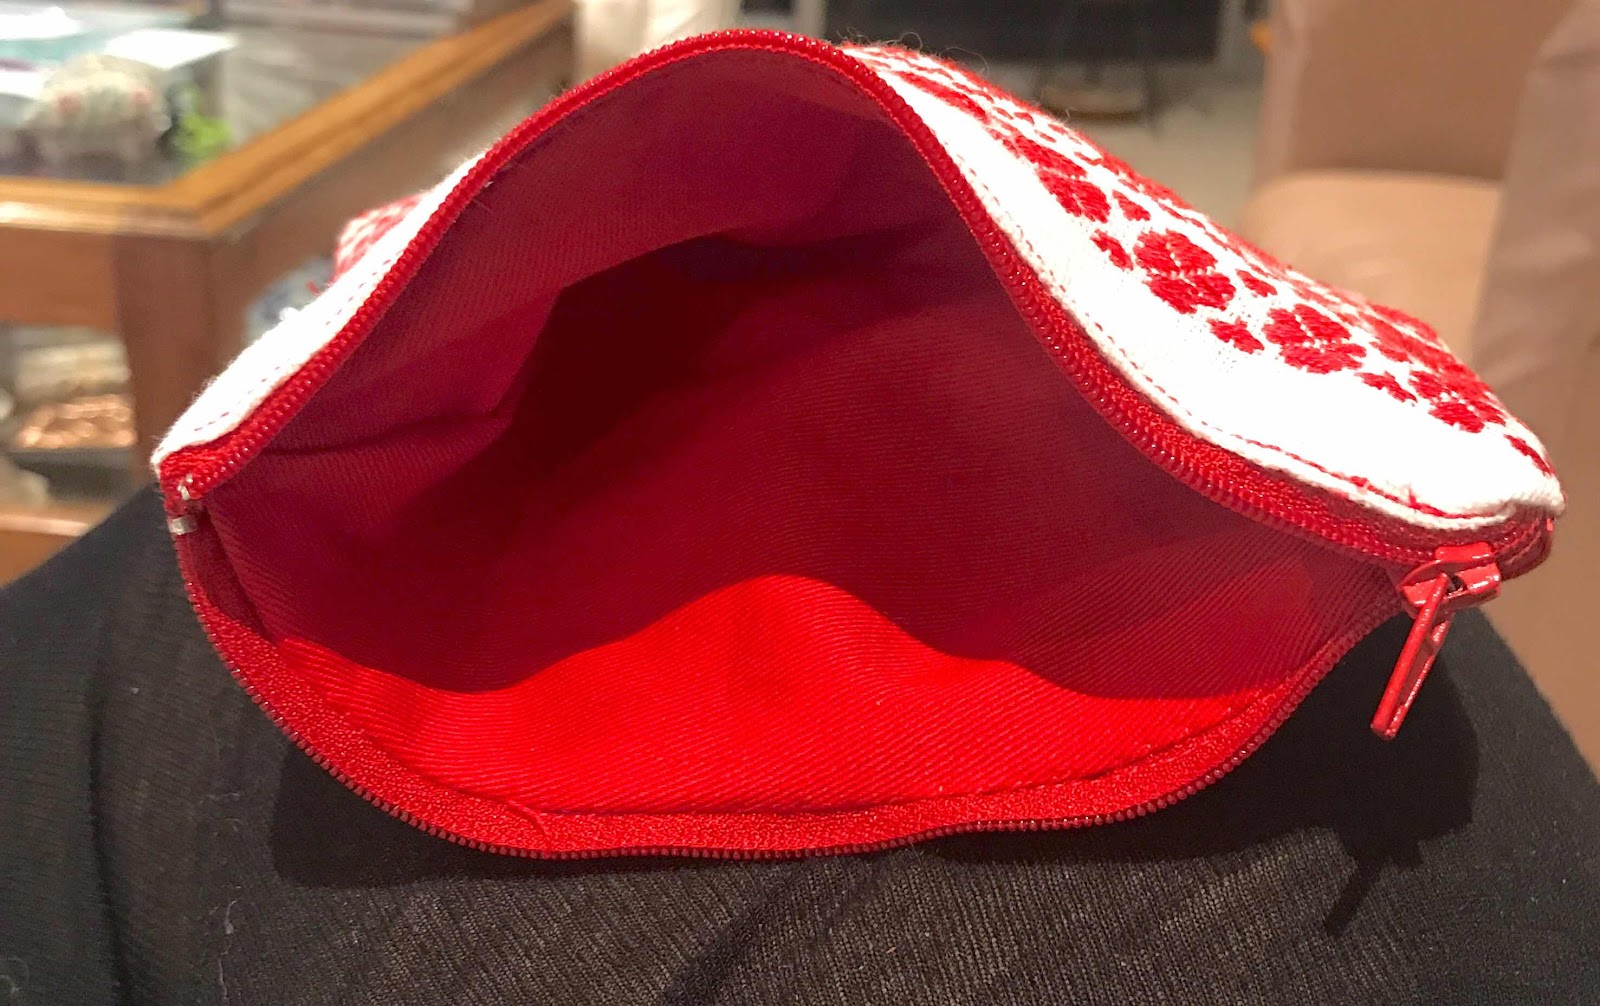
From my fabric stash I retrieved a shirt of Jim's that I had kept because I knew he would have wanted to be part of future projects.

The two fronts were a perfect shape for cutting a lining for this odd shaped bag and the colour was just right.

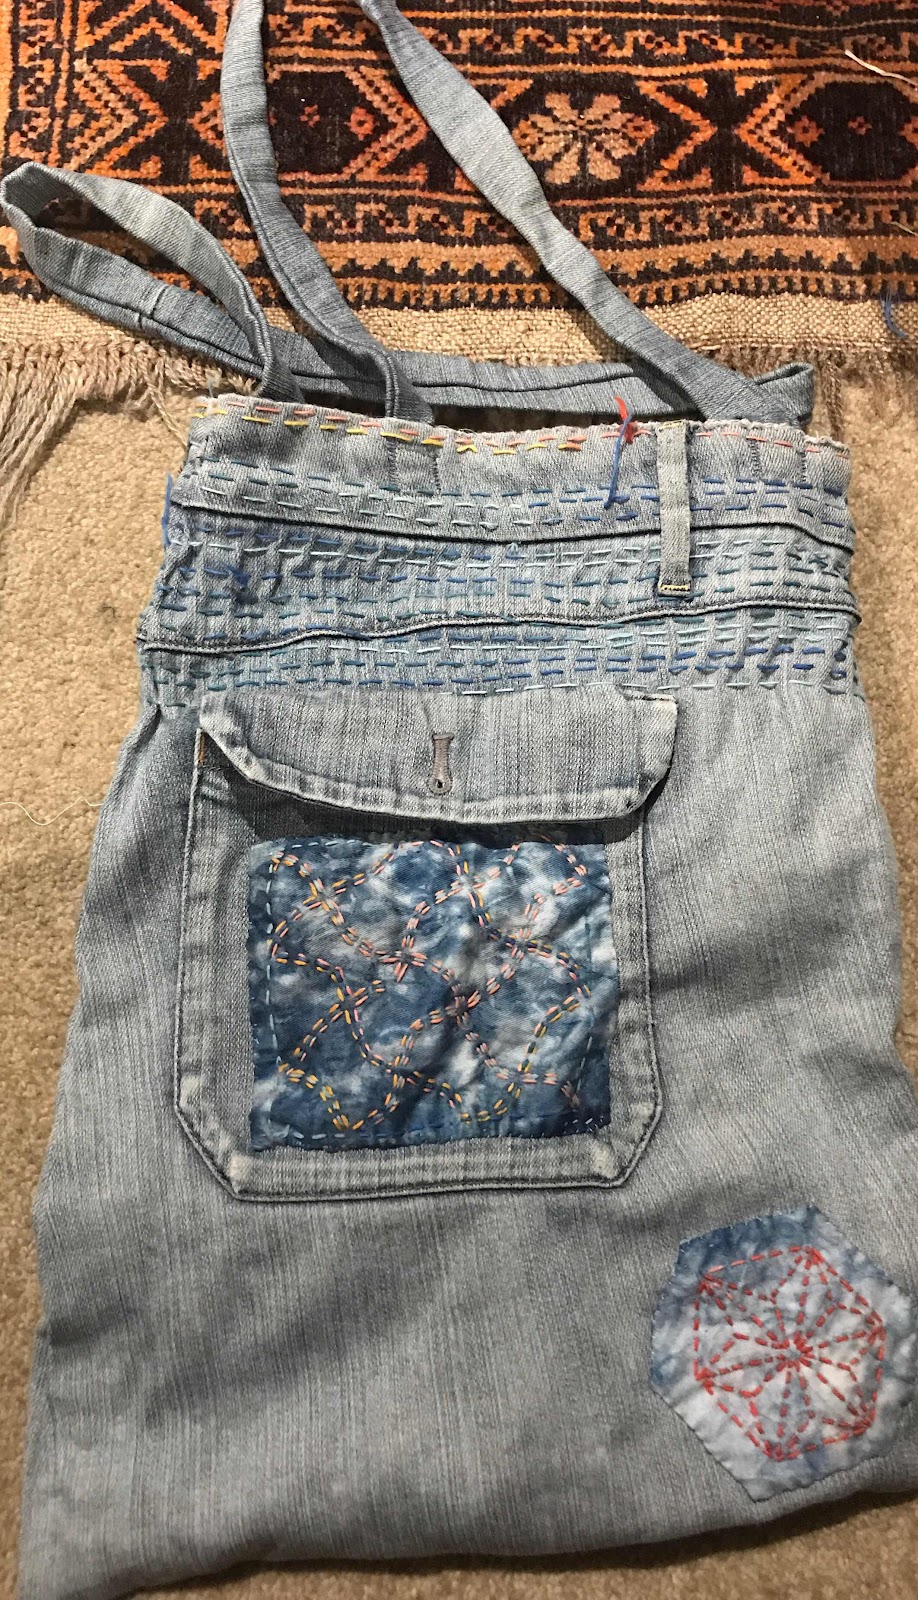
The original idea stopped here - but the bag cried out for more - so off I went, using, after an initial experiment, the blue thread.


I kept going


and going.


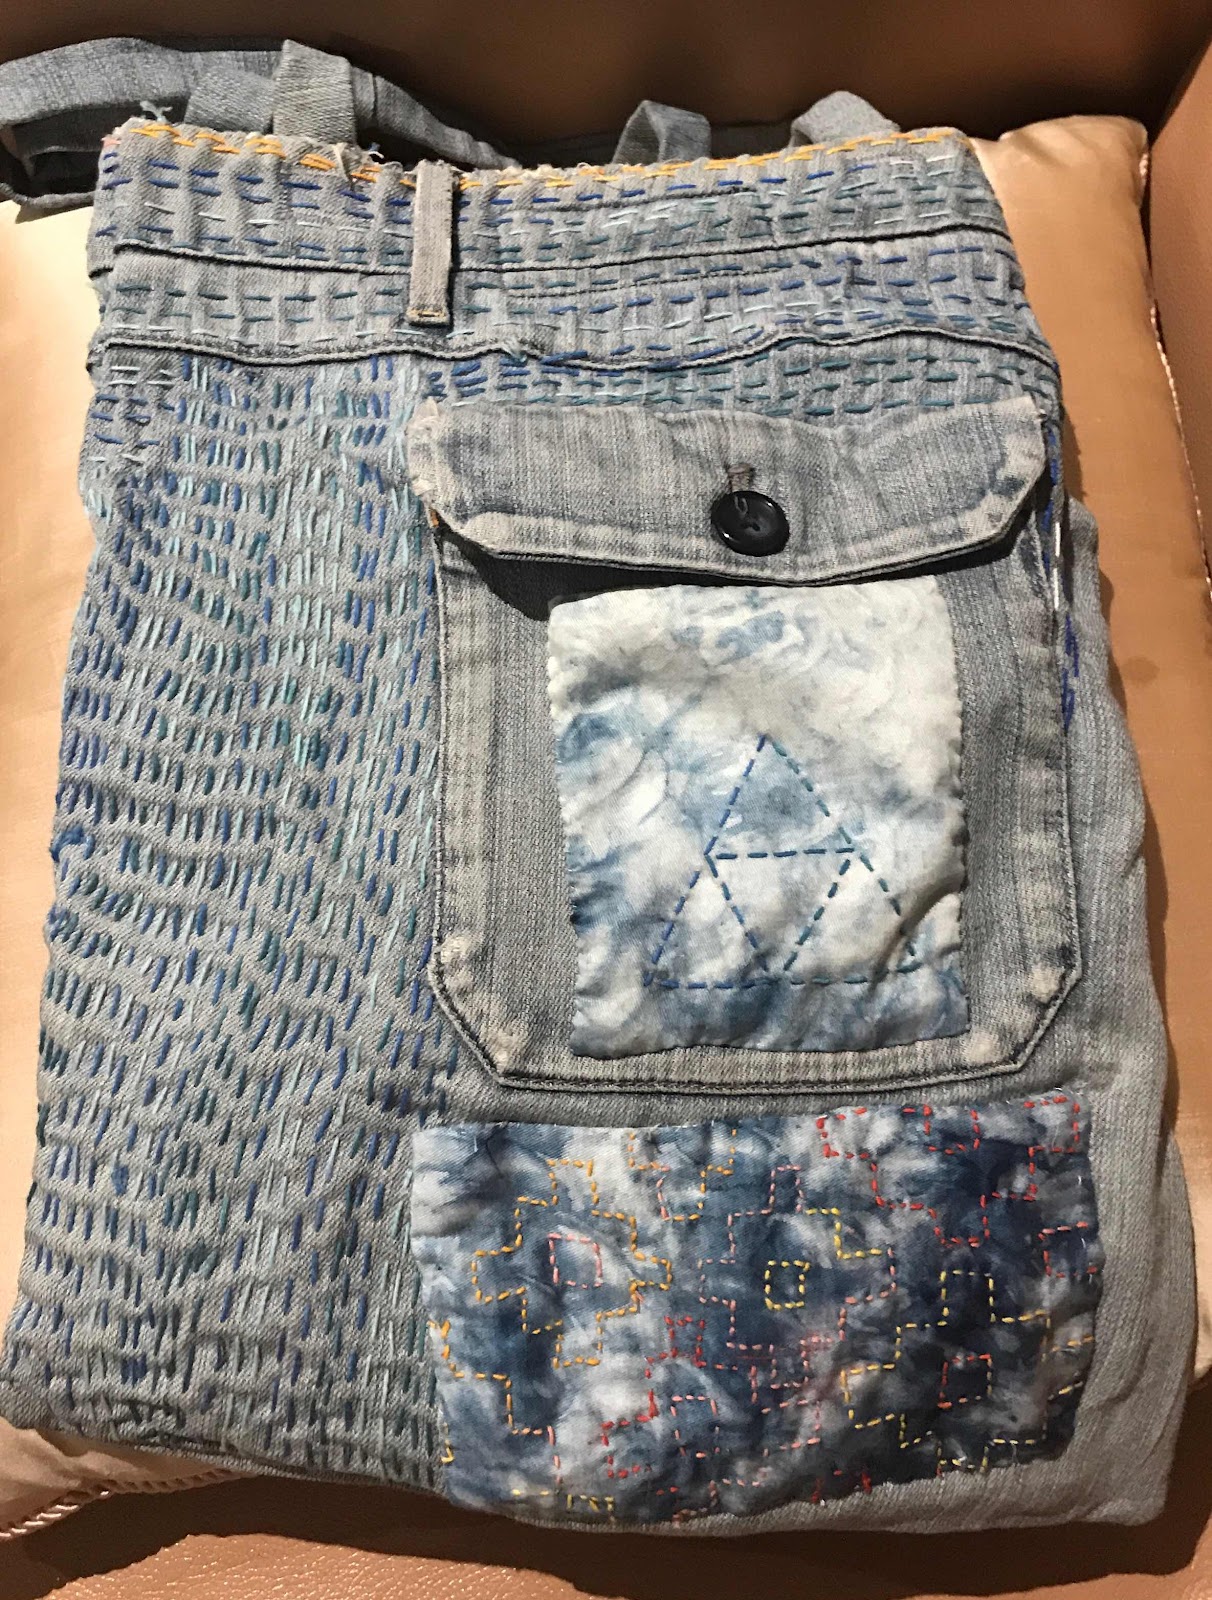
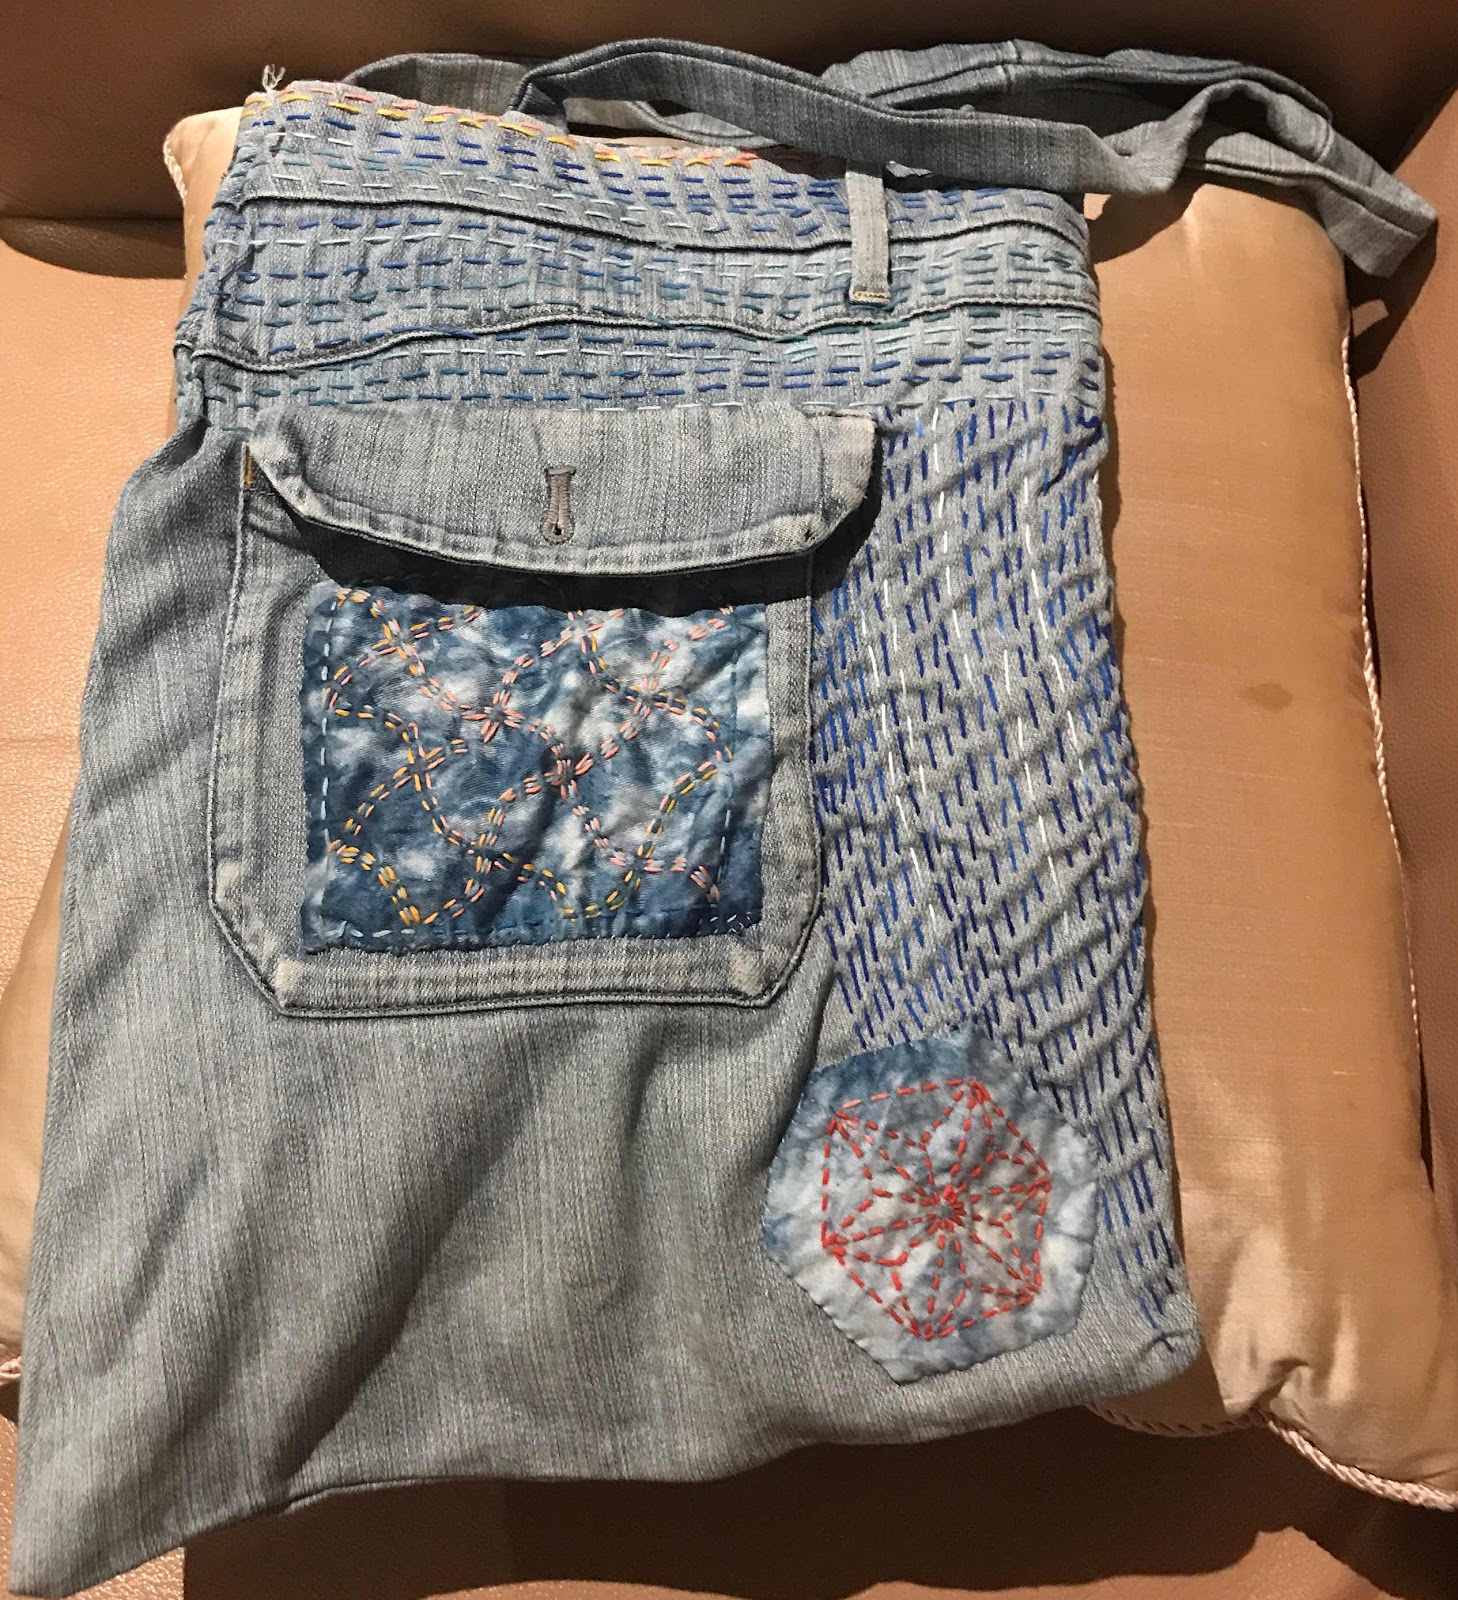
I attempted to cover the whole bag with running stitch, but beyond this point the bag twisted out of shape, so I stopped. I added a button to the pocket where one was missing.


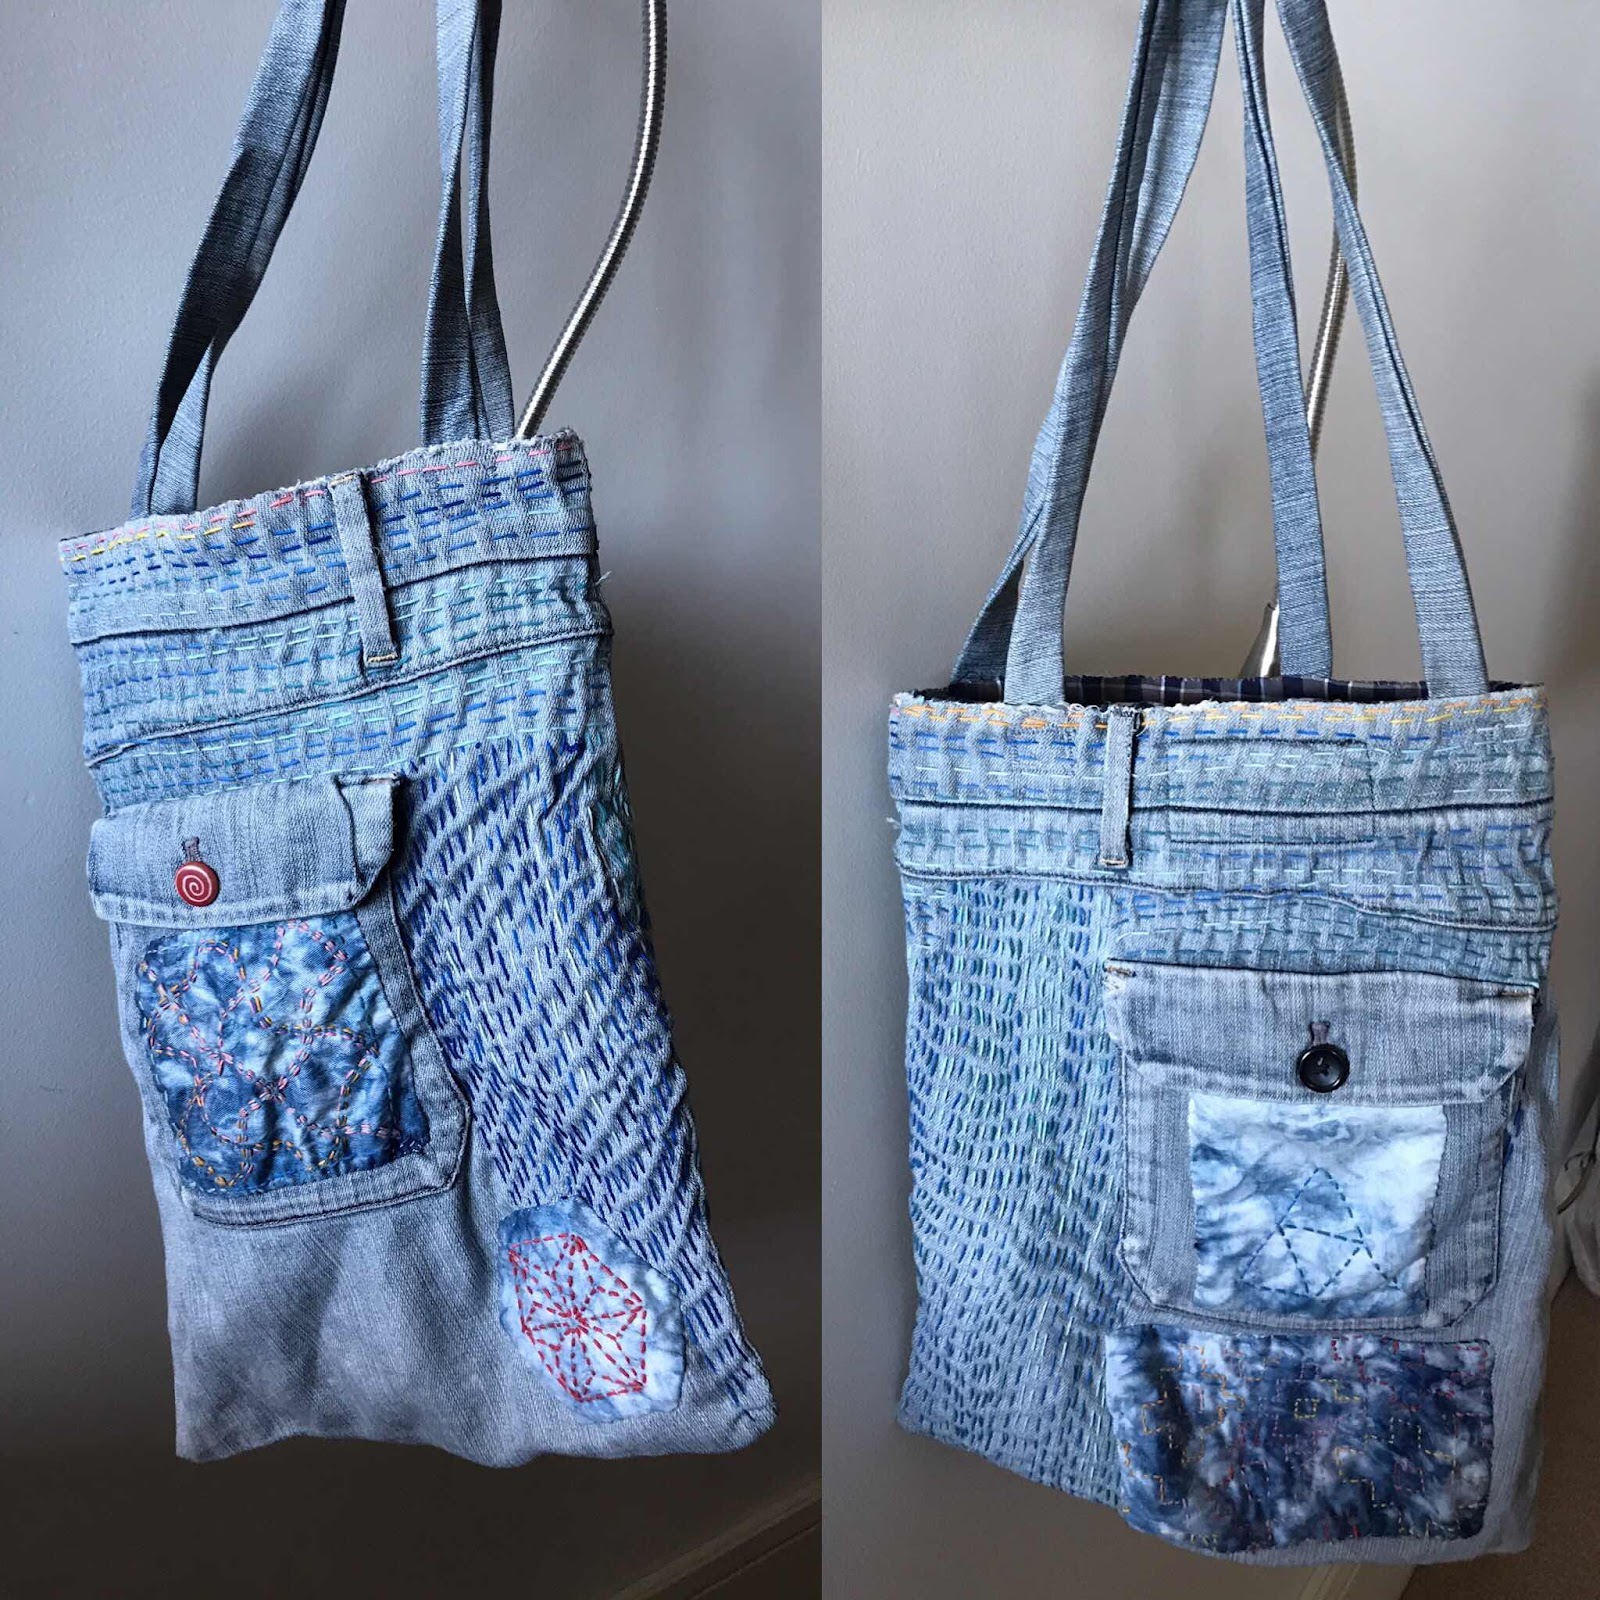
I'm not sure how and where this bag will end up being used, but I've had a lot of fun and learning making it.
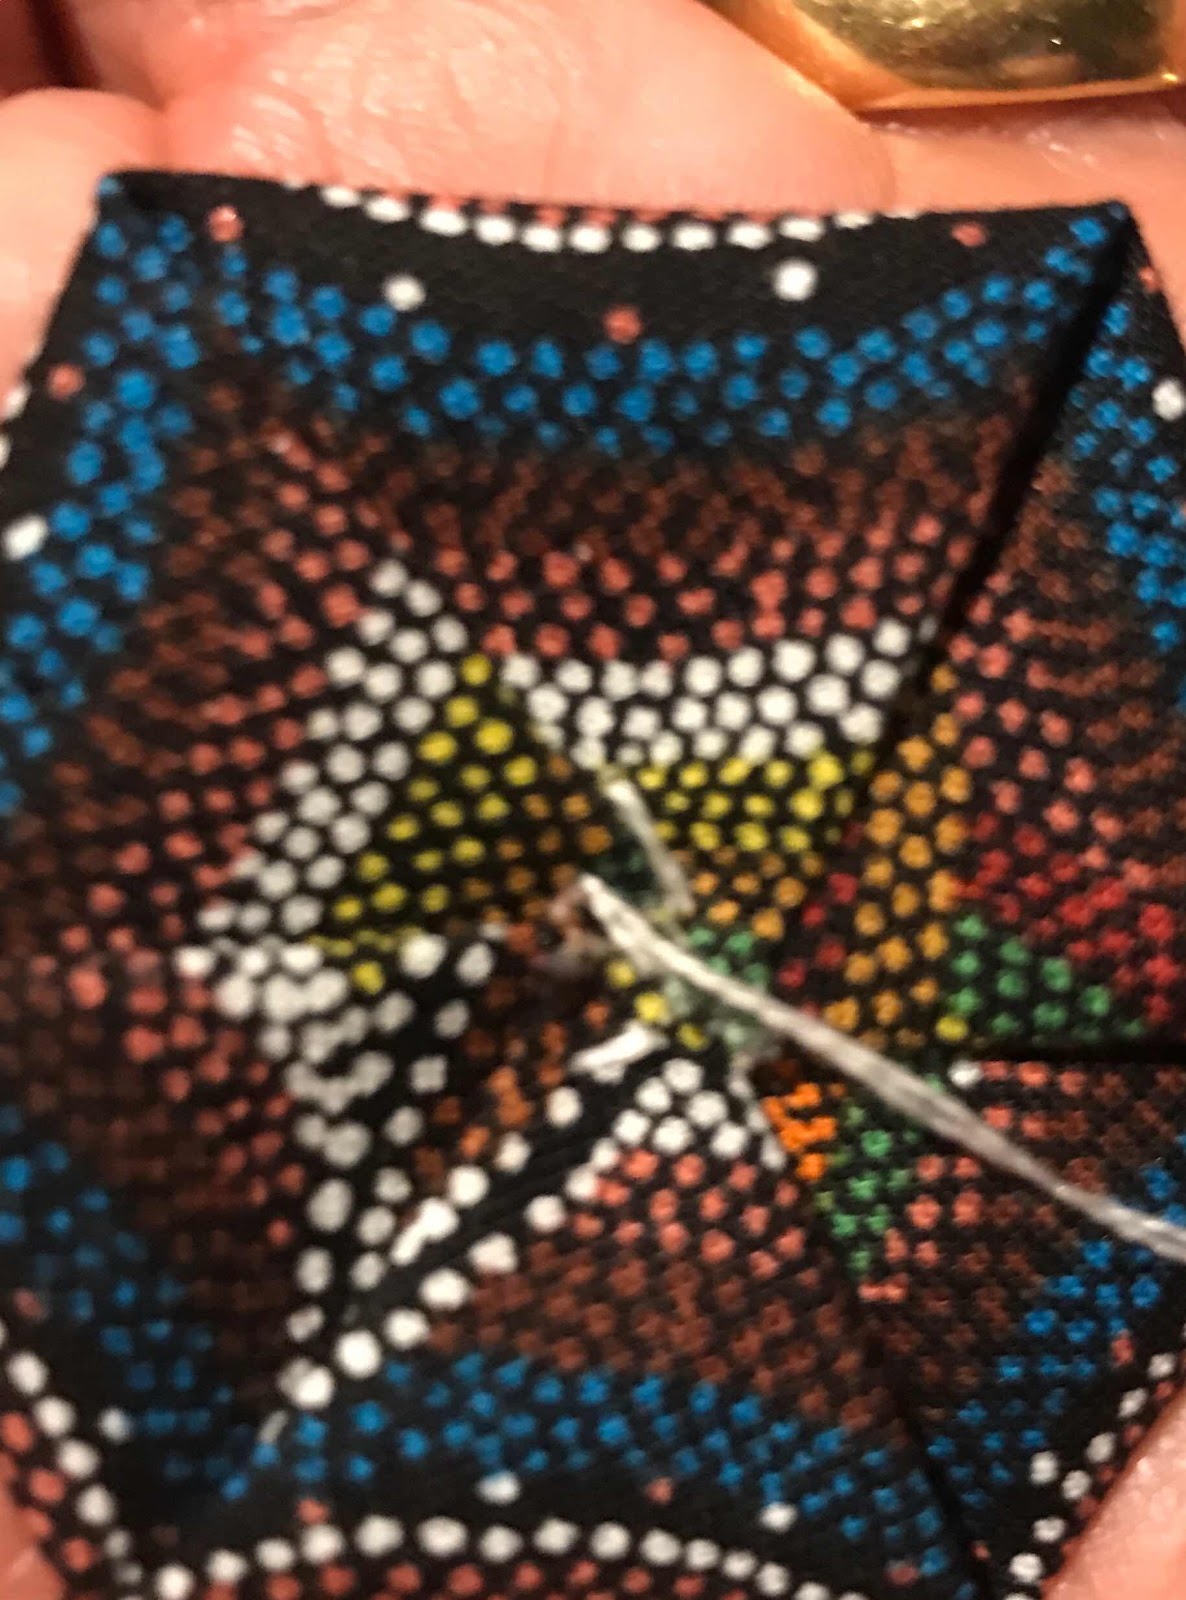
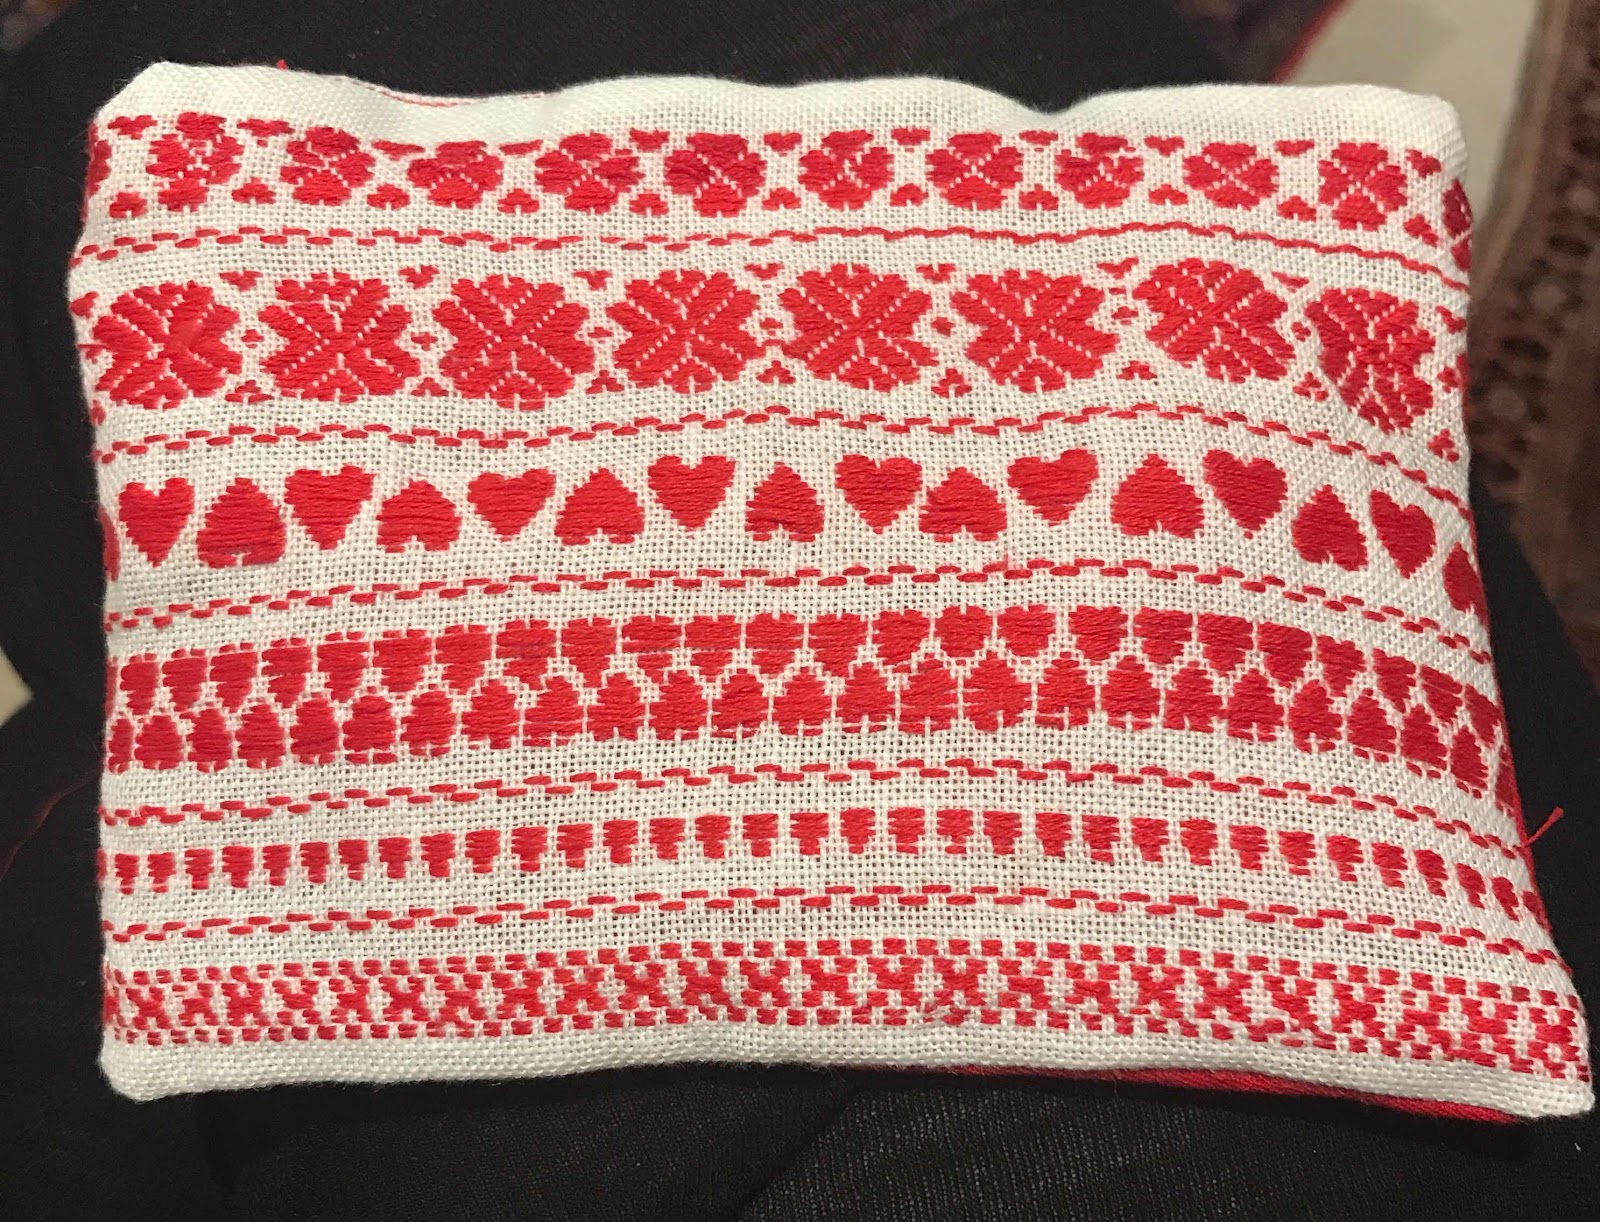