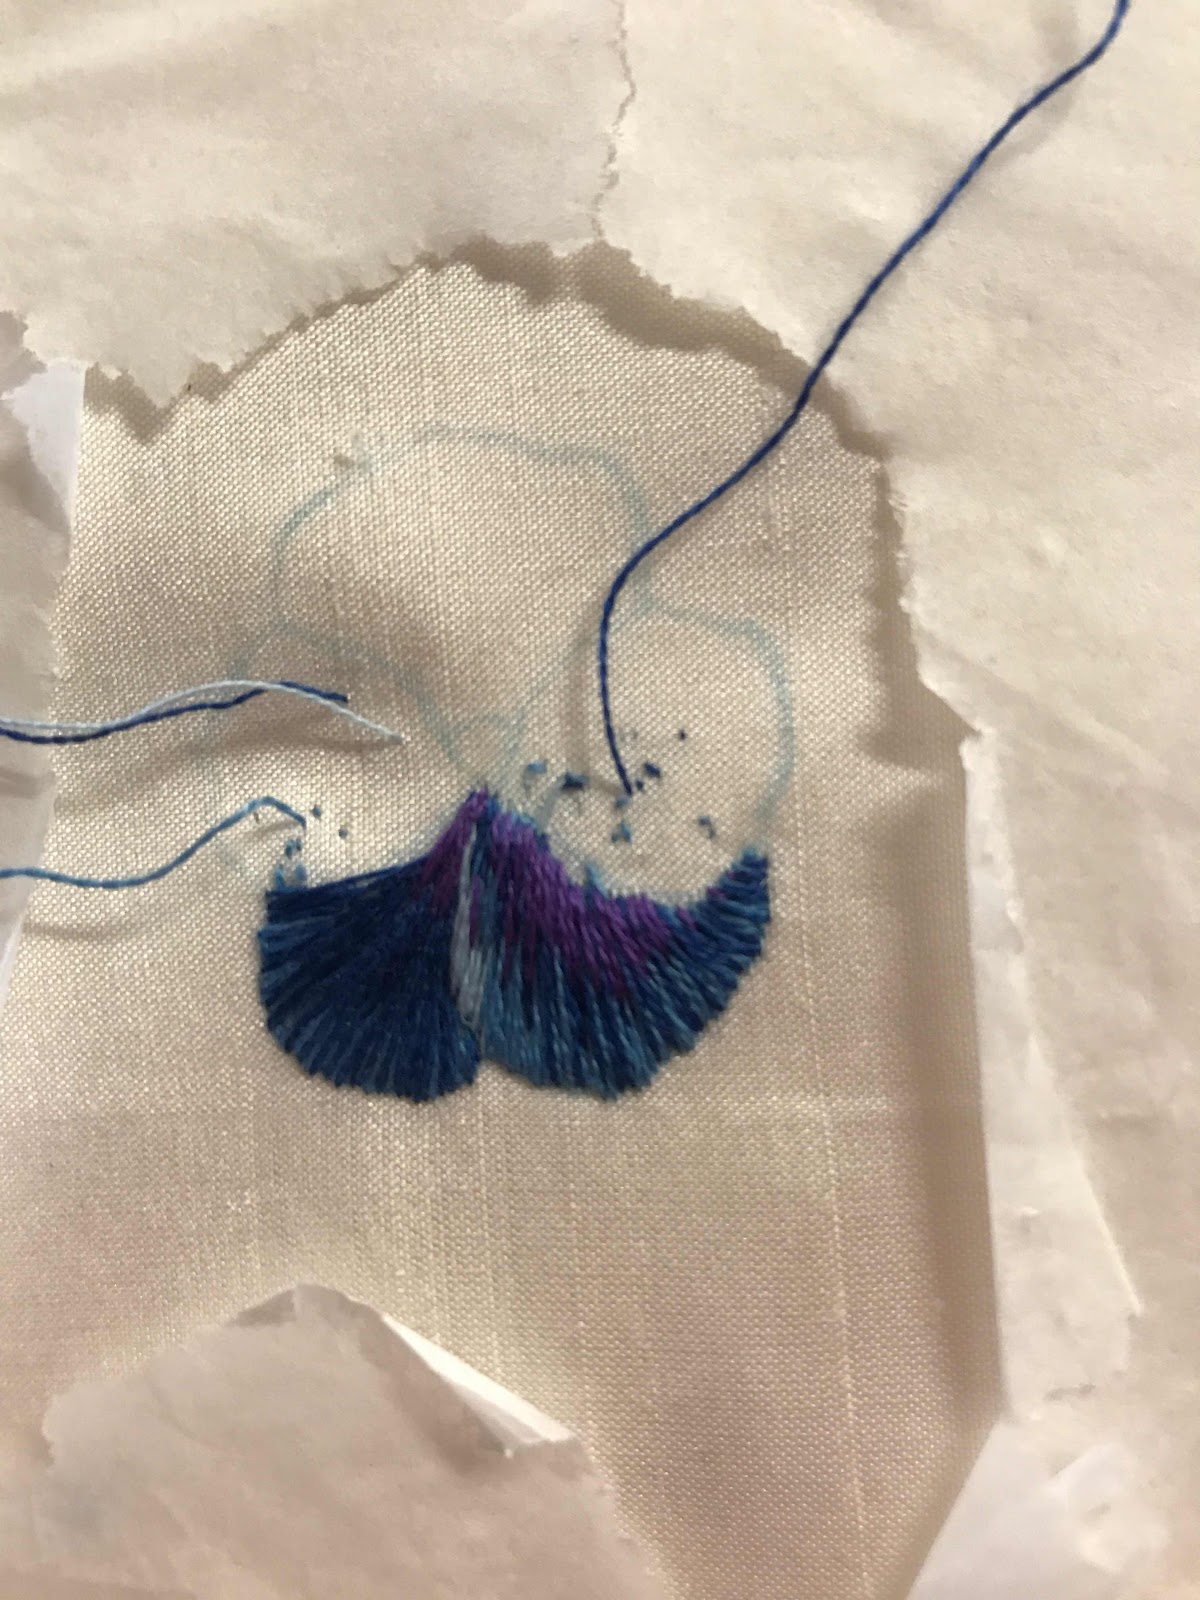
 She had chosen a pansy as the basic design for us to work. It was a brilliant choice - giving a standard design for us to work, but with infinite possible variations for us to choose.
I based my colour choices on the threads I had brought with me - a bag of stranded cottons left over from some kits I had worked a few years ago. I had plenty of blues and yellows so worked around these, adding a few purples I bought from the trading table on the day.
Di had prepared some silk for us to use and we brought along our own calico backing.
Di's teaching is meticulous - she teaches the process of thinking through the project - colours, light, direction, shading, technique. I had worked the two darkest petals by the end of the day, but hurried home to continue while it was fresh in my mind.
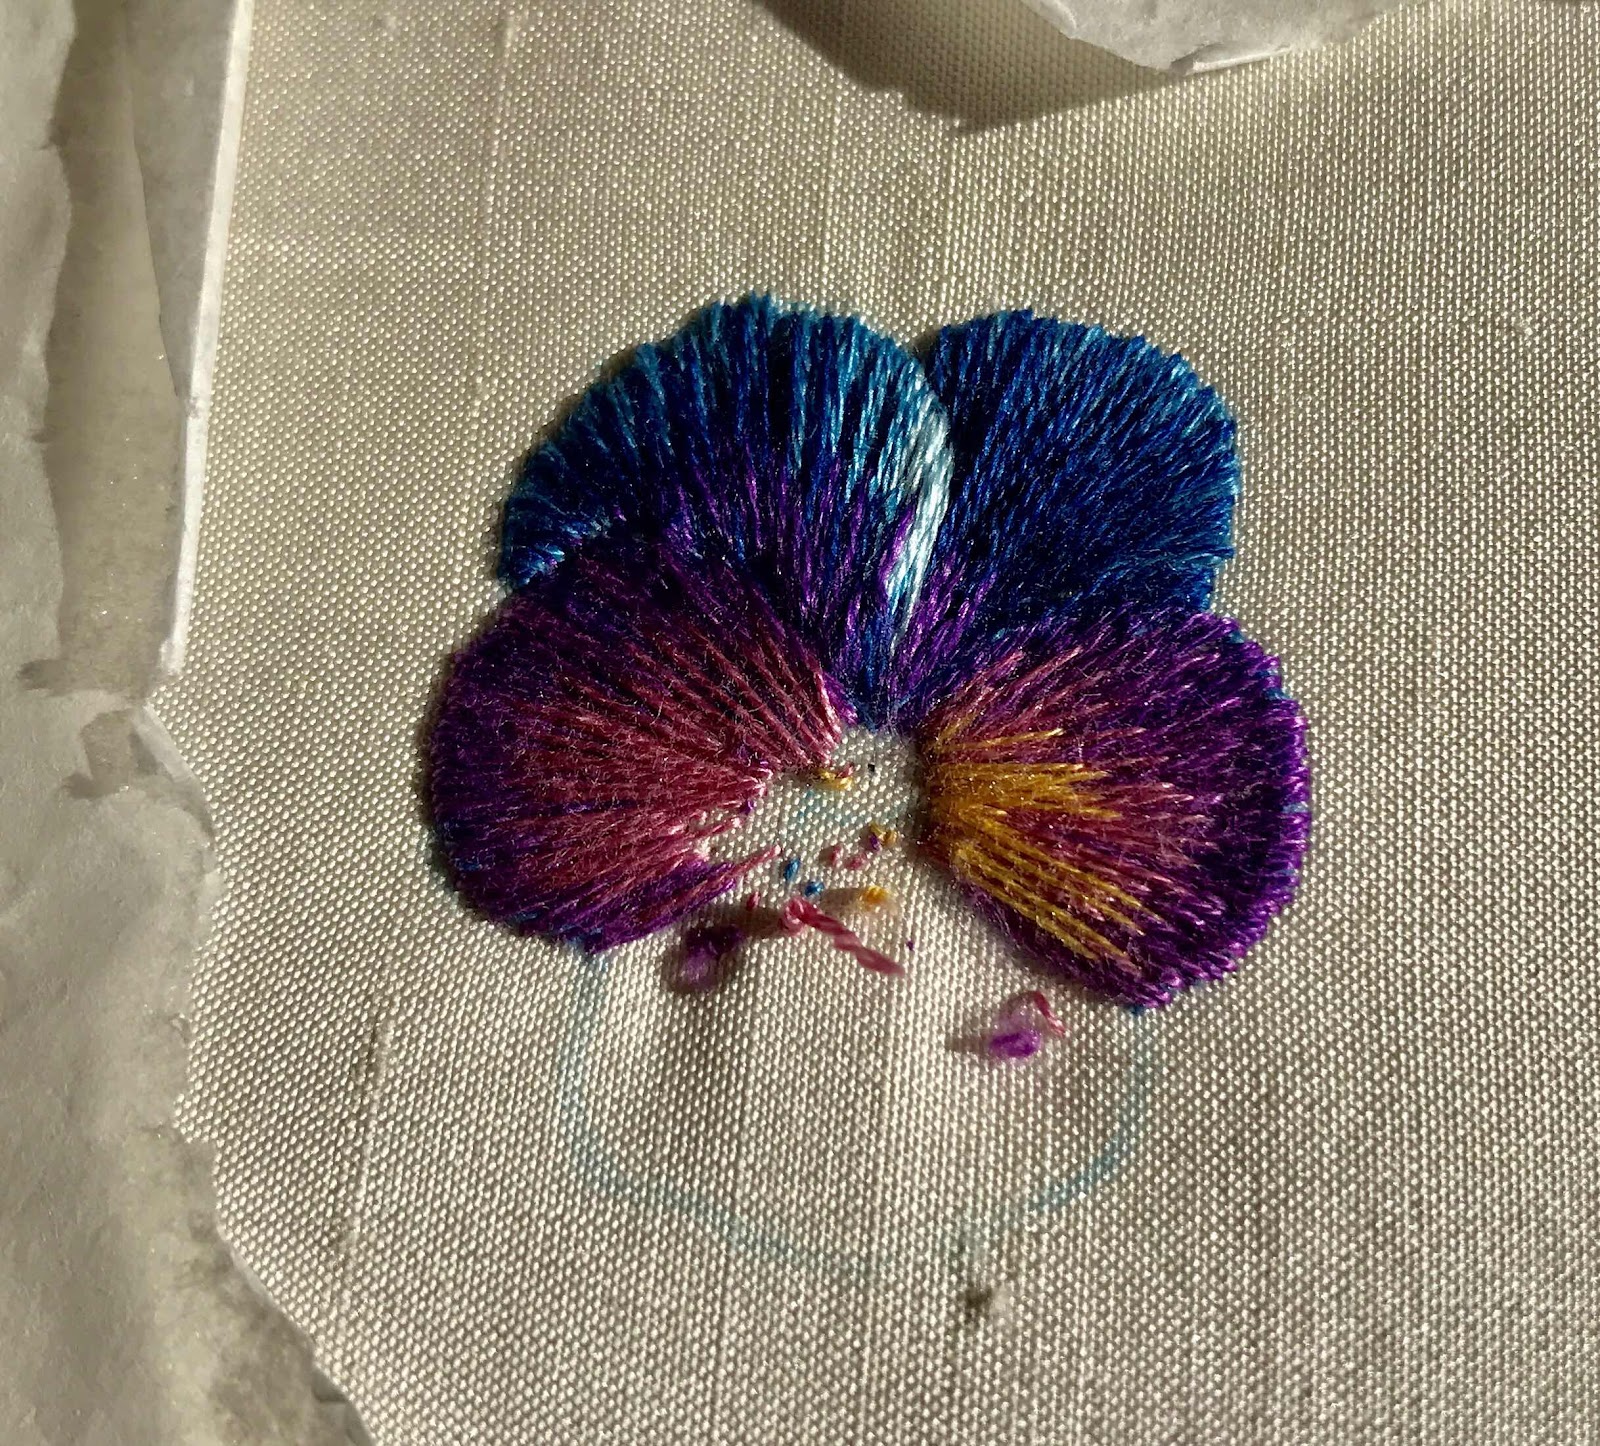
 I was pleased with the result I had (left) by the time I went to bed that night (rather later than usual!). I left the dark veins until morning.
I also added a little more purple to the darkest petal.
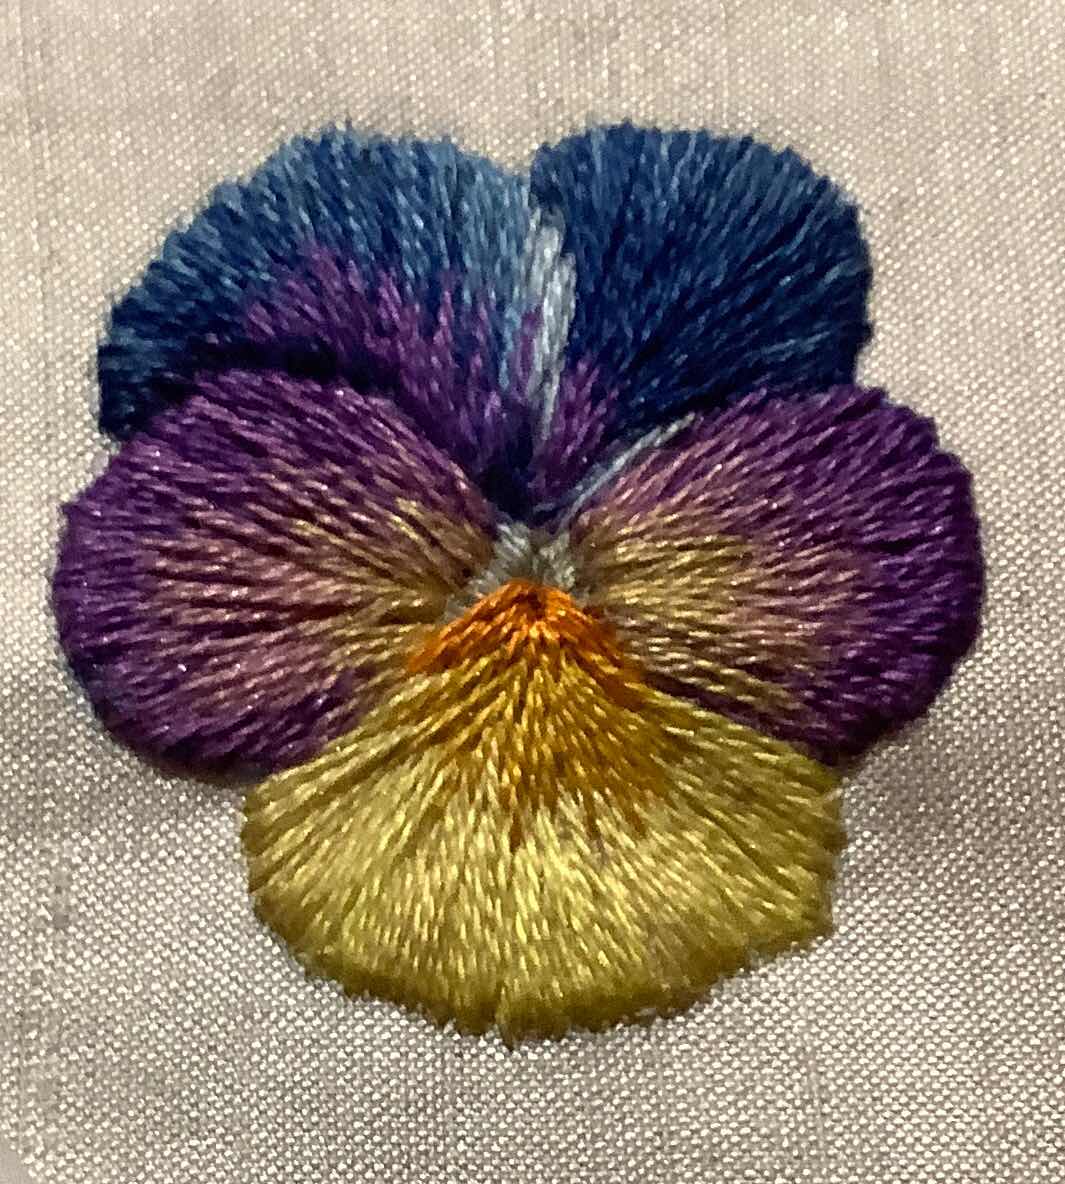
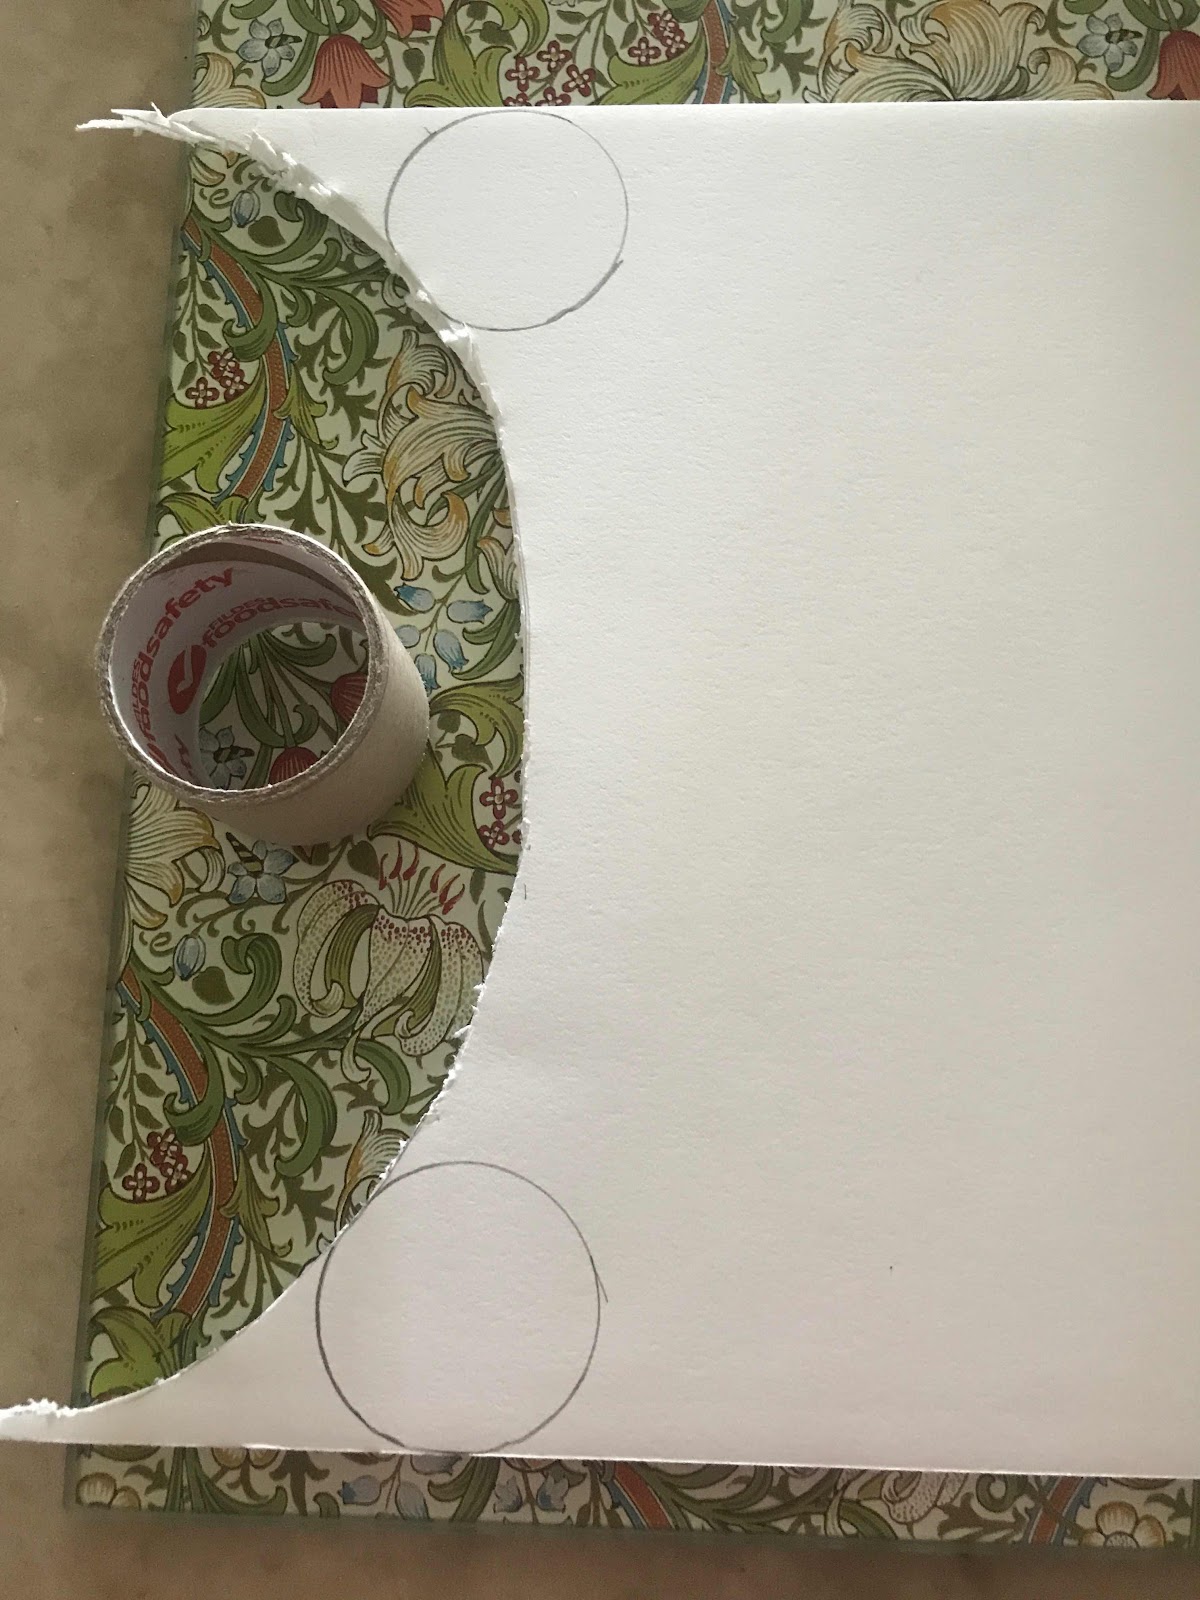 While working it, I had an idea for using it. A friend at the Guild had given me, weeks ago, a section of a cardboard postal tube to make a small box.
It is VERY small - but the perfect size for the pansy to form a lid.
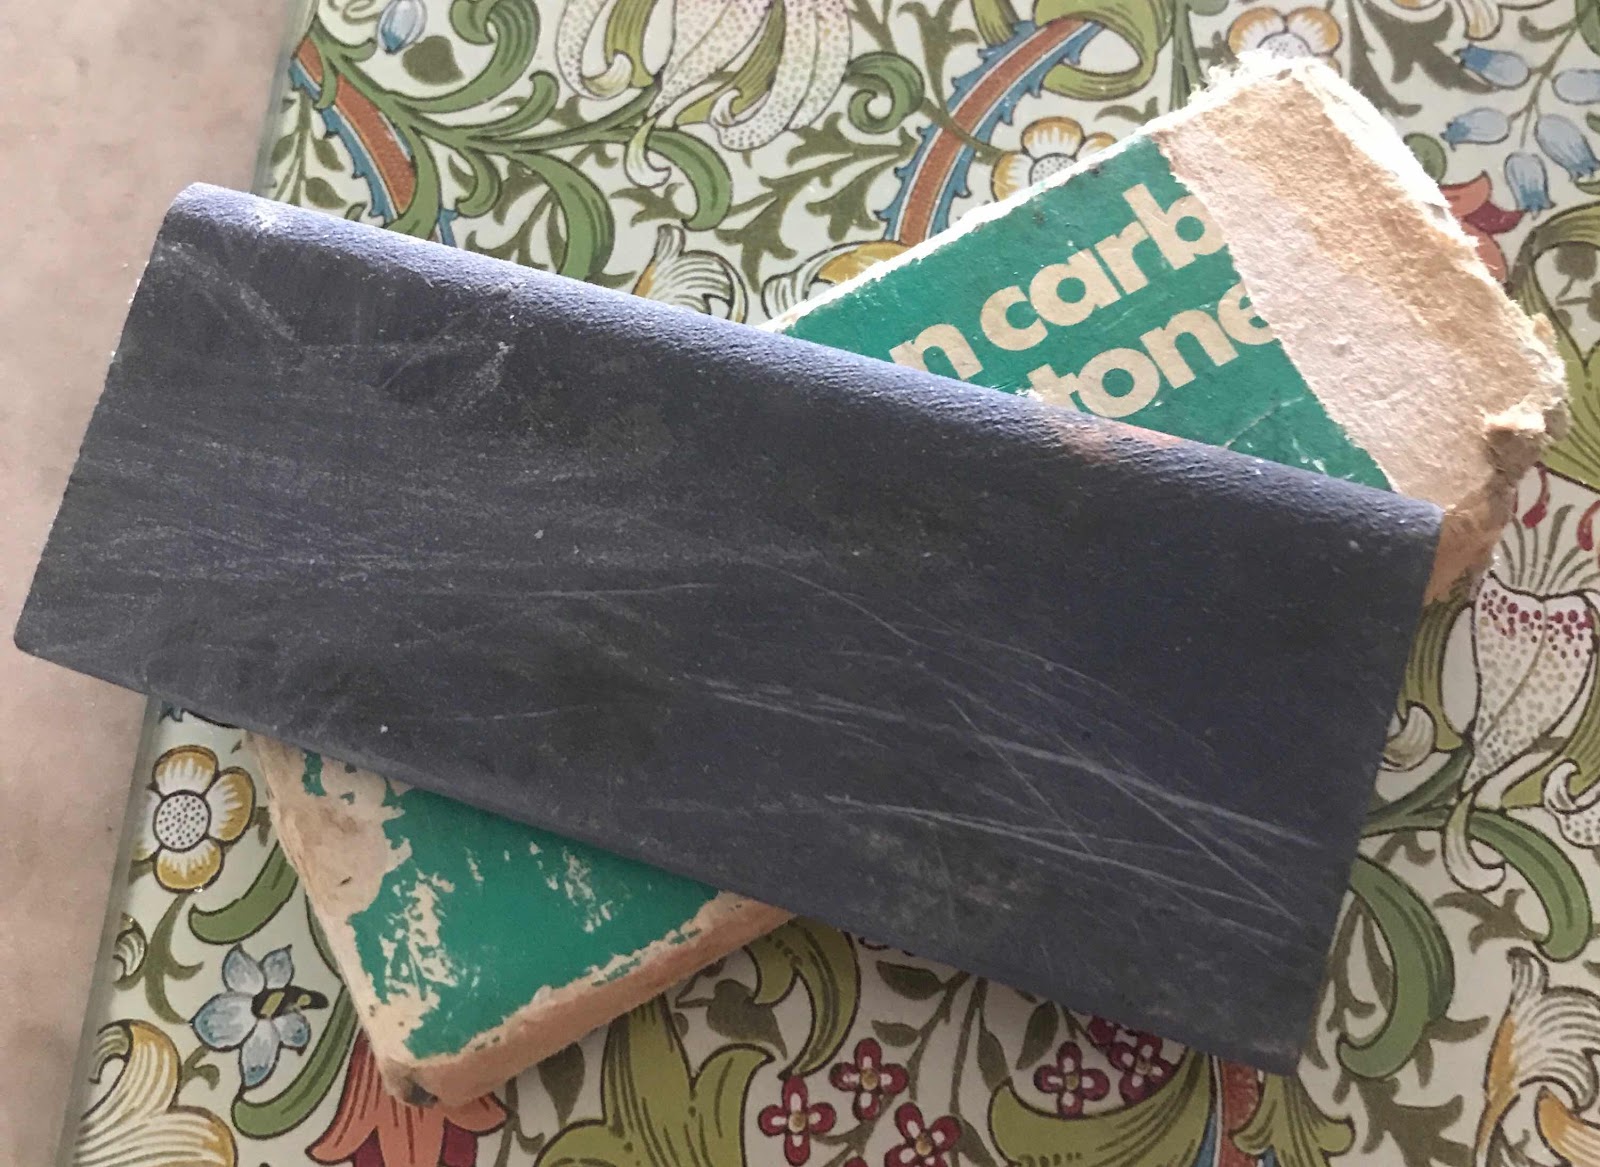 I used some acid-free backing board to cut circles for the top and bottom. While the right thickness, this was not easy to cut into small circles with smooth edges. I used a sharpening stone to file the edges smooth as best I could.
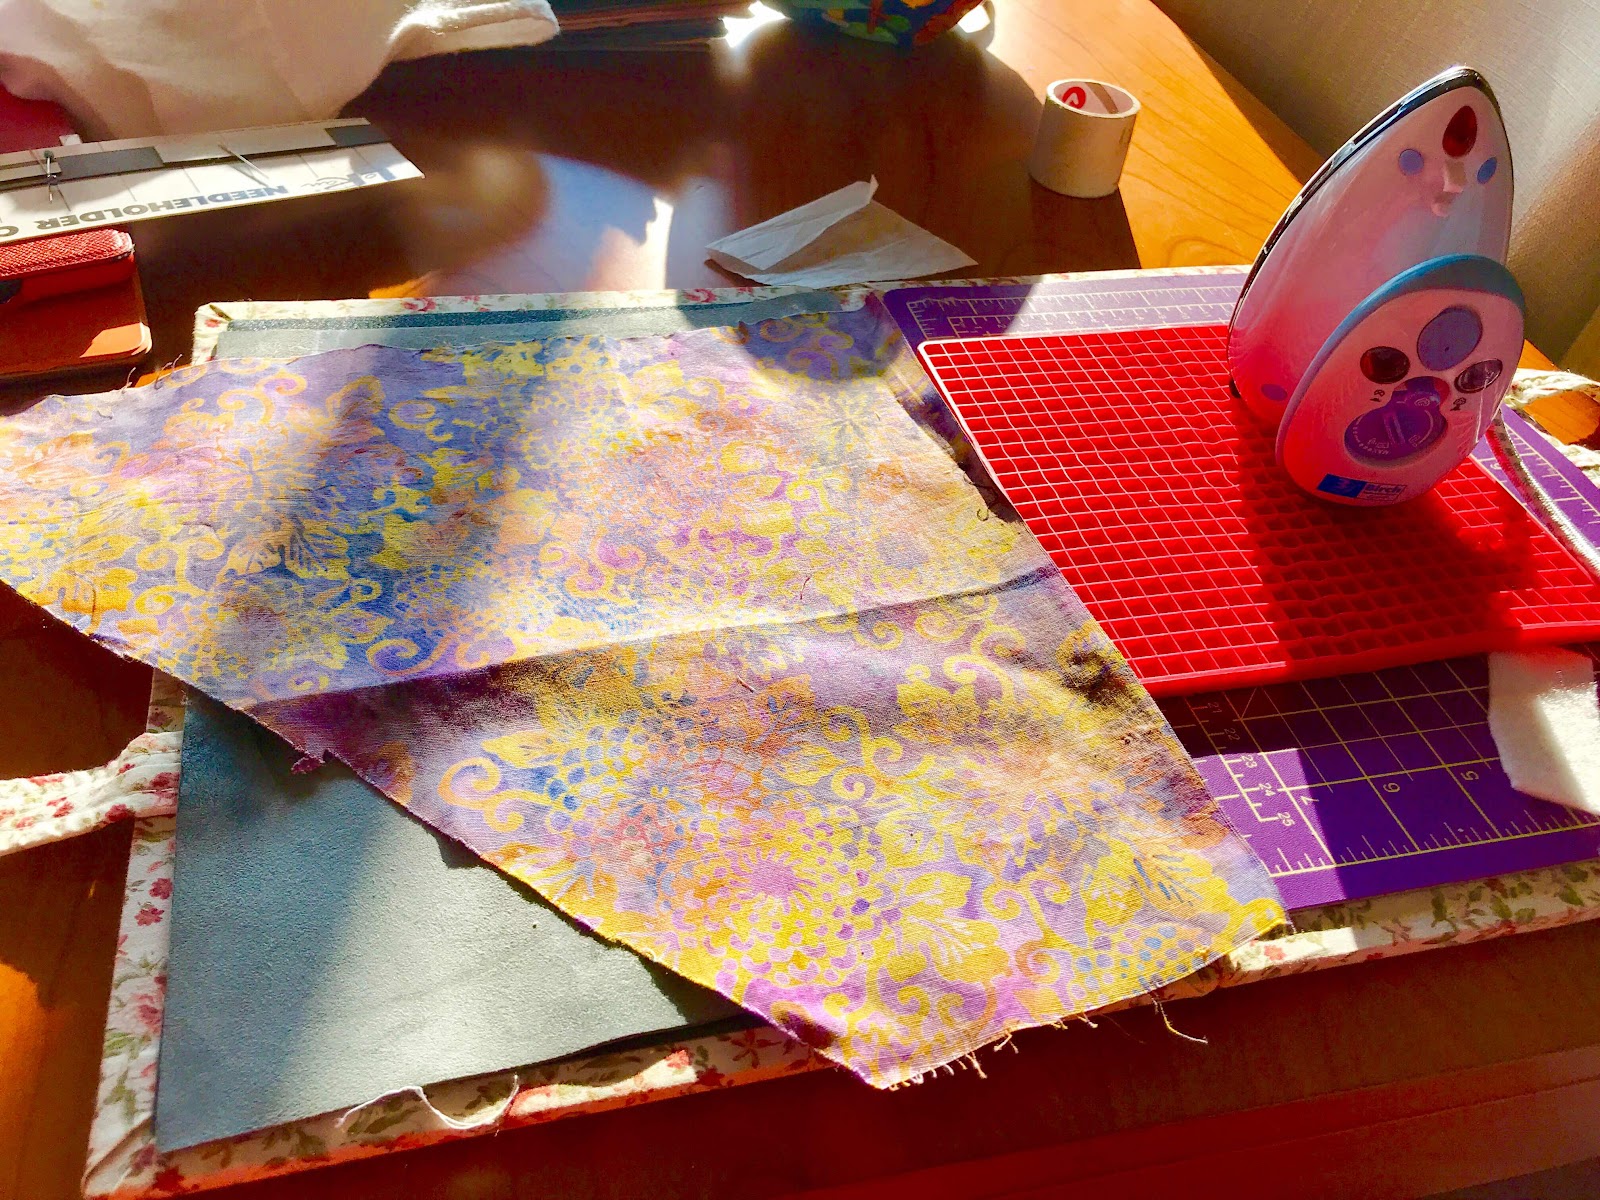
 I went through my stash for fabric of suitable colour, settling on a scrap of batik.
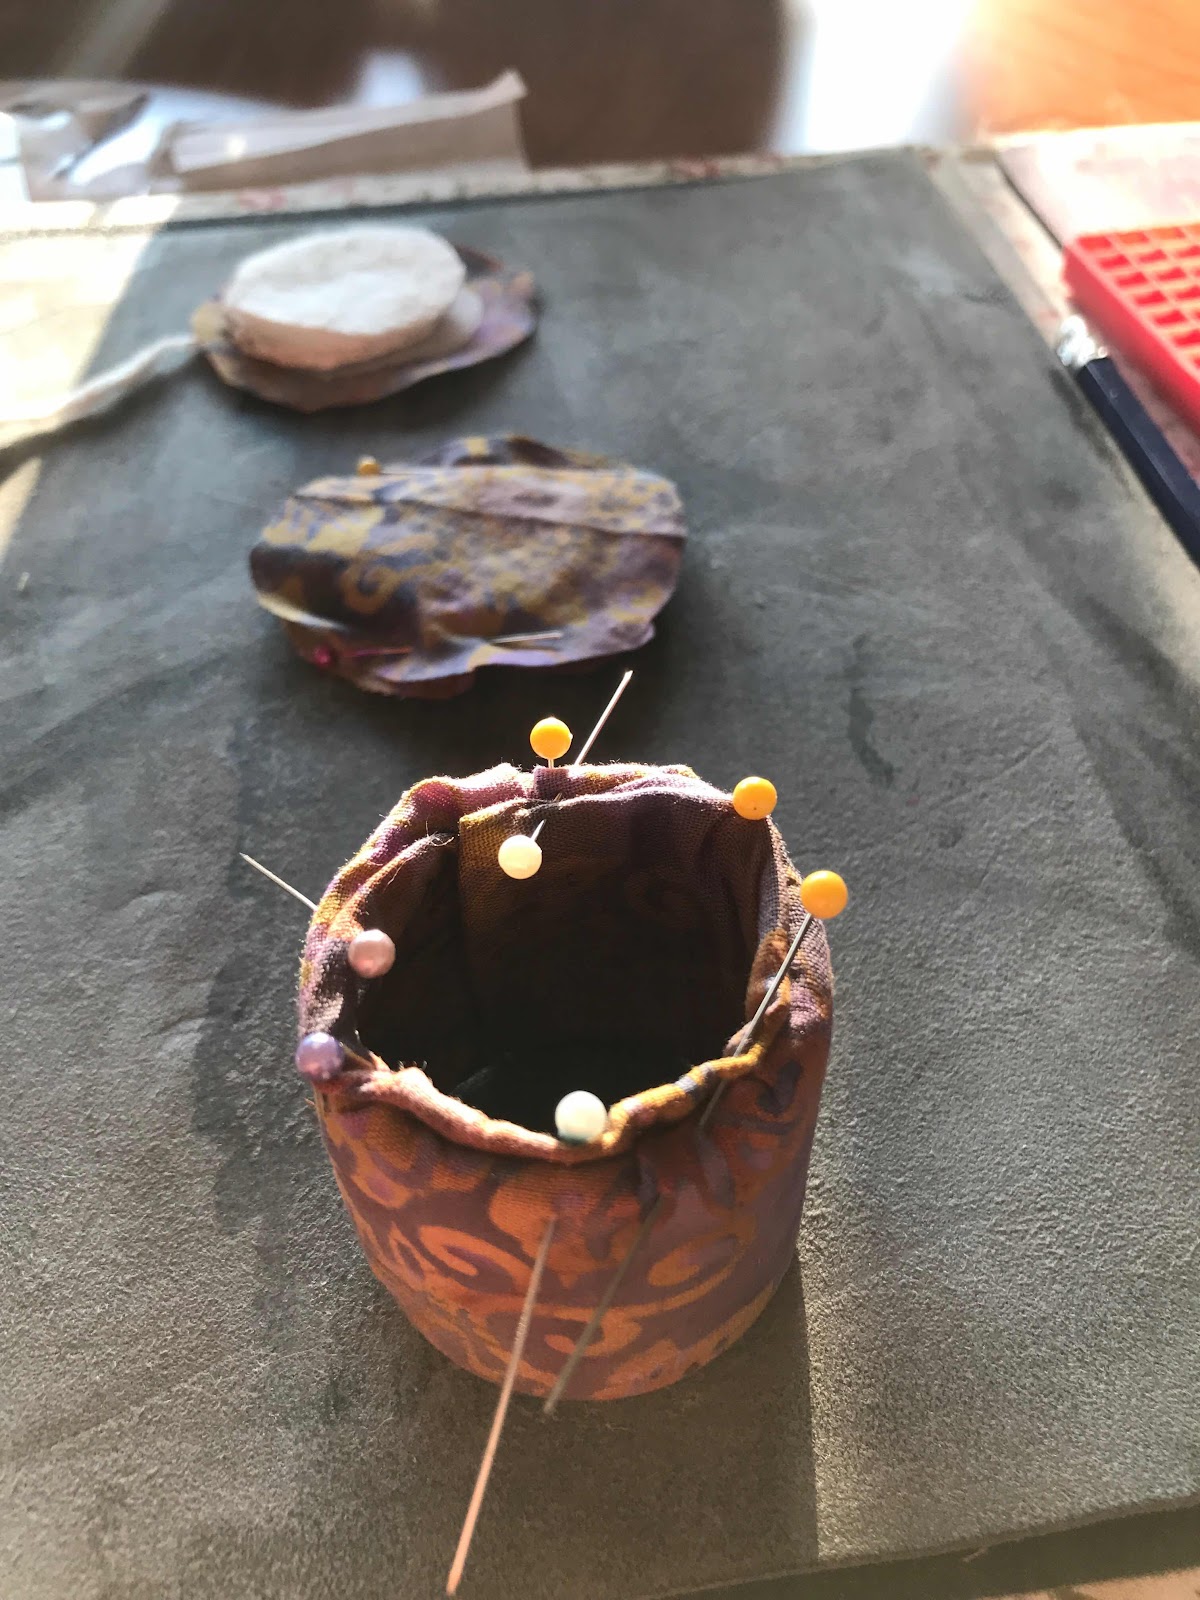
I assembled various bits of backing - both pellon and felt. I cut it all to size, ironed the pellon to the main batik piece, folded it over the cardboard tube, pinned it and stitched it down.
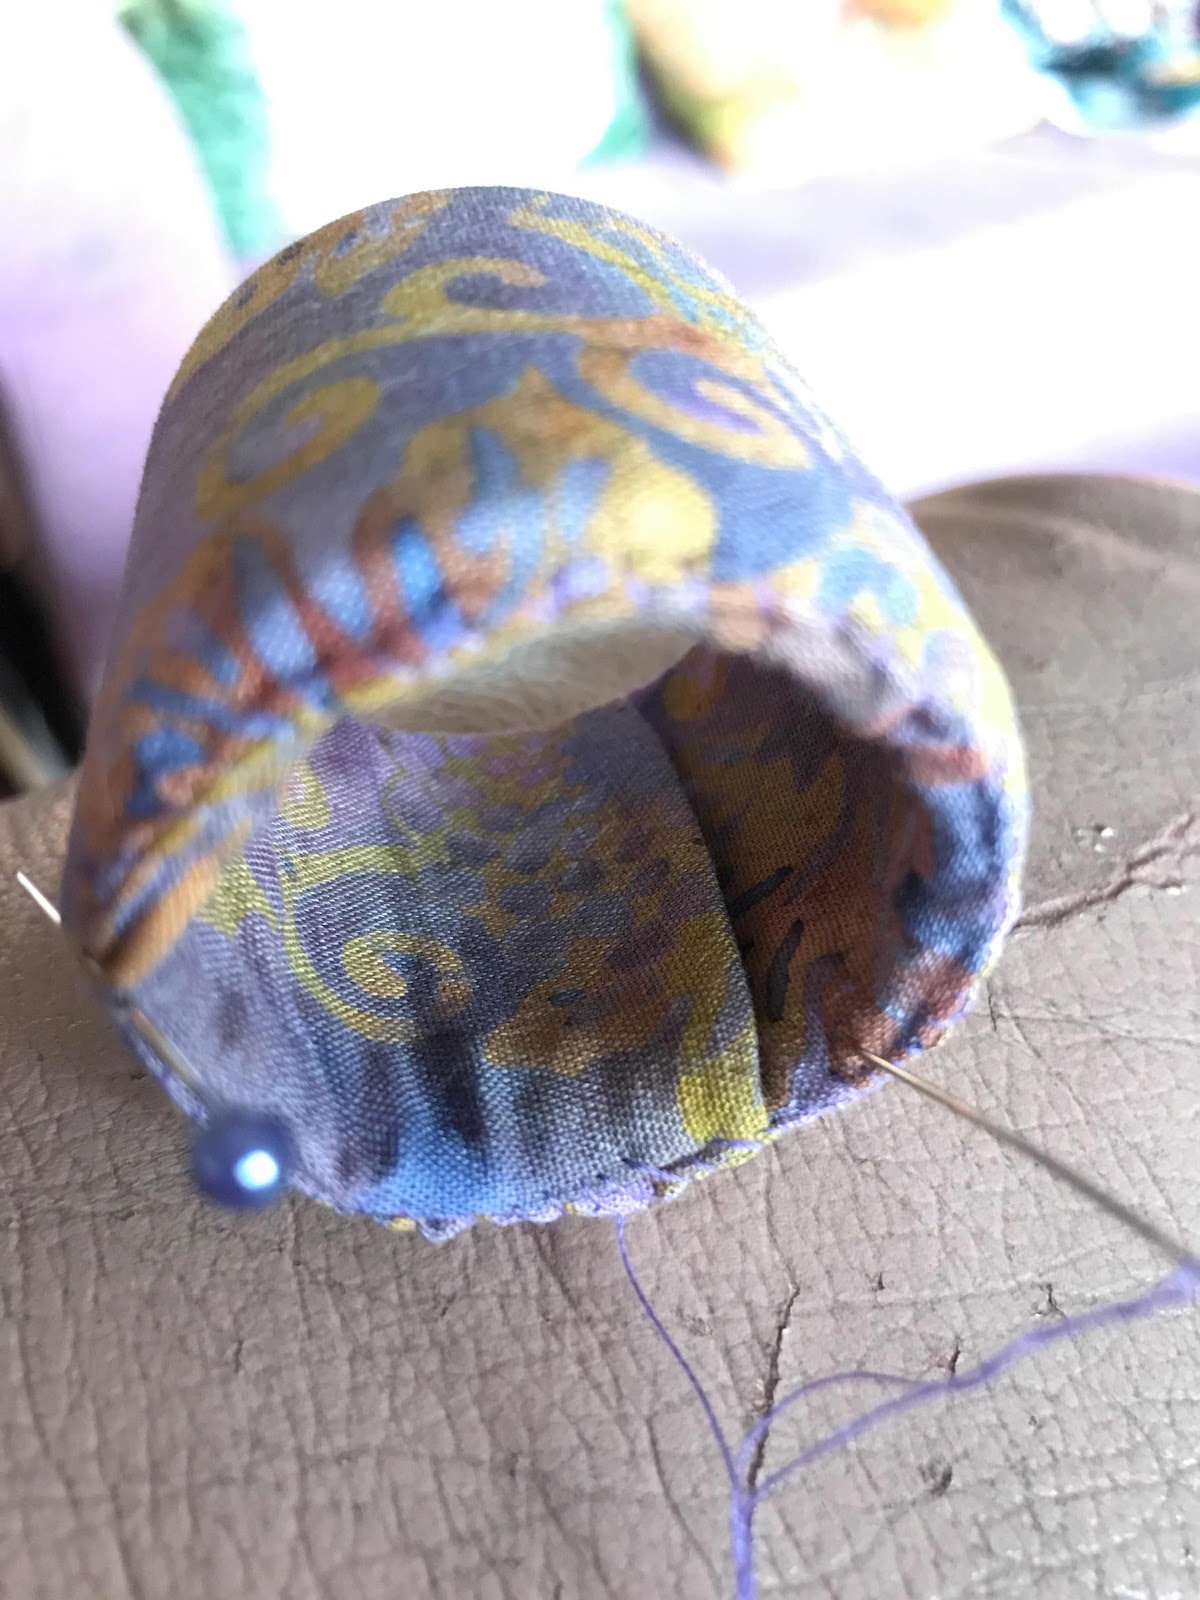 I made a base with the circles of mounting board, felt padding and batik.
I stitched in the bottom one.


The top one I used for the pansy, cutting it out and gathering it. I cut a smaller back-board circle to fit inside the box, making a base to hold the lid in place in the box.


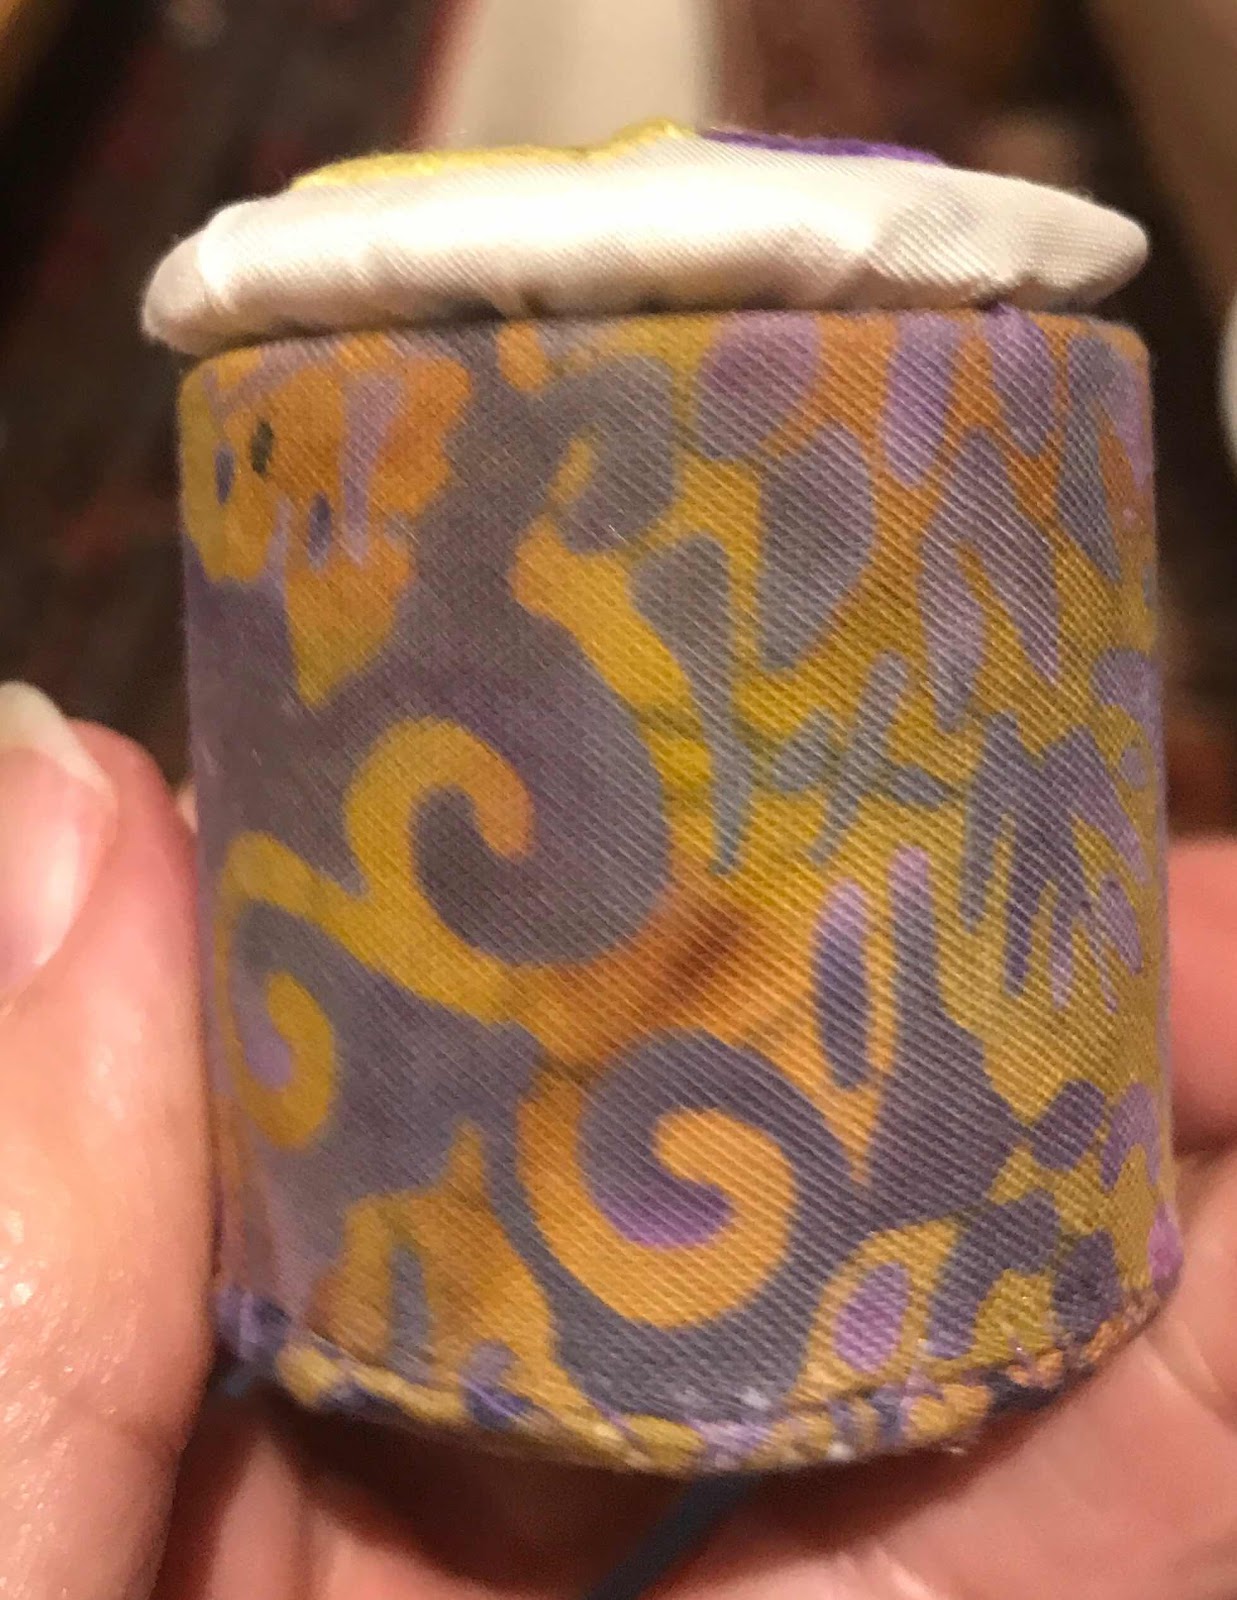
I wasn't happy with the look of the box. The lid was too much of a contrast when viewed from the side and although it fit quite well, it wasn't tight

I found some cotton lace and some braid. The braid I stitched on the inside of the lid, to help it fit more tightly.
First I painted the lace with fabric glue, then with two coats of gold acrylic fabric paint.
When it was dry I pinned it on, cut it to size and stitched it to the lid.


This worked well. The lid is now held firmly in place, and the white silk of the lid is not such a stark contrast to the sides of the box.

Lots of learning, along with a happy experiment and outcome.
1 comment:
I love the pansy. The colours are beautiful. It must have been tricky making such a small box. Well done.
Post a Comment