Search This Blog

Thursday, October 17, 2019

Another Exhibition Bag

Three years ago I made an exhibition bag -a padded bag for holding items submitted to the Embroiderers' Guild exhibition. It was a large bag, because the piece I was entering in the exhibition was of reasonable size. When I was recently asked to put items I had made last year at Guild classes in a monthly Gallery display at the Guild I used the bag to submit them - but thought it would have been better to have a smaller bag.

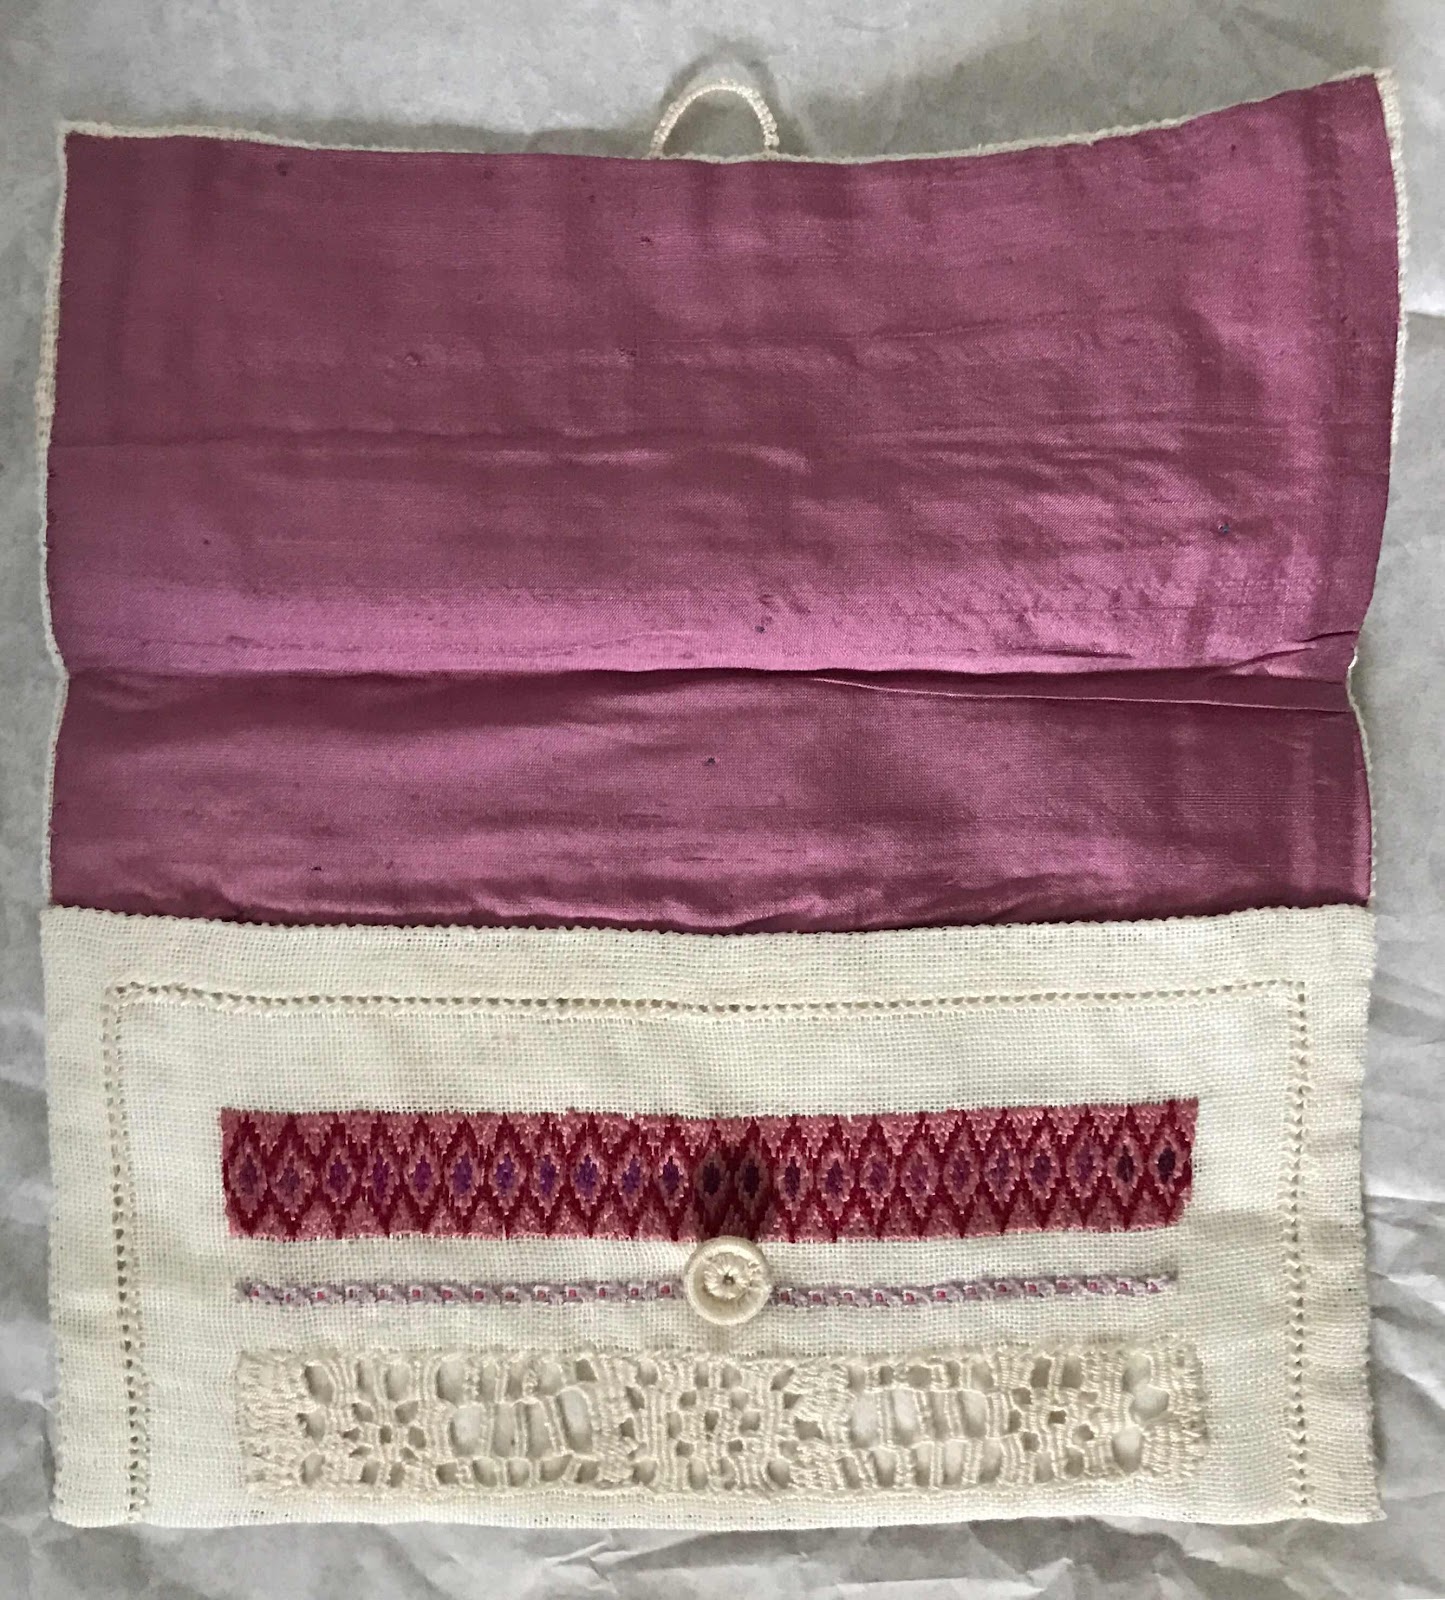
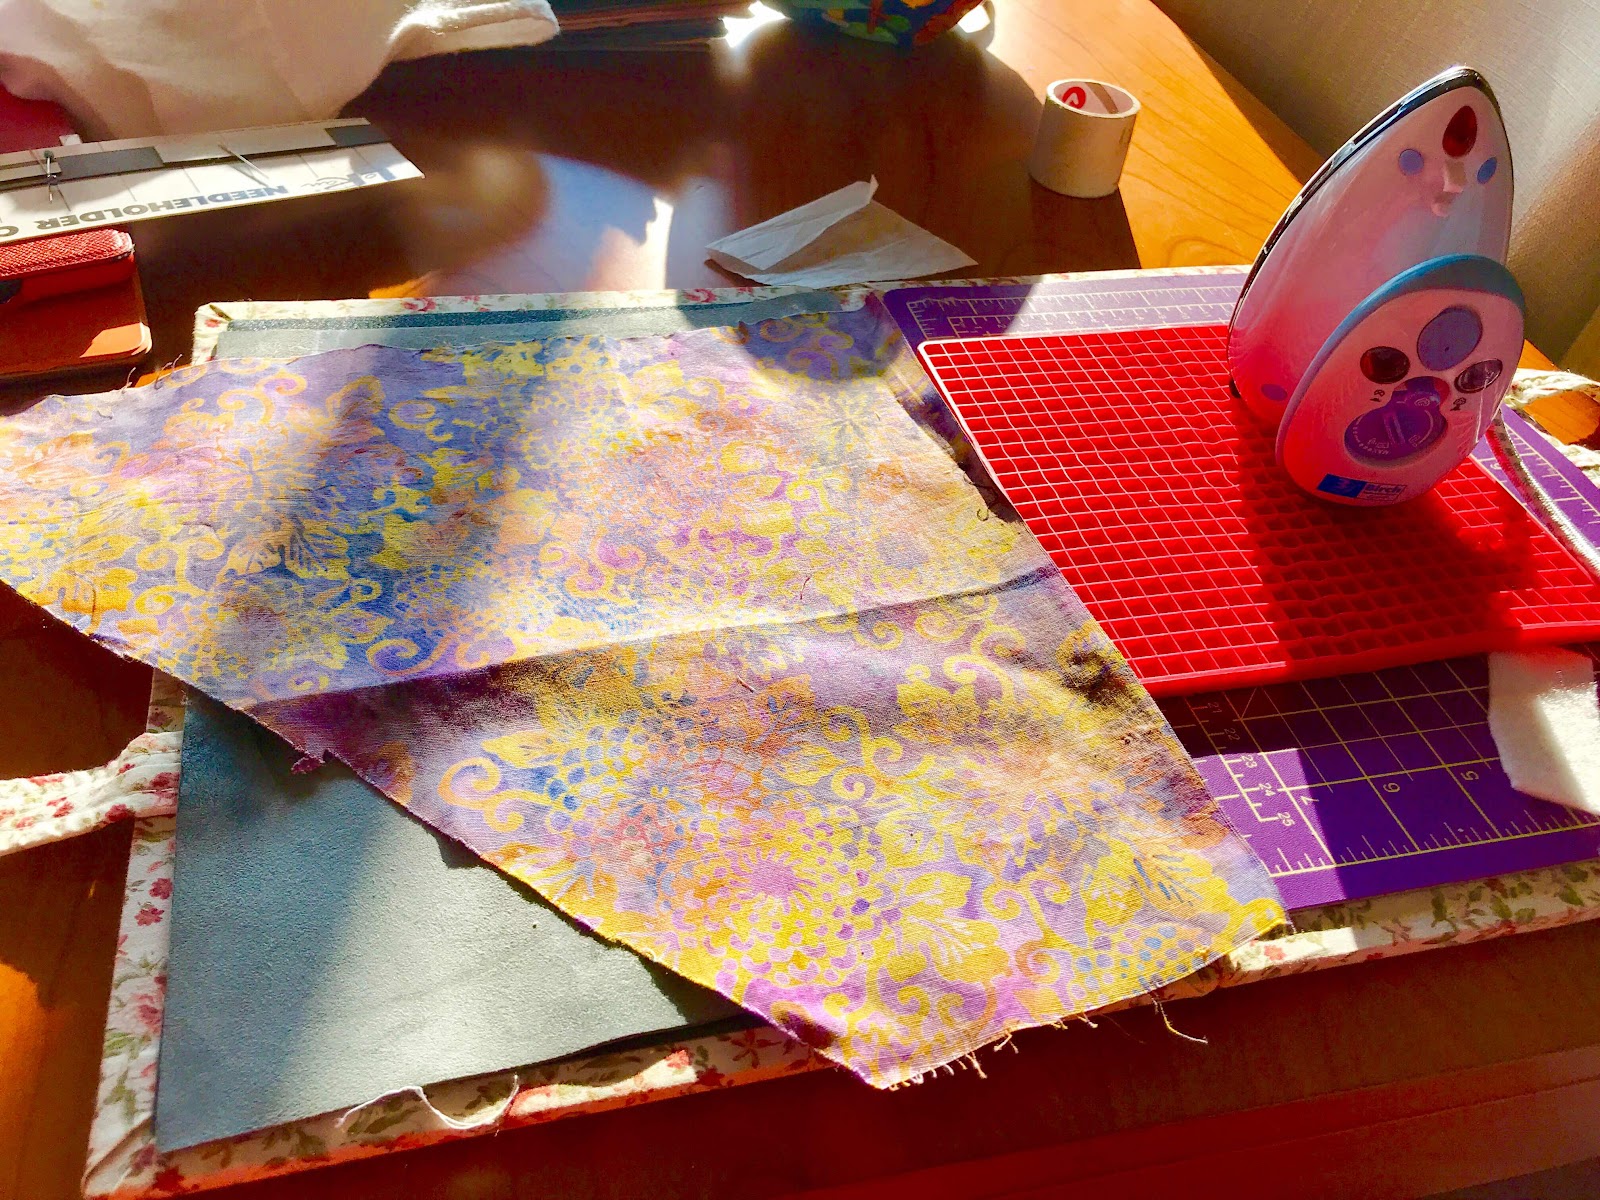
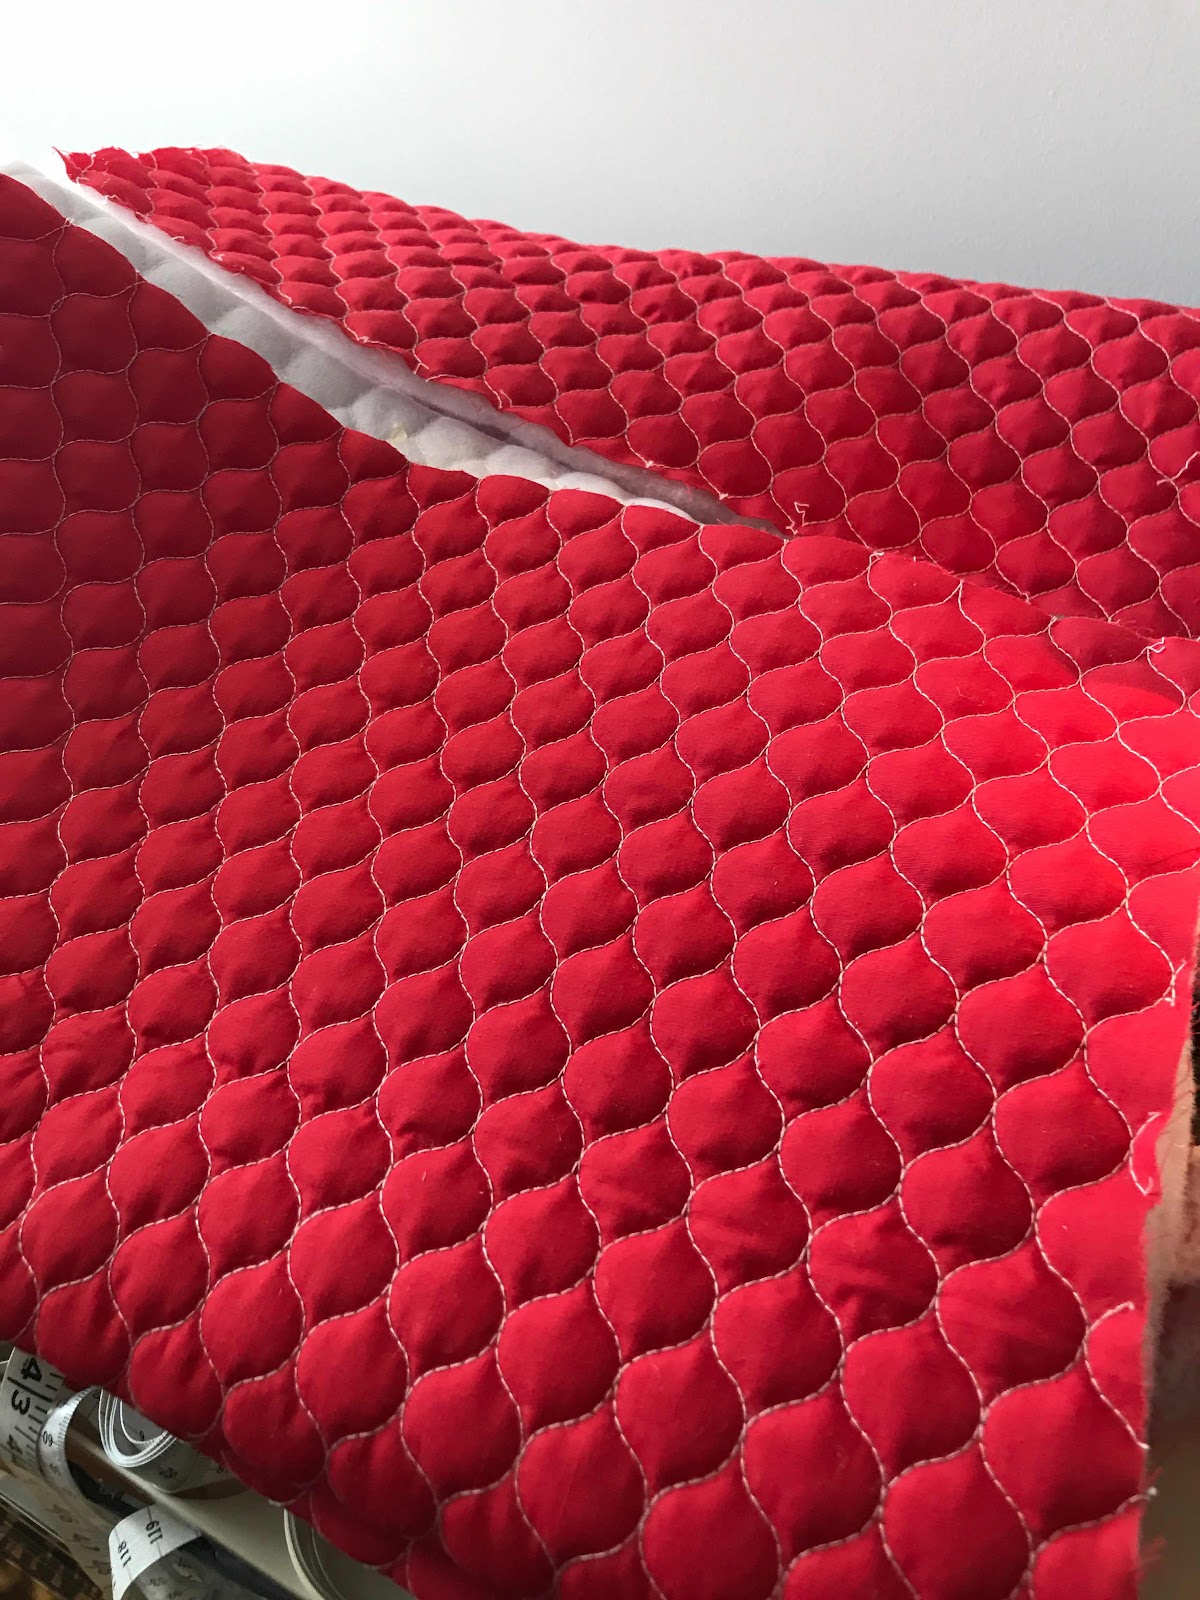
I had a smaller, but fair-sized strip of padded fabric left over from making the original bag, so spent an afternoon making a second bag. The strip was about 45cm wide, but quite long.
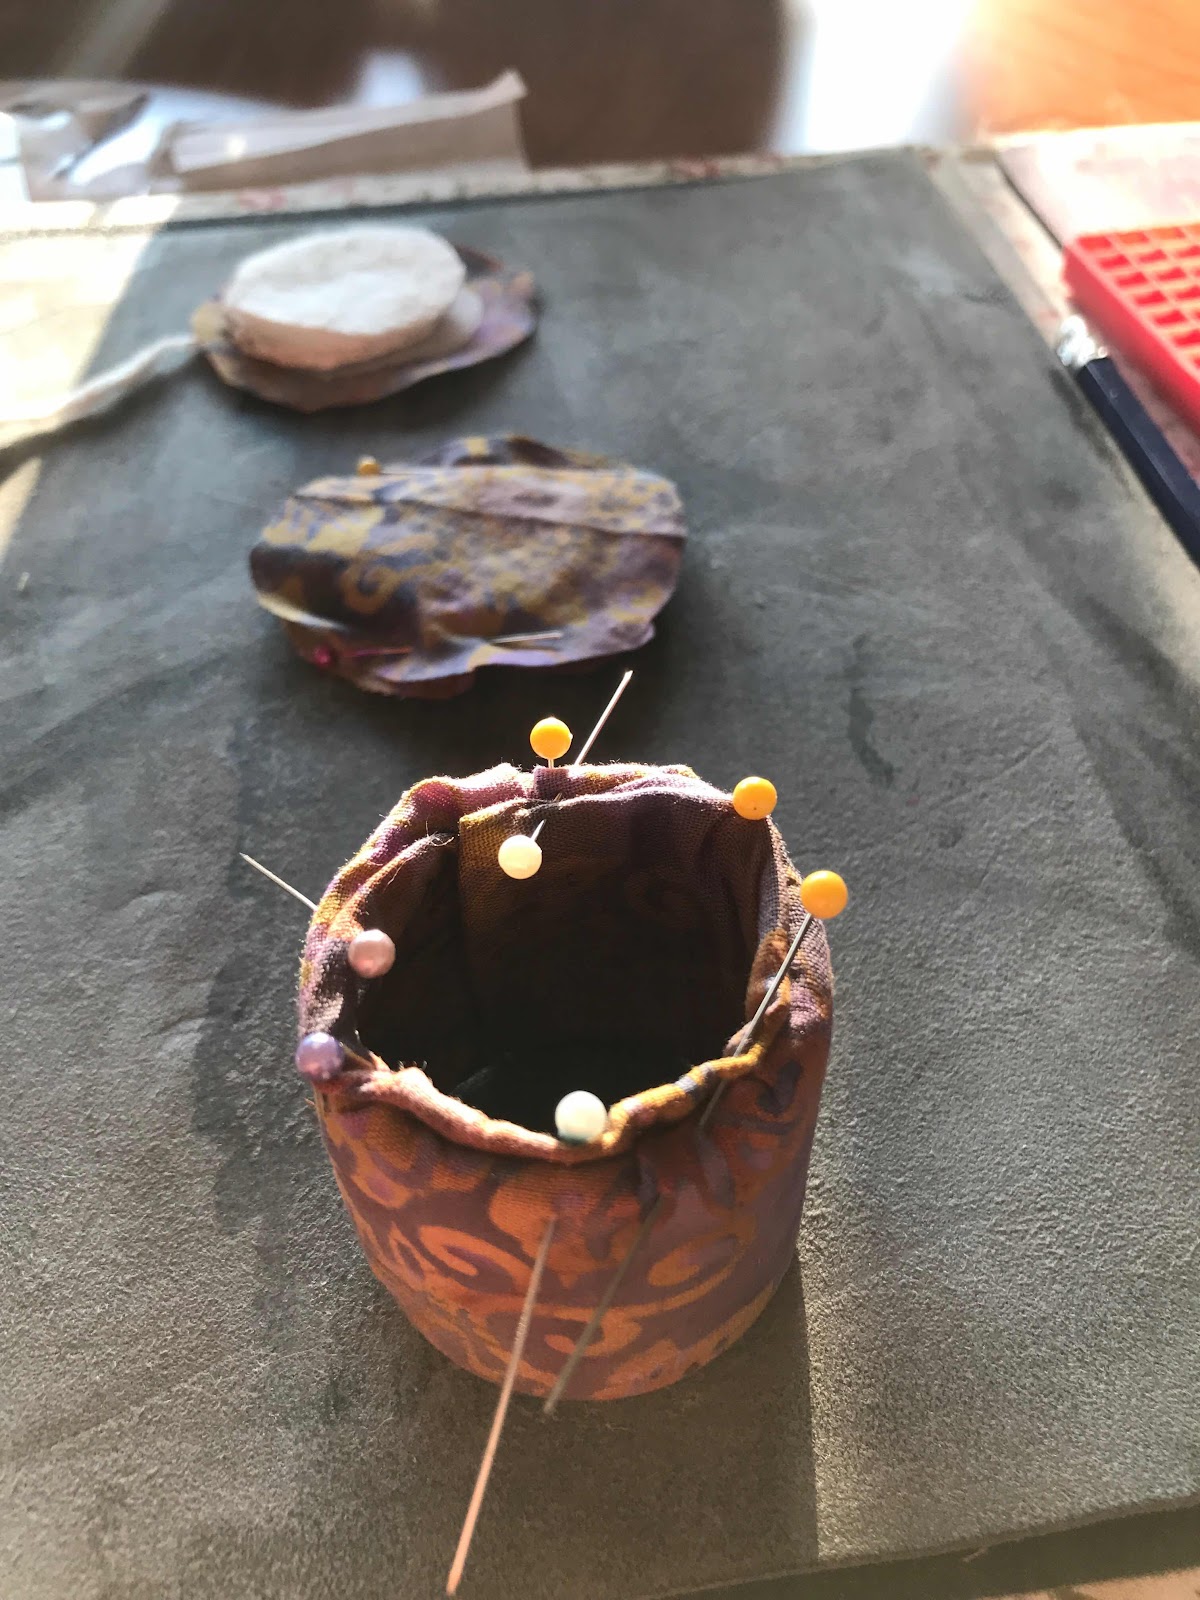
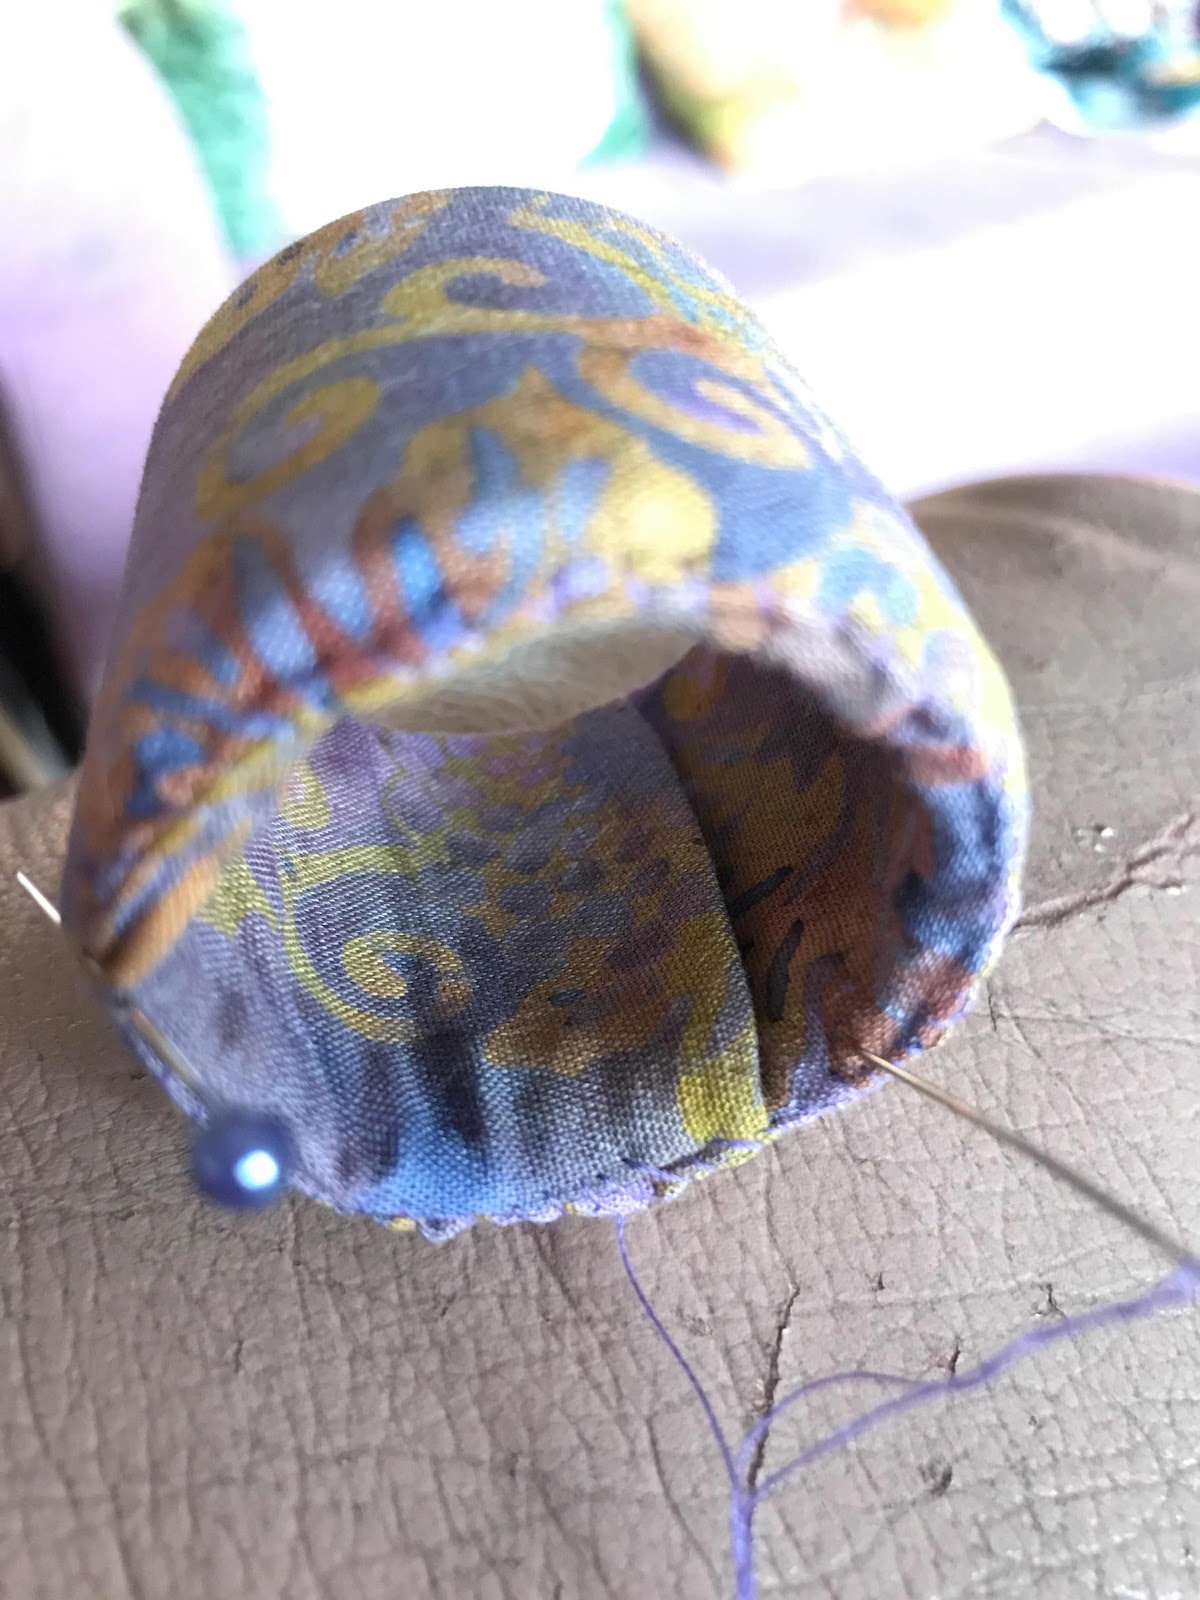
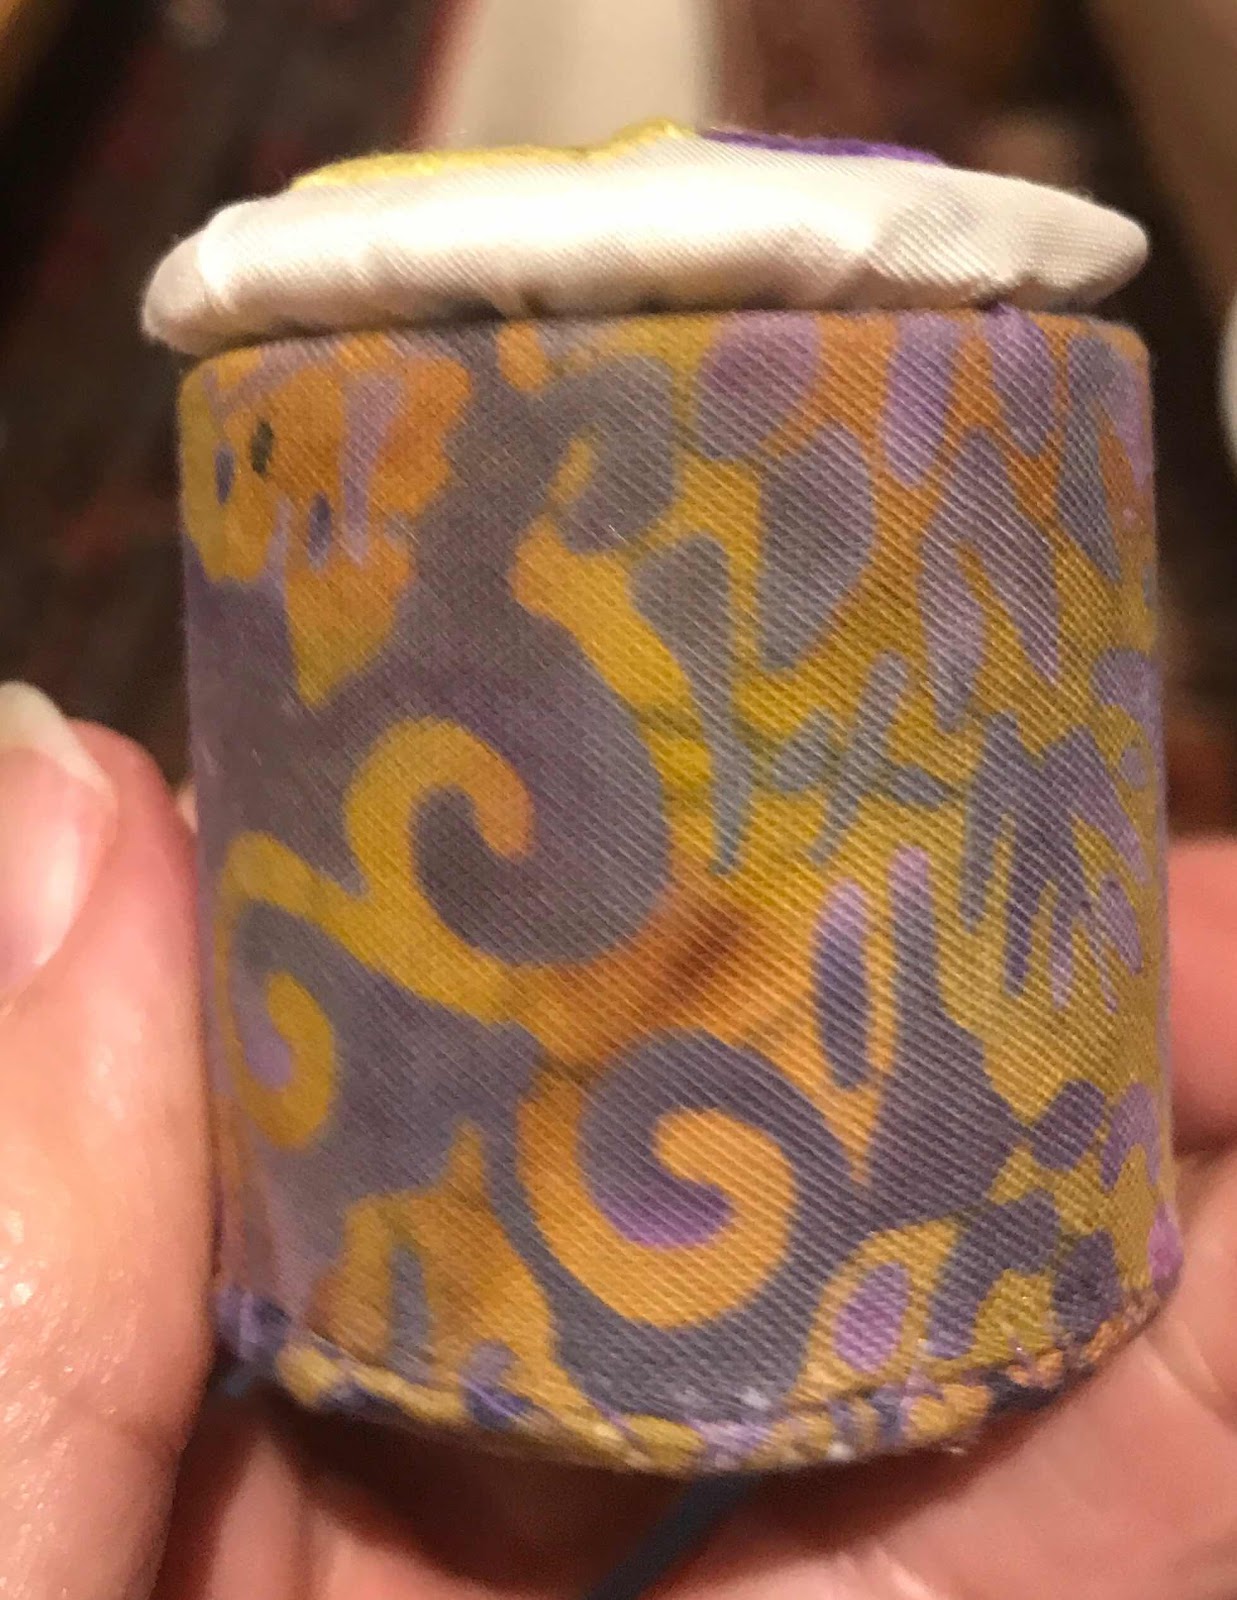
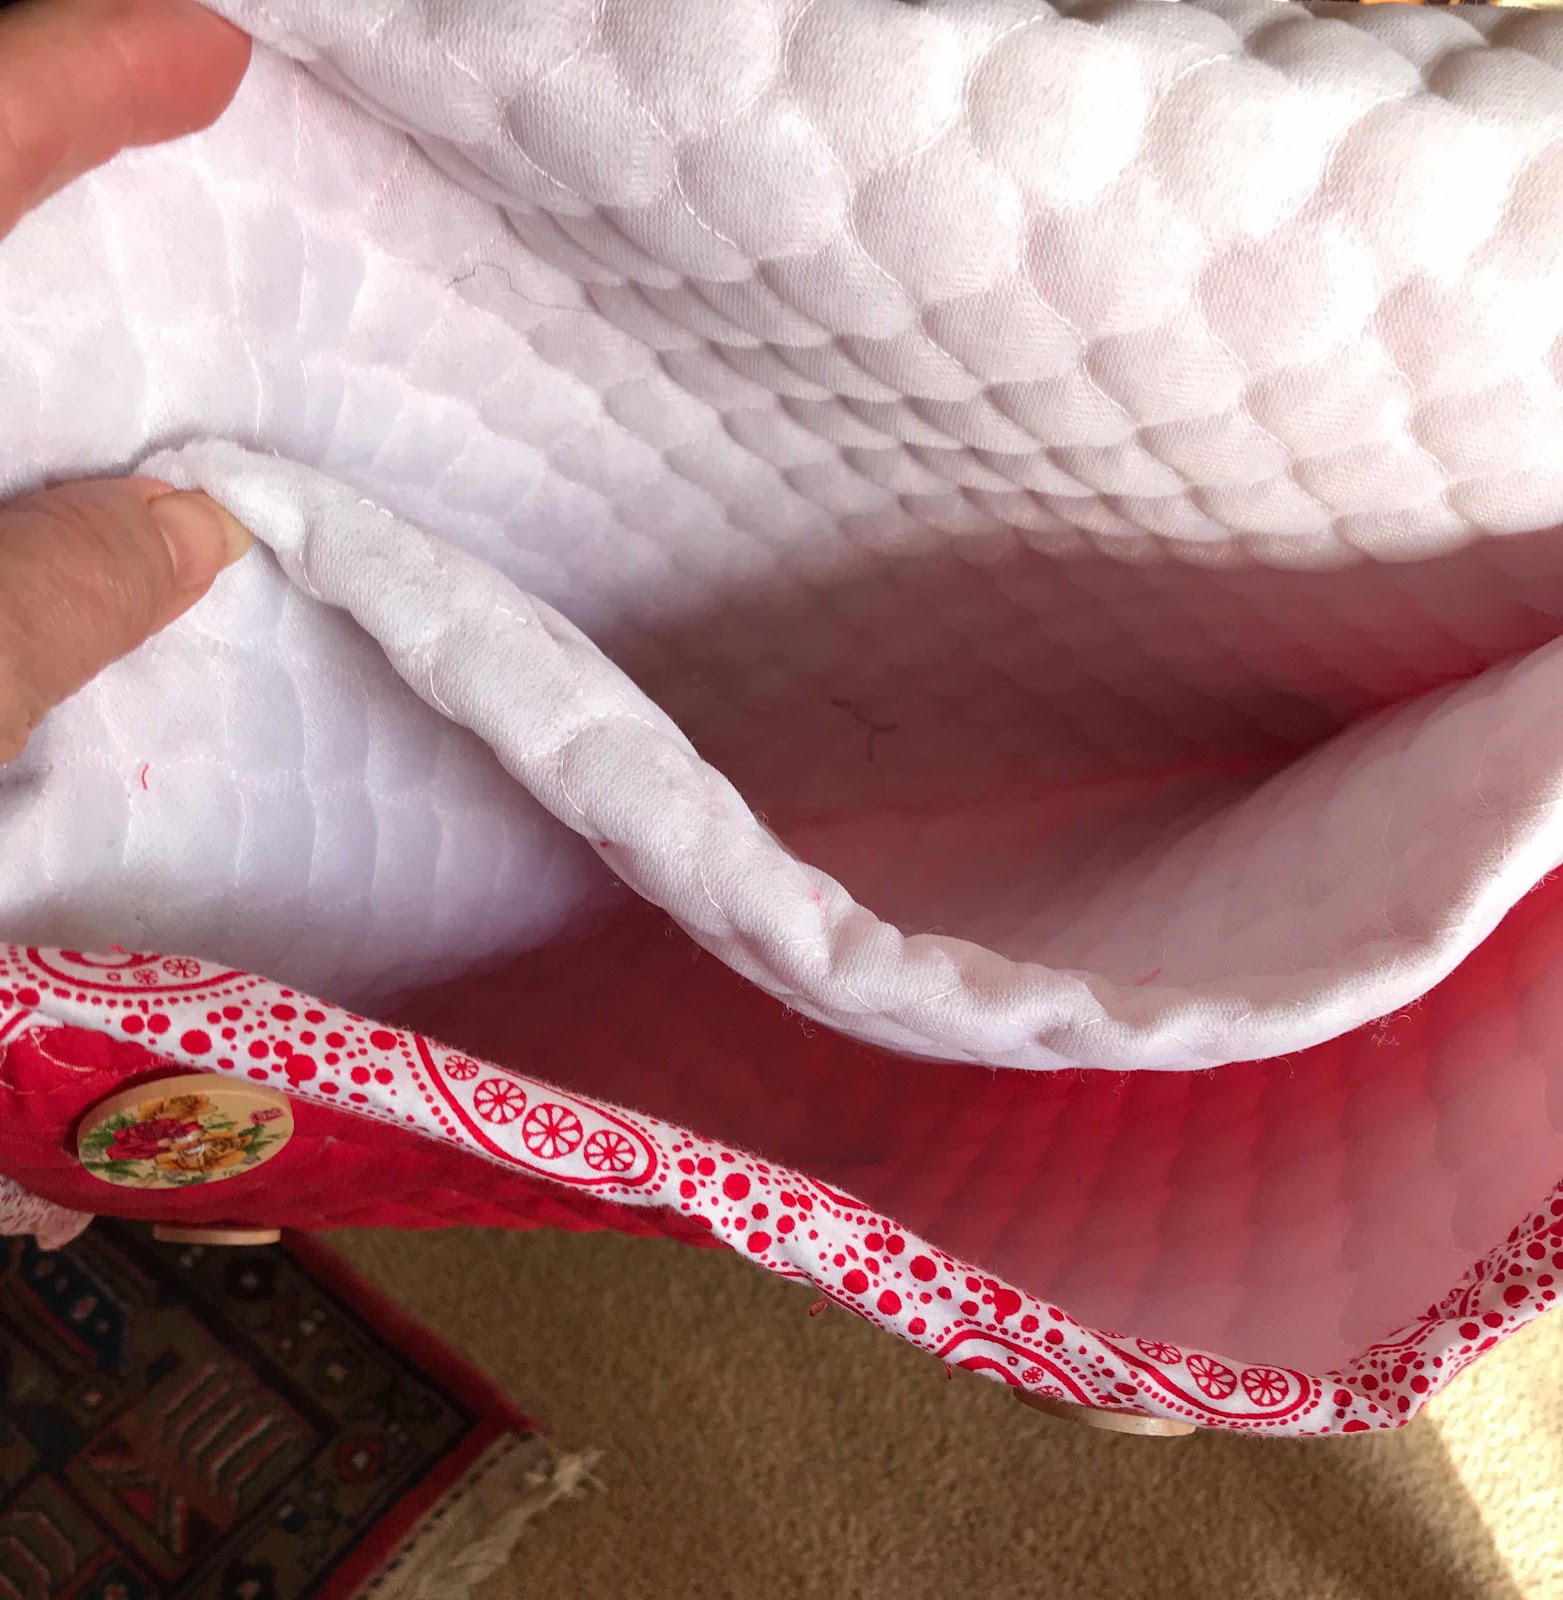
I experimented with folding it in ways that gave me pockets, or segments, in which different articles could be stored.

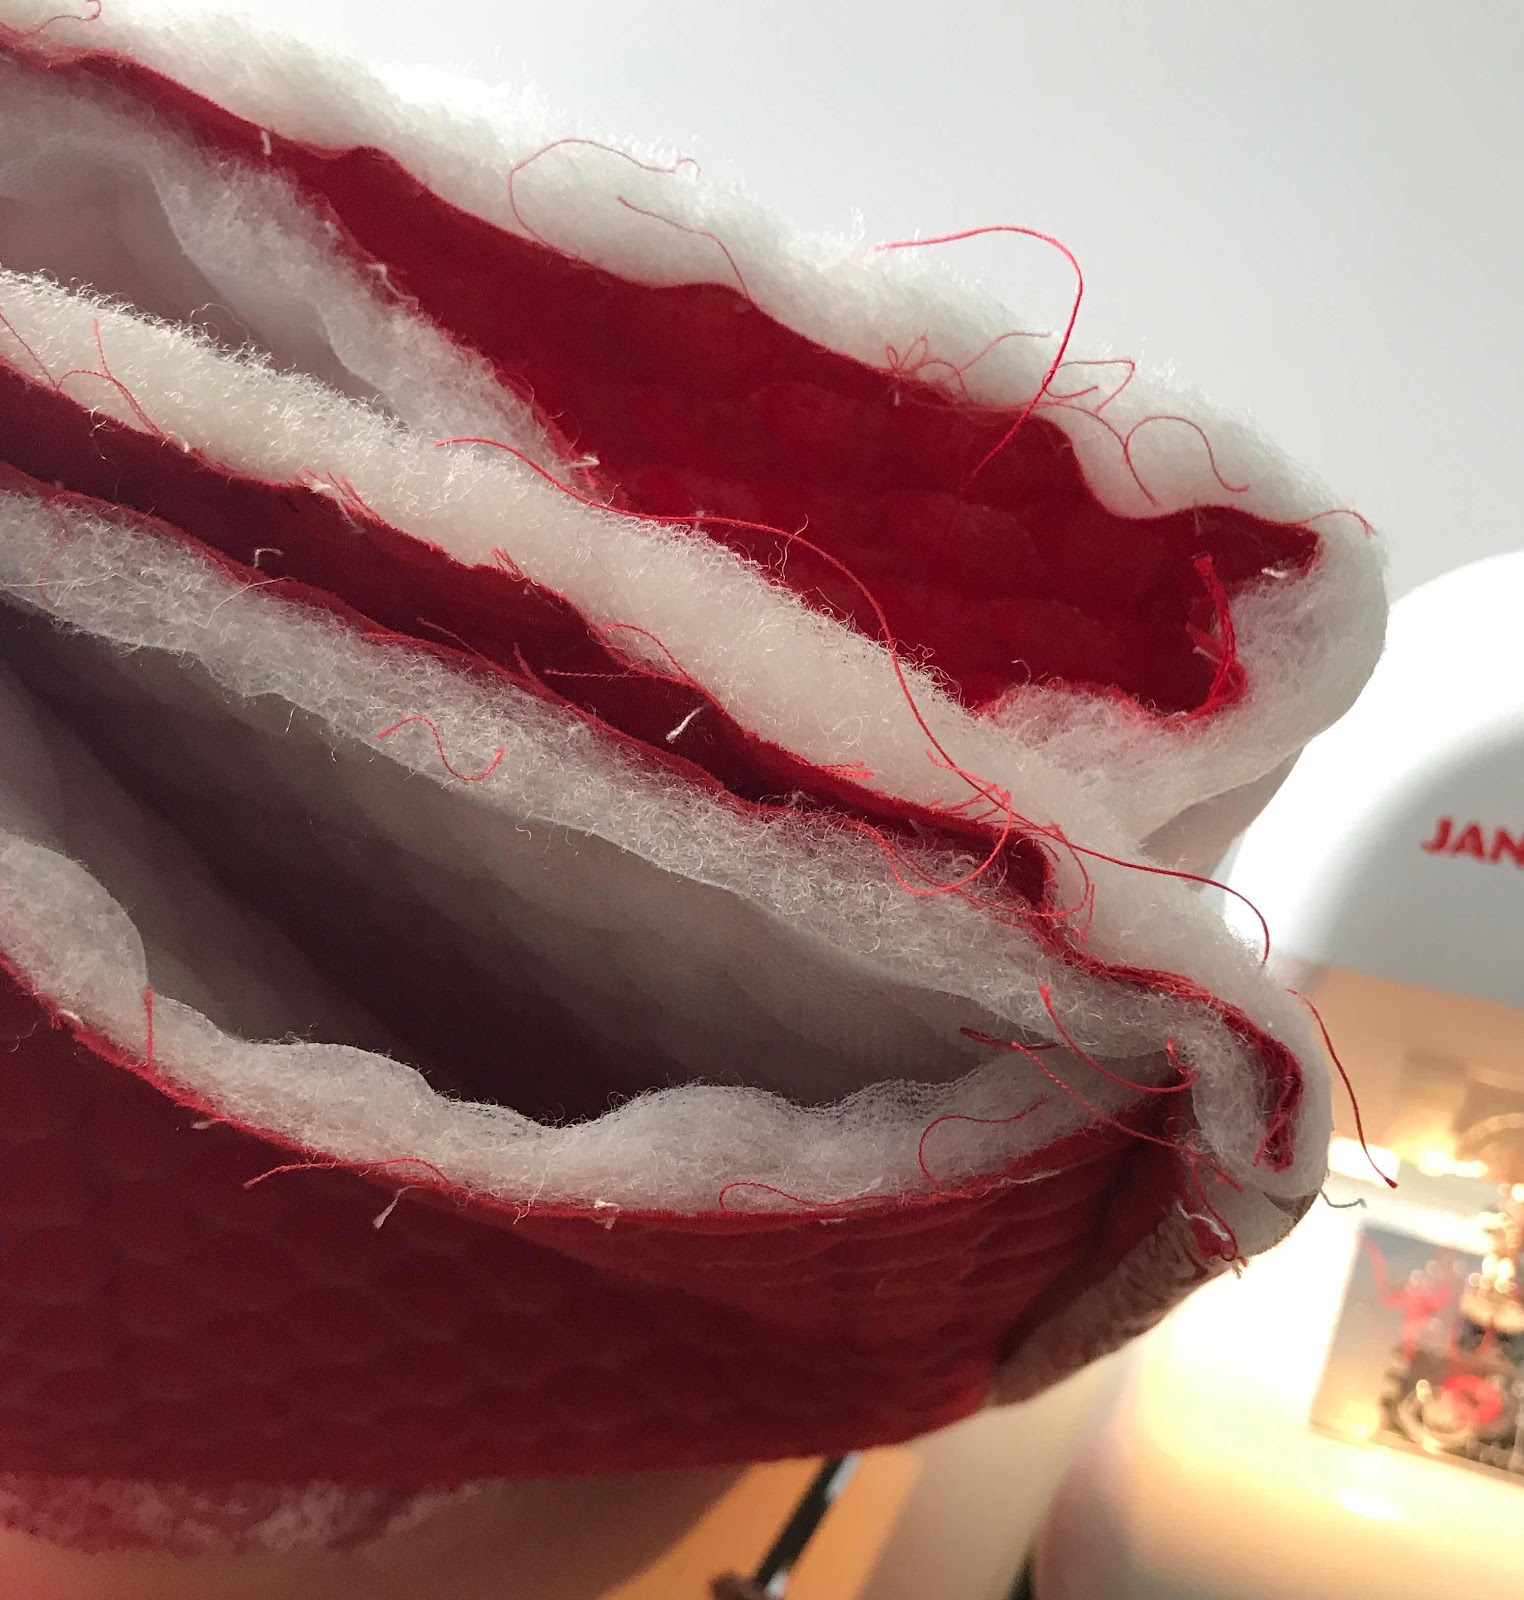
I worked out that, without cutting the strip, I could get two internal and one external pocket.


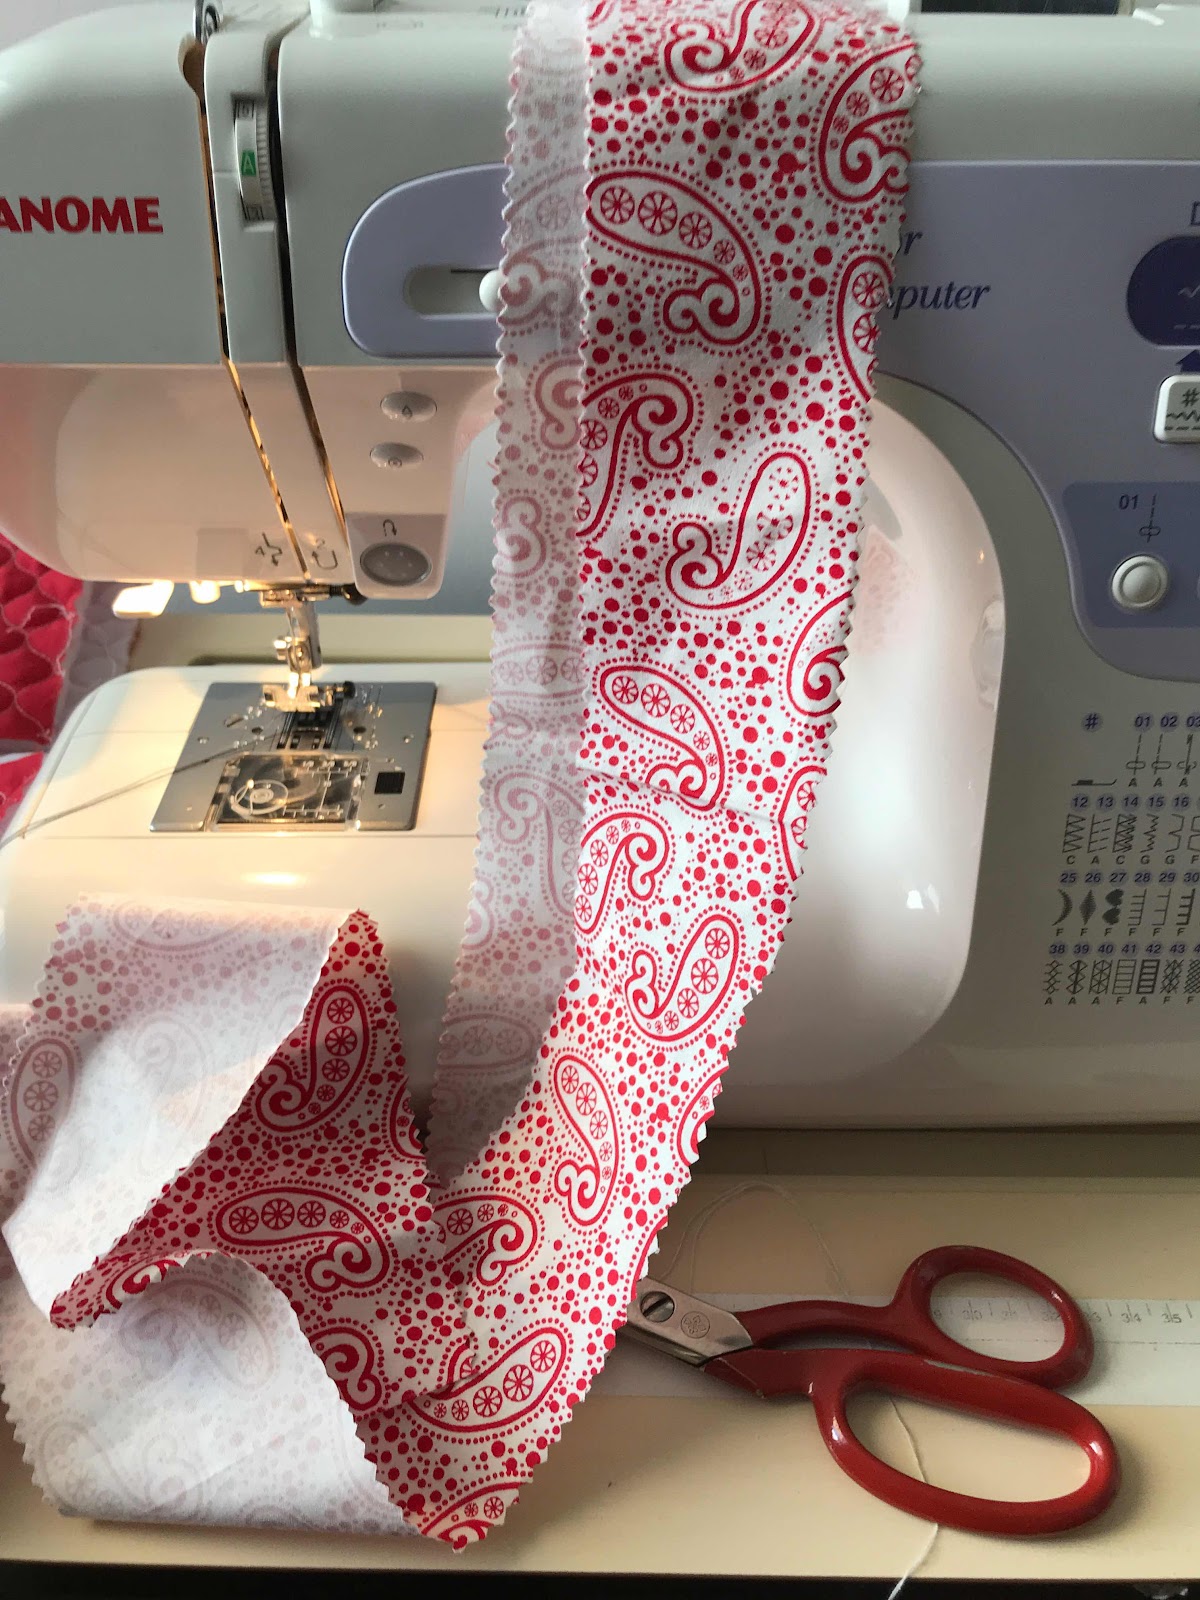
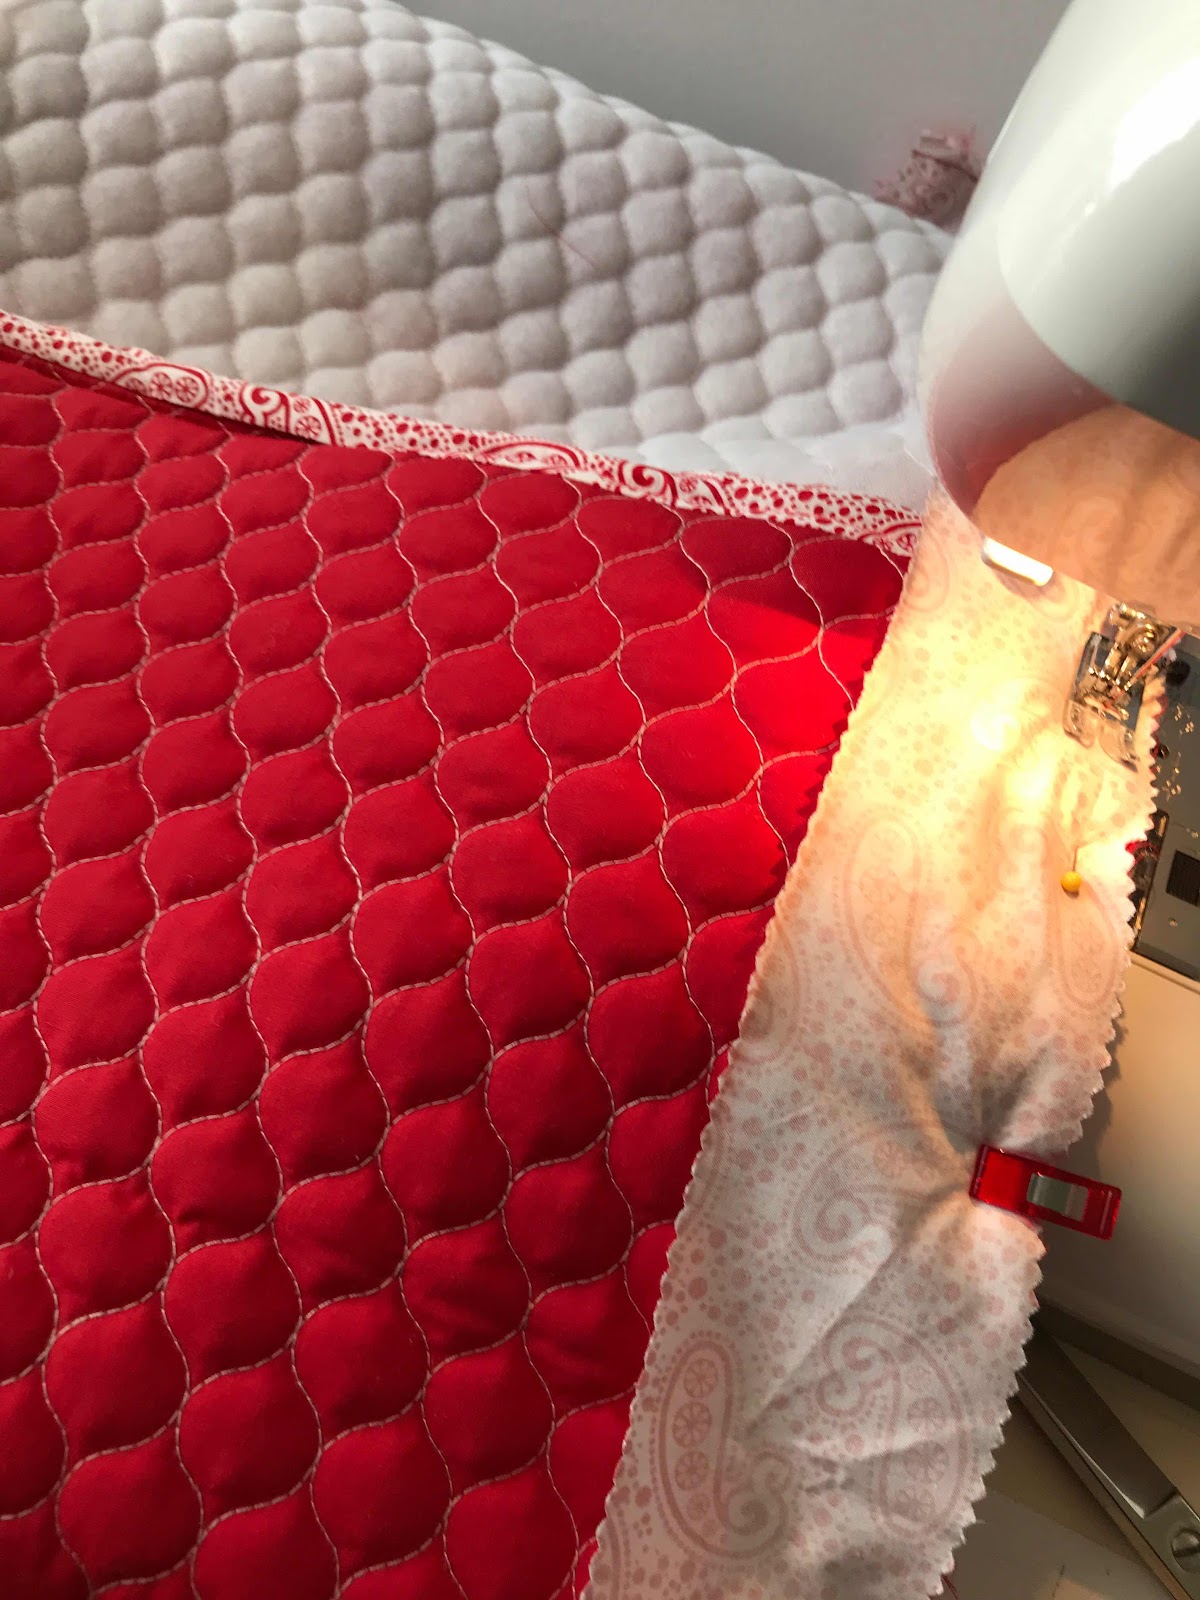
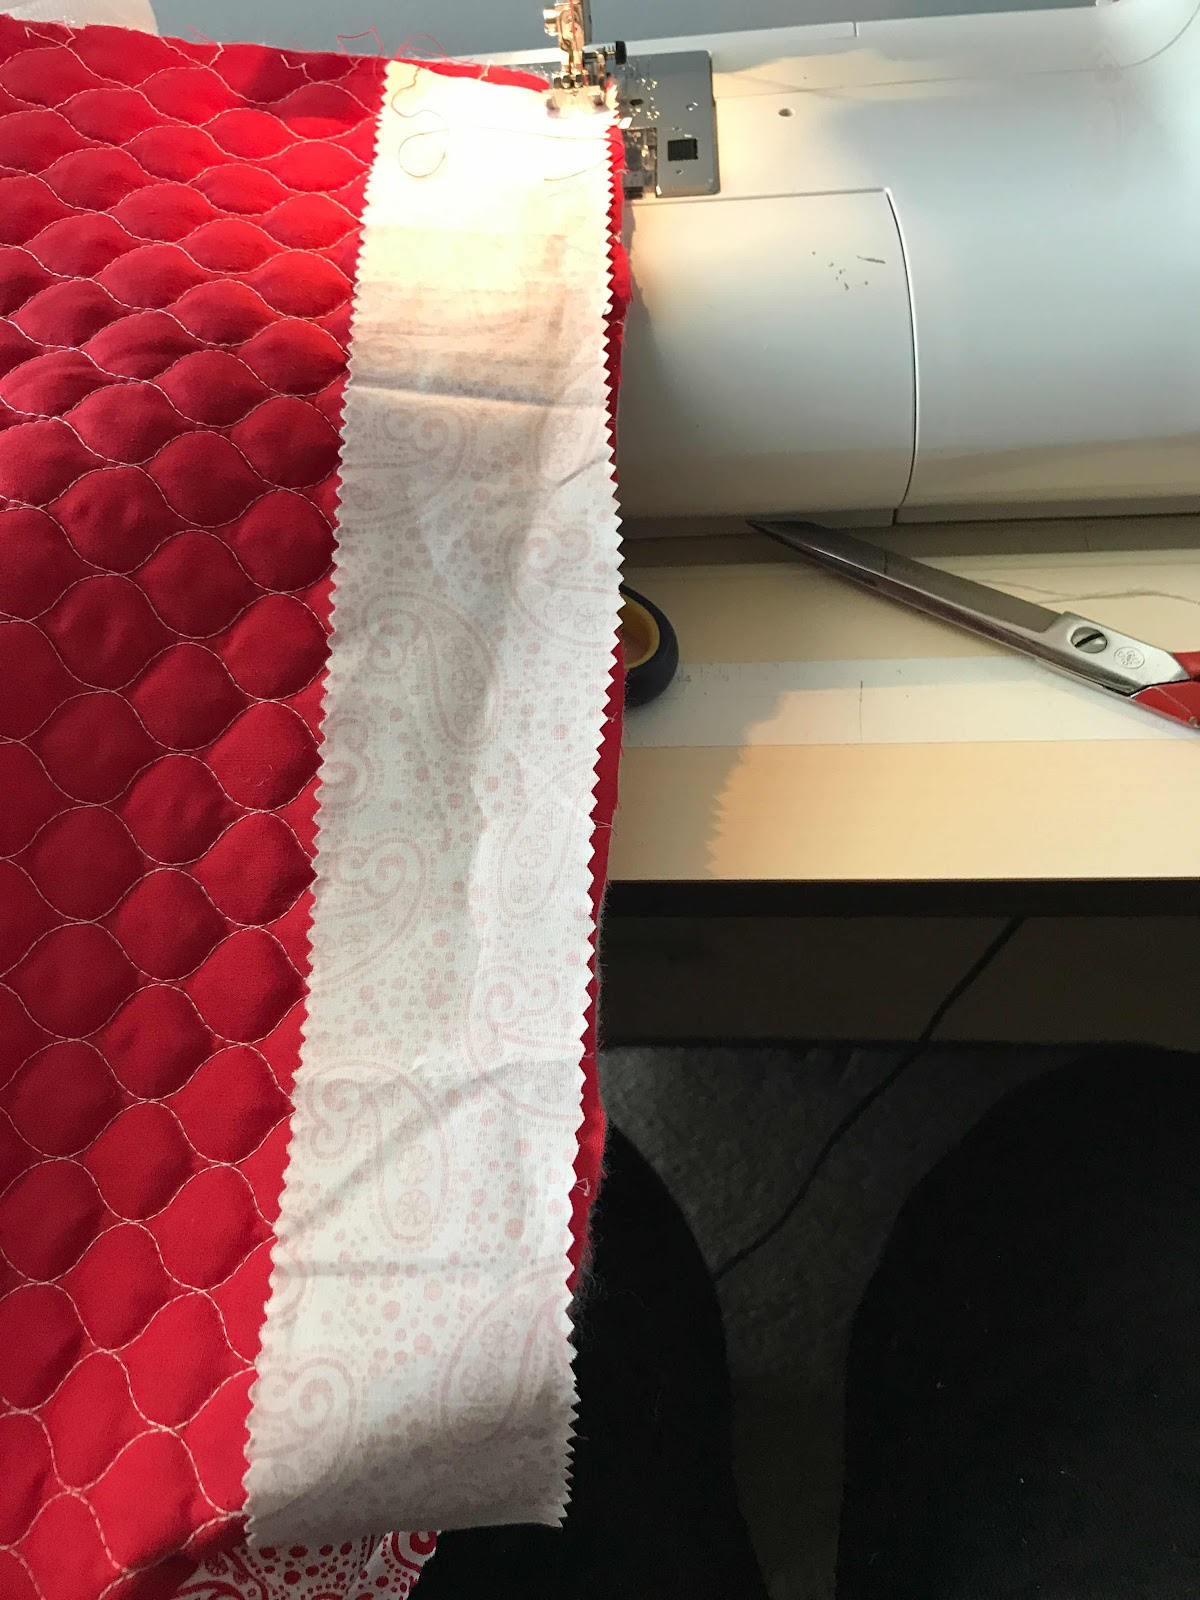
I had plenty of regular bias binding but that was not going to be wide enough to cover these edges - some of which were four padded fabric thicknesses. Before heading out to buy wide bias binding, I hunted through my stash. where I found a strip of fabric that looked fine with the red, and, cut in half lengthways, would make an excellent binding for these edges.


Easy peasy.


Below right is the inside - two pockets created from the folding of the fabric.


Left is the pocket at the bottom on the outside. The closing flap is long enough to go all the way around and cover the outside pocket.


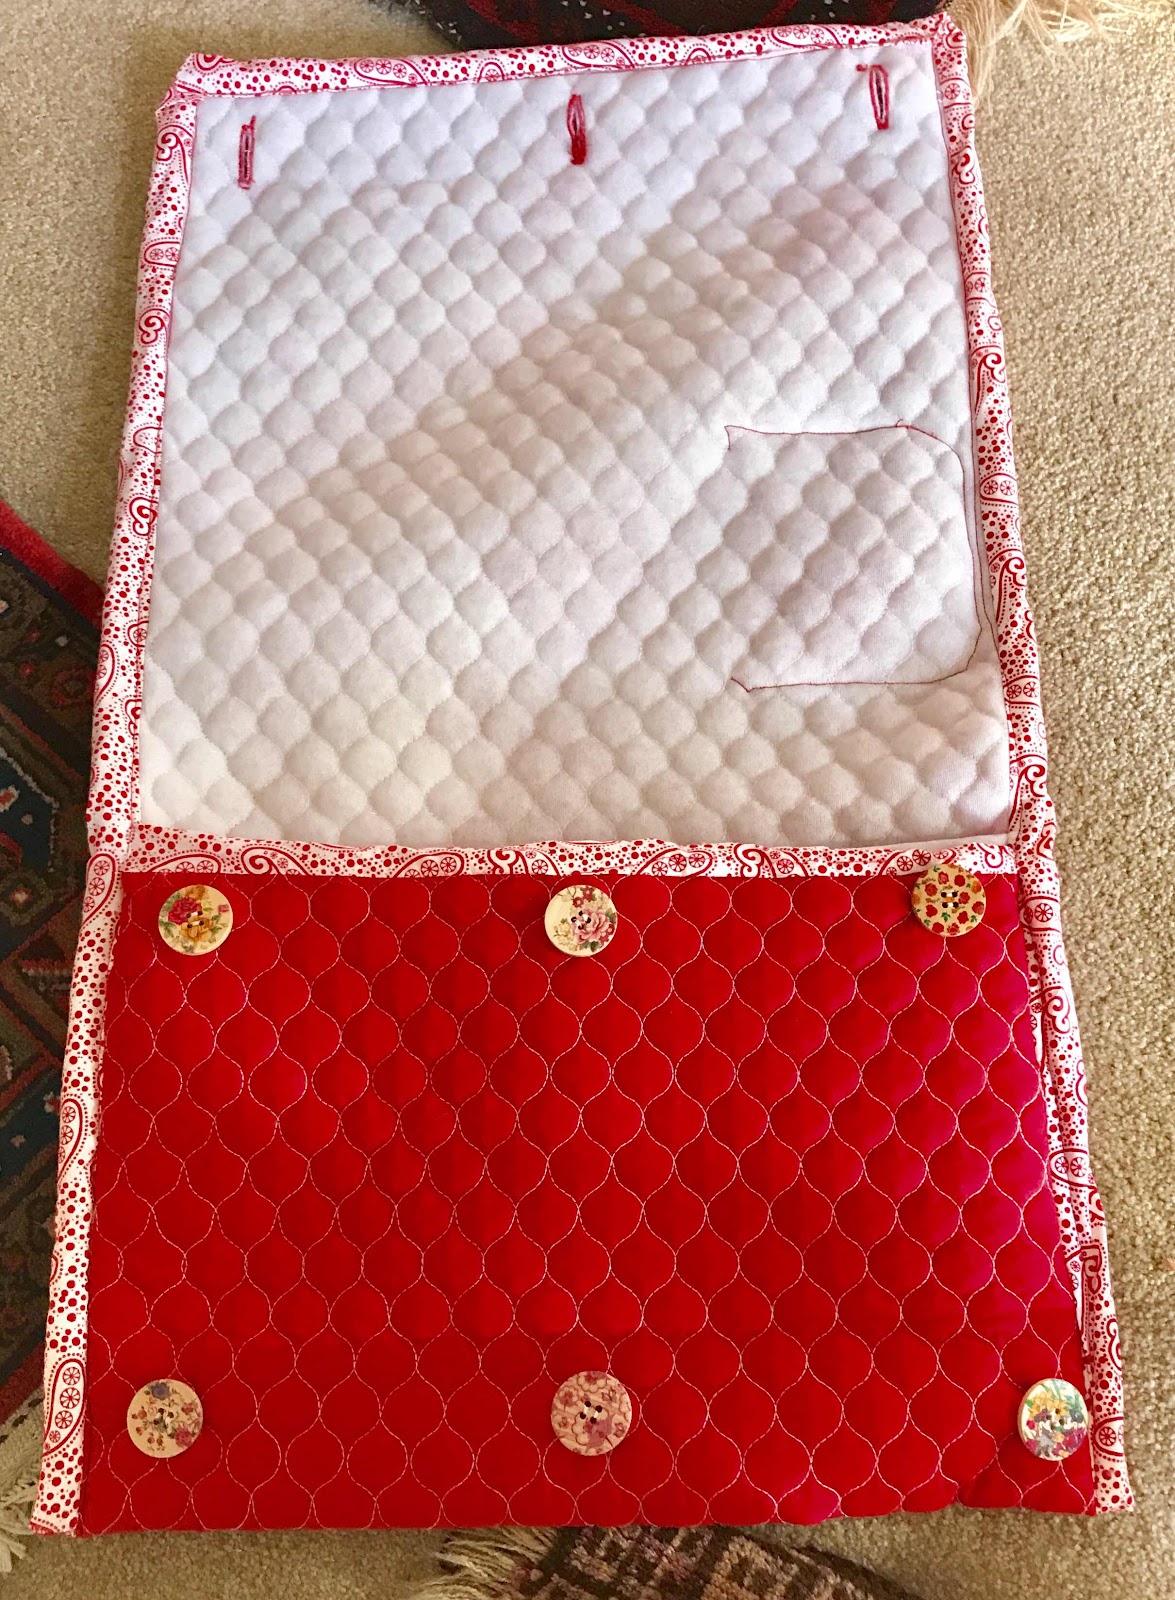
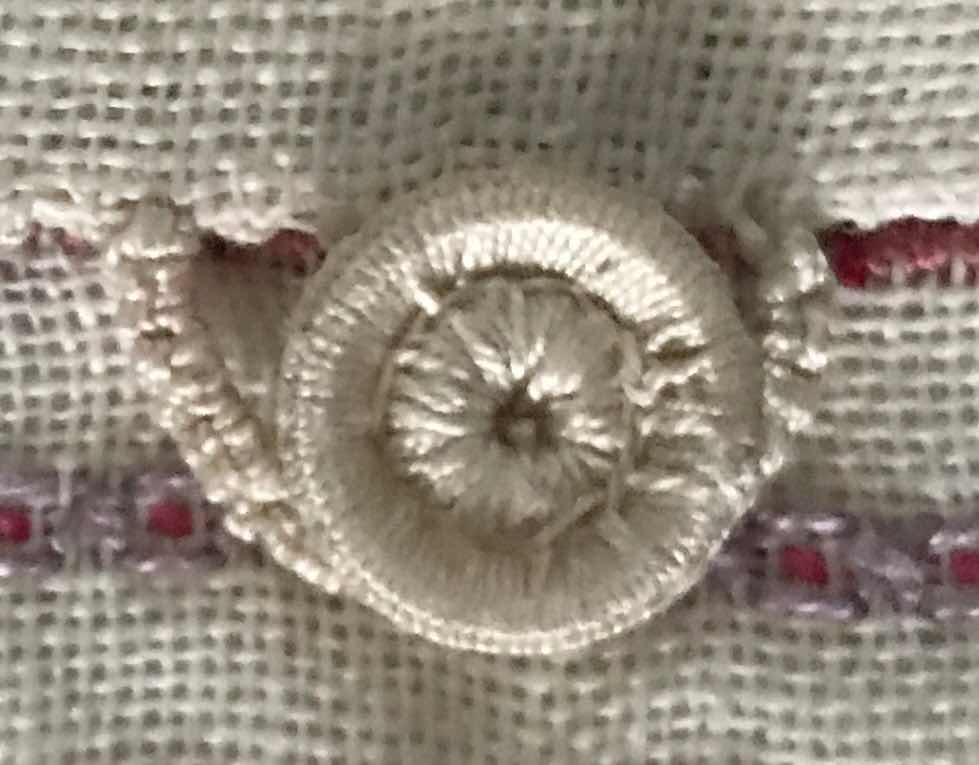
I  reverted to the button closure I had used on the original bag, using the same large wooden buttons I bought in quantity online some years ago.

This closure needs only three buttonholes.

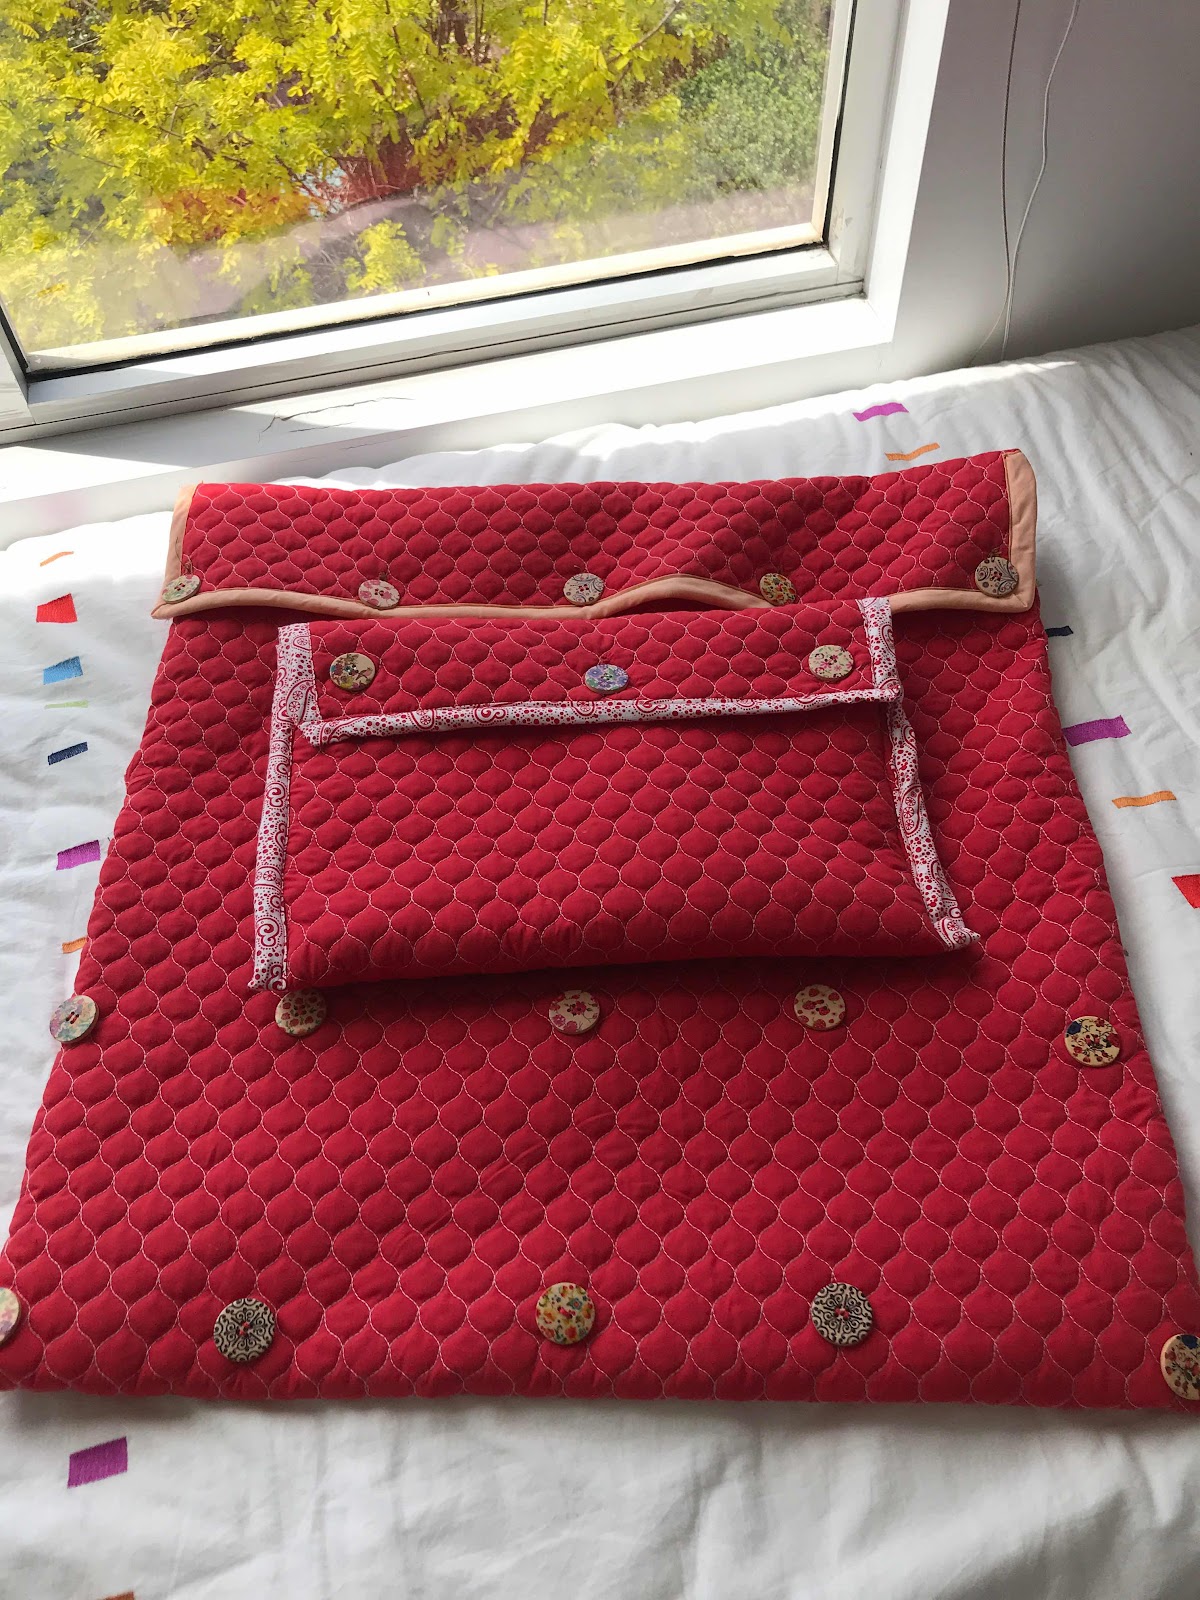
However, by adding further rows of buttons, I can get different closures to give me various sizes of bag - so, flexibility with what I can fit in the bag for displays or exhibition submissions.

Using the narrow red bias binding I rejected for binding the bag edges, I added a transparent window (from a discarded plastic folder) for including a list of contents and my contact details.


So, next time I'm asked to put something in a display or exhibition I have a choice of bags. There is also one less piece of fabric waiting for a purpose!


Thursday, October 10, 2019

Basics to Beyond - Project 5 finished.

I have been working on Project 5, the last for the Guild's Basics to Beyond (B2B) course, since July 2017. I posted my last update on Project 5 in January of this year, which is when I finished the stitches on the sampler.

Progress has been slow.  B2B is about doing things properly - with an emphasis on construction. Doing things properly is not my forte - and what I am trying to learn from B2B.

By our August B2B meeting I had not only managed to complete the hemstitched edge of the sampler, but to iron it more or less crinkle-free.


I then, under supervision, added the flannel inter-lining and finally the silk lining necessary to turn the sampler into a pouch.


The corners of the sampler are, of course, carefully mitred.


I had chosen some dusty pink silk to line the pouch, silk, of course, for polishing the pearls that might end up housed here.
At home, after the August meeting, I added the lining,  folded the sides and ladder-stiched them together to form the pouch.


I found a button I had made at a Guild workshop by covering a ring and a bead, with stitching.

I also made a buttonhole loop, careful to ensure all the knots face the same way.


I  listed all my  sources  on the assessment form.


At the September B2B workshop Gay signed the form and I submitted the piece for assessment. This week I collected it.

Success! I have completed the course.

Now, of course, I am faced with the 'Beyond' bit of the class. Do I stay on and do my own thing?

Gay has designed a repeat course focusing on counted thread work -  a course variation which she is still in the process of documenting. I’m tempted but it will put her under pressure to complete the documentation. It's a great group and I want to continue.

I have another idea based on a project I’ve been working on to document some local family collections. More soon!

Saturday, October 5, 2019

Silk shading workshop with Di Kirchner

The Embroiderers' Guild Certificate Course Workshop on the last Saturday in September was on Silk Shading, and taken by Di Kirchner. Di is undertaking study with the Royal School of Needlework, and passed on some of her extensive knowledge at this workshop.

She had chosen a pansy as the basic design for us to work. It was a brilliant choice - giving a standard design for us to work, but with infinite possible variations for us to choose.

I based my colour choices on the threads I had brought with me - a bag of stranded cottons left over from some kits I had worked a few years ago. I had plenty of blues and yellows so worked around these, adding a few purples I bought from the trading table on the day.


Di had prepared some silk for us to use and we brought along our own calico backing.

Di's teaching is meticulous - she teaches the process of thinking through the project - colours, light, direction, shading, technique. I had worked the two darkest petals by the end of the day, but hurried home to continue while it was fresh in my mind.

I was pleased with the result I had (left) by the time I went to bed that night (rather later than usual!). I left the dark veins until morning.

I also added a little more purple to the darkest petal.

While working it, I had an idea for using it. A friend at the Guild had given me, weeks ago, a section of a cardboard postal tube to make a small box.


It is VERY small - but the perfect size for the pansy to form a lid.

I used some acid-free backing board to cut circles for the top and bottom. While the right thickness, this was not easy to cut into small circles with smooth edges. I used a sharpening stone to file the edges smooth as best I could.

I went through my stash for fabric of suitable colour, settling on a scrap of batik.


I assembled various bits of backing - both pellon and felt. I cut it all to size, ironed the pellon to the main batik piece, folded it over the cardboard tube, pinned it and stitched it down.

I made a base with the circles of mounting board, felt padding and batik.
I stitched in the bottom one.


The top one I used for the pansy, cutting it out and gathering it.  I cut a smaller back-board circle to fit inside the box, making a base to hold the lid in place in the box.


I wasn't happy with the look of the box. The lid was too much of a contrast when viewed from the side and although it fit quite well, it wasn't tight


I found some cotton lace and some braid. The braid I stitched on the inside of the lid, to help it fit more tightly.

First I painted the lace with fabric glue, then with  two coats of gold  acrylic fabric paint.

When it was dry I pinned it on, cut it to size and stitched it to the lid.


This worked well. The lid is now held firmly in place, and the white silk of the lid is not such a stark contrast to the sides of the box.


Lots of learning, along with a happy experiment and outcome.