In May Carol Stacey took a Workshop on Schwalm, a technique I have never tried. While the monthly Certificate. Course workshops are for those enrolled in the course, any Guild member is allowed to attend. They run from 9.30am to 2.30pm on the last Saturday of the month, though time after lunch is often used to help individual students with general certificate course work. I don’t always go. I really like the chance to learn in this engaged group. It's my tribe. I don’t however, want to end up with more unfinished work. I’m not good at living with unfinished work, so I pick workshops for things I think I can finish.

I was curious about Schwalm and Carol is a good teacher - one who really encourages the application of technique rather than replication. While she had a number of precut templates for us to use, she also had sheets of template plastic and encouraged us to make our own shapes.
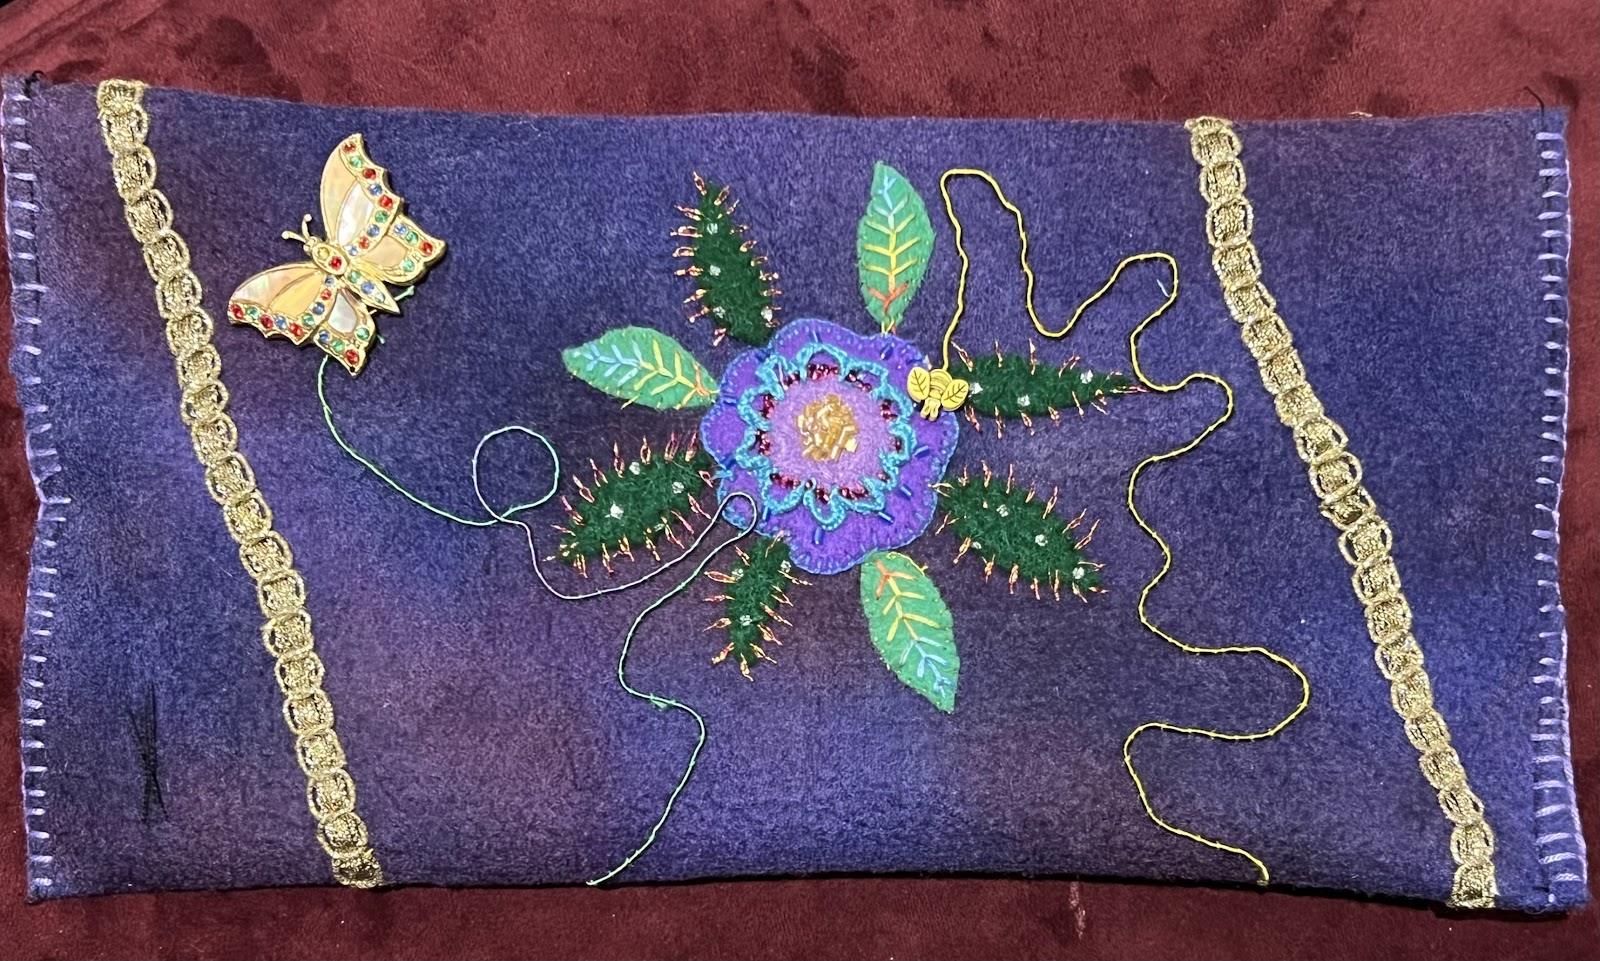
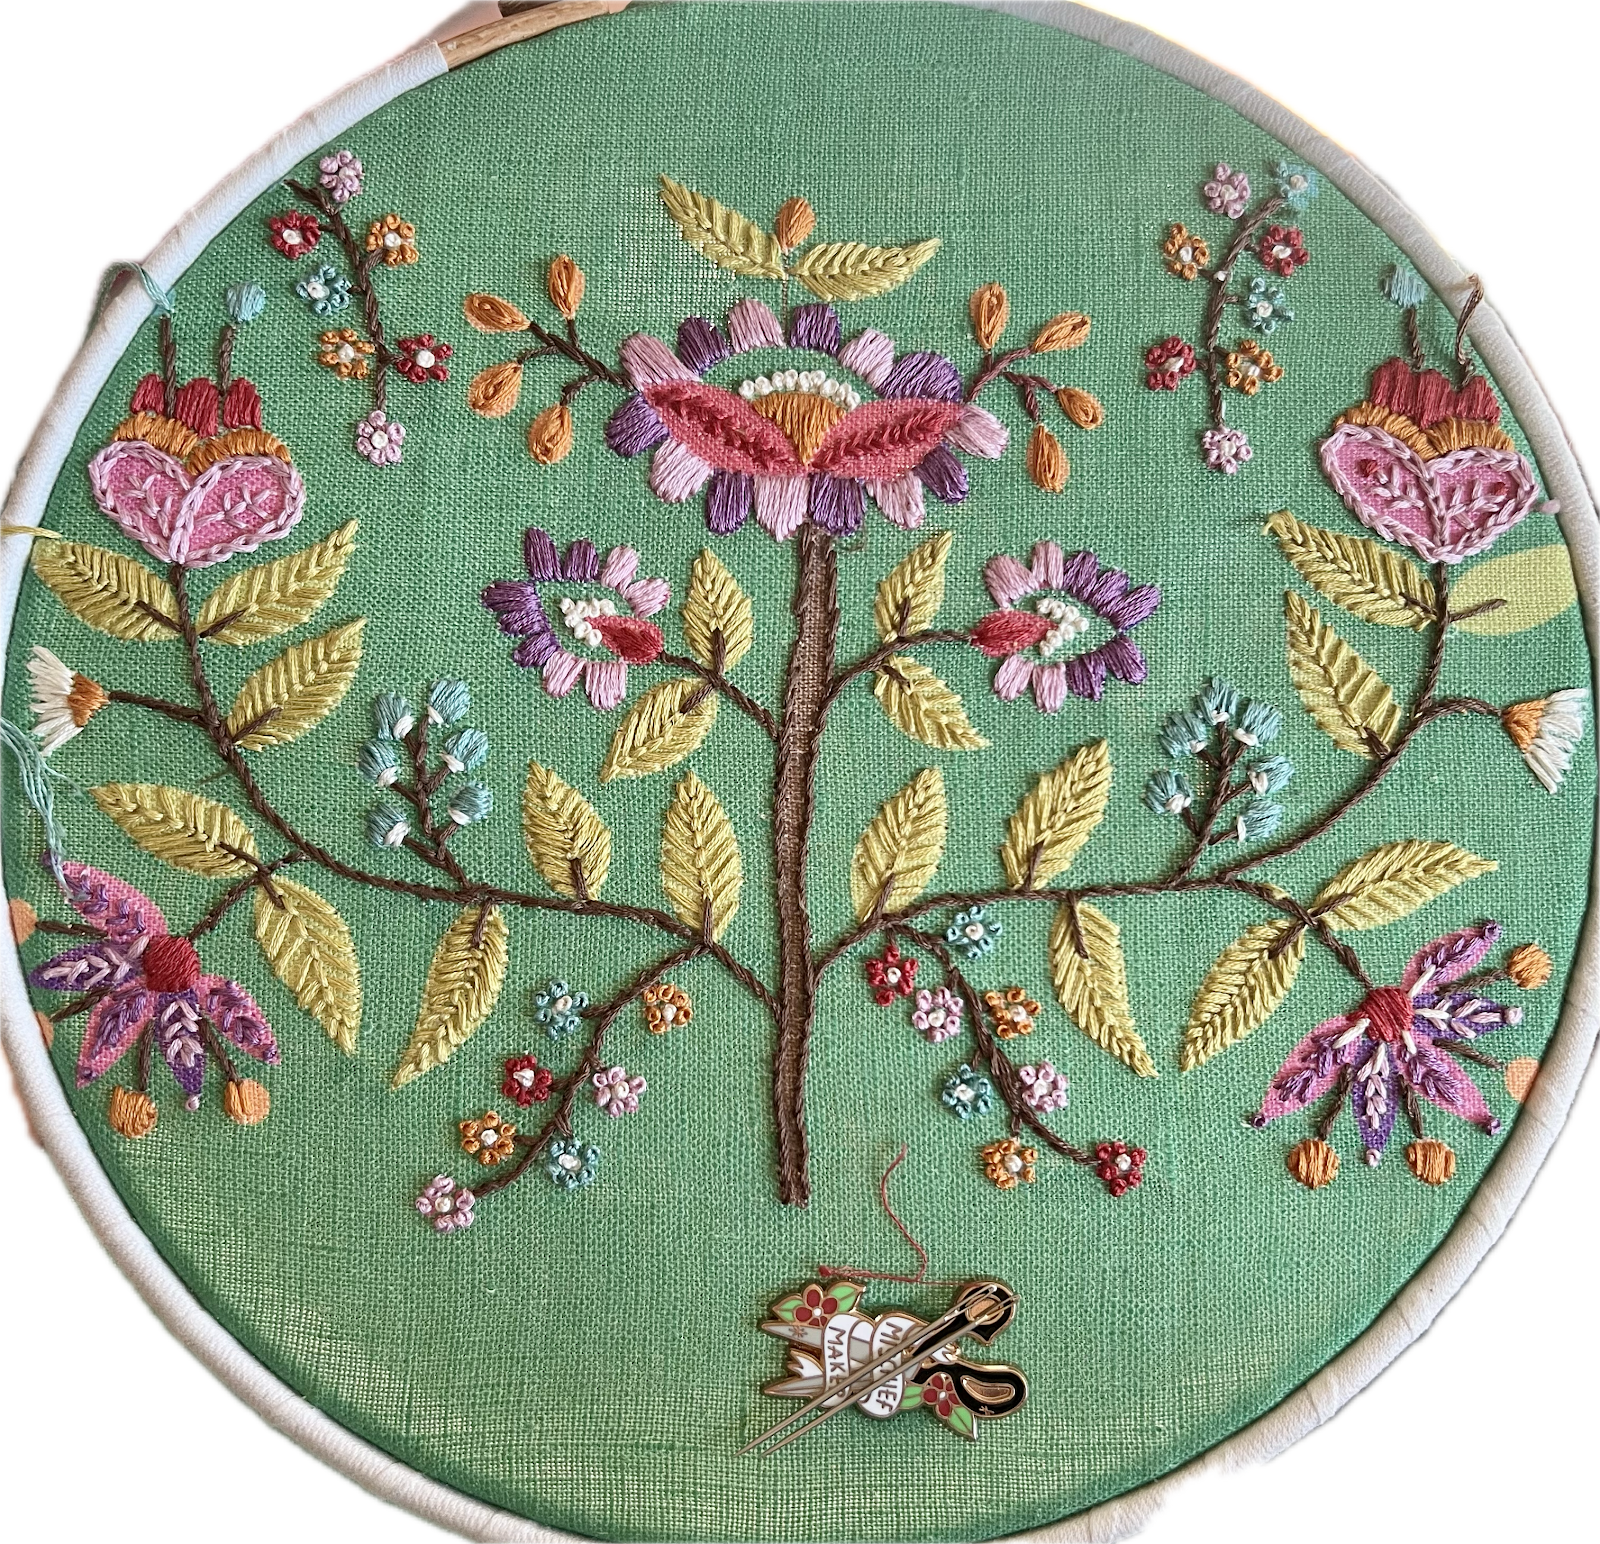
I took up this option, and attempted to design a flannel flower. We were working on roughly A4 pieces of linen so I made the template in one piece, about 8" high. I was aiming to give myself several areas to work in different stitches, naively thinking each flower petal could be different.

Once I had used the template to trace an outline on the linen, I began the lengthy process of working coral knots all around the outline. I didn't get far in the workshop. I was soon having trouble with both my eyes and my back. The Guild chairs are not built for sitting at length for close work. I gave up, and left at lunchtime . I managed to score a copy of Christine Bishop's 1999 book on Schwalm - a really useful primer of stitches in the context of shapes.

It was over a month before I got back to it. It took quite a few hours to complete the coral knot outline. I needed to work in a hoop to keep tension, which largely means stabbing rather than scooping. I used coton-a-broder 25 in ecru.

When I finished I took it out of the hoop to work the inner row of chain stitch.That was much faster, and surprisingly, was OK on my hands.


I had realised by now that trying to work different stitches in each petal was a bad idea. The spaces were hardly big enough and I could see no way of dealing neatly with the intersections.

Removing threads from the flannel flower was tedious and slow. I needed to remove them from the whole flower in order to ensure consistency. It took patience, magnification, very sharp scissors and lost of clipping. I decided to use the single feather stitch motif on page 28 of the book. It proved a bit tricky but did allow me to keep a few long lines moving.

 Originally, the centre was the only part I planned for green, but I now got bold, and used the honeycomb stitch from p21 for the remaining leaves. I also added a touch of green to the stems, a single line of chain stitch.
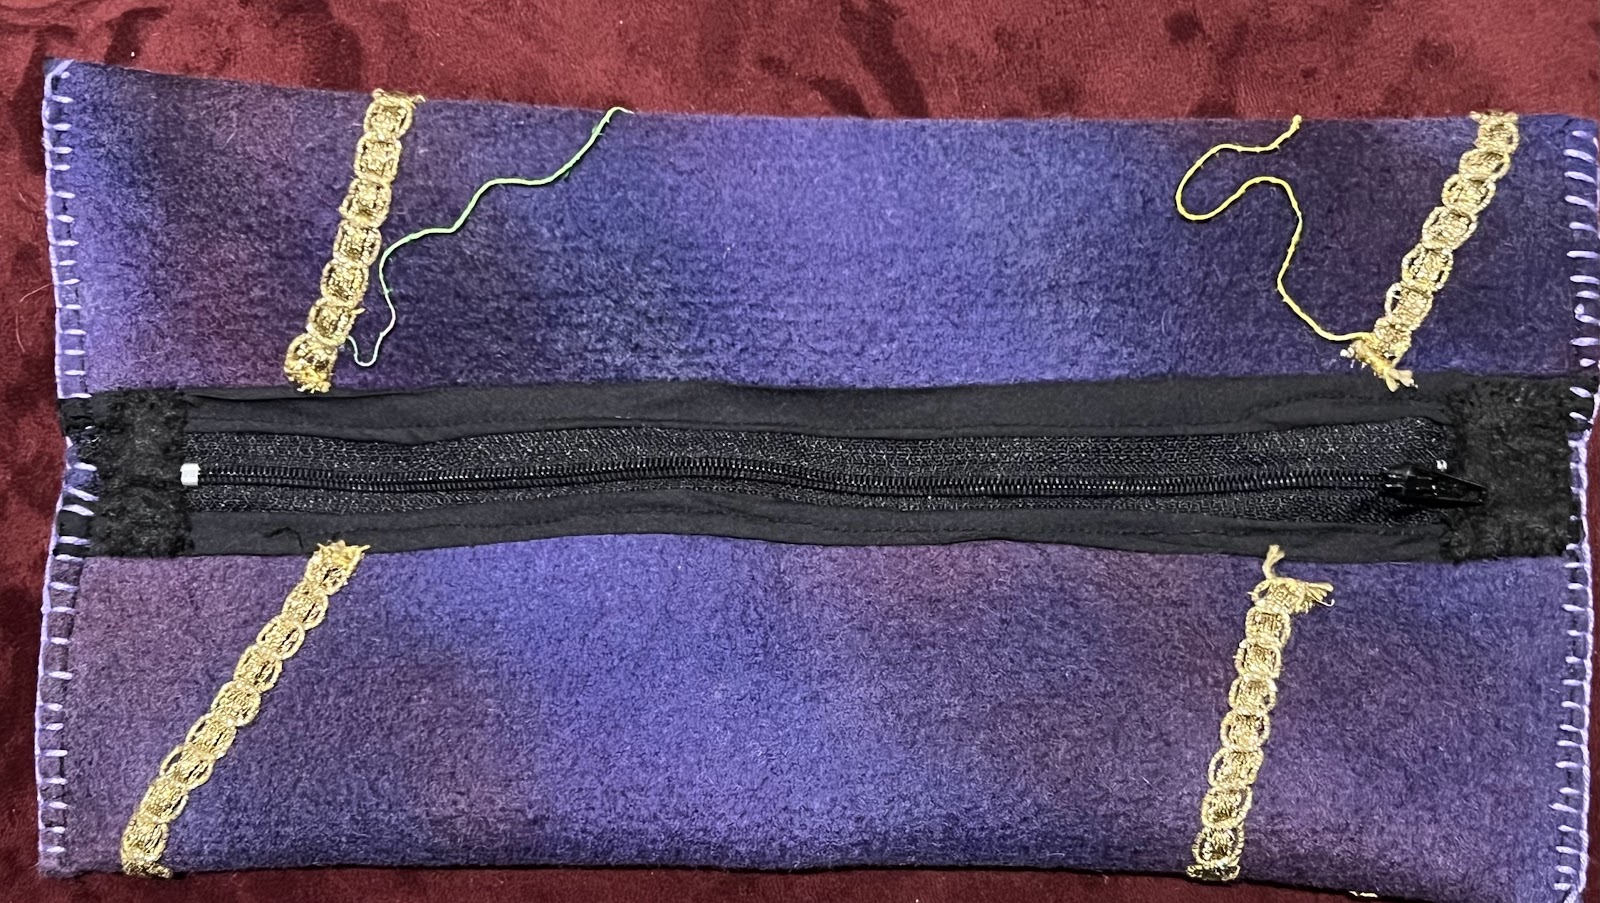
Today I ironed it and found linen to back it and a cotton batik to line a bag of roughly the same dimensions as the Glazig bags. I considered a cushion, or even hanging in a hoop, but thought it might get used as a bag.

I had been thinking of a silk lining, but didn't have any green, which I thought was needed to show through the gaps. Did I need to stitch with green thread? I stand by that decision.

The back linen is a bit darker than the embroidered piece, but I think that's OK. The zip is white. Ecru would have been better, but with different shades of linen, no colour would have been perfect.

And there's a decent bag to show for it. My idea of success.