Search This Blog

Monday, October 28, 2024

Pulled Thread Whitework Class


 I have just constructed this bag from Carol Stacey's Whitework Pulled Thread class that I attended at the Guild over the last two Sundays.  I had selected a piece of green silk as lining, but it proved to be a bit short, so I used some rayon lining fabric I had been given by a dressmaker years ago. 

It was a lovely design - really elegant, with a lot of variety in both stitches and thread. I do like pulled thread work.

I chose to trace the pattern on to the linen using a pencil, which was probably a mistake. The lead was intrusive under the white thread. Although it washed out easily, it was a bit unpleasant to look at. I didn't, however, want to use my usual fine permanent marker with the white thread and chalk tends to wear off too quickly.

While the class was a really pleasant way to spend a couple of Sundays and I enjoyed the company, I found it very hard on both my back and my eyes. I used a seated hoop in order to have both hands free and to be able to bring the work up fairly close but even so, the work needs to be so close that I found myself having to bend my back while seated in the chairs in the Gallery at the Guild. 

After the first Sunday, when I stitched for several hours straight, I went home with a very sore back and blurry eyes. At home, after a rest, I was able to get myself to a position where I could work on  it with a straight back, so I did as much of the work as I could at home, leaving only one leaf to finish the next Sunday. 

This worked well for me. I took breaks to stretch my back and rest my eyes, and left after lunch, with the work almost finished.


I blocked the finished piece to get rid of any remaining pencil. 
                                       
I constructed the bag very simply by backing the linen completely with the lining fabric, creating a gusset for the cord and stitching the whole piece together with a seam down the back. 

The twisted cord took a while, as I couldn't find my cord maker, and did it by hand. Of course, I found the cord maker an hour later!

Two tassels finished it off.

I'm delighted with the result and the bag will no doubt hold some jewellery, or a gift, or, more likely, the makings of another project!

Monday, October 21, 2024

Chaffinch kit from The Bluebird Company via Create in Stitch.

I had vowed not to buy another kit, but when Create in Stitch advertised this one in their 5 October newsletter I fell in love.  It was so beautiful. I could also see immediately what I would do with it.

I bought one. In order to keep my promise not to add to my stash, I began work on it as soon as I finished the Swedish hand towel.

The instructions were clear and precise, with good illustrations.  Although they suggested working the background first, I only did enough to see how it worked and moved on to the bird.


It was really interesting to stitch - a good variety of stitches, and never enough repetition to be boring.

The colours are so harmonious and calming. After the bird I returned to the background - fine for doing in front of television!

As I got towards the end, I had a class at the Guild, so went on a hunt on the trading table for a bamboo hoop I could use to frame and hang it, without using one of my working hoops. I found one, came home and finished off the stitching. 

This morning, before breakfast, I mounted the finished item in the trading table hoop. It took a bit of manipulating and tugging to get it tight enough. 


I then found another Guild treasure, a piece of cloth dyed by Guild members for an exhibition challenge a couple of years ago. It was the best colour blend in my stash for backing the hoop frame.


It was a little tricky stitching the backing on, but a lot of pins helped.

It is now hanging on my front door, along with the two other pieces that have been there for a year or two. My neighbours are supportive.

It's been an uplifting project to work on - some challenges, but calming and joyful. I recommend it - for learning, for stitching satisfaction and joy.

I have not provided detailed photos of my work on this one in order to preserve copyright.  My photos show no more than the promotional photos of the kit show. 

When I published this blog post, Create in Stitch still had the kit in stock. I'm sure it's available from other retailers, as well as the Bluebird Company itself.


Friday, October 11, 2024

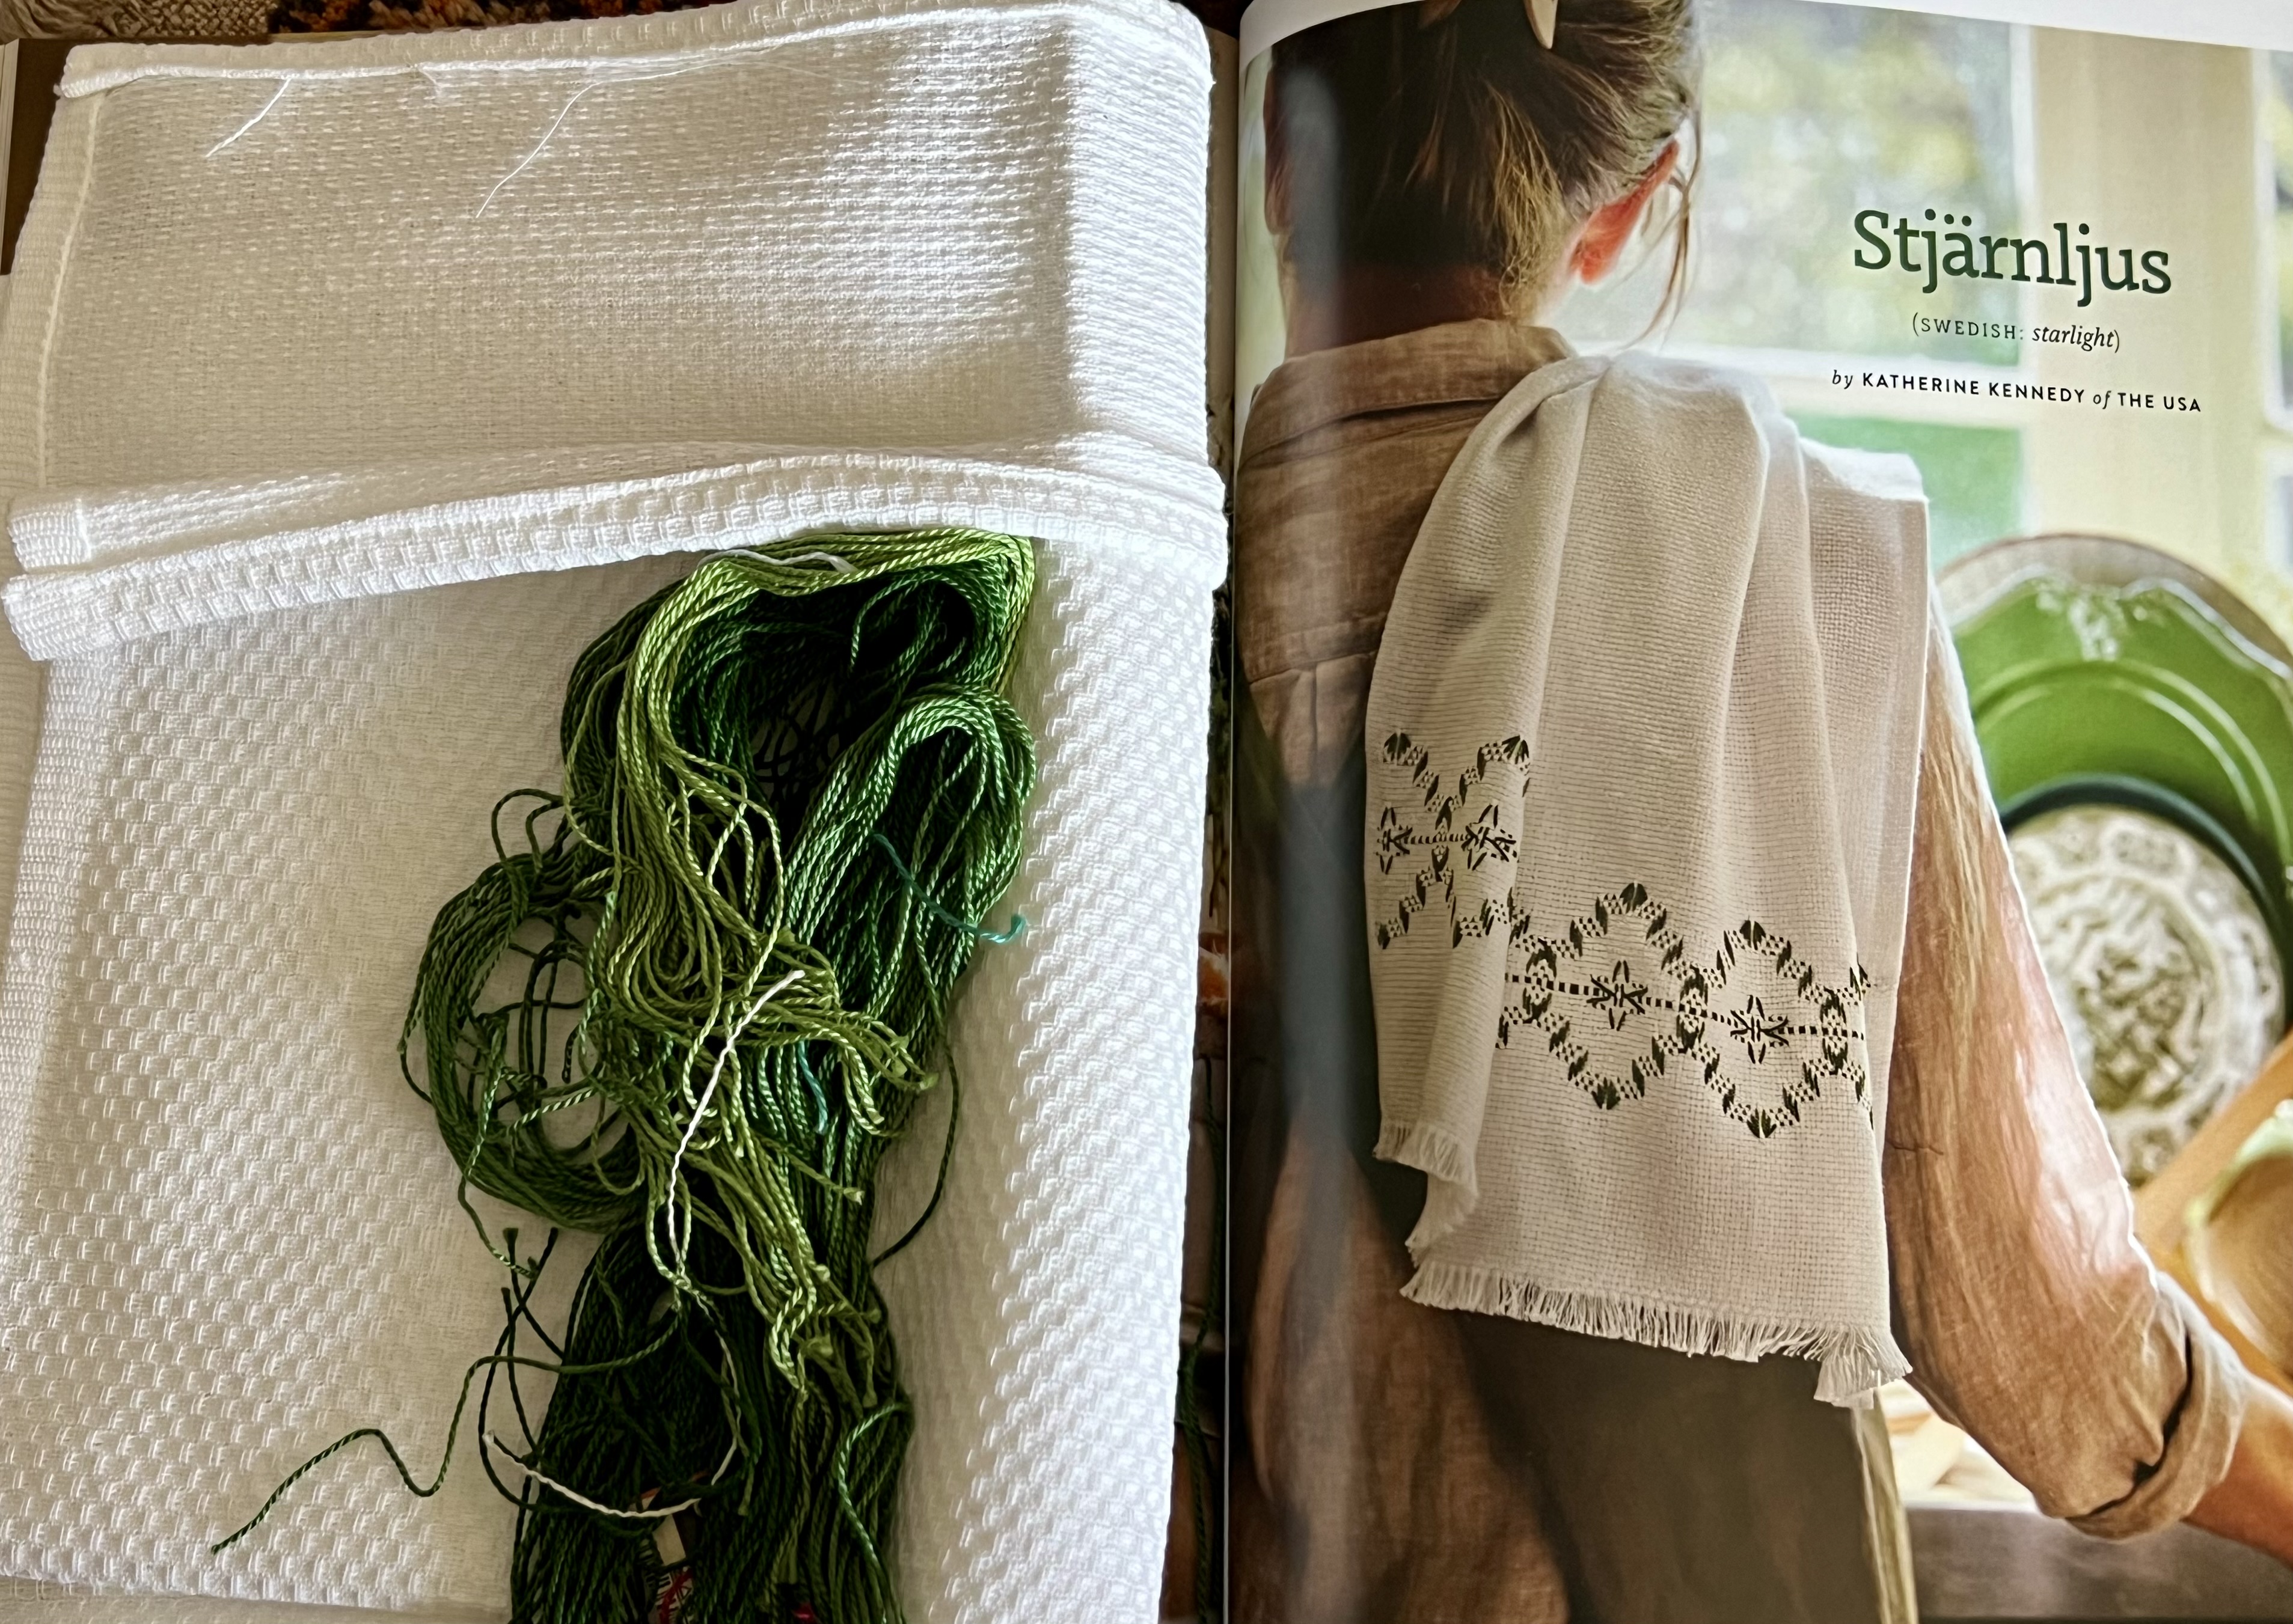
Swedish Weaving: Hand Towels


Wanting a break from my knitting, I turned to the 
Stjärnljus 
pattern in The Handpicked Collection 3. 
I dug out a piece of Huckaback towelling I had in my stash. I have a couple of large pieces of Huckaback, but an oddment of white, cut in half and hemmed, made 2 decent size hand towels, slightly wider and shorter than the one in the illustration but quite serviceable. 

I also had plenty of green DMC Perle 5 cotton, and chose 3 with consecutive numbers, not the same as in the pattern, but close enough. 

Swedish weaving is hugely pleasing to do - rhythmic, quick, geometric and restful. The hardest bit is working out where to start. I started the first one a bit lower than I needed to. That's not a problem, but I corrected that in the second one. It's quite a clever pattern, maximising the run you can do with each colour,while providing a dimensional effect.
I worked the 2 towels over 2 days. I made a few mistakes, undoing them before I got too far. I also cheated a bit after miscalculating the centre of the first one (by about 2 stitches, small, but enough to show).I added tape tabs so they can be hung from hooks if required.
I use hand towels a lot so these may end up in my guest bathroom if I don't find another home for them. They do, however, make very good gifts.

The first embroidery project I ever did (as far as I can remember) was a Huck hand towel in Grade 3 at school. I still have it (not, admittedly, in daily use). It’s smaller than the current ones, and, in spite of soaking and washing, stained.
It's a bit of a testimony to that NSW sewing curriculum (every Grade 3 girl in the State was making the same towel, with a choice of thread colour) that I am still making huck towels. Today’s are a good deal more interesting and attractive than the first one. That's a good thing  nearly 70 years on!


So, refreshed, I'm happy to return to knitting for a bit.

Monday, October 7, 2024

Leftover Uradale wool shawl

For the last two weeks I have been knitting up the wool left over from the Uradale version of this year's Shetland Wool Week hat. As I posted last month, the hat  used very little of the 5 balls of wool in the kit. Rather than knit more hats, I found a shawl pattern in Martha Waterman's Traditional Knitted Lace Shawl and adapted it.


Her 'garter lace triangular shawl' has alternate bands of simple lace and garter stitch.

I began trying out the pattern as written, intending to work it in stripes of the five colours, but decided pretty quickly that the texture wasn't right for the wool (left).


Instead of the garter stitch bands, I worked bands of stocking stitch with a simple Fair Isle pattern, no 56 from Mary Jane Mucklestone's 200 Fair Isle Designs.  I began with the darkest colour, and worked bands of pattern using each of the other four colours in turn between the lace. It seemed to work.

I then moved to the next darkest colour and repeated the process, increasing as indicated in the pattern.


This worked in so far as it rationed the wool nicely  but the similarity of three of the colours didn't make for great contrast. I nevertheless continued with the scheme. Subtlety isn't a bad thing, and this was, after all, an exercise in using leftover yarn.


Making it up as I went along, and with the best part of a full ball of the dark brown, I inserted a contrasting  band  between each background colour change.


I liked the effect, so continued, working each ball until it ran out.  I soon became concerned that the shawl would end up too long and narrow to drape comfortably over the shoulders
so I began to increase at the end of every row instead of every second row. I couldn't really tell on my needles whether this was working, but stuck with it.

Obviously, as the rows got longer, the colours would not cover as many rows, but the colour sequence largely worked, I finished with a couple of dark rows of lace and cast off with this the only left over wool. Maybe I could have managed one more row - but was not risking it.

I blocked it on my dining table, which is 1.5m x 1m, so my increases seem to have worked. It is a decent size for a shawl.

It took 36 hours to dry and smelled strongly of sheep while wet, even  washed in woolwash. I hope this doesn't persist when worn. I’m airing it outside for a while and will store it with lavender.


Both the shawl and the hat are up for grabs, for gifts or trading tables. 

I find it amusing that the leftover wool produced something much larger than the original hat! I'm pretty satisfied with the result. I have a substantial stash of wool, and do not want to add to it. 

I've had much joy in the making. This is also a versatile pattern that I'm sure I will use again.


Saturday, September 21, 2024

Fair Isle Knotted Basket.


Back in March, when the program for this year's Shetland Wool Week was released, I ordered a kit for a Fair Isle Knotted Basket, which arrived, along with a copy of Shetland Fine Lace Knitting: Recreating Patterns from the Past by Carol Christiensen. The kit was waiting for a rainy day. After finishing the 2024 Shetland Wool Week hat last night, I decided it was time for a complete break from knitting, but while on a Shetland theme, out came the kit.

Fair Isle currently has a population of about 60. It is the home of a particular Strawback Chair, made from wood that washed up from shipwrecks (there are no trees on Fair Isle) and straw grown on the island, and knotted in a unique way. Through the work of Eve Eunson, Stewart Thomson and the Fair Isle Chairs Project, the chair is now classed as a Critically Endangered craft.
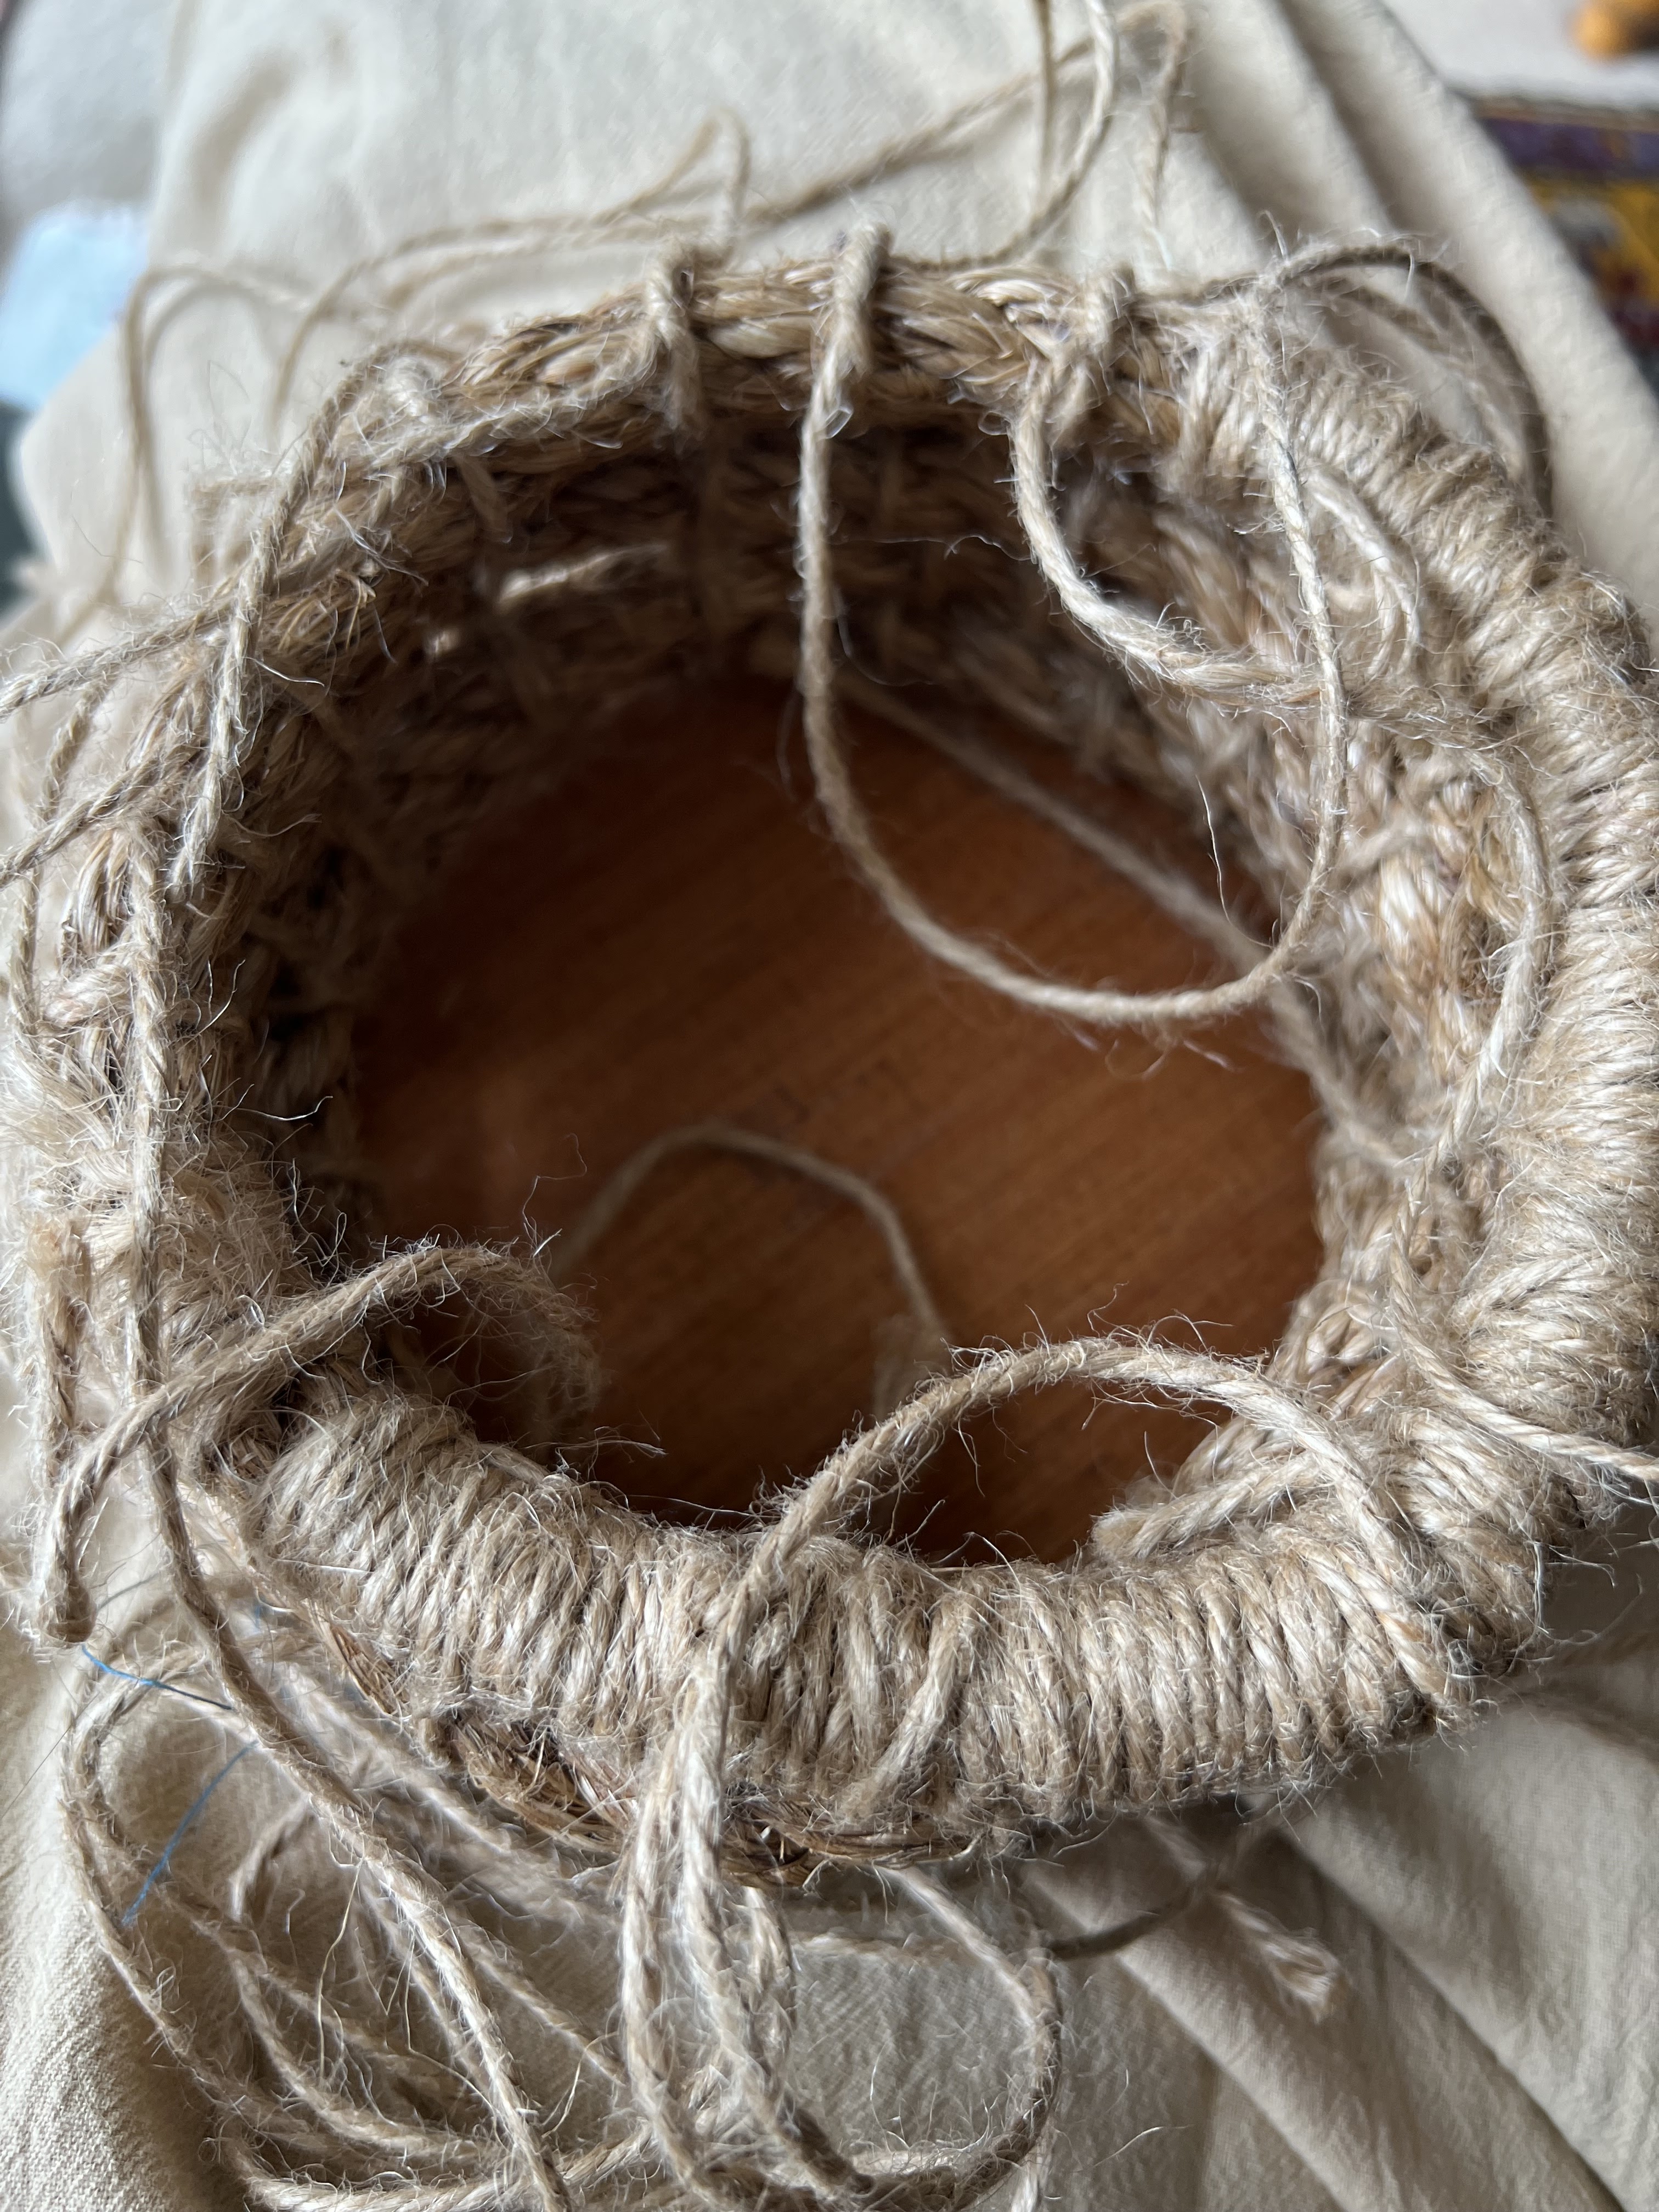
The Fair Isle Knotted Basket kit is a fund-raiser for the Fair Isle Chairs Project. It uses the knot technique used with straw in the Fair Isle Chair to bind together natural rope with jute string to create a small basket on a wooden base. The instructions are straightforward and relatively simple.                                         I made my basket in two sessions - about 5 hours in total. I did not find it easy. The trick is clearly mastering the captain's knot, while maintaining good tension and consistent coiling to build up the sides of the basket.  The knots, while simple, take practice.  By the end I was beginning to get the hang of it, but that didn't improve my somewhat wonky basket. The string, fortunately, comes precut - but still makes for messy work.

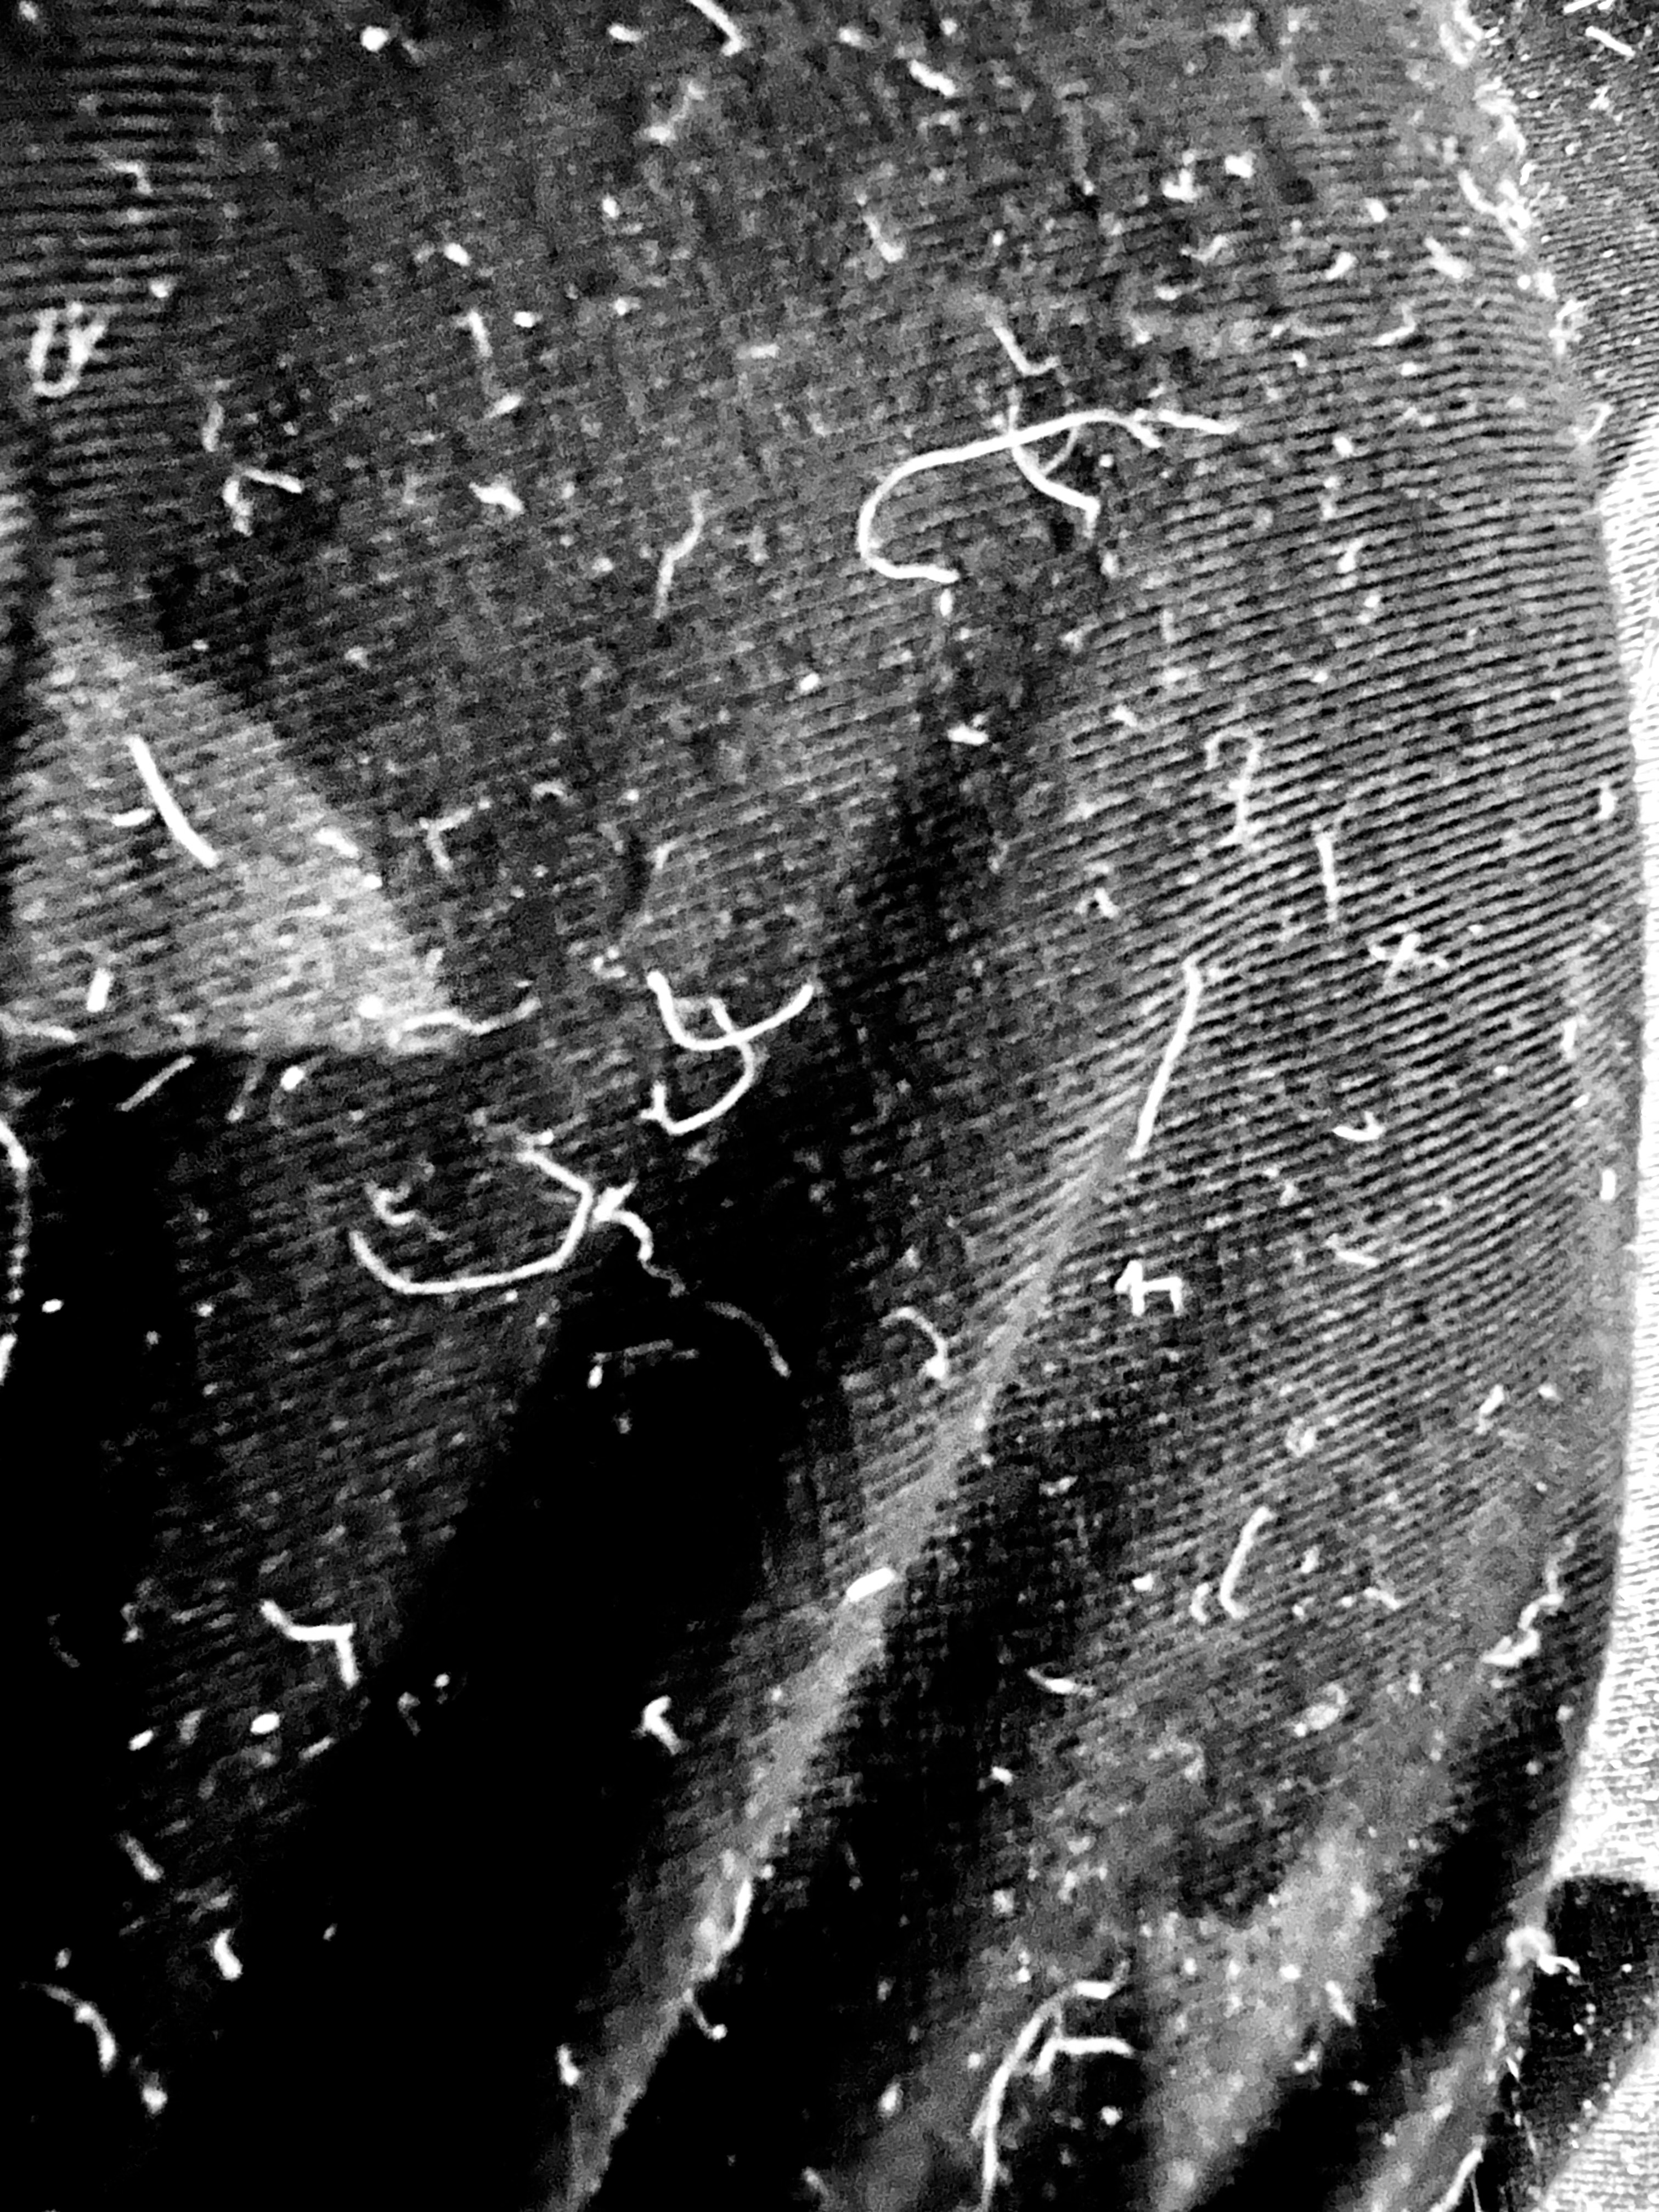
It’s also not something to do when wearing black wool, as I realised when I put it aside to go to bed! When I resumed the next morning I donned a cover-all apron.

The morning task was to bind the top ring (provided as a separate piece, with ends taped together) with the remainder of the strings used to bind the sides. It’s done with a needle, no knots involved! It is, however, hard on the fingers.  

The many (24) strings have to be secured by burying deep under the binding using the supplied darning needle in a contained space. At the moment I have one sore arthritic finger. Any more and I might not have succeeded. Even so, I found this easier than coiling and knotting. It’s not embroidery, but definitely stitching.


At the end I did a bit of remediation on the start/finish point. The rope fitted perfectly, but the rough ends didn’t sit well so I secured them more tightly with a couple of ends of string. 

As I was finishing this today, it occurred to me that it is work my father and other seafaring relatives would have been skilled at. As a child my skipping ropes, much the same as provided in this kit, had beautifully knotted handles, my father’s handiwork. I also remember taking my Uncle Phil to the Maritime Museum at Port Adelaide where he lingered over a display cabinet of knotted ropes, explaining them in detail. Most Fair Isle farmers would also, of course, have been sailors.
My finished basket is nowhere near as neat and even as the one in the kit picture, but it holds a small pot plant. Making it gave me much food for thought as I pondered the lives of the crofters way up in Fair Isle, gathering wool, the flotsam and jetsam from shipwrecks, harvesting hay, making furniture and knitting clothes, and the lives of sailors, my father included, using rope and whatever came to hand, to make things to fill in the long days and nights in the North Sea. My father spent time in Scapa Flow and told me the Hebrides were the most beautiful place on earth. He could also make anything from wood or rope.
I can’t see myself making another, but I’m very pleased indeed to have made this one. It was a break I needed.              Now Air ais gu fighe, which, I think, is Scots Gaelic for back to knitting.


Friday, September 20, 2024

2024 Shetland Wool Week Hat


While I was on a hat roll, I thought I would tackle the Uradale version of this years Shetland Wool Week hat, the Islesburgh Toorie, for which I had foolishly bought the kit. There are 5 colours in the pattern and in the Uradale version these are all natural, undyed wool. All five colours are represented in the band, shown here. 


Making sure I had the right one was a bit of a challenge, so I made myself a colour chart to keep handy and check against.


The pattern is set in three sizes, achieved by varying the needle size. I made the medium size, using 2.75mm needles. My favourite ebony needles don't come below 3mm, so I had to retreat to bamboo. With a 40cm connector, it worked fairly well. The very sharp bamboo does tend to split the wool if you are not careful. 
After the band of rams heads, I optimistically misread the pattern, and began the crown. After 4 rows I realised the error, undid it and worked the missing chart.

I continued using the same circular needle to the end of the crown. It's awkward, but no more, in my view, so than other methods . 


For the last couple of hats I used short needles and a short connector to finish the crown, but I find it more comfortable and flexible to move the shortening rows along a longer connector and on to the 4" needles.


I'm not entirely convinced the subtle changes in the paler colours make a difference. 


While it does draw attention to the eyes of the sheep,  I'd like to see the starker contrast of the whitest wool throughout the whole hat.  I could make it again to try that out. The kit supplied 4x25gm balls and one 50gm. 30gm of the latter remain and 19gm, 23gm & 22gm x2 of the rest. I wish it wasn't so - I do feel the pressure to use it. 

I don't think I will make it again. I have found another pattern I think might work and be interesting to knit. I have no recipients in mind for these, but do it for the satisfaction of making them. 

If you know of a sheep farmer who would like this one, please let me know!