Search This Blog

Tuesday, February 11, 2020

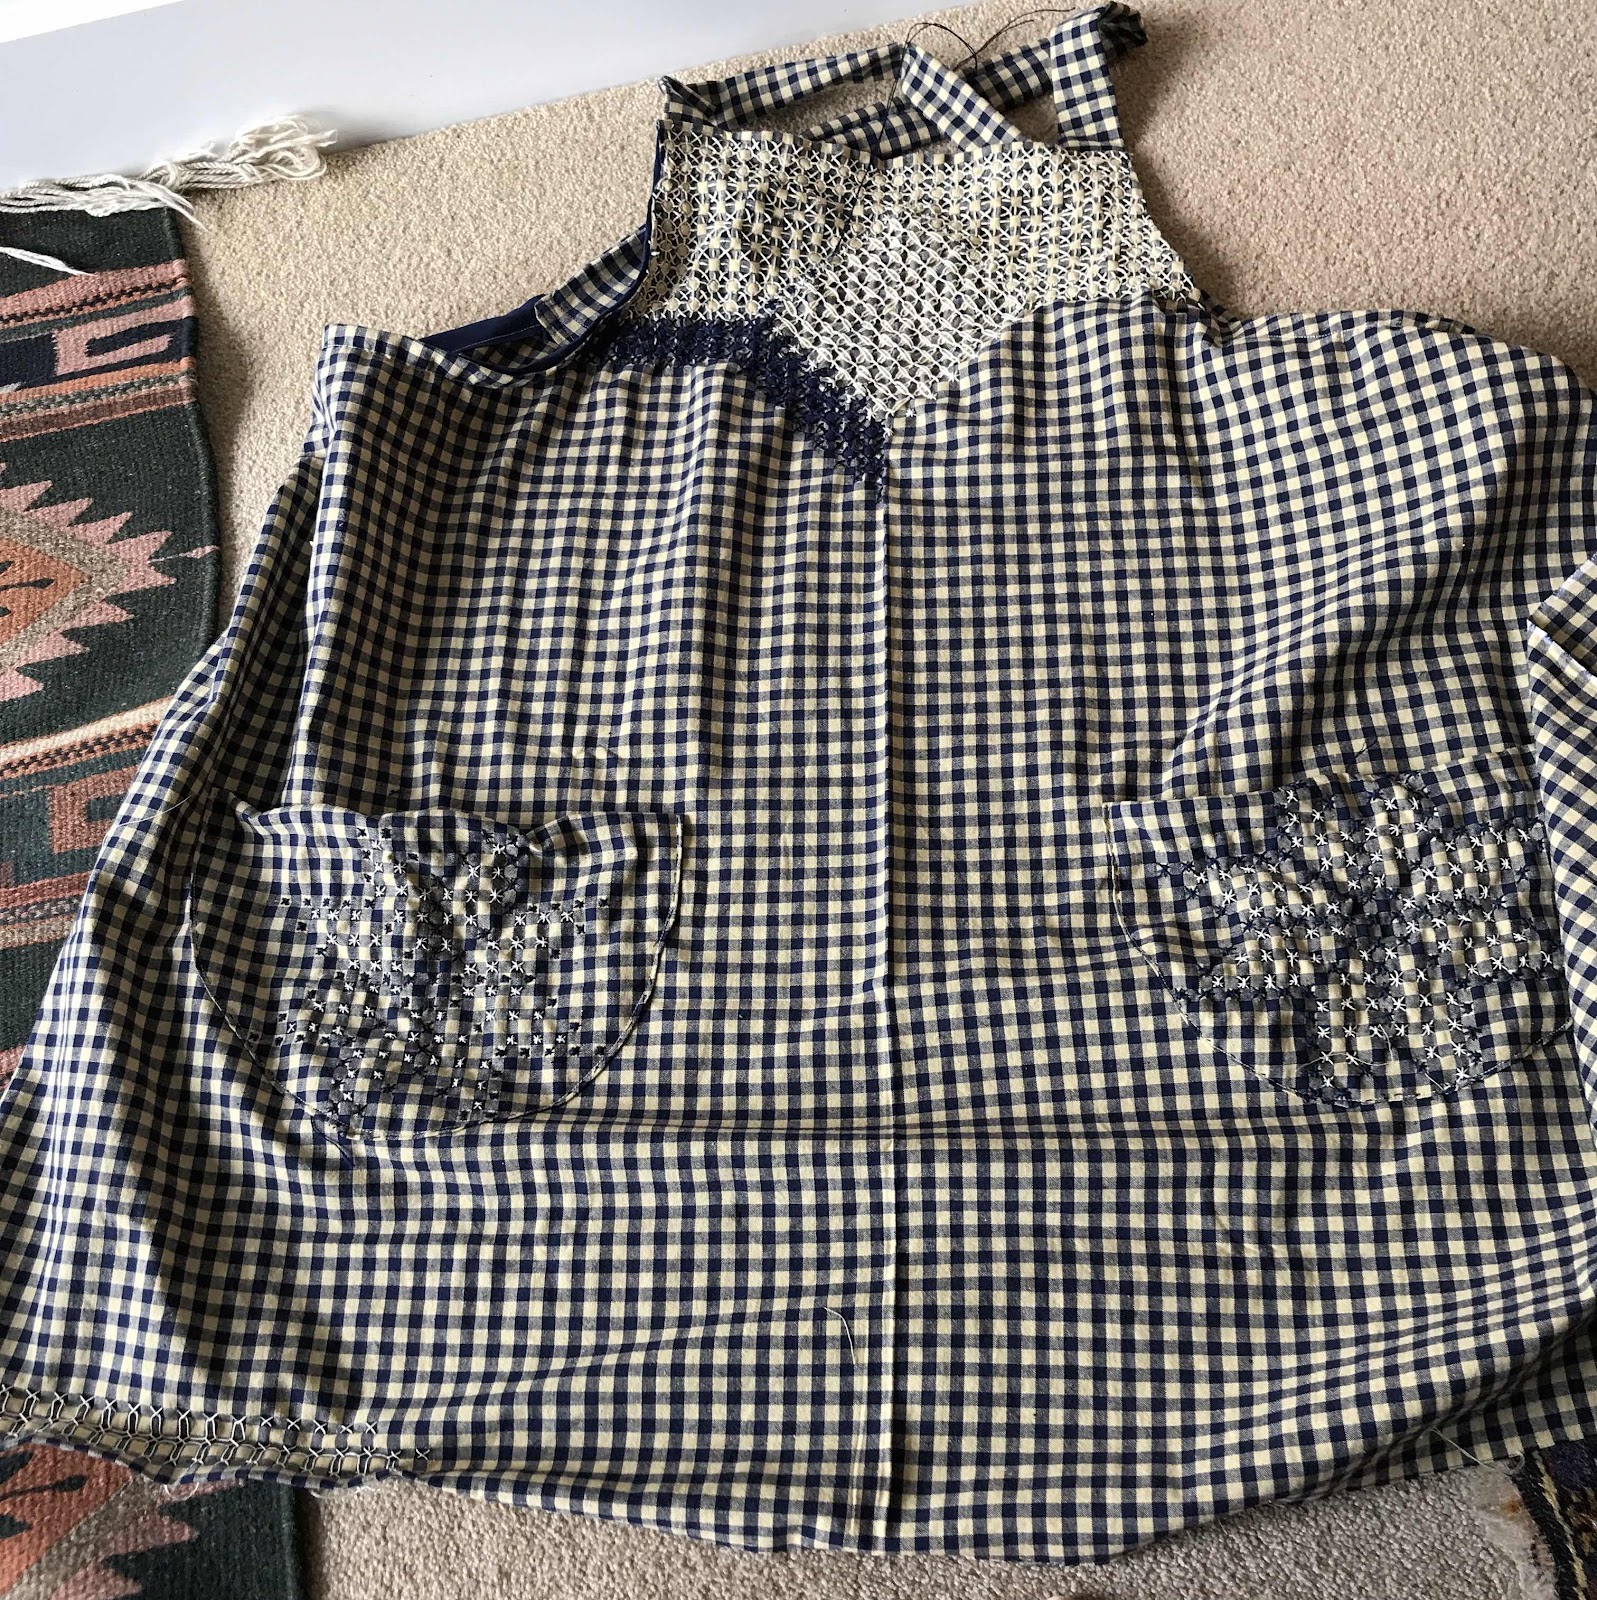
Another chicken scratch apron

I was well and truly on a roll with chicken scratch aprons. The other two pieces of fabric I had were both ginghams - one in dark blue and one in a dark red. Both had an ecru rather than white contrast.

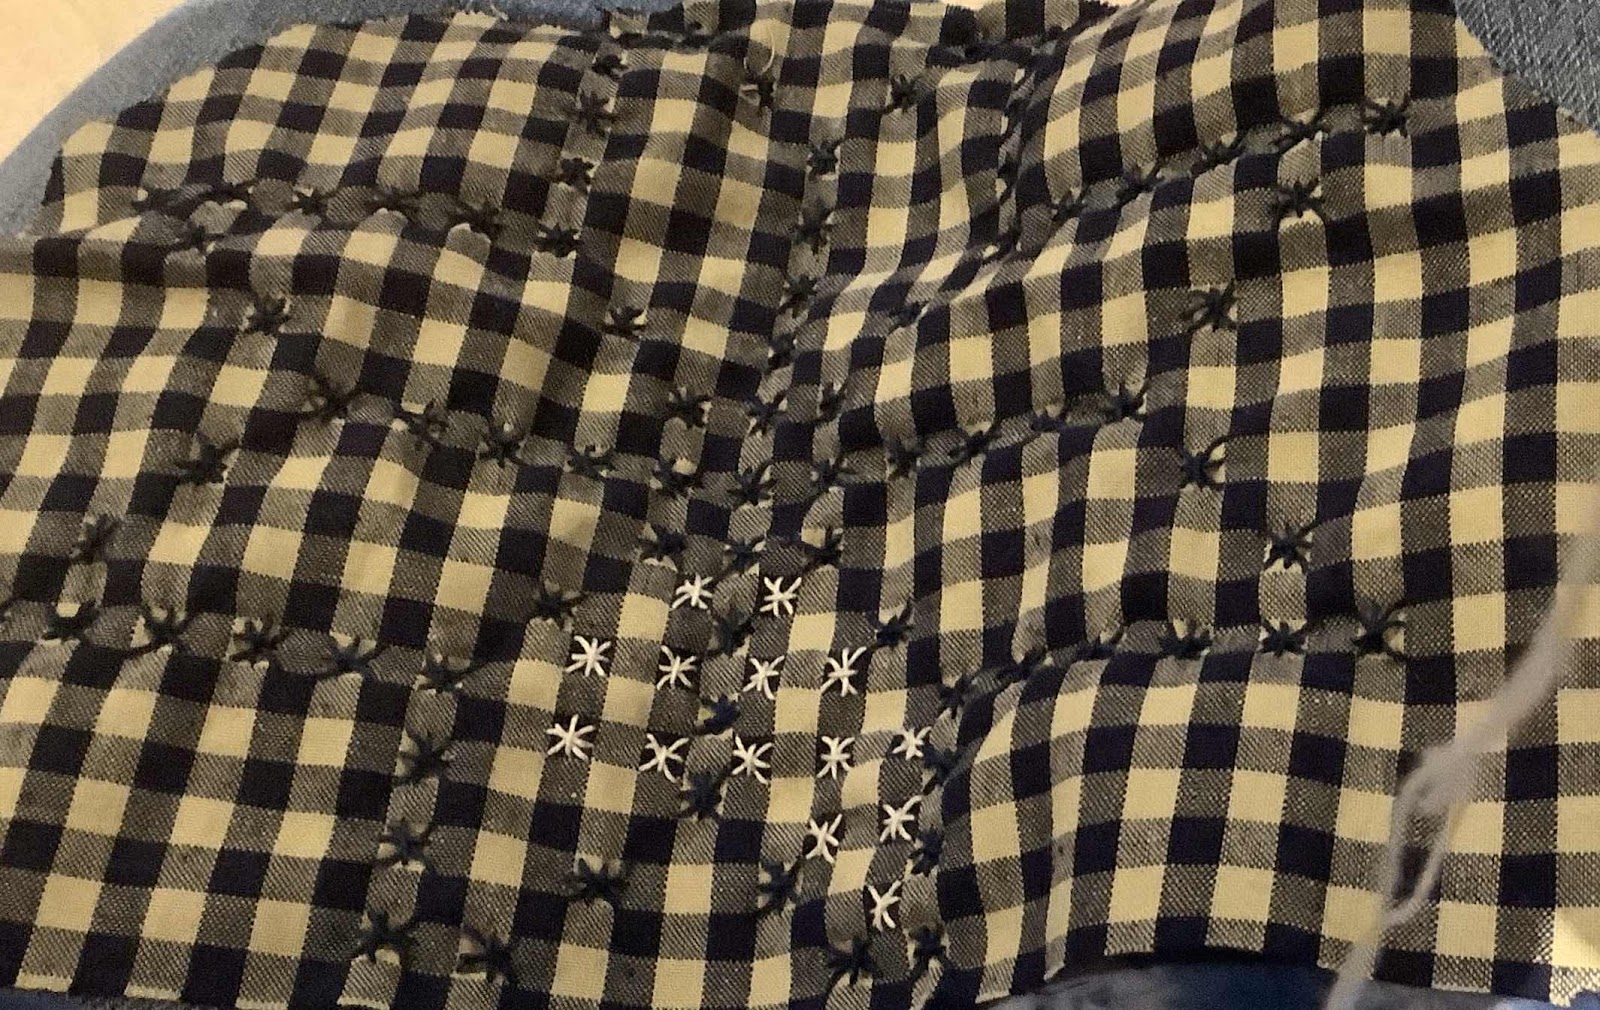
I cut both of them out to the same template as the previous one. I began stitching the blue pockets with stars, using perle 8 thread.


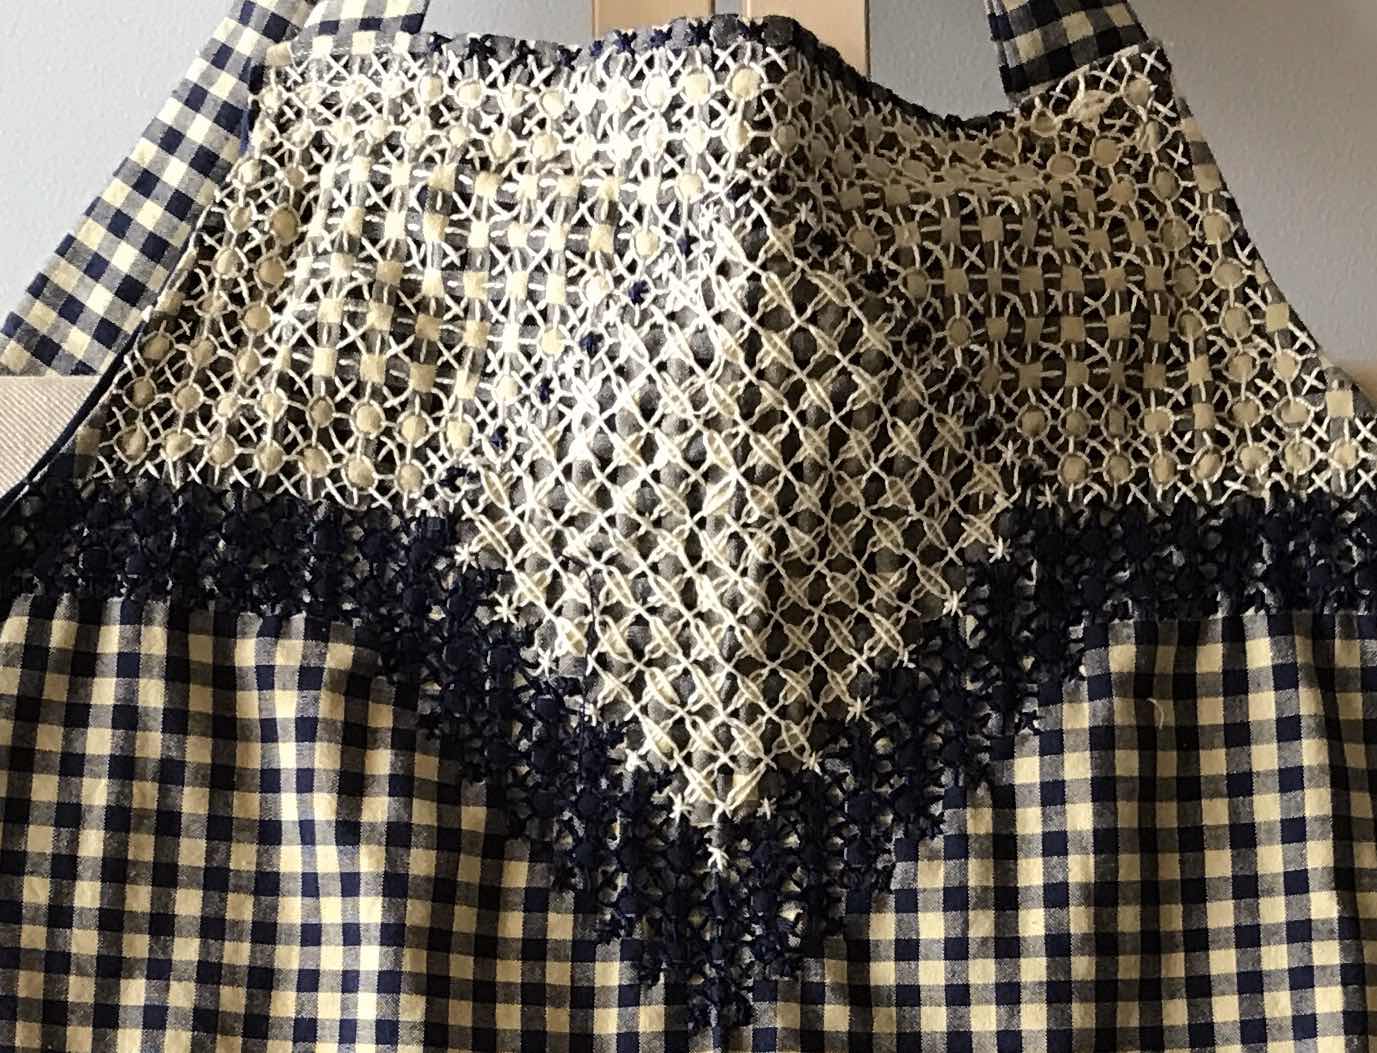
While I was pleased with the effect, I thought I needed more thread coverage on the edge and bodice to achieve a lacy look, so I switched to a perle 5 ecru thread.


This gave me the coverage I was after and I could work it in rows of running stitch - first one diagonal, then the other, then verticals and horizontals.
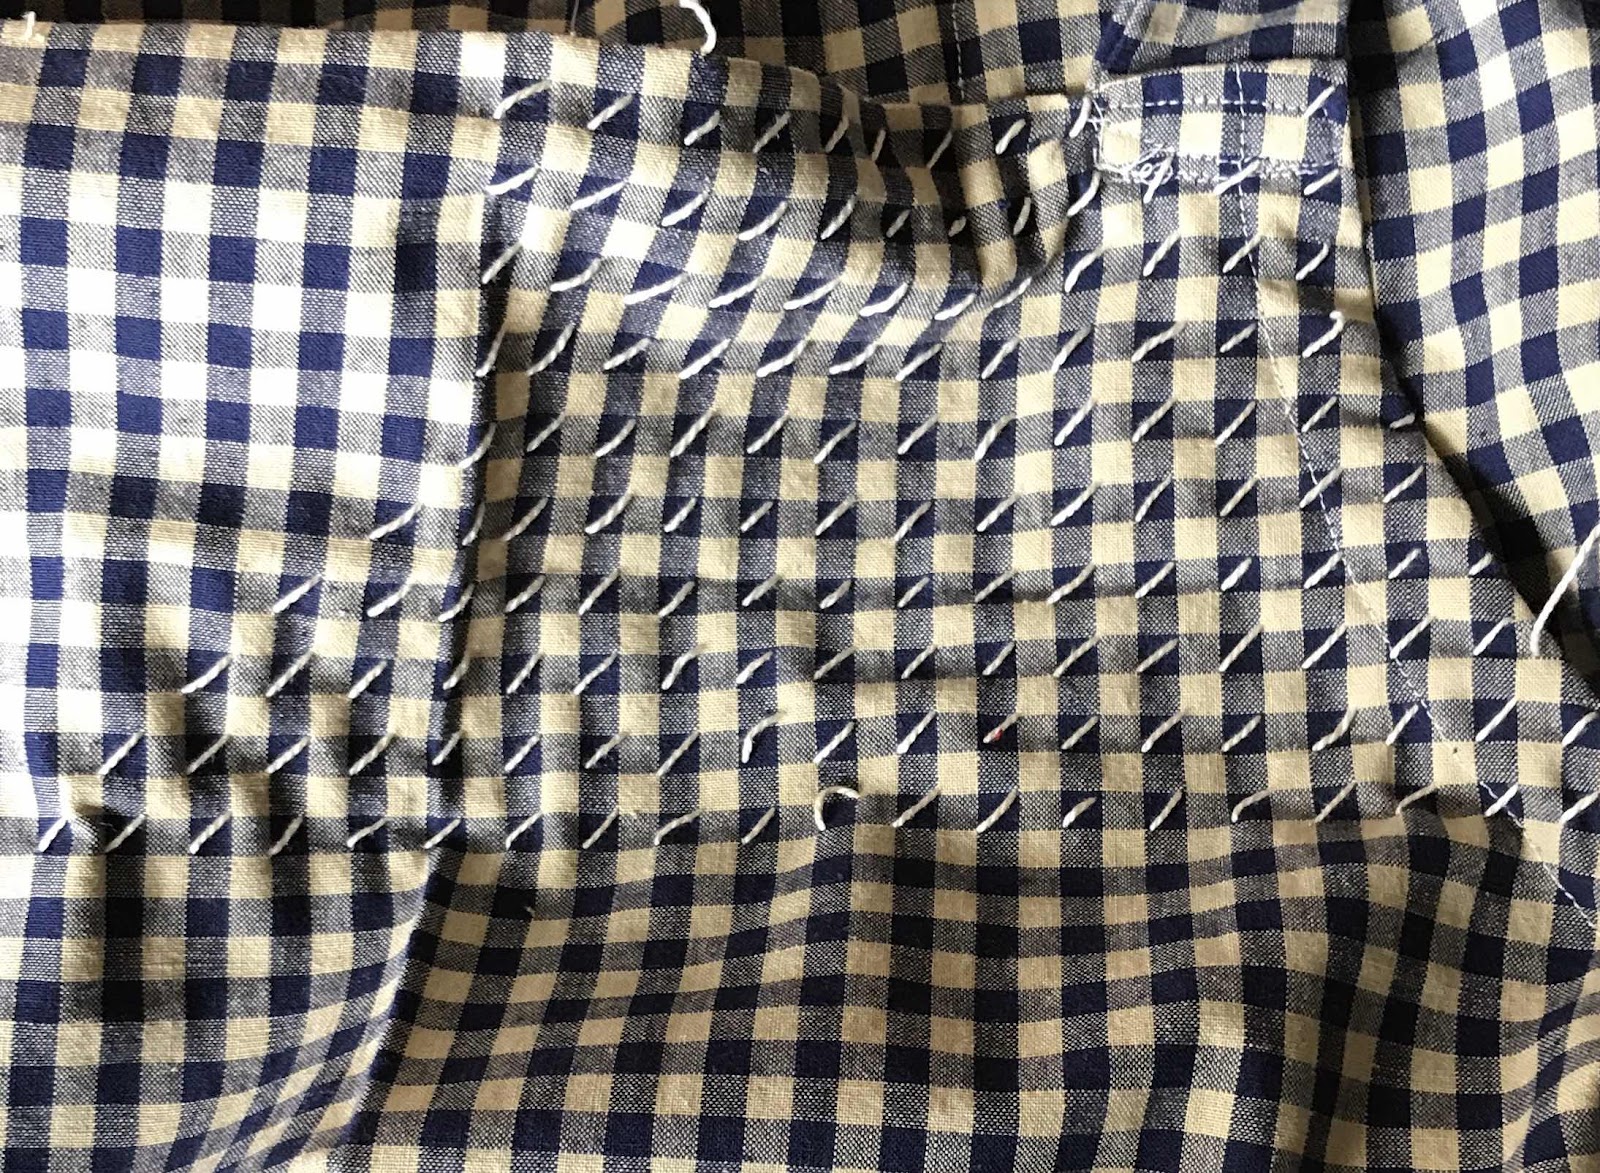
It's rythmic and easy work, but you need to be very careful with tension.

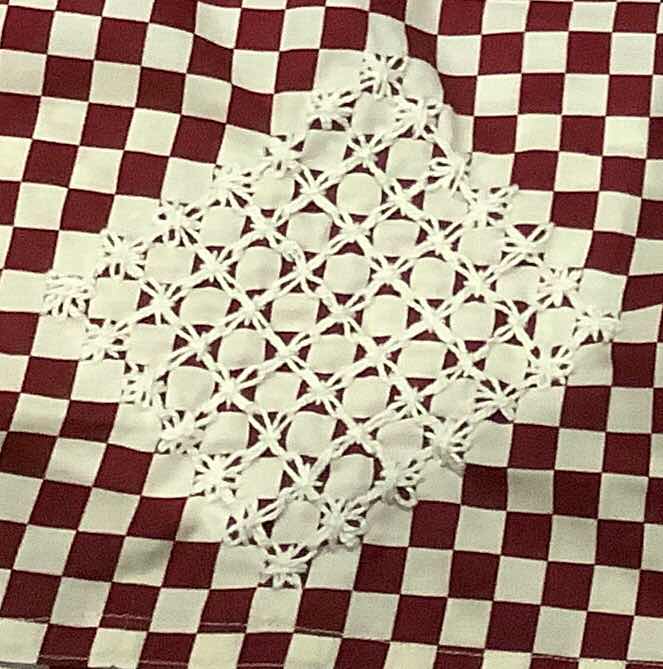
I worked a dense pattern with an embedded  diamond shape on the bodice
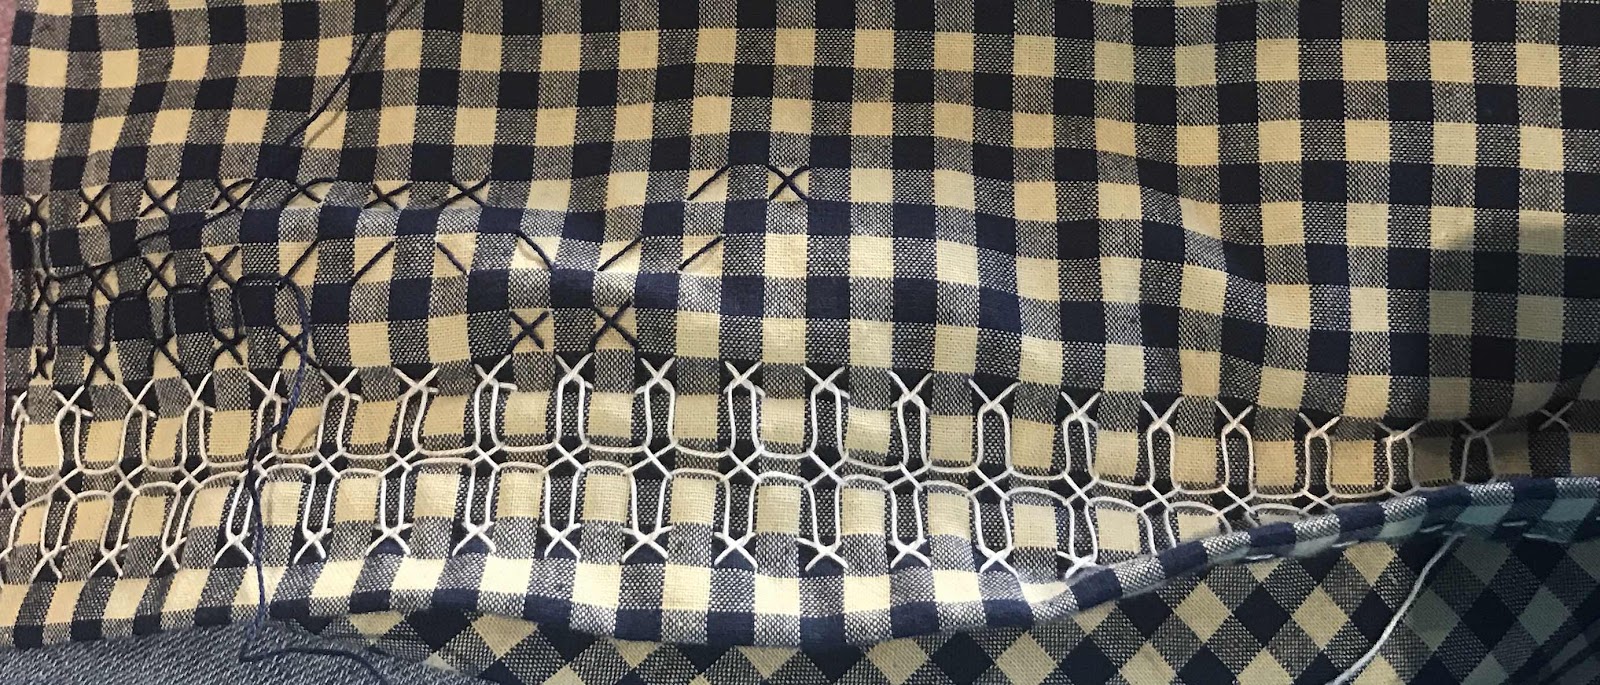


and an outline pattern around the hemline.


I then decided the bodice needed an outline in dark blue. I had no dark blue in perle 5, and all local shops that sold perle 5 were closed for Christmas-New Year, so I used the perle 8 in a close pattern.


I was very pleased with this result.


I had no particular recipient in mind, but one of my stitching buddies, who also loves cooking, fell in love with it, so I was delighted to give it to her.

She agreed to model it, provided I didn't show her face!


Monday, February 3, 2020

Shadow Box Class

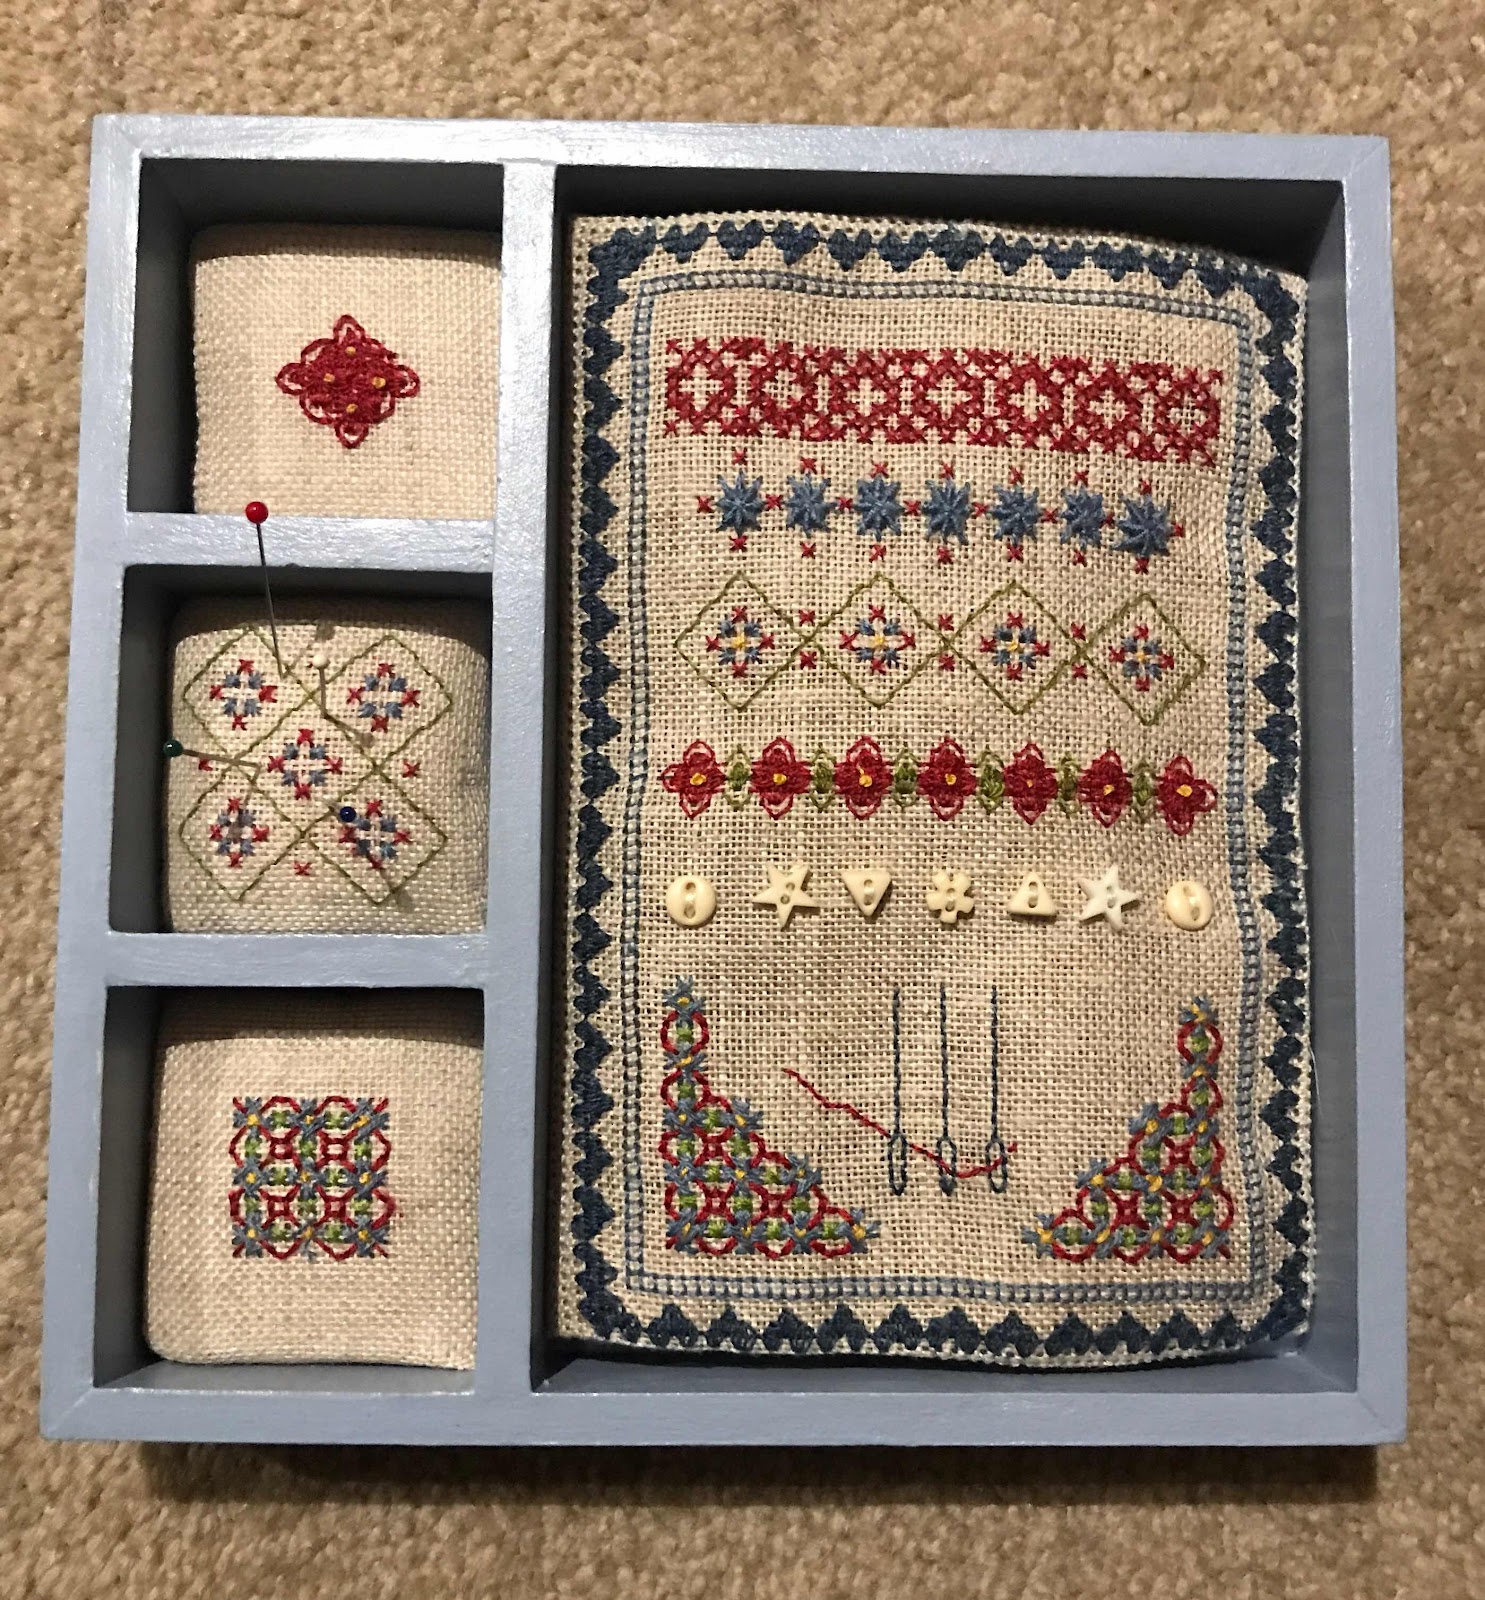
Late last year the Embroiderers' Guild of SA offered a two day class with Christine Bishop to populate a Shadow Box with a needle-case,  scissors, pincushion and needle threader. I wasn't convinced I needed another box in my workspace, but I did like the box, the embroidery and concept. I could also see that something solid to hold embroidery necessities might mean they were always in the same place - and there's sense in that. I notice Christine is teaching this project at Beating Around the Bush this year.

It was a fun class, over two Sundays. A great group of enthusiastic embroiderers . I knew when I enrolled that I would only be able to attend for half the second Sunday, as I had a subscription concert. Christine was OK with this, so I went ahead.

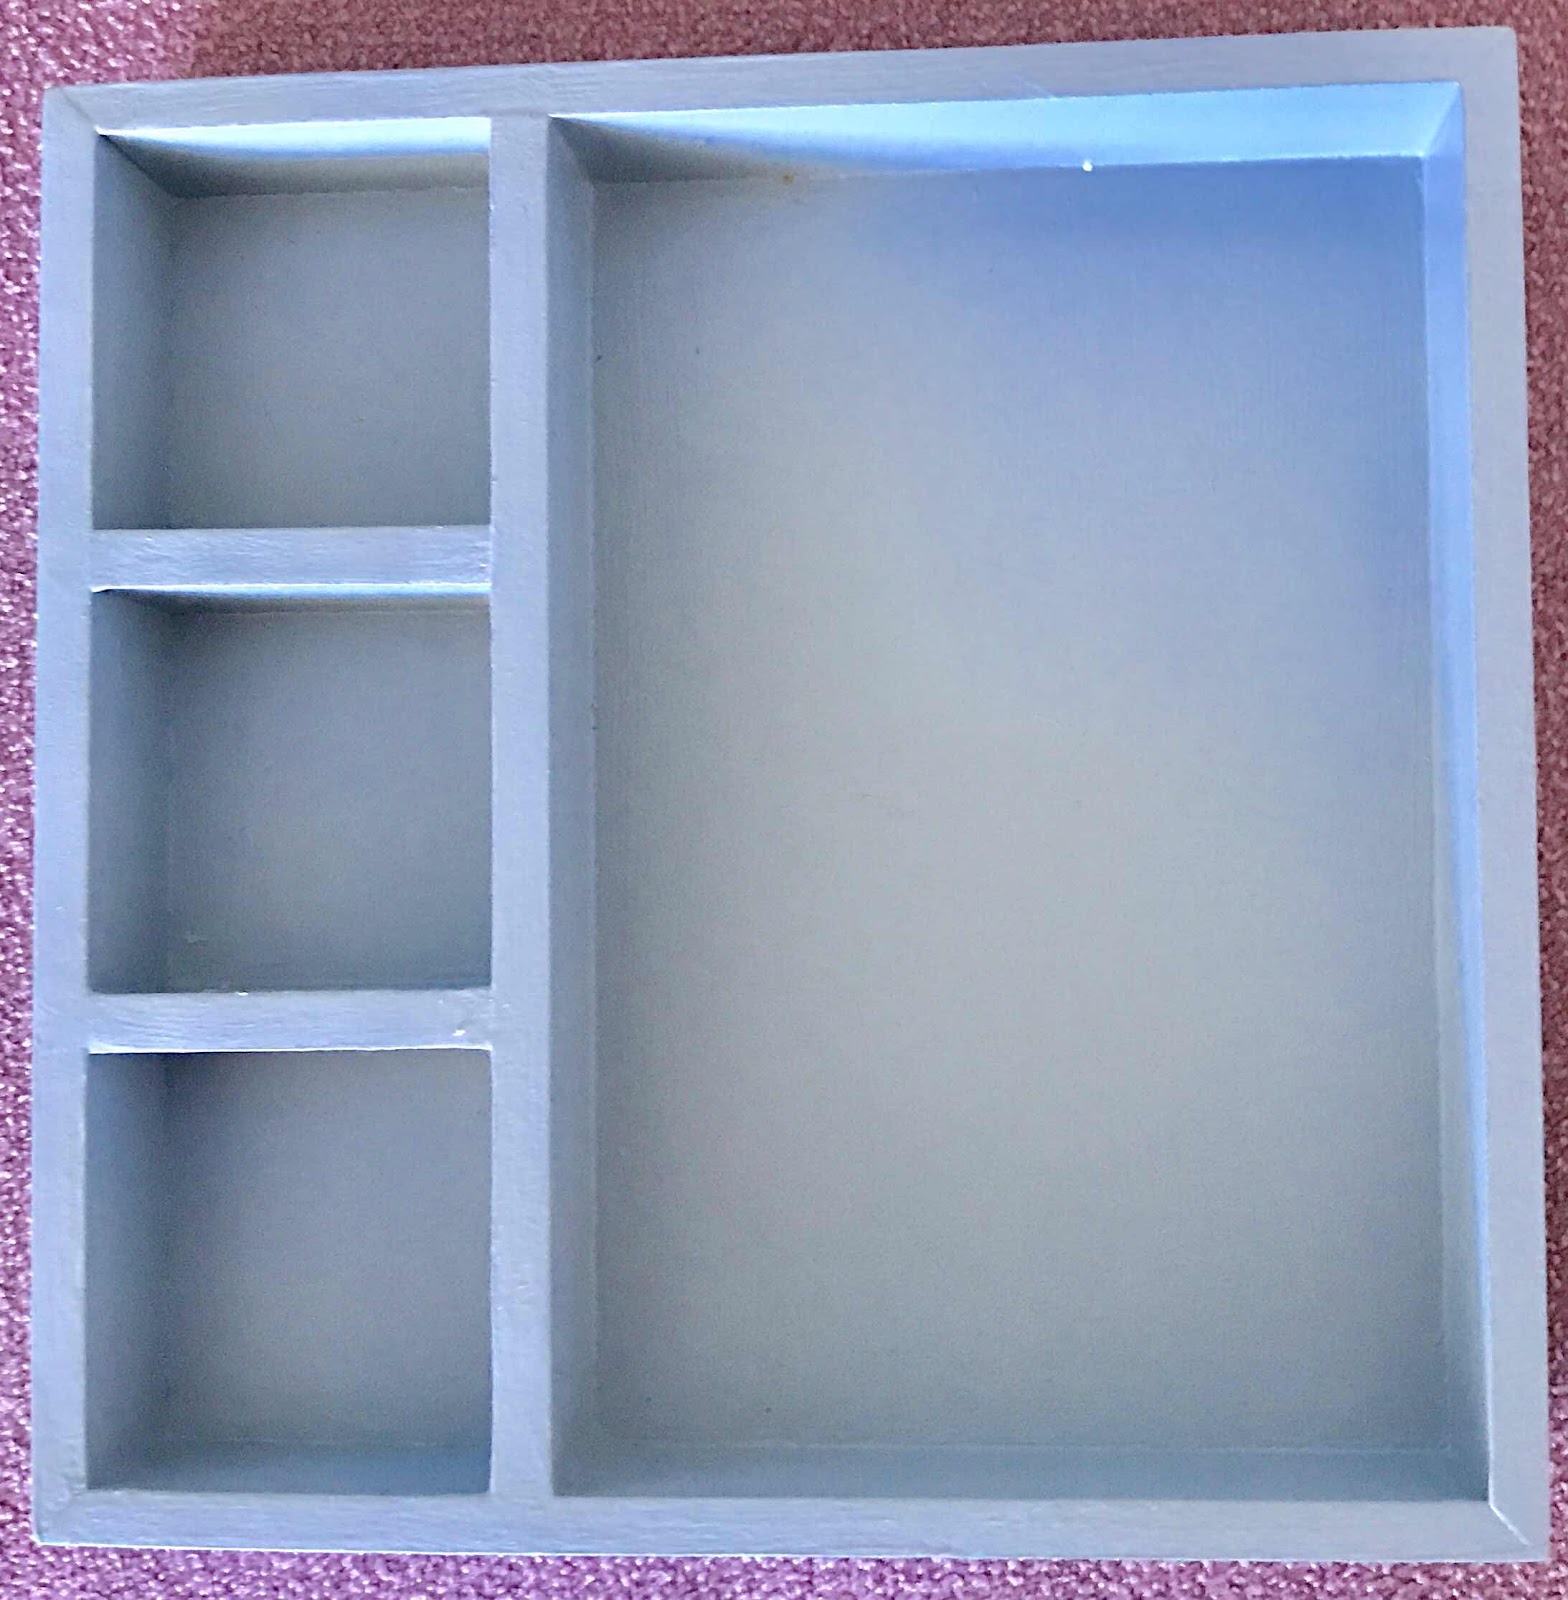
We got to choose our box, which Christine had had made for us - there was a choice of white, red or blue. I chose the blue.

We began stitching the needle book, Christine demonstrating the stitches to get us started and then more or less on demand. We began with Rococo stitch - new to me. It took me a while to get the hang of the way the stitches fit together. Once I did, I was hooked. I hope I can use it again.

Because I knew I would miss the last few hours of the second day, I put in quite a bit of time between classes to finish as much stitching as I could, so I could have some help with construction on the second morning.

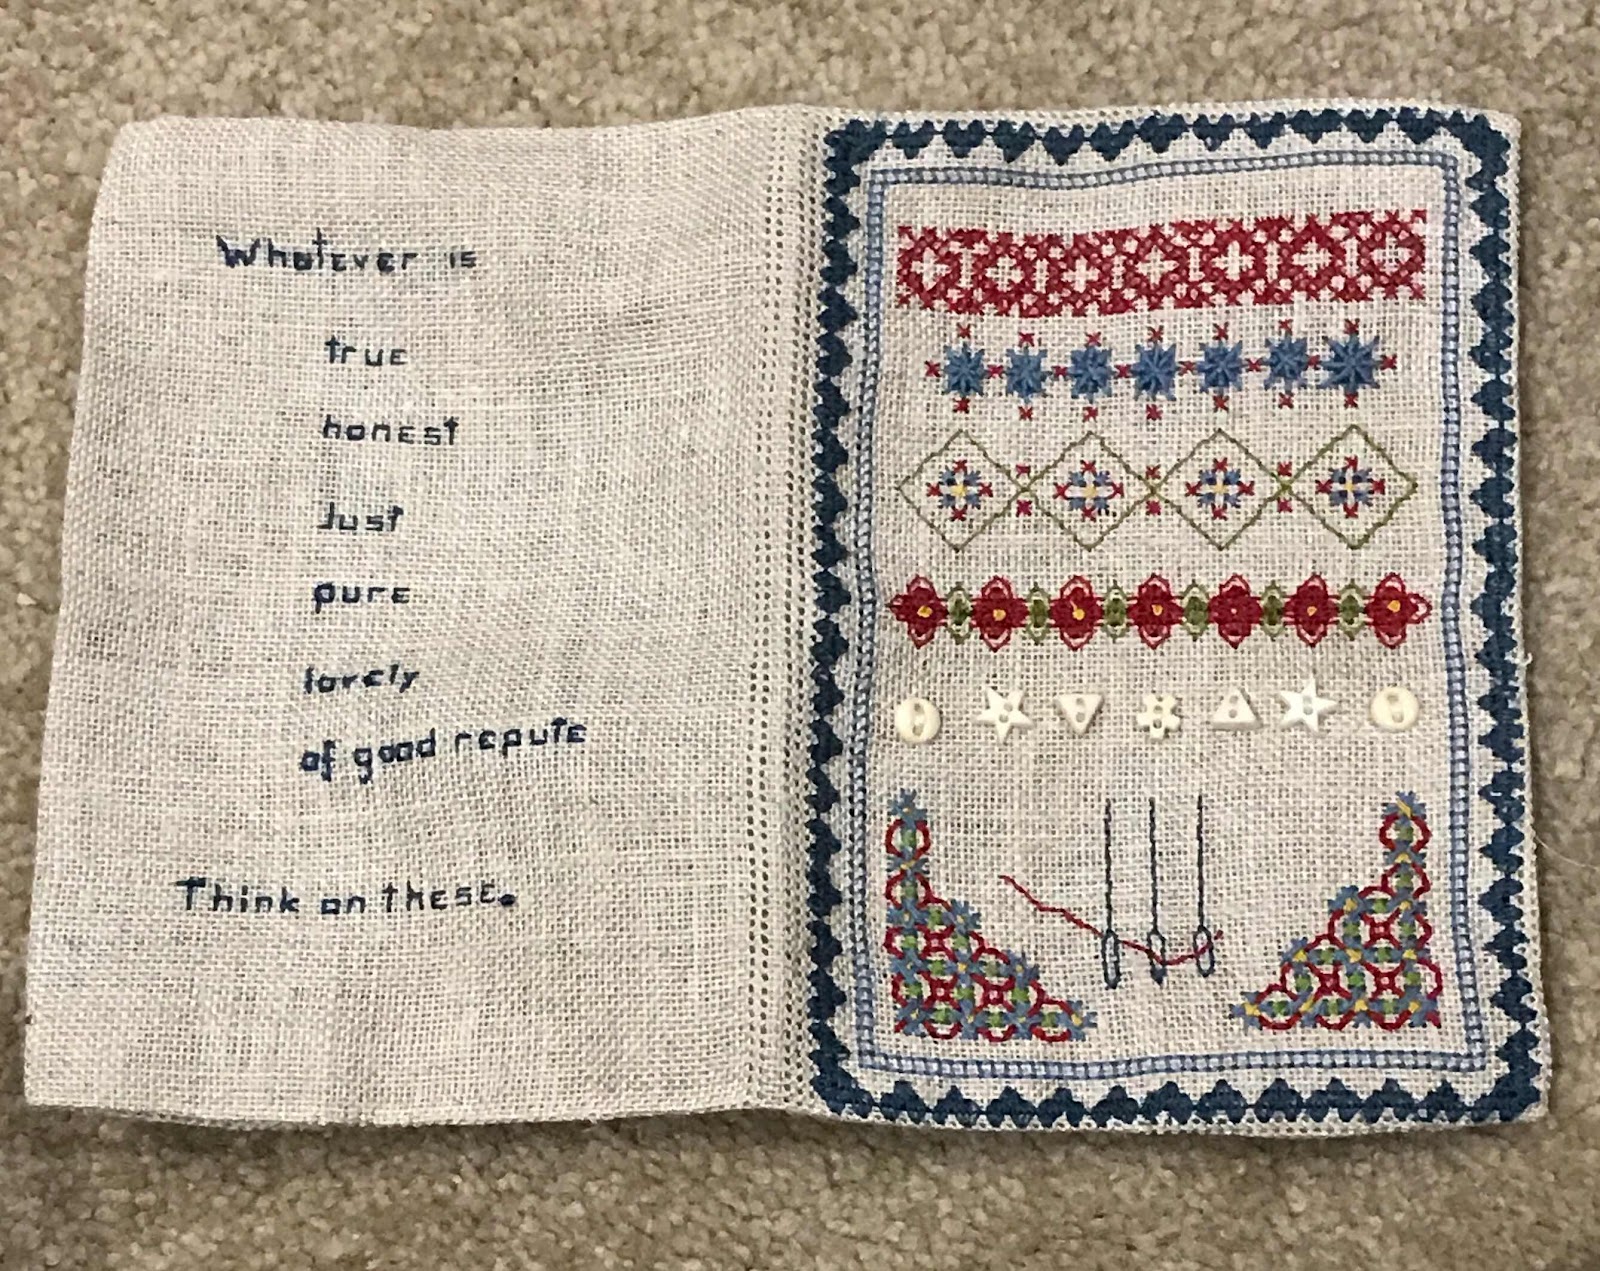
Like a few others in the class, I played a bit with the designs. I altered the row of houses at the bottom of the needle book cover to a symmetrical design, so it would not matter which way the book was lying in the box. I'm going to use this, and I can see I won't be careful about how I place the book!

My strategy worked well. The kit came with a lovely piece of Liberty cotton for the lining of the needle book.  Christine went through the construction steps and I was able to complete the construction fairly quickly after the class.

The book is designed to hold needle packets. rather than loose needles. There are a few options, however, to accommodate both.

I opted to add little squares of doctor's flannel.

One of the other students embroidered quotes on the linen pockets.


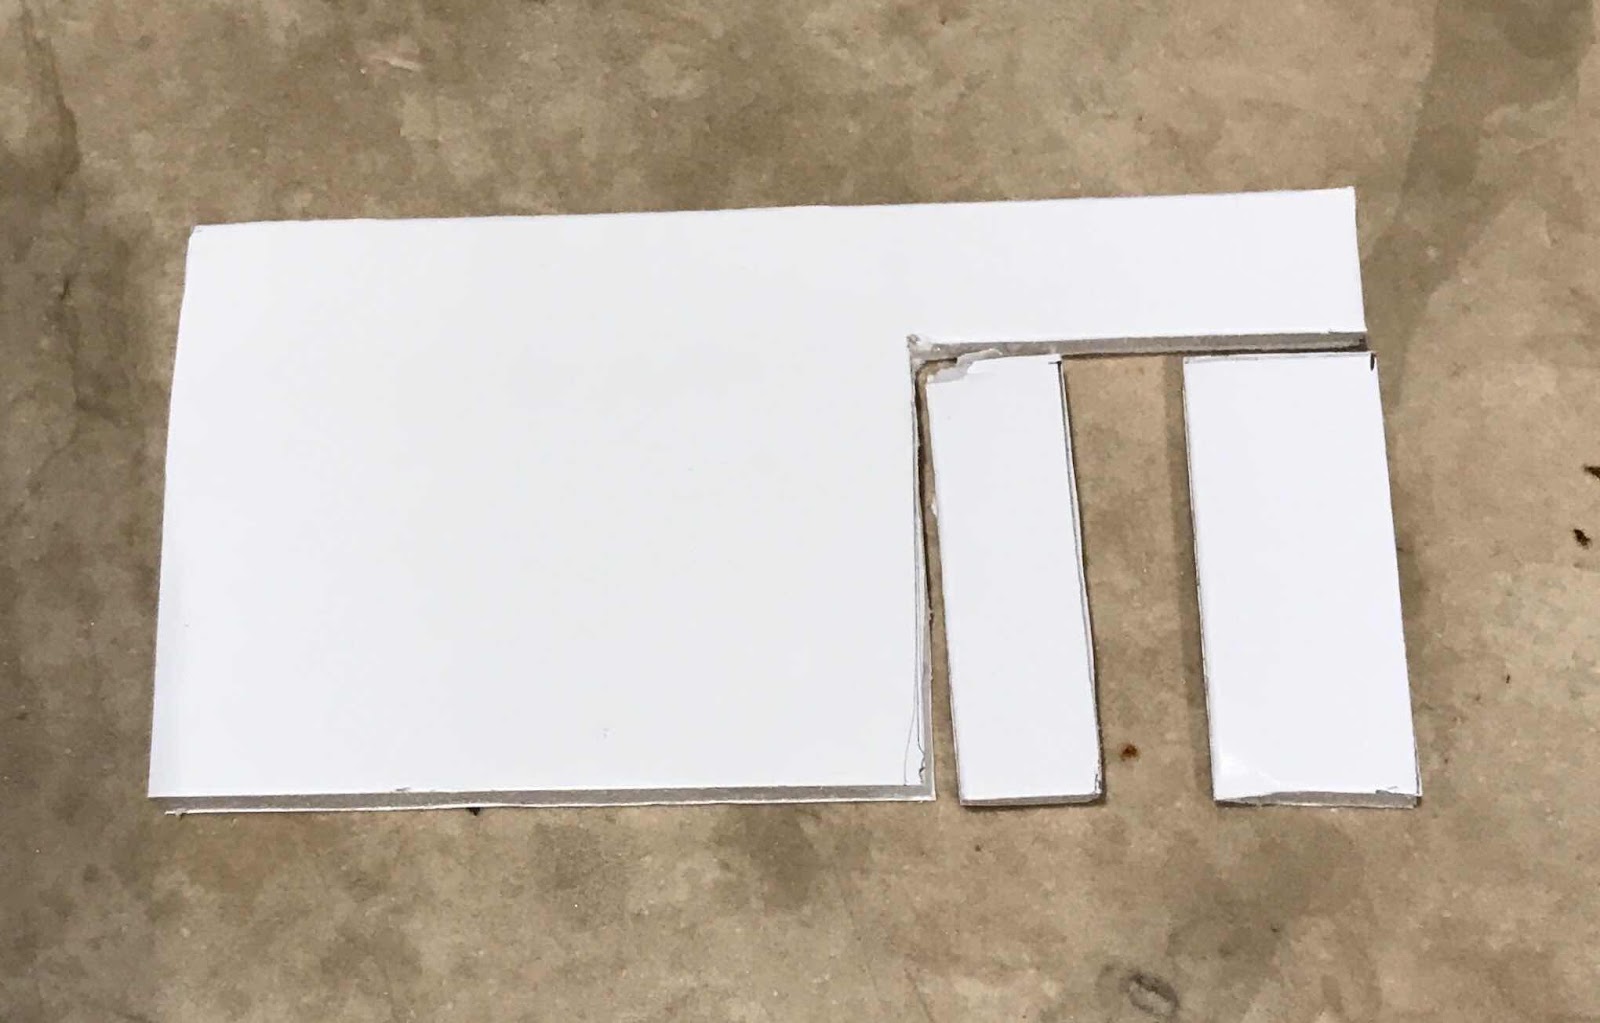
I found some off-cuts of acid-free mounting board left over from a previous task


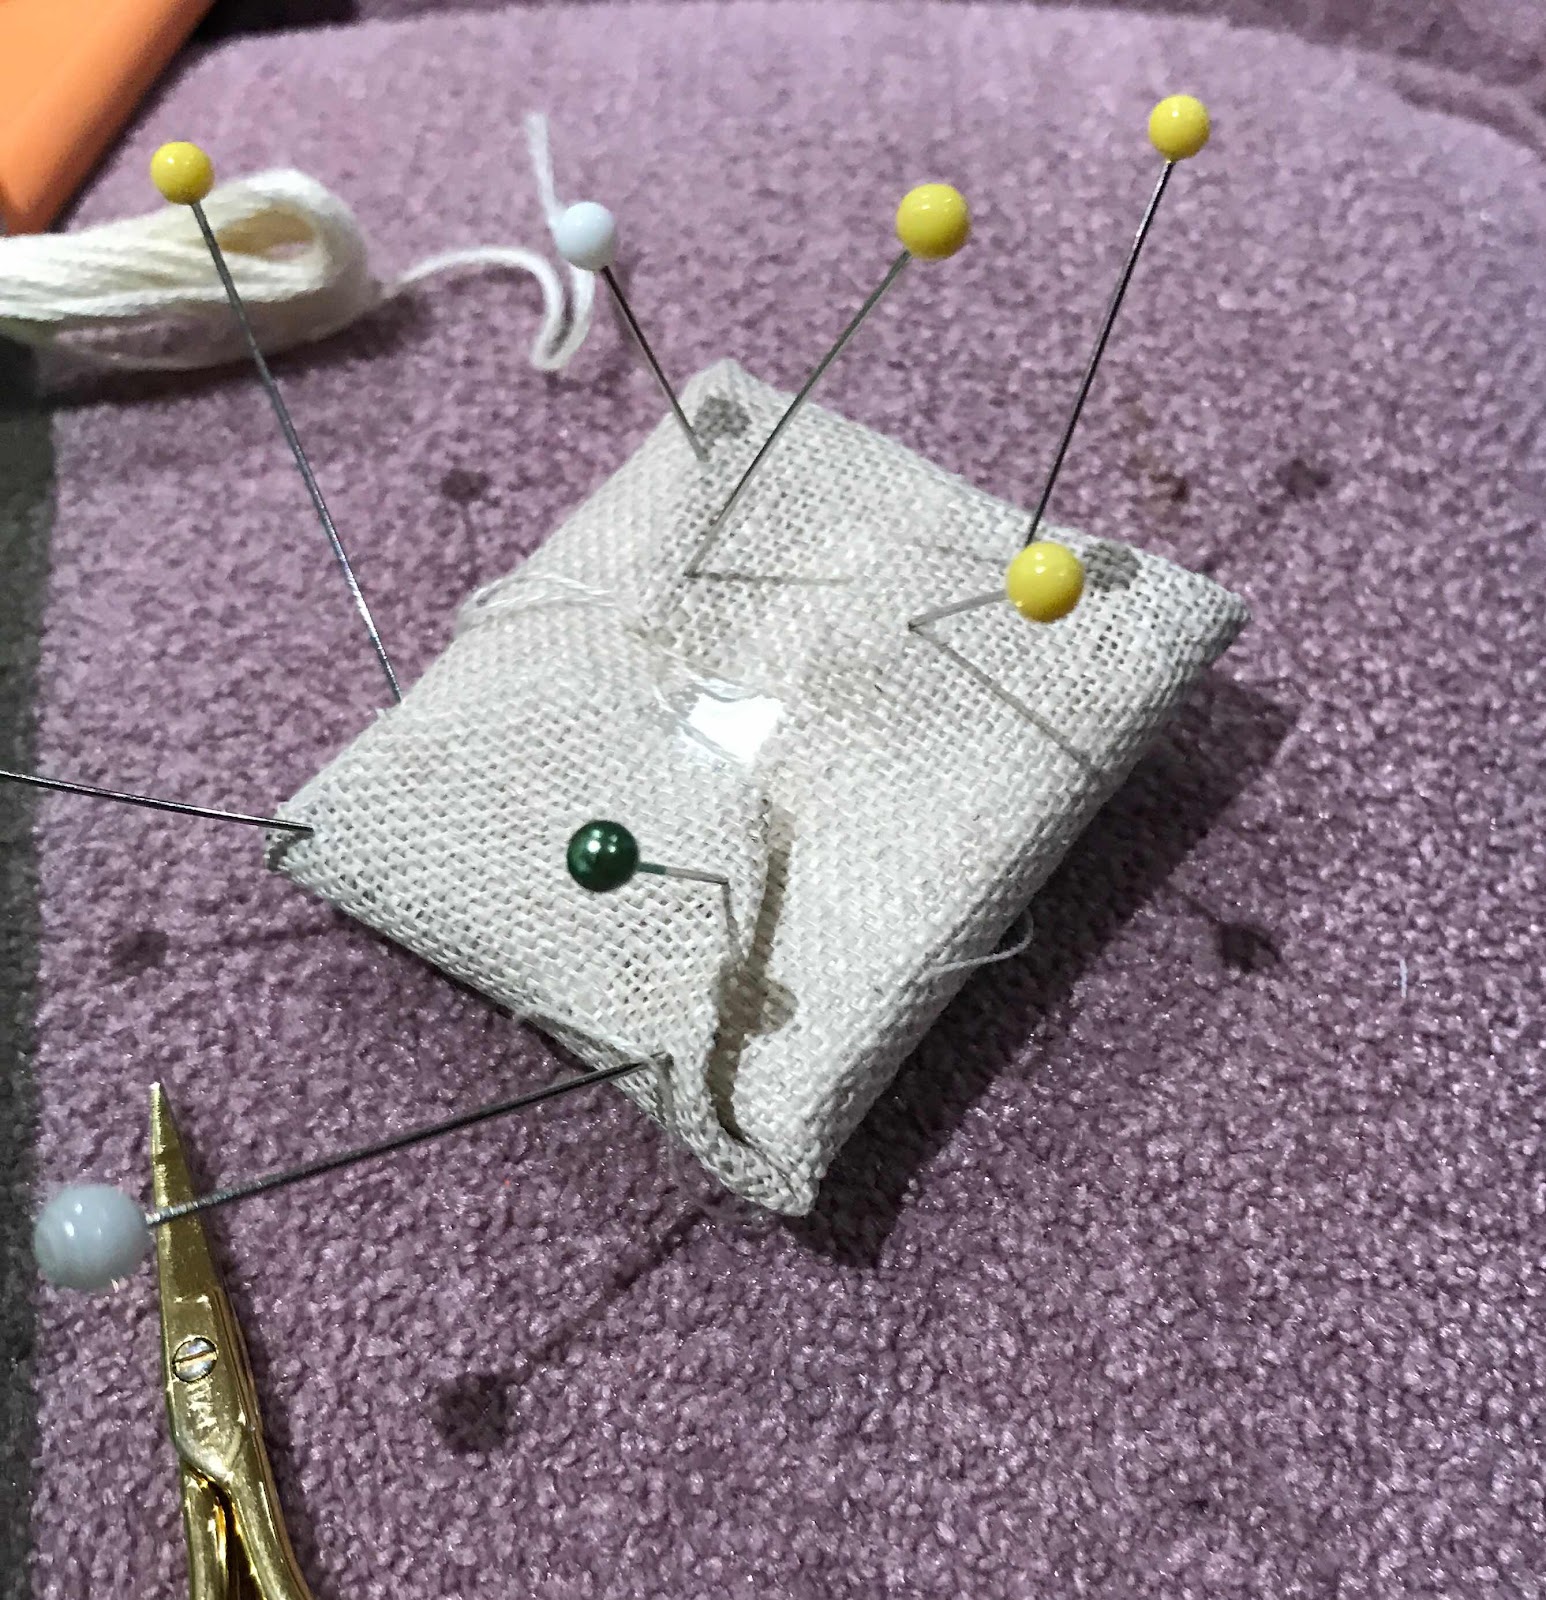
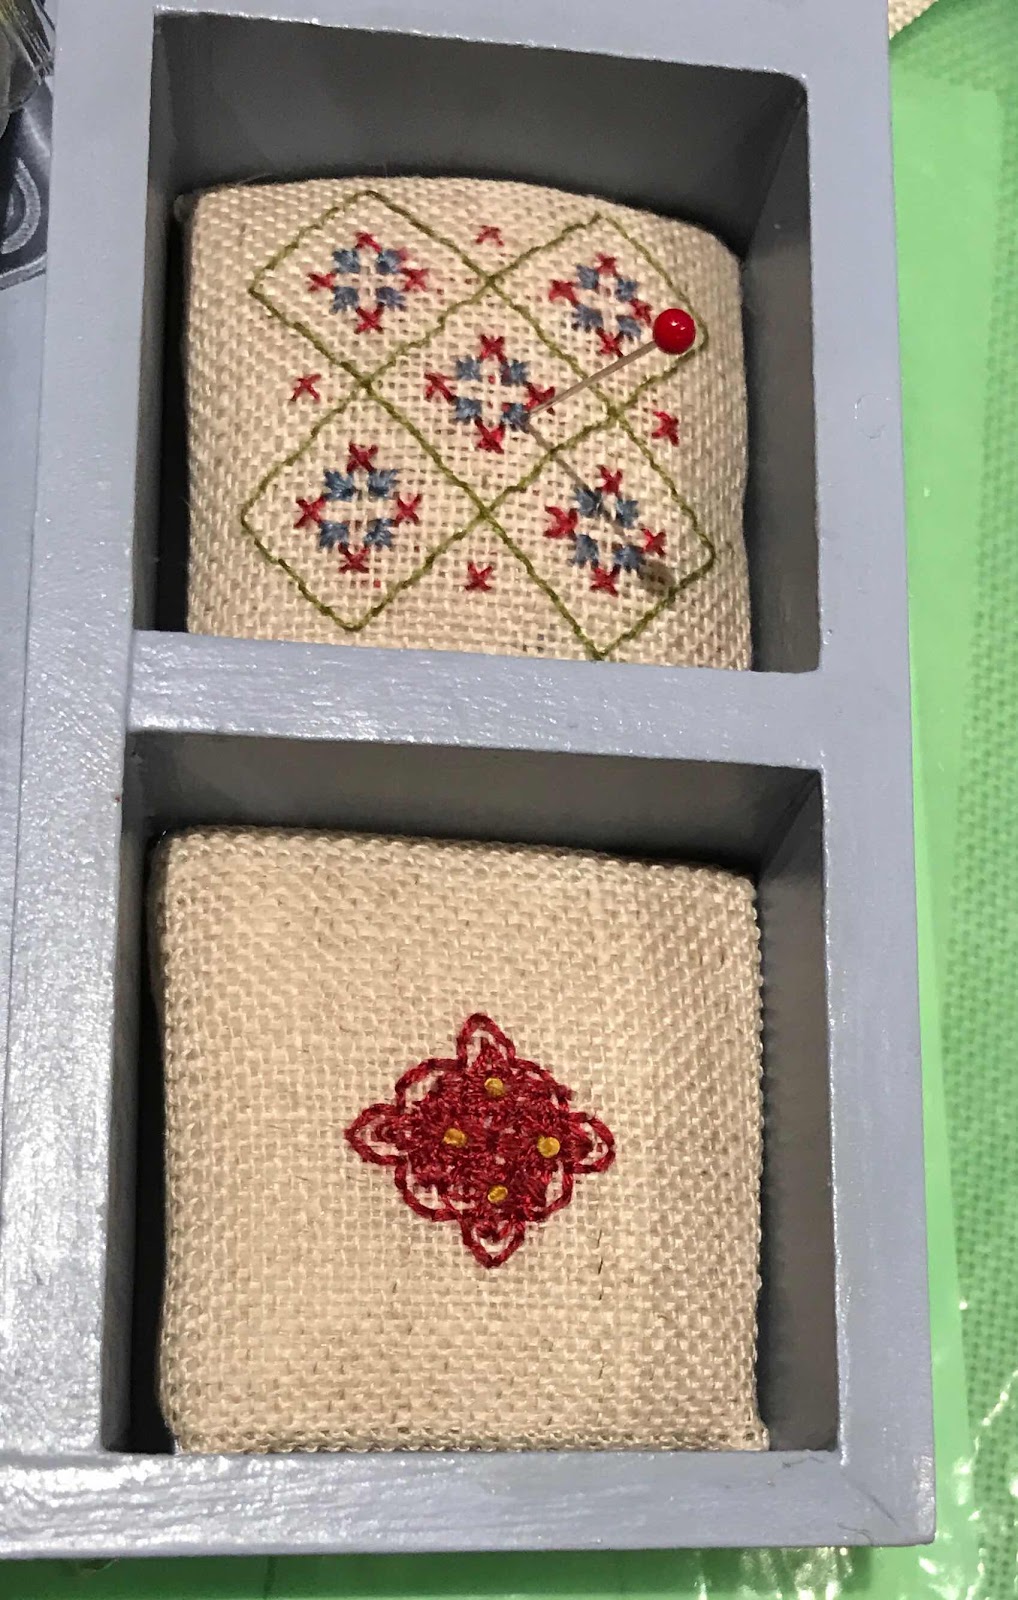
and used these to back the pin-cushion, scissor keep and holder for the needle threader.


The box made a handy holder for the bits required throughout the process!


Gay's quotations on the linen pockets gave me an idea when I realised that the back of the needle book was blank.


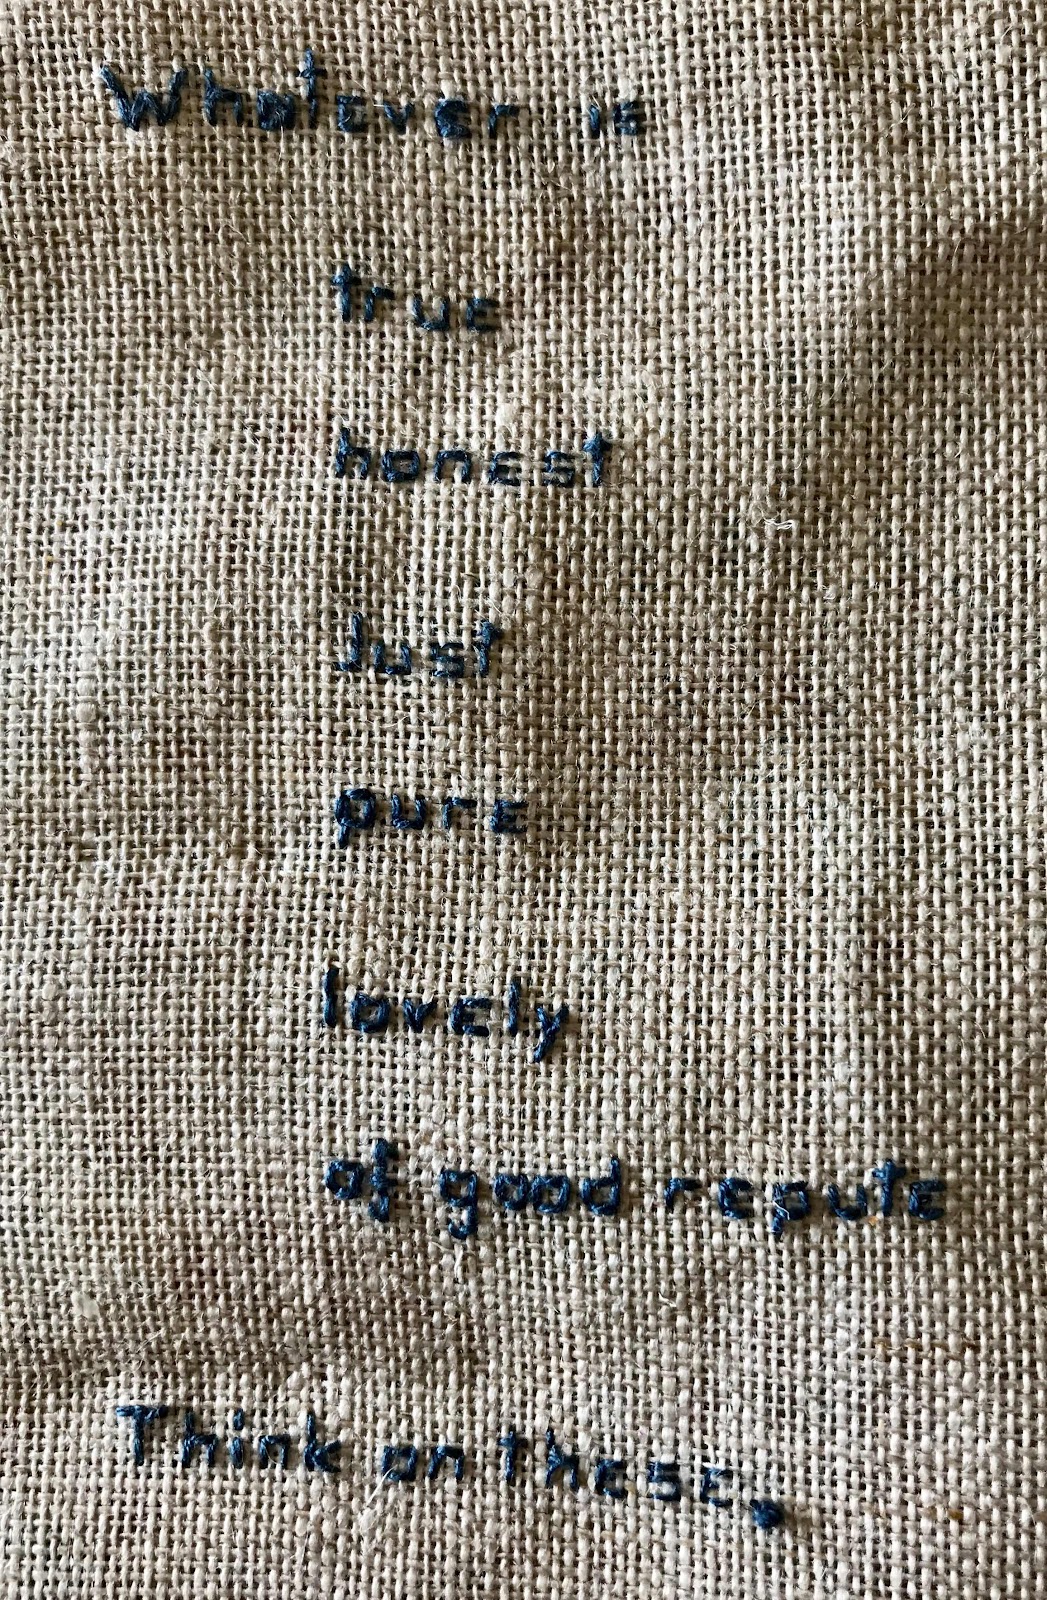
I embroidered a paraphrased version of Philippians 4:8. This is a principle I try to live by and a mantra that helps to keep depression at bay in the face of so much bad news. It will be reassuring to have it always there when I am stitching.


It took a little bit of adjustment to get the small pieces fitting snuggly as the spaces are not the same size - but it was not a drama.

The scissor keep is designed to fit Kelmscot Little Gems scissors.

I found an online Australian supplier, StitchWOT and ordered both blue and red. In the end I used the red.  I experimented with a few needle threaders and eventually added this little bird with a threader beak. It has the advantage of a hole that accommodates a cord. I reckon an unattached needle threader is not going to survive my use!

Altogether this has been a thoroughly enjoyable project. It had a few mild challenges, looks good and will be a tool set that does not leave my coffee table - so always there when I need it.

What more could I want?

Monday, January 27, 2020

SA Embroiderers' Guild Certificate Course Colbert workshop

The November Certificate Workshop focussed on Colbert embroidery, named for Jean Baptise Colbert, Finance Minister to Louis XIV, who introduced a lace making to France in the 17th Century in an attempt to kick-start an industry. Colbert is an embroidery style based on lace designs. Like Assisi work, it is a voided style, but encourages more elaborate backgrounds and combines both counted and surface stitchery.

The workshop was prepared by Carol Mullan, but unfortunately,  Carol was ill on the day. We had her notes, and Mary Hall, who was attending as a student and had attended an earlier Colbert Workshop by Carol, stepped up and walked us through the workshop.


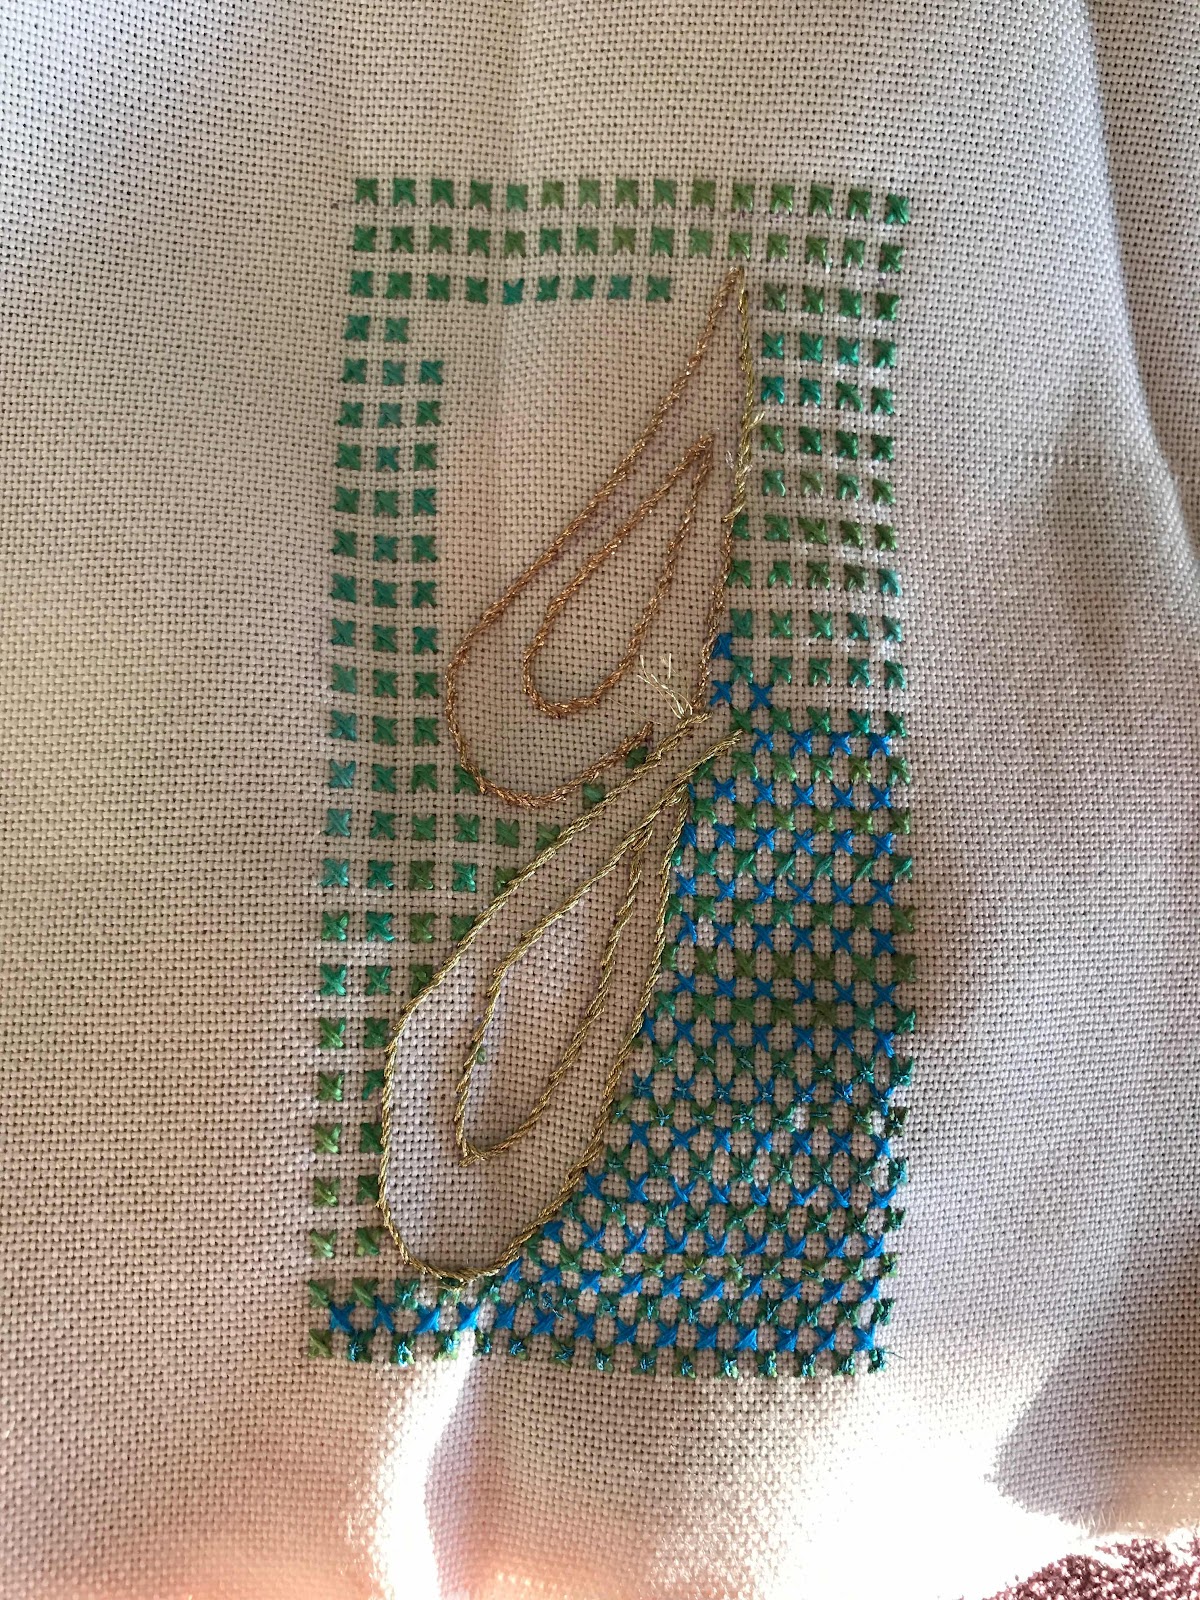
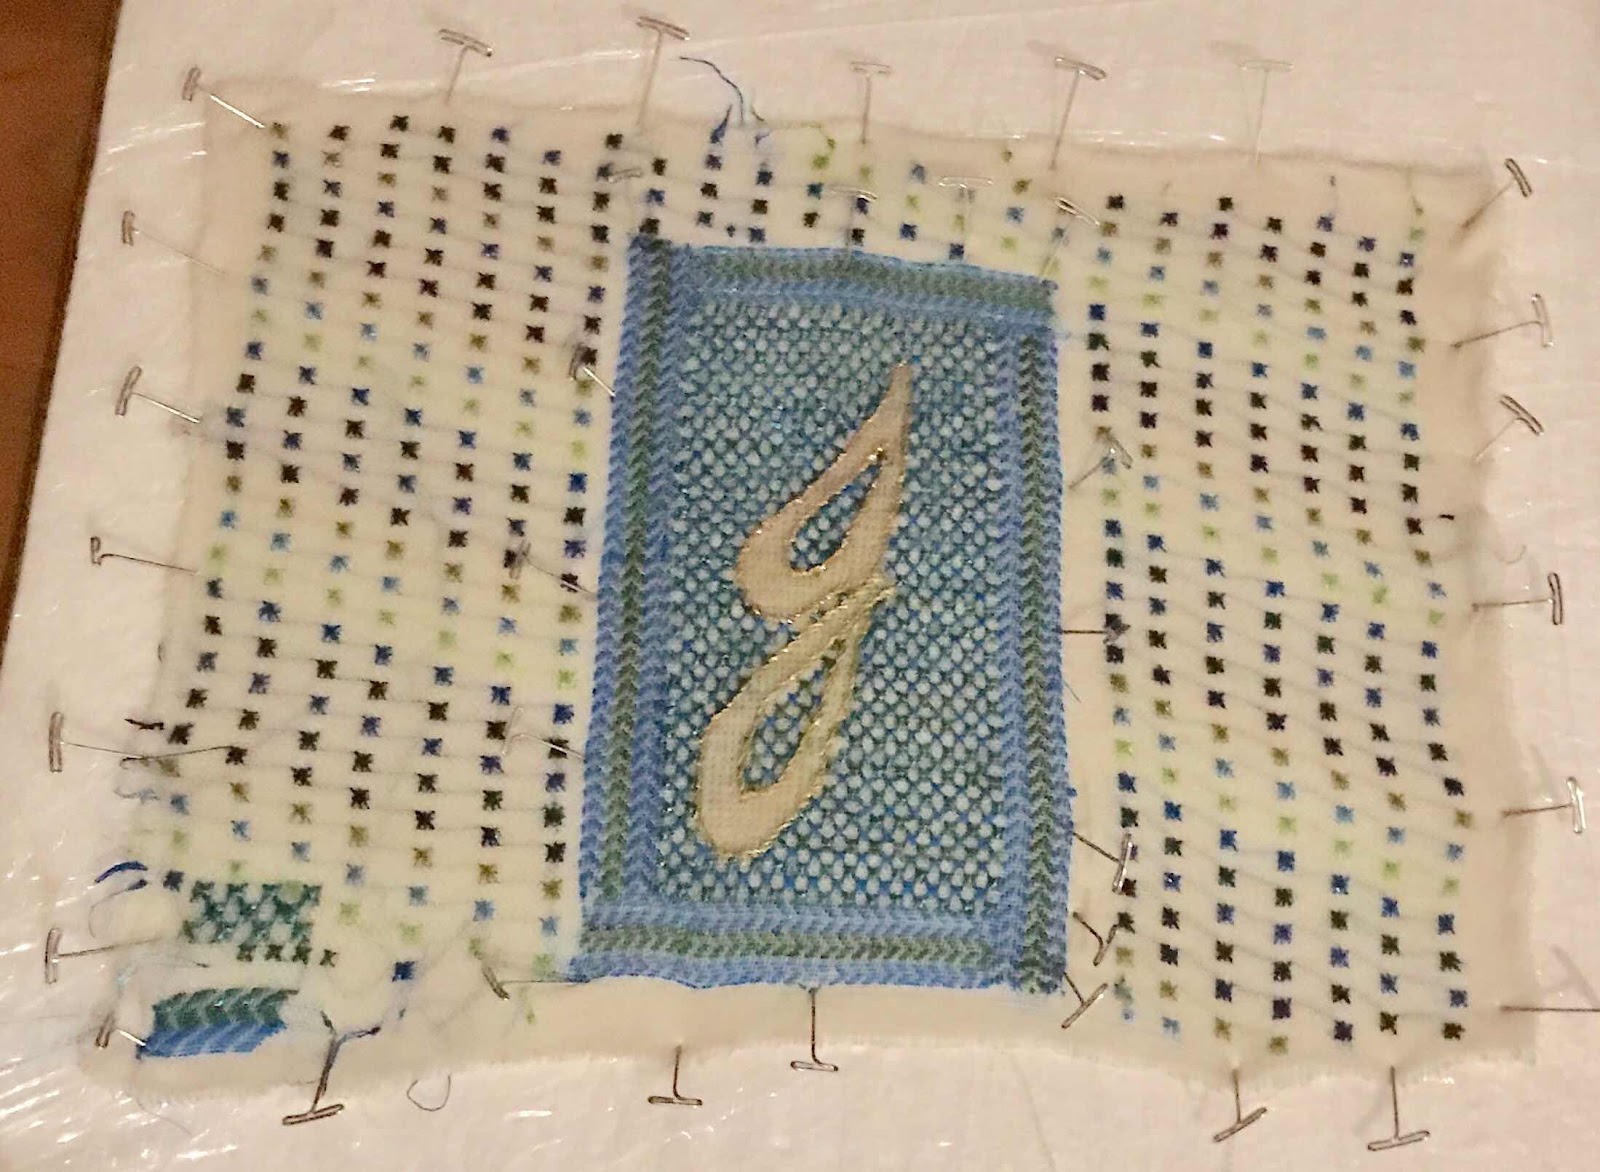
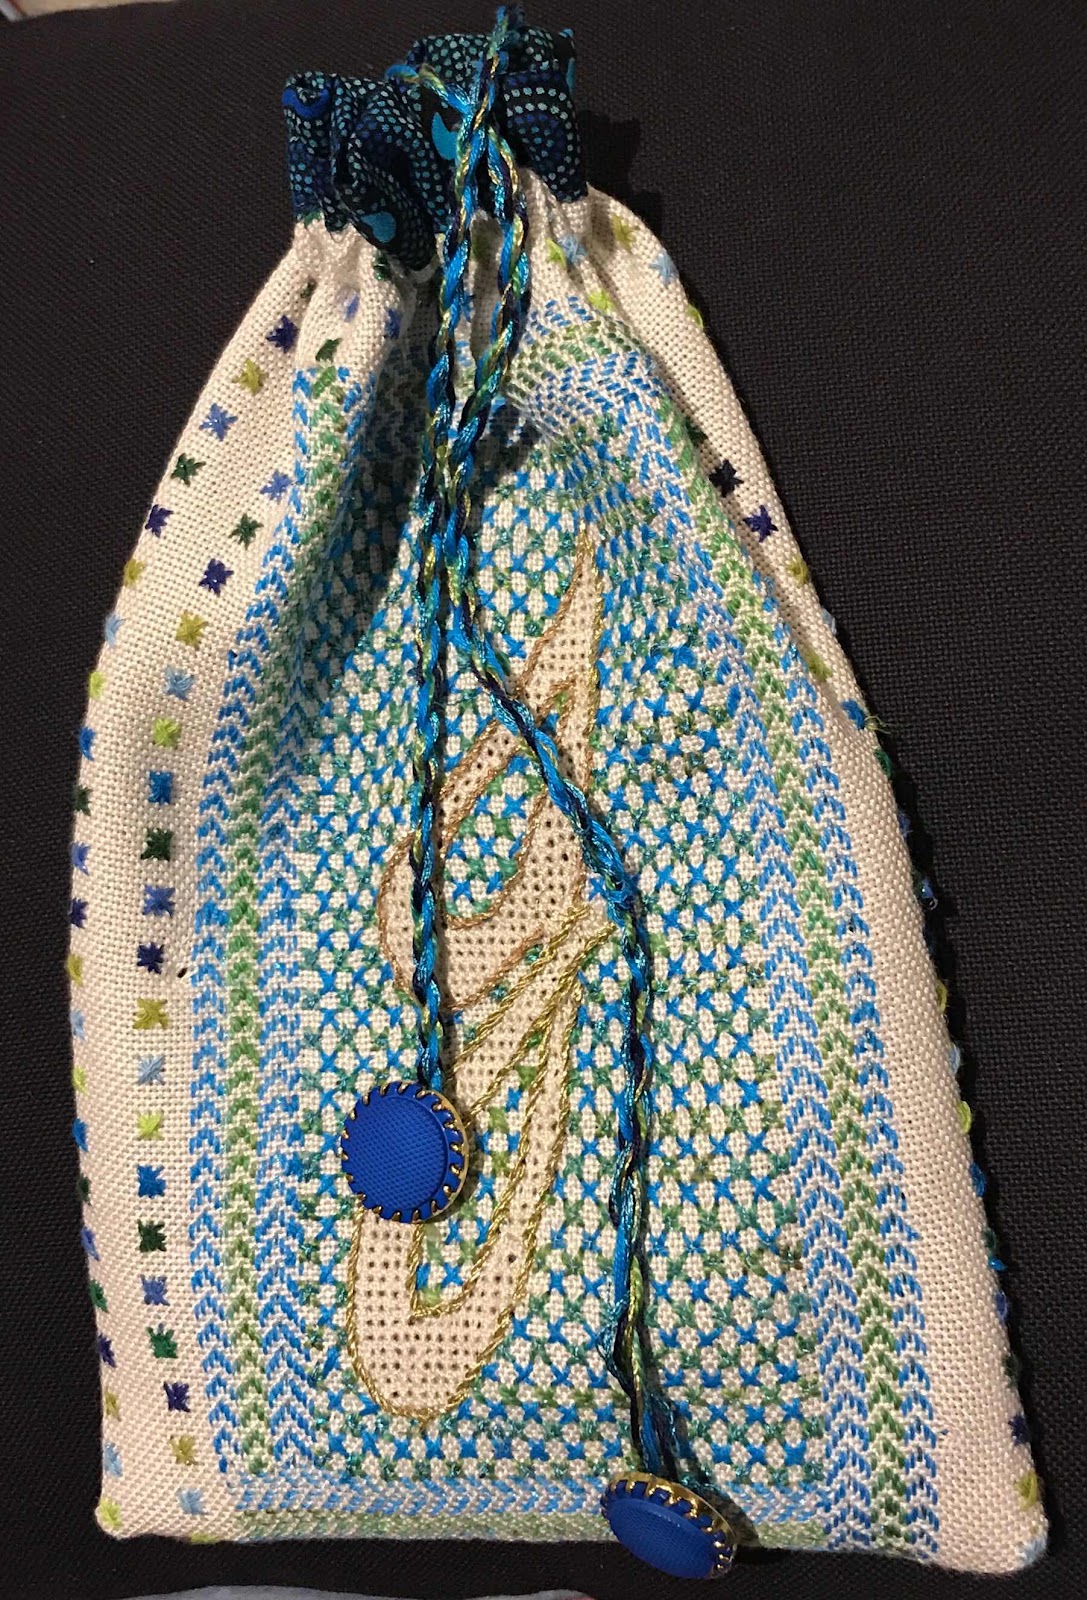
We began by sketching a curved shape which would become the void. I decided to use my initial. I was working on very open weave Lugana, about 25 count. From the threads I had brought along, chose a green perle 5, a stranded electric blue, a matching stranded metallic and a gold poly metallic.

I worked a tiny sample in a corner of the fabric. I was pleased to go against the Blue and green should never be seen without a colour in between mantra of my childhood!
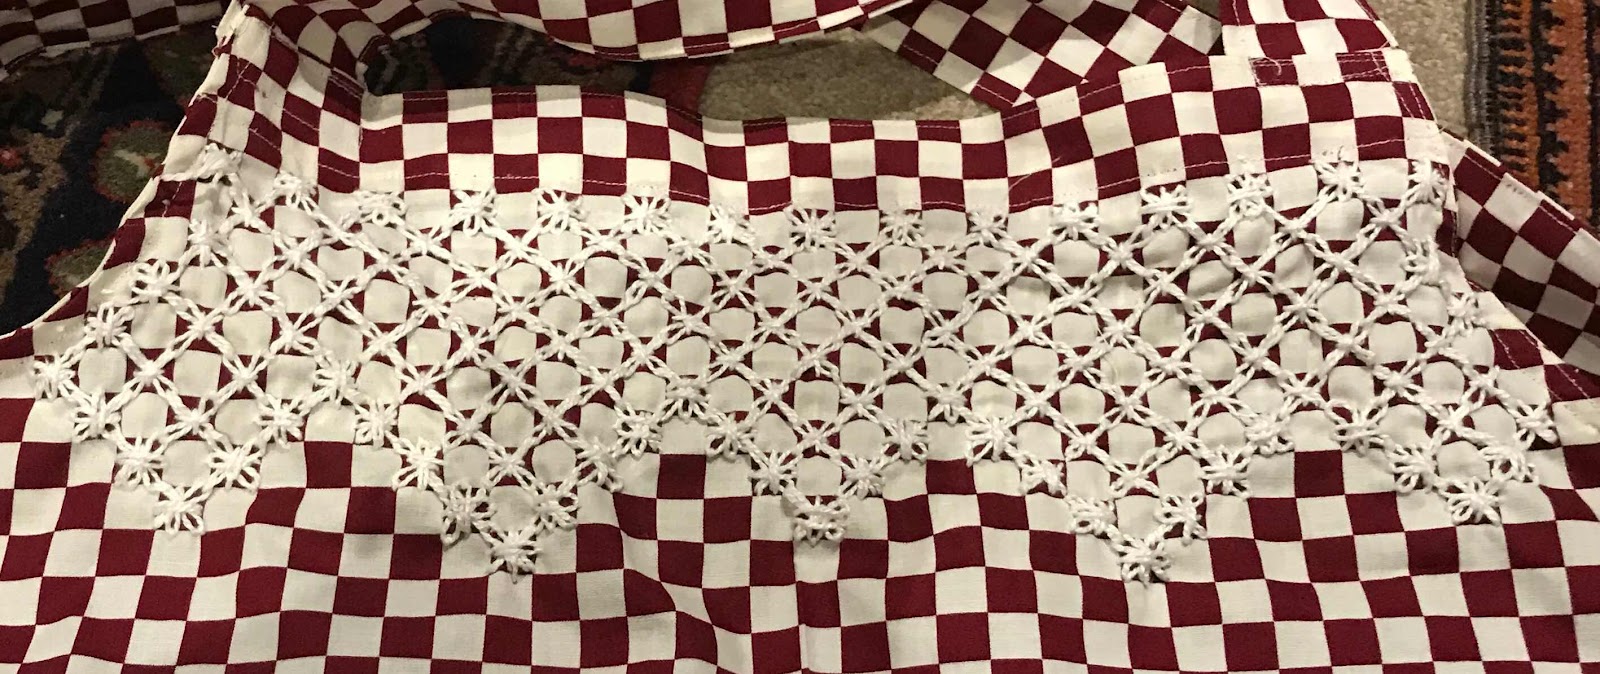


I outlined my initial in the gold,  then began to fill in the background using one of the stitch samples Carol had provided.


It was a great workshop. Everyone rose to the challenge of making it work without Carol. It was bad enough that she was sick - we owed it to her to use what she'd provided to manage our own learning. Mary did an amazing job of helping us as did the Course coordinators.

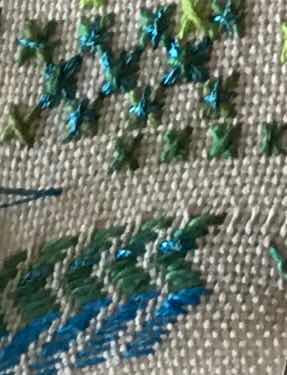
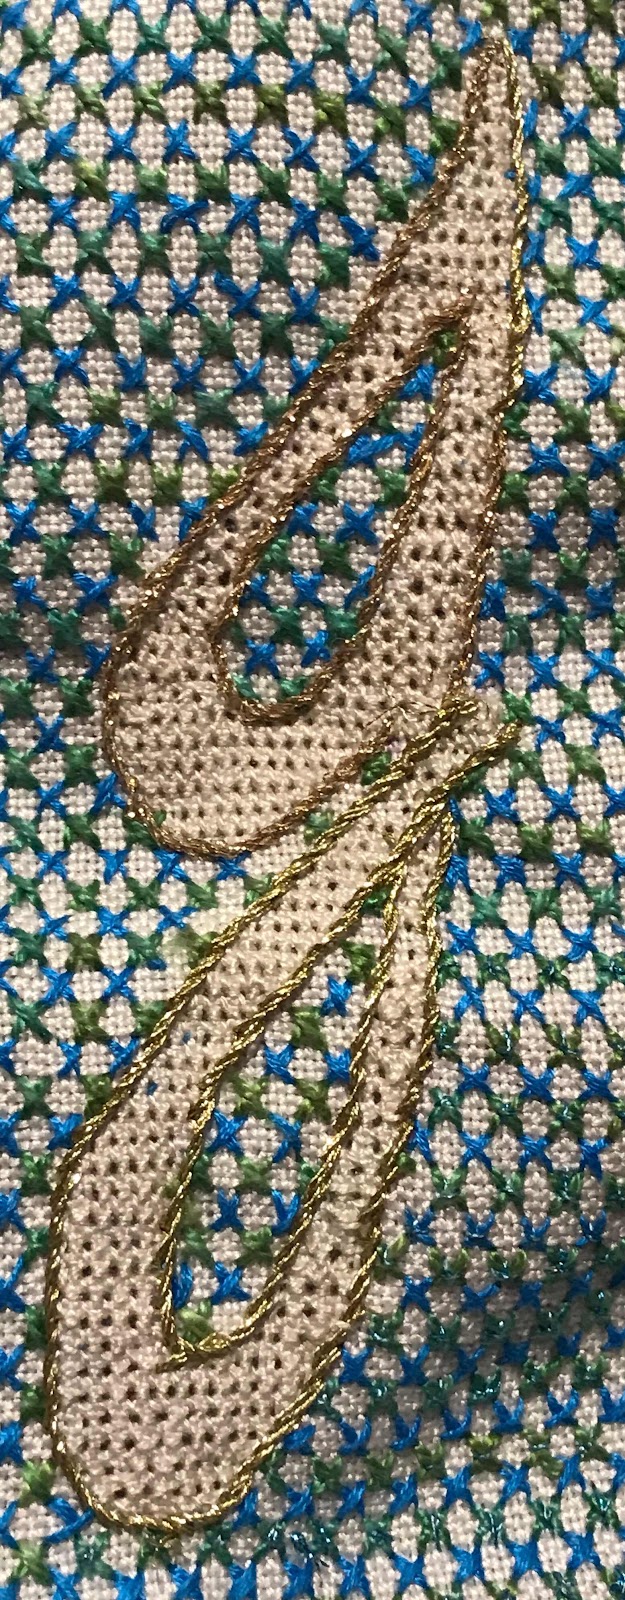
At home I filled the curved void with four-sided stitch. Around the first layer of background I put a border of running stitch arrow heads. There were challenges with tension. Most of these stitches are done by scooping rather than stabbing, which means holding in the hand rather than a hoop.


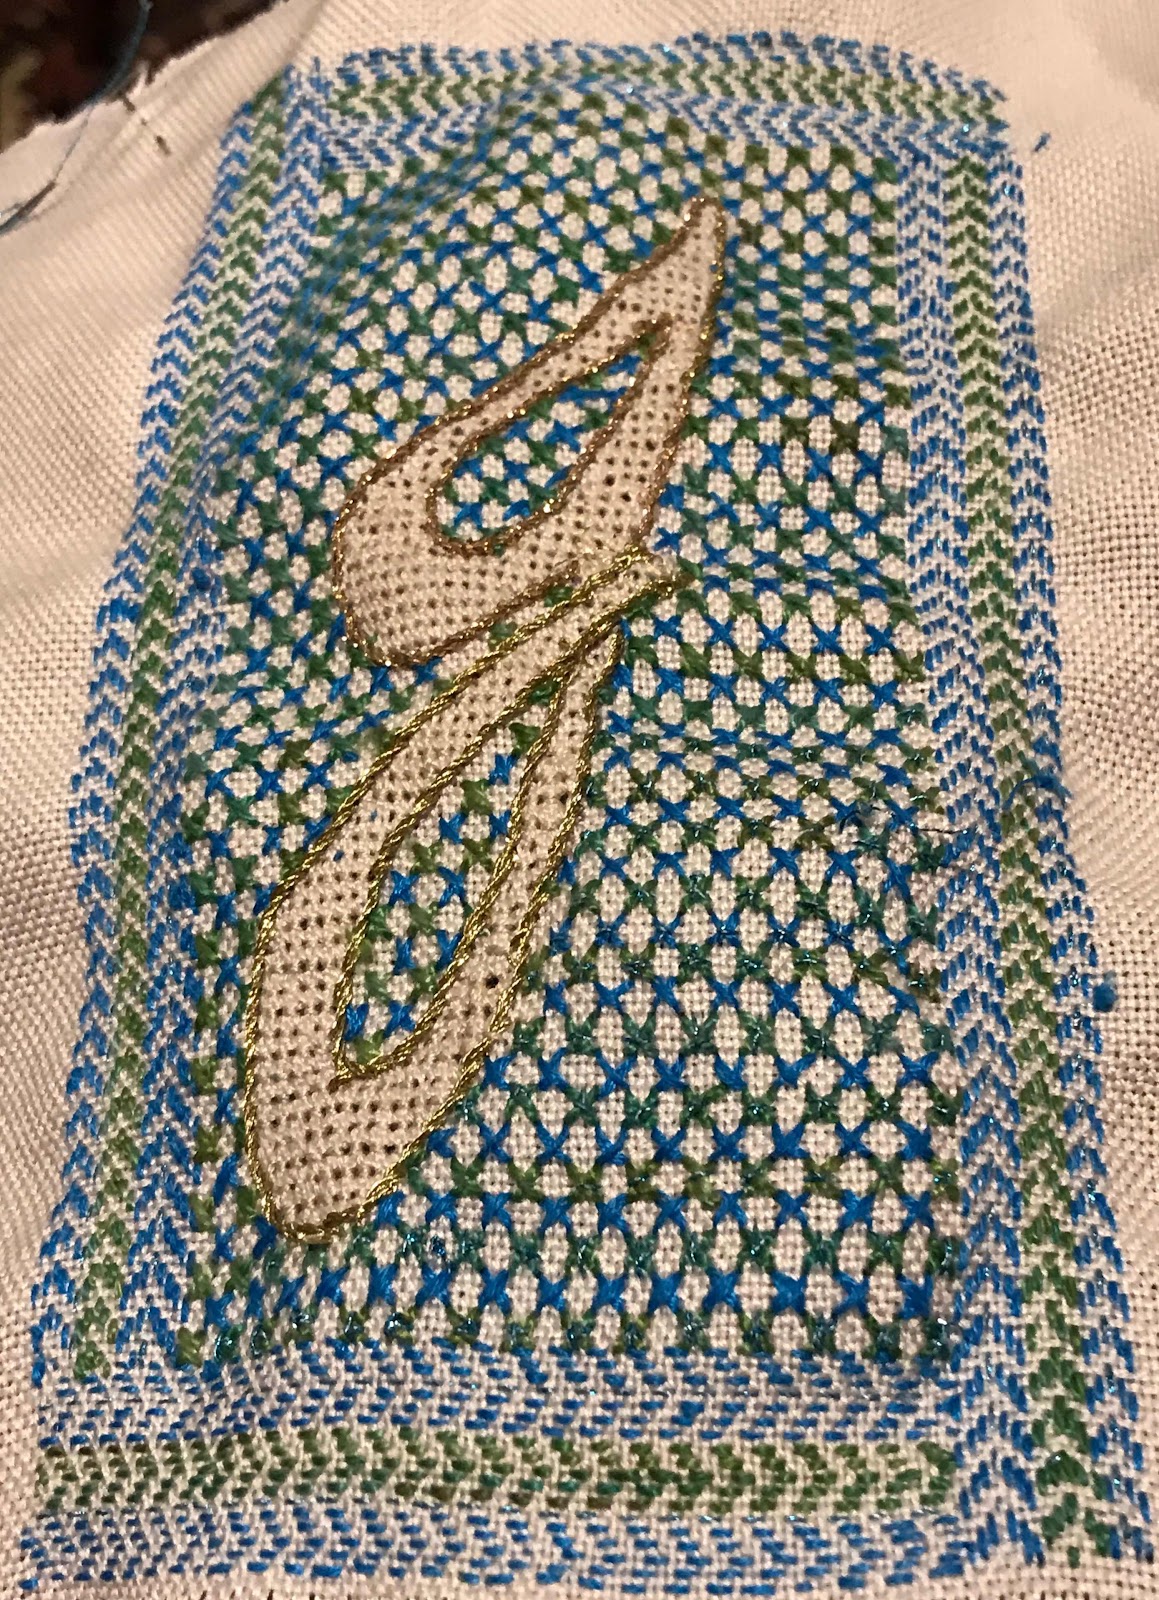
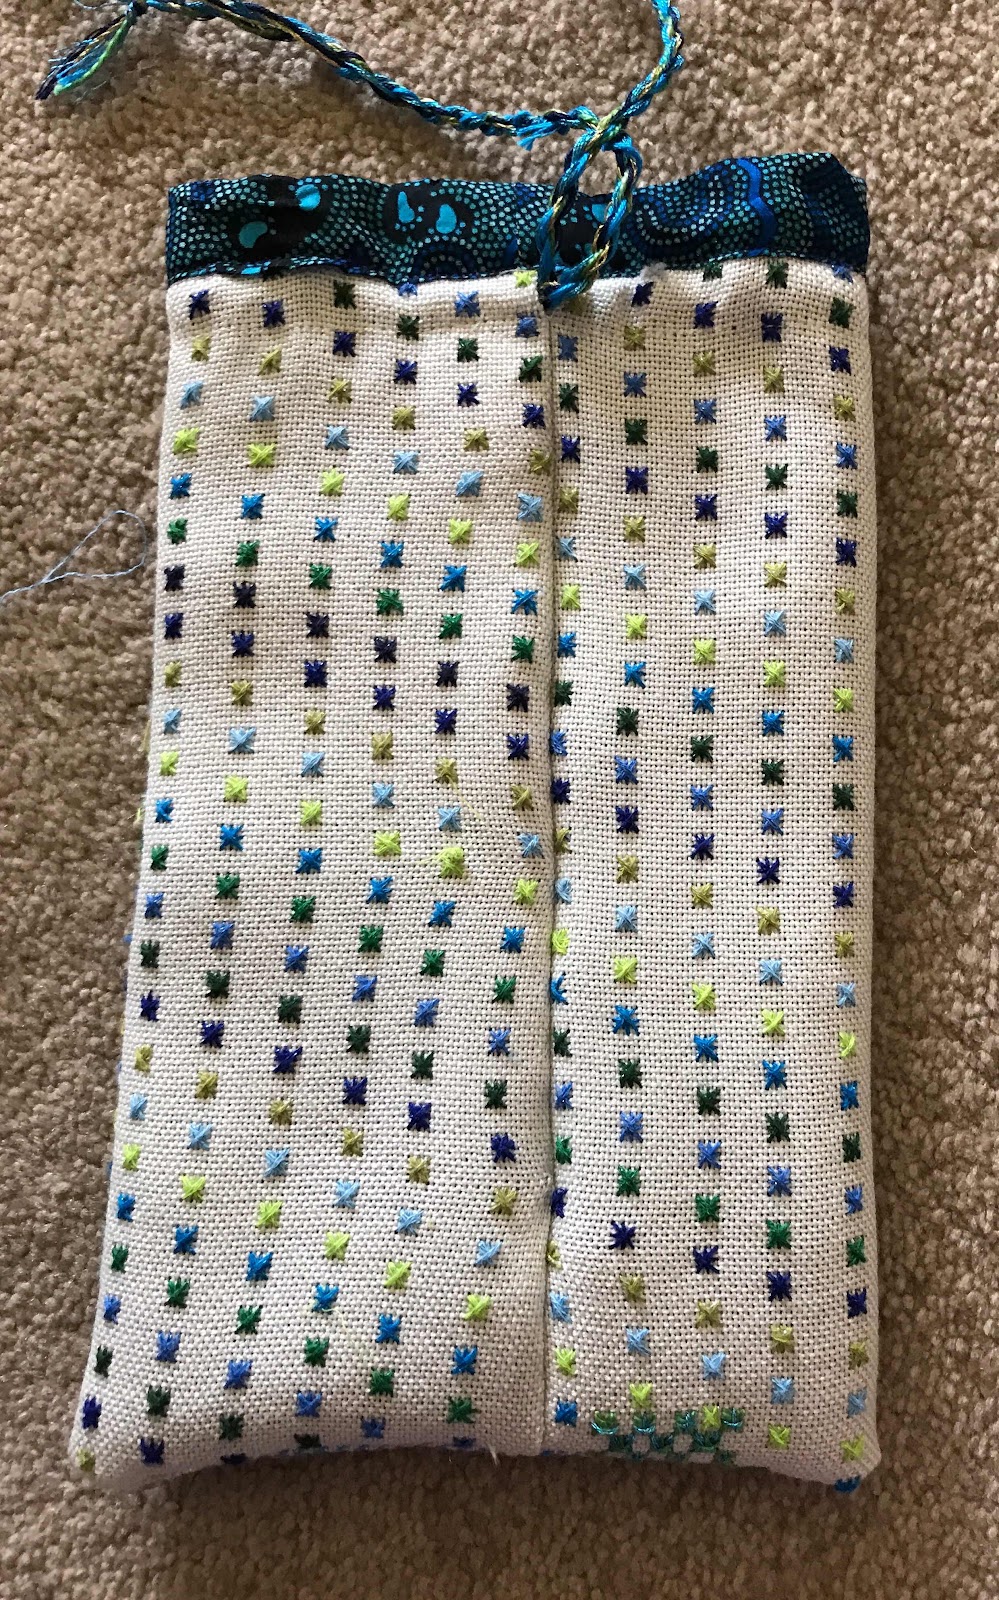
I had by now decided, of course, that I might as well use the whole piece of fabric to make a bag. I therefore worked another variety of the background stitches to cover the whole piece. For this I used some of my set of DMC Etoile thread - a soft stranded cotton with a touch of sparkle.

At this stage I blocked the piece to remove the bagginess created by the differing tensions.

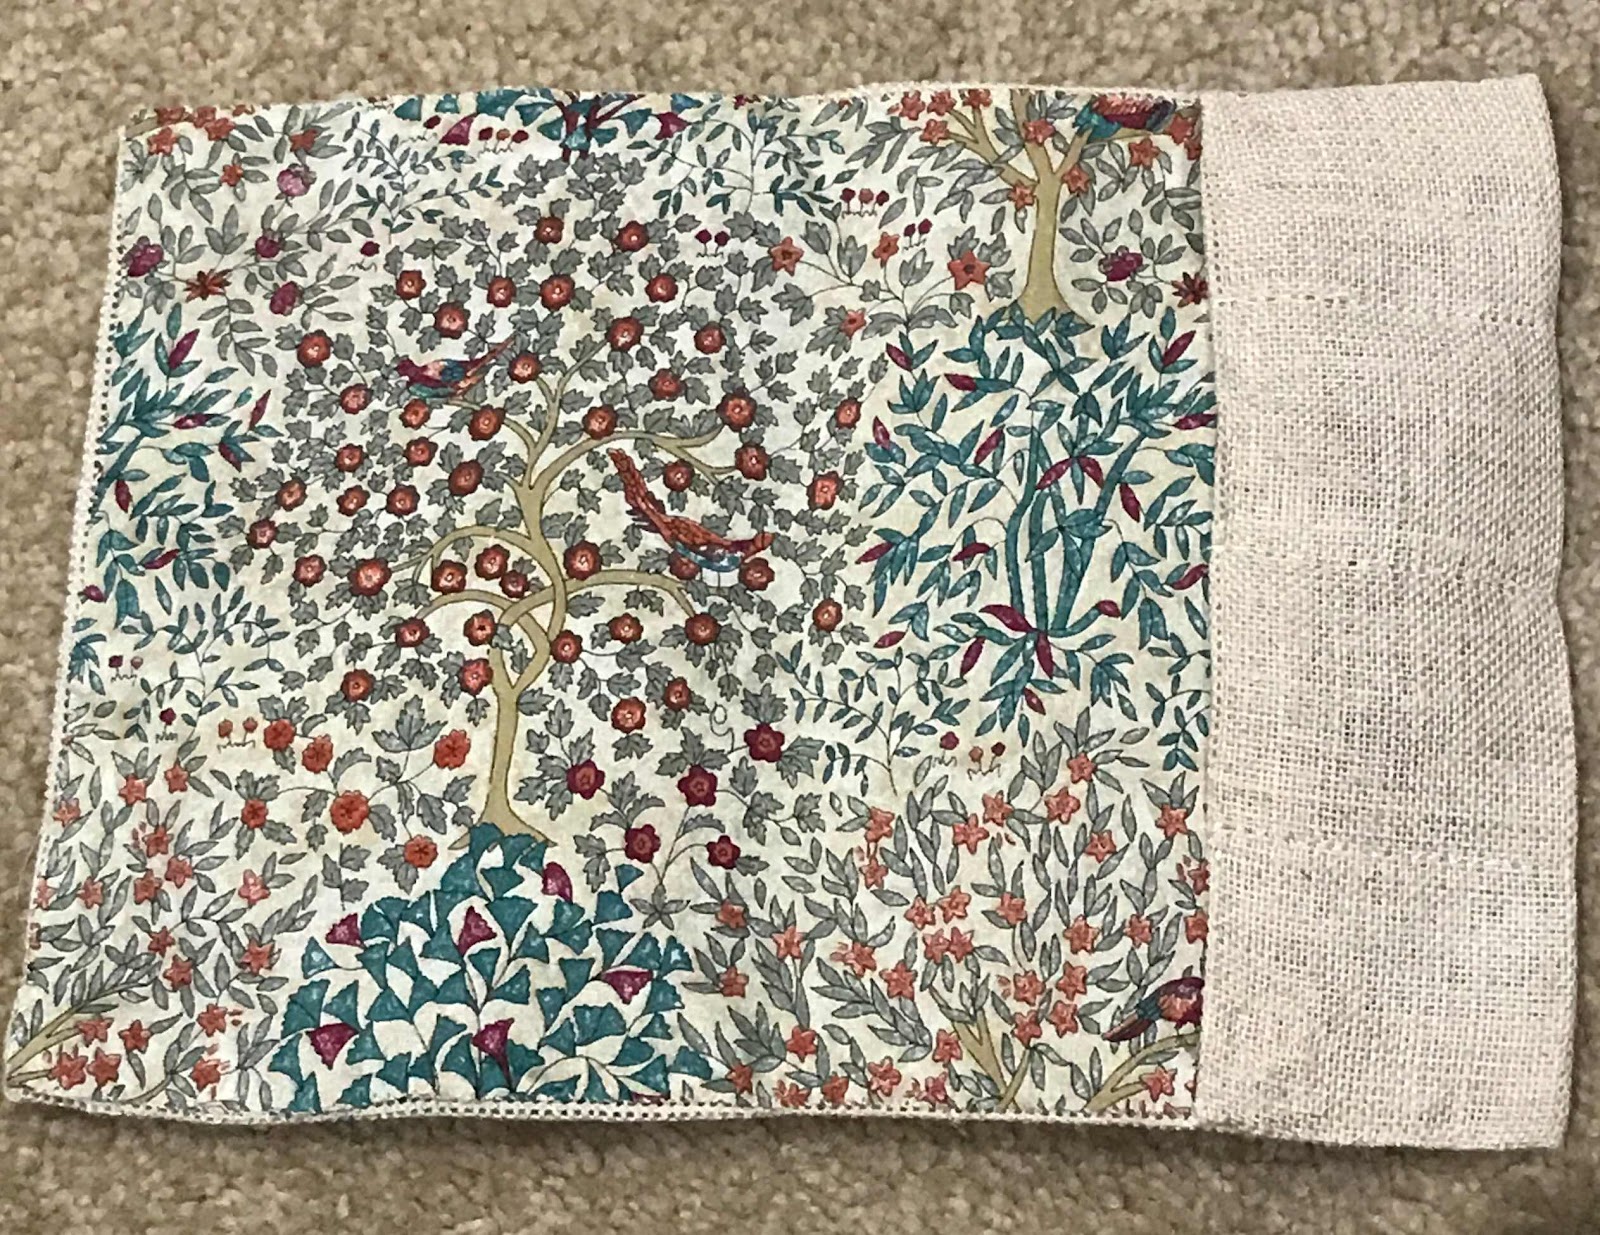
I folded the piece, stitched a back seam and the bottom.  I added a lining from some of the fabric I had left from my River Matters project . It's a mix of cultures, but the colours work well.


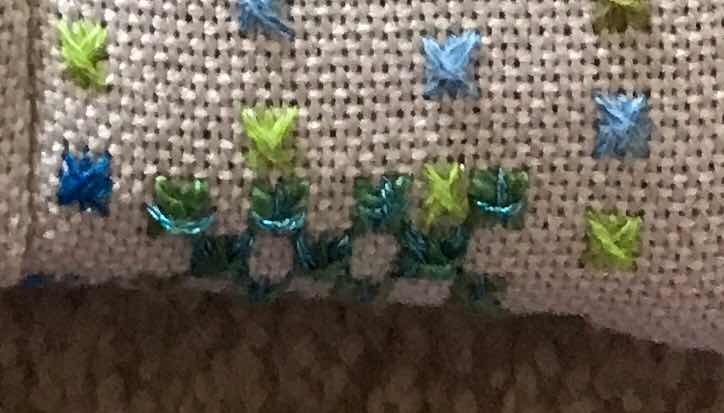
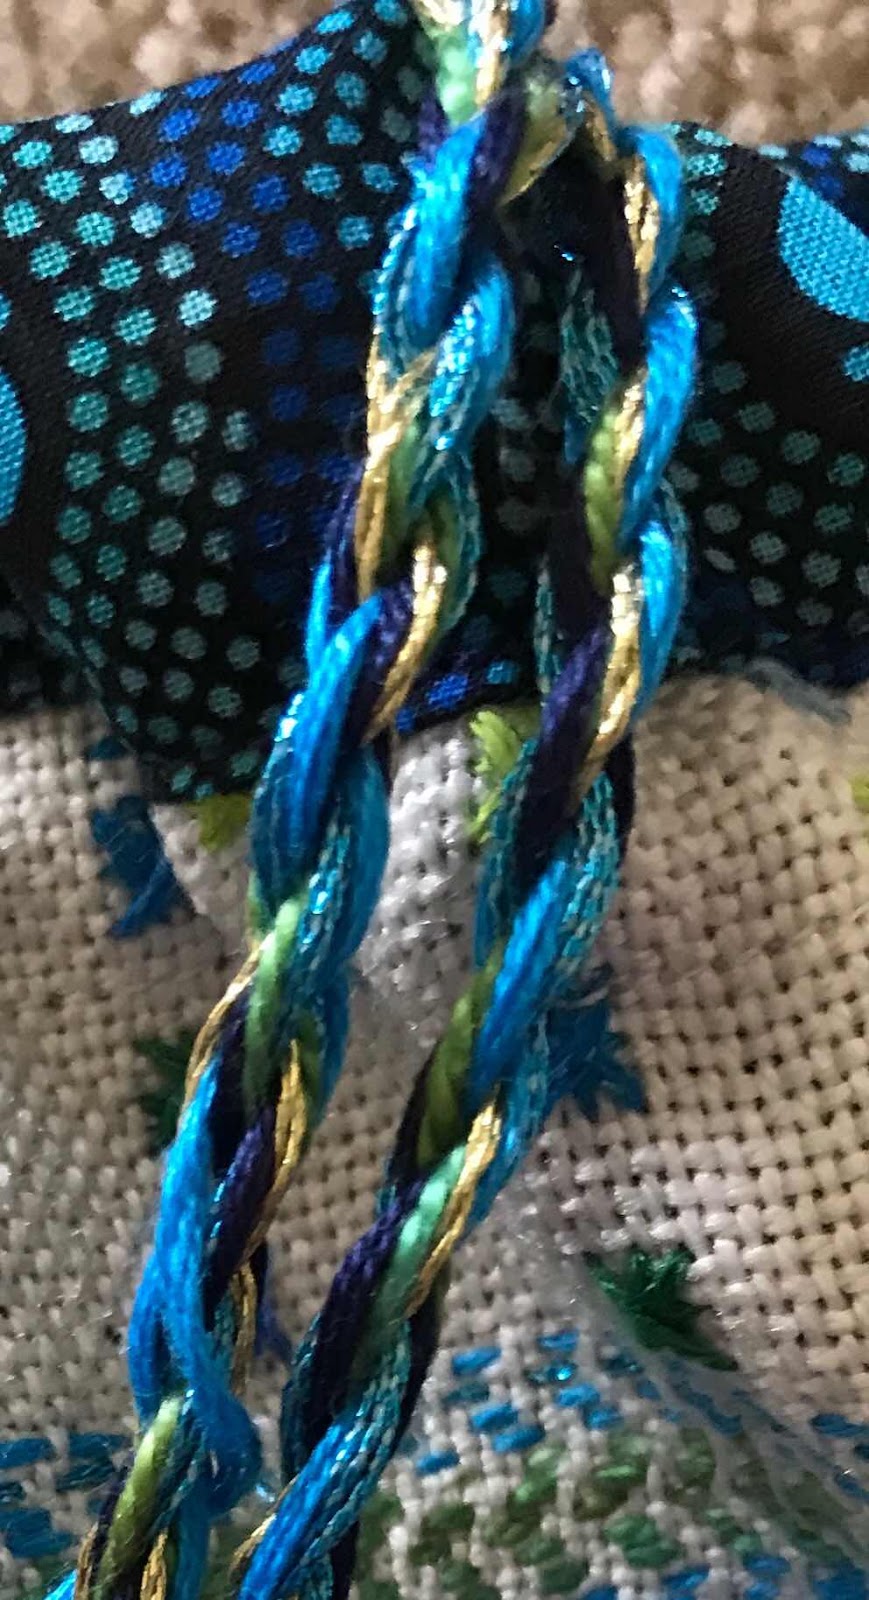
Notice that part of my initial sample stitches survives at the bottom seam. The twisted cord is made from strands of the basic threads used (without the Etoile).


As a final touch I added cord endings  from my button stash.

I'm not sure yet, what I will keep in this bag - but I'm very pleased with it and I'm sure something will turn up!


It is such a privilege to take part in these workshops. Thanks to all who made it possible.


Tuesday, January 21, 2020

Japanese bag therapy

This is, I notice, my 515th blog post. Seems apt that it should be published on 21/01/20.

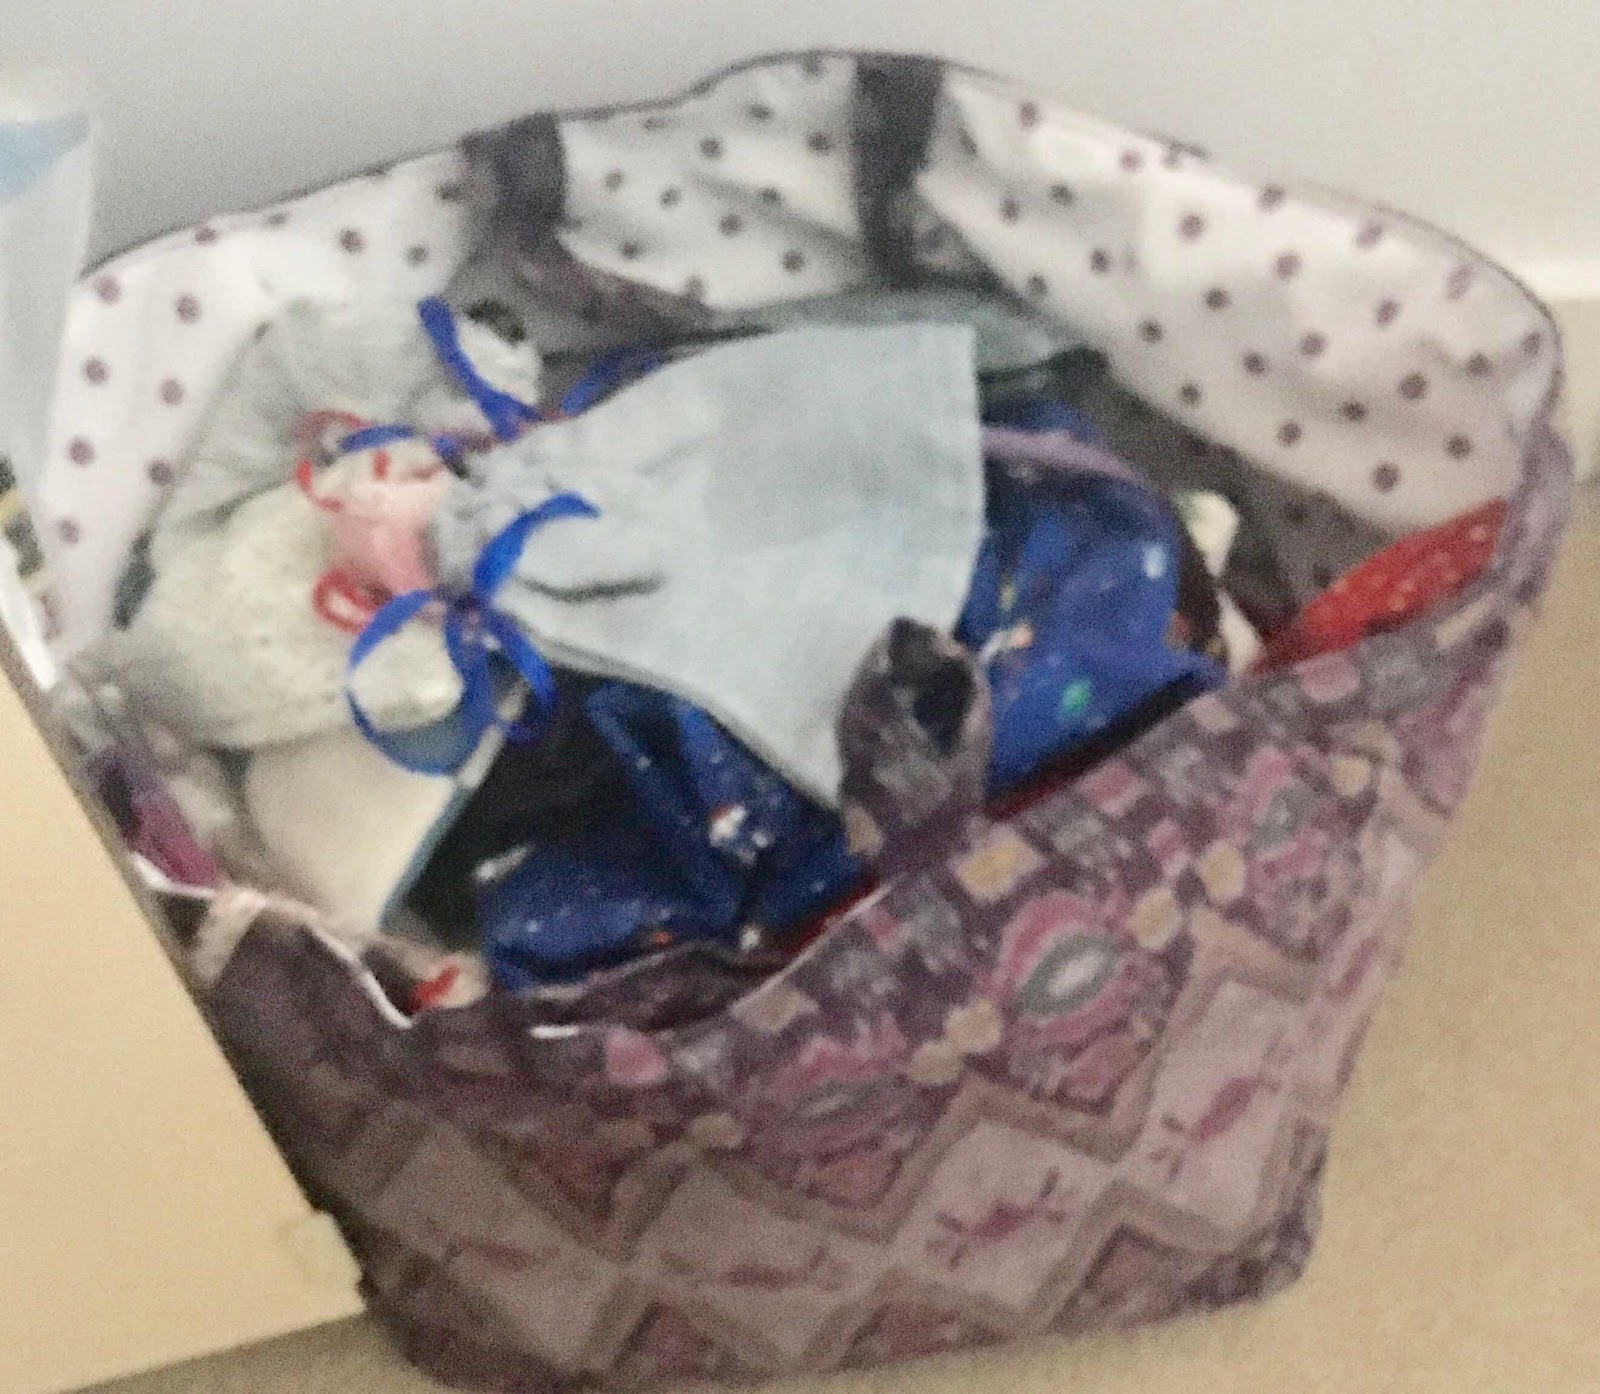
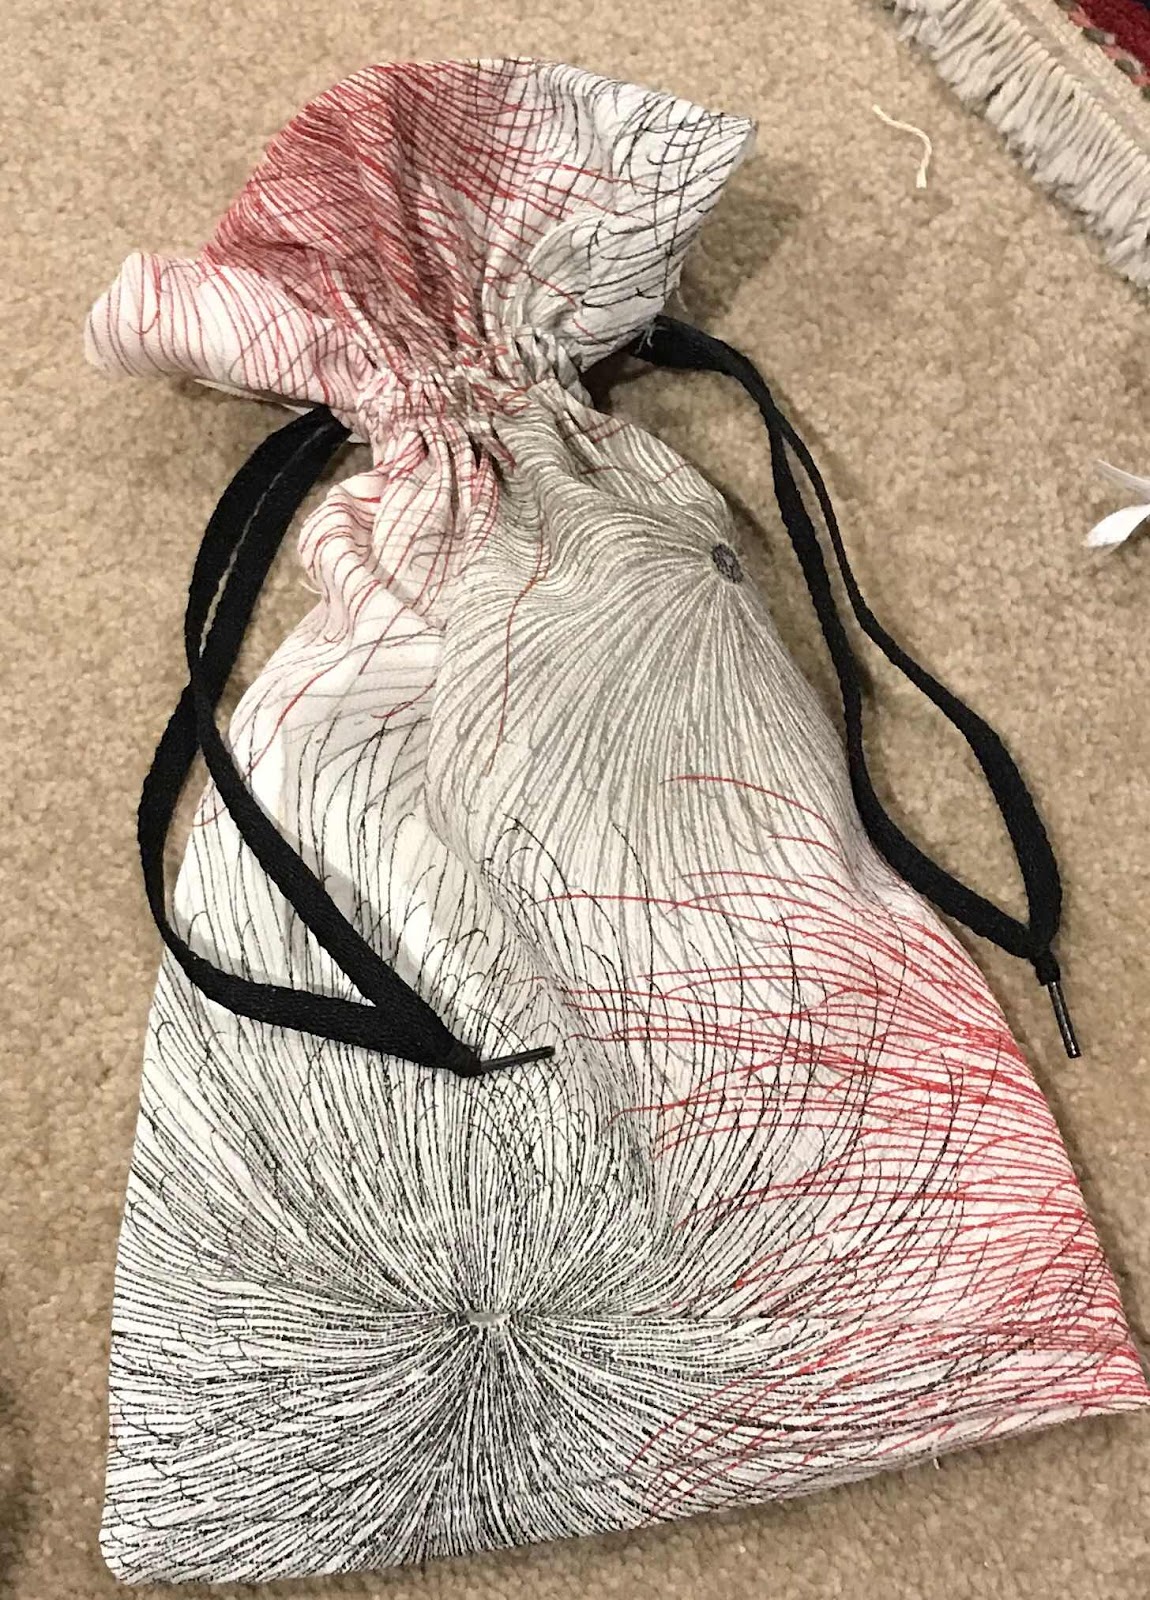
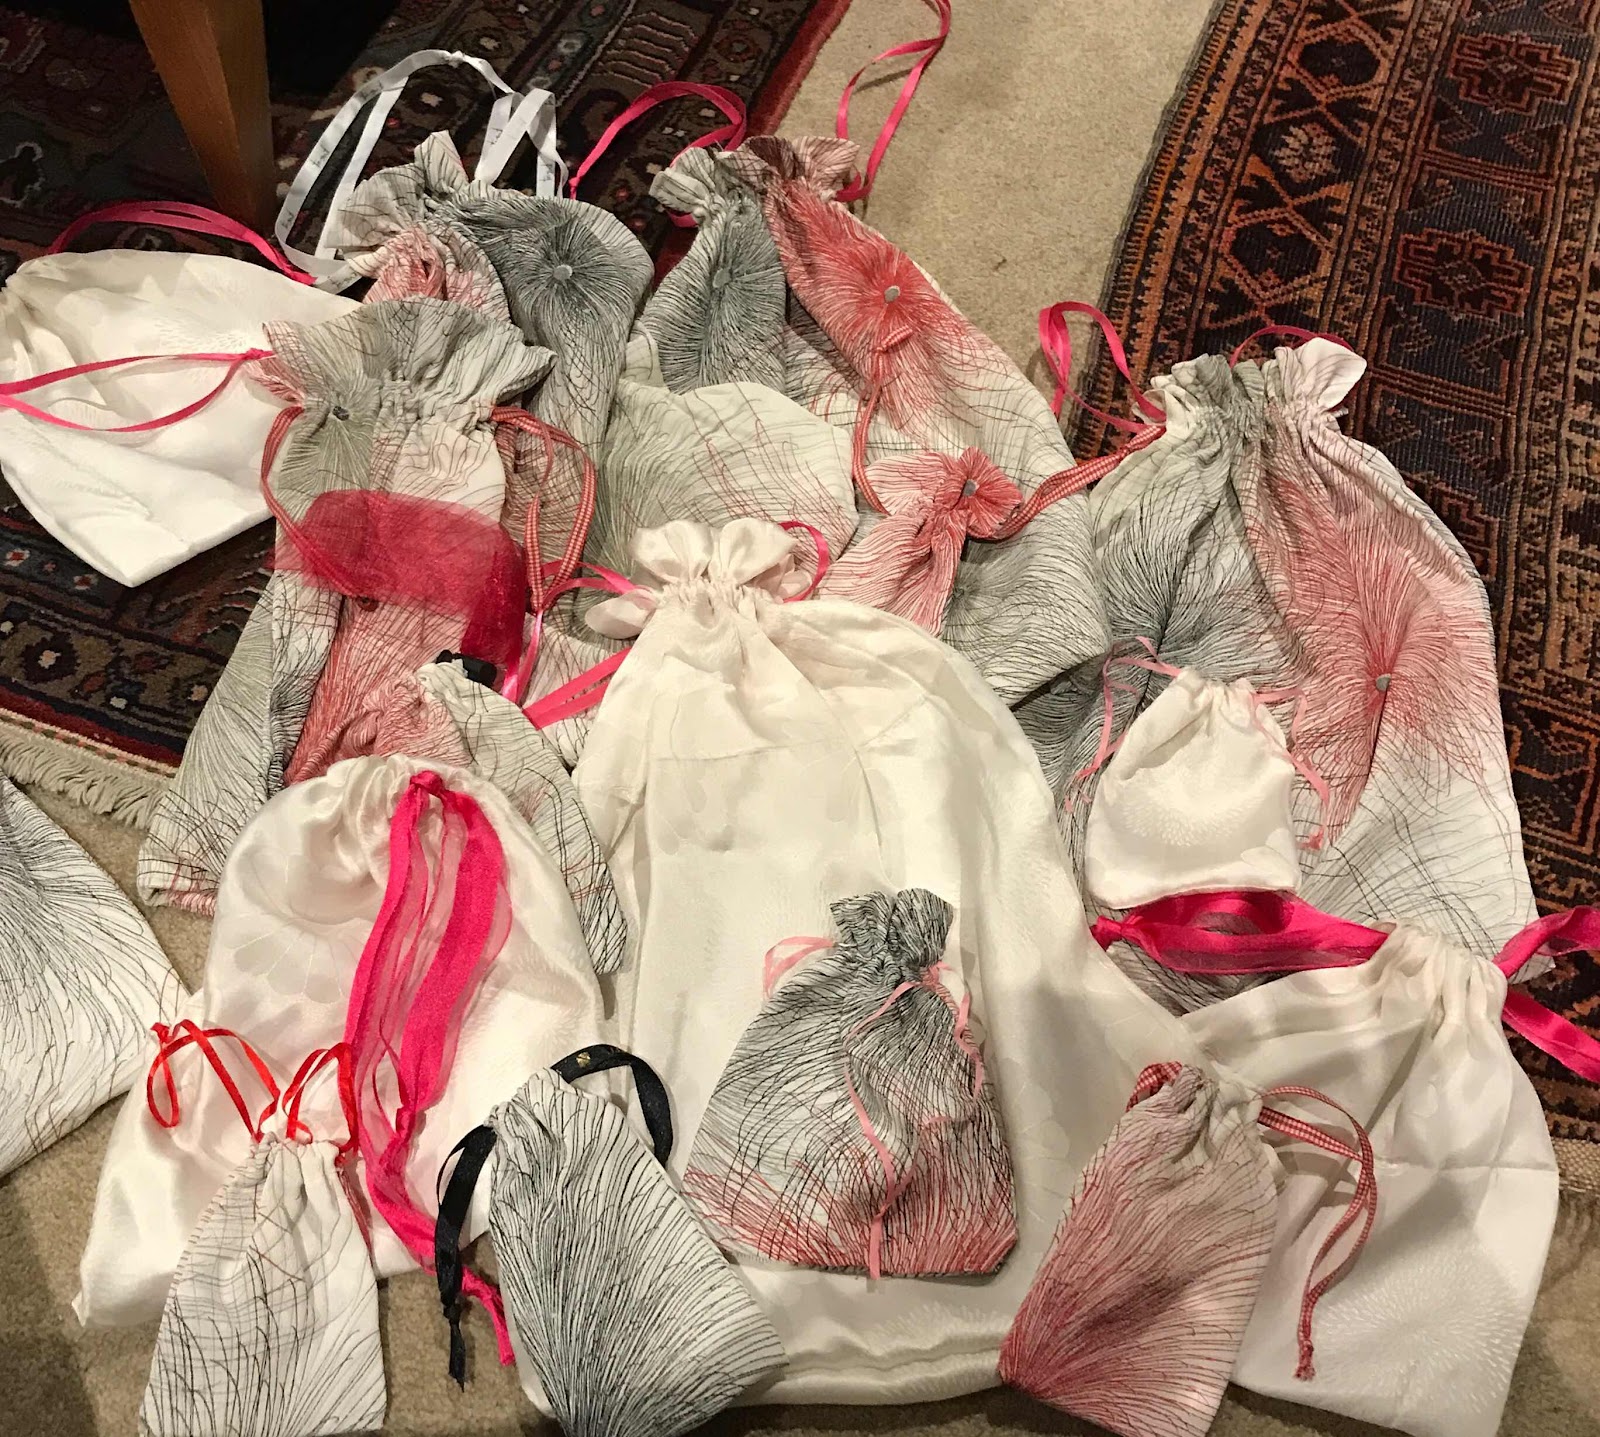
Christmas made a serious dint in my supply of the large drawstring bags I use in place of wrapping paper. I still had a good supply of small bags but decided I needed to make more medium and large bags. My whole family uses and recycles these bags so I like to keep the supply going - and the making of them is, for me, enjoyable, even therapeutic.

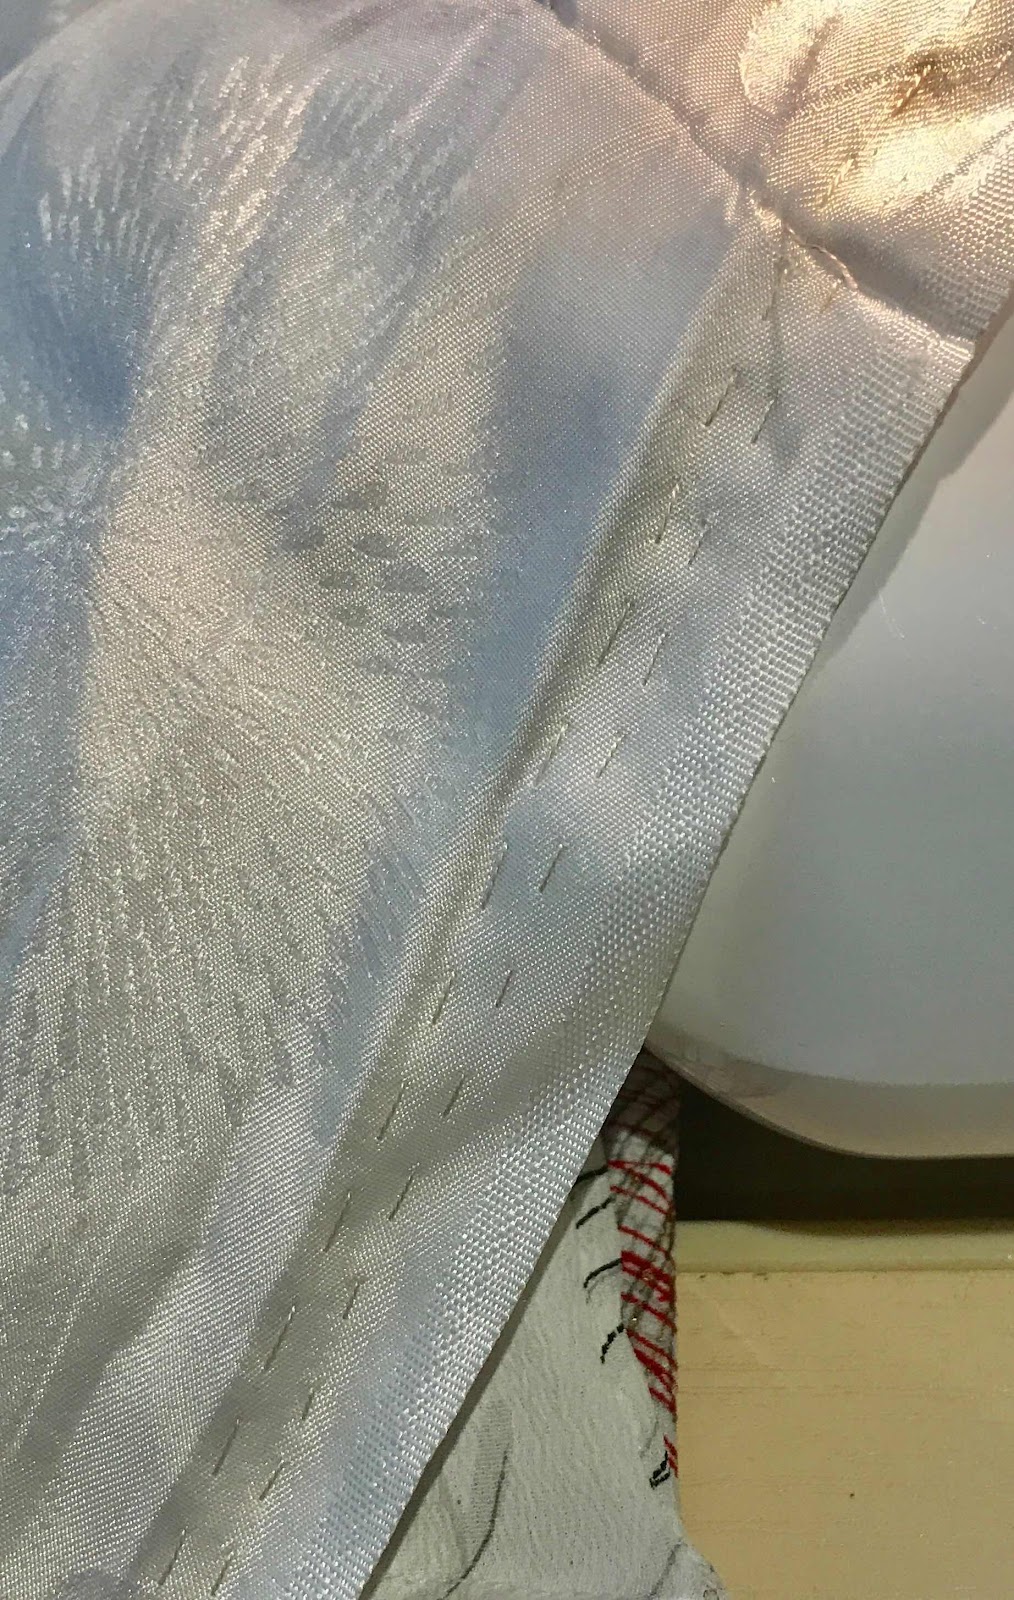
In the past I have purchased vintage sari and kimono pieces for these bags. This time I unpicked a kimono jacket given to me by my daughter. It took a bit of unpicking as it turned out to be made from a huge length of obi-width fabric, folded and tacked ingeniously - as kimonos usually are. Regretably, I didn't take photos of the unpicking and ingenious folds.


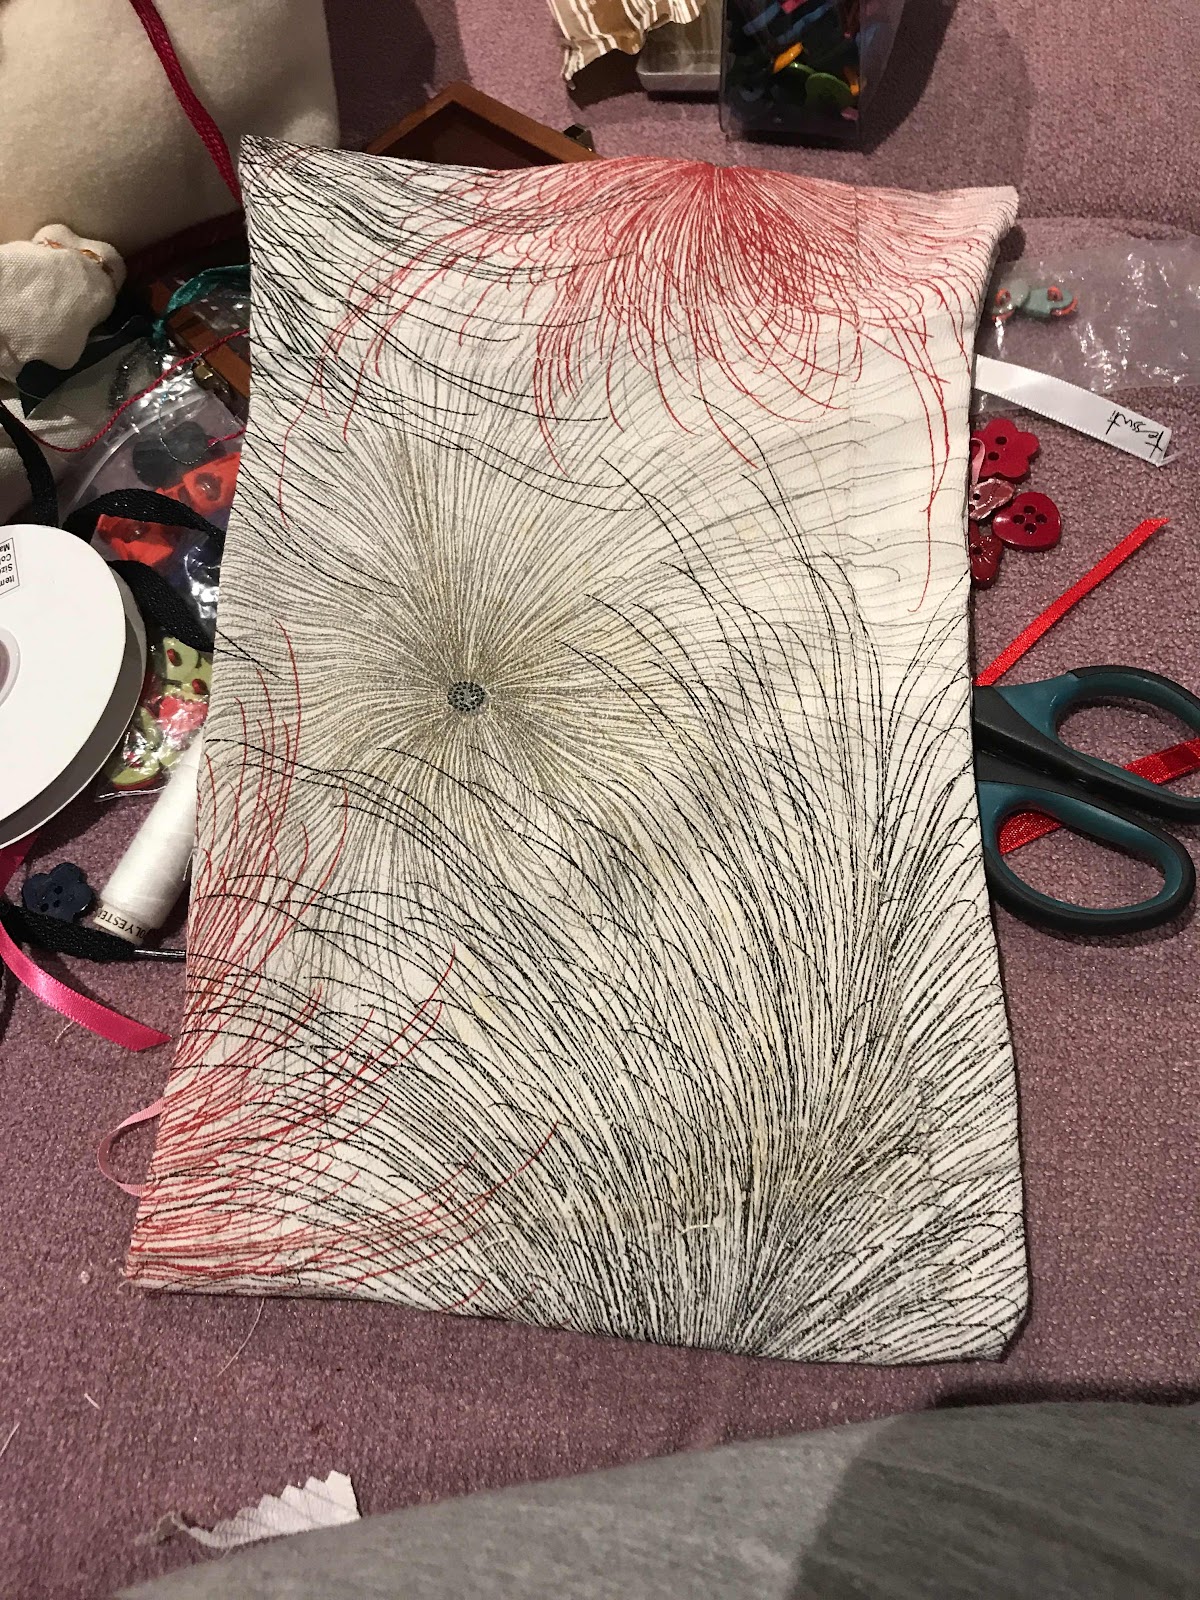
The jacket was fully lined. In some cases I used the lining as a lining for a bag. In other cases I made a bag of the lining and a bag of the outer layer.

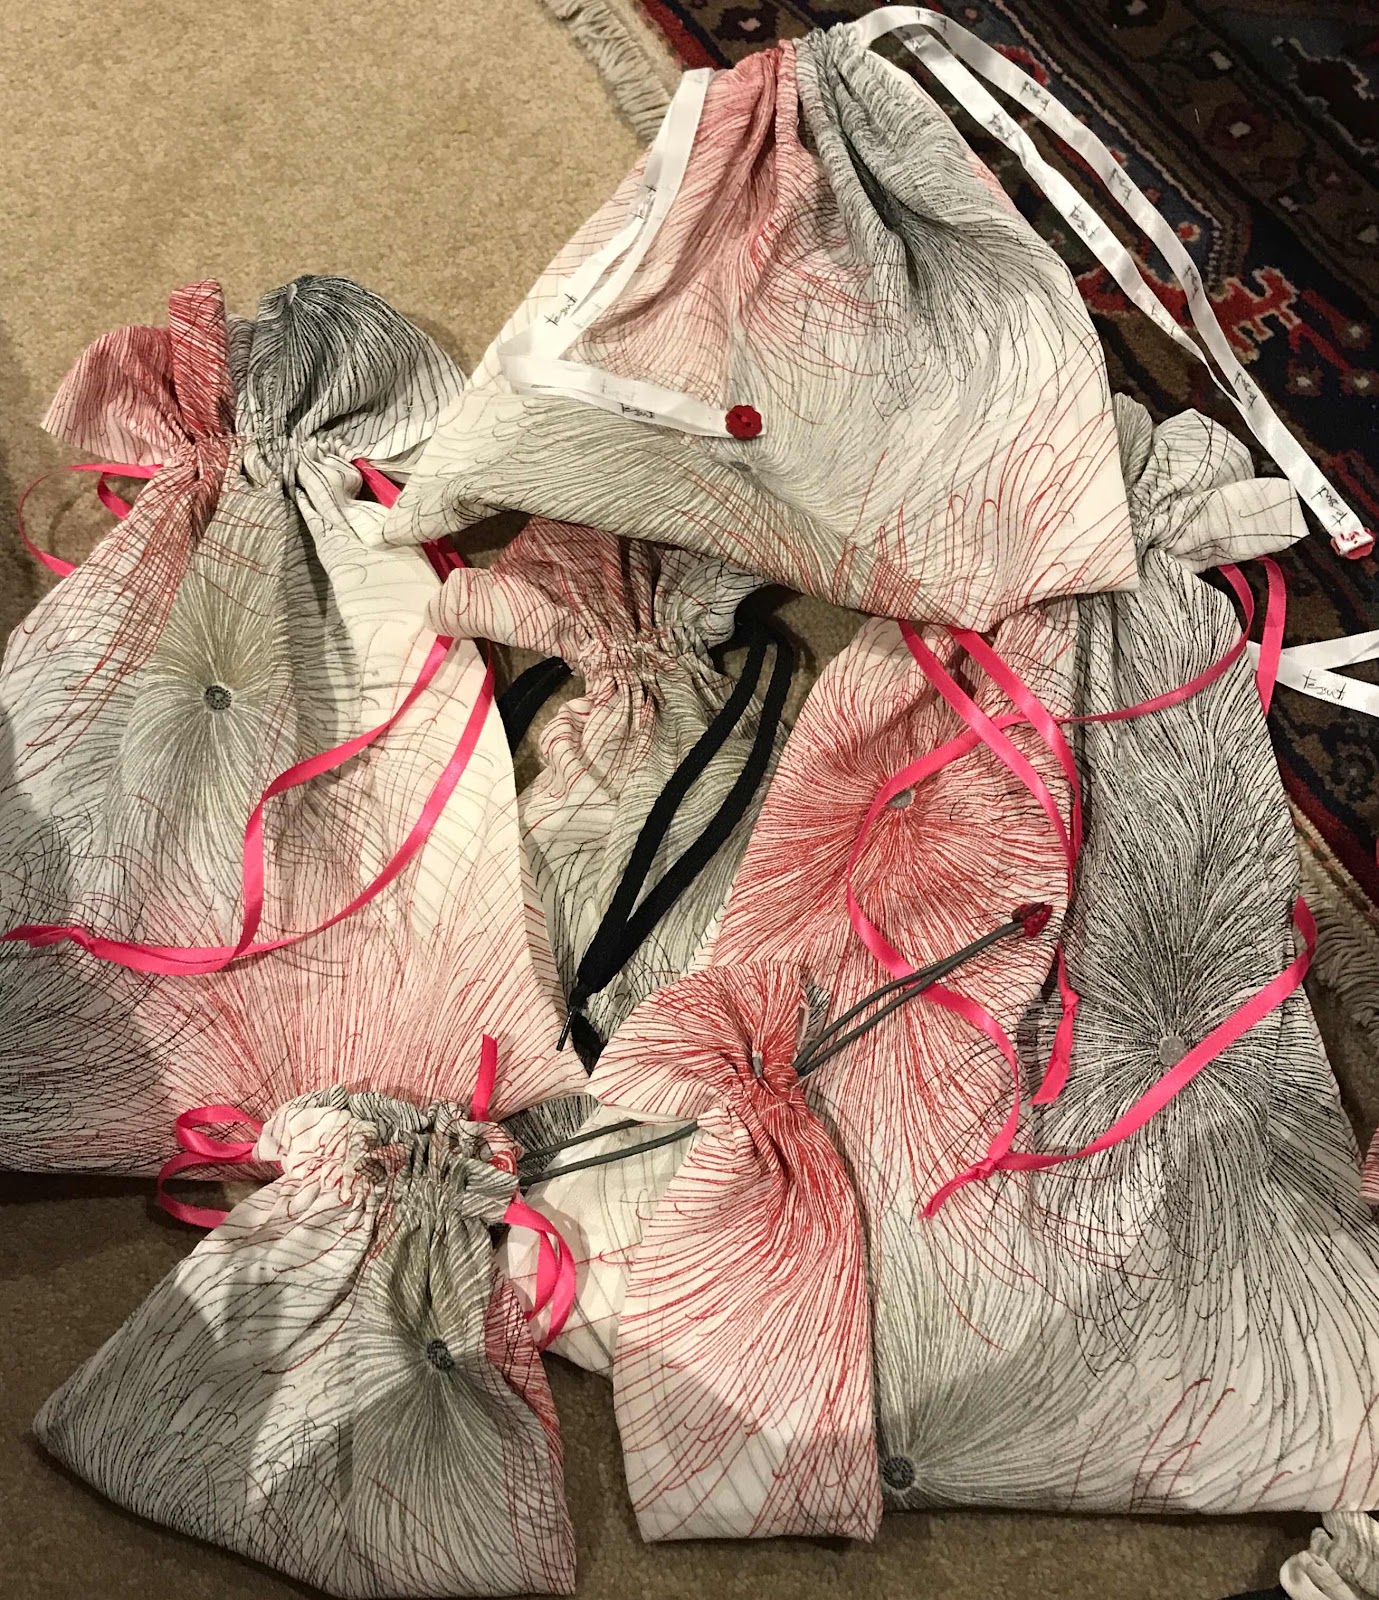
It made 23 bags of very varied size, from very small to fairly large. I like to let the fabric dictate the shape and size. Flaws and holes get incorporated. I kept as much of the original hand-stitching as I could. Much of it was stitched using two rows of running stitch.


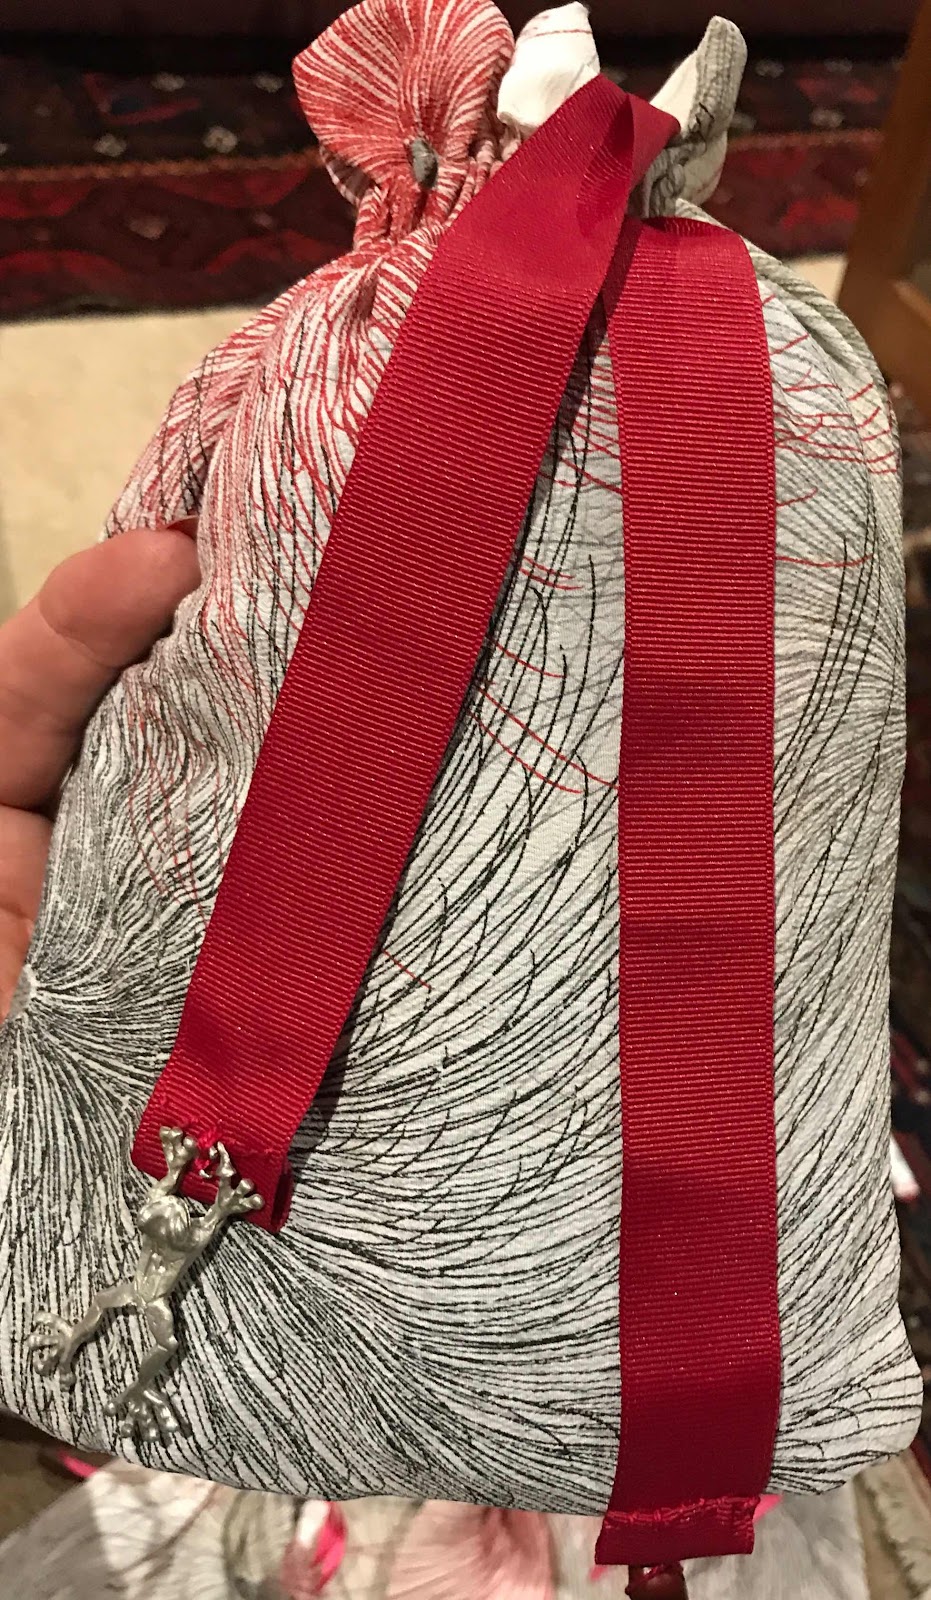
After stitching the bags, I spent a relaxing evening finding matching ribbon or drawstrings of various cords, such as shoelaces.  A further hour or so was spent finding stoppers for the cords, using the remains of old earrings, buttons or, in some cases, knots.


I could have done with some more red ribbon, but made do with the strong pink I had at hand.


A very satisfactory result for a few hours work.

I really love recycling!

Friday, January 17, 2020

Chicken scratch apron


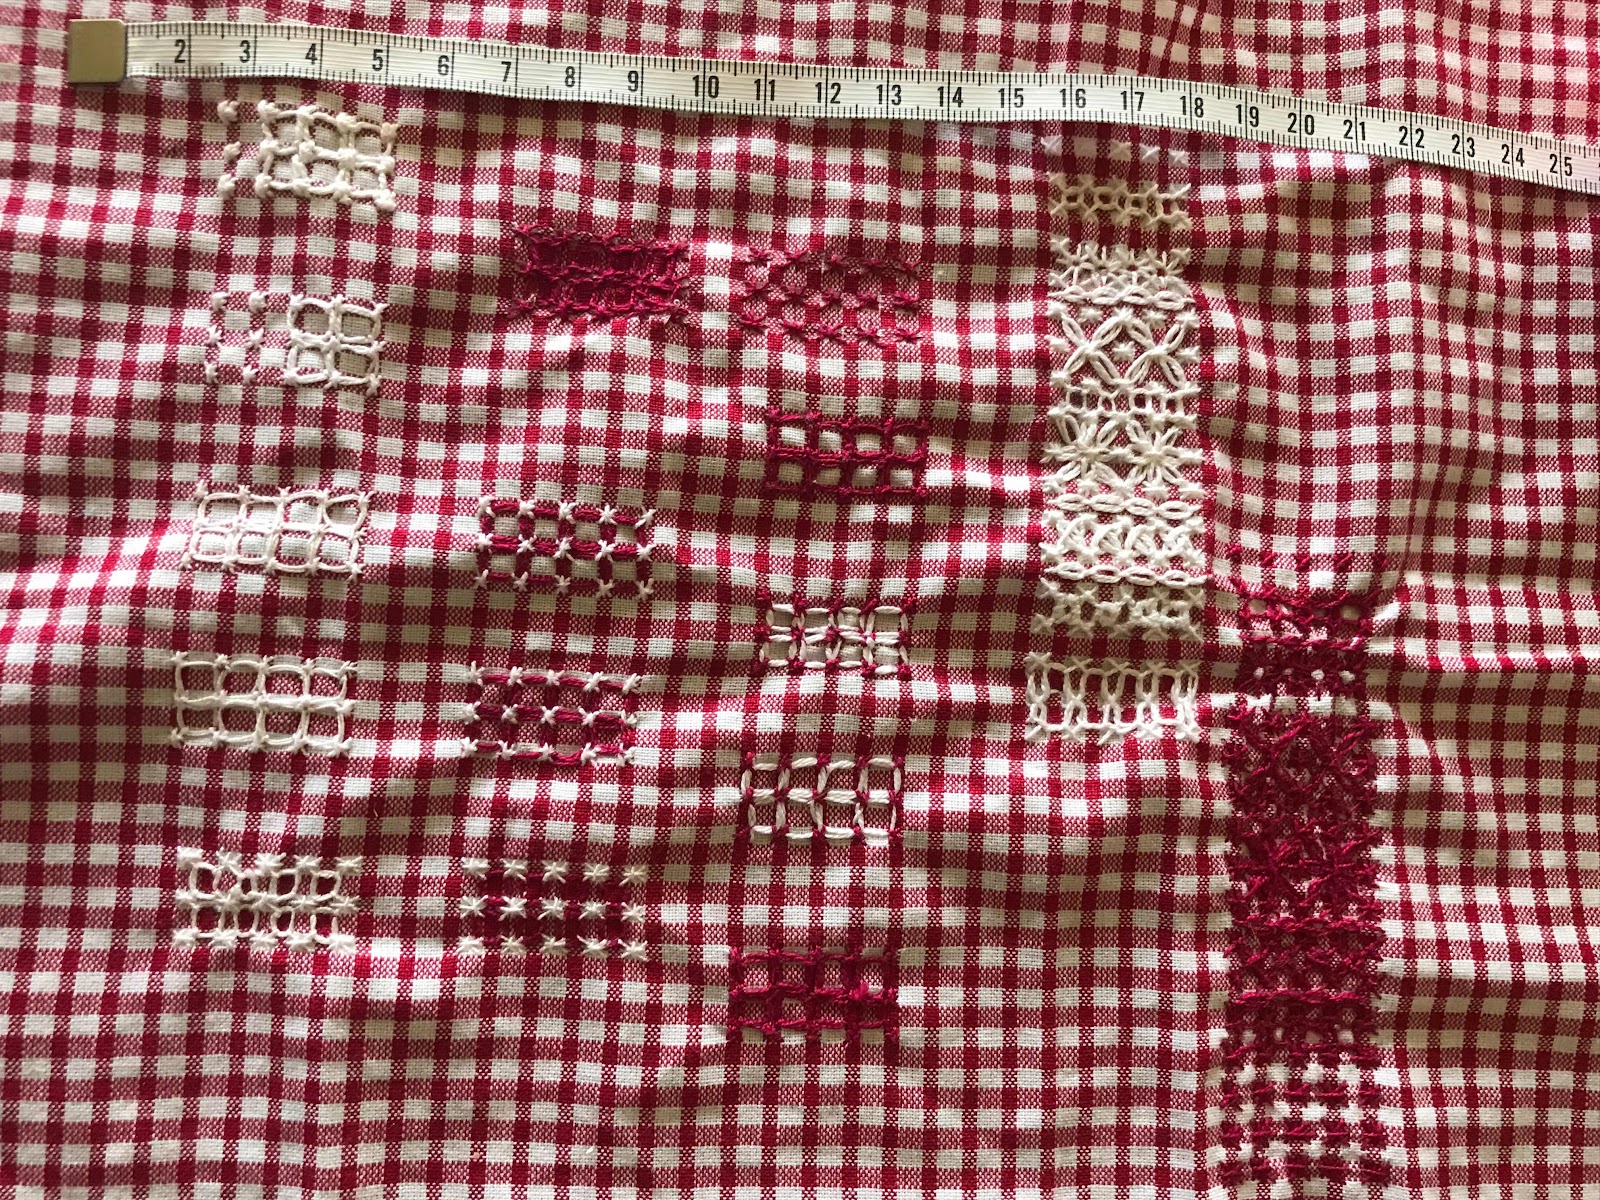
A year or so ago I did a workshop at the Embroiderers' Guild on Chicken Scratch, or Depression lace. We worked a little sampler, mine on a piece of small squared gingham that I happened to have left over from something.

I really loved the result. It was fascinating to see the different effects of using the red or the cream thread, and  from stitching on either the red or cream squares.

Others at the workshop had some striking fabrics they had bought from Trish's fabric shop in Adelaide. I visited after the class and bought three pieces with the intention of making aprons.

I also went hunting for patterns for cover-all aprons in the Japanese style. In the end I bought two aprons online to use as templates - cheaper and easier than patterns!

The time has never been quite right, but this Christmas, when I bought my eldest granddaughter a recipe book for Christmas, I thought it would be good to make an apron to go with it. I chose this piece pf fabric - a bold check rather than a gingham.

Because the squares were about half an inch, I needed quite a heavy thread to get coverage, and settled on this crochet cotton. It needed quite a large needle, but worked well.

I had bought a metre of the 140cm wide fabric. The length gave me the drop, less a strip for the cross-over straps,  and the width enabled me to cut the wrap-around apron without side seams. Using the pieces I cut out from the arm holes for pockets, I just had enough to patch together some bias strips to edge the curves.

I began the embroidery with the pockets, using detached chain crosses and edging it with double crosses.


Along the bottom I worked simple crosses on the red with cream thread. I really love playing with the different effects.


I kept referring back to my sampler.


The yolk presented the greatest challenge. I had a couple of adaptations before I was happy. It needed quite dense fill to achieve the lacy look.
I didn't have a model to photograph the finished piece, but I was delighted with it. It is sturdy, but looks quite delicate.


It made a good present to accompany the recipe book.

Having taken the plunge I made up the other two pieces I bought after the workshop. That's, however, for another post or two!


Wednesday, January 8, 2020

Hand towel

 I like to make Christmas presents for friends. The trick is to make something they want, not simply something I like to make. One friend, who likes hand-made gifts, grew up in India. She has recently moved to a new home in Adelaide, so I thought I would embroider her a hand-towel, with Indian motifs.

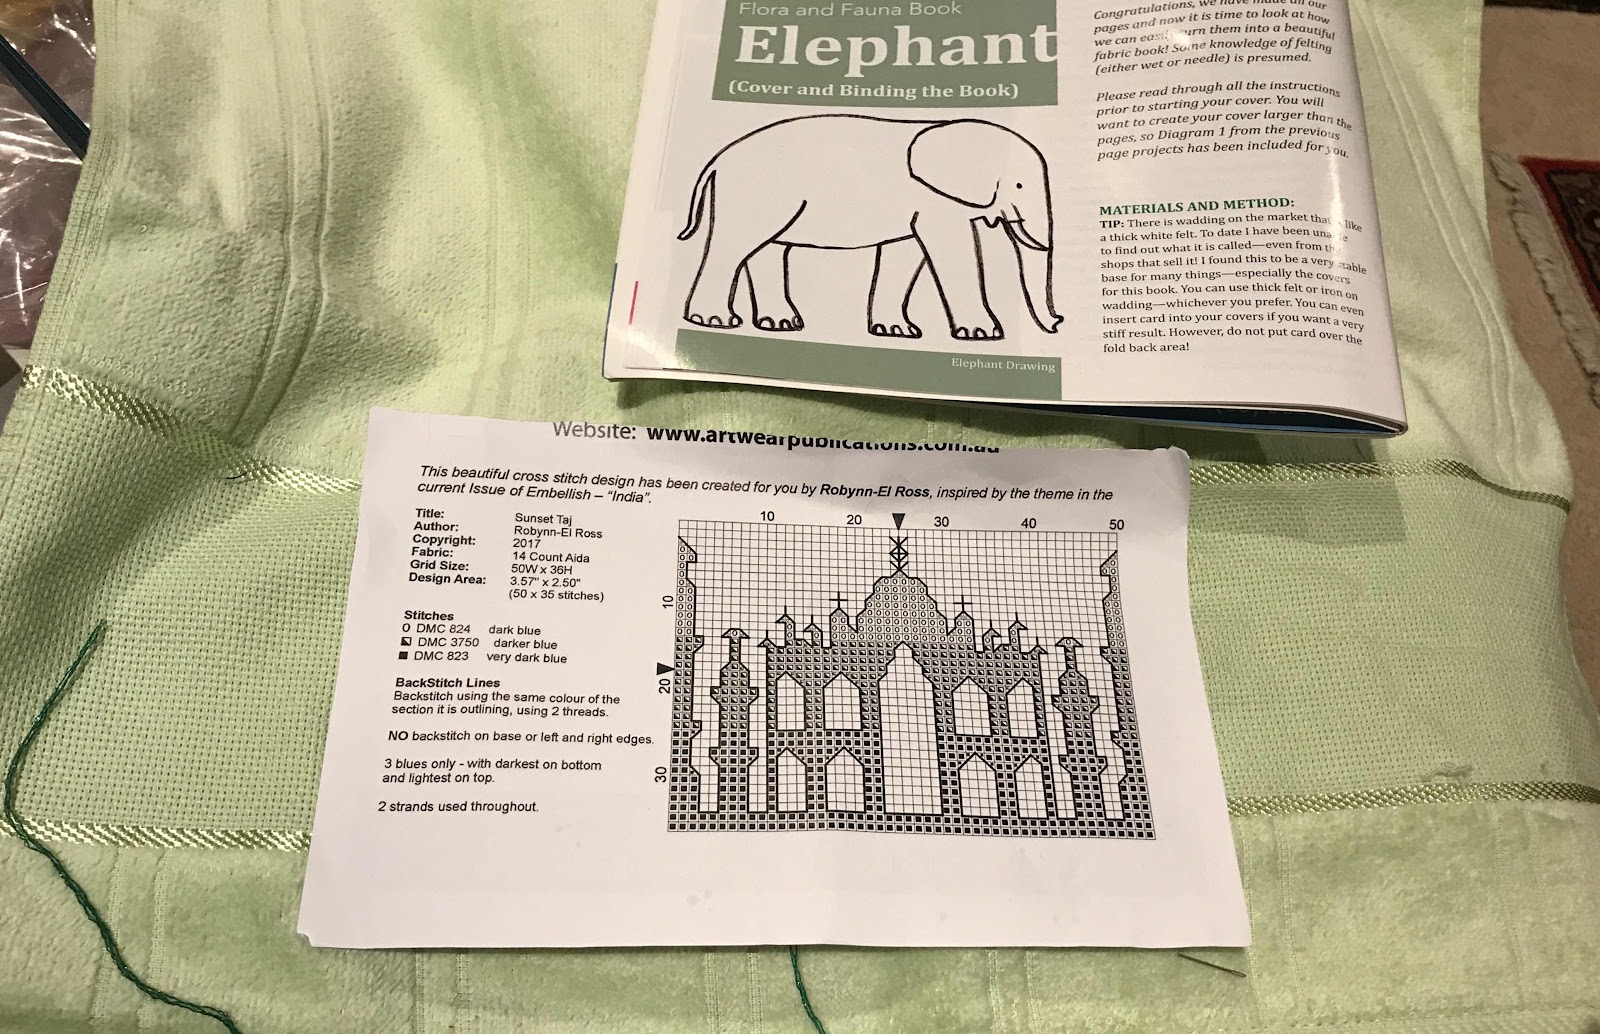
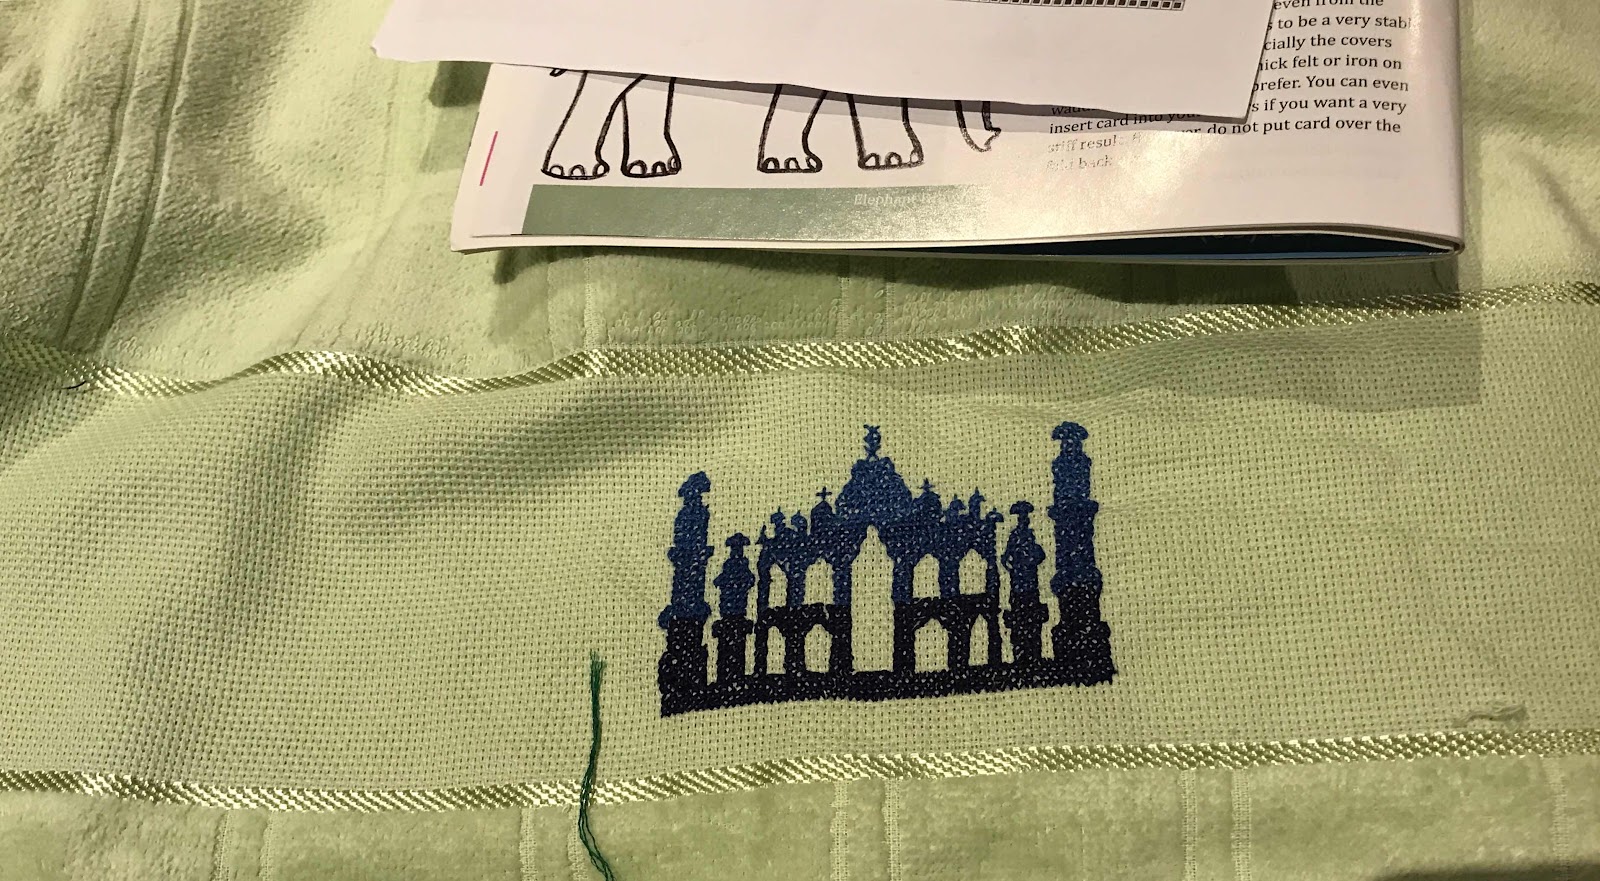
A bit to my own surprise, I found a cross-stitch design of 'Sunset Taj" that I had kept from a magazine, so began with that.

'Sunset' meant in three shades of blue, making it far more like night than sunset. However, I stuck with the blue but definitely night, It worked well, but looked too small on its own on the towel. I tried other Indian motifs, like elephants, but the scale was badly wrong.

After looking at dozens of photos of the Taj Mahal, I decided to embroider a version of the trees that line the approach to the Taj.

The trees are very dark green, and highly sculpted, although not uniform.

To this I added (but, alas, did not photograph) a crescent moon. As I finished it, I decided it was a mad idea. Who, after all, ever sees the Taj by moonlight?

My friend was delighted. One of her earliest memories, she told me, is of being taken, as a child of 7 years, through a gate, to see the Taj Mahal by moonlight - an image she has kept all her life!  Blew my mind!