This is a quick post while
Beating Around the Bush is still underway. I have done two classes - a two day Japanese Beading class with Margaret Lee and a one day Whitework Button Class with Jenny Adin Christie. Three day classes are underway this week but I have not enrolled. Two new projects is my limit - otherwise I am overwhelmed with unfinished projects and unable to consolidate what I learn.

This post focuses on the first of my classes - the Japanese Beading. I found it quite demanding. I learned heaps. I'm very glad I had done the
Merrilyn Whittle projects last month as preparation. They gave me time to get an idea of the genre and know
the questions to ask. All my questions were answered. While I don't see myself turning into a beader, I could see a way forward with Japanese beading as long term study and work under Margaret's tutilage. It is an art form, and apprenticeship-type learning would produce terrific results.

I used a slate frame for the first time. Margaret very generously gave up the afternoon before the class to teach us to set up our frames and projects. I can see the importance and value in setting up your beading work space. Getting the position, light and angles to suit took quite a long time and my back gave me a lot of trouble in the first day. I did a lot of standing and walking in breaks. The second day I also took my spiky ball and massaged my sacroiliac joint at frequent intervals.

Margaret is an energetic and intelligent teacher. There were 17 in the class and she worked endlessly and tirelessly to give individual attention - analysing and helping us improve technique. We began with the simplest and easiest motifs and techniques, seeing results and achievements early, building up quickly to more complex work.

By the end of two days we had covered all techniques required. I can now use a koma and know how to place my beading shoe on my work to maximum effect. I have the beginnings of knowing how to choose beads and the importance of a laying tool. Now it's a matter of practice and repetition. This is very much the kind of work you perfect over a lifetime and that benefits from a master-apprenticeship model. It's no wonder women come
to study with Margaret from around the world on a regular basis. It is the way to learn and become skilled. I don't think I will become expert in this genre - but if I were to do so, I'd enrol to study with Margaret. I will, however, finish this piece.
I need to set the project up properly at home so I can work on it as I get the time. I don't find working at a table comfortable and I doubt my floor frame is up to the job. I need to solve this problem later this week.
There is a great atmosphere at BATB. I enjoyed sitting back and observing the atmosphere or talking to people in breaks. The majority, it seemed to me, were from outside Adelaide - from country towns, interstate and, like my own US house guest, from overseas. It's an important opportunity from women to pursue their passion with kindred spirits and spend time focused on something of great importance to them. Much knowledge is passed on. Many who are attending classes to learn also teach in other contexts - there is a sense of community.
The market day on Saturday saw an extraordinary array of small specialist providers display and sell their wares - things you rarely see gathered together in one place. I forgot to take photos, unfortunately.
My next post will have some photos and progress on my white work buttons - a slightly less ambitious project, but also very beautiful.
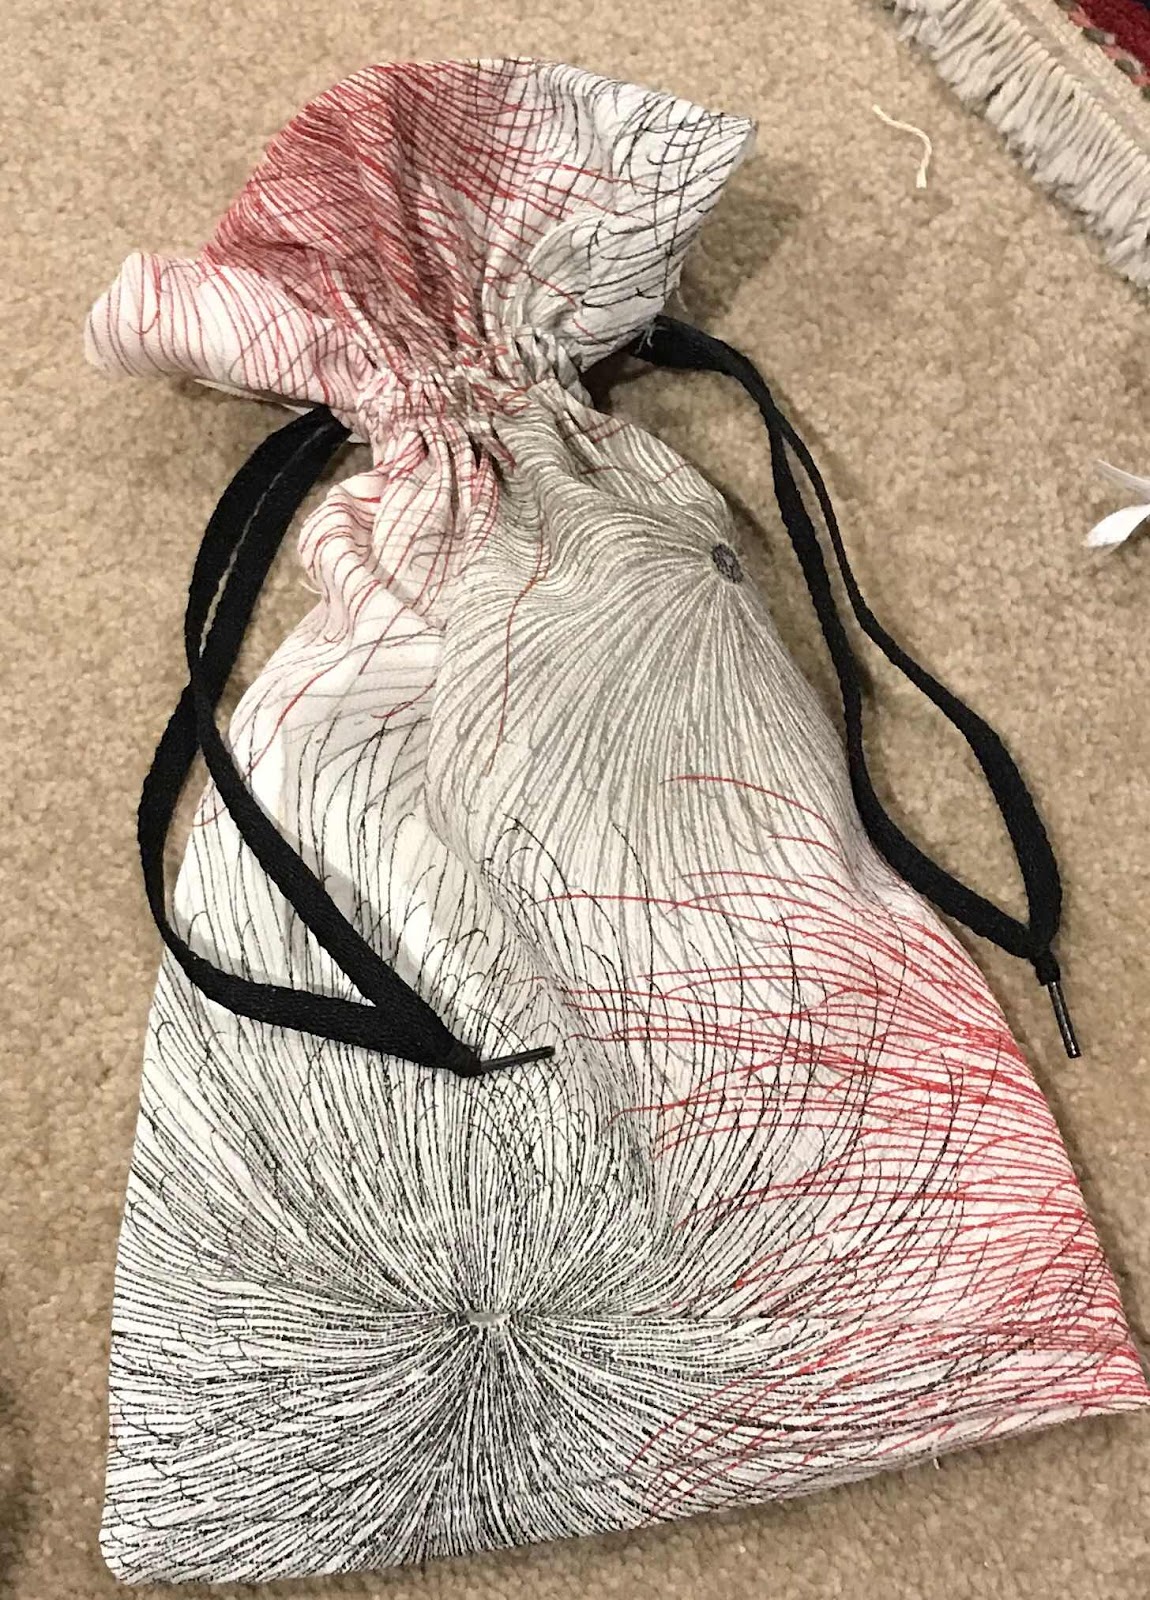
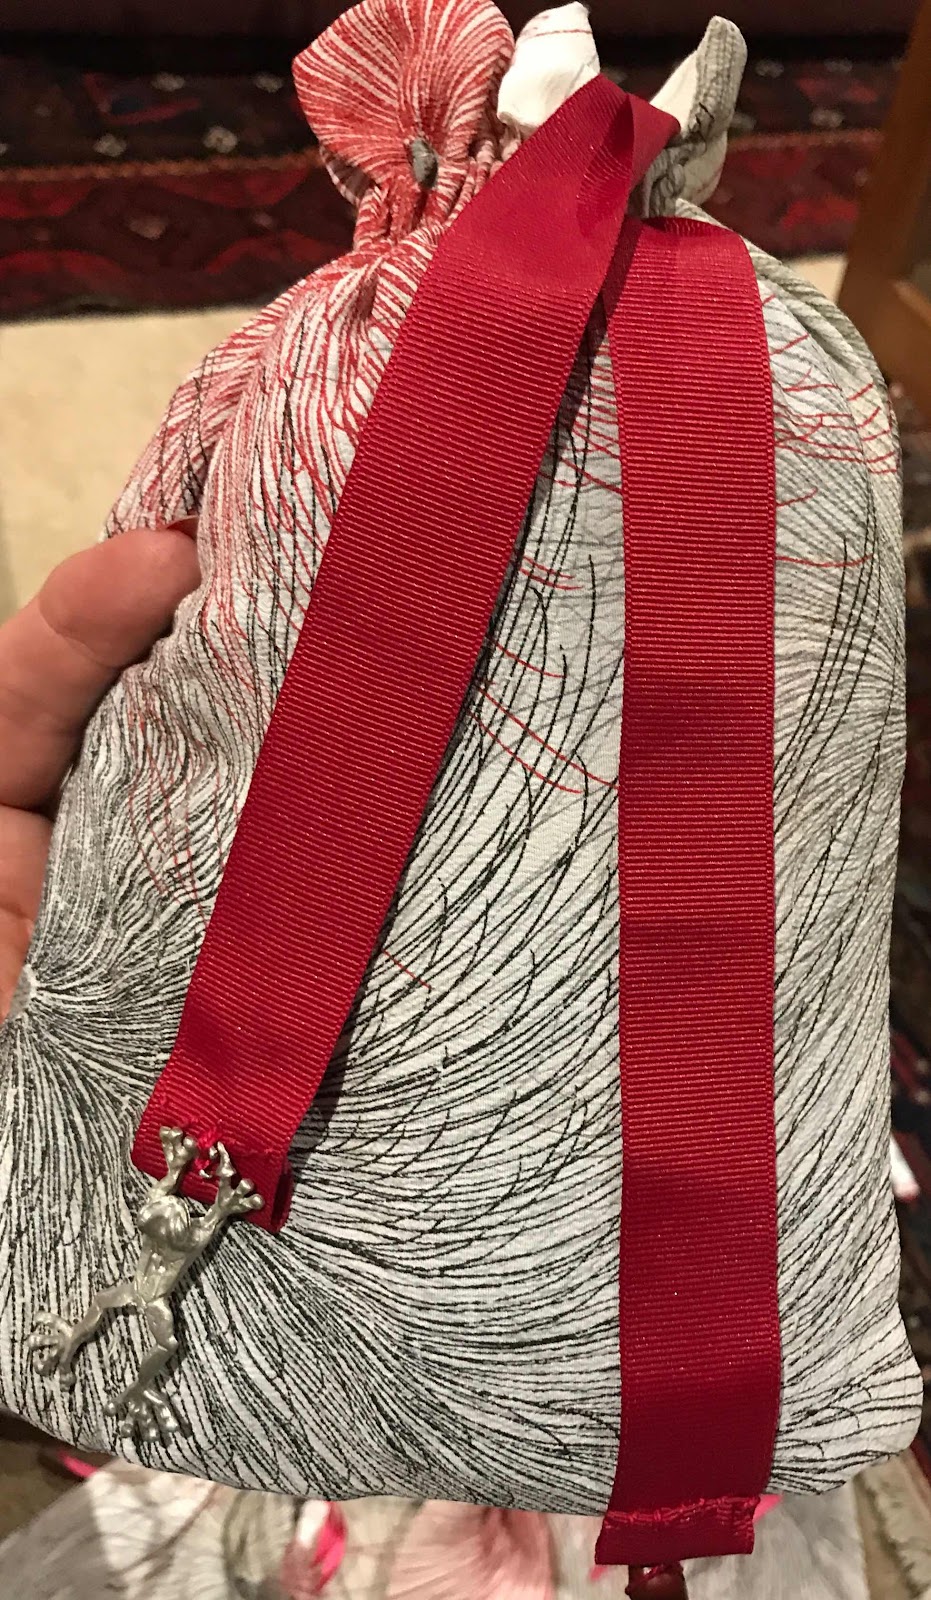
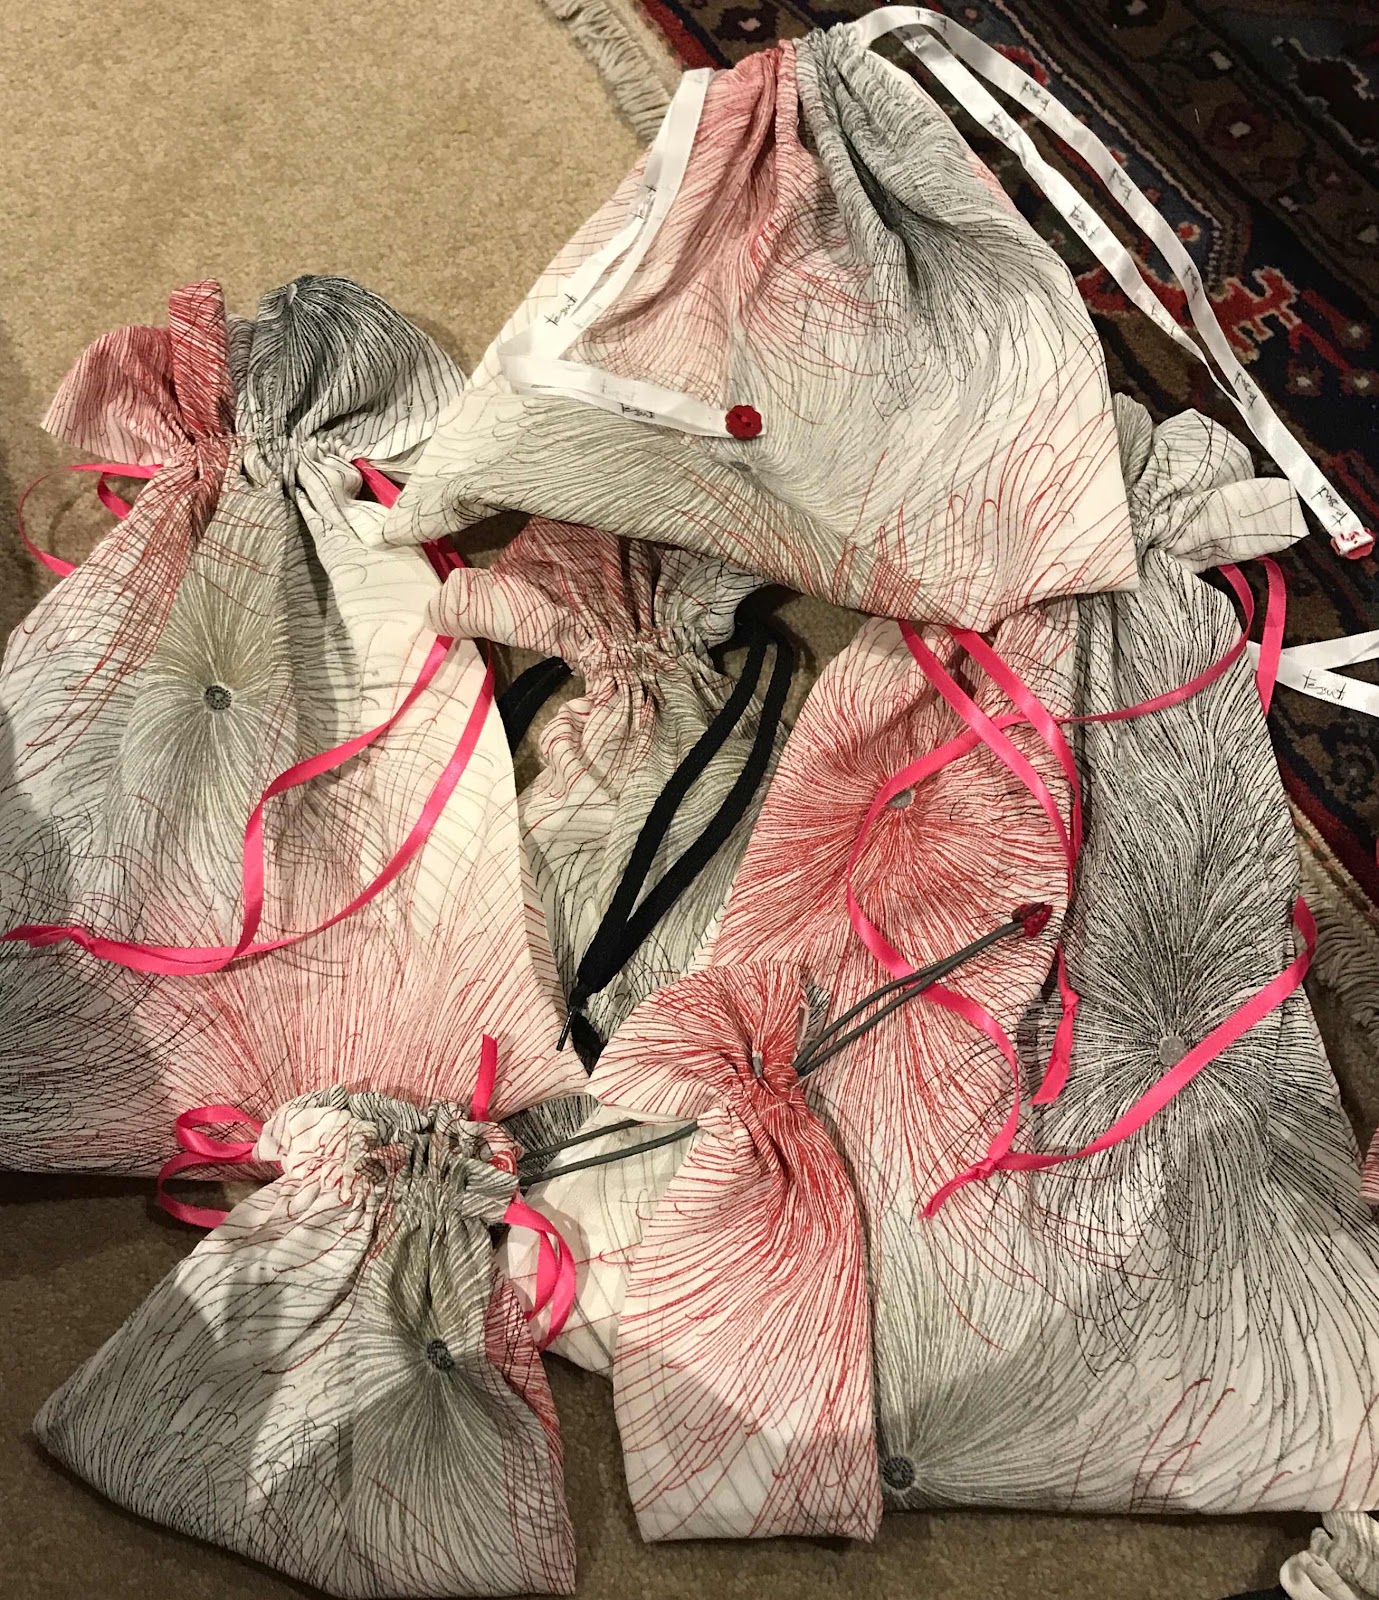
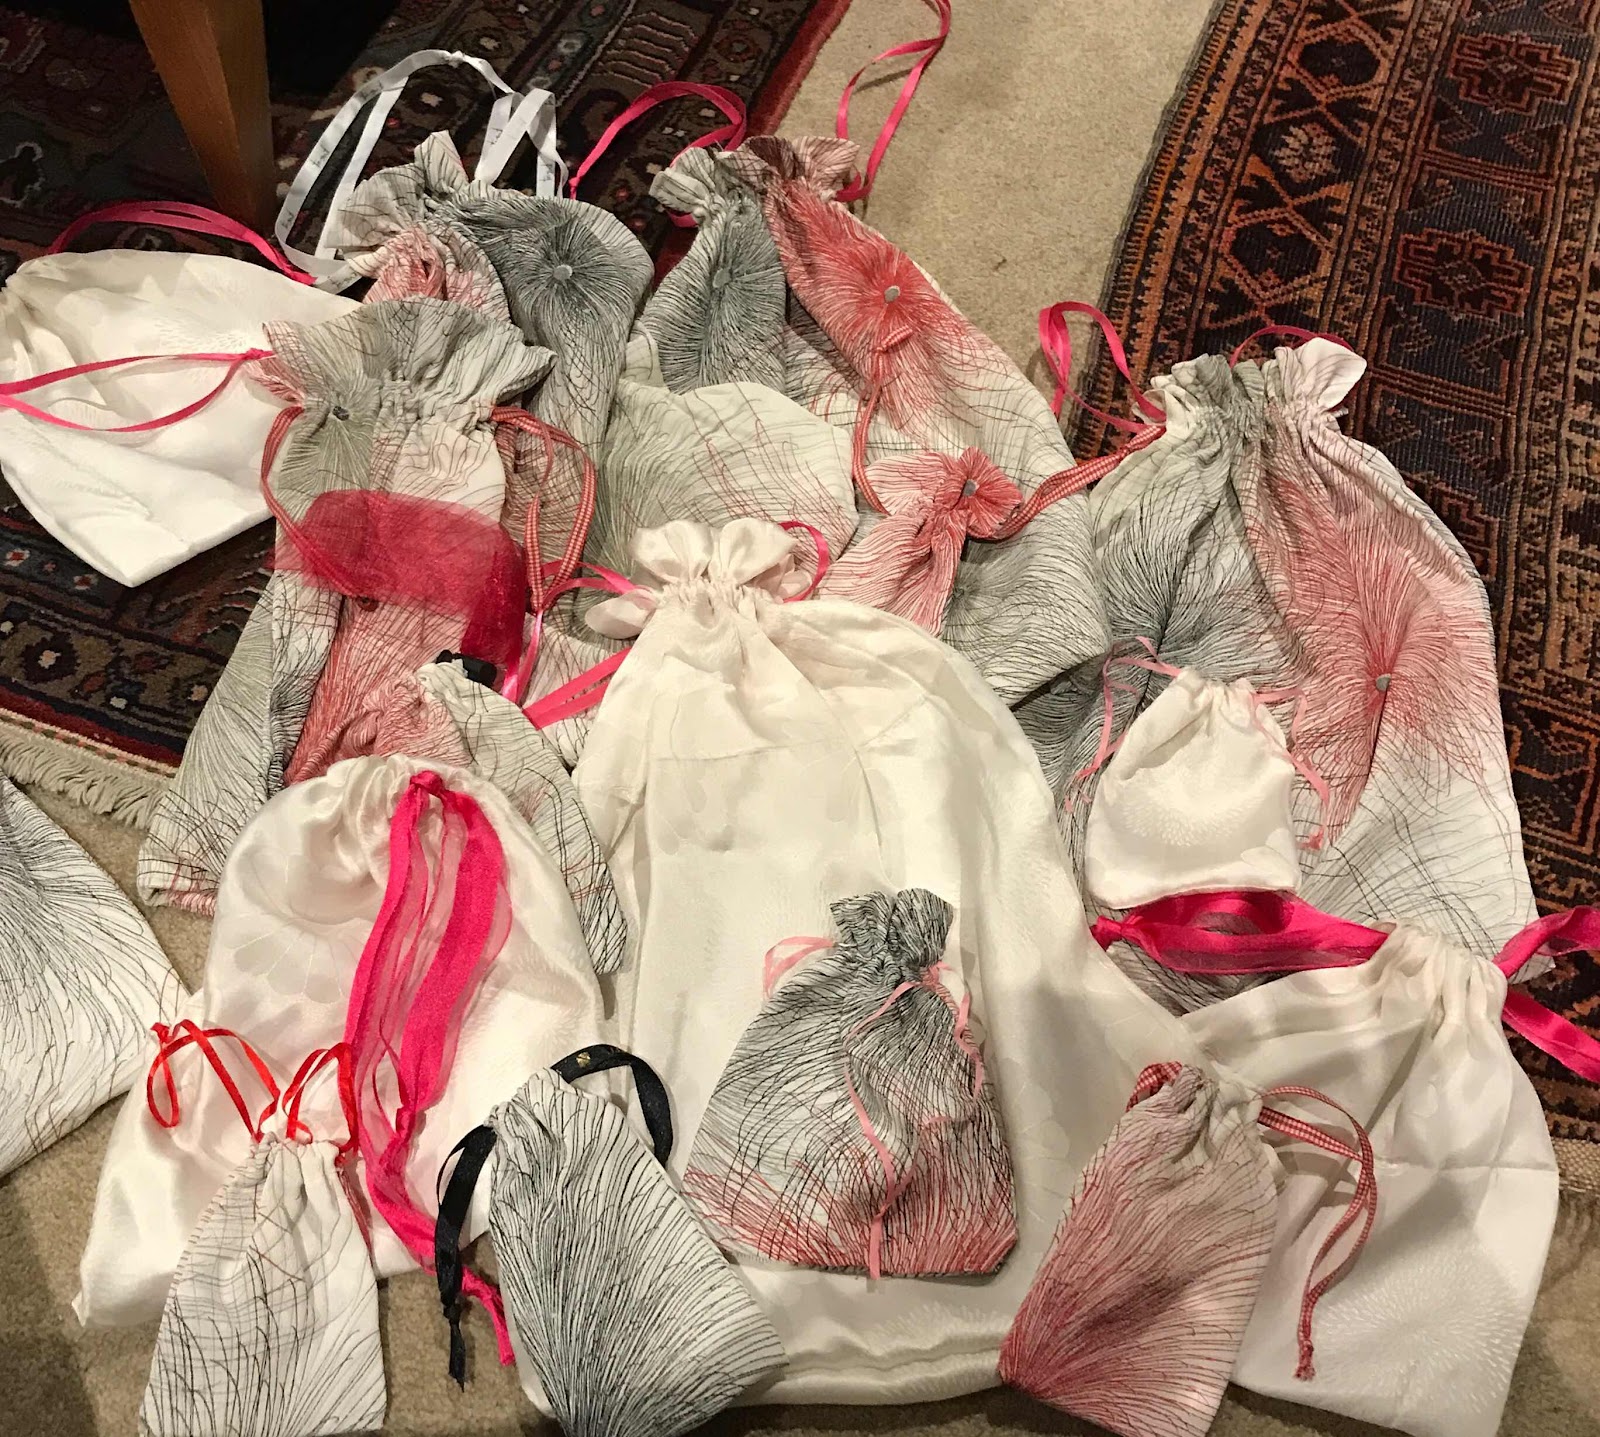
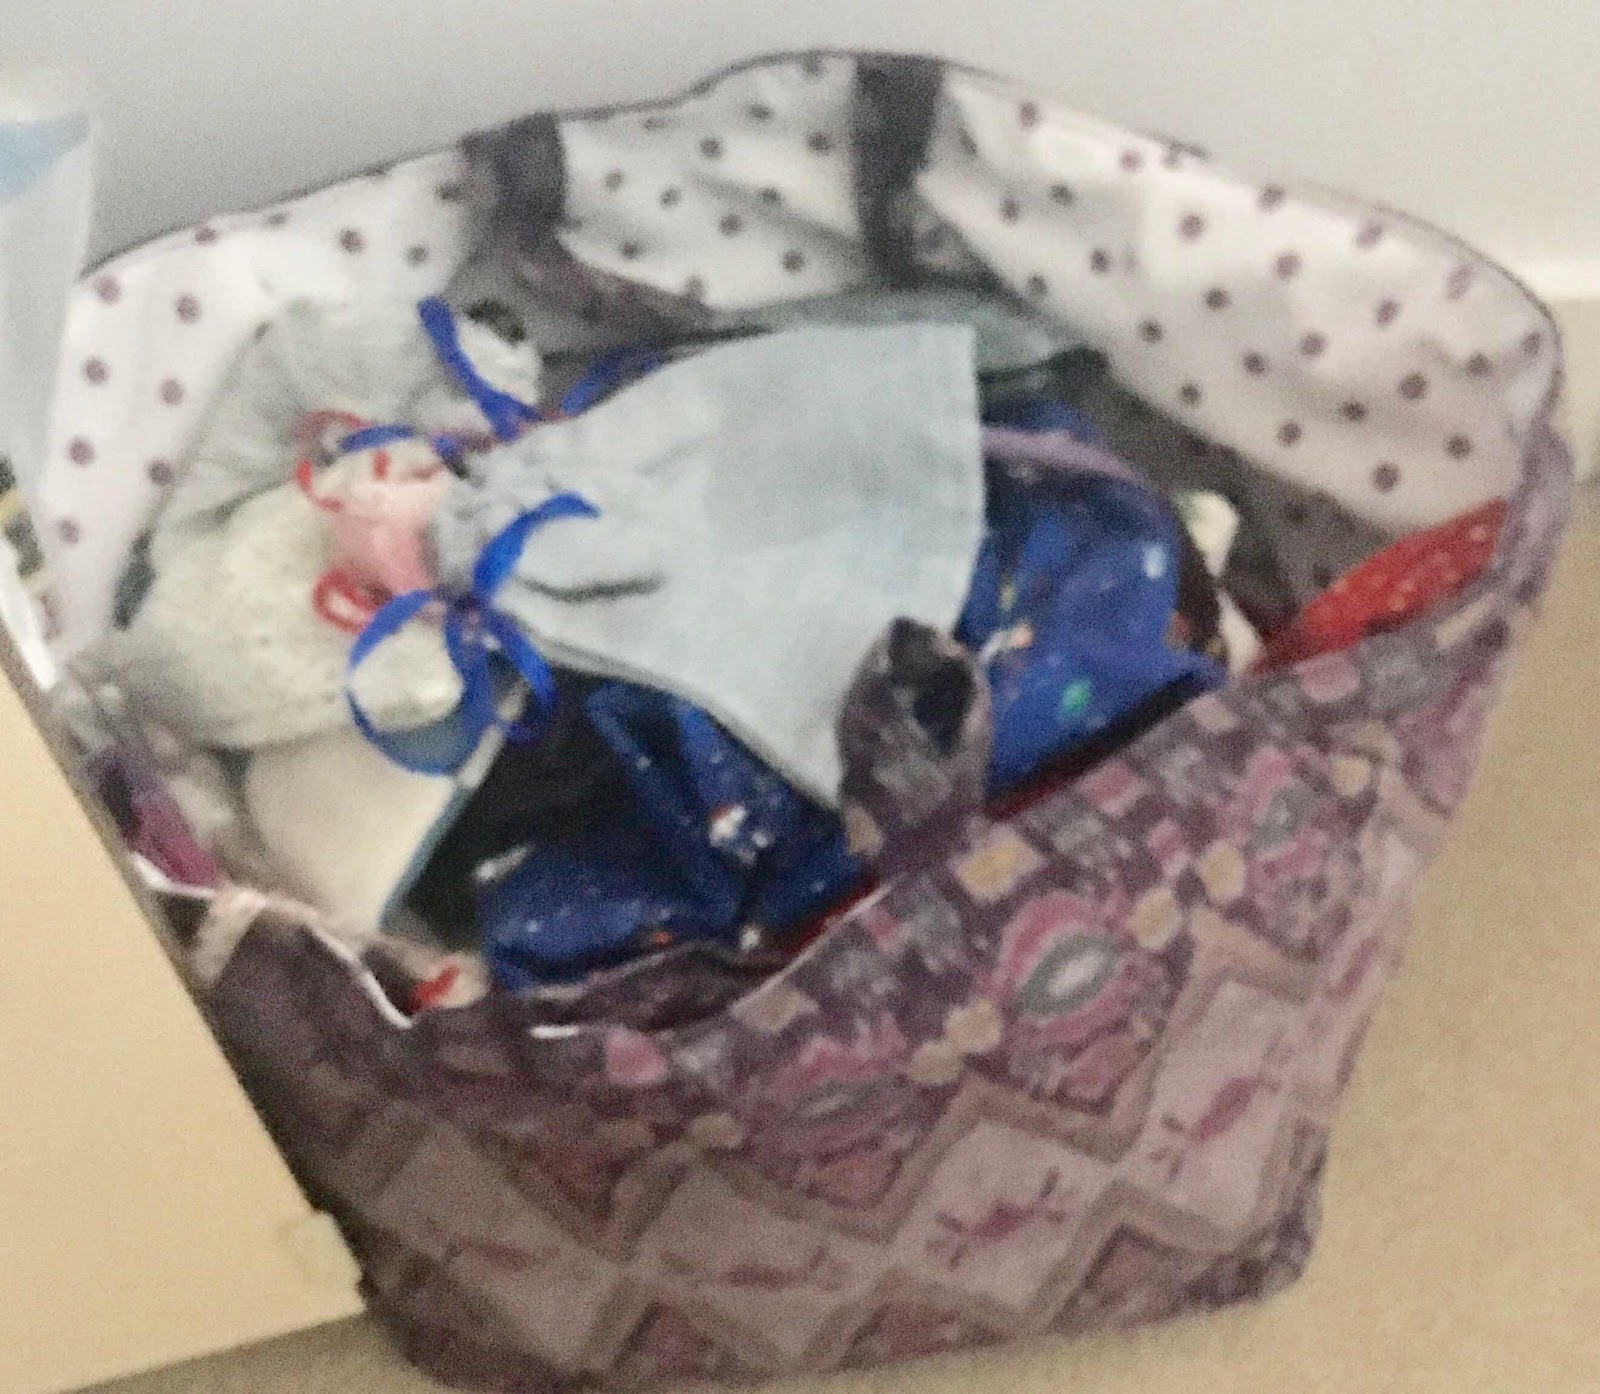 Christmas made a serious dint in my supply of the large drawstring bags I use in place of wrapping paper. I still had a good supply of small bags but decided I needed to make more medium and large bags. My whole family uses and recycles these bags so I like to keep the supply going - and the making of them is, for me, enjoyable, even therapeutic.
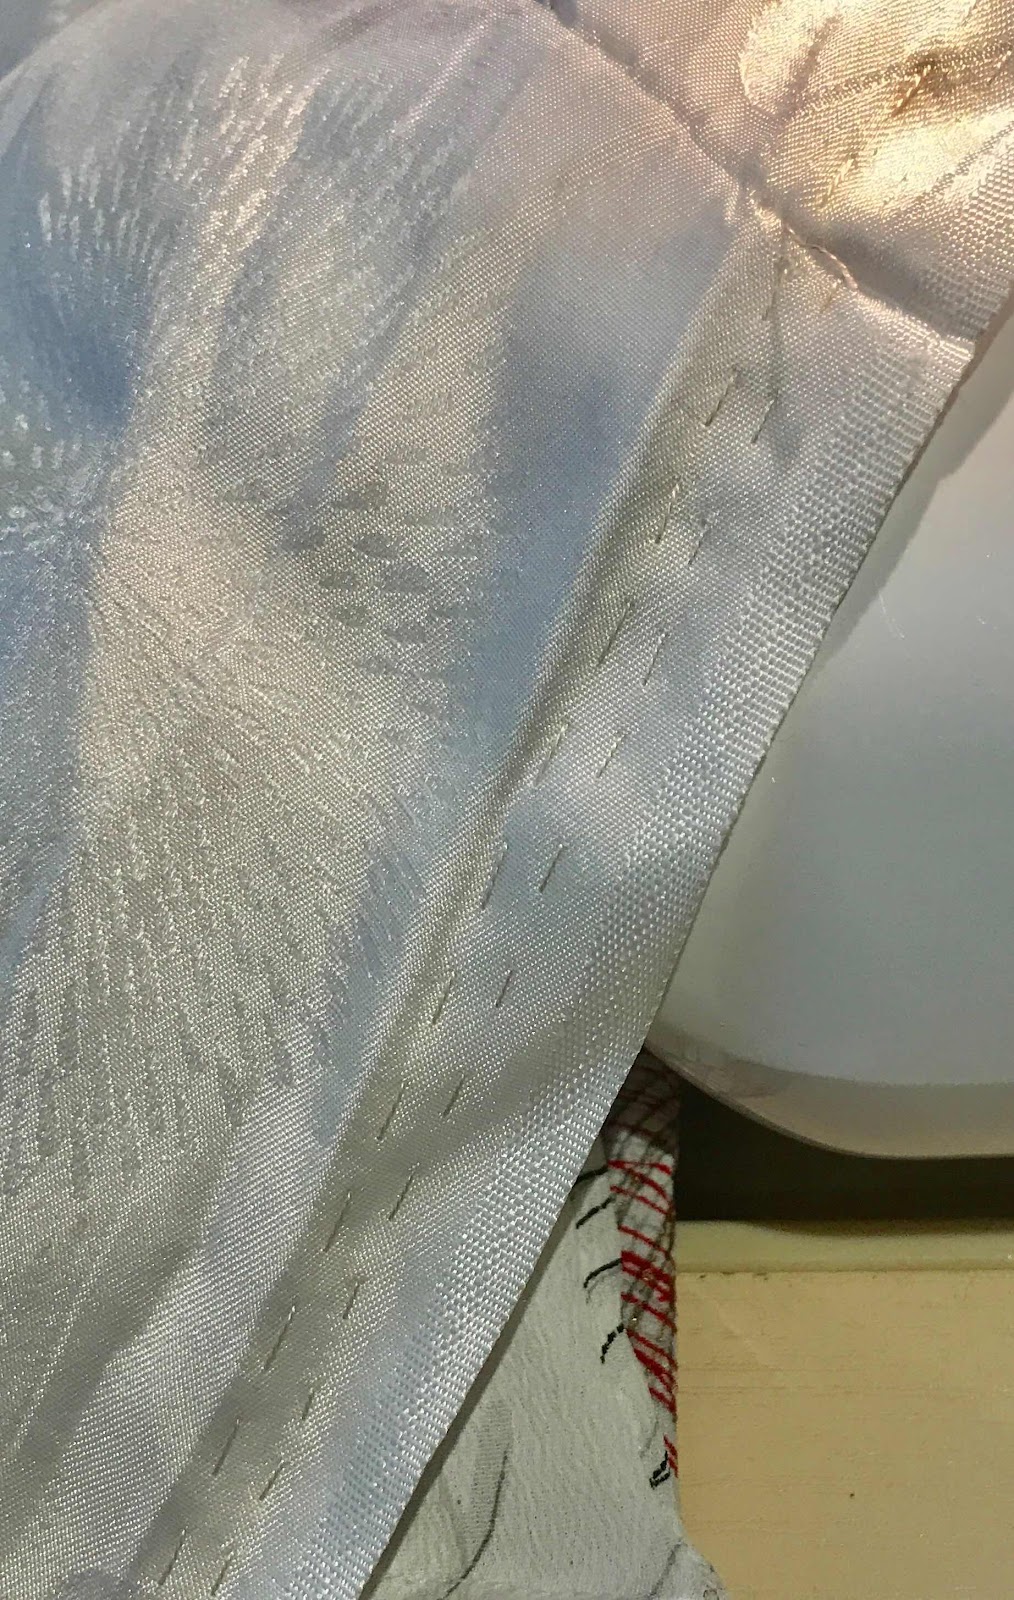 In the past I have purchased vintage sari and kimono pieces for these bags. This time I unpicked a kimono jacket given to me by my daughter. It took a bit of unpicking as it turned out to be made from a huge length of obi-width fabric, folded and tacked ingeniously - as kimonos usually are. Regretably, I didn't take photos of the unpicking and ingenious folds.
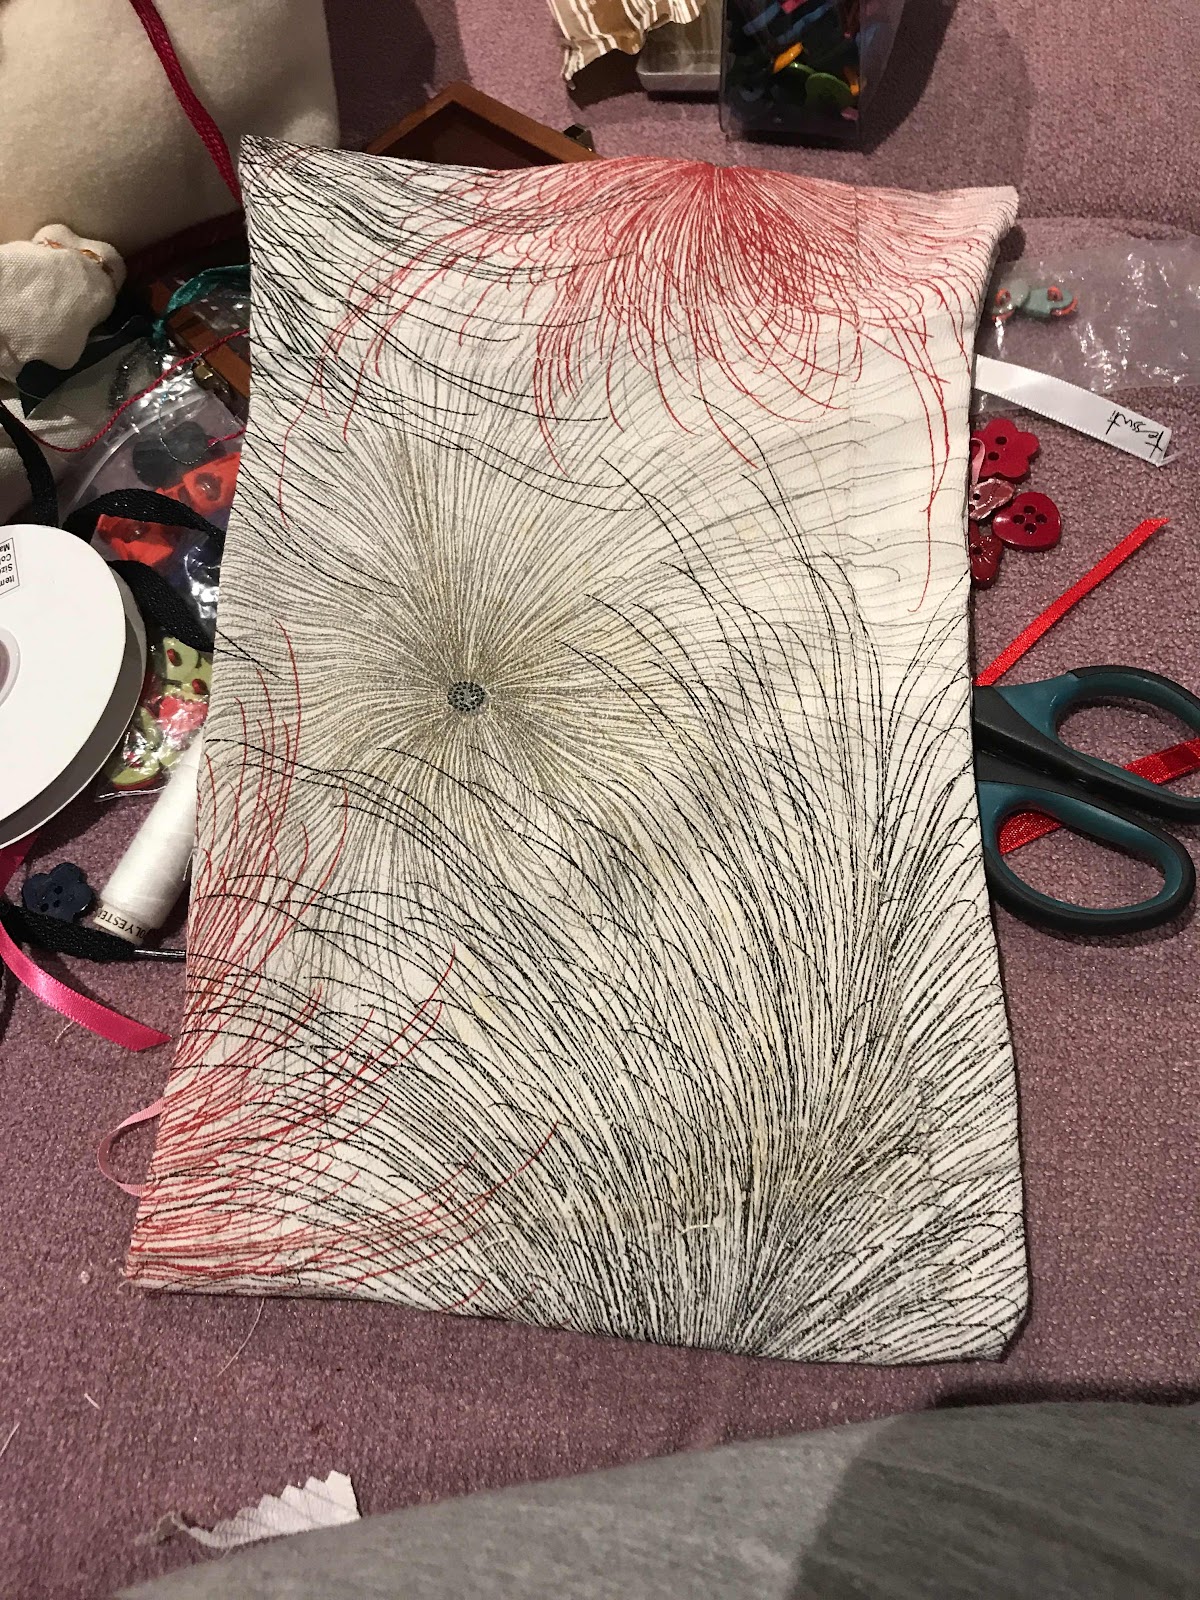


