
The first Guild Certificate Course Workshop for this year was Designing with Huckaback on Aida, taken by Carol Mullan. It was an intriguing topic. I have done quite a bit of Huckaback over the last 15 years, either on Huckaback fabric or monks' cloth. Using Aida opens up possibilities of combining the Huckaback technique with other counted techniques.
I didn't have much Aida in my stash, but found a piece I had bought from the Guild trading table. It was 35cmx42cm and had been edged with bias binding and tacked along the centre lines. It would do, I thought, for the requested A4 working fabric.

I had taken the requested selection of threads, but, with the whole-piece design in mind, I selected a group of perle 5 threads from the trading table in a colour way inspired by the pink border.
 I selected a standard Huckaback border pattern and worked it in three shaded rows, dark to lighter, all the way around, making a few adjustments in count along the way to fit the piece, which, I am sure, was not originally intended to accommodate the floats in the fabric as well as the spaces between them.
  Back at home, I spend a bit of time going through books, looking for ideas for filling. I favoured Kogin, a Japanese straight, two-colour, counted stitch with many possible patterns, but when I tried it, I realised the width of the Aida squares meant that even using a Perle 5 thread, I would not get coverage of the fabric.
 So I began to experiment with stitches. Rows of chain stitch gave good coverage, weaving a web with an uneven number of spokes gave decent coverage. Because I was working in an elongated shape it didn’t fill the space, but I like the look. My straight stitches on the corner (left above) didn’t work well, even after I couched them down.

 The next section began as feather stitch. The diagonal rows looked so good I continued, making it more like an open buttonhole stitch. As I only had two colours to work with, I improvised stripes.
I experimented a bit, working the rows from left to right only, then working a return row from right to left. The latter didn't work as well.

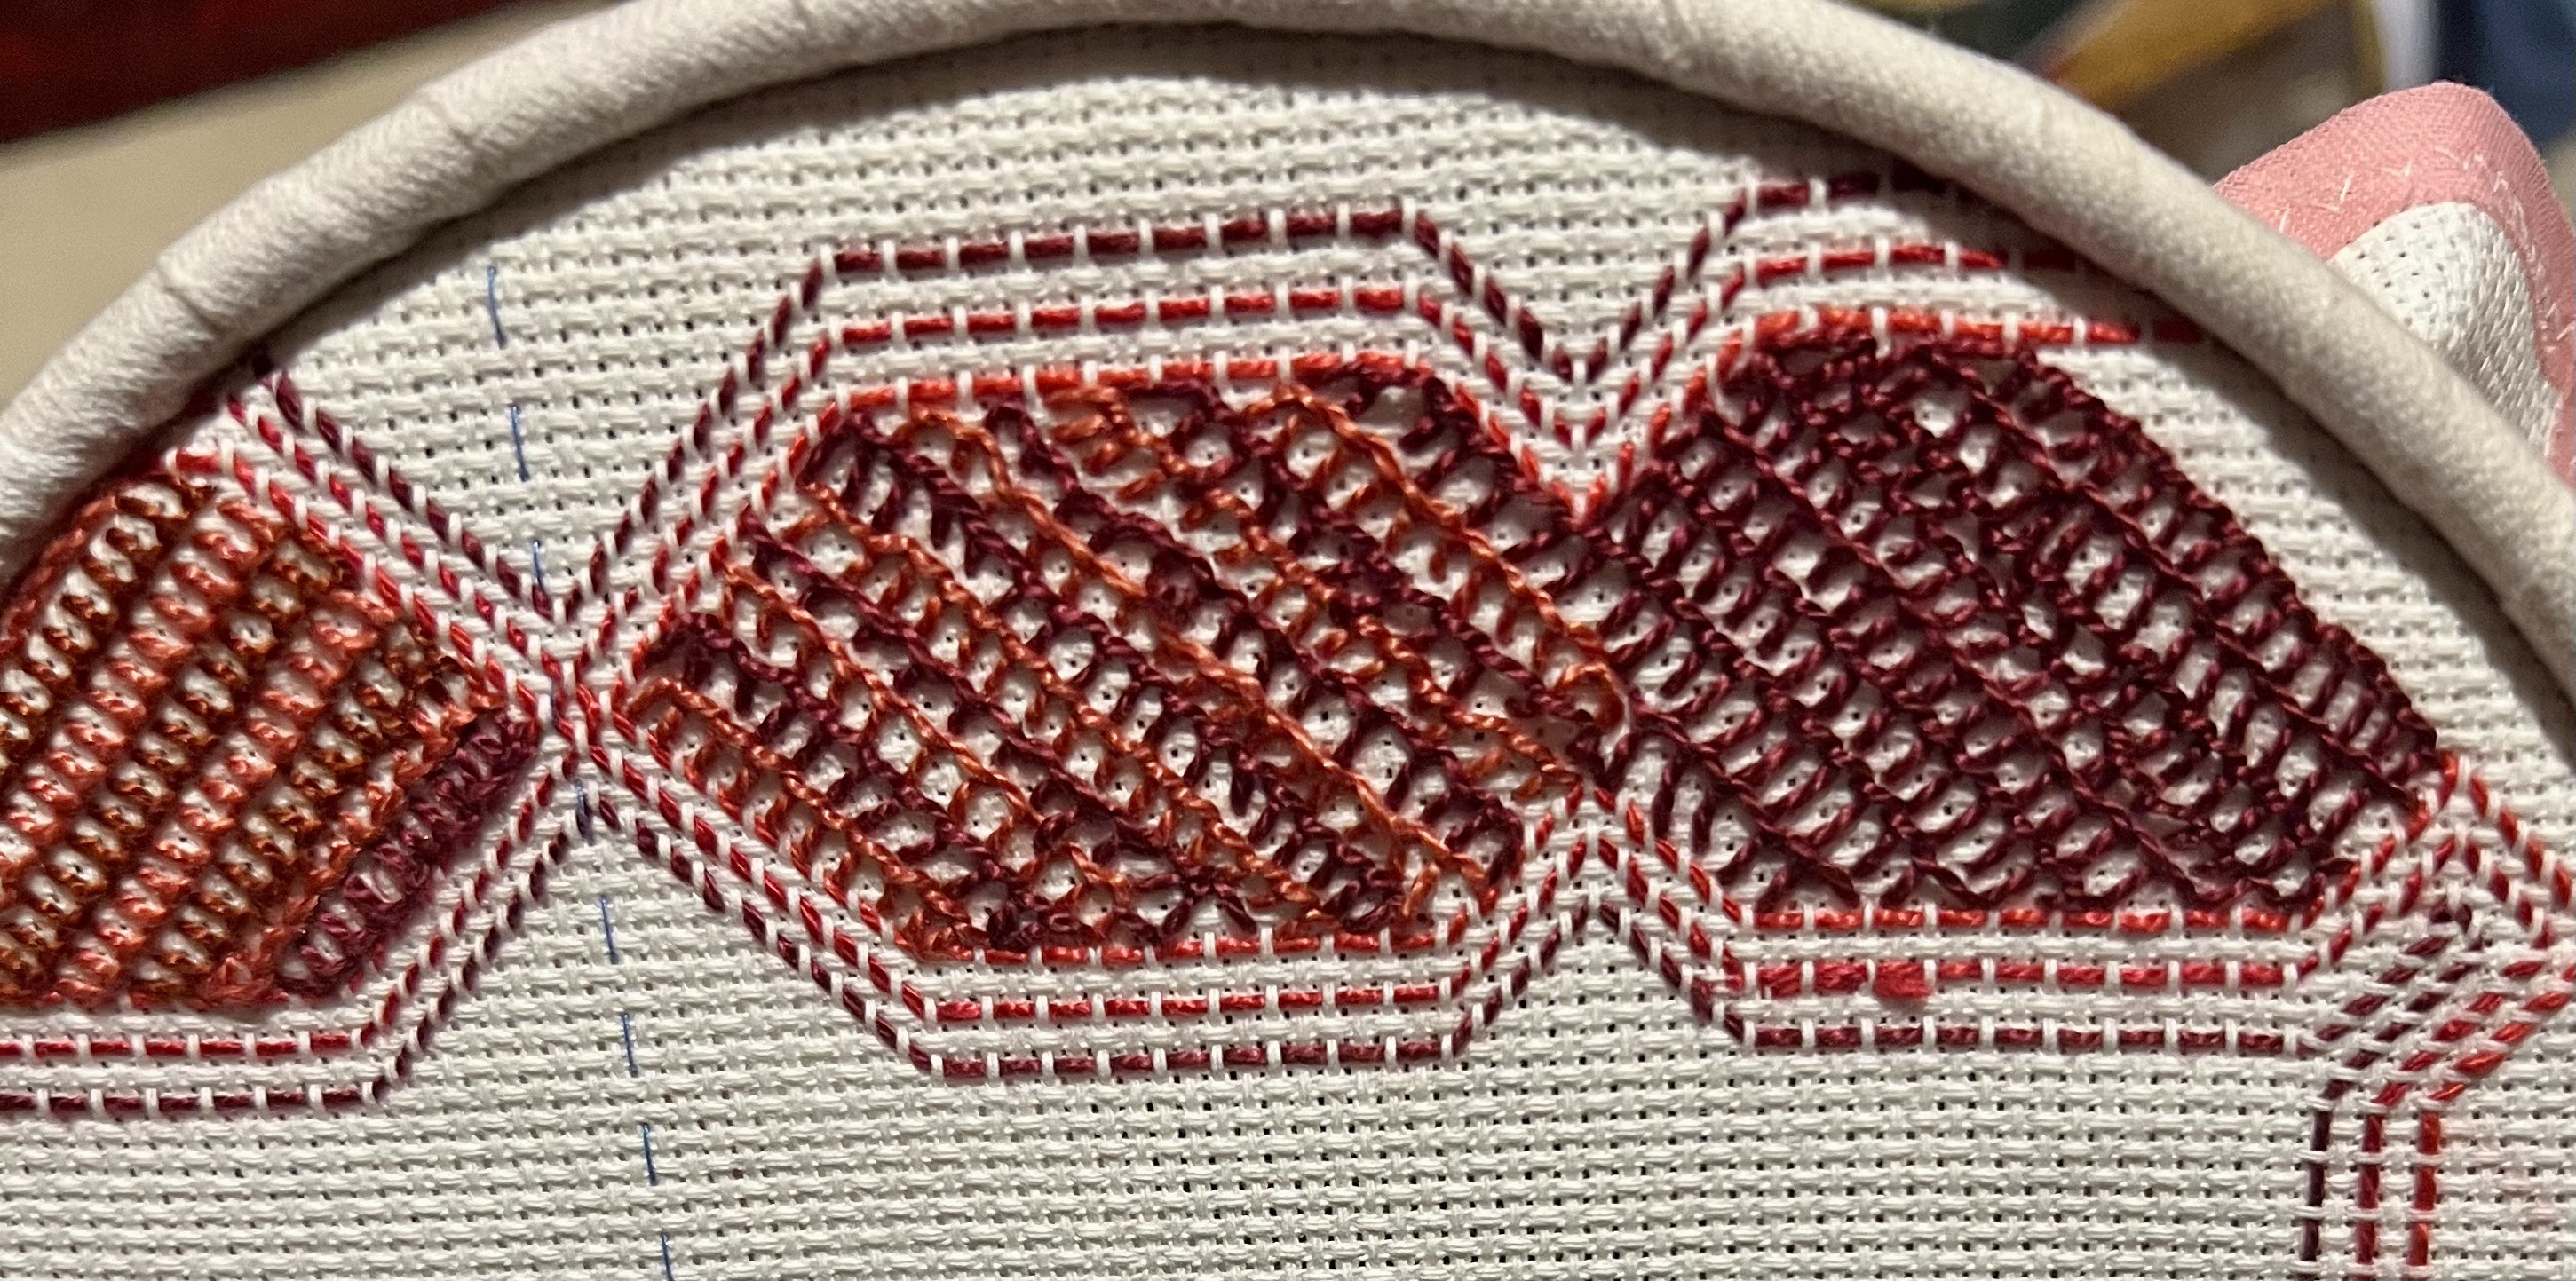
Opposite, I worked a similar pattern in two shades of perle 5 to contrast coverage. Niamh adviced on the contrast colour - and she was right, it harmonises!
By now a hoop was needed. While Huckaback needs to be worked in the hand, filling is much better (especially with my right index finger out of action from surgery!) in a hoop. It was close to the hoop edge, but just enough to hold.

That left one side, on which I experimented with Bargello. This was almost back to the original Huckaback design concept, using the whole fabric thickness rather than the floats.
 I dashed off to Create in Stitch to buy more perle 3. The colour choice is limited , but good enough to for a decent Bargello coverage.
So here is the finished piece, straight off the hoop ( as you can see!).
I have a plan for the centre, which I will attempt in time for the upcoming Guild Exhibition (submit next week!). Hopefully I will have a result to post by then. In the meantime I’ve had fun with this and learned a heap.
One of the best workshops ever.

1 comment:
That looks like a fun sampler to make!
Post a Comment