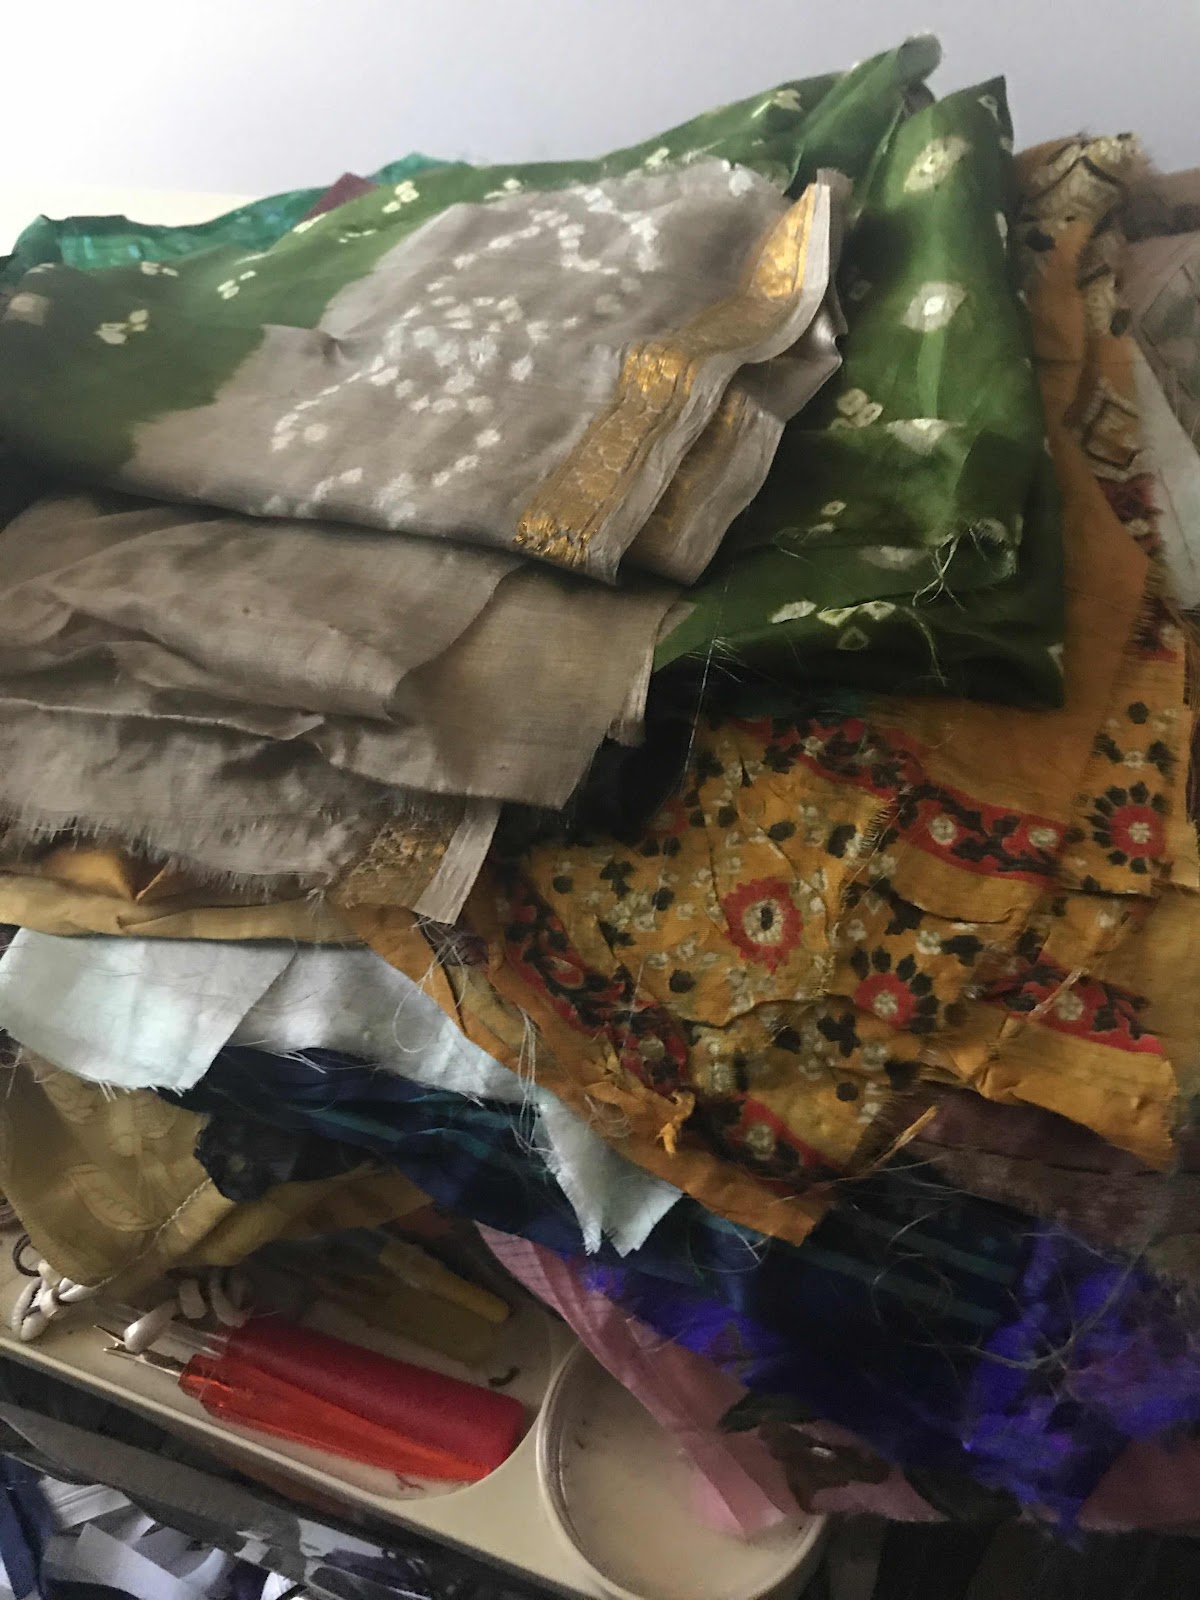
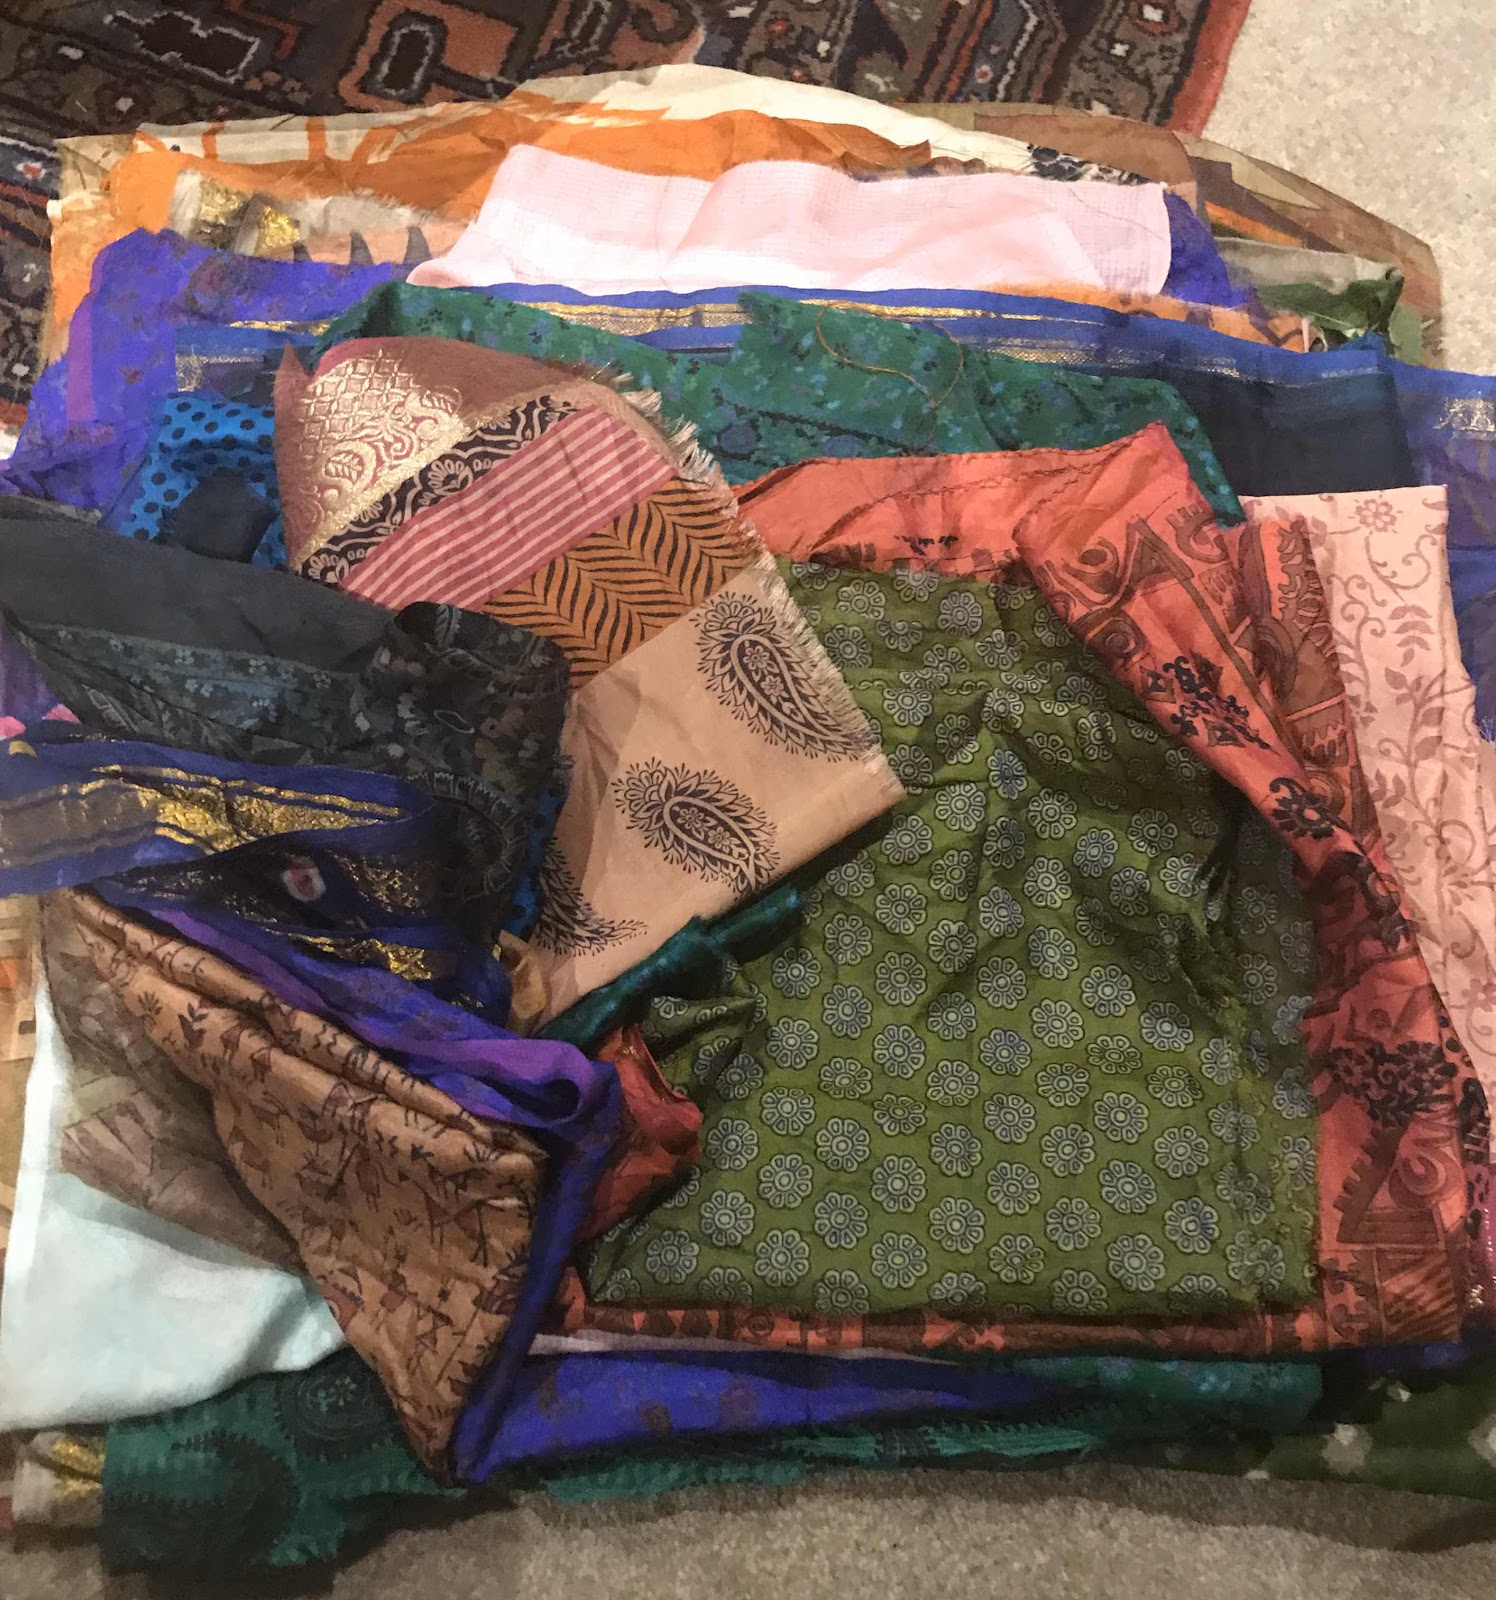
When I got home I did a final search online, this time using 'remnants' instead of 'scraps'. Before I went to bed I had ordered three bundles of sari remnants from The Purana Bazaar. Two days later they had arrived. 25 substantial pieces of vintage sari.
Such deliciousness!
 |
| cut out bags |
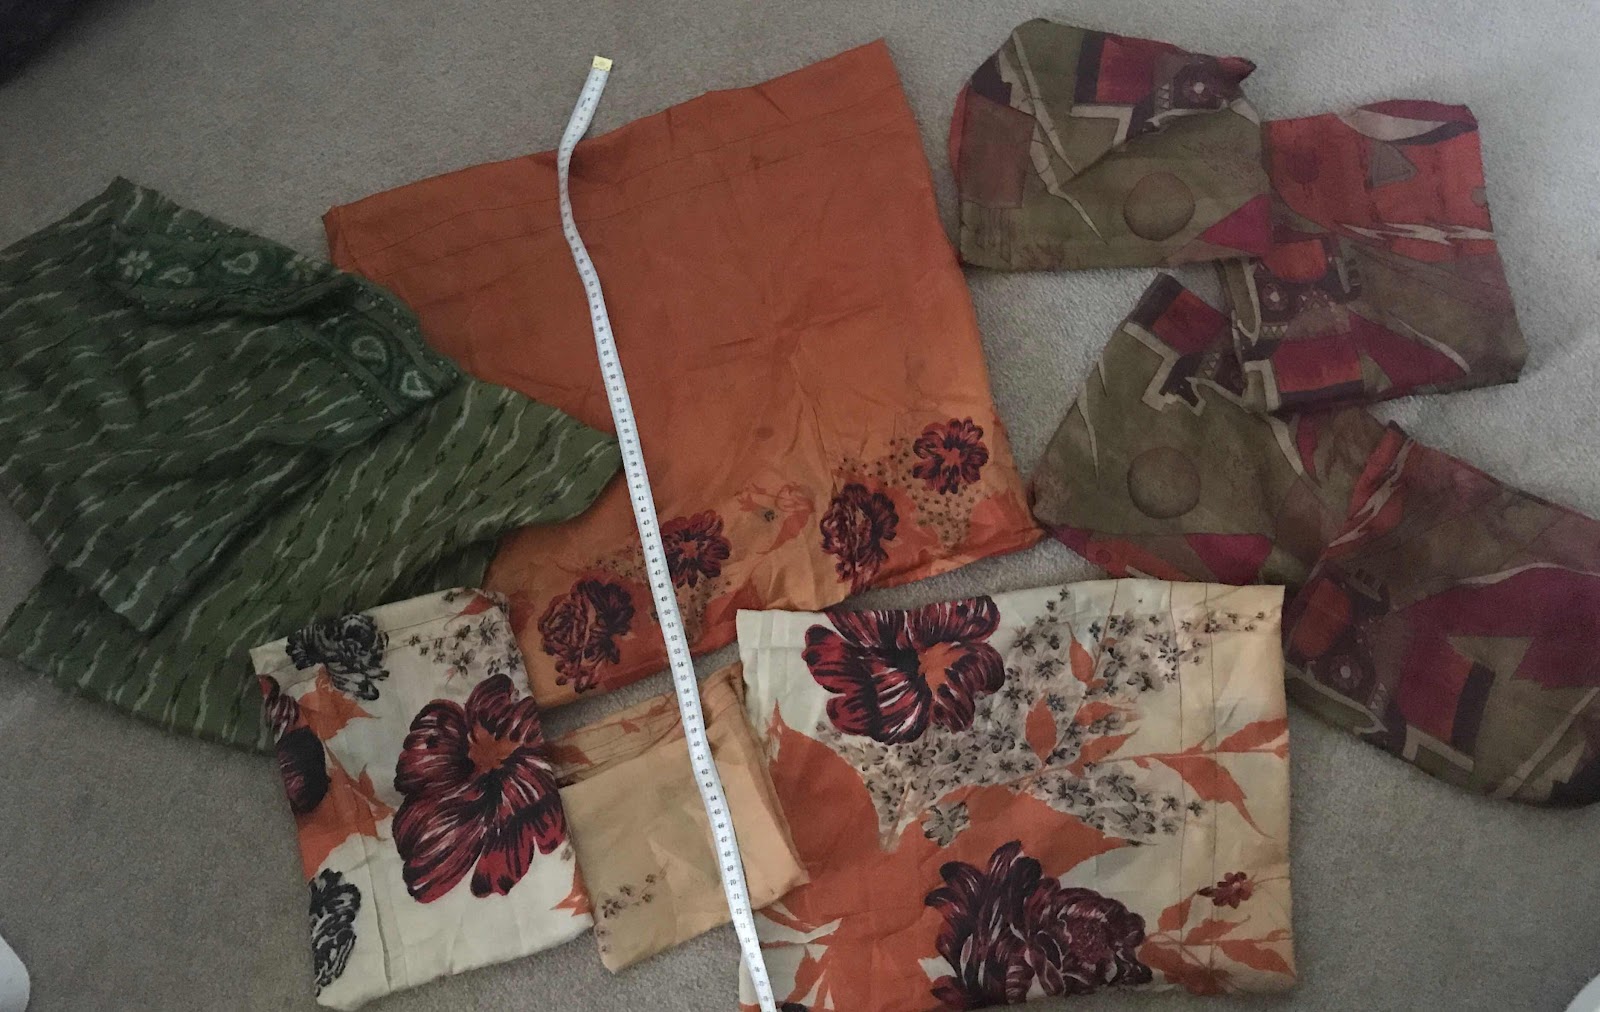 On 11 January I cut out 85 bags - large to medium size and stitched up 10 of them before going away for a few days on 12 January.

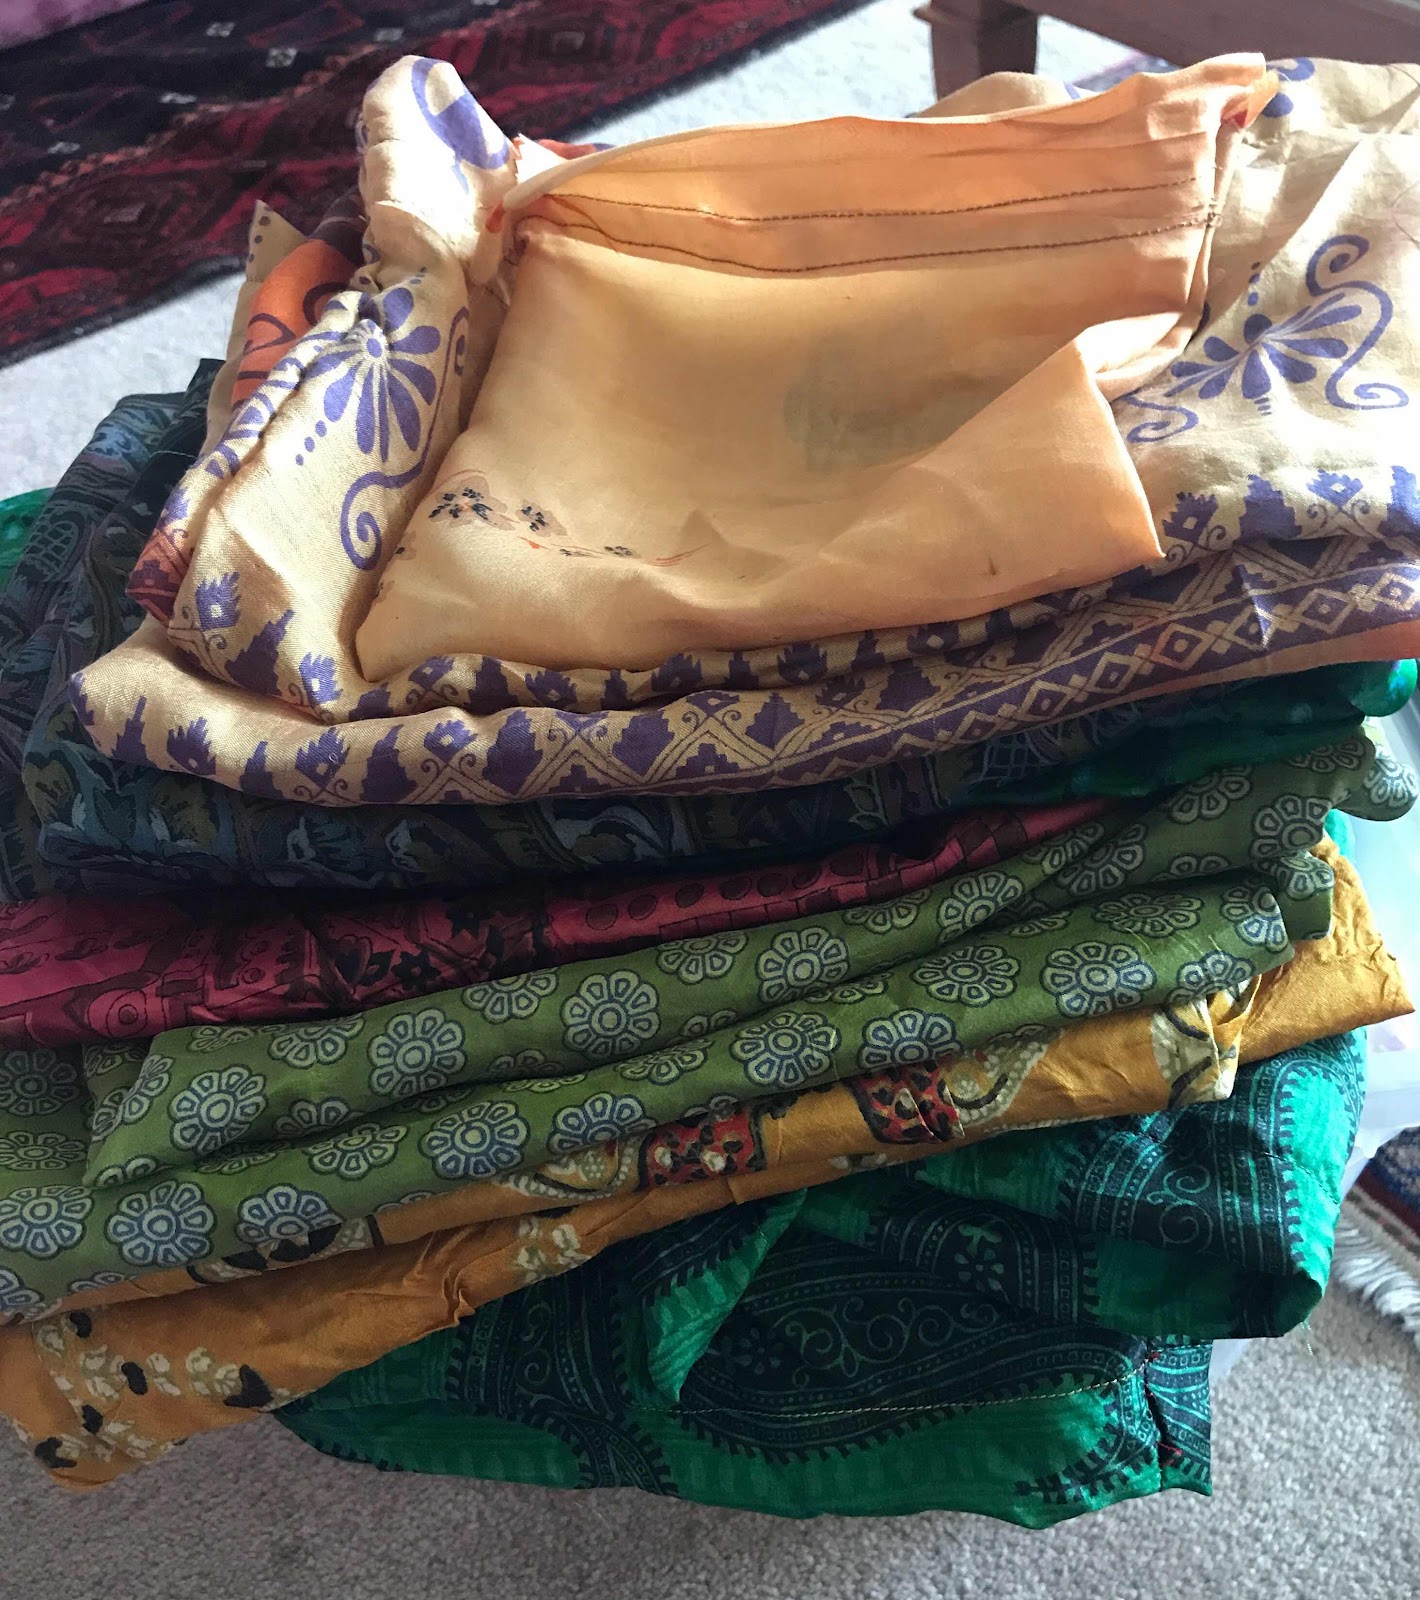
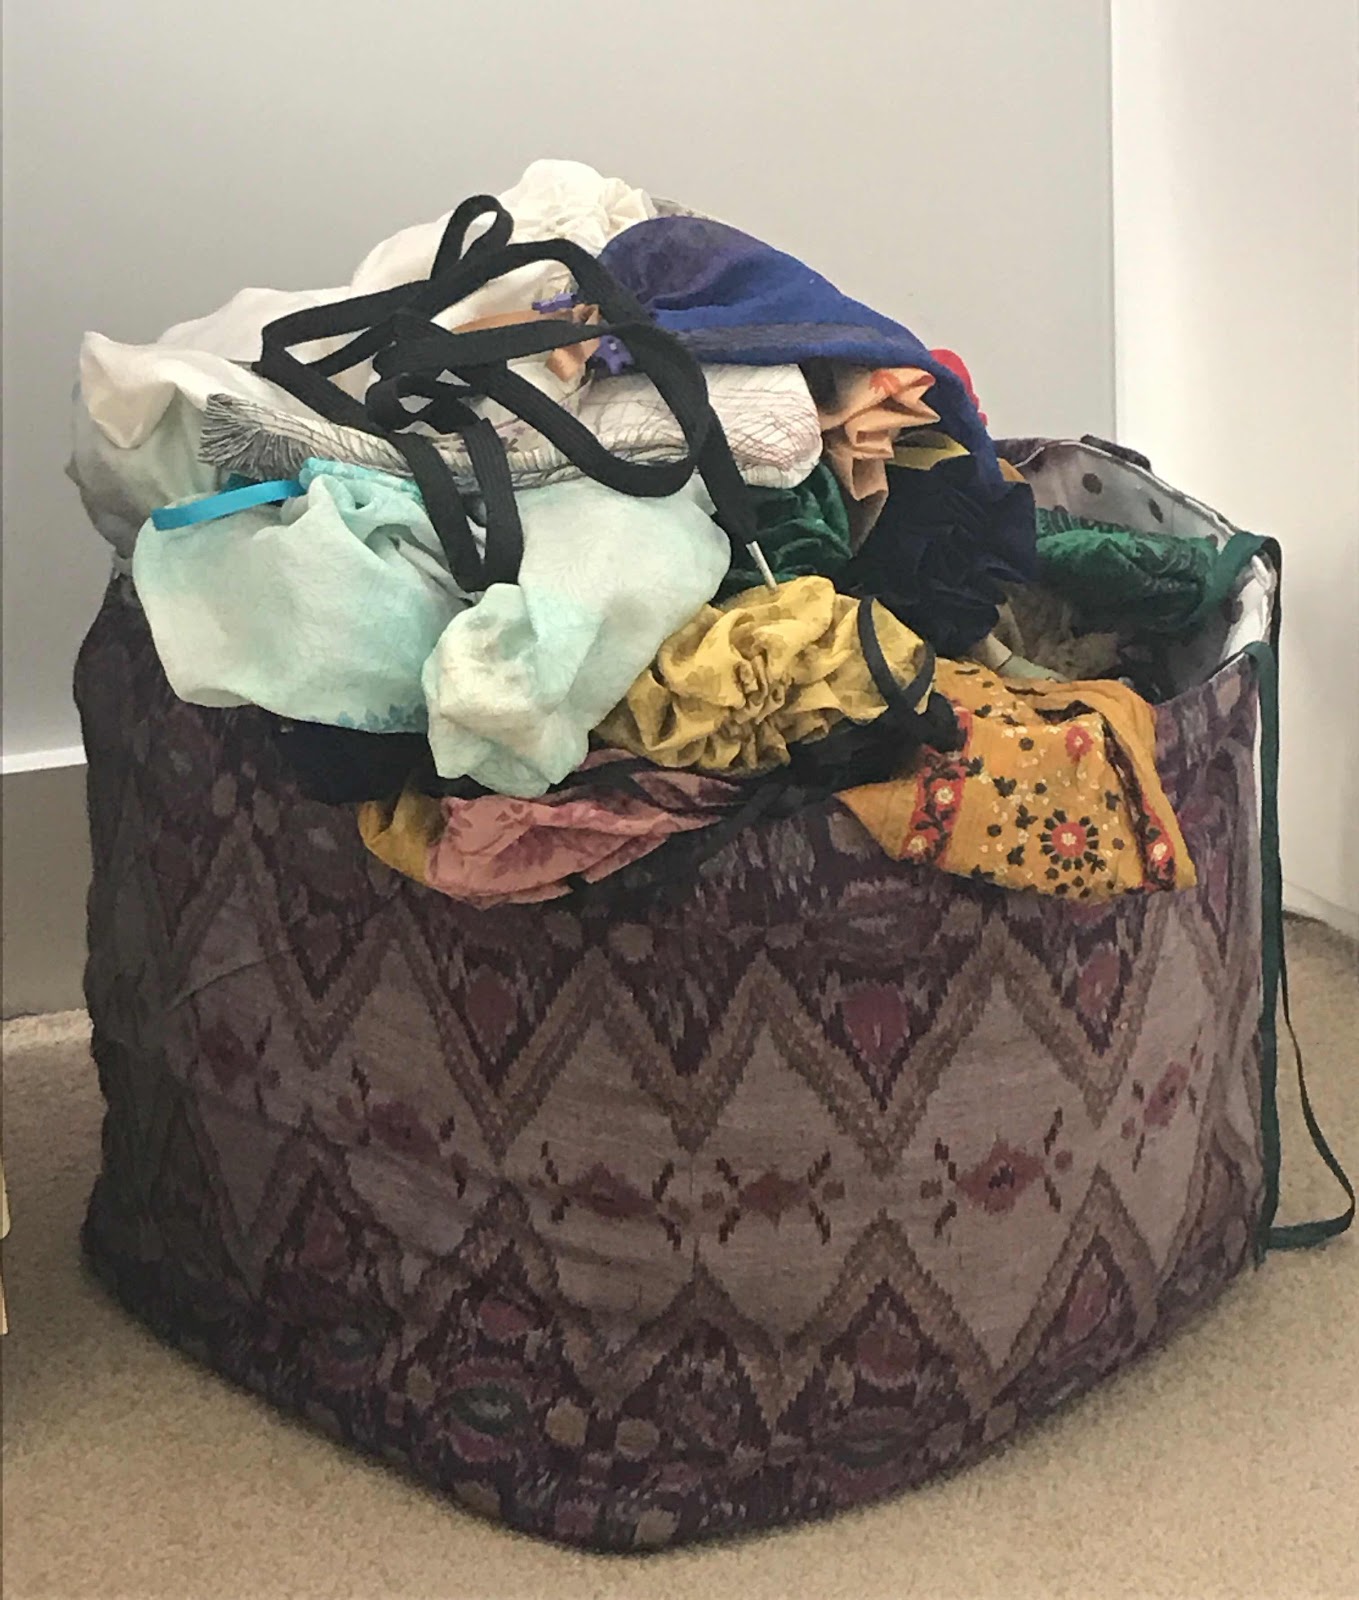
 On my return, I stitched up 10-20 bags each day. I am using a stool to sit at my machine - good for my back, but hard, so I limit myself to about an hour at a time. Once stitched, I have a box of ribbons and other cords to sort through to find the right draw-string. Most of these bags are made from a single piece folded, so I fold over a hem at the top and undo the side-seam to insert the cord. These have only one drawstring. If the bag has two side seams I use two cords. This means I can often knot the ends together rather than adding a stop.
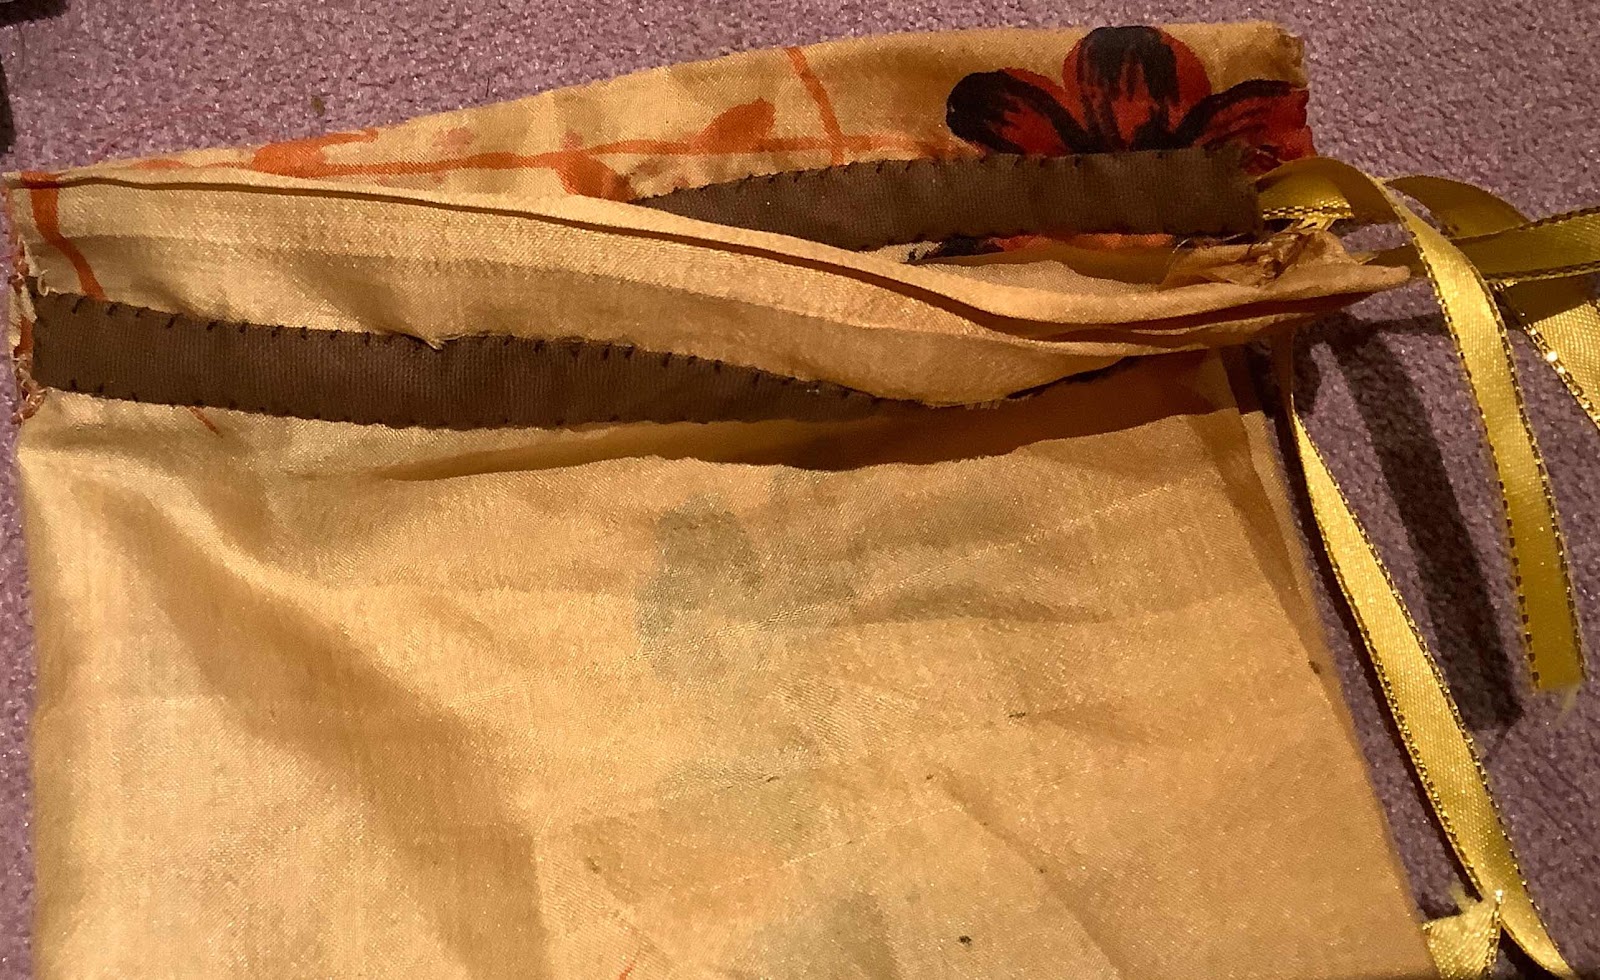

Some pieces need a repair. The silk had split on this piece, so I added a piece of bias binding to hold the cord.
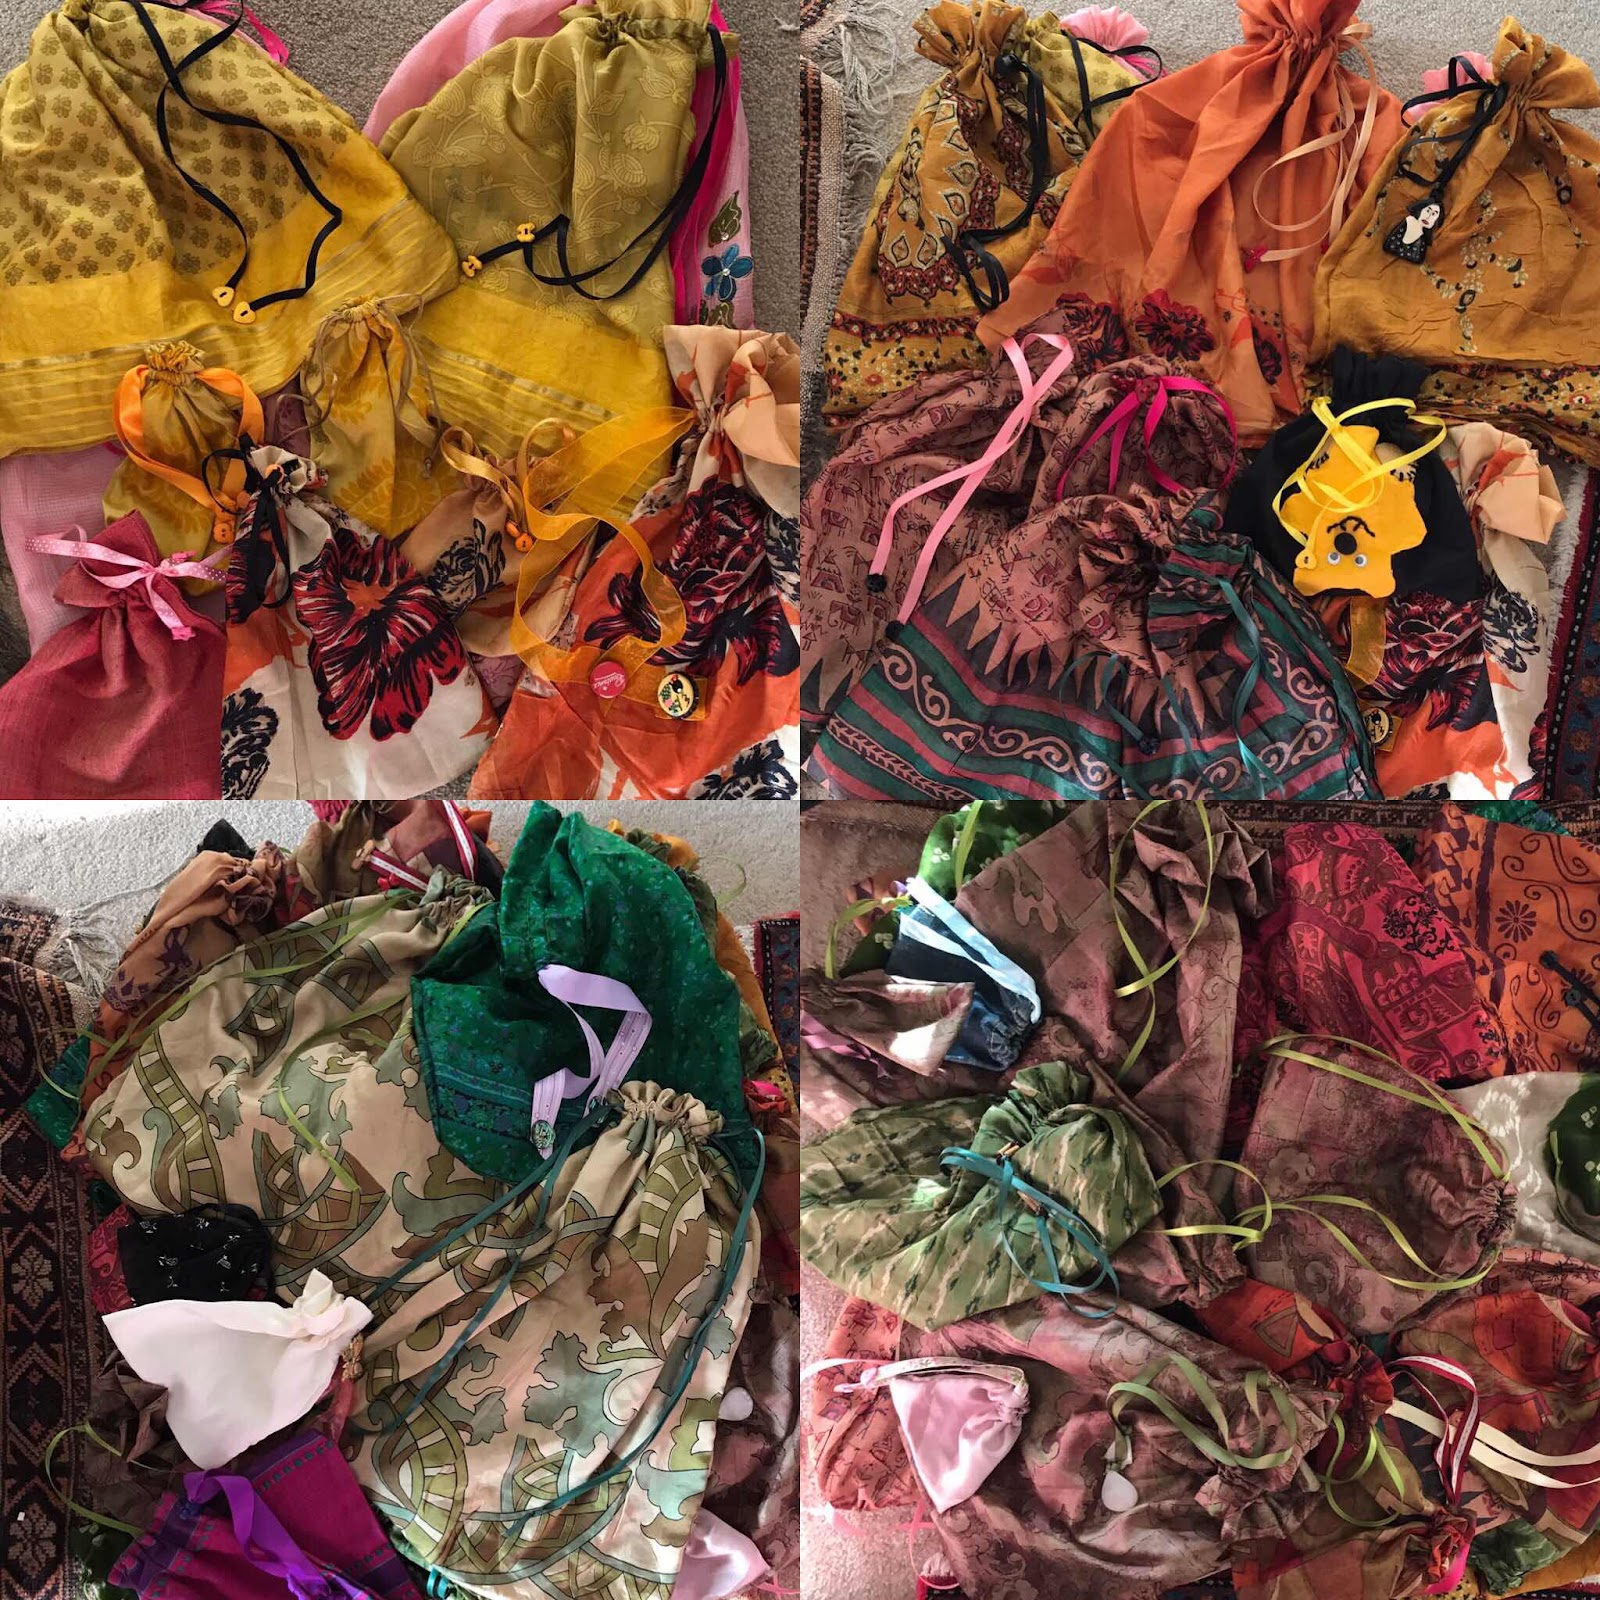 I used the cord and ribbon I had - but also bought a new supply as I was running too low to complete this batch.
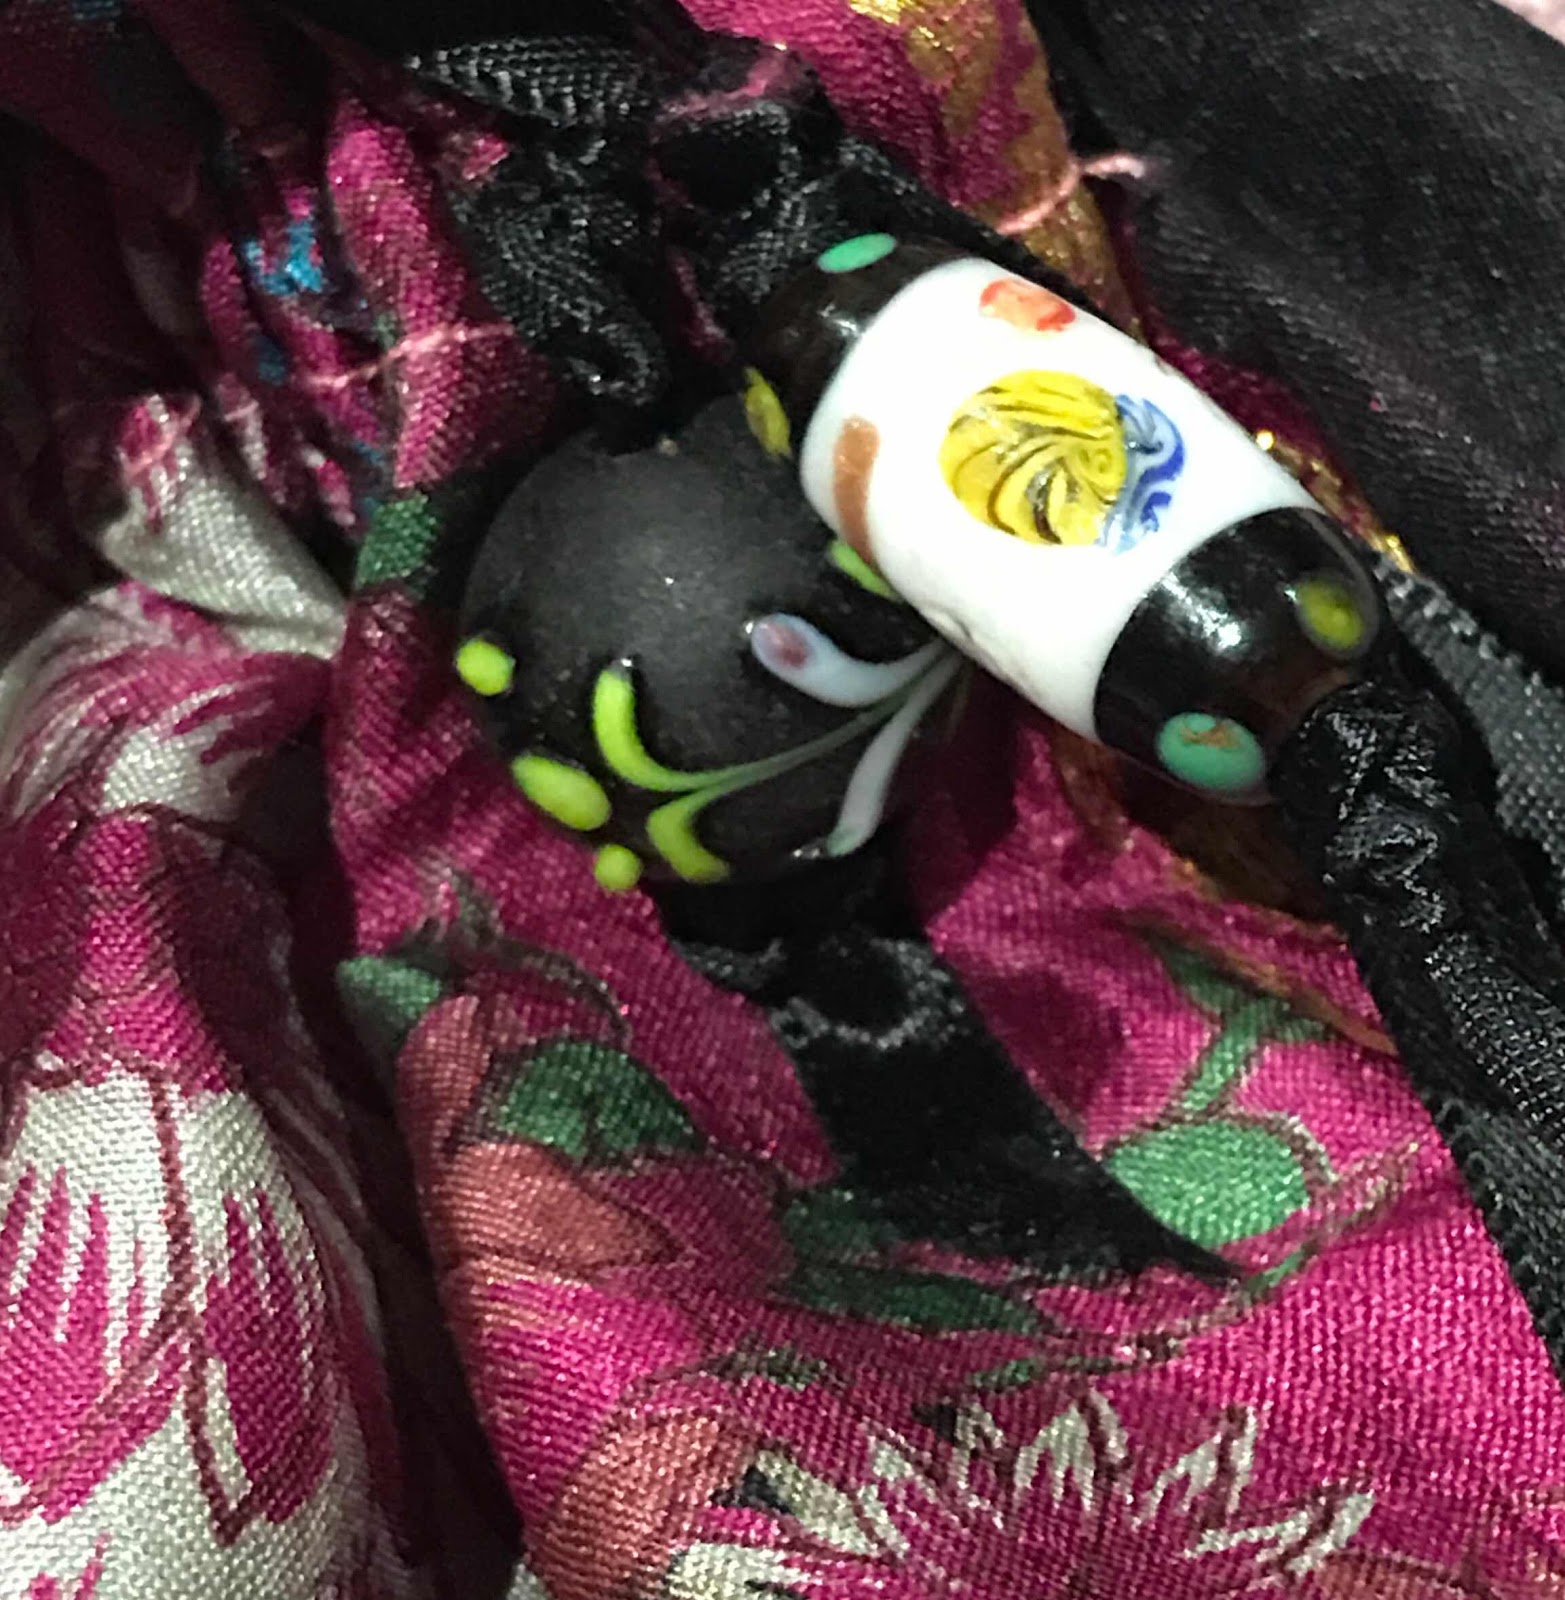
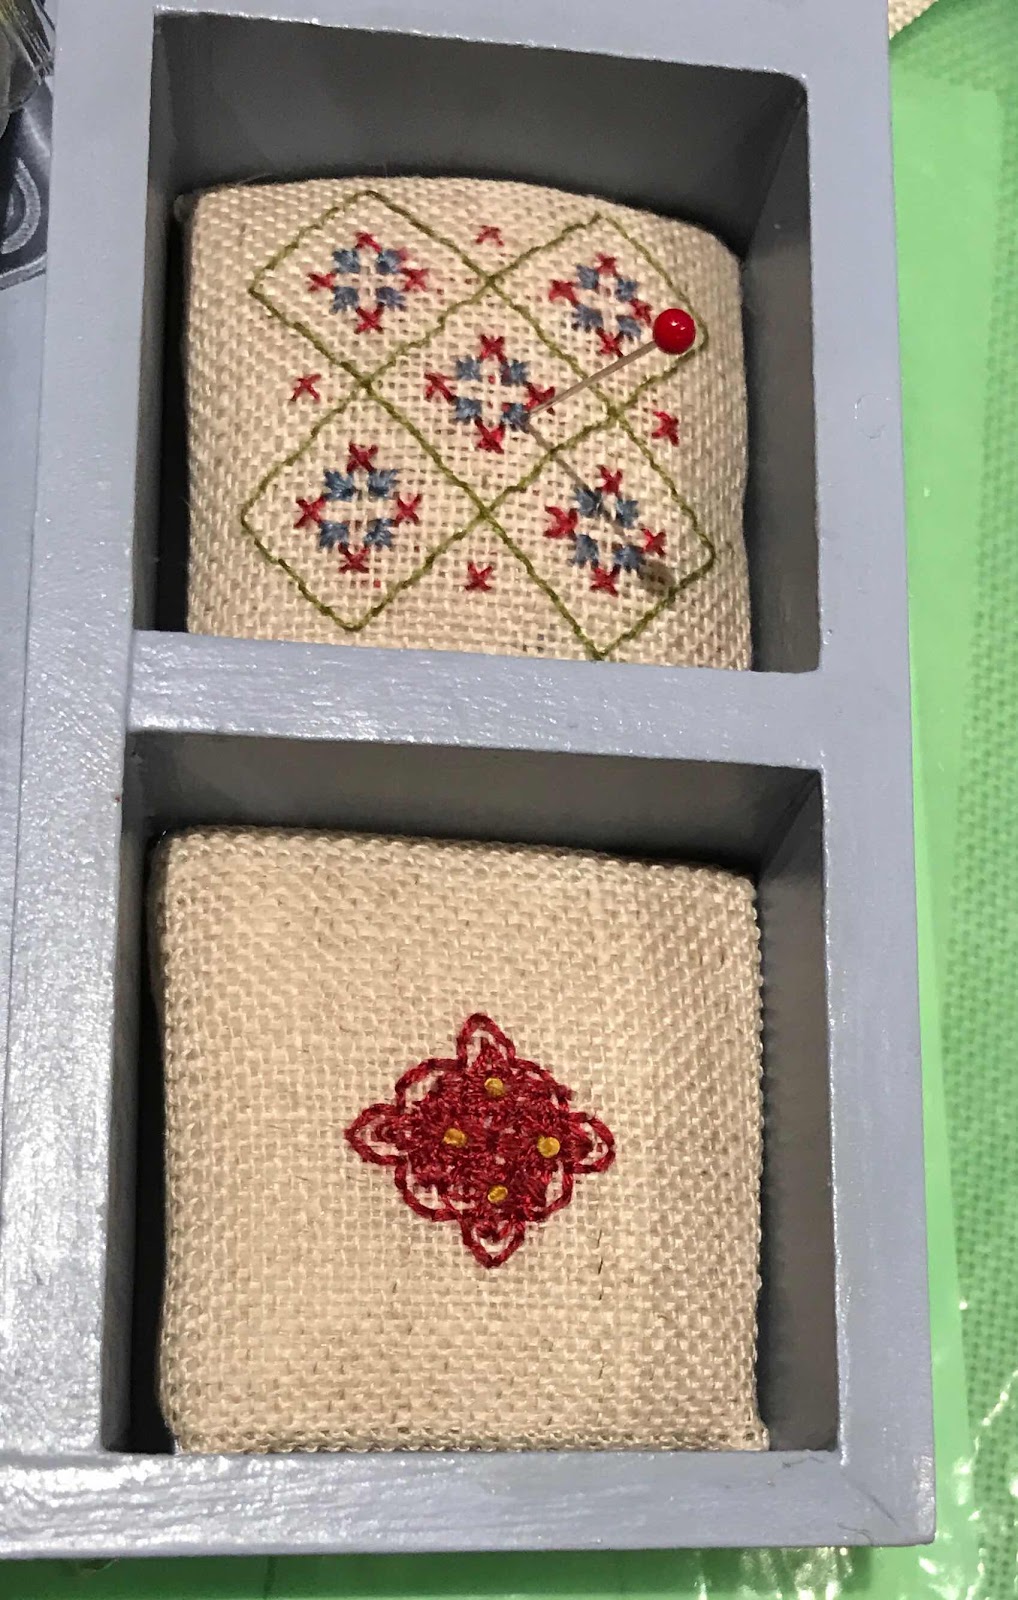
When the cords are in, I dive into my collection of buttons, single earrings, broken jewellery and beads to find suitable cord stops. It's satisfying work and a lot of fun. I also repaired a few bags that have have come back to me in the recycling process.
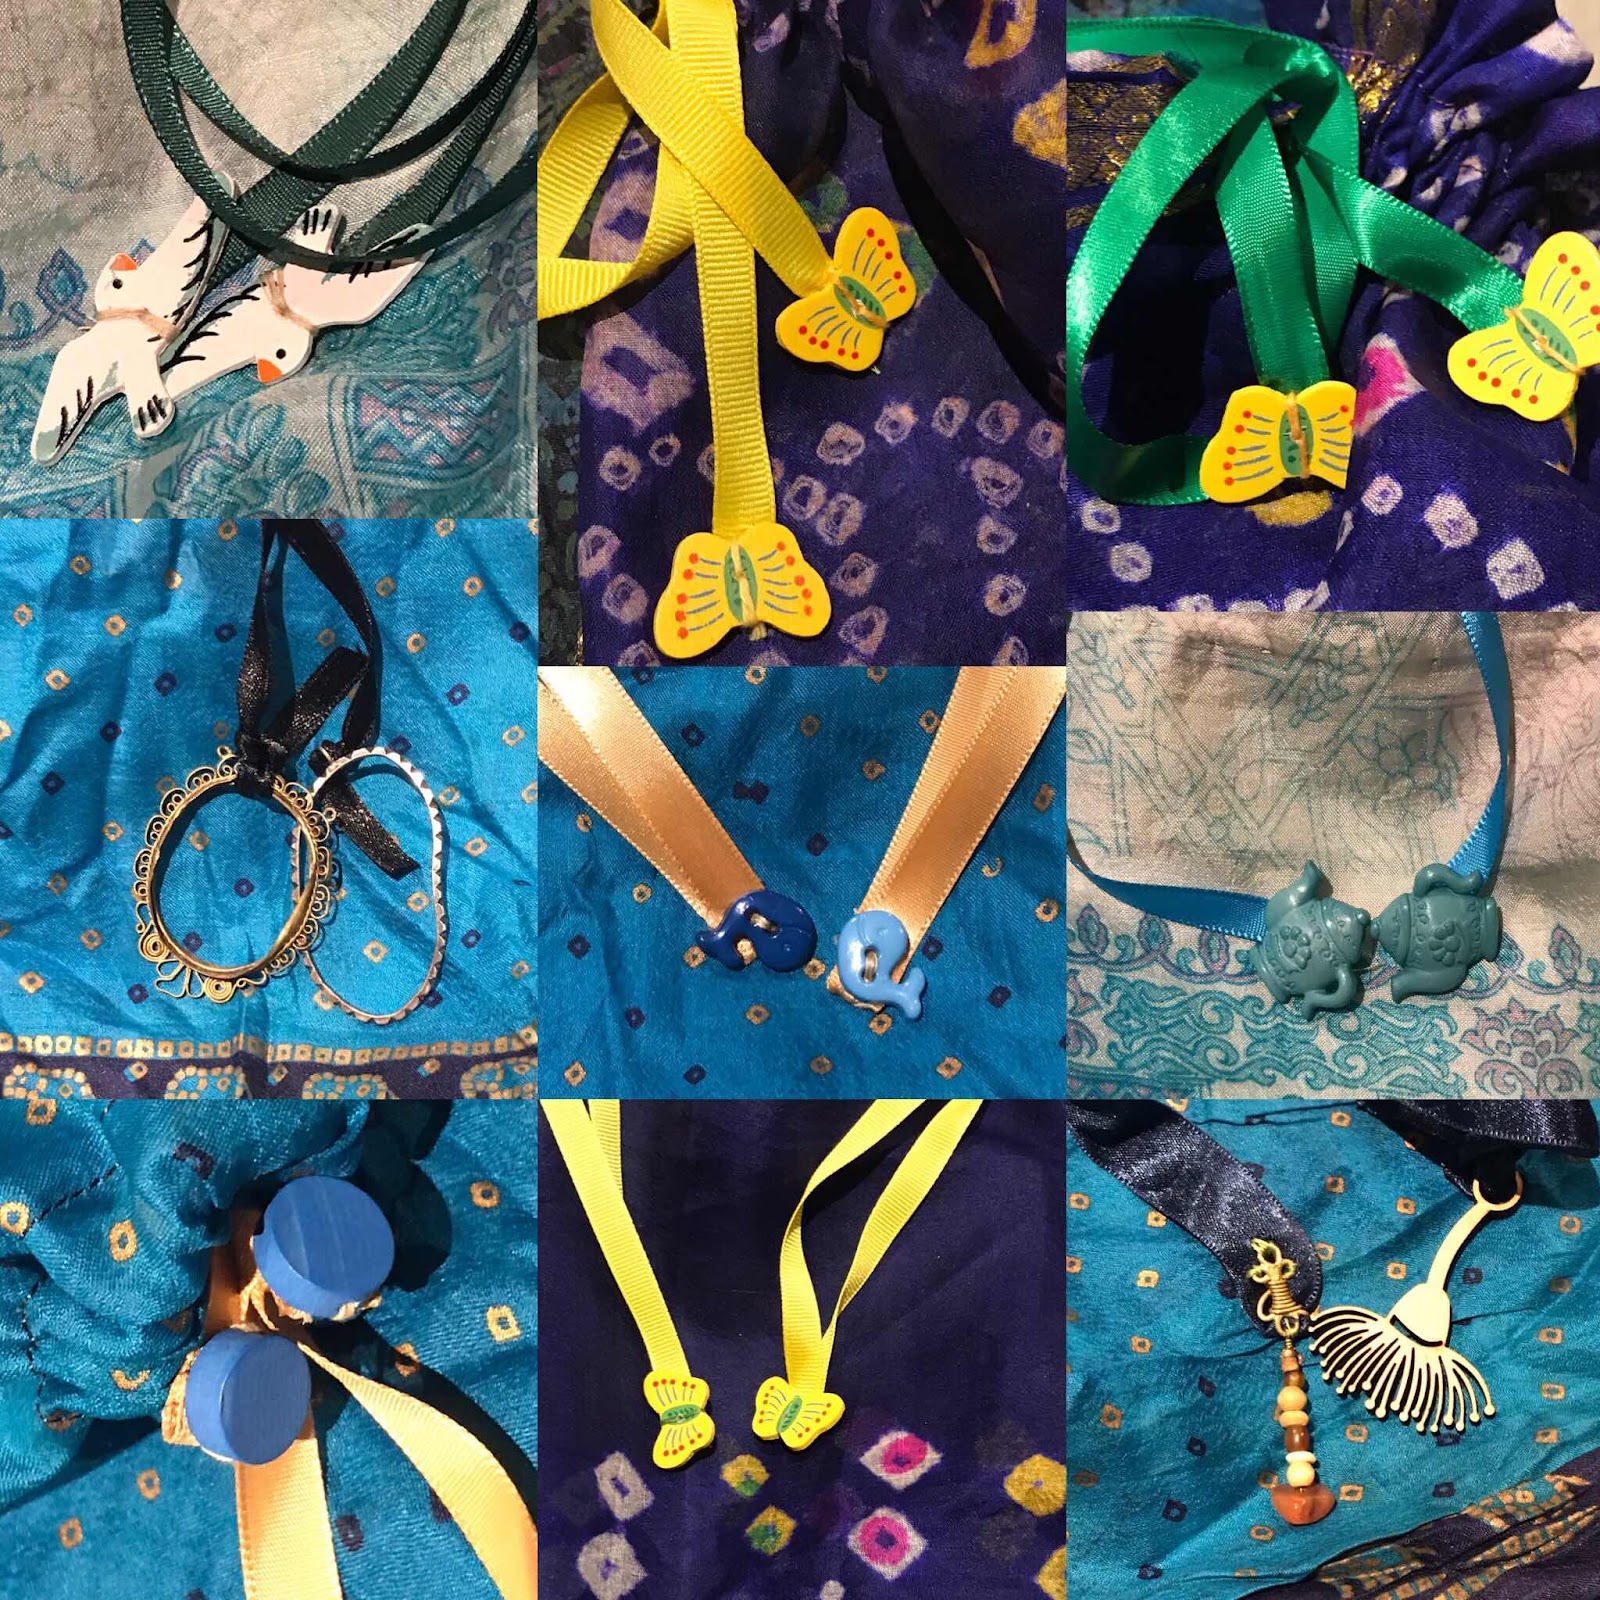

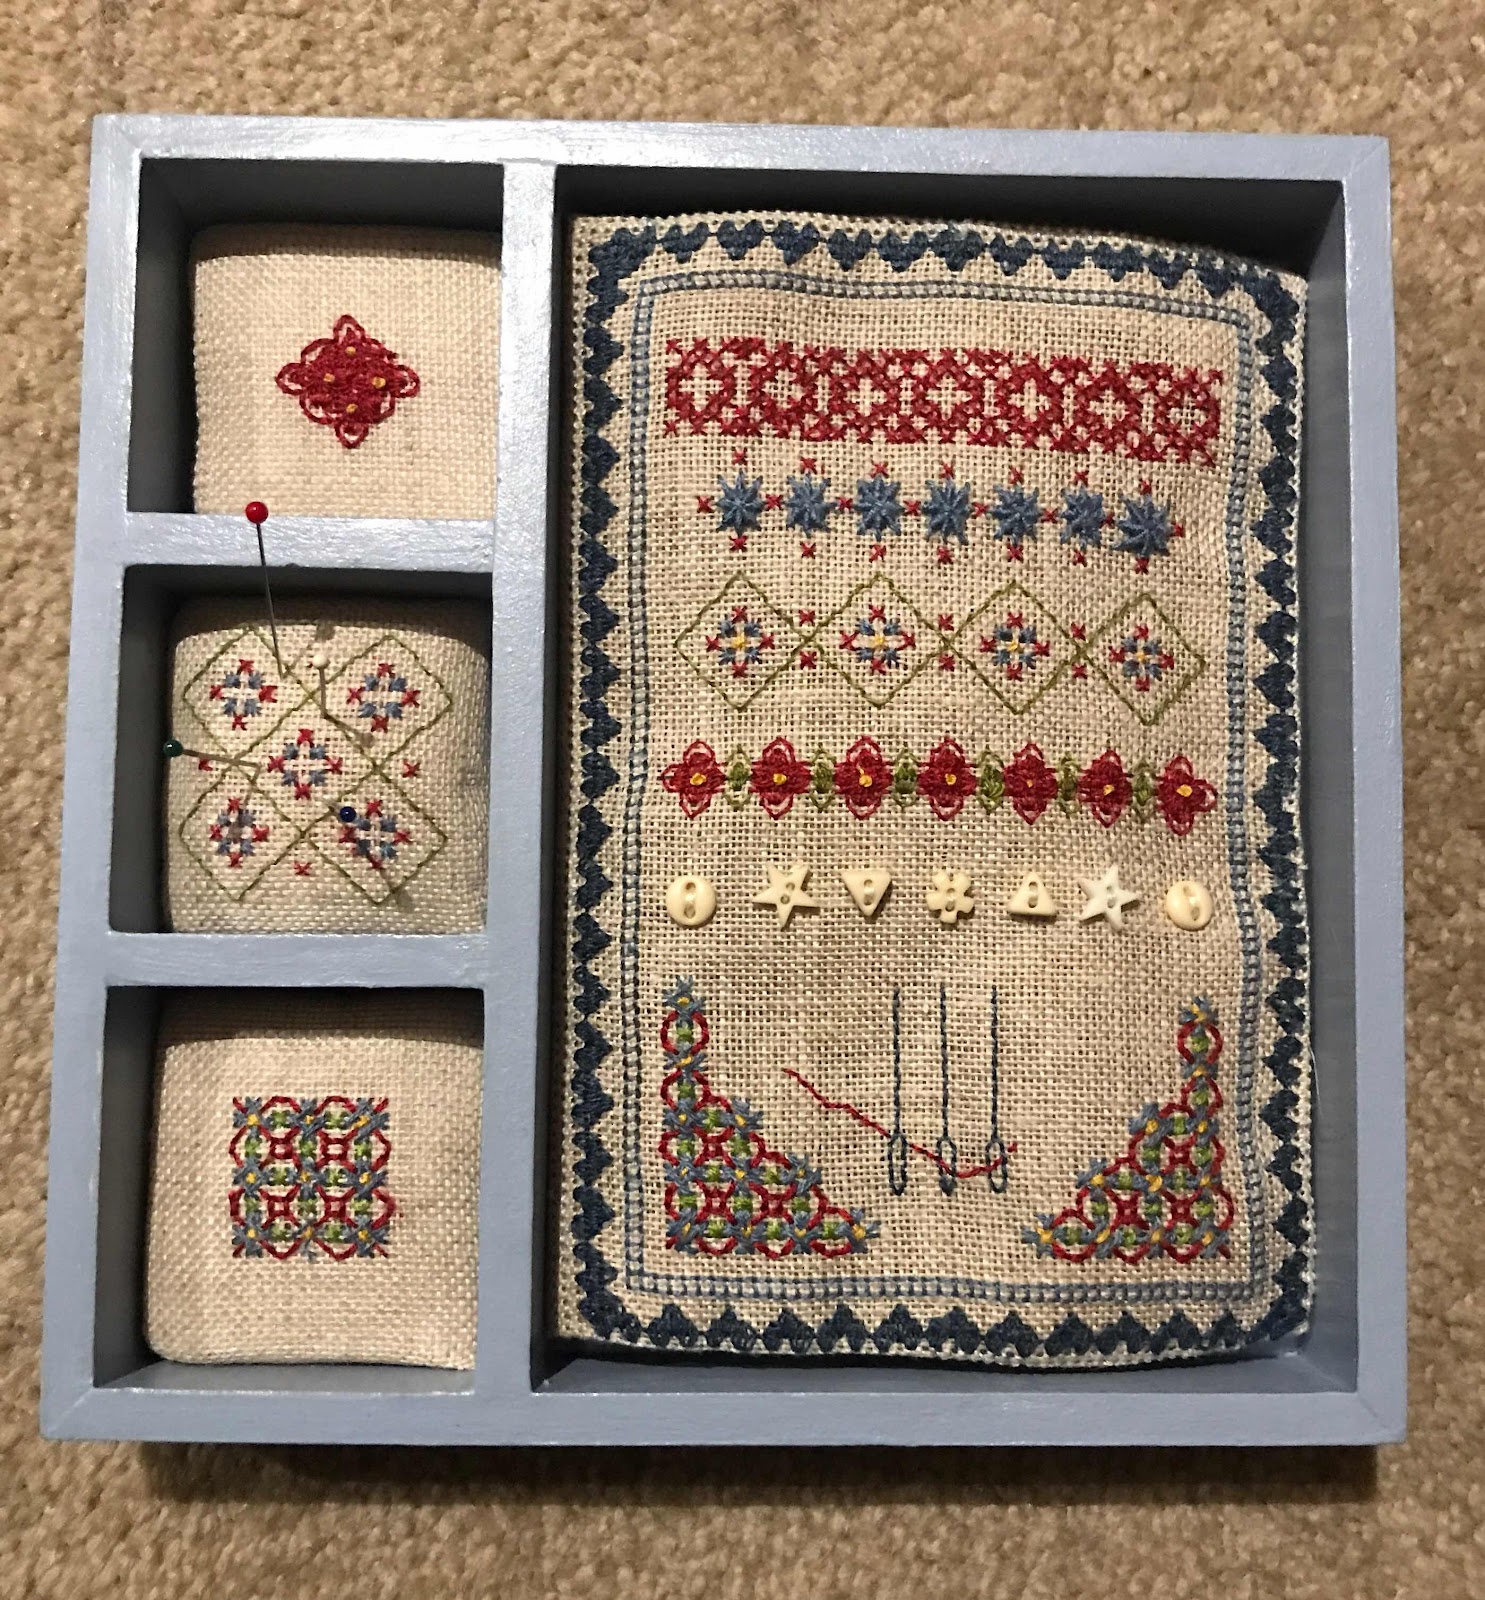
These are a few of the beads, buttons and bits that I used to stop the drawstrings disappearing into the hems.
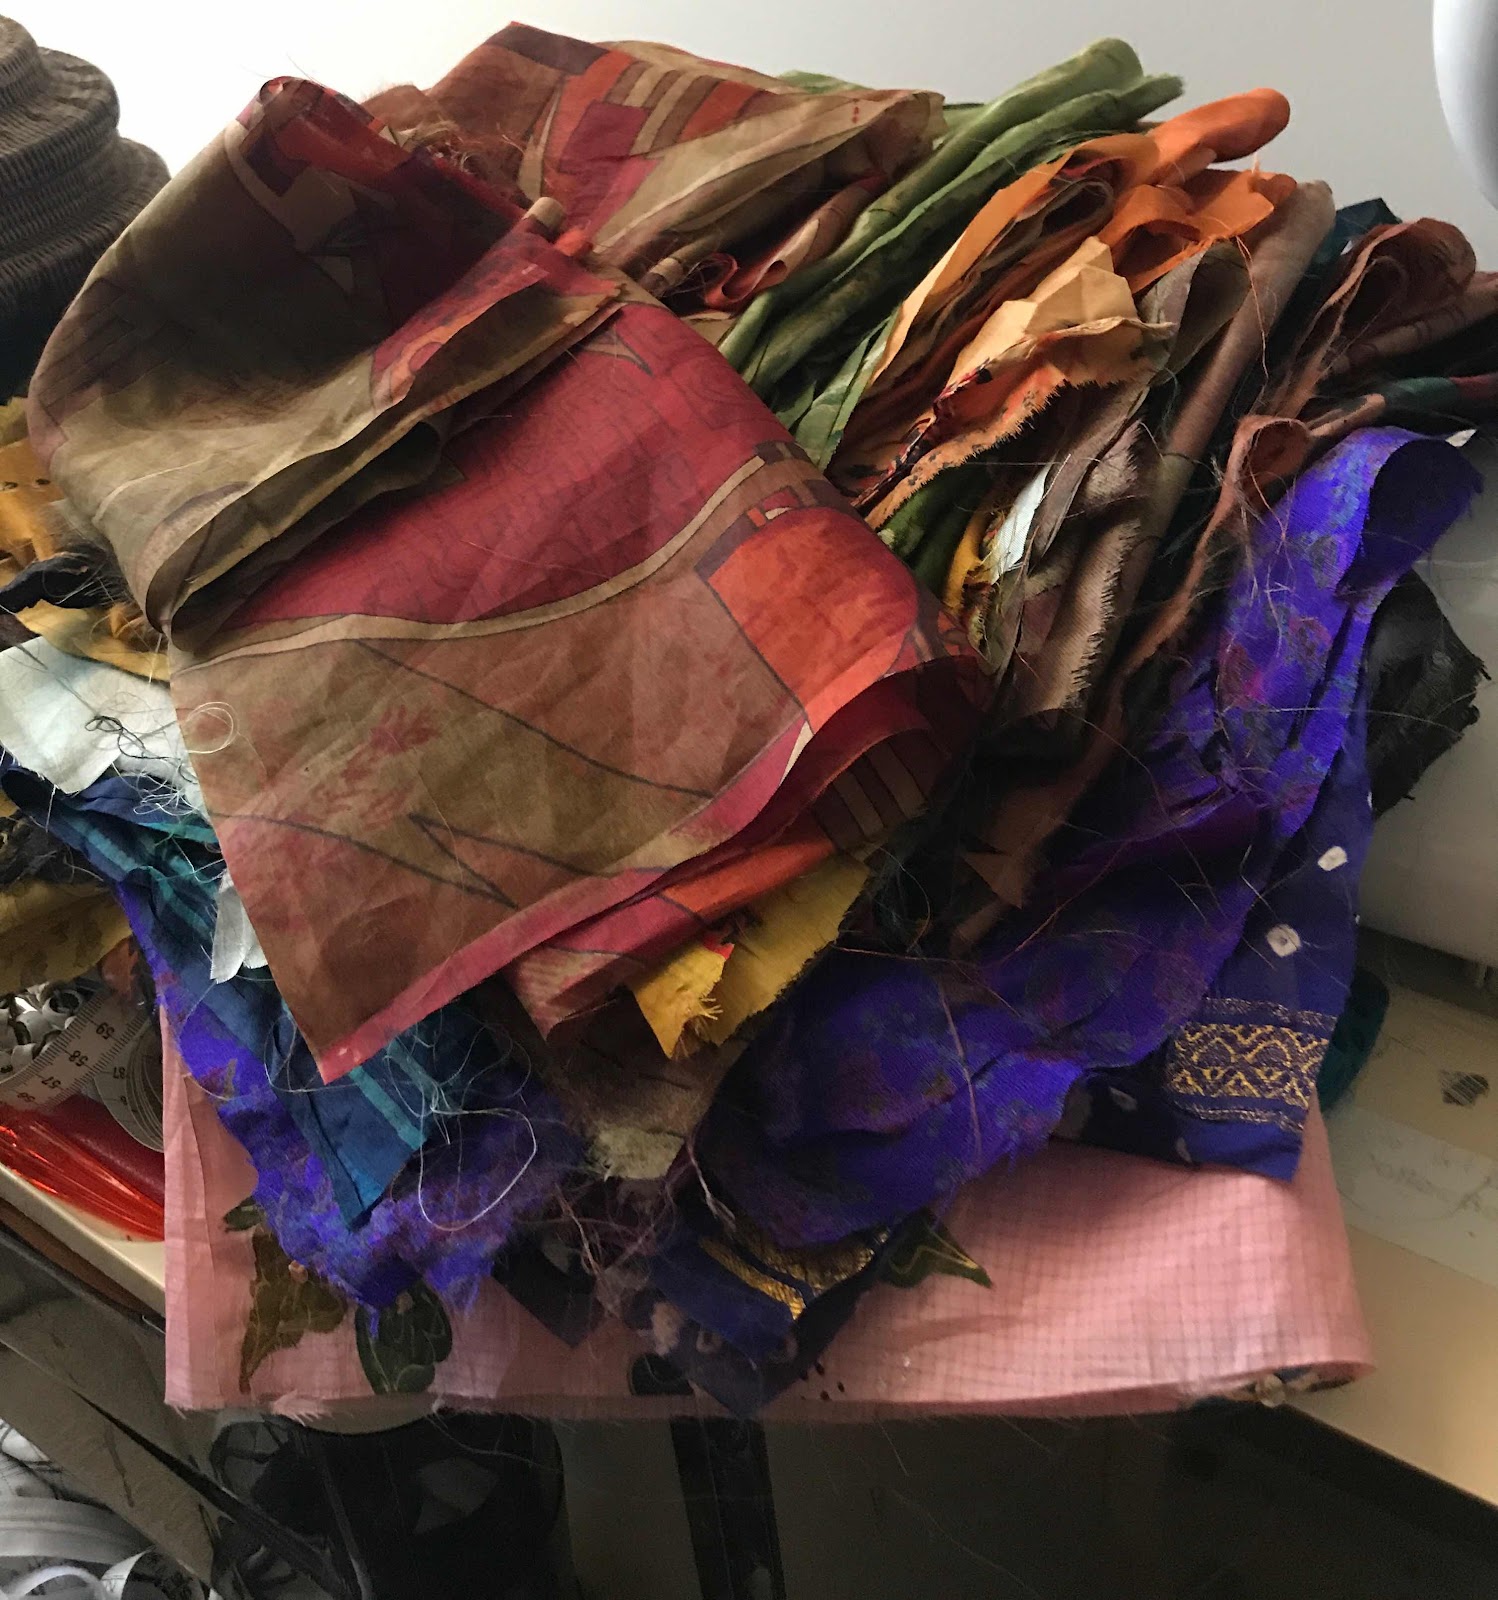
I added a few extra bags from stash fabric. With the Japanese kimono fabric , the sari remnants , stash bits and ribbon purchase, I made 128 bags at a cost of about $A1.06 per bag. I now have a goodly supply for the next year or two!
I love recycling!
.