Search This Blog

Showing posts with label box. Show all posts

Saturday, October 5, 2019

Silk shading workshop with Di Kirchner

The Embroiderers' Guild Certificate Course Workshop on the last Saturday in September was on Silk Shading, and taken by Di Kirchner. Di is undertaking study with the Royal School of Needlework, and passed on some of her extensive knowledge at this workshop.

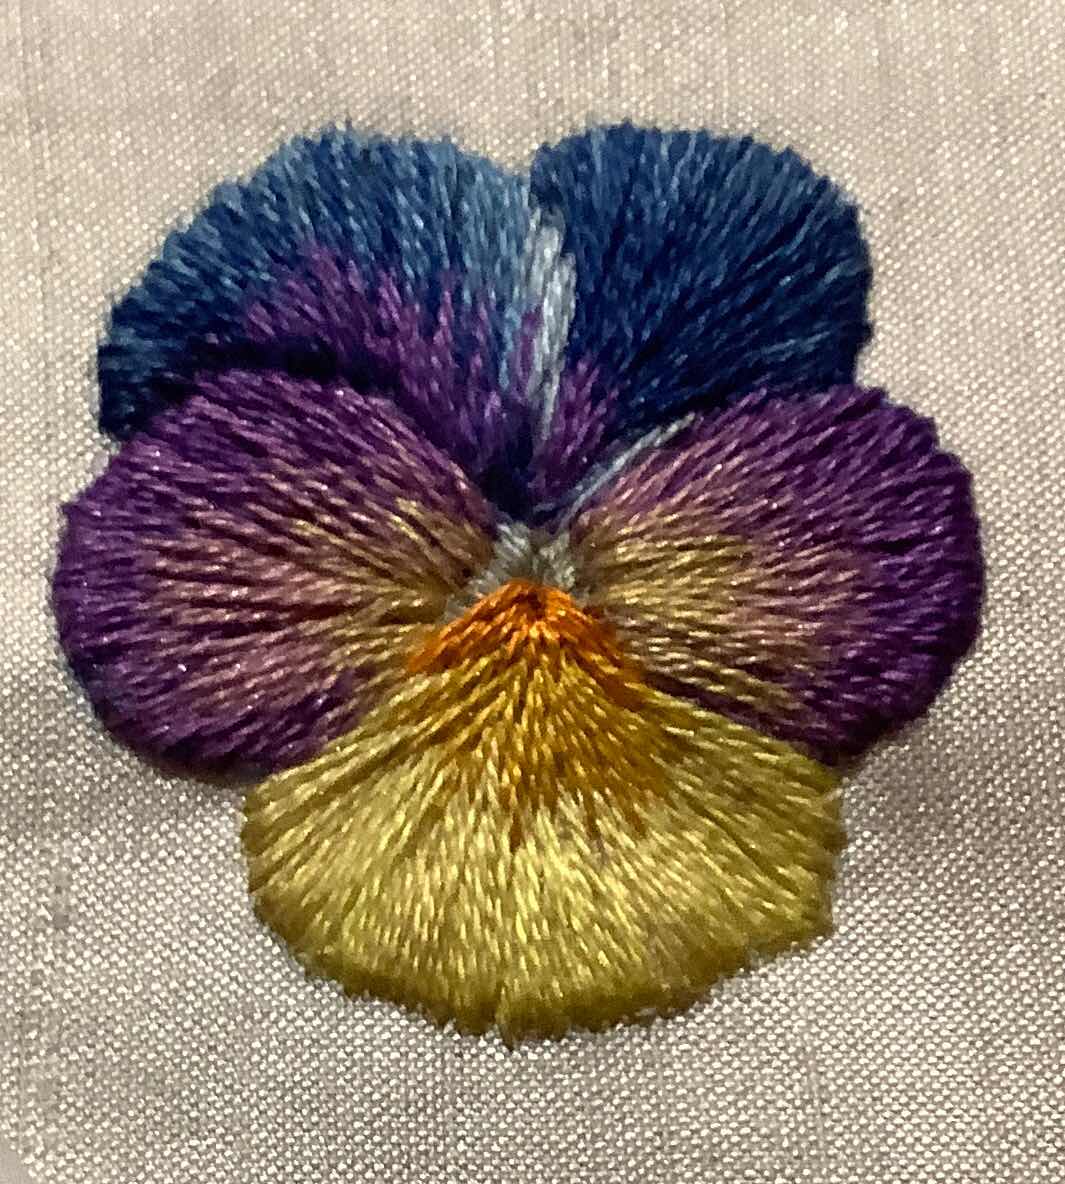
She had chosen a pansy as the basic design for us to work. It was a brilliant choice - giving a standard design for us to work, but with infinite possible variations for us to choose.

I based my colour choices on the threads I had brought with me - a bag of stranded cottons left over from some kits I had worked a few years ago. I had plenty of blues and yellows so worked around these, adding a few purples I bought from the trading table on the day.


Di had prepared some silk for us to use and we brought along our own calico backing.

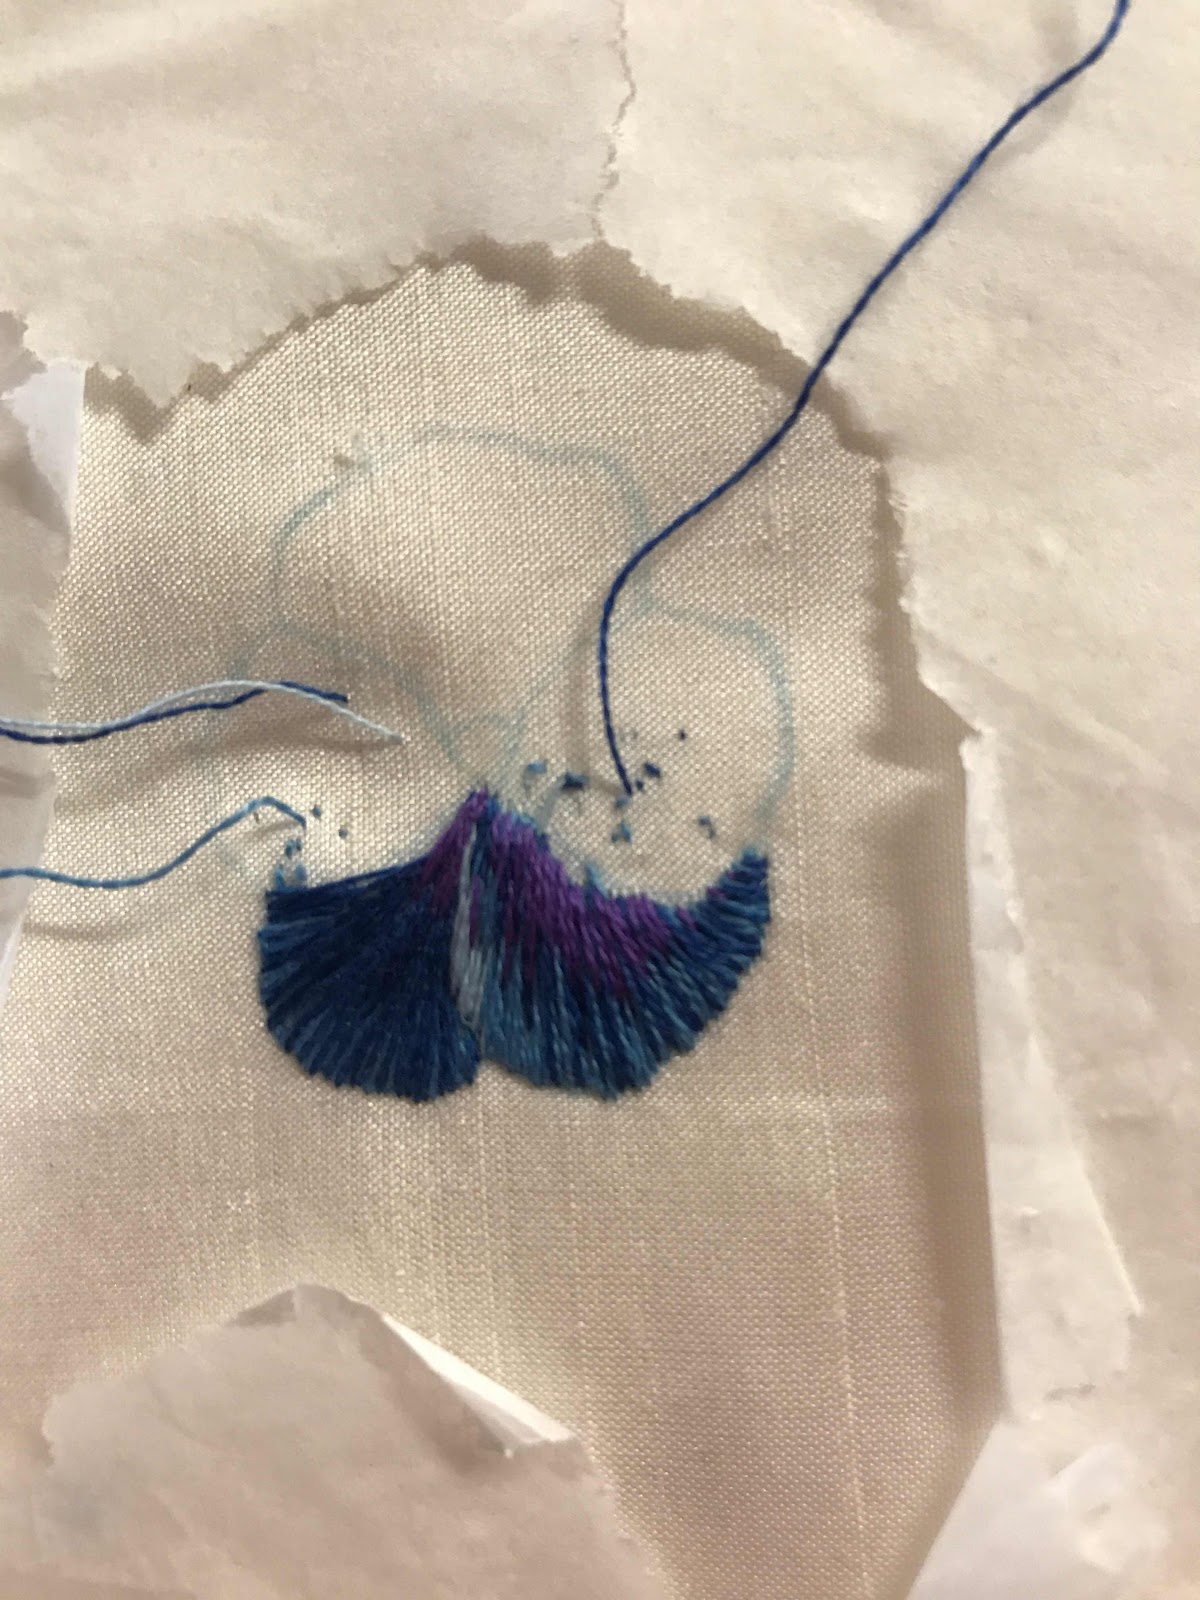
Di's teaching is meticulous - she teaches the process of thinking through the project - colours, light, direction, shading, technique. I had worked the two darkest petals by the end of the day, but hurried home to continue while it was fresh in my mind.
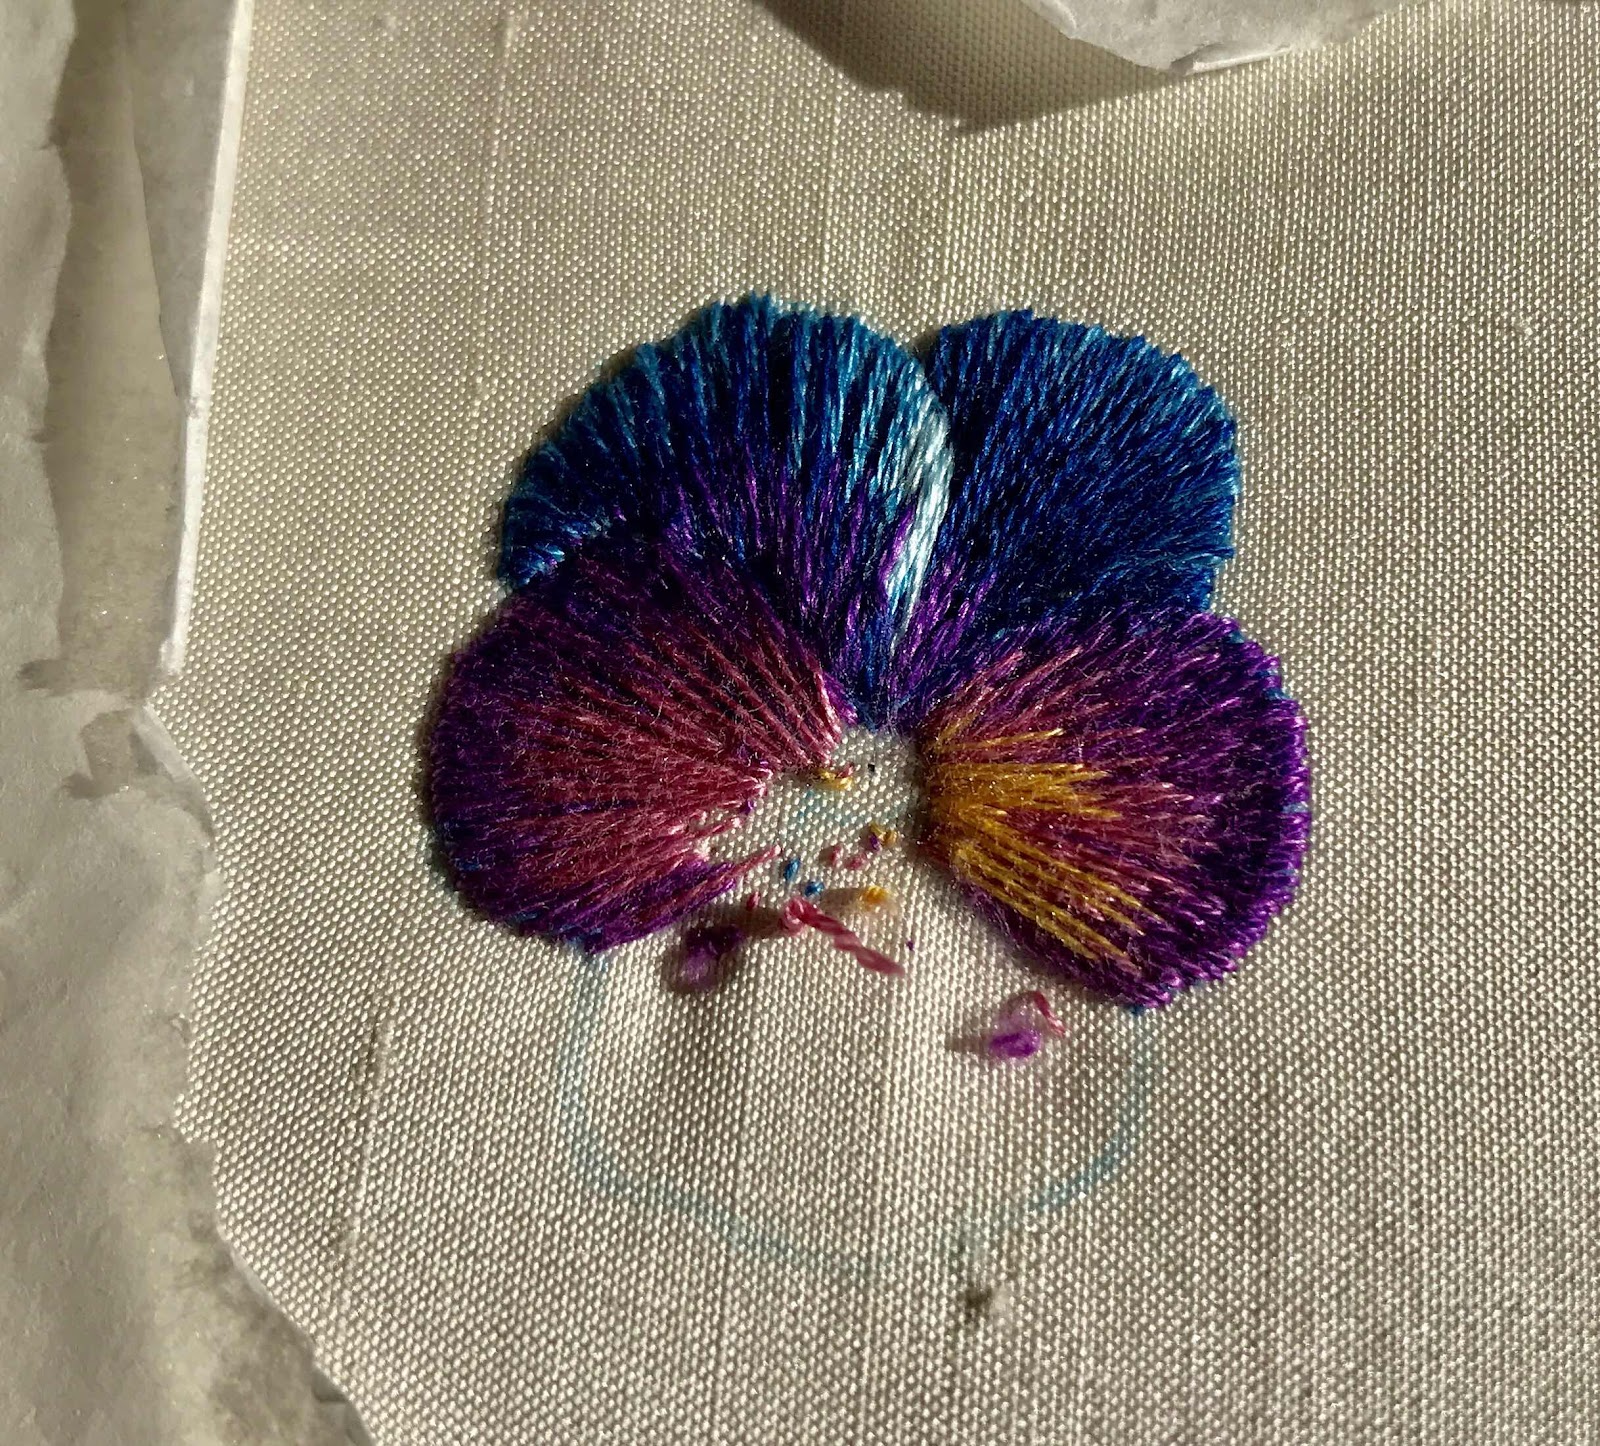
I was pleased with the result I had (left) by the time I went to bed that night (rather later than usual!). I left the dark veins until morning.

I also added a little more purple to the darkest petal.
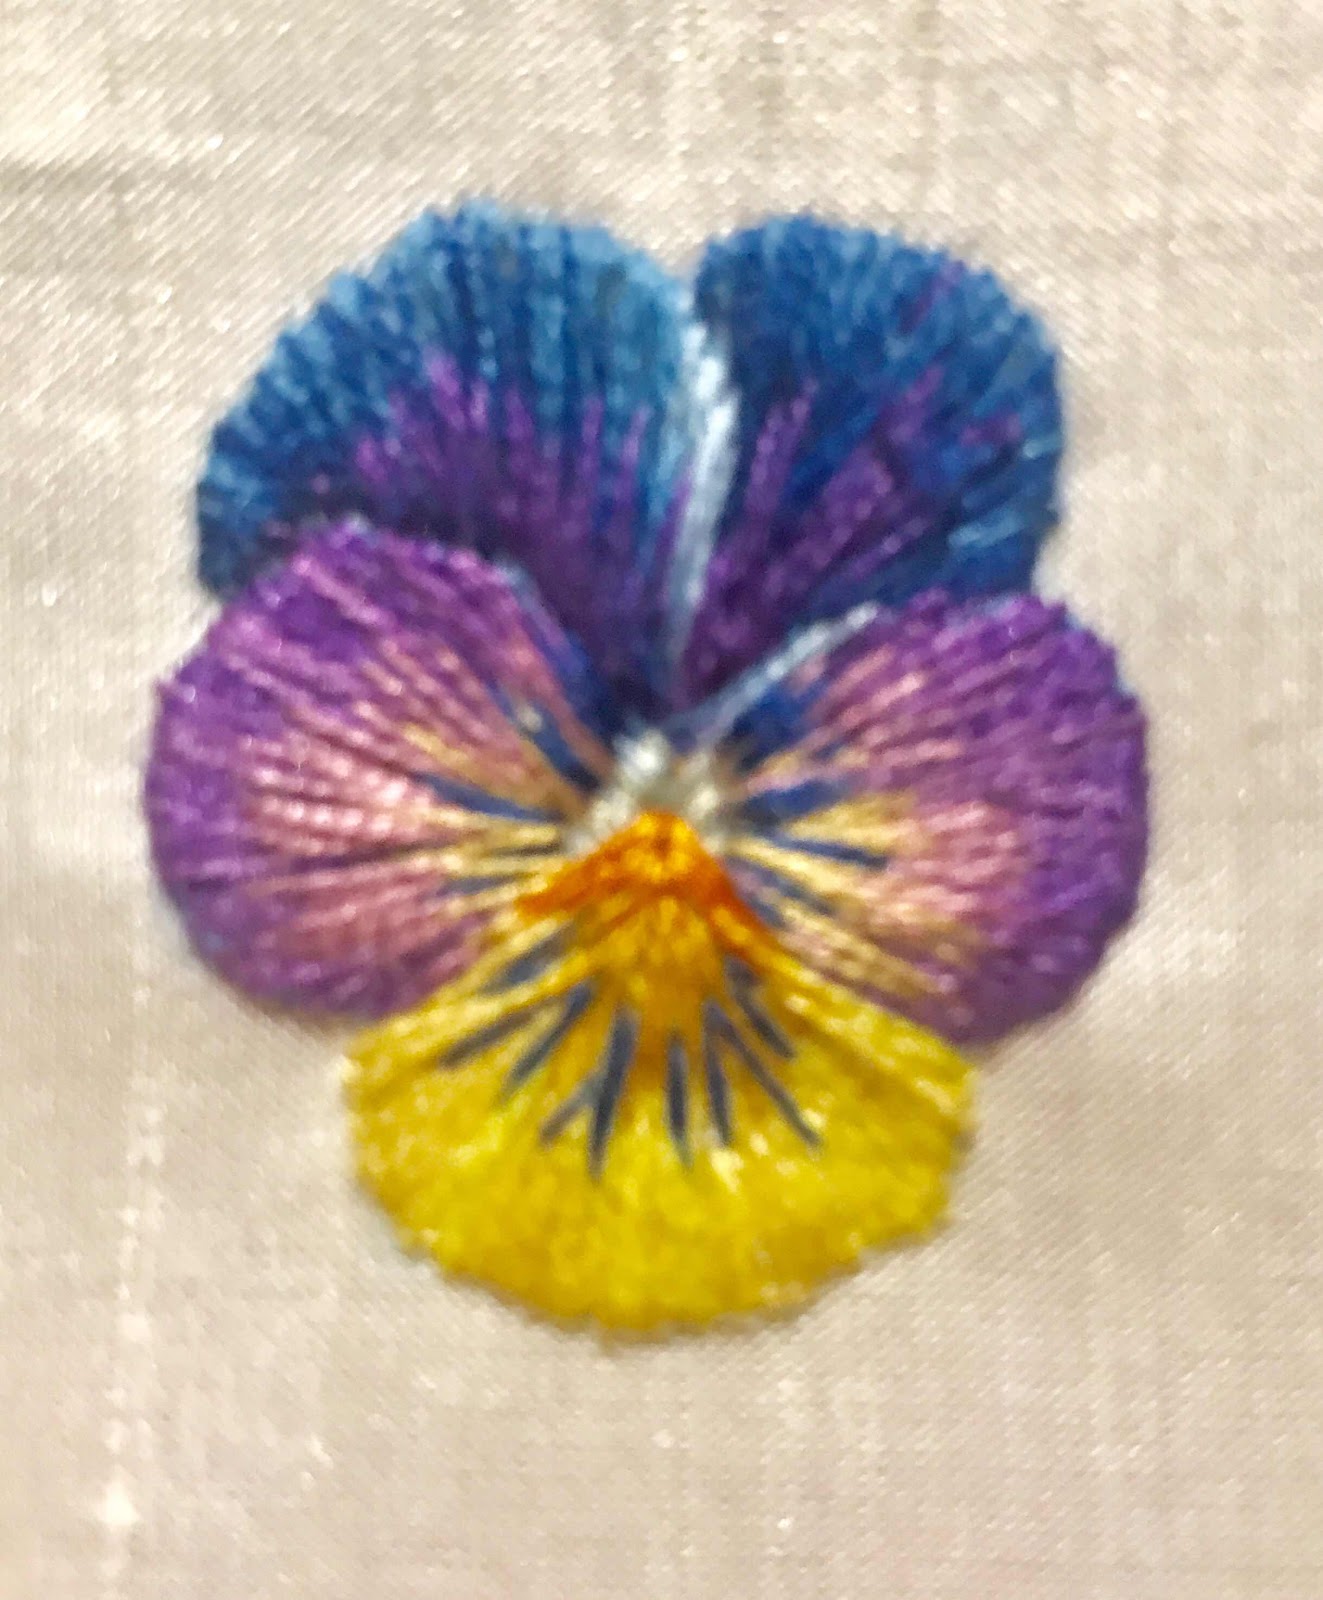
While working it, I had an idea for using it. A friend at the Guild had given me, weeks ago, a section of a cardboard postal tube to make a small box.


It is VERY small - but the perfect size for the pansy to form a lid.
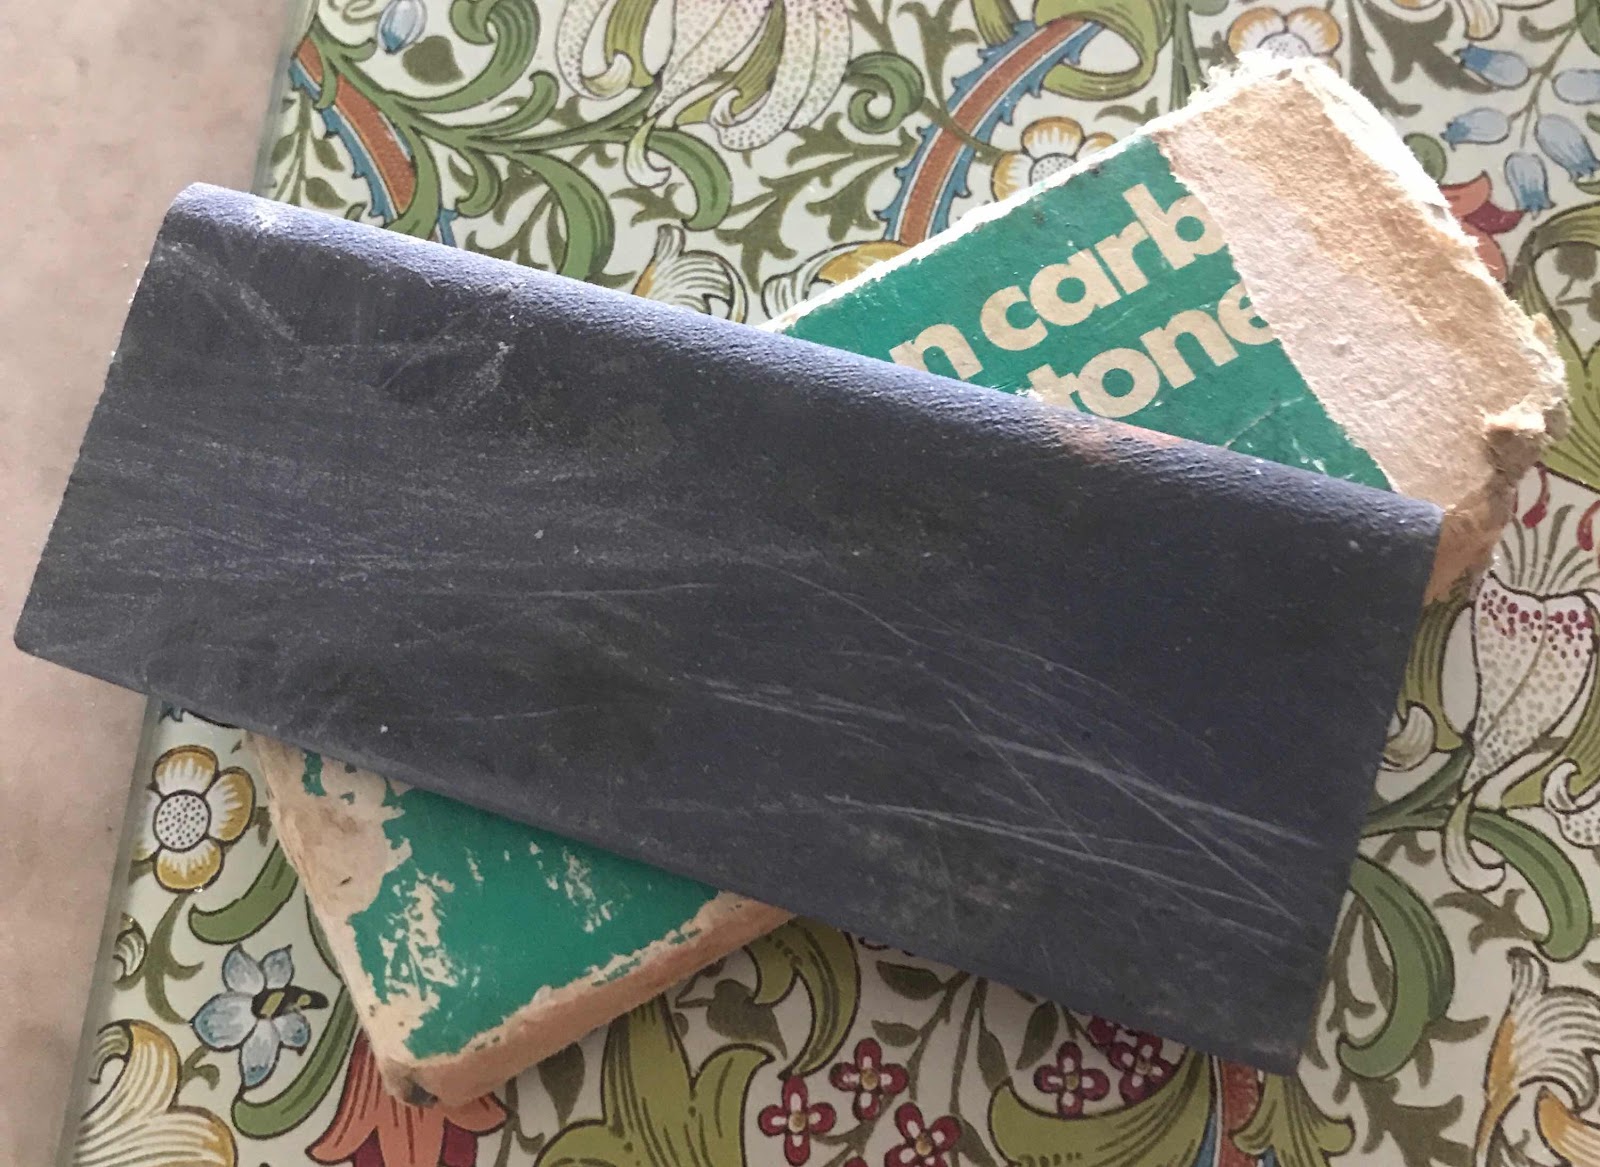
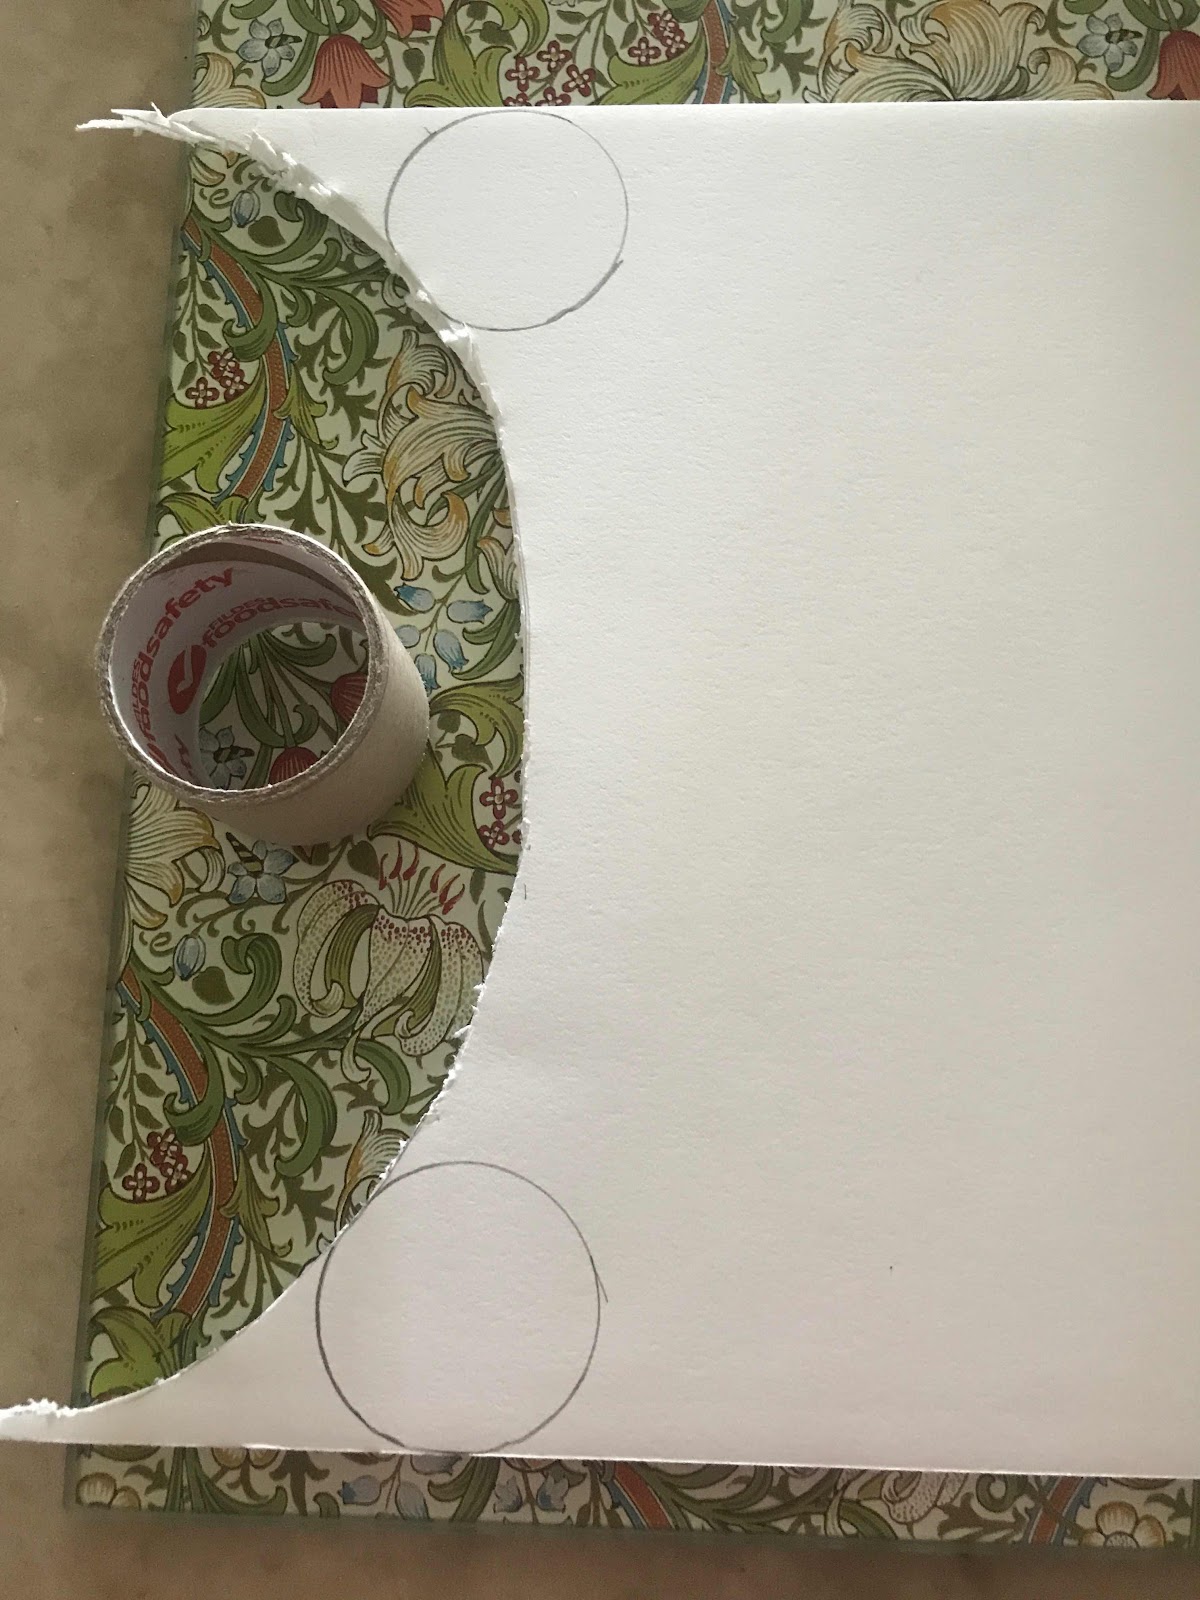
I used some acid-free backing board to cut circles for the top and bottom. While the right thickness, this was not easy to cut into small circles with smooth edges. I used a sharpening stone to file the edges smooth as best I could.
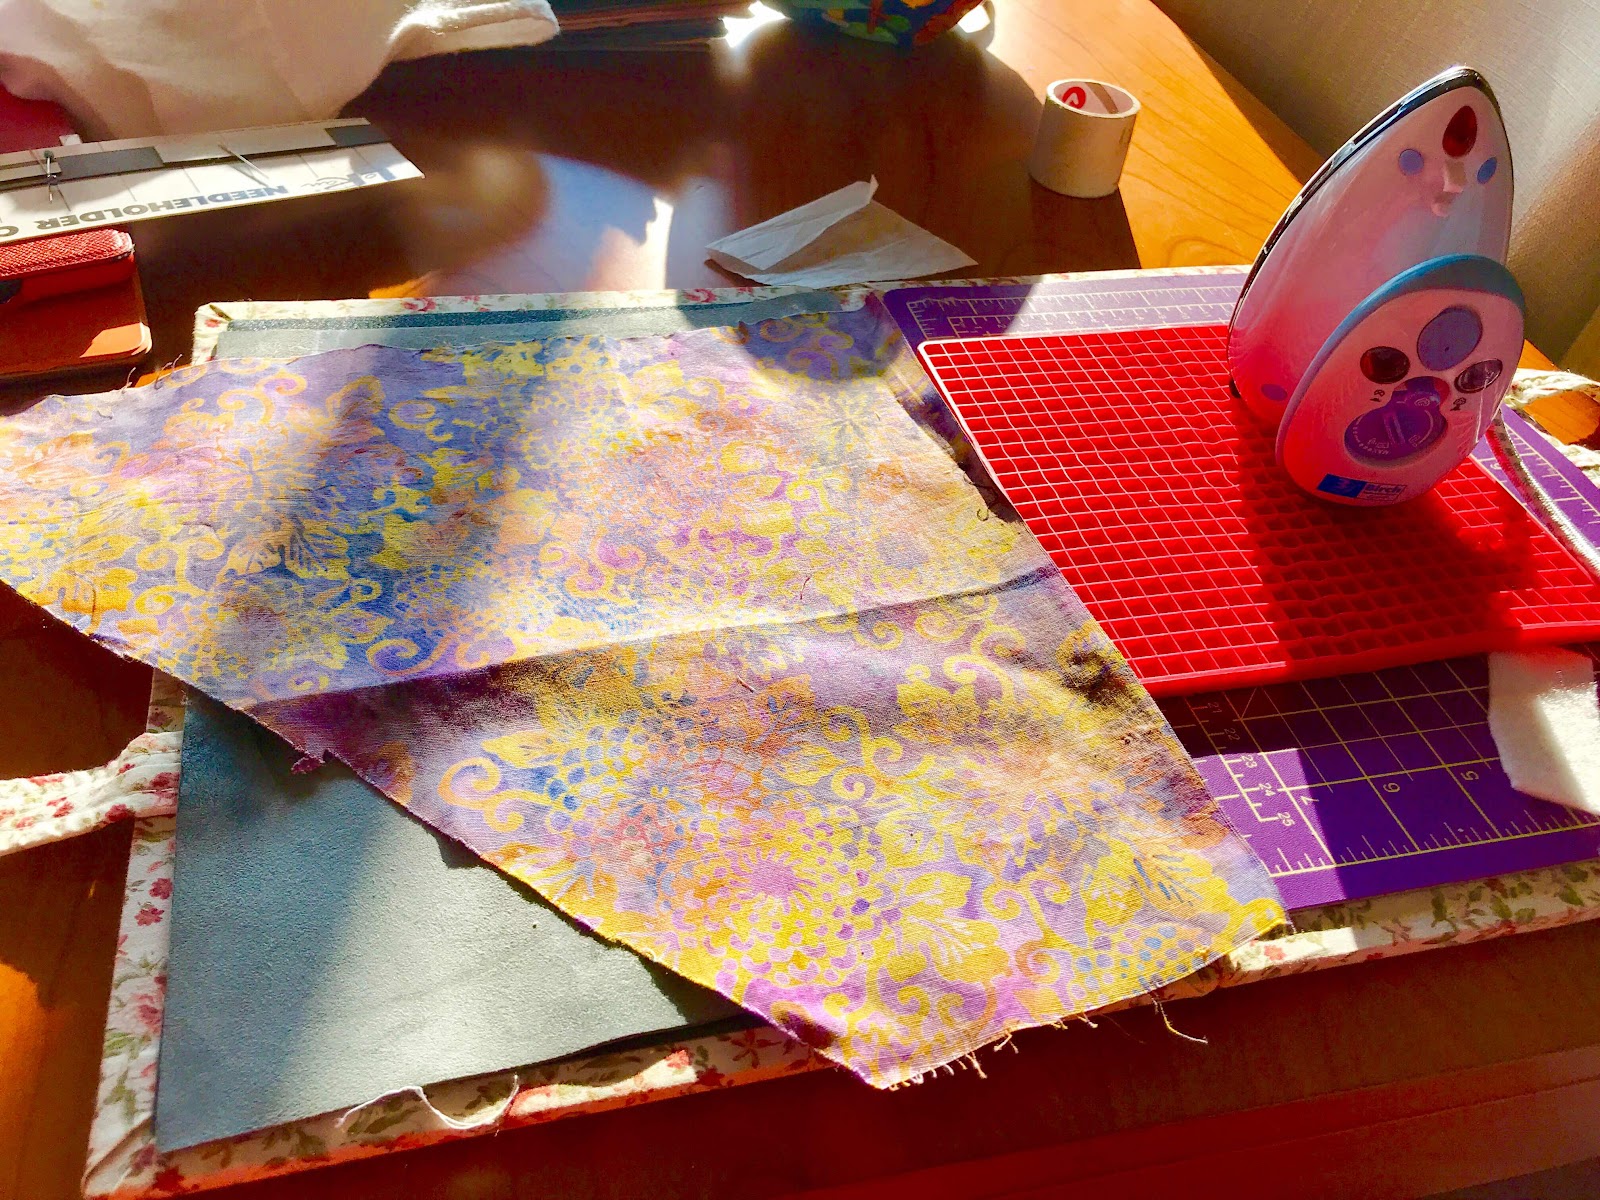
I went through my stash for fabric of suitable colour, settling on a scrap of batik.
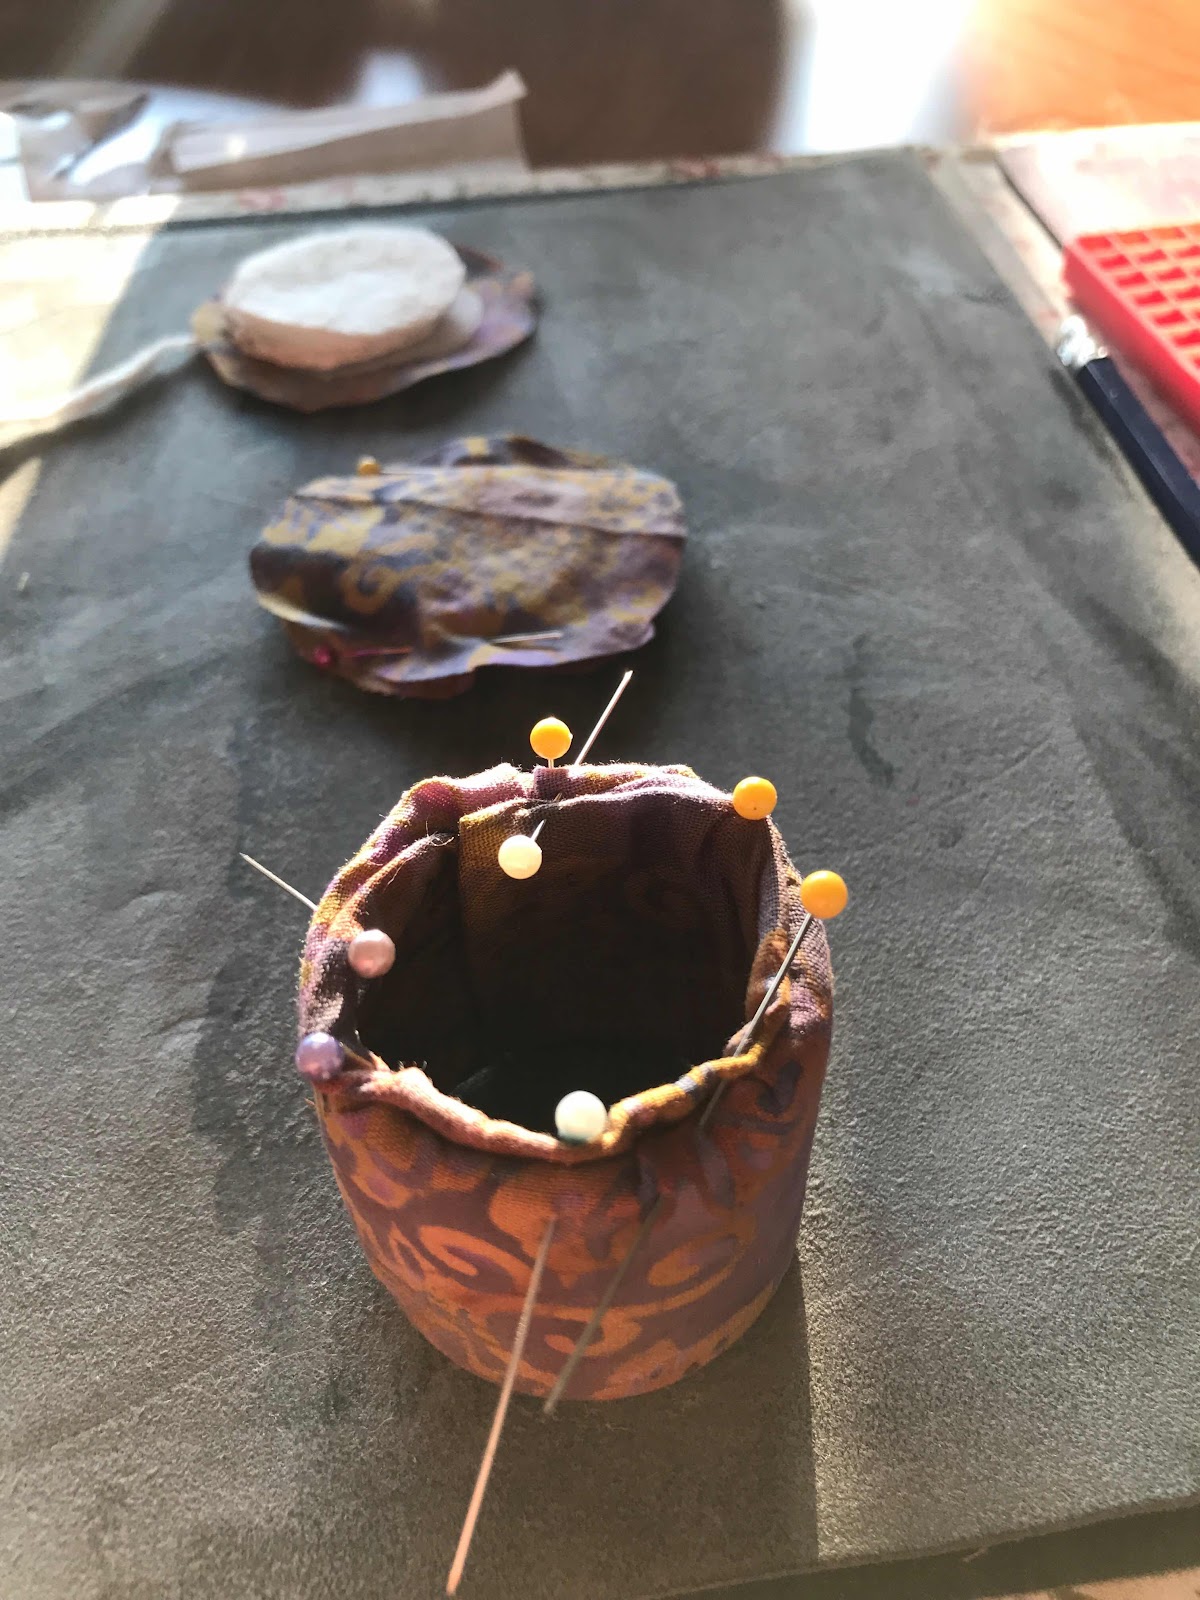


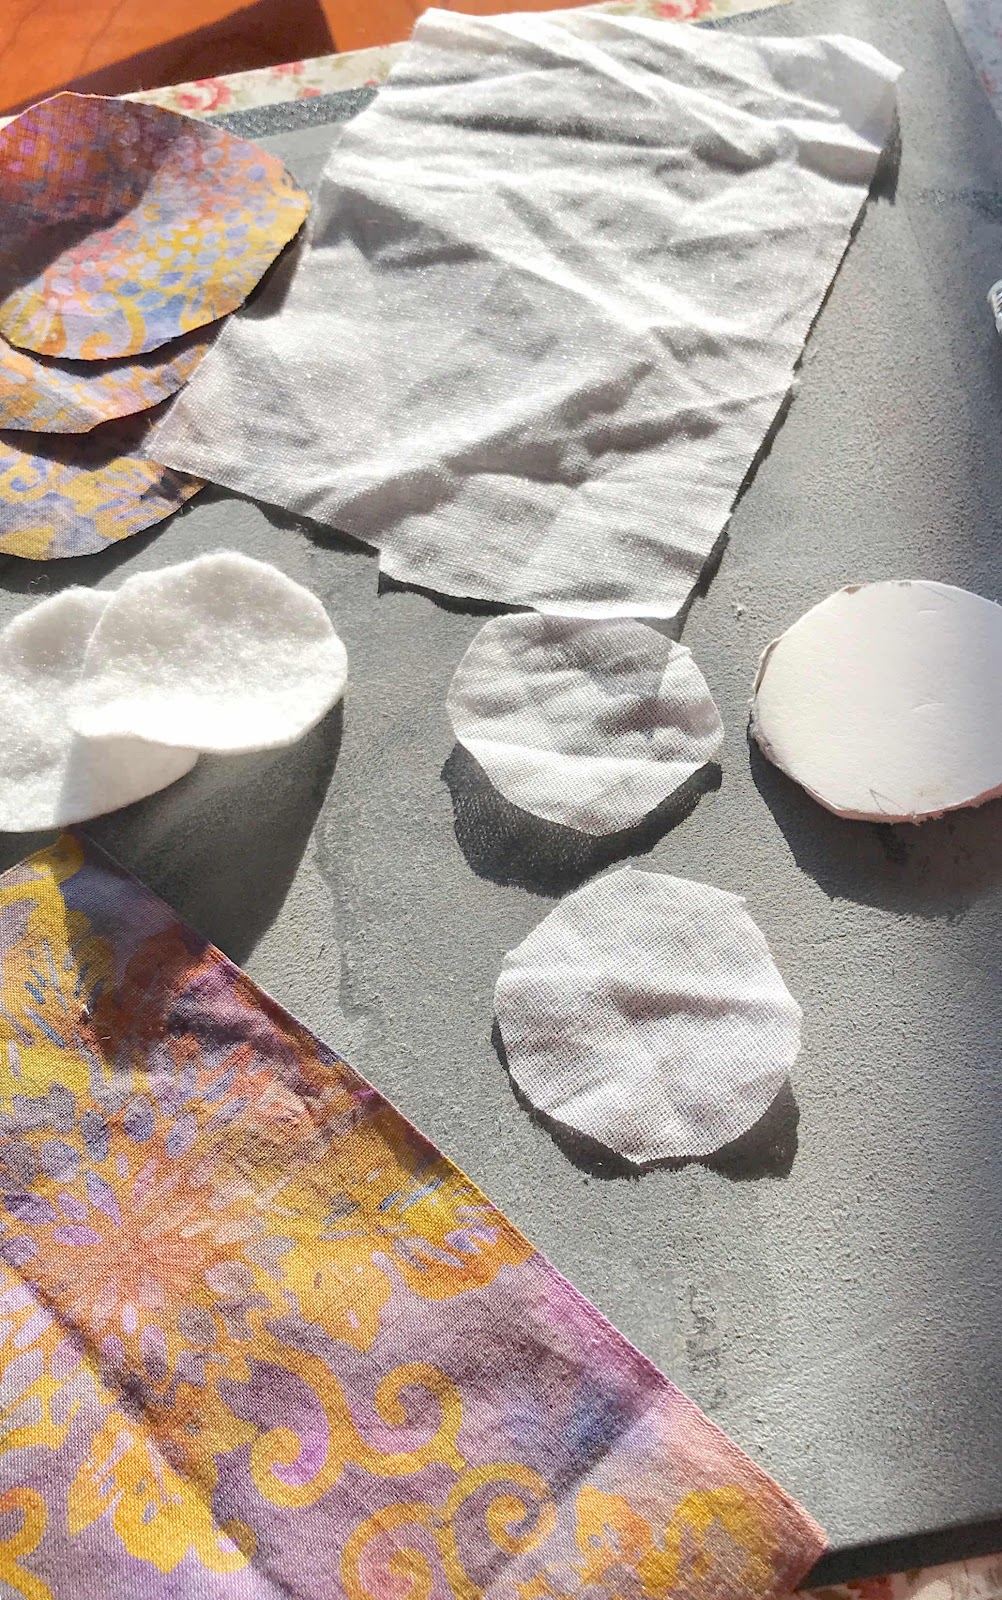
I assembled various bits of backing - both pellon and felt. I cut it all to size, ironed the pellon to the main batik piece, folded it over the cardboard tube, pinned it and stitched it down.
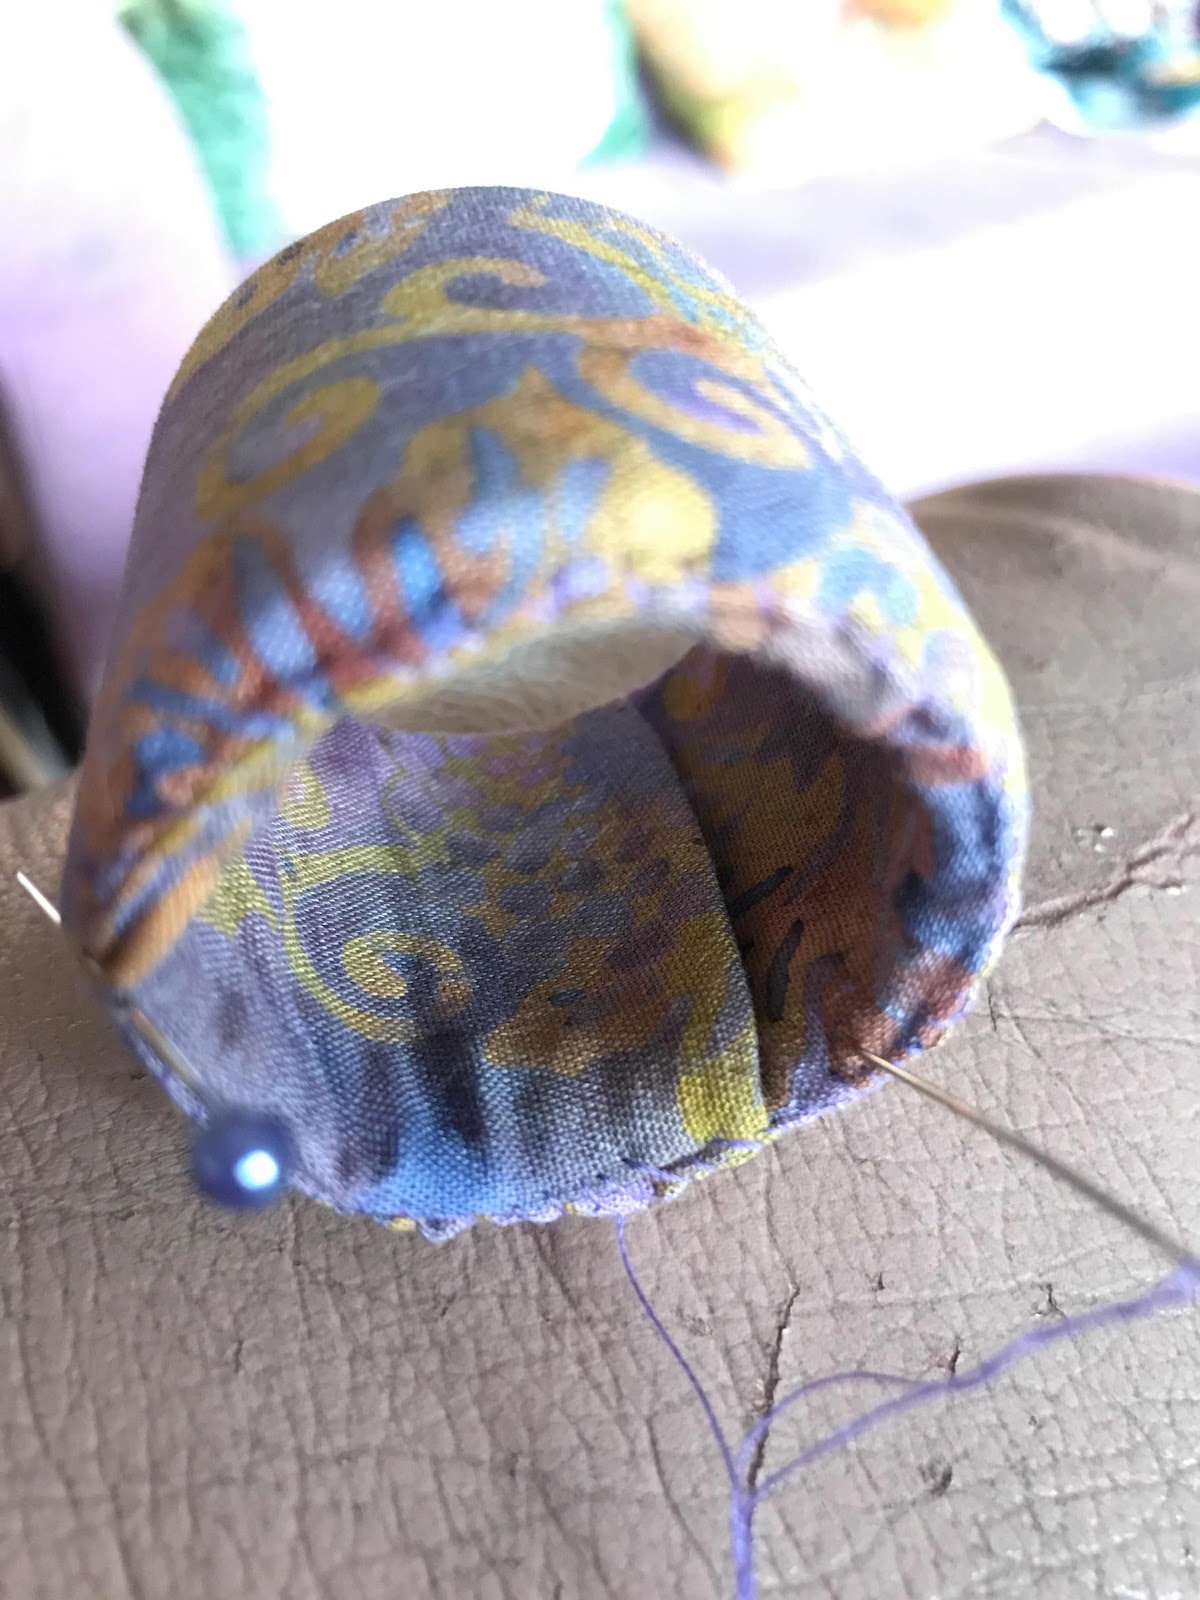
I made a base with the circles of mounting board, felt padding and batik.
I stitched in the bottom one.


The top one I used for the pansy, cutting it out and gathering it.  I cut a smaller back-board circle to fit inside the box, making a base to hold the lid in place in the box.


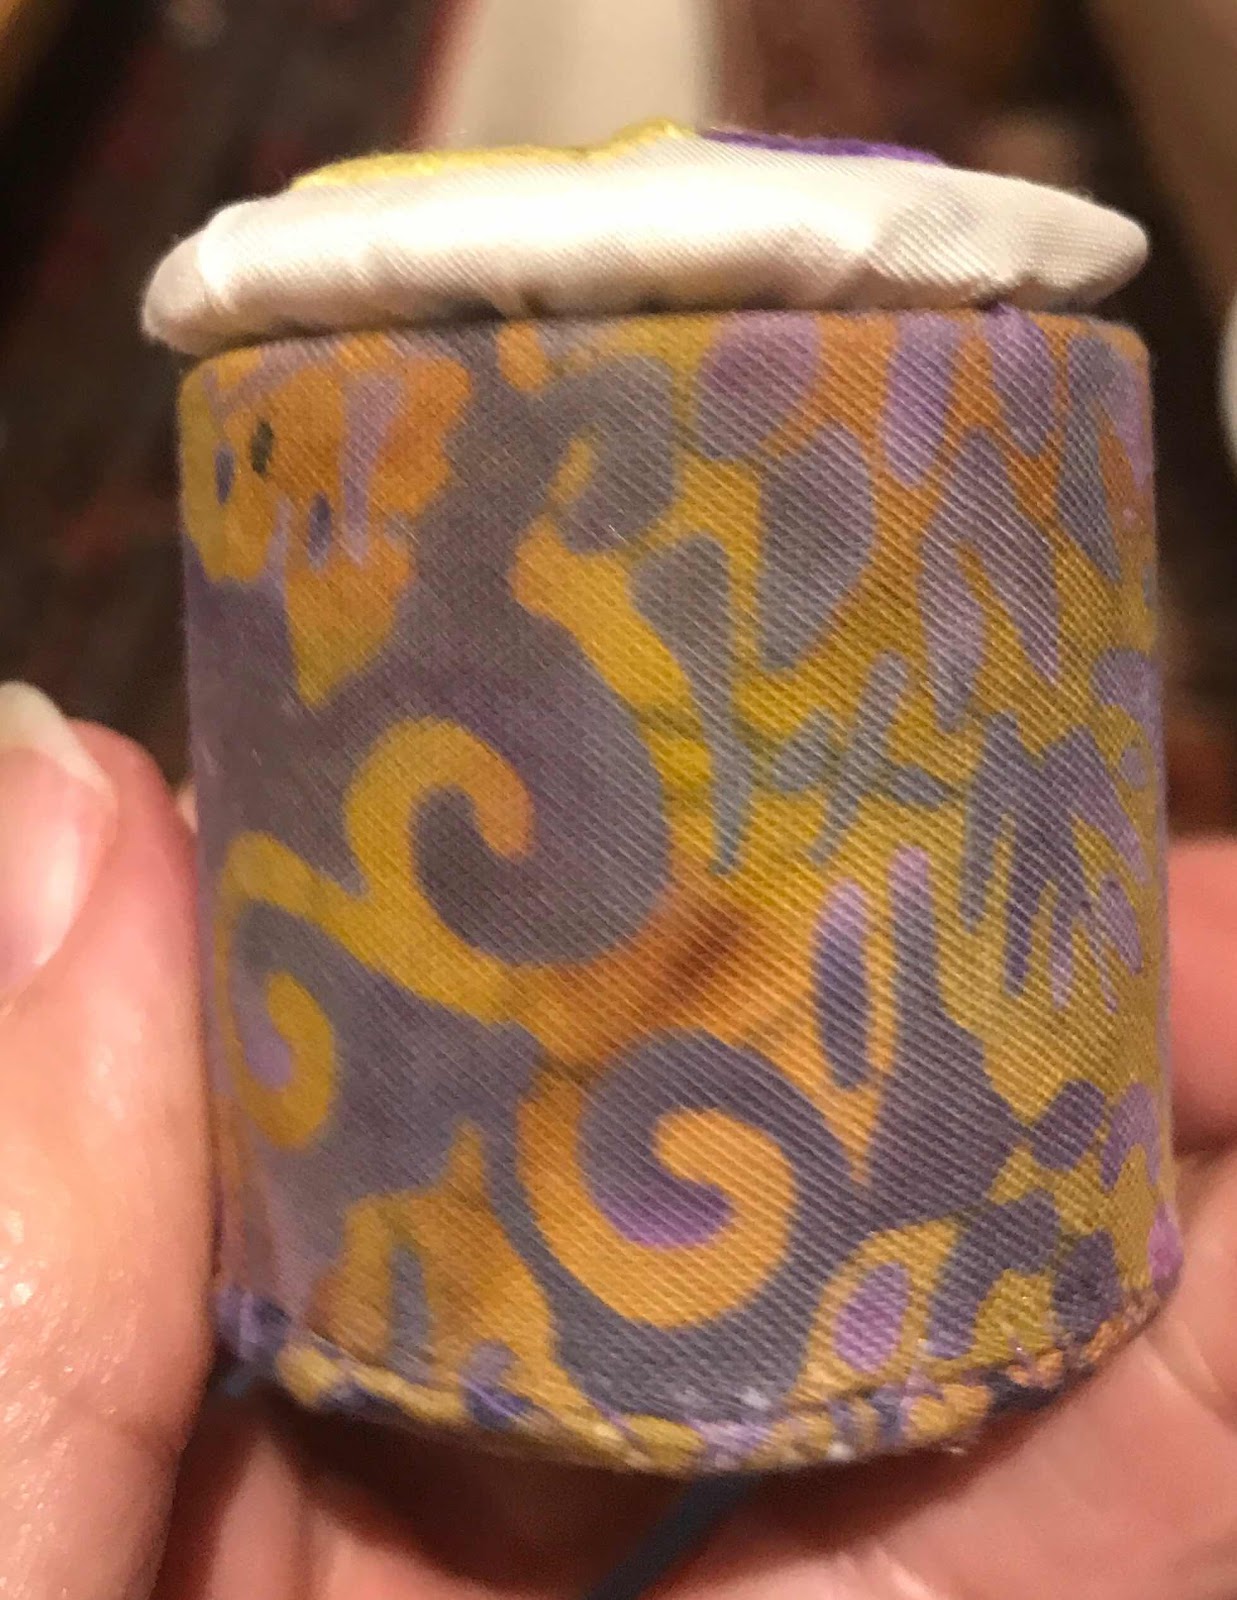

I wasn't happy with the look of the box. The lid was too much of a contrast when viewed from the side and although it fit quite well, it wasn't tight


I found some cotton lace and some braid. The braid I stitched on the inside of the lid, to help it fit more tightly.

First I painted the lace with fabric glue, then with  two coats of gold  acrylic fabric paint.

When it was dry I pinned it on, cut it to size and stitched it to the lid.


This worked well. The lid is now held firmly in place, and the white silk of the lid is not such a stark contrast to the sides of the box.


Lots of learning, along with a happy experiment and outcome.


Monday, June 15, 2015

Owl finish

When I last posted an update on my owl-on-gold-silk for the Embroiderers' Guild 50th Anniversary display, I had the tail feathers to go. While in Melbourne I purchased some more silk threads from uchello - ver au sol in the rich bluey- purple- cerise colours I was using, and finished it off.
I also completed the eyes.

At home I pressed it carefully, but couldn't remove the mark of a fold in the fabric. One of my granddaughters had already suggested I add some leaves from the original design in the Secret Garden colouring book, so I took her advice and covered the mark.

I then padded and mounted it on a box lid. It is a reasonable large box - 8" with a 6 3/4" mount area.
I am quite pleased with this result. Niamh likes owls and will use the box, so it is hers after the exhibition, plus it has been fun to do. It will also be interesting to see the variety of projects on display in October when the Guild displays what members have done with their square of gold silk.


Friday, June 6, 2014

Sadness and a Promise Box

Dear Blogging friends,
My absence from the blog for over two weeks is because my husband Jim was unexpectedly hospitalised and even more unexpectedly died of a heart attack on 28 May. His funeral was on Wednesday 4 June. I am obviously grieving, but have been, and continue to be, well supported by family and friends.

In looking for a way to deal with this and continue my blog, I remembered this post that I had written a couple of months ago, but not yet posted. It seems an appropriate post to link to Jim and to get me going again with my blog. It is about an interest gift and a stitching idea.

One of the gifts Jim gave me for my birthday was a vintage wooden 'promise box'. Neither of us had seen one of these before. The box itself is beautiful. It is made of a light wood (in colour and weight), hinged, with a hand-carved lid in a pattern resembling fanned leaves and branches.


Inside are tiny scrolls, each with a Bible verse. The instructions on the inside lid ask you to 'Take one and replace".


A little bit of research since receiving this, suggests they were used in both homes and churches. In churches parishioners could take a verse as they left, read it and replace it. In homes, these seem to be mostly used around the table.

I have not heard of, or seen these in use in Australia, but others may have. There are contemporary versions available in the USA.

A couple of years ago, my daughter and the children made me a jar of memories that I can dip into when needing some comfort and cheer. I guess the idea is not dissimilar.


I haven't thought it out yet, but there is an idea playing around in my mind about making a small embroidered box with verses, or sayings, or memories It would be a good gift to think about for someone convalescing, or grieving. I haven't worked out if there is a way to embroider the messages, or whether the little paper scrolls would be the thing. I will let the idea simmer away and take any ideas that come along.

Saturday, April 6, 2013

Samurai Treasure Box


While I was putting the last finishing touches (gold metallic thread is not my favourite!) on the embroidery of the Samurai, I took breaks to work out how to make the box.

I worked out the measurements on paper.

 I then cut the cardboard for the sides and lid. I used mounting card from our local framer, but should have chosen a piece without a paper covering on it. The paper made cutting a bit harder and edges rougher.


I had intended to use some dark red silk I bought at a sale last week, but discovered the last of the Japanese  temple brocades I bought some time ago, and thought it would be really appropriate. It was exactly the right size for the bottom of the box and I had some matching gold silk that would work for the lid.
When I made the box for my hardanger square, I forgot to line the fabric with tissue. This time I remembered. I found the tissue superfluous on the brocade, which is quite heavy, and not thick enough on the silk, which wrinkled a lot.


I was, of course, doing this under pressure of time - not to be recommended when glue is involved - so may get better results with more care.

The box and embroidery were finished in time to lace, position and glue the embroidery before I went to bed the night before the gift was needed, leaving the Shorter Oxford to do it's job overnight.


In the morning I mounted a few shells to cover a couple of places where the craft glue did NOT dry clear.


We added a few warrior treasures to the box - an arrow brooch, a sword brooch, a robot on a chain.

A happy ending!

Friday, January 25, 2013

Siennese Illuminated Treasure Box

I had a couple of small wooden boxes in my stash which I thought might be about the right size for the Siennese Illuminated Treasure piece I have just finished. They proved, however, to be too small. That is probably just as well, as I had bought them with a purpose in mind!


I also had a much larger dark oak box that I had purchased using a discount voucher that needed to be used by a particular date. After a bit of testing and debate I decided to use the oak box. The alternative was to make a box - a possibility that is still open if I decide I don't really like this piece on the oak box, since I didn't need to cut the fabric to mount it.

It took a bit of manoevring to get it satisfactorily centred, particularly since one of my edges wasn't quite straight.


I also discovered that the hoop had left a mark - I hadn't removed it each night since I was working on it pretty constantly.


I wasn't prepared to try laundring the silk, so embroidered my initials and date over the marks.

I'm not sure what I will use the box for, but I will find a place and use for it in the sewing room which is slowly coming back together. In the meantime, the photo on the kitchen table gives a sense of size and shape of the box.


Monday, April 16, 2012

A Home for Ulysses Butterfly

My idea for displaying the silk thread Ulysses butterfly worked - even if it cost me more than I had hoped to make something useful. At Australian Needle Arts  I found a box that would, with a little manipulation, take the embroidery under glass. Ironically, Australian Needle Arts had packaged all their display boxes and sent them to Adelaide for the Beating Around the Bush Market Day later in April, but they offered to have their agent find the one I wanted and mail it to me.

It is not their fault that it took 6 working days - 10 calendar days because of Easter - to go from one side of Adelaide to the other with Australia Post!

In any case, I am grateful to have it this week and I have now mounted my piece after signing it (yes, another venture into the silk thread!).

I think the box is just about perfect for the piece. It is a jewellery box with compartments inside, so useful.


I haven't decided yet whether to keep it and bequeath it to someone, or just give it to someone. I don't need another jewellery box - although I have a lot of jewellery and could find things to go into it.

It's a nice piece, a luxury, and I will find it an appropriate home. Many thanks to Wendy Wilson at Australian Needle Arts for accommodating my order at an inconvenient time.

Saturday, March 24, 2012

Treasure Chest for Hardanger Panel

I had a piece of cotton batik in my stash, bought in Indonesia, that went well with the hardanger panel.

I set aside a day to make the box. I had read all the instructions through when the kit arrived and realised there were a lot of steps that needed concentration and time. I have Meg Evans' inspiring book Hand-Stitched Boxes that I have yet to use to make anything, so I thought this treasure box with very clear instructions, might be the kick-start I need.

I visited my local framer who kindly gave me a large off-cut of mount board. He has been terrific with such off-cuts in the past.
I got my metal rule, several sharp pencils, the fabric I was going to use and even put a new blade in my Stanley knife.


I measured and re-measured before cutting - and it made a box! No doubt about it!

Then I made my mistake.
Having read the instructions and noted with interest  that the fabric was lined with applique paper and tissue to make book cloth, I completely lost this step.


I continued to cut out the fabric carefully, measuring angles and checking each measurement.

I applied craft glue and rolled the fabric on to the box, checking every step. It was as I applied the fabric to the lid, carefully folding the tricky corners, that I remembered the book-cloth bit. 


Go back, or go on? I couldn't see myself removing the cloth. I could go on, start again or cut more cloth and apply over the top. I decided to go on and see how it looked when finished. I figured I might as well make a whole new box as try to alter this one.

It was very wet with glue and I couldn't tell how it would look, so I left it to dry while I laced the lid.


Several hours later the box was dry and looked good enough for me to use. I figured I could proceed with the lid, and still redo the bottom later if I had to.


So I left it overnight, cursing myself for simply forgetting that step. Age and enthusiasm - a bad combination!

Here's the result.


I'm using it for all my loose buttons. My button tin now has only packets or sets of buttons.
No more removing all the packets and cards before I can find the interesting  loose ones underneath.


So far it is strong and smooth. If it shows signs of wear I will redo the bottom - with book paper. I will also make another box soon so I can get it right. 

In the meantime, I really love this box.
Thanks Yvette and Janie.