The vests were woollen, or linen lined with wool, and embroidered in silk. Jaouen'skits are likewise worked on linen backed with wool and use au ver a soie twisted silk thread.
My kit was a gift from my Belgian friend Genevieve, who visited Quimper a couple of years ago. I hope I've done justice to her generosity.
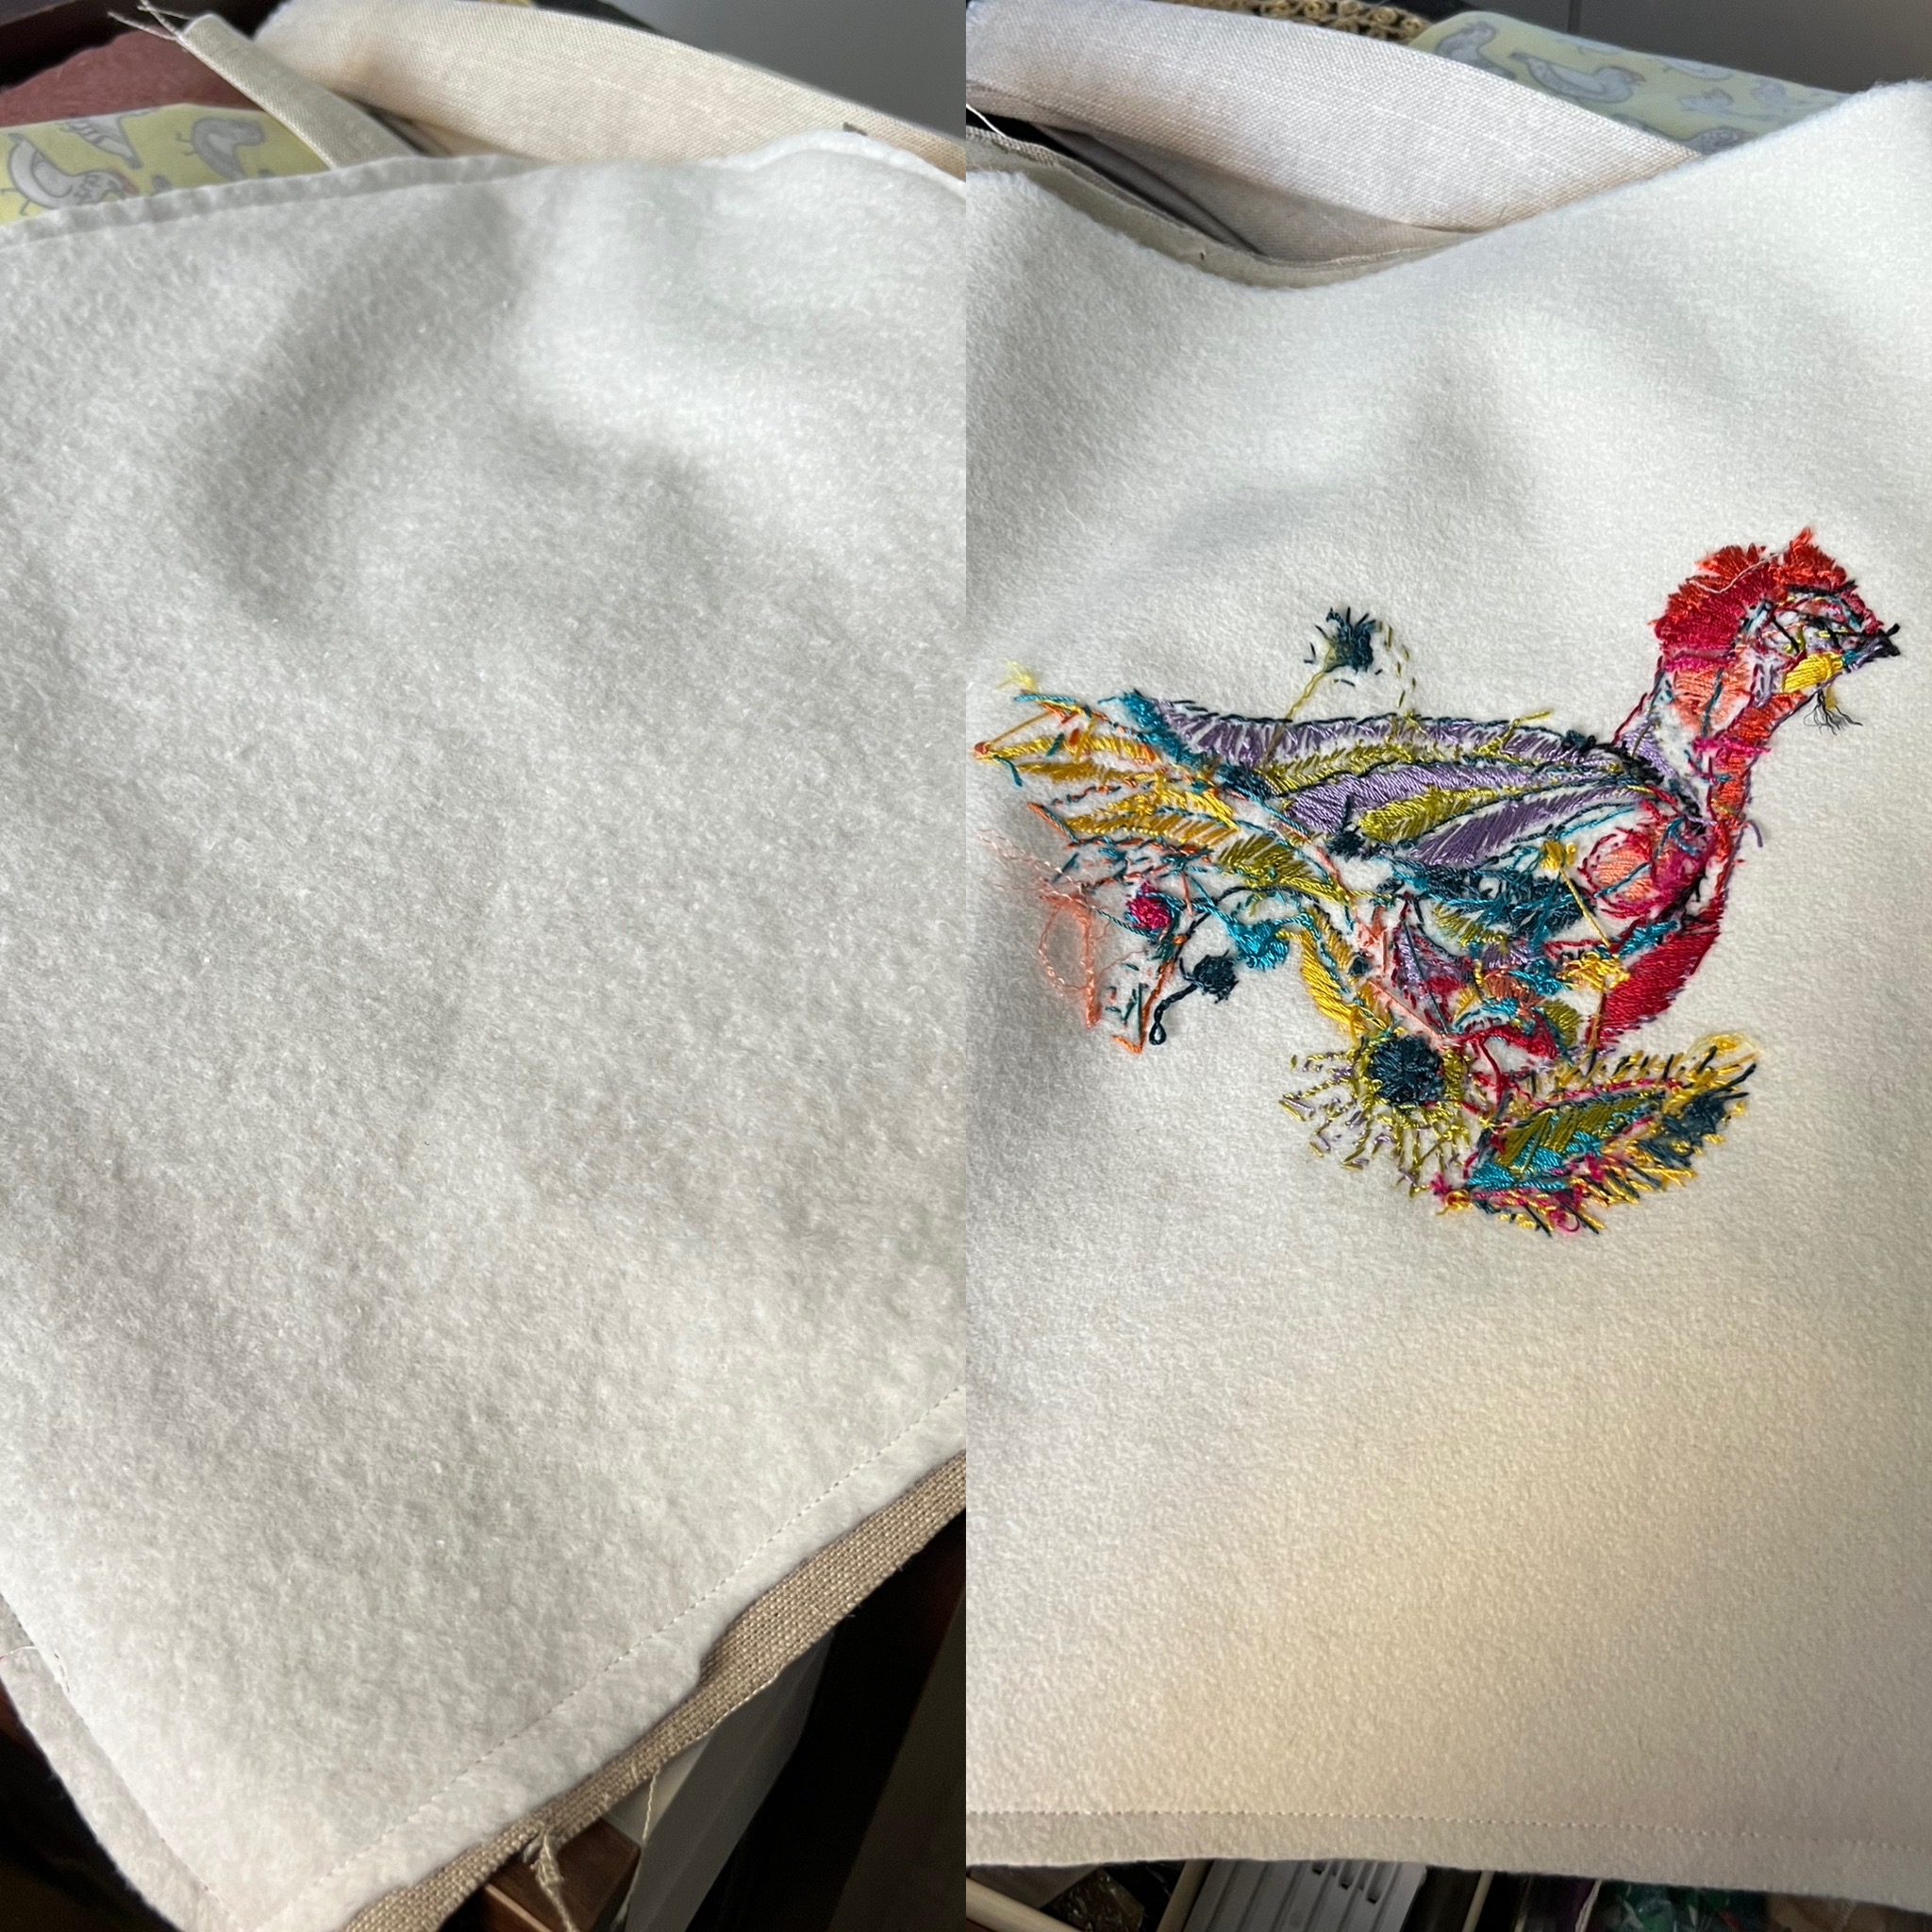
Yar Zour means Beautiful Chicken in Breton.

The kit has linen printed with the design, the wool backing, the silk threads and a set of cards with the individual stitch instructions in French. There wasn't a stitch diagram but I was able to work that out from
the photograph on the website.
The silk is lovely, a strong, twisted yarn in vibrant colours. Like all silk it catches on any roughness on hands or nails and the end will unravel and create a knot if you are not careful. Short lengths help.
I worked in a hoop although chain stitch, very much in evidence on Yar Zour, might be faster if the fabric was held in the hand. My arthritis won't allow me to hold fabric for any length of time and ergonomically it is better to work in a hands-free frame. The thickness of the wool backing would make a scooping action quite difficult so a stabbing action with two hands and a hoop is called for.
 The first challenge was laying the twisted silk thread smoothly in the buttonhole stitch sections. When the thread untwisted, as it sometimes did, the result was smoother. The challenge was not so much laying the thread, as getting the stitches close enough to each other. It was like doing satin stitch with a perle cotton, as opposed to stranded cotton:the threads don't spread or bond. Nevertheless, the effect is there.
The second, and much greater challenge came with the stitch Galon d'Elliant. I struggled to find an English translation or equivalent for this. The English translation on the website is 'Elliant Stripe'. The diagram provided on the stitch card looks more like a needlelace stitch, but it is, I think, intended as a knot stitch.

My attempts were so terrible that I substituted a woven stitch in a couple of places. This gave me the effect the design is after.

I did try Galon d'Elliant in a couple of places, but the result (bright blue left, apricot right)was not encouraging. Fortunately these are tiny parts of the whole. I have left them, as I am after exemplar and learning, rather than perfection. I will be interested to discuss this stitch at the Guild. The Gordian Knot on the RSN Stitch Bank makes sense to me. I have also since found a useful description of
crested chain stitch as used in Glazig embroidery, which seems similar.
It's an interesting challenge.
One of the joys of this kit is the variation of stitches in such a small space. Every tiny section adds a challenge and interest. I particularly liked the Kamm stitch - the red woven section on the leg and the green/blue oval at the bottom. I can see myself using these again.
So here is the finished figure - a blaze of colour and fitted shapes.
Although my hoop was well bound, it did leave a mark on the linen. When I couldn't steam it out with my iron this morning, I blocked it, avoiding wetting the embroidered section. I wasn't too keen on soaking the silk. It dried well and fairly smooth.

Given the size of the linen piece, I inevitably decided to turn it into a bag. I found some linen and wool backing for the back of the bag

and some appropriate cotton for the lining. This is a limited run design from
Missy Rose. Fortunately I grabbed it when it was advertised, knowing it would come in handy.
I had cut out the fabric with a small tote in mind. I cut a long shoulder strap and two short handles, planning to add both. As I constructed it, I thought it might be better sealed with a zip. I had a length of red zip and a red zip-pull that I thought might work.
It did.
The tricky bit was ensuring the pull couldn't slip off the end. I solved it by inserting a small button at the open end of the zip.
I set out to finish this kit as a sample for my presentation in May on Glazig Embroidery to the Guild's World Embroidery Study Group. I now have a quite delightful bag and a lot of learning to show for my efforts.
That's the joy of experimenting with embroidery - and of a network of friends who share the madness. Thank you so much, Genevieve for the gift of a kit, your friendship - and a whole new rabbit-hole to explore.
Merci mille fois, mon amie.