Search This Blog

Showing posts with label Di Kirchner. Show all posts

Wednesday, October 26, 2022

Embroidery in a Void - drawn thread work

 Last Saturday was another fabulous Certificate Course Workshop with Di Kirshner on drawn thread work where threads are removed altogether and the space filled with embroidery. I've done some of this before, but have much to learn, and Di is a very accomplished teacher.

I'm not going to give much detail. The class was very much the intellectual property of Di and I'm trying not to breach that. 


Much of the class time was taken up preparing the spaces in which to embroider. It is, I think, a really nice design, and simple enough to work as a sampler, in part or whole.

It took me a couple of days to finish at home and I was excited to find a way to make it up in an appropriate form.

I tested a couple of ideas out on Katherine, Niamh, Veronica and Anthony. Their views, while not unanimous were similar enough to guide me to a pouch, or pocket.


I found some dark green silk, which they all agreed was appropriate, so this is the result. I did think of a Christmas present that would fit into it!. I lined the piece completely with the silk, then folded it to form a long thin pouch, folding the corners in at one end and stitching up the other end.

I even ironed it very carefully


before stitching the back seam down using four-sided stitch and adding a Dorset button I had from some previous class.  I also stitched the lining down on the inside - not strictly necessary since it was firmly attached to the linen, but neater and less likely to catch on any contents.


I have every reason to be pleased with this result.

I'm really grateful for these classes. Many thanks to all who helped along the way.

Monday, April 5, 2021

More than I bargained for: Invisible Hem Finishes Sampler Workshop with Di Kirchner.


The Saturday before Easter the Guild's Certificate Course Workshop was taken by Di Kirchner on invisible hem finishes. The instructions were to bring a piece of homespun 110cm x 25 cm. I wondered how on earth we would use such a large piece of fabric. 

We were also asked to bring a friction pen. I searched everywhere for mine, but in the end left home not having found it. 

At the workshop, I was well out of my comfort zone - measuring, ironing, folding, ironing, tacking, ironing, then finally stitching, to create 6 pleats. Without an easily erasable fabric pen my job was harder. 
To my horror, when I asked Di why the fabric piece was so long, the answer was because we might want to keep going and do more!  I though she had rocks in her head.

Di had brought along a steam station iron. I, who am at best an indifferent ironer, was impressed.  It made a real difference to both the speed and the end result of the pleats.

The workshop focused on 6 finishing stitches - three of them invisible stitches and the remainder decorative stitches that can be used to cover a hemline.


I was hooked. At home I finished the six outlined in the workshop. Without a steam iron station I wasn't going to get the same finish. So I researched steam iron stations on Choice, found the most recommended one online on special and ordered it. It arrived two days later. The one in the photo above is mine, not the one Di had at the workshop.

All I have to do now is reorganise my cupboards to store it conveniently.
Truly hooked. I continued to measure fold and stitch until I had filled the 110cm piece.

Now who has rocks in her head!

I enjoyed mining the A-Z of Embroidery Stitches. The only stitch I used that was entirely new to me was Rosette chain stitch - and it gave me no end of trouble.
I undid it several times and in the end used perle thread rather than stranded, but I still didn't get it even. It is a real tension challenge.

If the sampler was to be useful in identifying stitches it needed labels. I played around with Inktense pencils I had bought in Kendal several years ago, but in the end settled for a fine archival ink pen.


It took a bit of thinking to come up with something useful from the finished sampler. Eventually I dug out some fabric that suited the thread I'd used, cut a piece the same size as the sampler and some edging strips.

As recommended by Di, I scalloped the end of the sampler with buttonhole stitch. I then added the strips of floral cotton to the sides by hand, like bias strips, but in this case, cut on the straight.

My lines, as you can see, are not perfectly place - a combination of the pull in the fabric, the missing friction pen and my error.


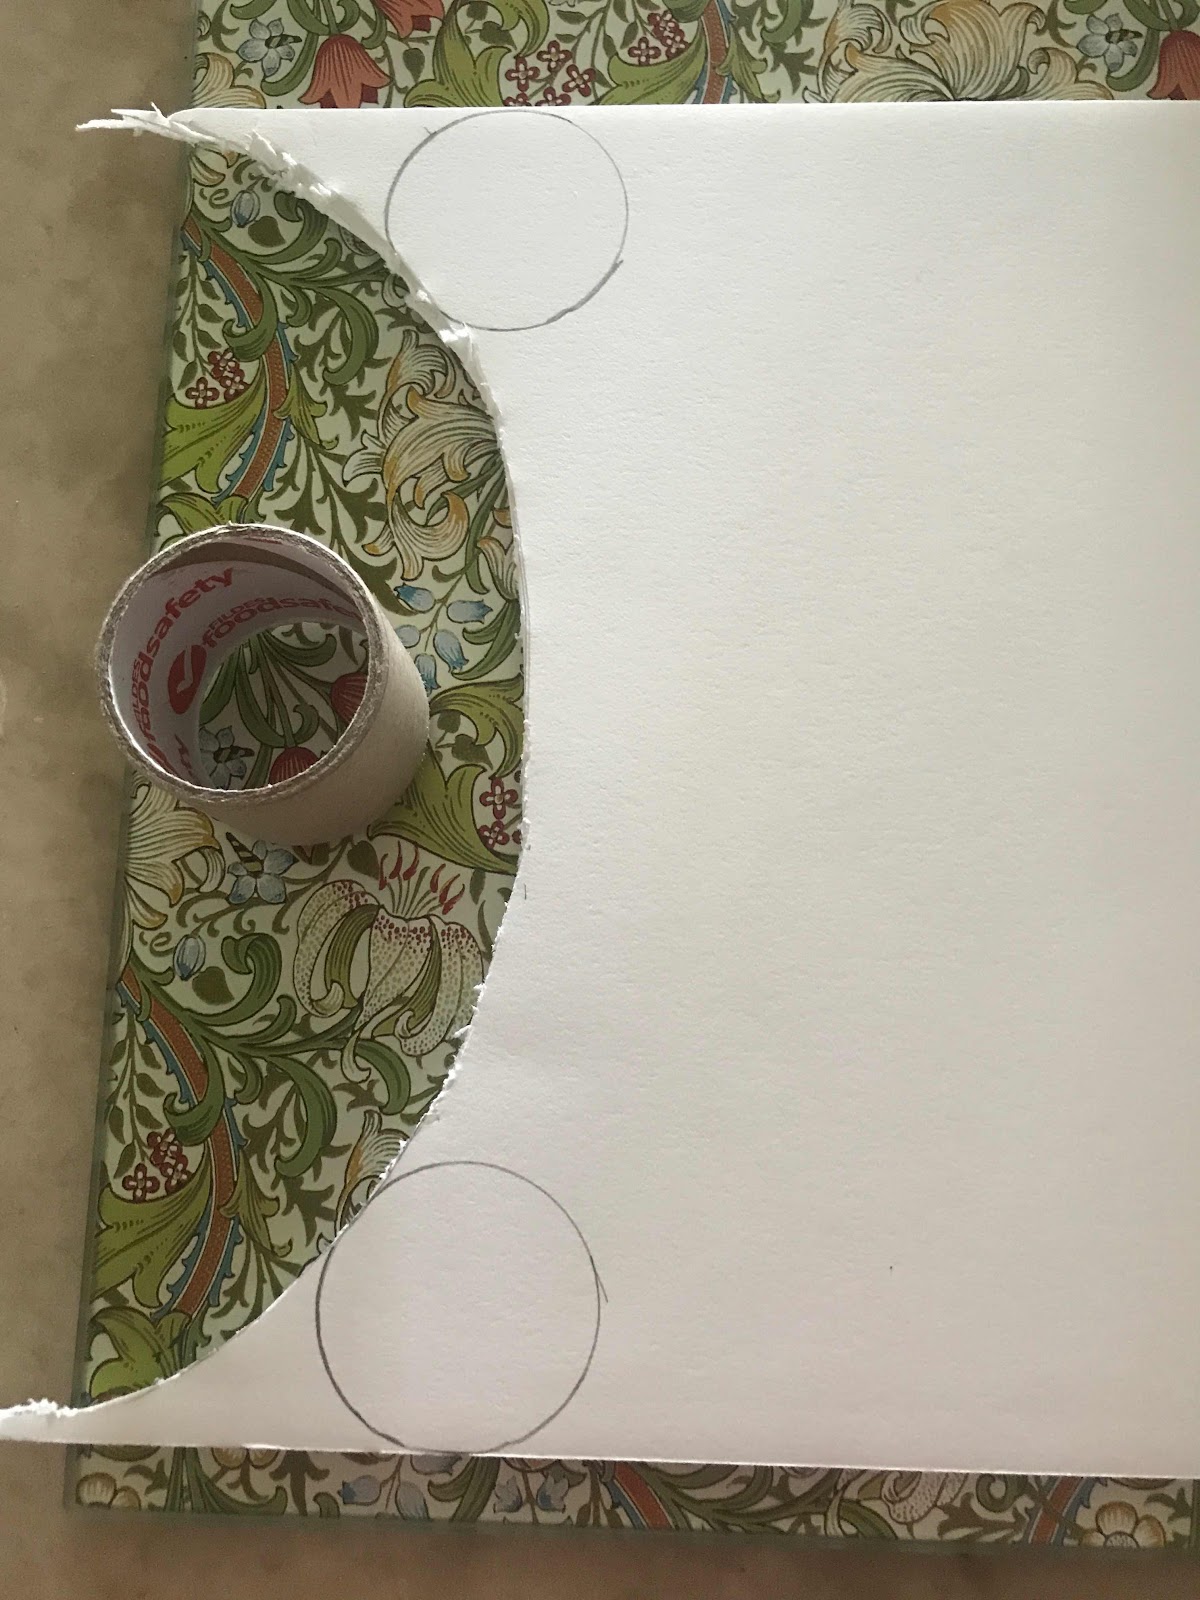
I found a cardboard roll, cut it to size and put double-sided tape around the ends. I made two circles in the floral, backed them with interfacing and gathered them to make two caps for the ends of the roll.


I hemmed the large piece of floral and attached it  to the roll, along with the sampler.
Since this is all about finishes I even turned under and whip-stitched the raw join edge underneath.

The new iron was a big help in all this.


The result is a neat roll to keep an embroidery flat in between working sessions or once finished.

I played for quite a while to find a fastening I was happy with. This bow was still tied on the grosgrain ribbon that had adorned a package and it blended perfectly. I wanted the bow for decoration, not to be opened and tied as a fastener, 

In the end I cut the ribbon short, attached one end of it to the calico with a button and worked a button hole on the loose end of the ribbon.

This is a long way from where I thought I was going with a workshop on hem finishes but there you go.

I'm happy with my sampler, my roll - and my new iron! 

Saturday, October 5, 2019

Silk shading workshop with Di Kirchner

The Embroiderers' Guild Certificate Course Workshop on the last Saturday in September was on Silk Shading, and taken by Di Kirchner. Di is undertaking study with the Royal School of Needlework, and passed on some of her extensive knowledge at this workshop.
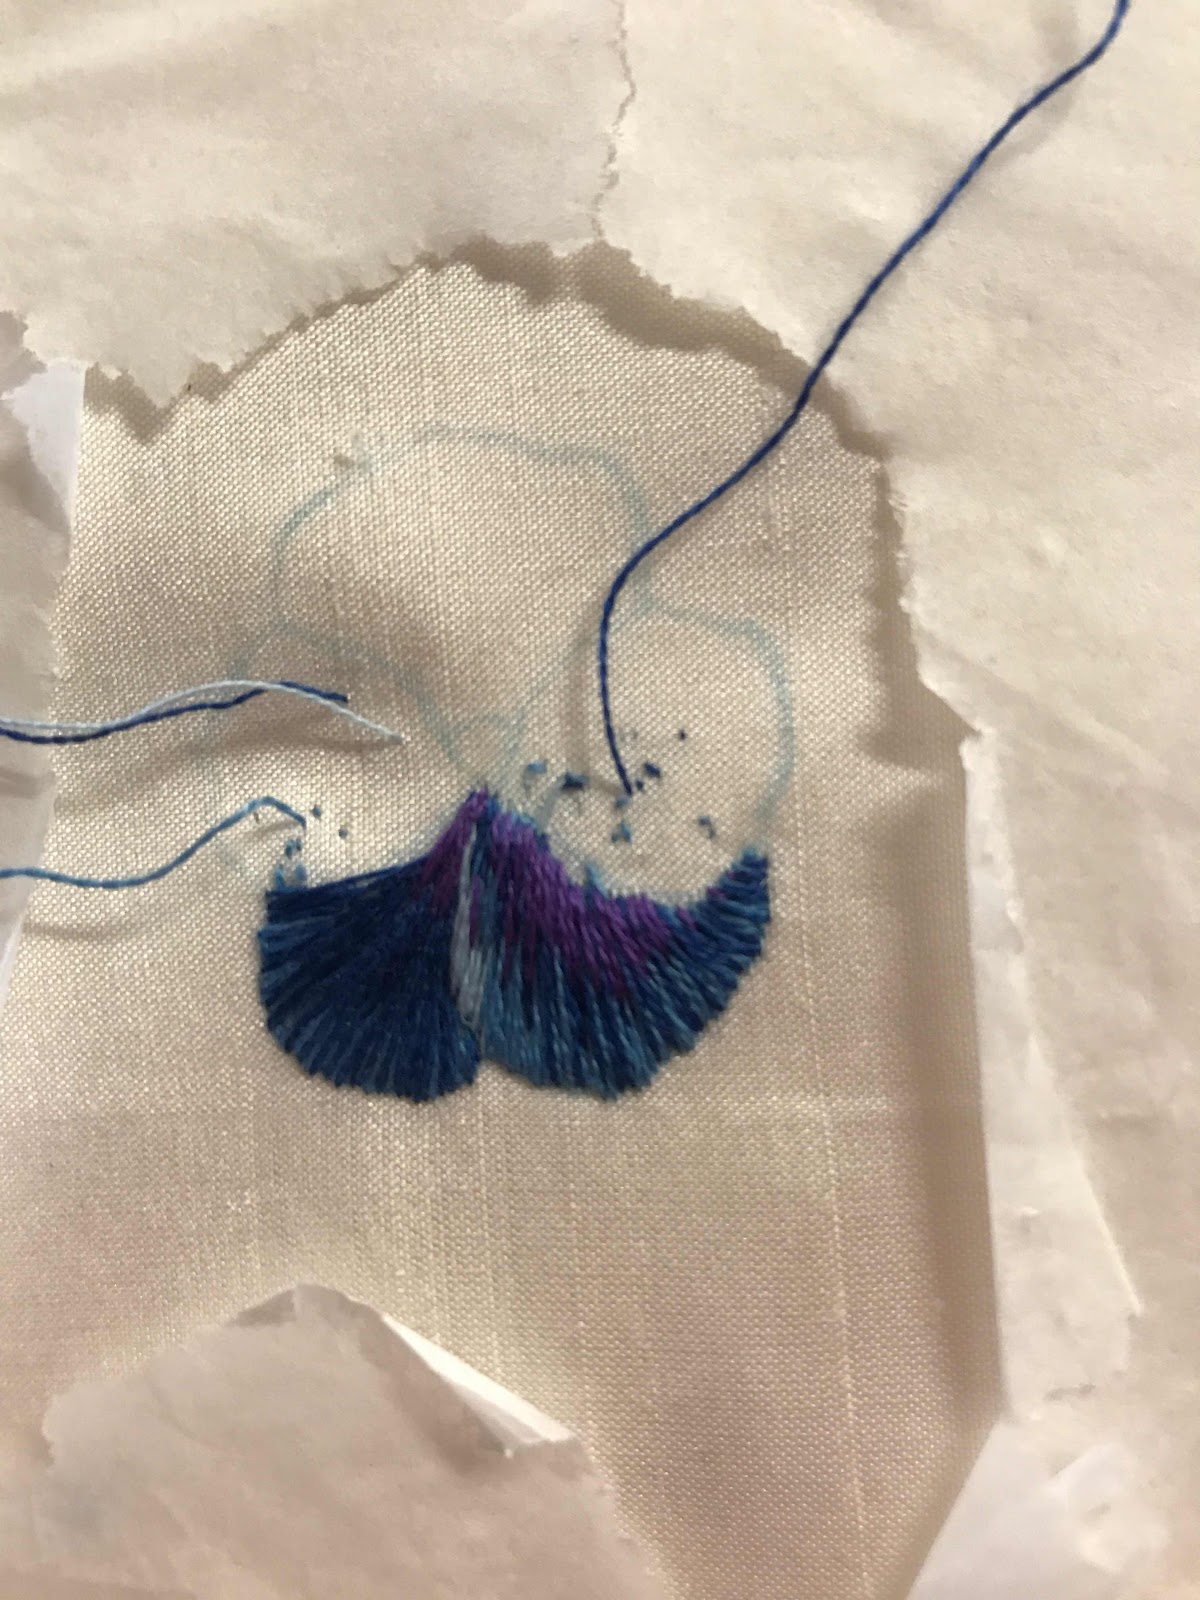
She had chosen a pansy as the basic design for us to work. It was a brilliant choice - giving a standard design for us to work, but with infinite possible variations for us to choose.

I based my colour choices on the threads I had brought with me - a bag of stranded cottons left over from some kits I had worked a few years ago. I had plenty of blues and yellows so worked around these, adding a few purples I bought from the trading table on the day.
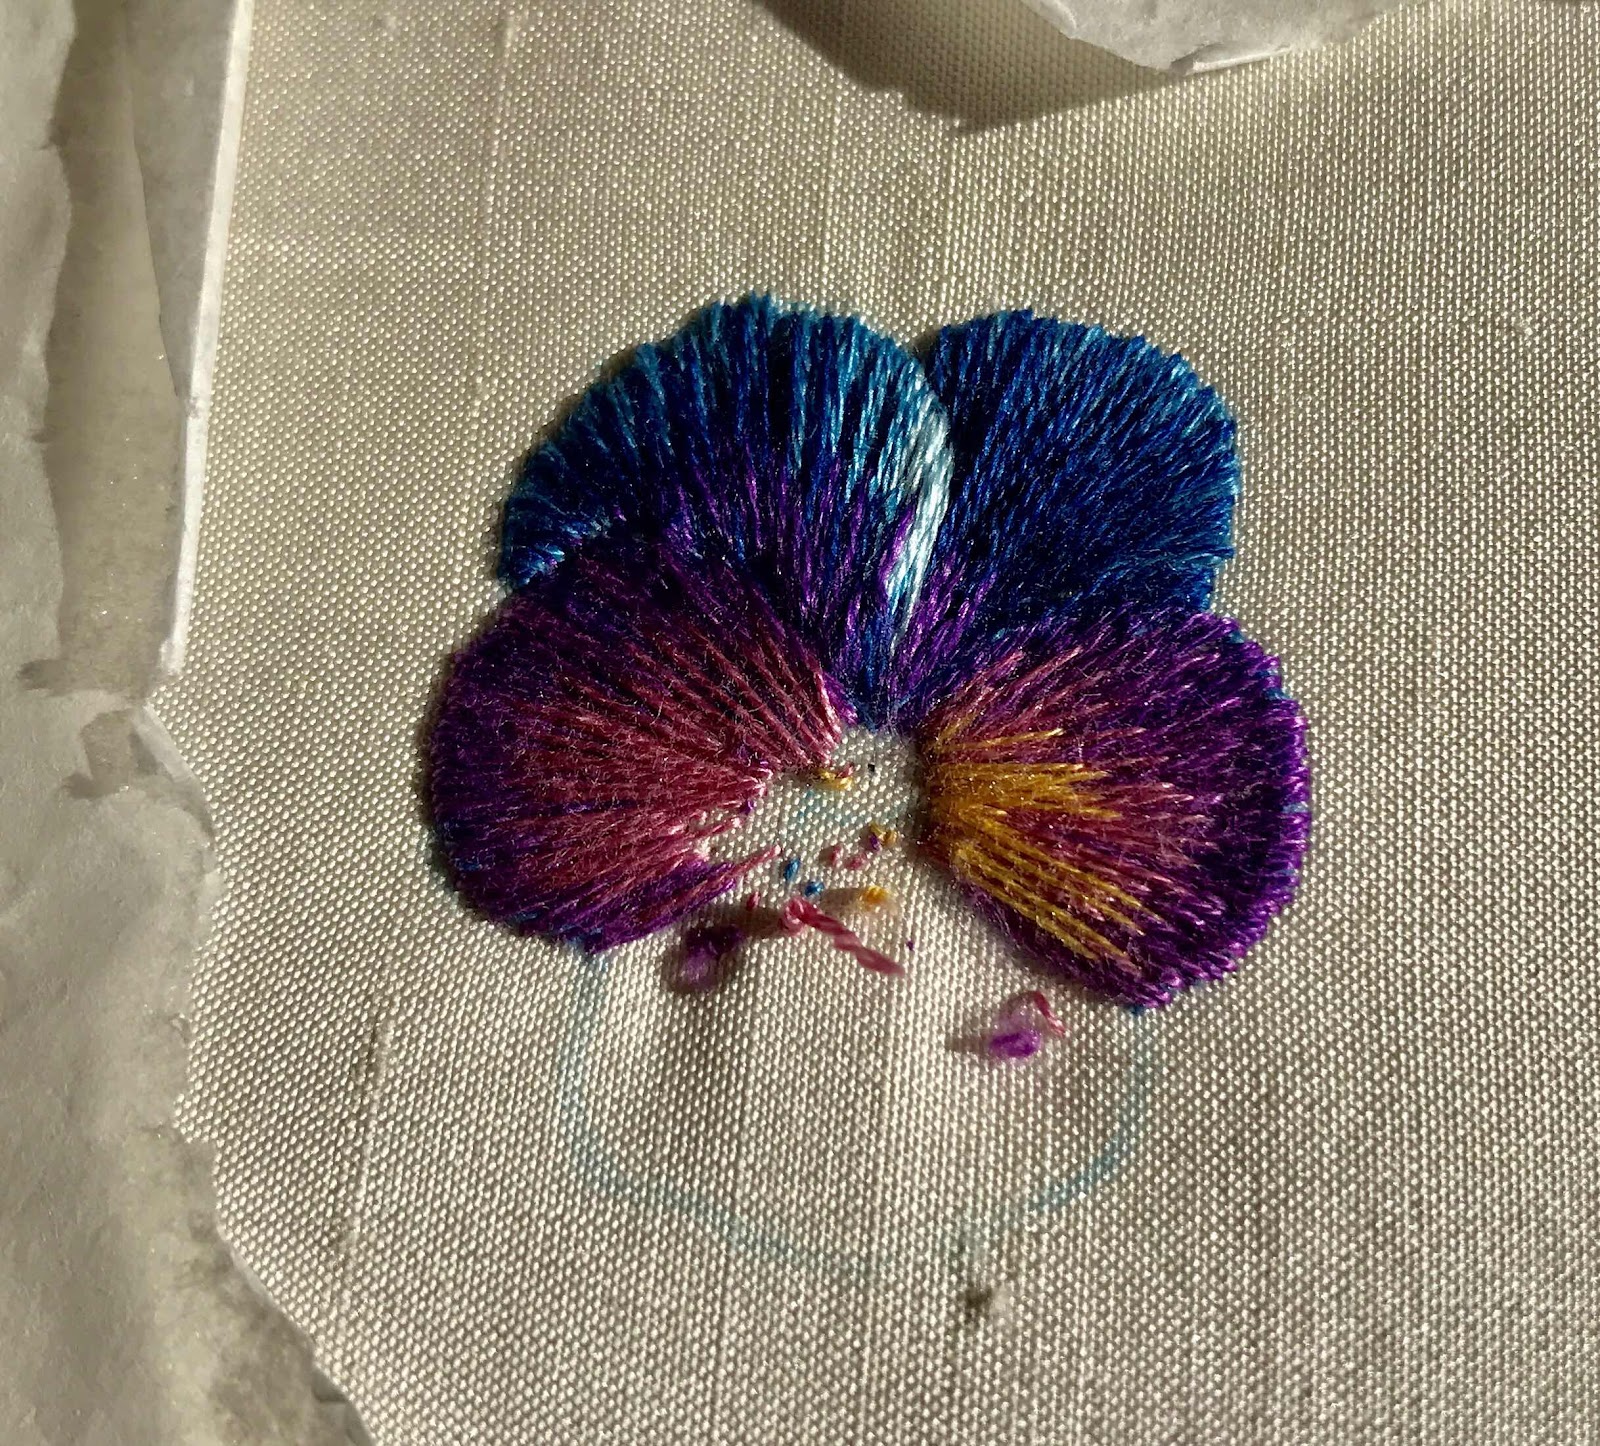


Di had prepared some silk for us to use and we brought along our own calico backing.

Di's teaching is meticulous - she teaches the process of thinking through the project - colours, light, direction, shading, technique. I had worked the two darkest petals by the end of the day, but hurried home to continue while it was fresh in my mind.
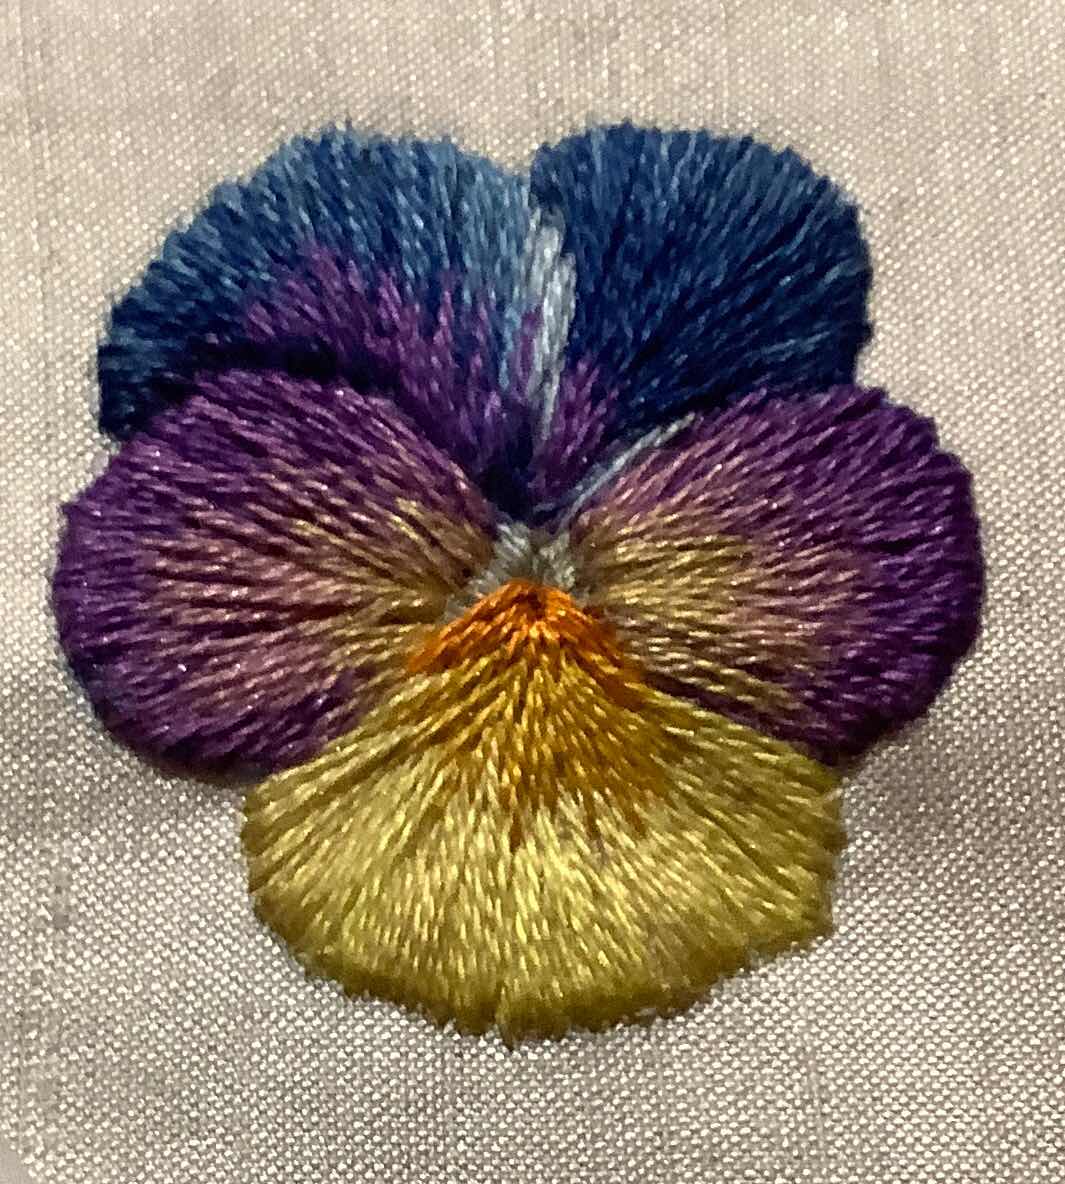
I was pleased with the result I had (left) by the time I went to bed that night (rather later than usual!). I left the dark veins until morning.

I also added a little more purple to the darkest petal.
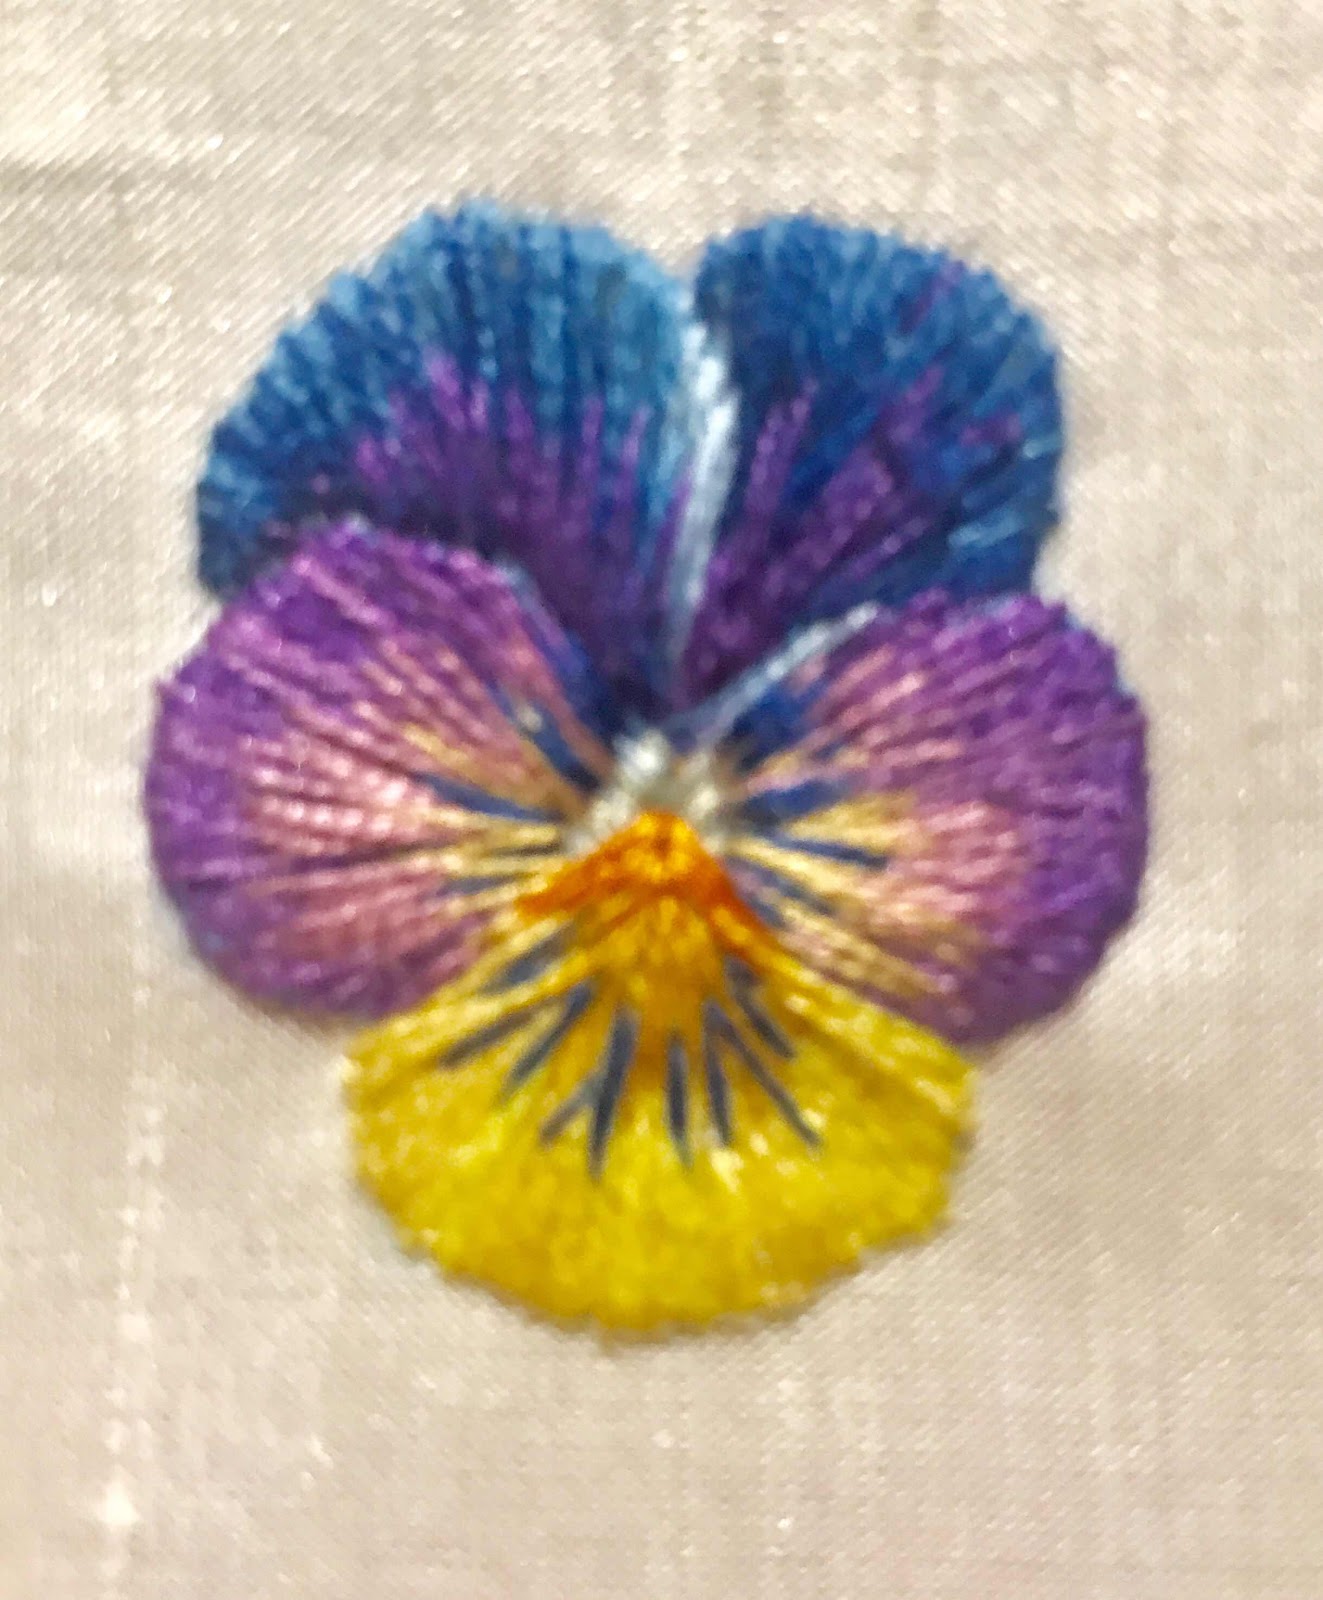
While working it, I had an idea for using it. A friend at the Guild had given me, weeks ago, a section of a cardboard postal tube to make a small box.


It is VERY small - but the perfect size for the pansy to form a lid.
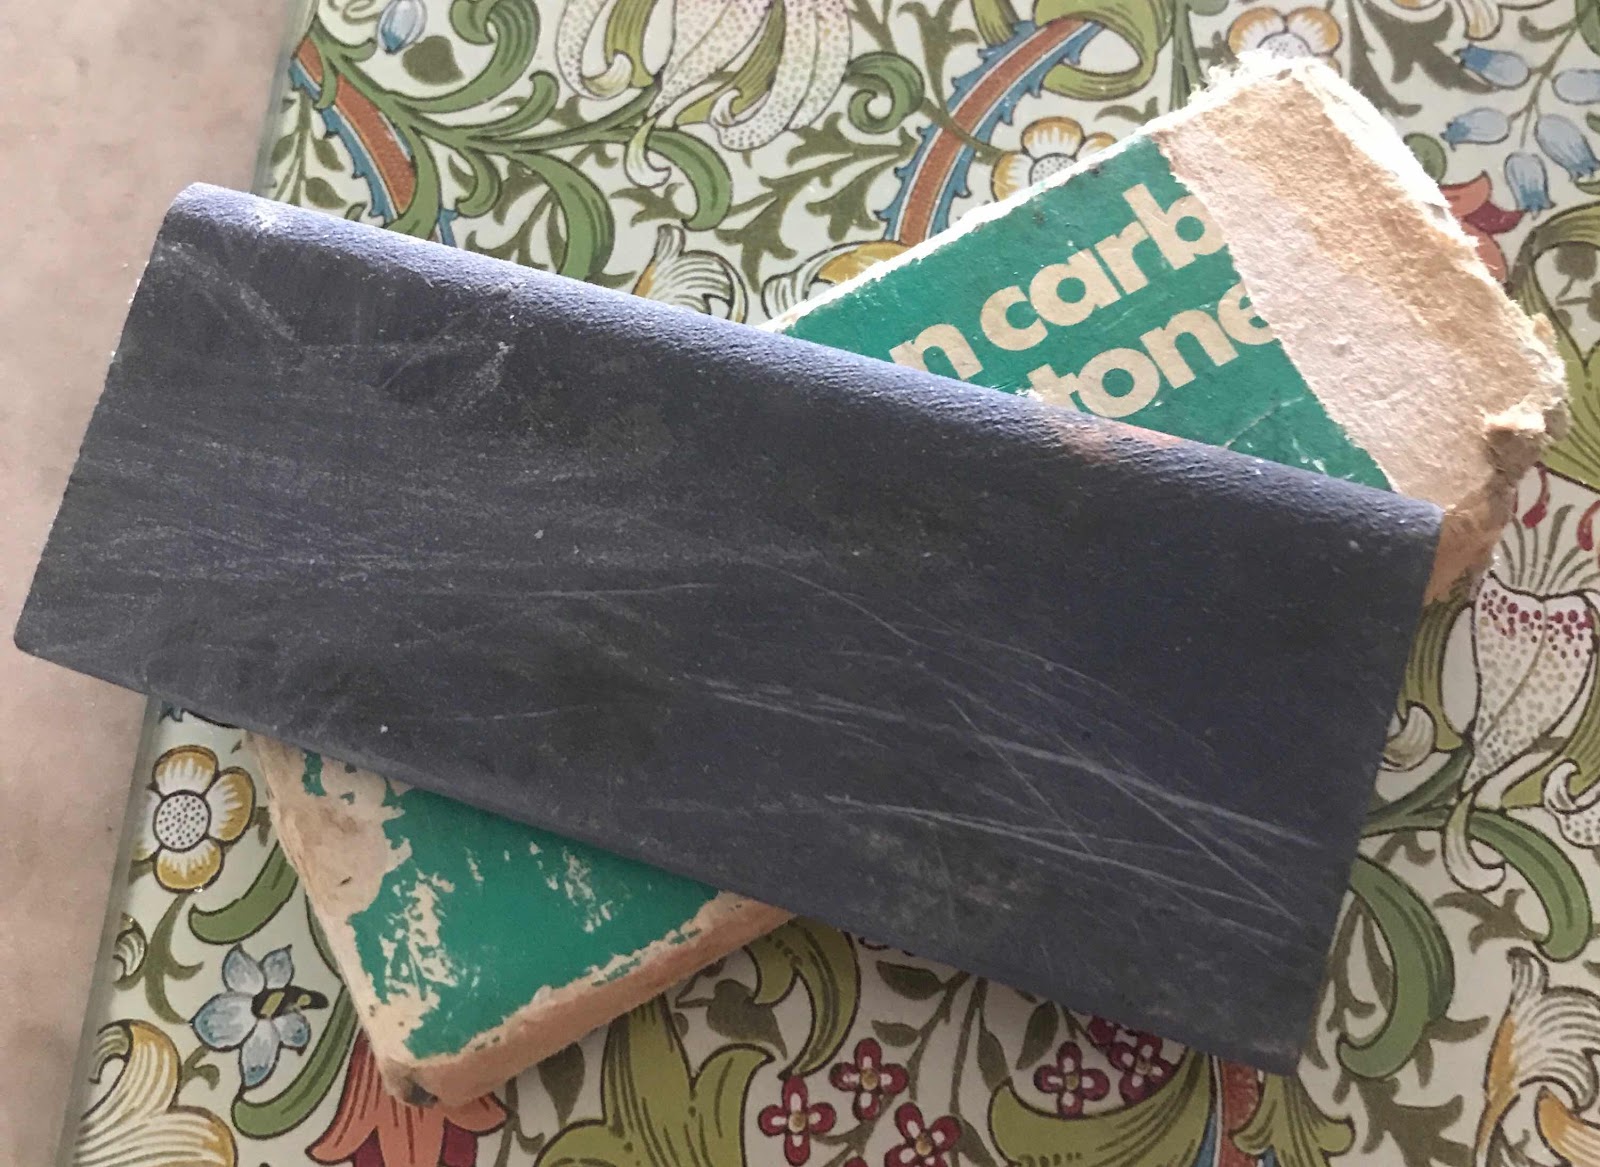
I used some acid-free backing board to cut circles for the top and bottom. While the right thickness, this was not easy to cut into small circles with smooth edges. I used a sharpening stone to file the edges smooth as best I could.
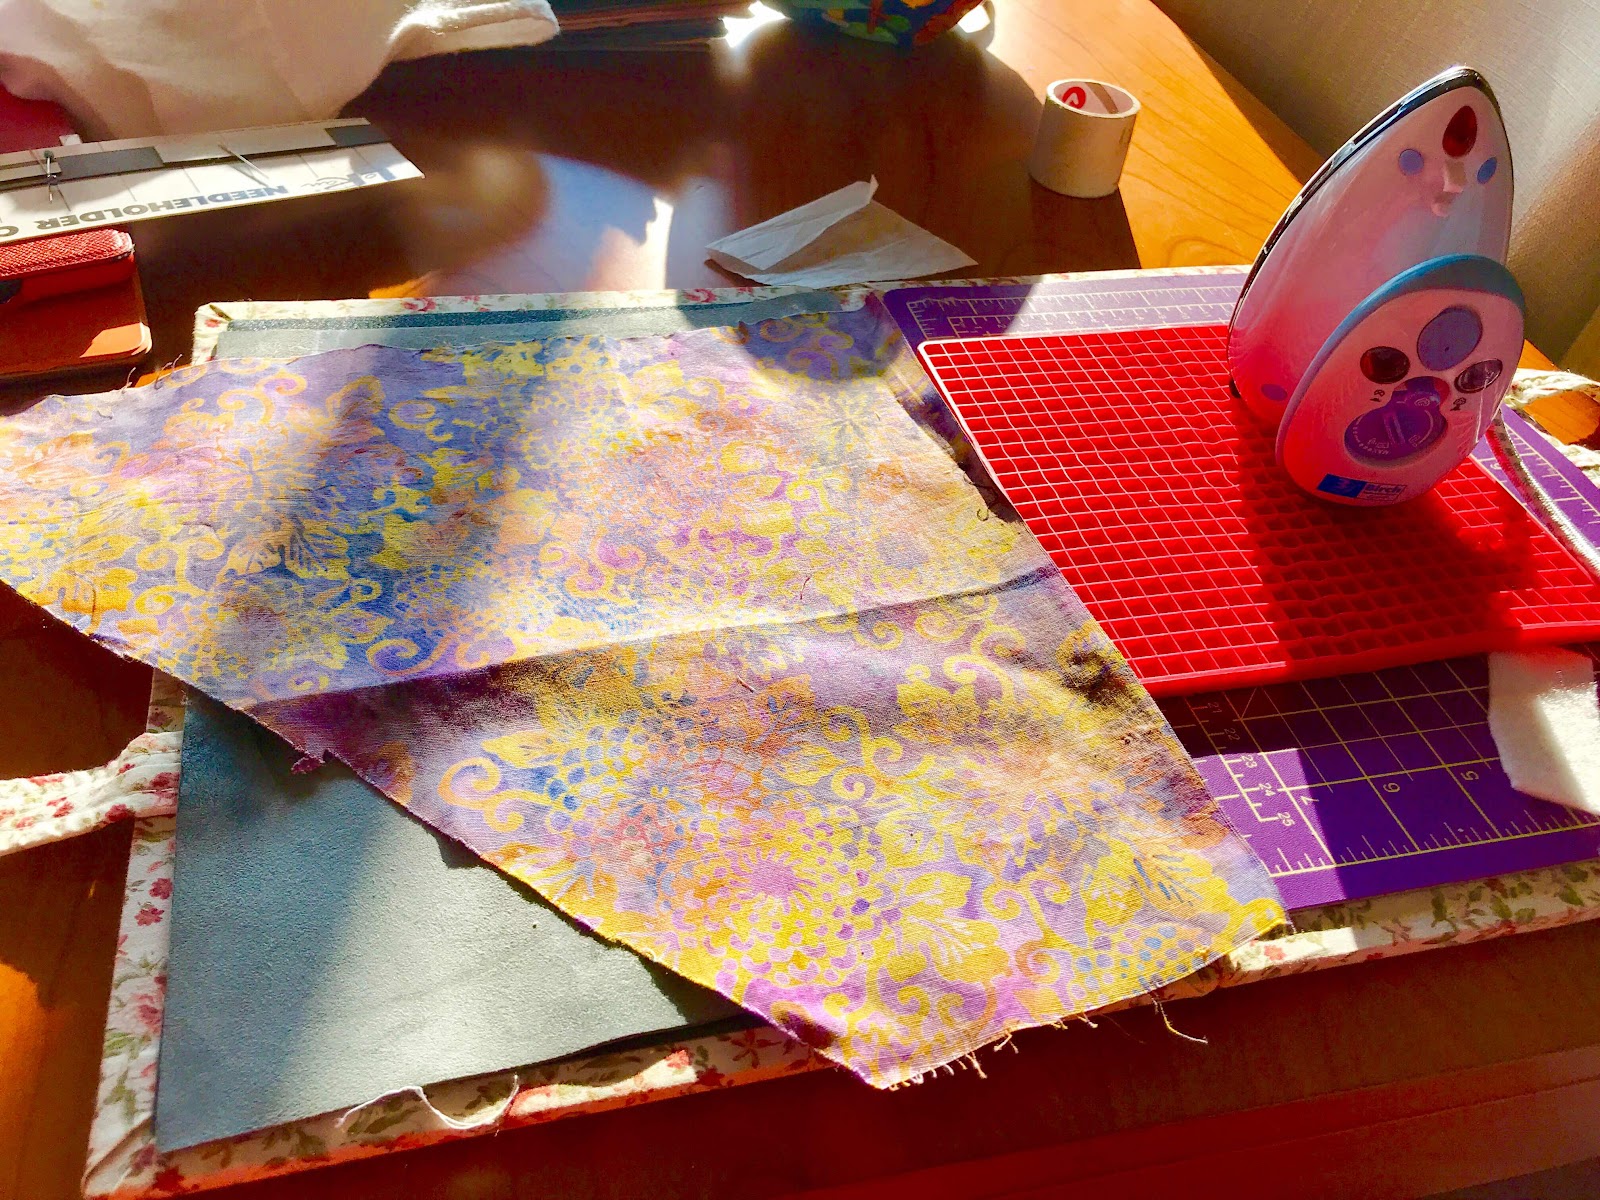
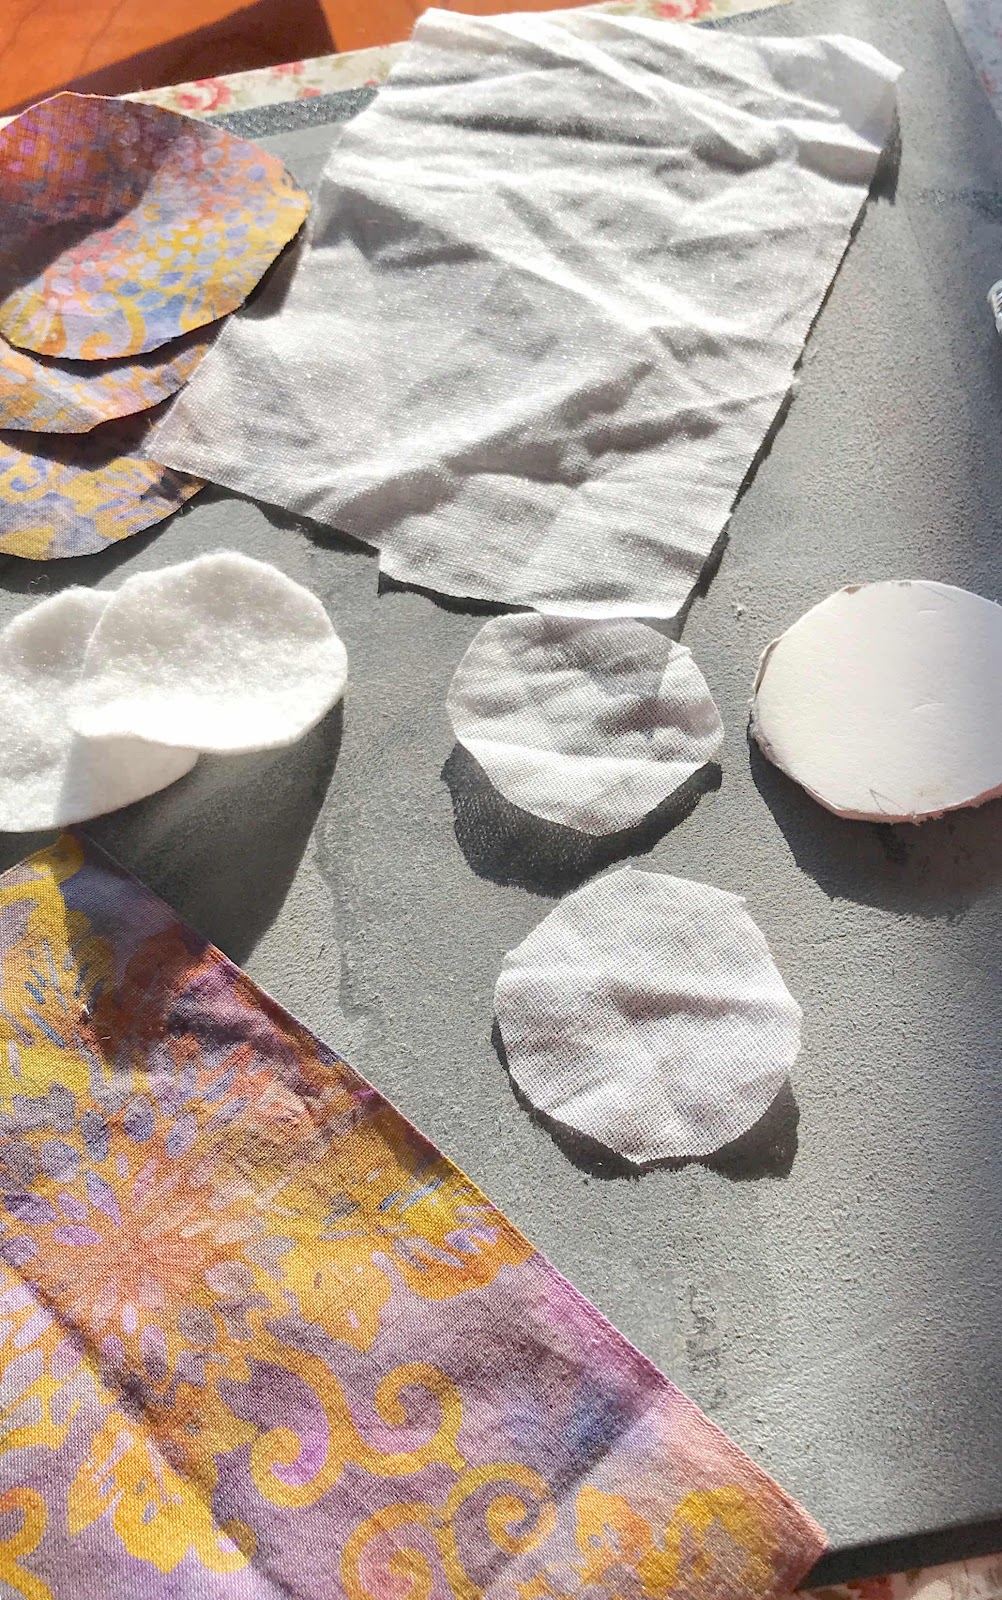
I went through my stash for fabric of suitable colour, settling on a scrap of batik.
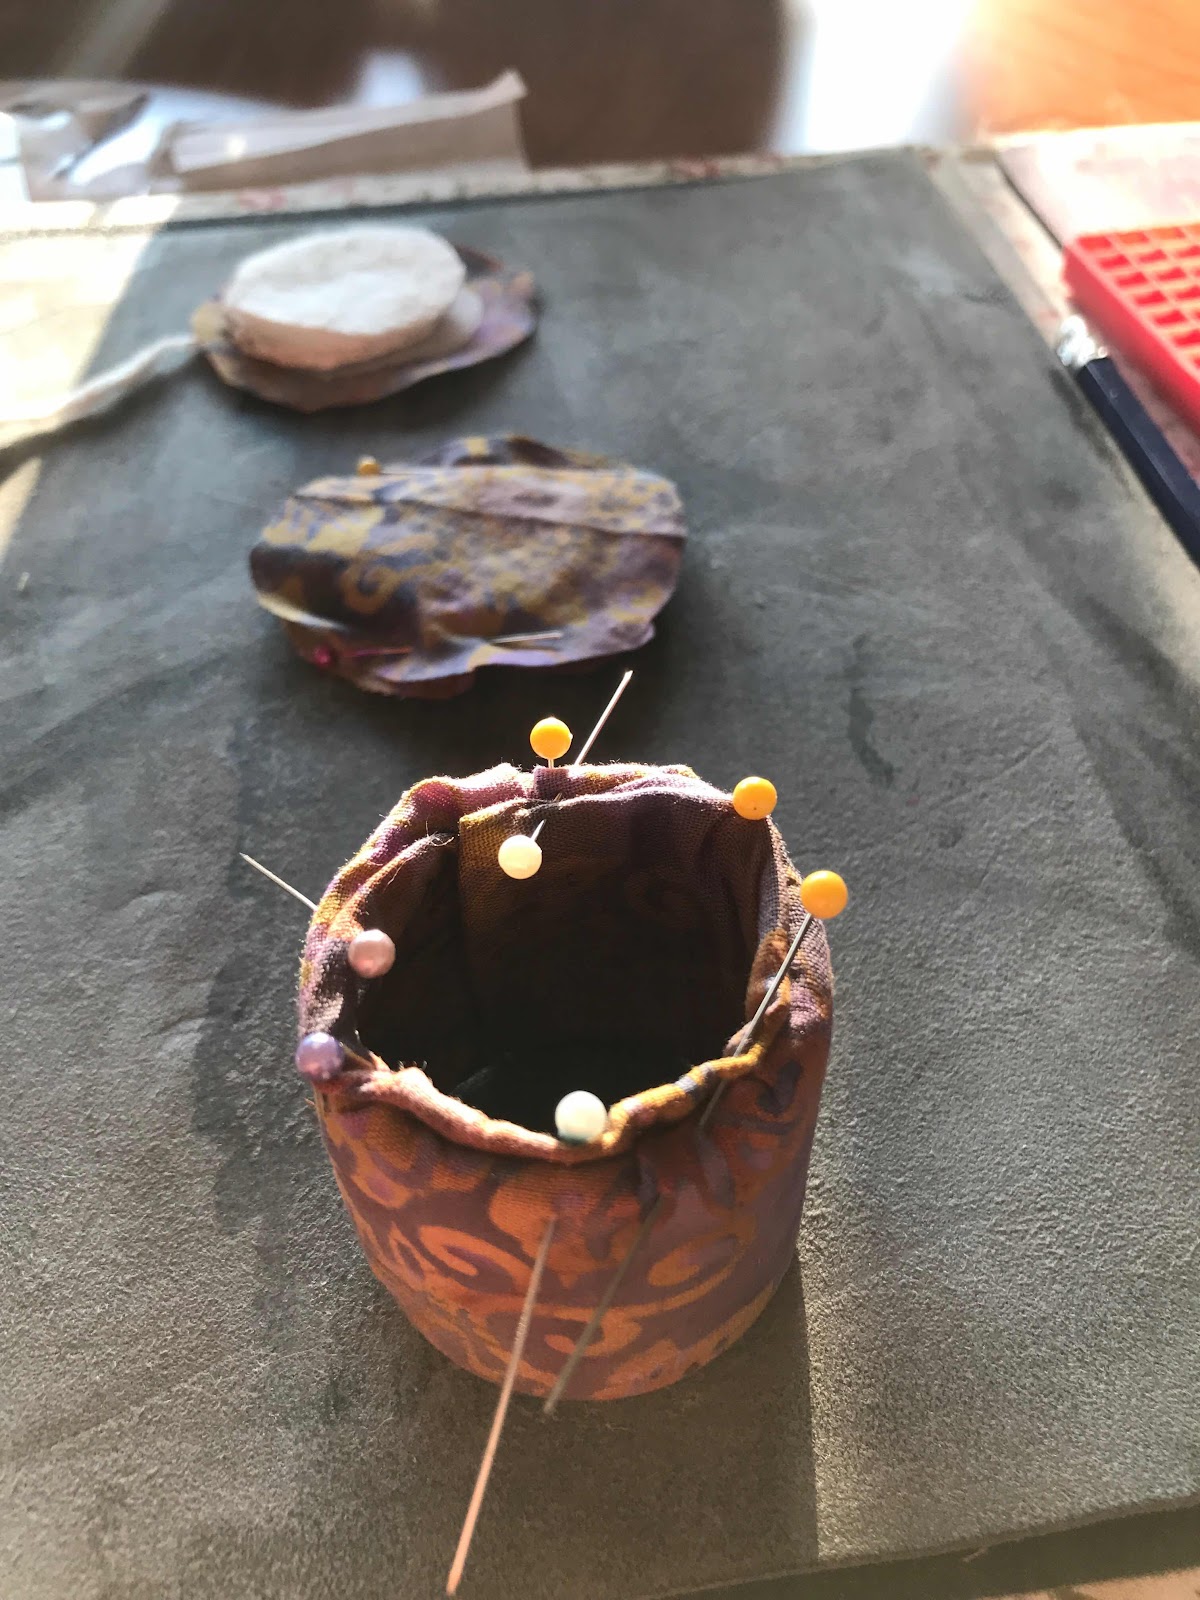


I assembled various bits of backing - both pellon and felt. I cut it all to size, ironed the pellon to the main batik piece, folded it over the cardboard tube, pinned it and stitched it down.
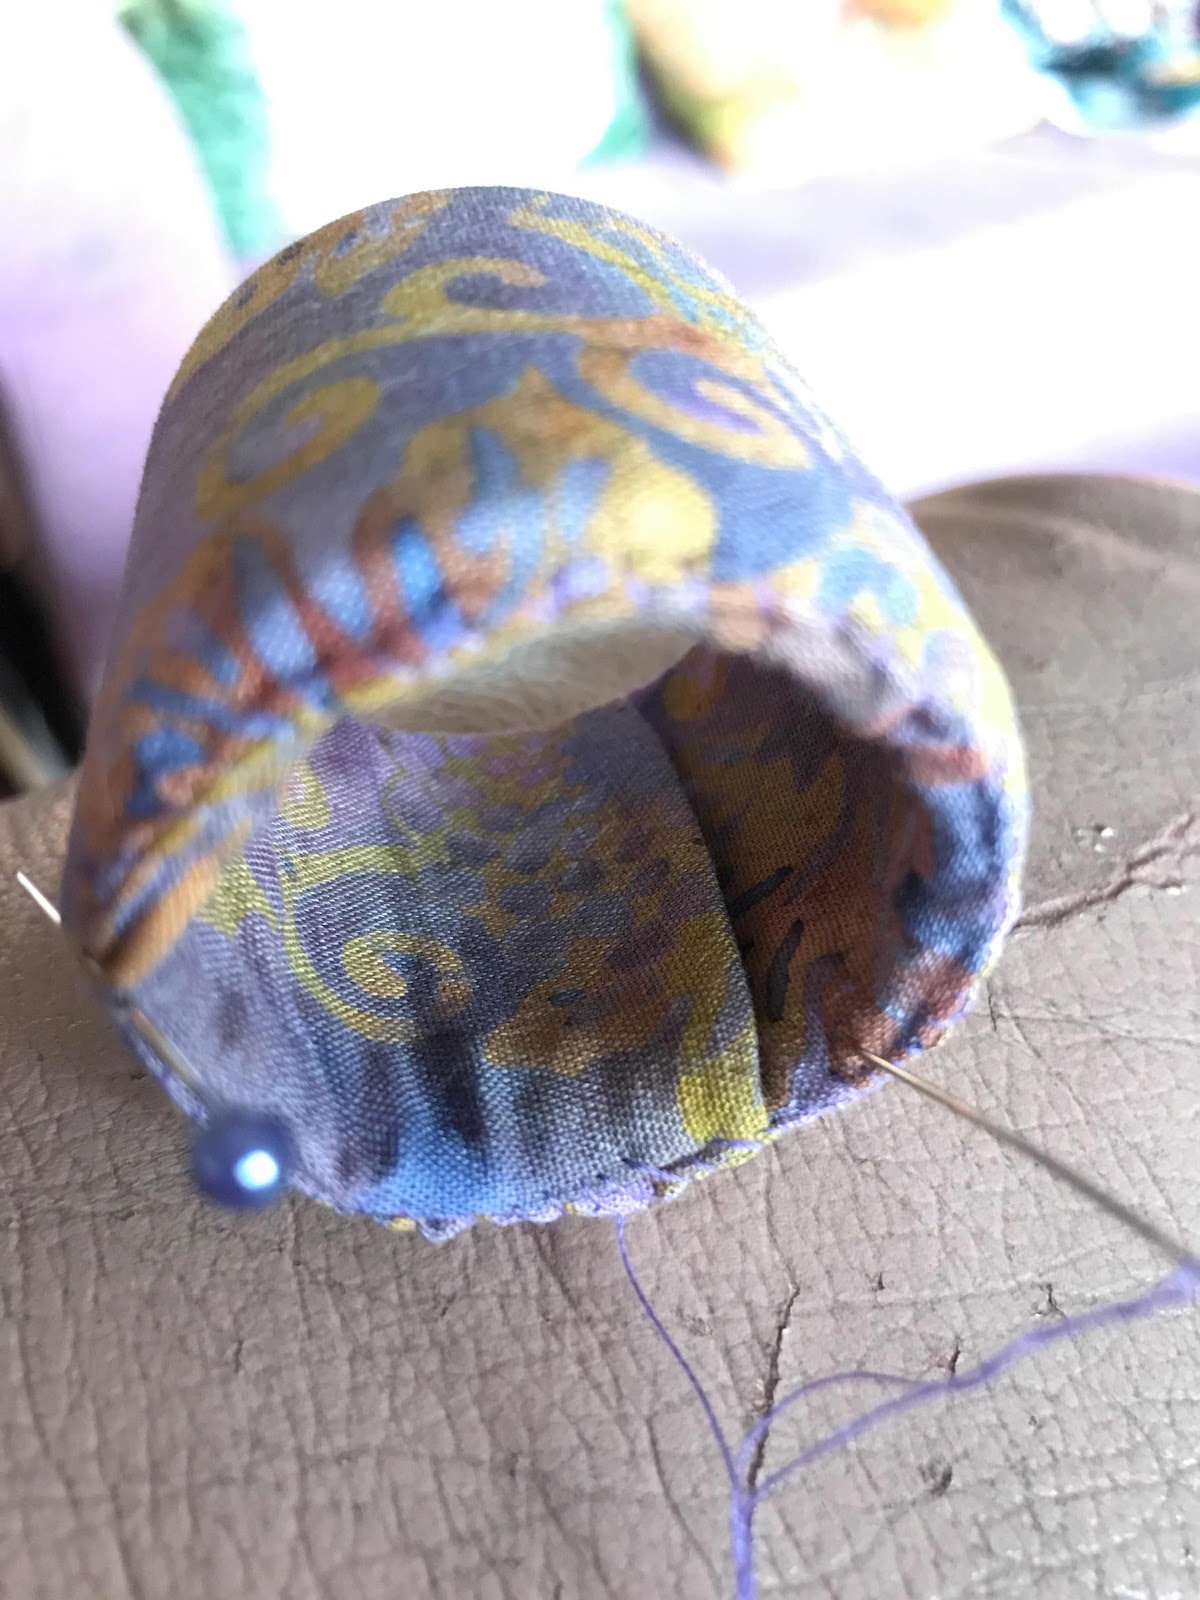
I made a base with the circles of mounting board, felt padding and batik.
I stitched in the bottom one.


The top one I used for the pansy, cutting it out and gathering it.  I cut a smaller back-board circle to fit inside the box, making a base to hold the lid in place in the box.
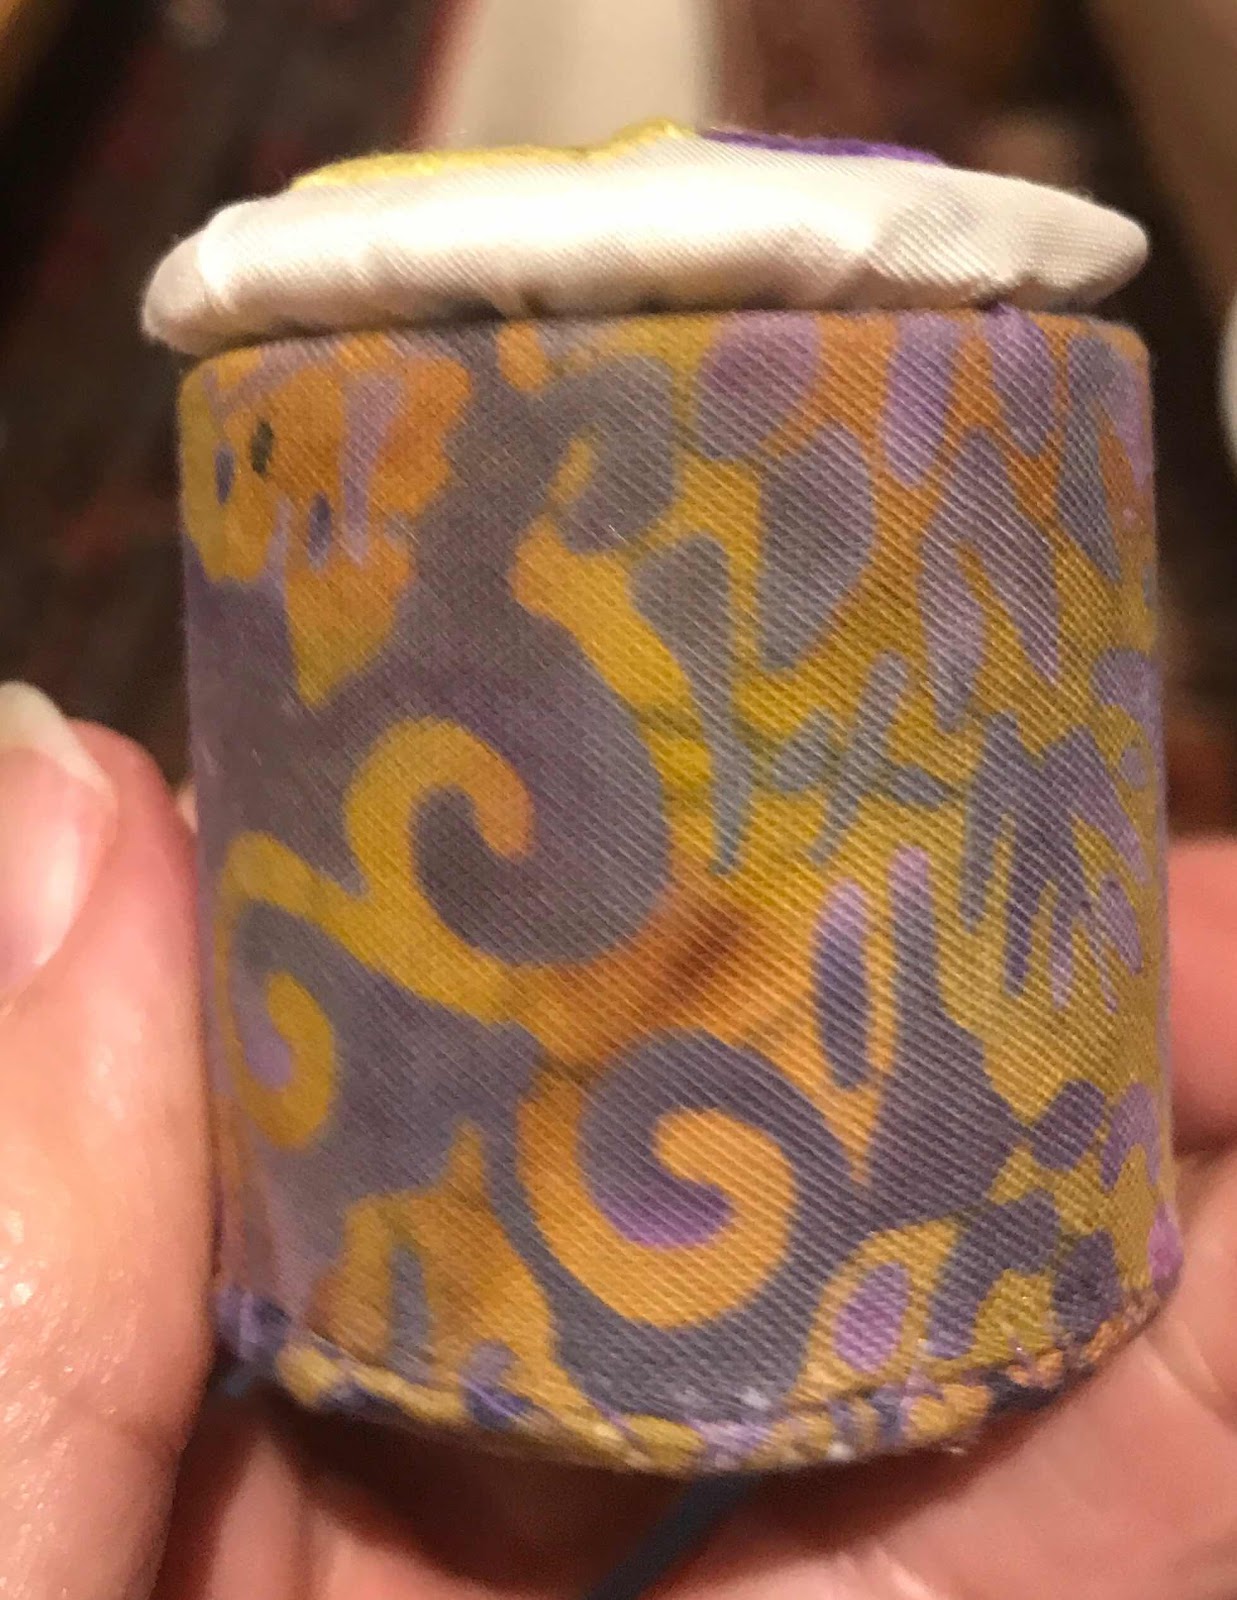


I wasn't happy with the look of the box. The lid was too much of a contrast when viewed from the side and although it fit quite well, it wasn't tight


I found some cotton lace and some braid. The braid I stitched on the inside of the lid, to help it fit more tightly.

First I painted the lace with fabric glue, then with  two coats of gold  acrylic fabric paint.

When it was dry I pinned it on, cut it to size and stitched it to the lid.


This worked well. The lid is now held firmly in place, and the white silk of the lid is not such a stark contrast to the sides of the box.


Lots of learning, along with a happy experiment and outcome.