Search This Blog

Showing posts with label Certificate Course.. Show all posts

Monday, July 14, 2025

Schwarm Workshop for Guild Certificate Course

In May Carol Stacey took a Workshop on Schwalm, a technique I have never tried. While the monthly Certificate. Course workshops are for those enrolled in the course, any Guild member is allowed to attend. They run from 9.30am to 2.30pm on the last Saturday of the month, though time after lunch is often used to help individual students with general certificate course work. I don’t always go. I really like the chance to learn in this engaged group. It's my tribe. I don’t however, want to end up with more unfinished work. I’m not good at living with unfinished work, so I pick workshops for things I think I can finish.

I was curious about Schwalm and Carol is a good teacher - one who really encourages the application of technique rather than replication. While she had a number of precut templates for us to use, she also had sheets of template plastic and encouraged us to make our own shapes.
I took up this option, and attempted to design a flannel flower. We were working on roughly A4 pieces of linen so I made the template in one piece, about 8" high. I was aiming to give myself several areas to work in different stitches, naively thinking each flower petal could be different.

Once I had used the template to trace an outline on the linen, I began the lengthy process of working coral knots all around the outline. I didn't get far in the workshop. I was soon having trouble with both my eyes and my back. The Guild chairs are  not built for sitting at length for close work. I gave up, and left at lunchtime . I managed to score a copy of Christine Bishop's 1999 book on Schwalm - a really useful  primer of stitches in the context of shapes.

It was over a month before I got back to it. It took quite a few hours to complete the coral knot outline. I needed to work in a hoop to keep tension, which largely means stabbing rather than scooping. I used coton-a-broder 25 in ecru.
When I finished I took it out of the hoop to work the inner row of chain stitch.That was much faster, and surprisingly, was OK on my hands.
The hardest part was the removal of threads to create a stitching grid. I began with the easiest bit - the centre of the flower. I now know why Carol's templates were all simple, regular shapes.

I used a green coton-a-broder 16 to work the centre, using the Algerian Eye stitch filling from page 22 of Christine's book. Using colour is not part of the tradition, but the temptation to add the characteristic green centre of the flannel flower was too great for me to resist, especially since I had the perfect colour in my coton-a-broder collection.
I had realised by now that trying to work different stitches in each petal was a bad idea. The spaces were hardly big enough and I could see no way of dealing neatly with the intersections.
Removing threads from the flannel flower was tedious and slow. I needed to remove them from the whole flower in order to ensure consistency. It took patience, magnification, very sharp scissors and lost of clipping. I decided to use the single feather stitch motif on page 28 of the book. It proved a bit tricky but did allow me to keep  a few long lines moving.


It is a long way from perfect, but I'm OK with it. It does give a sense of consistency and texture.

Originally, the centre was the only part I planned for green, but I now got bold, and used the honeycomb stitch from p21 for the remaining leaves. I also added a touch of green to the stems, a single line of chain stitch. 

I'm pretty pleased with the result. here it is straight out of the hoop


Today I ironed it and found linen to back it and a cotton batik to line a bag of roughly the same dimensions as the Glazig bags.  I considered a cushion, or even hanging in a hoop, but thought it might get used as a bag.


I had been thinking of a silk lining, but didn't have any green, which I thought was needed to show through the gaps. Did I need to stitch with green thread? I stand by that decision.


The back linen is a bit darker than the embroidered piece, but I think that's OK. The zip is white. Ecru would have been better, but with different shades of linen, no colour would have been perfect. 


As it is, I'm happy with the result. It is a sampler of a kind, I've learnt a bit about Schwalm, and had a go. 
And there's a decent bag to show for it. My idea of success.


Sunday, June 29, 2025

Certificate Course Workshop:Sue Spargo Style Applique

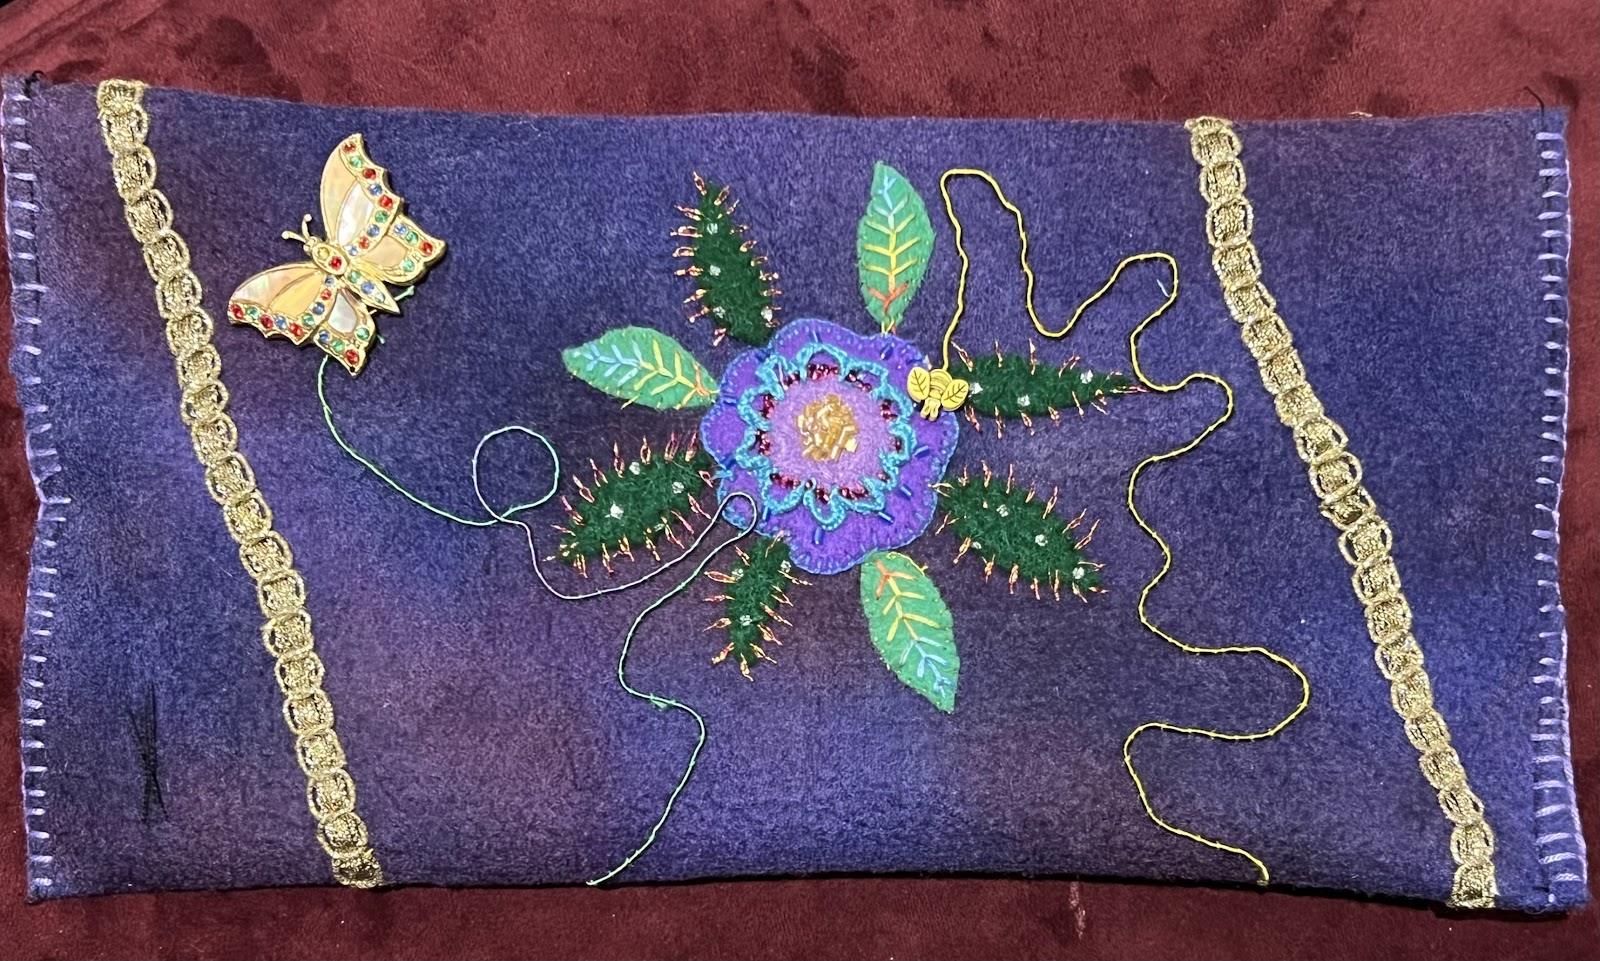
This month's Certificate workshop was taken by Christine Bishop and focused on a basic design from Sue Spargo's Creative Stitches 2nd Edition in the suggested form of a sampler and pincushion. I had a piece of hand-dyed fine wool felt in a lovely purple colourway, which I used as the background fabric. I took a range of felt pieces for the flower and leaves. I enlarged the outer flower a little .The original design had four leaves. I experimented with various colour green for leaves. 

I had a very small piece of felt with silver spots printed on it, which I thought might provide a lift. In the end, after consulting with others, I added another four leaves, five in the spotted dark green and three in a lighter colour. 
I found a fine metallic and used one strand of gold together with one strand of red for the single chain stitch edge on the dark leaf, and a variegated stranded cotton for the lighter leaves.

I had expected to use the same variegated thread for the buttonhole loops around the inner circle, but rejected it.  In the end I settled for a blue cotton, left over from Evil Eye embroideries. I added gold chip beads (also left from Evil Eye embroideries) to the centre.
When I chose the background felt I did so thinking it would be a shame to cut it for a pincushion, and it might be folded into a pouch. 

Christine gave us a bee button and I had identified a butterfly brooch from my tin of bits of bling. I decided to connect them to a flight path using gimp and the full length of the fabric.


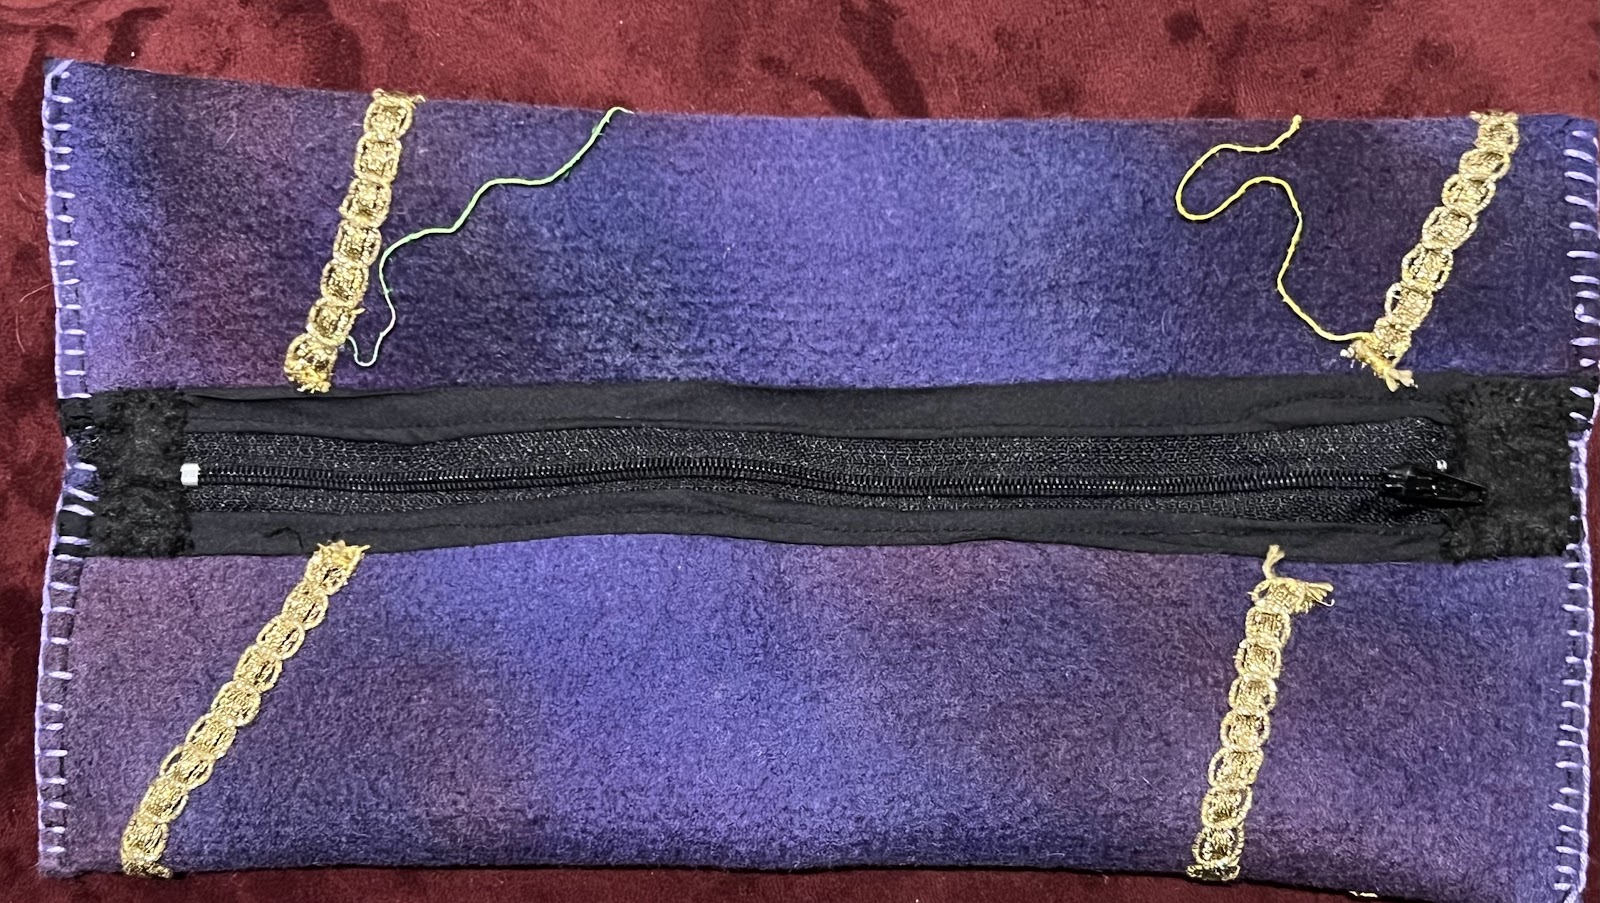
I folded it in half, stitched the edges down on the machine, and added a zip at the back, using bias binding between the zip and the felt in case the edge catches.


The side edges needed a finishing touch of blanket stitch in mauve. Finally, I added a couple of small felt squares to cover the end of the zip.


It looks nothing like the pincushion template, and I have more pouches than I can use, but I'm very pleased with this one. I have enjoyed two days of simply messing about with colours, fabric, threads, bling and ideas. And I really like the result.
Great workshop.

Thursday, February 20, 2025

Huckaback on Aida Centre finished for now.

Returning to the Huckaback on Aida border I created as a result of the Embroiderers’ Guild Certificate Course Workshop in January, I decided to add to the centre. I had purchased a pattern for a Hamsa from Etsy for the talk I’m giving later in the year on the Evil Eye in Embroidery. As I had no plan for it beyond working it as a sample, it seemed this was an opportunity. The pattern came with instruction for working it in 22 shades of blue cotton. Hamsas, however, are worked in red in a number of cultures. If anything, red amplifies the protection - and fits my colour scheme!

I therefore gathered all the Perle 5 threads I had in shades of red and set to work. I didn’t try to follow the shading on the pattern, rather began with what I had and made it up as I went along. I reverted to perle 5 because this was a cross stitch pattern over one square of Aida and perle 3 would be too bulky.

In fact tent stitch was more than adequate with perle 5. I worked the basic outline using about 6 shades of red.

I didn’t want so much white space, so added extra flames in shades of orange. 

At the workshop it was suggested that I put this in the Guild Exhibition, so I had a deadline. 


While I’m happy with the remaining white background , it should be filled with white, or ecru, stitches rather than left, as it is, with the Aida as background. I simply ran out of time.

As it was, I took it out of the hoop at midnight last night and dropped it at the Guild today. I haven’t decided yet whether to use it as a sample, a cushion or a bag. Probably the last. I will decide after the WES talk in May. 

For now I’m happy with the result of the experiment of Huckaback on Aida resulting from the workshop. It’s been a lot of fun and learning, the way I like it: flying by the seat of my pants! 

I didn’t have time to block it, but steam-pressed it this morning. I can still see a faint hoop mark, a sign of a woman who is no domestic goddess, but tried. 🤷🏻‍♀️


Friday, February 14, 2025

Certificate Course Workshop: Designing with Huckaback on Aida

 The first Guild Certificate Course Workshop for this year was Designing with Huckaback on Aida, taken by Carol Mullan. It was an intriguing topic. I have done quite a bit of Huckaback over the last 15 years, either on Huckaback  fabric or monks' cloth. Using Aida opens up possibilities of combining the Huckaback technique with other counted techniques.

I didn't have much Aida in my stash, but found a piece I had bought from the Guild trading table. It was 35cmx42cm and had been edged with bias binding and tacked along the centre lines.  It would do, I thought, for the requested A4 working fabric.

However, once I read Carol's notes and assimilated the ideas she presented, I got inspired to design and work it as a whole piece. So, while the rest of the group was playing with manageable samples, I launch into A Project!

I had taken the requested selection of threads, but, with the whole-piece design in mind, I selected a group of perle 5 threads from the trading table in a colour way inspired by the pink border.
 I selected a standard Huckaback border pattern and worked it in three shaded rows, dark to lighter, all the way around, making a few adjustments in count along the way to fit the piece, which, I am sure, was not originally intended to accommodate the floats in the fabric as well as the spaces between them. 

Back at home, I spend a bit of time going through books, looking for ideas for filling. I favoured Kogin, a Japanese straight, two-colour, counted stitch with many possible patterns, but when I tried it, I realised the width of the Aida squares meant that even using a Perle 5 thread, I would not get coverage of the fabric.

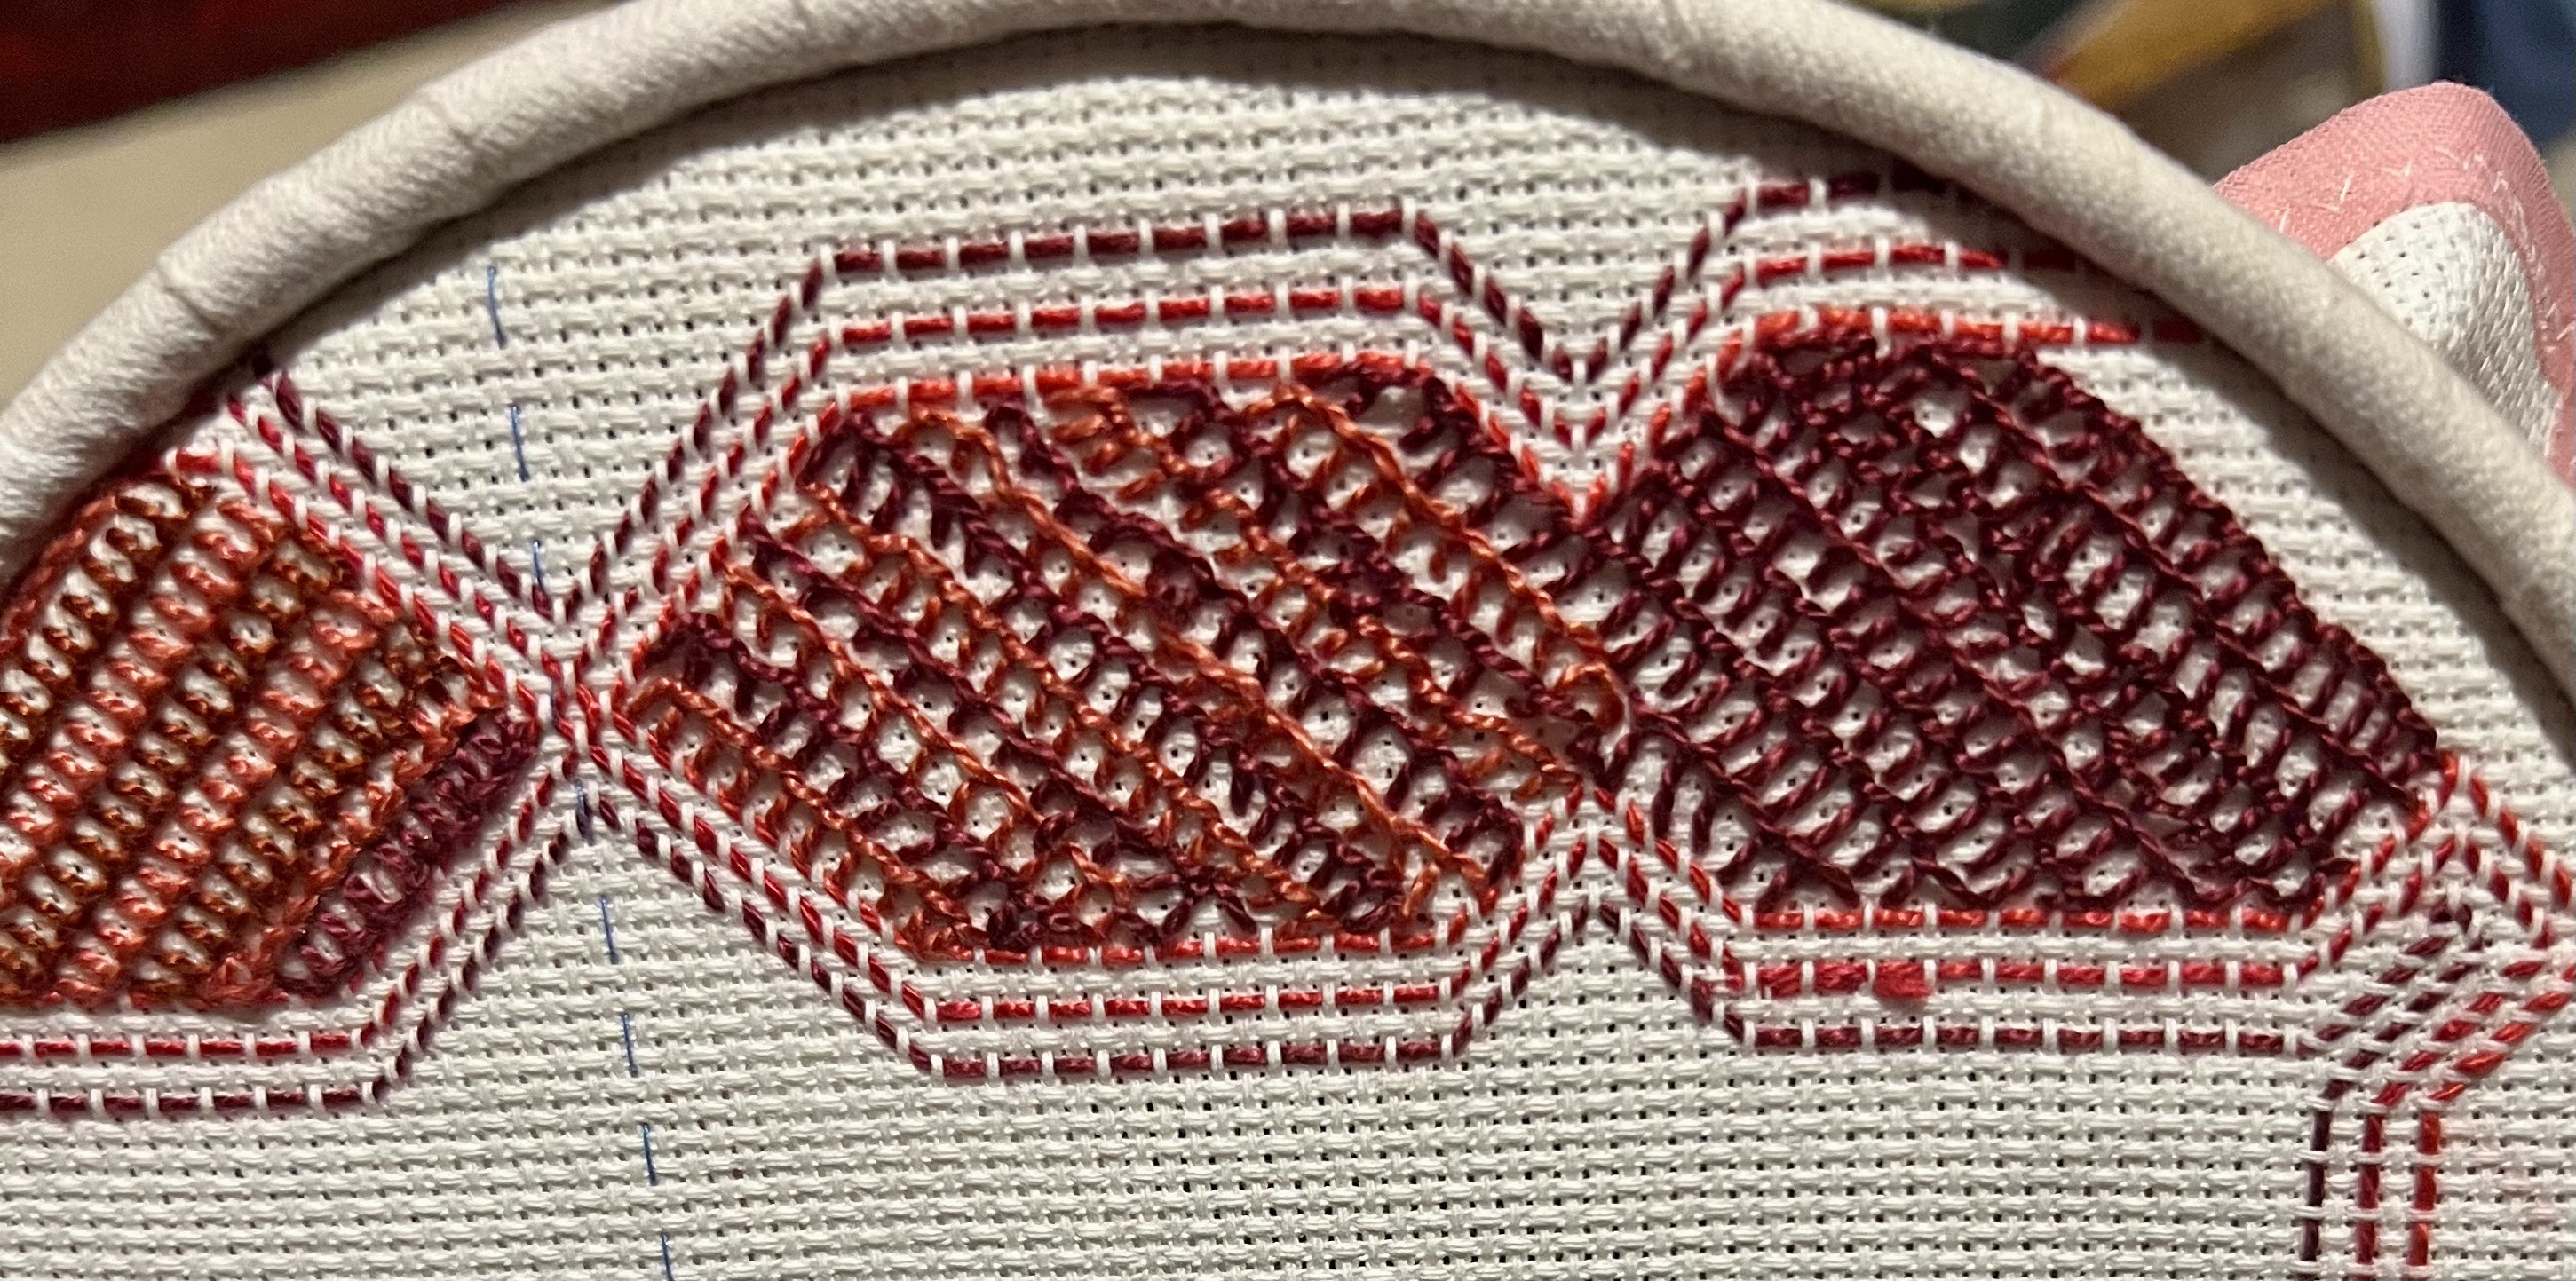
So I began to experiment with stitches. Rows of chain stitch gave good coverage, weaving a web with an uneven number of spokes gave decent coverage. Because I was working in an elongated shape it didn’t fill the space, but I like the look. My straight stitches on the corner (left above) didn’t work well, even after I couched them down.
It finally occurred to me that a perle 3 might be better. I only had two perle 3 threads in the red-orange- pink palette, but they made an immediate improvement in coverage (left). The contrast isn't great, but better than the photo suggests.


The next section began as feather stitch. The diagonal rows looked so good I continued, making it more like an open buttonhole stitch. As I only had two colours to work with, I improvised stripes.

I experimented a bit, working the rows from left to right only, then working a return row from right to left. The latter didn't work as well. 

Opposite, I worked a similar pattern in two shades of perle 5 to contrast coverage. Niamh adviced on the contrast colour - and she was right, it harmonises!
By now a hoop was needed. While Huckaback needs to be worked in the hand,  filling is much better (especially with my right index finger out of action  from surgery!) in a hoop. It was close to the hoop edge, but just enough to hold.
That left one side, on which I experimented with Bargello. This was almost back to the original Huckaback design concept, using the whole fabric thickness rather than the floats. 

I dashed off to Create in Stitch to buy more perle 3. The colour choice is limited , but good enough to for a decent Bargello coverage.

So here is the finished piece, straight off the hoop ( as you can see!).

I have a plan for the centre, which I will attempt in time for the upcoming Guild Exhibition (submit next week!). Hopefully I will have a result to post by then. In the meantime I’ve had fun with this and learned a heap. 
One of the best workshops ever.


Saturday, March 30, 2024

More Glazig Workshop preparation

Over the Easter weekend I have made an effort to work the two samples I need for the Workshop I have to give later this month. I was hopeful this is the last of my preparation, following the printing of notes and linens earlier this month. 

The samples are about 2" square. While they are not overly ambitious, they each require 5 or so different stitches and the use of Au Ver a Soie Perlee thread - quite a bit to get used to.

I worked in a seated hoop stand. I needed both hands to maintain tension, as well as protecting my wrist.

I used the smallest piece of linen I had printed for the first one - figuring better for me to use than a student. I stitched it to a piece of old sheet to fit it into the hoop.

It was relatively straightforward until I came to the open chain border, which was very awkward to manage in the hoop, so I ended up taking it out and working it in hand. 

The green section is a feather stitch, the beige ones and the pink flower are buttonhole stitch (one close together, one further apart). The red flower and the yellow centre are eyelets, the purple corner is woven and there are three varieties of chain stitch.

It's a bit rough. I needed magnification. The silk is lovely to work with and largely holds its twist. 


The second sample was in most ways simpler. The leaves and dark berries are buttonhole stitch and the red flowers eyelets. There are three versions of chain stitch. 

The photo here shows my waste knots and the simple chain stitch border before embellishment.

The embellishment proved  a bit tricky. The stitch chart lists it as chainette surjetee. The diagram suggests a series of loops under each chain stitch without anchorage. Searches in Jacqueline Enthoven's The Stitches of Creative Embroidery produced no likely stitch. In the end, I came up with a version which gives the side loops indicated in chainette surjetee and is held in place by weaving under and over each individual chain.

It will be interesting to see what the Certificate Course students come up with.


I'm a bit concerned I may not have provided enough thread of any one colour for students, especially for the daisy flower in the first sample above. I intend, however, to give them the option of cutting another length from the spare reels I have. The colour choice isn't great, but this is expensive thread, and we are, after all, learning about it.

I did enjoy this second sample, perhaps because of the colours I was using. perhaps because the border, however puzzling, was neater and easier than the open chain of the first. 

I'm no expert in this area, and I'm looking forward to learning more from the workshop as we figure it out together.


Sunday, September 3, 2023

Canvas Stitches on Linen Madness

On the last Saturday in August I attended a Guild Certificate Workshop on Canvas Stitches on Linen taken by Margaret Adams. I worked on some 22 count Permin, rather looser weave than the samples most worked on. I felt a bit regretful when I saw the quite delicate pincushion results of others. I had also picked dramatic rather than gentle colours.

Margaret provided heaps of information and samples. Her design left plenty of room for improvising and personalising.

I was having a fine time playing with the stitches and kept going when I got home. I found it hard to put it down.

It brought back to mind my High School Maths end of year activity - what our teacher called 'mathematical sewing'. We drew geometric shapes on card, marked the outlines in pinpricks every 1/8", then used a needle and thread to stitch from one hole to another - straight lines creating curves. This is essentially what we were doing here on linen. 

This is roughly according to Margaret's sample.


I checked out books I have on Bargello, canvas work and tapestry to fill in around the sample stitches.

I didn't need a pincushion, and this was getting too big and too textured. Obviously it needed to become a bag.

I added another border to make it easier to back. At the same time I hunted through my stash for lining and backing fabric, coming up with a shiny synthetic and a little bit of red velvet.


I couldn't decide between them, so took them along to the Junior Embroiderer' Group on Saturday and asked their opinion. They were really helpful - and quite clear. The velvet should be used for the back and it should be lined in shiny pink.
It took me a couple of hours of ironing, measuring and testing to get this done, but I got there. I had originally intended to close it with a zip, but changed my mind and designed a flap and looped fastener - using a good luck charm given to me by the monk Jim used to meet with to practice English and learn Buddhism.   

The pouch is for two of my red necklaces.

It's not perfect - but it's finished, I've learnt a lot, it uses thread, fabric and decorations with memories, I like it a lot and it has a use. My kind of result.

Thanks Margaret and JEMS.