Search This Blog

Showing posts with label tassel. Show all posts

Saturday, September 21, 2019

Filet lace workshop

The August Embroiderers' Guild of SA Certificate Course workshop was taken by Deb Richardson and focused on filet lace. I knew nothing about filet lace, and had been unable to source locally any of the fish-net on which it is stitched. Deb, of course, had prepared a little kit for us to use and a design small enough not to be daunting, but large enough to try out five different stitches using three different thicknesses of thread.
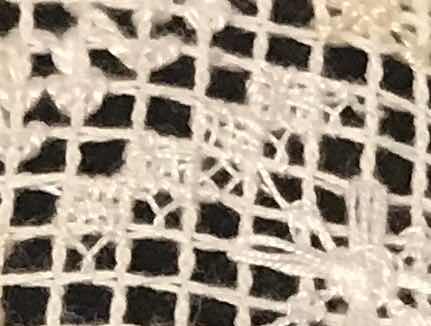
I found some of it (mostly the woven section using 12 pearl thread) very hard on my eyes and I had not thought to bring magnifiers.

I wasn't sure I would finish it, but I picked it up a couple of weeks after the class - with a magnifier - and had another play. This time I managed the weaving.
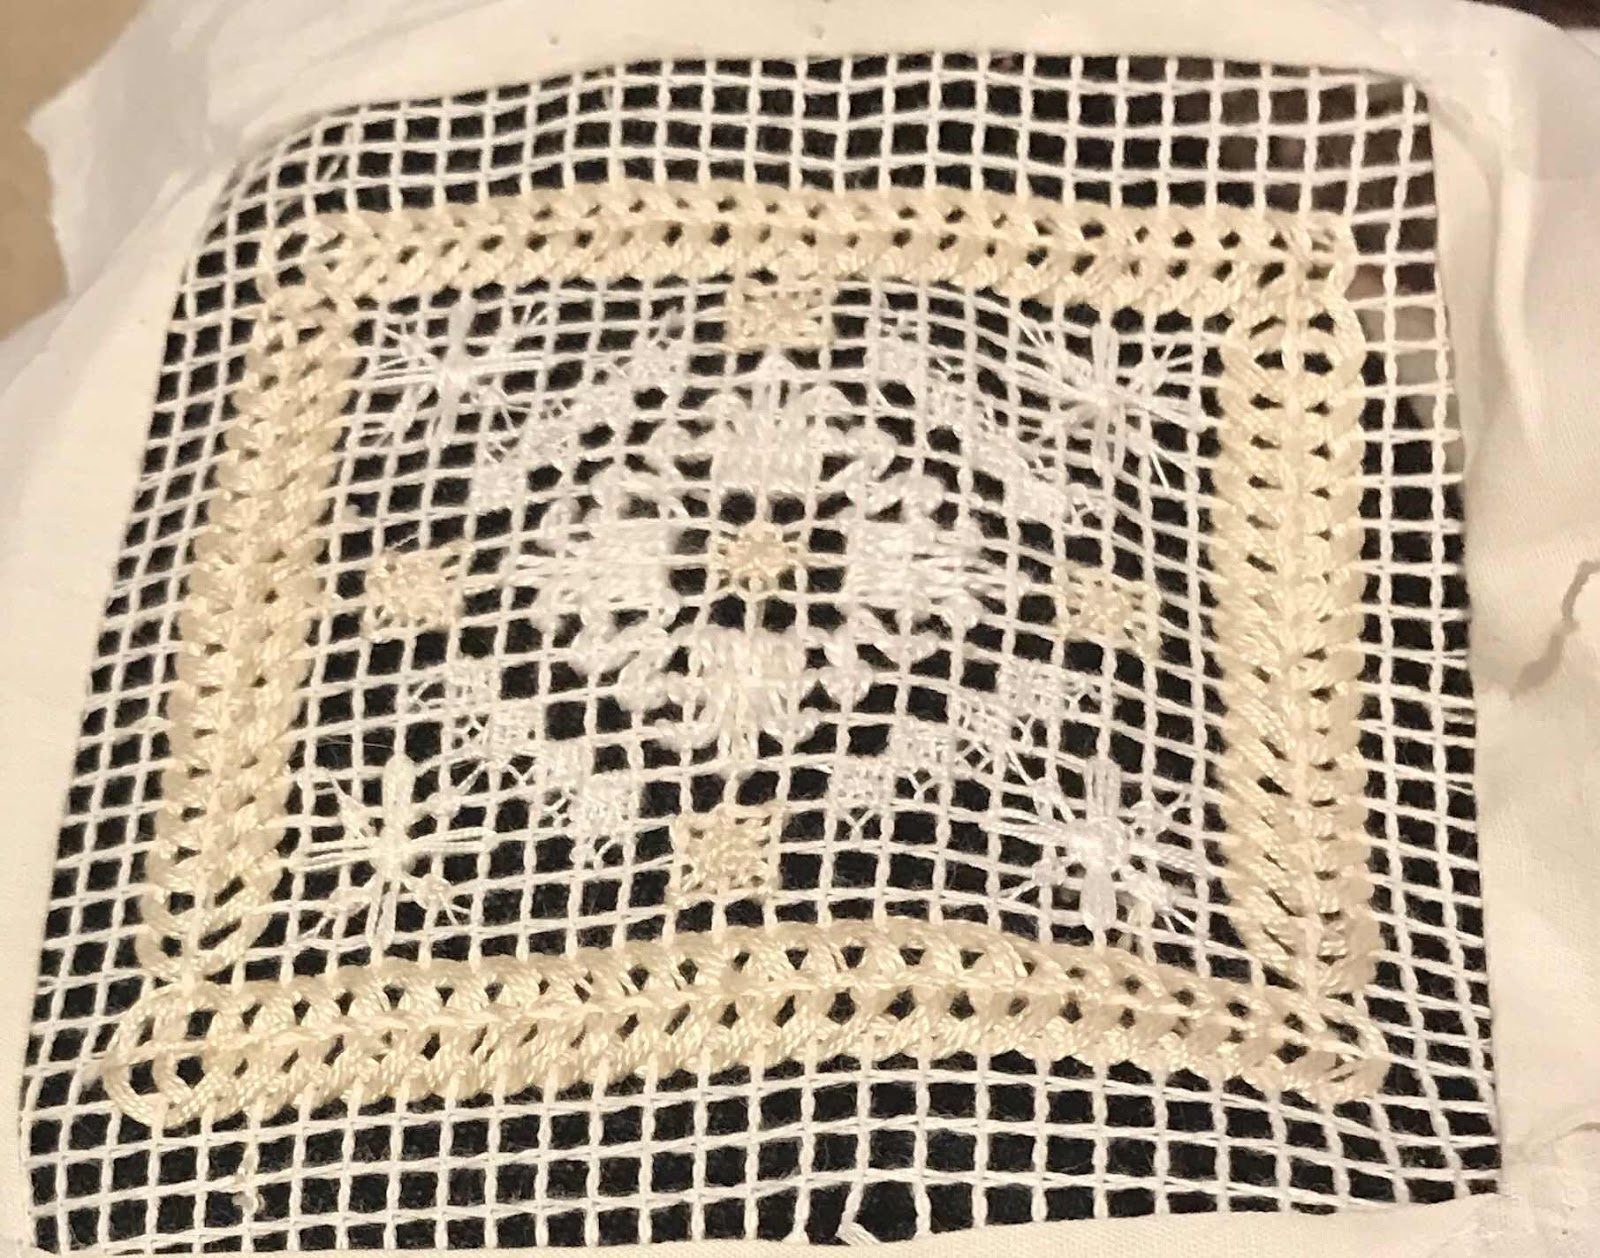


This is my finished piece.

It is an adaptation of Deb's design as I stuffed up the border placement. When I began I was focused on learning the stitch rather than placement. The top and bottom borders should be shorter, so that the corners are open.


The pieces Deb had prepared were generously backed with calico, which we cut away carefully before beginning to stitch.

This provided a means of mounting the finished piece on to something else. I, of course, thought I would mount it on a bag.


I dug out a few pieces of fabric I thought might work and consulted with Katherine, Niamh and Veronica.
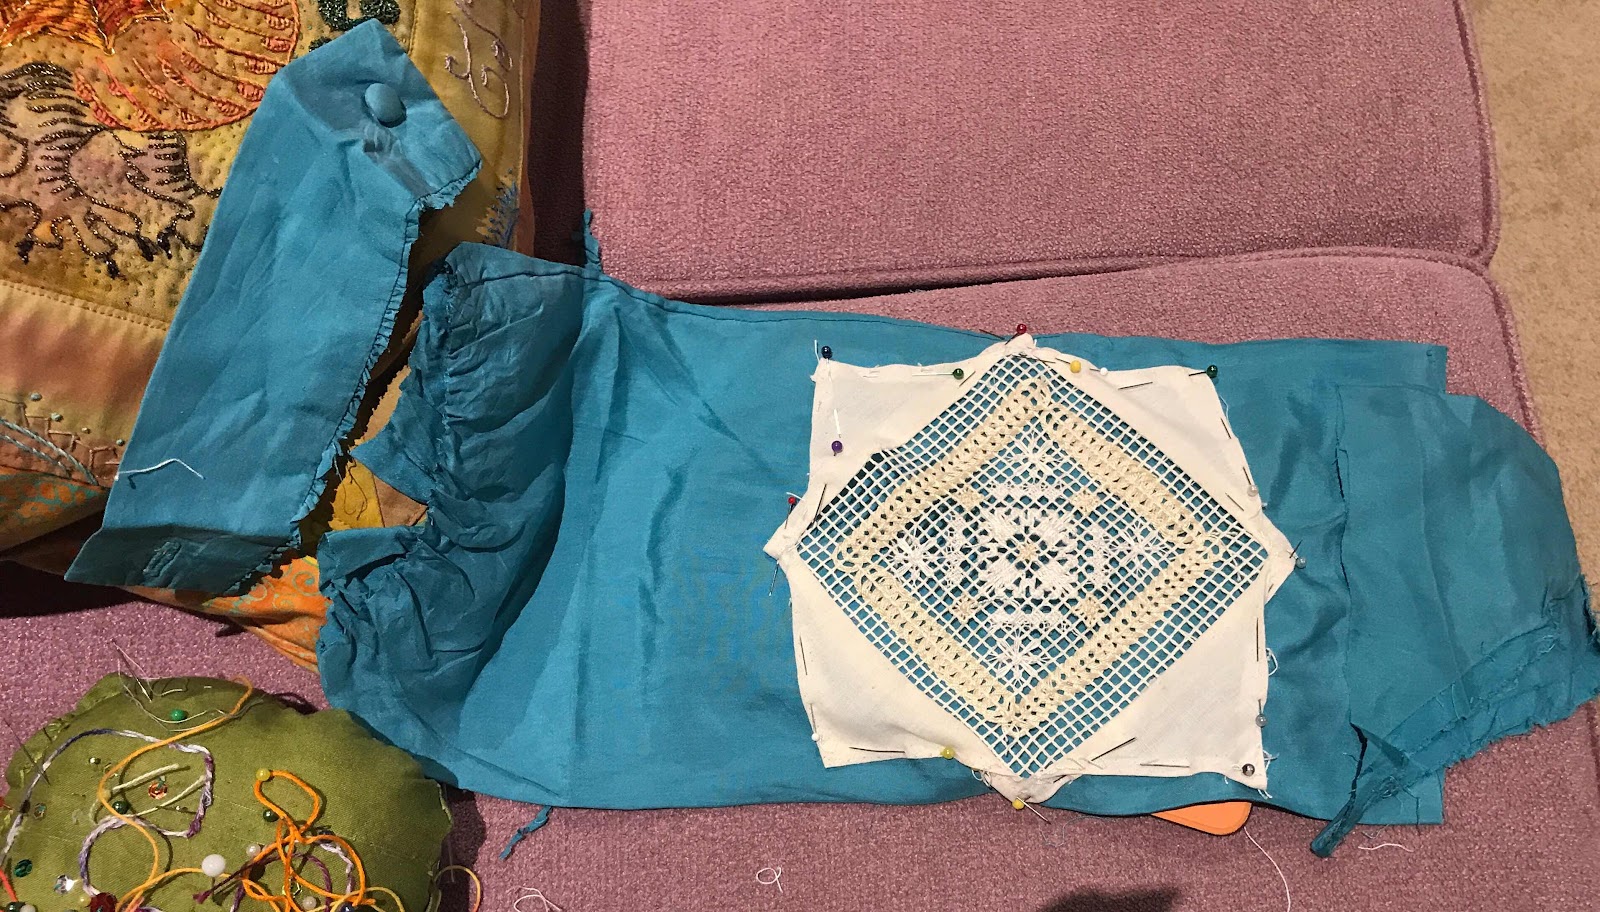
They chose this blue silk sleeve. My mother bought me the Italian silk in Italy in the 80s and I made myself a shirtmaker dress. It has long gone, but I kept (for some reason I don't remember) a sleeve from it. The colour shows up the filet lace quite nicely.

I removed the cuff, undid the gathering and squared off the shoulder fitting, to make a long thin bag that will hold (if all else fails) a bottle of wine.
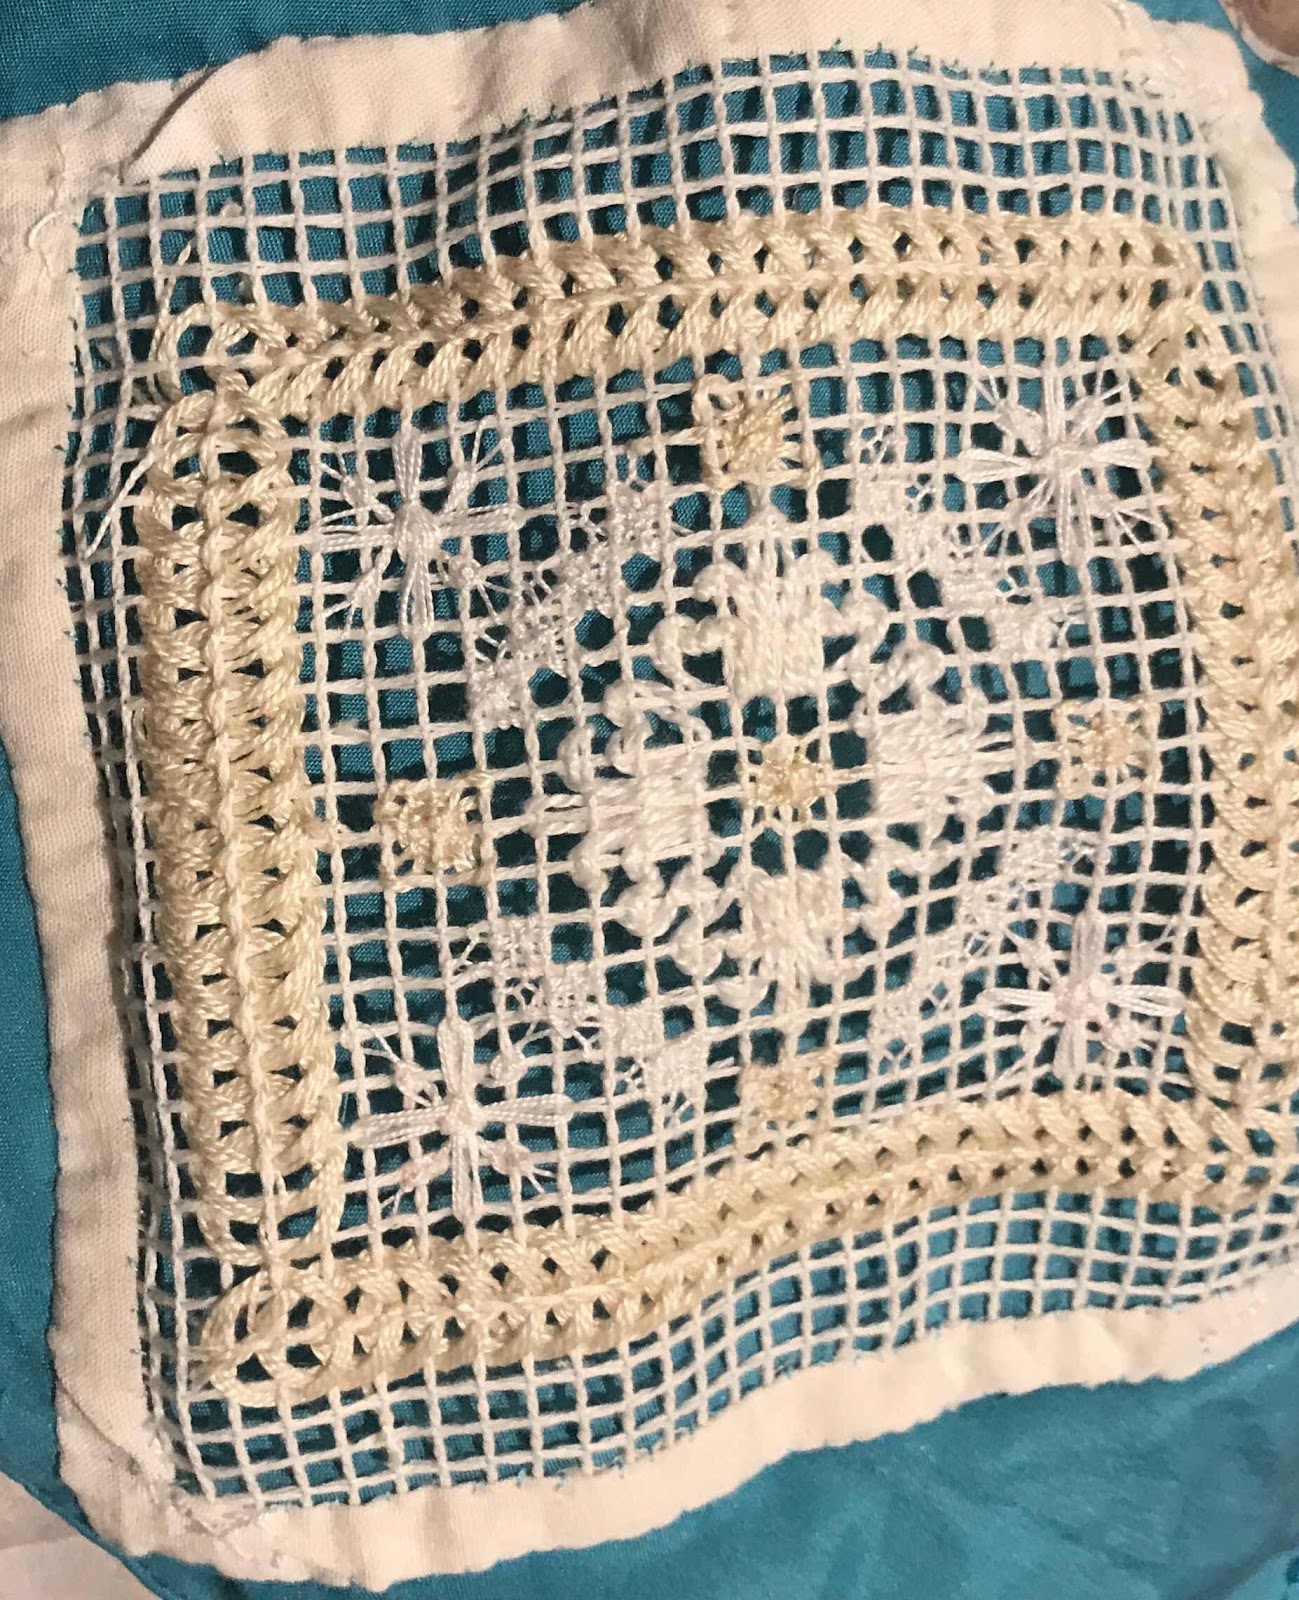
In the end I reduced the calico mount to a narrow hem and hand-stitched both the inside and the outside edge on to the silk.
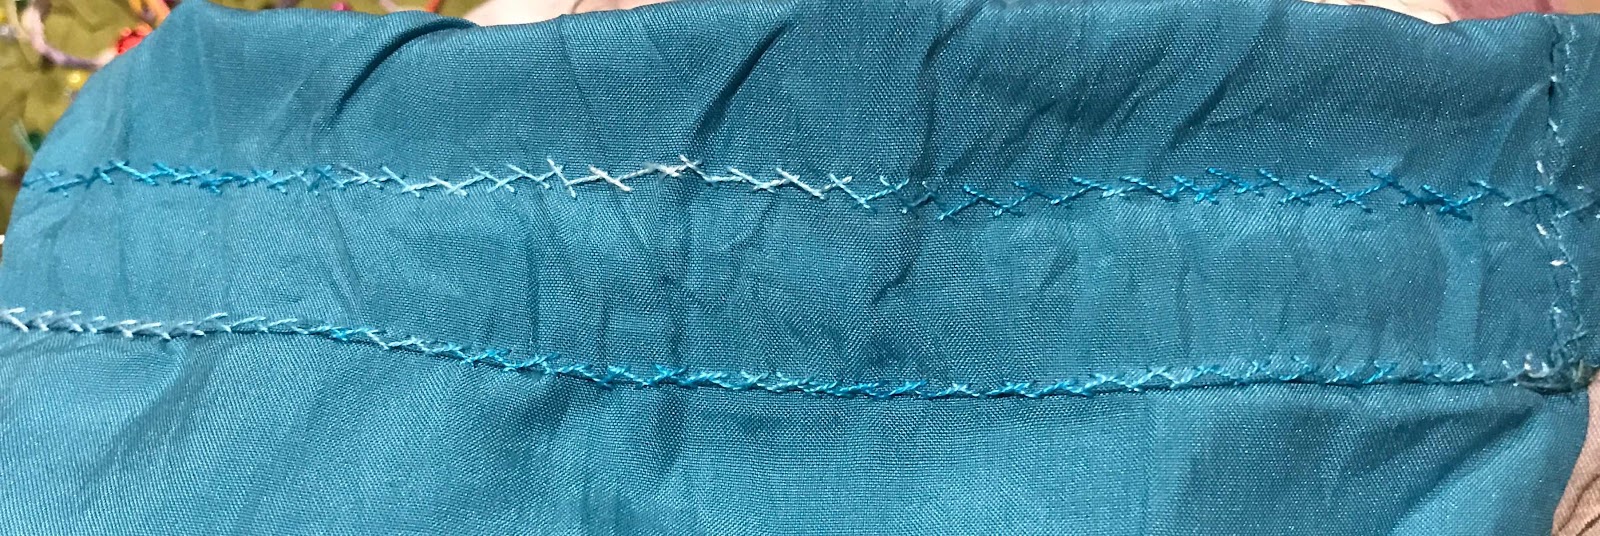


I feather-stitched the bottom of the bag (the top of the sleeve) closed
and the top opening into a drawstring channel.

I then made a cord and a tassel from the 5 pearl thread.

So here we have a slightly odd drawstring bag to show off the filet lace.

It doesn't exactly scream 'wine bag' but I'm sure it will prove to be perfect for some long, thin present in the not-too-distant future.

And I've learnt a bit, had quite a bit of fun and done justice to my mother's gift of fabric.

Thanks Deb.


Wednesday, August 2, 2017

Russian Drawn Thread Workshop

I'm a bit behind in my postings. I attended the CertificateWorkshop for July last weekend - before I had posted this one from June!

The Embroiderers' Guild of SA Graduate Certificate June workshop was on Russian drawn thread work and taken by Carol Stacy, who had spent months researching and Guild at it's very best - a learning community of members researching, practising and sharing their skills. Thanks Carol! 

I worked in 28 count linen. These days I avoid anything finer if at all possible. The work is traditionally, but not exclusively,  worked with the same colour thread as the linen, but to work on 28 count I needed to have matching thread in both Perle 8 and 12 and my stash gave me no choice but pink in the two thicknesses. It turned out well for me - it was much easier to see!

I didn't take photos of the early stages. It took me an hour or so to work the button-hole border and a bit longer to trace and edge a leave shape inside the square. We then removed threads in quarters of the remaining fabric in the square and bound the remaining threads. It was pretty exciting to see the emergence of the mesh of holes at that stage.
There are, of course, a lot of patterns possible. Counted work is not my passion, but I still love to see the transformation of a piece of solid linen into something open and patterned. There is a quiet joy in it. I feel the temptation to keep working more samples just to see the variety of patterns emerge.
Of course, I wasn't content to leave the piece as a sample. Had I been enrolled in the Certificate Course and not just attending for fun, I'd have filed this carefully with other samplers I had worked. As it is I, of course, turned it into a bag.
It was a small matter to buttonhole a hem, work a twisted cord and two tassels. It will make a useful gift bag or I can fill it with lavender or rose petals.                                                                                       Great workshop, great company and a useful product - so grateful to be part of the Embroiderers' Guild.


Sunday, March 13, 2016

Back to Basics Project 3: Hussif


It is quite a while since I posted any progress on my project for the Embroiderers' Guild Back to Basics Group. I am still working on Project 3, a hussif and scissor case. I finished the scissor case in September last year and have been working on the hussif since then. The group meets once a month,  but did not meet in December, January or March due to the Guild Christmas closure and our Exhibition.

Back to Basics focuses particularly on basic stitches, construction and presentation. The stitches for Project 3 requires a specific range of loop stitches - buttonhole, feather and/or fly stitch. The embroidery is on a specific panel of the hussif.

I finished the embroidery last year, using stitches, threads and a design that match the completed scissor case.

That was the easy bit. I was quite challenged by the construction. The piece has a large pocket under the embroidered section, and two smaller pockets at one end. The other end was left blank, so I decided to add pockets to hold packets of needles. Gay, who runs the group, suggested a pocket for a small metal ruler. It took me a bit of undoing to achieve this neatly (I had, of course, rushed into putting it together the moment the stitching was finished!)

My next issue was getting the border turnover even. I stitched it by eye - not a good result, so out it came. Using the metal ruler I had purchased produced a satisfactory result! I even made good use of one of the tassels from Christine Bishop's Italian Style tassel workshop last year to stop the ruler from disappearing from view inside the pocket.


This project originally had a small Dorset button closure. I am submitting it without that, but intend to add a large button closure when I put the hussif to use.


Thursday, May 8, 2014

Toy Chest Scissor fob and scissor case

Both the scissor fob and scissor case for the Toy Chest Etui have cords attached, and the scissor fob incorporates a tassel. I made the tassel first, then made the cord for the fob using the 'Spinster' that Betsy Morgan had recommended and sold at the workshop.

It worked, but seemed overly complicated for  a simple cord.


When I came to make the shorter cord for the scissor case, I made it by twisting the threads between my hands, attaching an end to each lined half of the case, putting two knots in the middle and cutting between the knots.


I am still not entirely comfortable with the faceless people, but am paying respect, as best I can, to Amish tradition.


Here are the scissors, in the case with the fob attached.


Sunday, March 4, 2012

Stitch magazine Tribal Cloth Panel

My daughter gave me a subscription to Stitch, the magazine of the UK Embroiderers' Guild, for Christmas. Issue 75 of has some terrific projects that I couldn't wait to make. The first of these was a small sampler piece on black felt, called 'Tribal Cloth'.

I loved the look of it and the variety of work involved - beading, needle felting, machine stitching with metallics and some simple embroidery. There was a kit available from the UK designer, Chris Gray. The cost of the kit and the postage was very reasonable, and the effort of gathering the necessary array of bits and pieces was off-putting, so I sent for one.

When it arrived, the first task was to cut and stitch the stamped fabric to the felt using a metallic thread. I am not experienced in using metallics but have been wanting to try. This was suitably simple and worked well enough to give me confidence.

The design was very simple - vertical rows separated by a line of running stitches using a variety of Anchor Marlitt (stranded rayon) threads and embellished in different ways. It would be easy to replace the stamped design with embroidery.


The next step was needle-felting five pieces of hand-dyed wool. I dug out the needle felter I had bought for the Kokeshi spectacle case last October - much satisfaction in using it again. I love the sensation of plunging the needles into the fabric and I like to see the soft fluffy bits emerge like a shadow on the other side.
Once in place, and couched,  the wool acts as a guide for the rows of embellishment.

I also like the variety and timeliness of the rows - enough to get a bit of practice and get the hang of it, without being overly repetitious.


The kits were available in three tones, pink-red, purple or green-gold. I had chosen the green-gold after a lot of prevaricating. I had no regrets. I really liked the colours of the beads - the fabulous mix of seed beads in particular.

The little squares are card and in the kit come pre-coated with acrylic paint and 'cosmic shimmer mist'.


The circles are washers, buttonholed using variegated silk thread. The centres are sequins, giving a mirrored effect.

The top and bottom edges are machine stitched using variegated quilting cotton - another first for me and a lot of fun.


The corners are tied off with beads and tassels.


I am considering mounting the finished piece on a bag, but for the moment it is pinned on the noticeboard beside my computer where I am getting  pleasure from it - and a lot of ideas about possibilities for these techniques.

Friday, February 3, 2012

Silken Dreams - another irresistible bag.

No matter that I have bags to burn, I fell in love with Kris's bag in Silken Dreams, Inspirations Magazine Issue 66. This is a variation of a bag that Monique Johnston teaches at Country Bumpkin.

Colour was the key factor factor for me. This bag is a wonderful combination of gold and dusky pink dupion, with embroidery in shades of pink to match the silk.

The design is a simple trailing vine with bullion roses and leaves.

 Both the outside and the lining are constructed from two equal pieces, gathered around a circular base. The trailing vine was in Papillon black/gold metallic thread I found it much easier to work with than other metallics I have used.


The rose clusters are slightly different colours, making it more interesting to stitch. It was, however, the final addition of the three different shades of green that unified the design in a miraculous way. This was a great lesson in the importance of just the right shade.

Construction would have been easier if I had read the instructions more carefully, rather than skimming and assuming I knew how to do it. I have made a number of bags in this shape, but the construction of this one was different. It gathered the bag and lining together then added the bottoms by hand.

I machine-stitched the outer bottom in before realising my error. Rather than unpick the silk, I left it machine stitched, but added the stiffened lining bottom by hand.

The sides are also deeply split, so the bag opens almost flat. I'm not sure how necessary that is, since the bag is very full and opens wide anyway, but it was good to try it.


The bag is quite hard to photograph true to colour, because the gold reflects so much light, but this image is fairly close.


It is proving to be useful - and lovely to look at and feel.

Thursday, May 5, 2011

Wattle scarf

While I was making the Ottoman Scarf from Alison Snepp's January SA Embroiderers' Guild class (http://jillian-alwaysstitching.blogspot.com/2011/01/embroiderers-guild-of-sa-summer-school.html), I decided to try the same techniques on a scarf using a wattle motif.  I managed to buy a black scarf from Raffal after contacting Helen Webster at Raffal.

A hunt through my gardening books gave me a photograph of wattle that I could simplify  and enlarge sufficiently to produce a design that might work on the end of a scarf.

Armed with a very poor photocopy of the original wattle picture (the book was pretty big and I didn't want to carry it around) I went to Christina's on Prospect Rd, Adelaide, to selected threads. As always, they were very helpful and between us we came up with a practical set of threads. I wanted to stay with the Gumnut Stars silk thread. It is lovely to work with and very helpful in achieving the effect of the grey-green leaves of wattle.I used two shades of yellow and two shades of green.

I then began the hardest part - transferring the design on to the wool. These scarves are very loosely woven. 

The plus side of this is that it makes it possible to use a light-table to transfer a design. I tried a black pashmina from another source that showed nothing at all through the light table!


The down-side is the difficulty of keeping a consistent line going across the fibres - especially on a black surface. I used a gel pen and kept turning the light on and off to see what I had finished and where the gaps were, since the white gel doesn't show up with the light behind.

I was able to get enough of the structure in place to enable me to begin to embroider.


I began with the outlines in chain stitch. This gives me a framework before the chalk fades. I can then fill in and improvise around the outlines.The photos below, because of the light I focused on it, bleach out the thread colour.

I used chainstitch for the leaves, as they are so long and thin, and atma stitch inside the chainstitch outlines of the wattle balls. This works well on the loose weave of the scarf.

Although it was a little harder embroidering on the black scarf than on the cream one from Alison's Ottoman Scarf class - just because of the usual difficulty of seeing the threads through the dark background - it was nevertheless fun to do. I could have embroidered over the light table, but chose to work without it.


The french knots were a little tricky on the loose weave, but made a big difference to the overall look.


The final challenge was the dreaded tassels - 58 in this case, 30 at one end and 28 at the other. These scarves are not tied off with same number of bundles at each end. I did more green than yellow tassels, partly because I had more green thread and partly because I didn't want yellow tassels to overwhelm the wattle design.

I don't dislike making tassels as such, but making them around the knots on the threads already hanging from the scarf is quite tricky.


Once done, I teased them up a bit using my handy boo-boo stick.


                                                                  I am pretty pleased with the result. It turned out much as I had imagined it