Search This Blog

Showing posts with label construction. Show all posts

Sunday, September 21, 2014

Hungarian Point Bag construction.

I delayed finishing my little bag while stitching birthday dresses, but I set myself a goal to finish before the next meeting of the Embroiderers' Guild Back to Basics group, which is tomorrow. The construction isn't as highly focused as the counted thread work, so it's easier to find a little time here and there.

First came chain stitch around the edges, and backstitching along fold lines.


After some hesitation I decided to add tassels at the bottom - an optional extra in the instructions. It is, after all, over three years since my tassel binge!

The scary bit is cutting the border away but it all folded up as it was meant to.


I used a small piece of silk ikat for the lining, top stitching it down.


The sides were then whipped together using the chain stitch outline thread.

A twisted cord secures the top.

I'm pretty pleased with my little Hungarian Point bag. I learned quite a bit and have a pretty, tiny bag to show for it.

Thanks to Carol Mullan for the teaching and design.


Friday, June 20, 2014

Paintbox construction

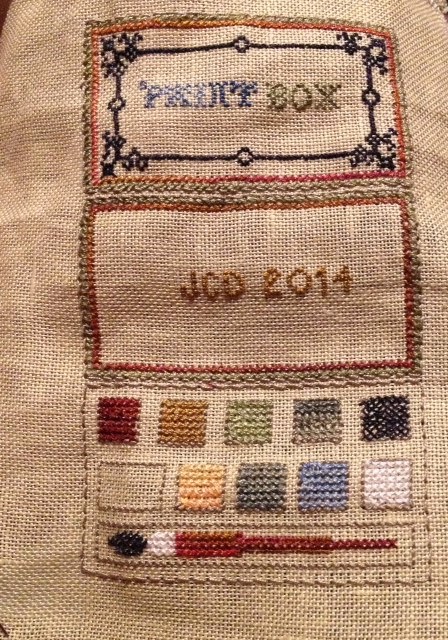
The paint box construction was interesting, as it involved creating, from a single piece of linen, a structure  that folded to form a box.

This was achieved by cutting skirtex pieces and lashing them to the individual faces of the paintbox.


The linen was folded around the three pieces of skirtex. The lining is then applied over the whole, and also to create an individual pocket on the back.


The two inner pockets hold packets of needles.

The needle threader is attached to a cord and charm, and slots into the slit on the inside lid of the paintbox (the one I embroidered on the wrong side!)


I like this paintbox quite a lot. It was a neat design and fun to construct. It is flat and compact - sitting easily in the etui.


I also think it will be useful!


Monday, May 5, 2014

Toy Chest Button Box

The first tool inclusion I chose to construct for the Toy Chest Etui was the button box. This was a good choice, as the construction method is very similar to the Etui. The only difference is that the tiny button box itself is one piece of fabric and skirtex, rather than each face being joined. The lining, however, is constructed as separate tiny pieces.

The base of the button box, is therefore embroidered, while the Etui has a silk lining base.


I began with the lid, then the outer box, then folded and prepared all the bits I needed to finish.


I could then insert the lining pieces, juggle them to fit and stitch in place.


I attached the lid, as I had for the Etui, using a button-hole whipping rather than a weaving stitch.


In spite of the size, I achieved an easier closure fastening than on the Etui.

The first tool for the etui is completed!