Search This Blog

Showing posts with label pulled thread. Show all posts

Monday, October 28, 2024

Pulled Thread Whitework Class


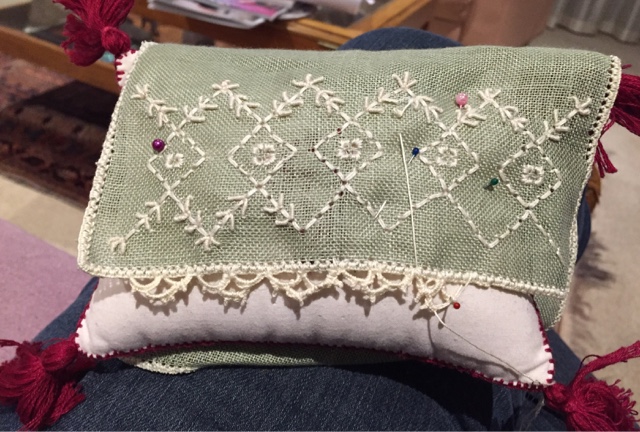
 I have just constructed this bag from Carol Stacey's Whitework Pulled Thread class that I attended at the Guild over the last two Sundays.  I had selected a piece of green silk as lining, but it proved to be a bit short, so I used some rayon lining fabric I had been given by a dressmaker years ago. 

It was a lovely design - really elegant, with a lot of variety in both stitches and thread. I do like pulled thread work.

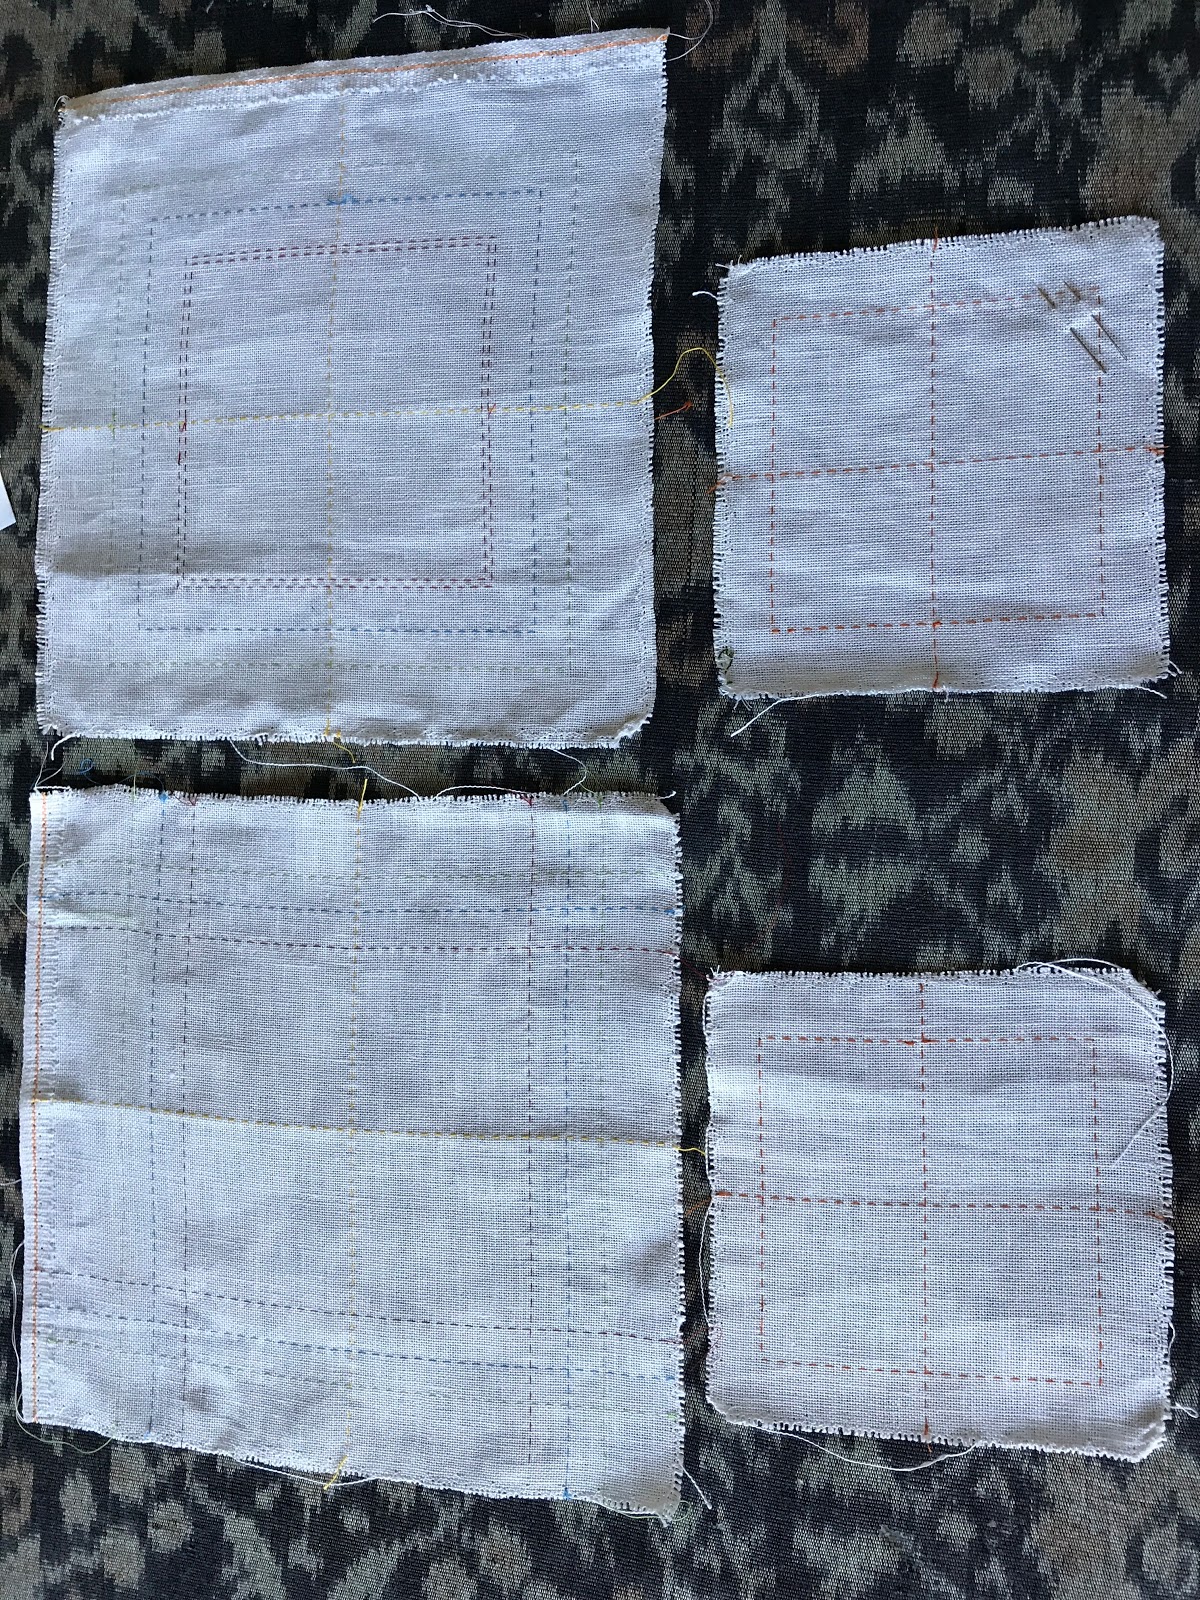
I chose to trace the pattern on to the linen using a pencil, which was probably a mistake. The lead was intrusive under the white thread. Although it washed out easily, it was a bit unpleasant to look at. I didn't, however, want to use my usual fine permanent marker with the white thread and chalk tends to wear off too quickly.

While the class was a really pleasant way to spend a couple of Sundays and I enjoyed the company, I found it very hard on both my back and my eyes. I used a seated hoop in order to have both hands free and to be able to bring the work up fairly close but even so, the work needs to be so close that I found myself having to bend my back while seated in the chairs in the Gallery at the Guild. 

After the first Sunday, when I stitched for several hours straight, I went home with a very sore back and blurry eyes. At home, after a rest, I was able to get myself to a position where I could work on  it with a straight back, so I did as much of the work as I could at home, leaving only one leaf to finish the next Sunday. 

This worked well for me. I took breaks to stretch my back and rest my eyes, and left after lunch, with the work almost finished.


I blocked the finished piece to get rid of any remaining pencil. 
                                       
I constructed the bag very simply by backing the linen completely with the lining fabric, creating a gusset for the cord and stitching the whole piece together with a seam down the back. 

The twisted cord took a while, as I couldn't find my cord maker, and did it by hand. Of course, I found the cord maker an hour later!

Two tassels finished it off.

I'm delighted with the result and the bag will no doubt hold some jewellery, or a gift, or, more likely, the makings of another project!

Wednesday, January 9, 2019

B2B - Basics to Beyond with Embroiderers' Guild of SA

I attended the Embroiderers' Guild monthly Basics to Beyond classes all last year, working on my counted sampler - the fifth project in the B2B course. It has been slow,  rewarding work. Generally speaking, I have worked one row of the sampler each month, getting help to get started during the meeting, then finishing the row at home.

The first three rows to be done were a variety of counted thread patterns. I chose a bargello, a Sollerosom, a pattern darning from Yvette Stanton's Smoyg and a  variation on a Kogin chart from Phyllis Maurer's Techniques of Japanese Kogin.


In between the bands I worked a single row of a variety of stitches, a series of linked horizontal fly stitches, chain stitch. feather stitch and a couple of variations on cross stitch.


The remaining bands were worked in a series of drawn thread.


This one was simple but, I think, effective.


I had a bit more trouble with the needle-weaving but managed in the end to produce a pattern.


In the last class of the year, I began the pulled-thread border around the piece. I have now finished that. It looks predictably scrappy - but will block up nicely when finished.


I have the hem to do. I've decided to leave that until my first class this year, which will not be until April. On the day of the February class I will be boarding a plane for England, and returning just after the March class.

One of the joys of B2B is taking time - progressing at  your own pace and learning as you need.

It's a mindful exercise.

Sunday, August 5, 2018

B2B Project 5

Part of my reason for doing the Hems and Edges counted thread class last year was that I am now on Project 5 at the Guild's Basics to Beyond group. This is the last project in the standard program - a counted thread sampler.

Predictably, the first step in the project is to tack all the boundaries of the work in colour-coded machine thread - three threads under, three over. These provide the boundaries for the various panels required to complete the project for assessment.  It took me a couple of weeks of whenever-I-could stitching to complete this task - and a bit of unpicking. You know, of course, if you have it wrong, as your edges and intersections do not work out.
There are three squares in the centre of the piece. These are to be worked in our own choice of three different pulled thread patterns or stitches. I chose mine from Danish Pulled Thread Embroidery a book I liked so much I sourced and bought my own copy.
These are far from perfect, but I don't plan to undo them. The diagonal line on the one on the left show where I started - then repeated a line when I picked up the other half.

I  worked my first free-choice panel with a bargello stitch over 4 threads, with an off-set of two threads. I started with a stitch over 3 threads, but soon learned that working over three threads meant off-setting by 1 thread only, creating a very tight pattern and considerably more work.  The 4 thread version looks bolder and neater.


As my second counted thread panel, I chose a design from Japanese Kogin.


My third is Swedish Sollerosom.


 For my final counted thread panel I tried a pattern from Yvette Stanton's latest book, Smoyg: Pattern Darning from Norway. It is a simple motif - chosen because, at 21 threads wide, it fits my panel!


This post is a summary of many months work. I have averaged one panel each month on this project. There is no hurry - no pressure to do anything other than learn. It's a lot of fun researching and choosing the stitches.

Now I have to do the drawn thread panels and the numerous edging sections. This needs to wait until I get some help later this month!


Wednesday, September 13, 2017

Hems and Finishes class at Embroiderers' Guild of SA

When the Embroiderers' Guild Class program for the second half of this year came out I debated whether to enrol in Gay Sanderson's class on Hems and Finishes for counted thread work or whether to launch into completely new territory with Glenys Leske's Seascapes - creating scenes with layers of fabric and embellishment. I decided I should push my boundaries and go with the Seascapes. However, when I received the requirements for the course I chickened out. It was the sprung hoop for machine  embroidery (plus the machine itself) that decided me. I didn't want to go there. So I swapped my enrolment for Hems and Finishes.

This is a challenge of a different kind for me. I have done a reasonable amount of counted thread work over the years and enjoyed it. My eyes, however, find it a challenge, and the level of accuracy required is not my natural inclination. On the other hand, I love the effects achieved and I also love the history of various kinds of counted work.

So I took a deep breath and got on with the preparation work for the two day workshop - four pieces of even-weave linen to be tacked up in colour-coded machine thread - tacking to be three fabric threads under and over.

At the same time that I was doing this, I was also preparing a piece of linen for Project 5 of Basics to Beyond - a counted thread sampler (more in another post).  I figure this is reinforcement and will maximise my learning.

The class is over two Sundays, and I am writing this after the first of the two days. I simply loved it- which is just as well, because in attending I missed my grandson's Under 12 football team win their Grand Final and my grandson being awarded Best on Field!

 Gay is a great teacher - clear, organised, experienced and knowledgable, disciplined and pragmatic. I respond to her capacity to adapt within the framework of her skill and knowledge - which is huge.

Her projects are also really well designed. They teach specific techniques in a logical way, with completion of discrete steps. We worked a sample of pulled and drawn stitches on one piece of fabric before putting them into practice on a second piece, providing us with both a complete example and a sampler of the stages for future reference.

Some of the techniques we learned were hemstitch, antique hemstitch, creating an internal selvage  and mitred corners.


Even though I find the tacking preparation tedious, I love the way the tacked lines turn into the framework for the edges. It is so purposeful and rewarding,


I also enjoy the company of a group of embroiderers focused on the same task, sharing their struggles and triumphs. This is only possible because the project is well designed and Gay's methodology allows for learners of various skill level. The class then becomes a learning community and we all thrive.

Although our only homework was preparing a couple of very small pieces for next week's class, I couldn't help myself, and finished the edge on the second piece. It has the calming effect of a meditation.
I also blocked it. This seemed a better
proposition than ironing.

 I'm looking forward to the second day of the class next Sunday.

Wednesday, May 25, 2016

Fisherton-de-la-mere

On the last weekend in April, I did a two-day course in Fisherton-de-la-Mere embroidery with Christine Bishop at the Embroiderers' Guild of SA. It was terrific.                                                   I used a piece of Permin linen that I had bought as a remnant at the end of 2014 at The Crewel Gobelin while on a visit to Sydney. It proved to be a great buy.
The main embroidery was done using ecru cotton a broder. I lost count of threads in the centre of the pattern. As I only realised this after completing the basic squares and beginning the bullions, I stuck with the error and adapted the rest of the design.
As always with Christine's classes, this was a well-designed project. The number of stitches, the size of the piece and the challenge fitted the two-day class. The stitches included pulled stitch, wrapped bullions, a pulled edge, buttonhole and needle lace.


The stitches new to me were the wrapped bullions and the picots on the needlelace edge. The wrapped bullions were terrific - a real advance for me over the usual needle wrapped version.

The challenge was the picots on the needlelace. I am comfortable with needlelace per se, but the picots challenged me. I undid quite a few before getting some I was prepared to live with. I achieved them - but crudely. I need to keep working on them.


I used a large, fat pincushion to support the needlelace.


We had the option of making our piece into a mat or a pouch. I chose the pouch and decided to line it with a piece of raw silk left from a past dressmaking project.
I really like the way this turned out. There are errors - which act as a prompt to check and double check my thread counting - but it is harmonious and elegant.


Many thanks to Christine and my fellow students for a really pleasant day, some new skills and a most pleasing little pouch.