Search This Blog

Showing posts with label B2B. Show all posts

Thursday, October 10, 2019

Basics to Beyond - Project 5 finished.

I have been working on Project 5, the last for the Guild's Basics to Beyond (B2B) course, since July 2017. I posted my last update on Project 5 in January of this year, which is when I finished the stitches on the sampler.

Progress has been slow.  B2B is about doing things properly - with an emphasis on construction. Doing things properly is not my forte - and what I am trying to learn from B2B.

By our August B2B meeting I had not only managed to complete the hemstitched edge of the sampler, but to iron it more or less crinkle-free.
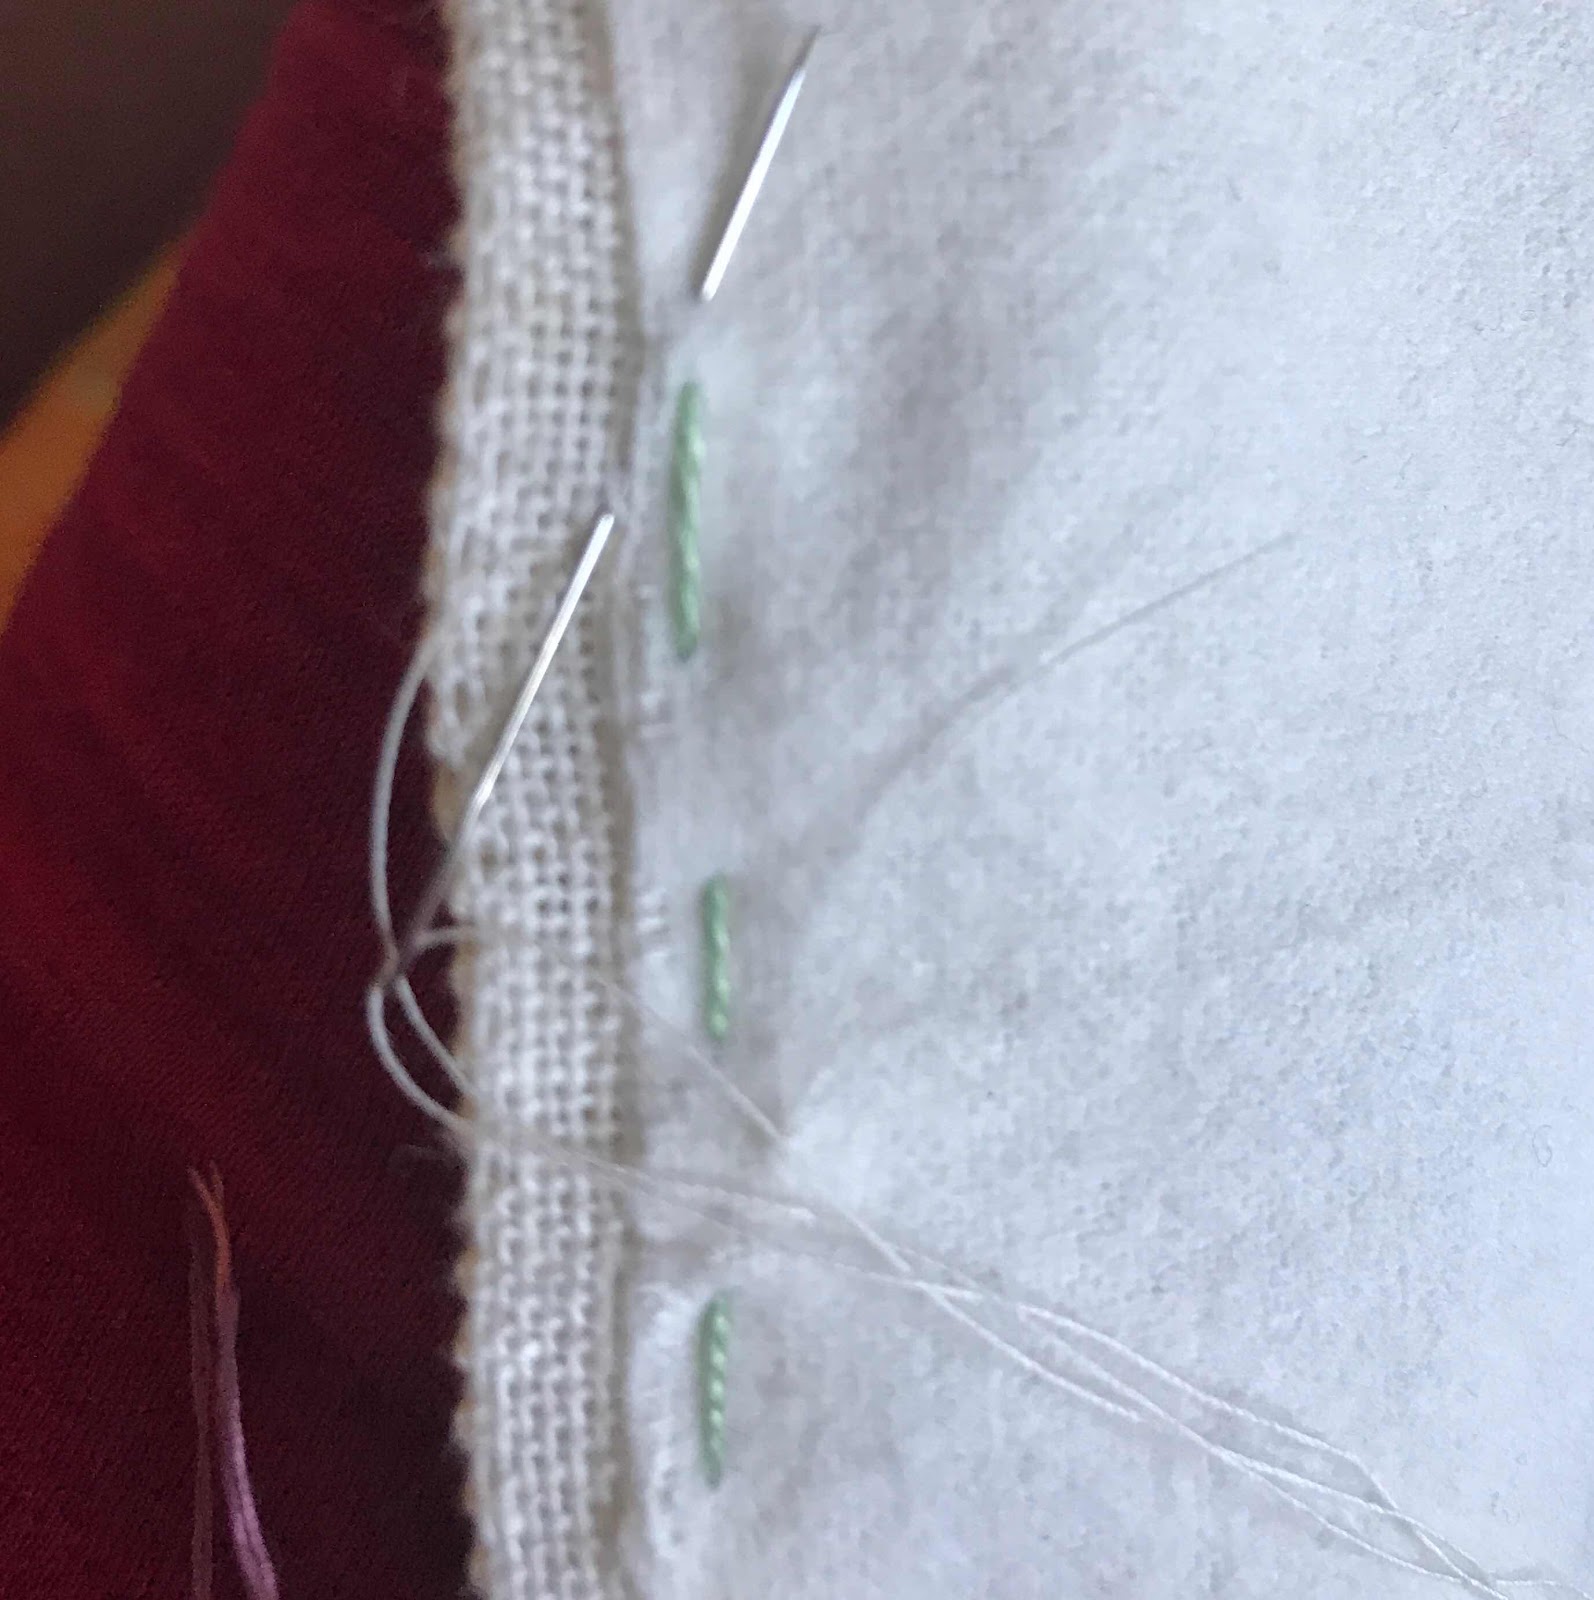


I then, under supervision, added the flannel inter-lining and finally the silk lining necessary to turn the sampler into a pouch.
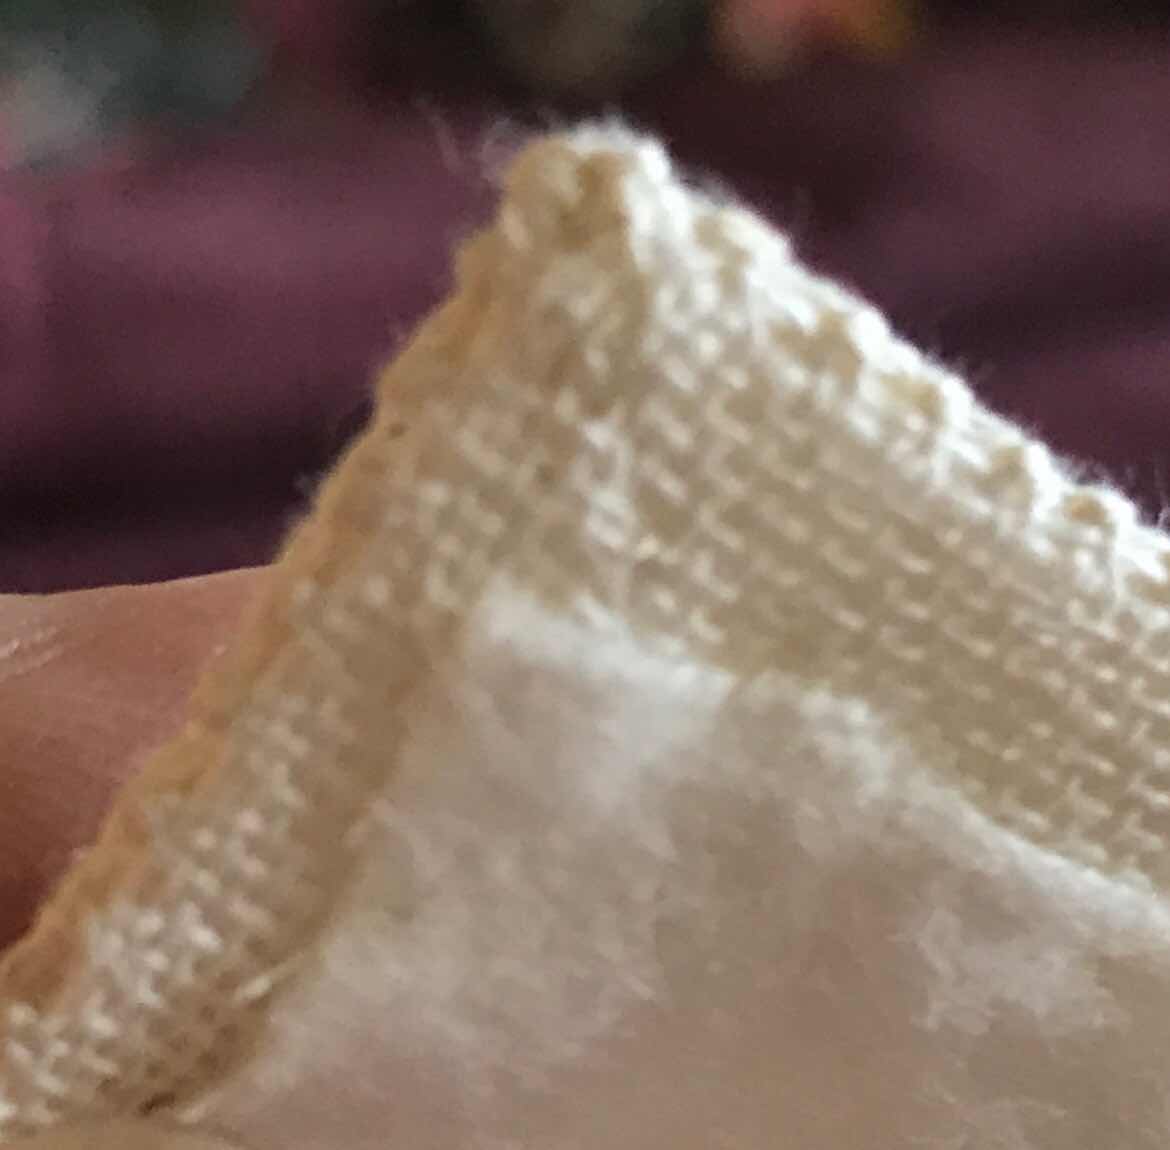

The corners of the sampler are, of course, carefully mitred.
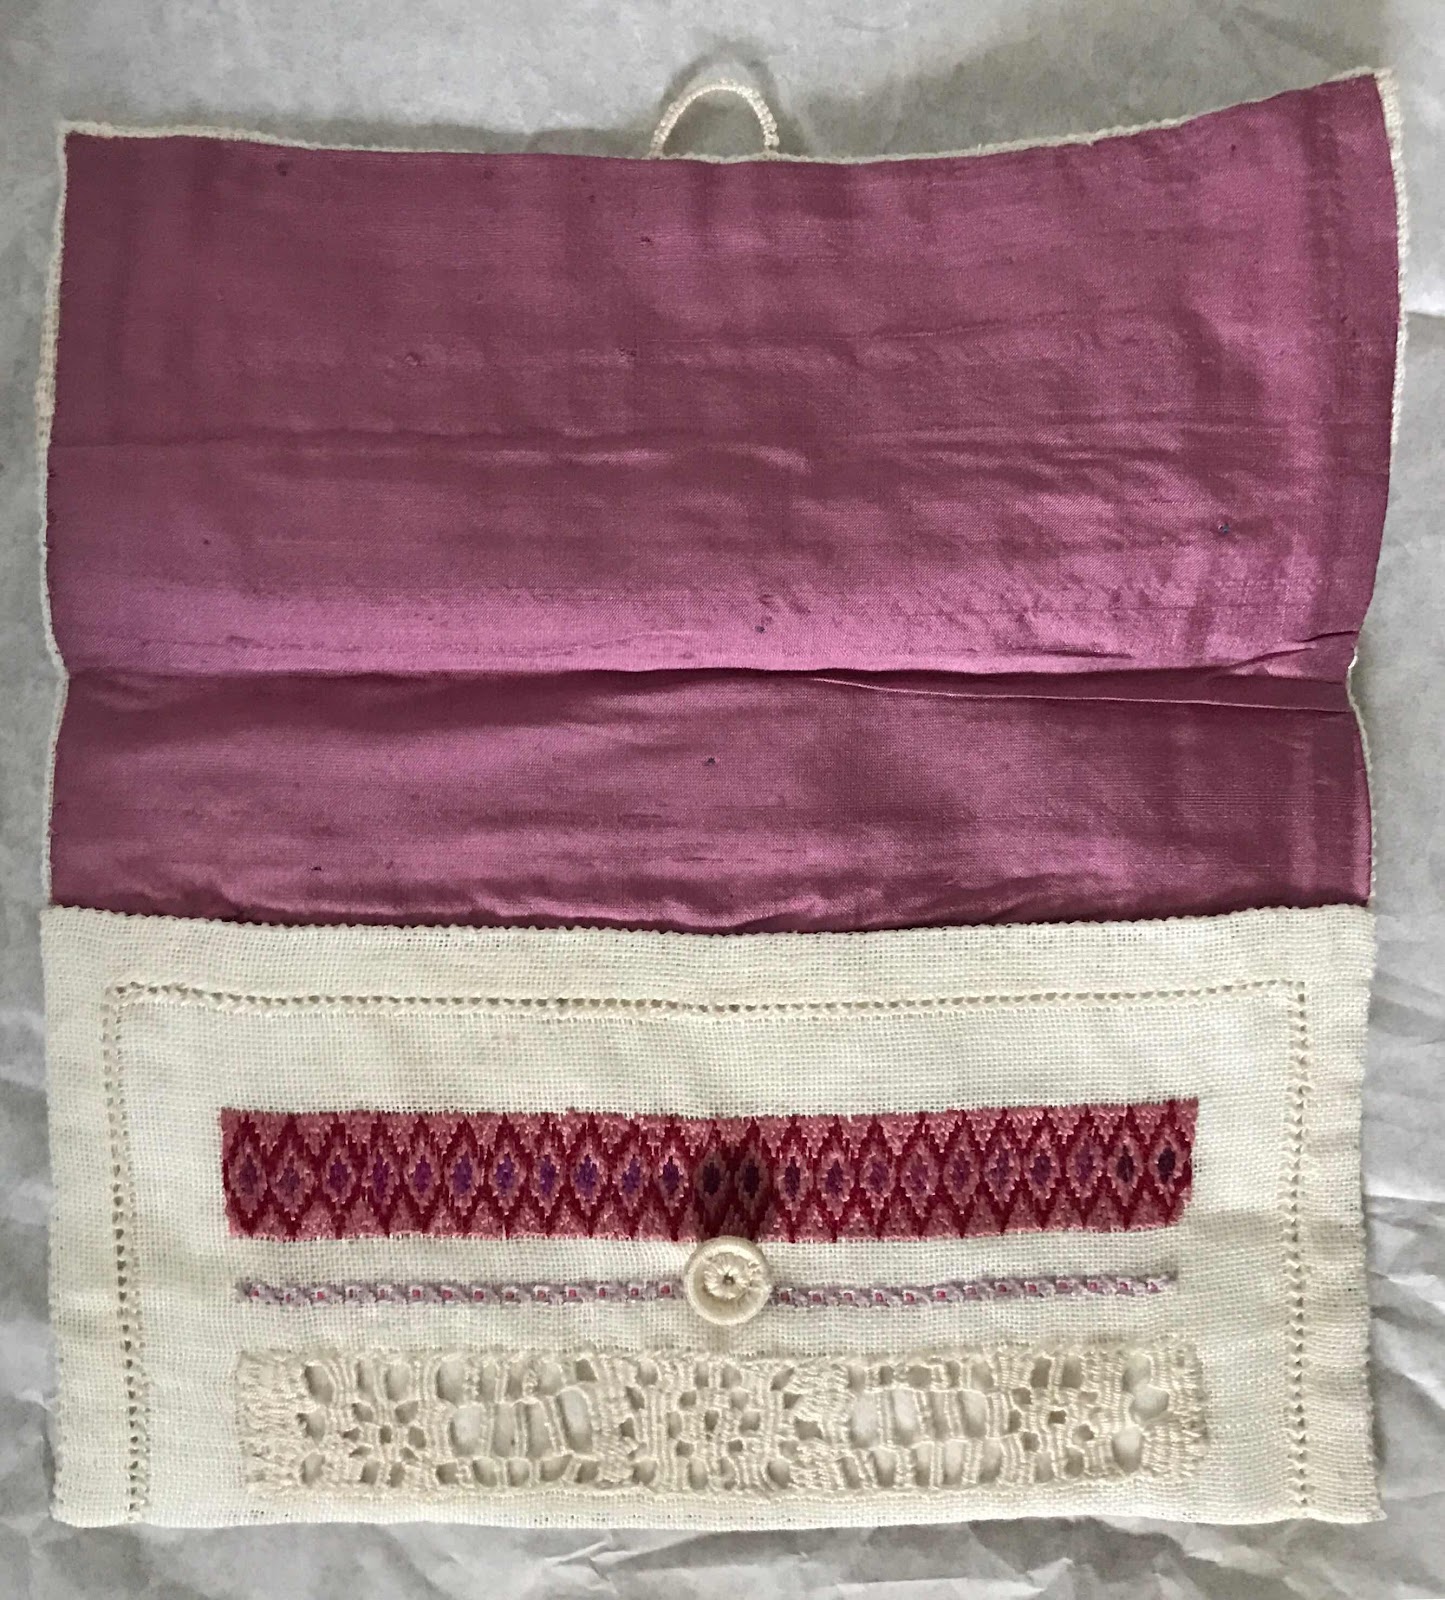


I had chosen some dusty pink silk to line the pouch, silk, of course, for polishing the pearls that might end up housed here.
At home, after the August meeting, I added the lining,  folded the sides and ladder-stiched them together to form the pouch.
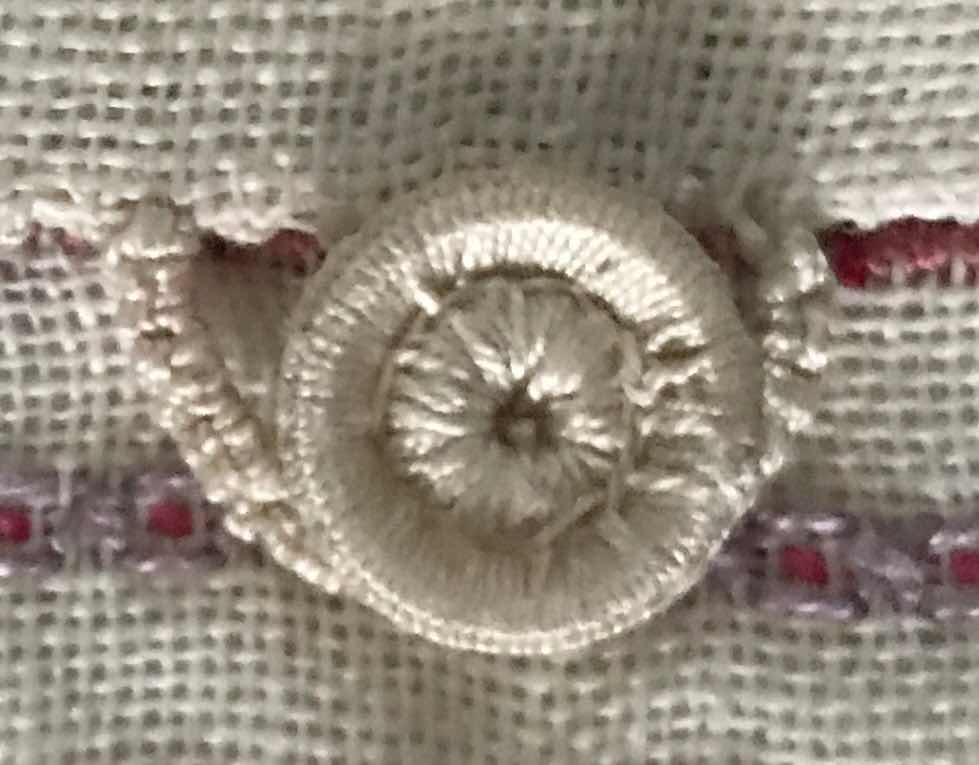


I found a button I had made at a Guild workshop by covering a ring and a bead, with stitching.

I also made a buttonhole loop, careful to ensure all the knots face the same way.


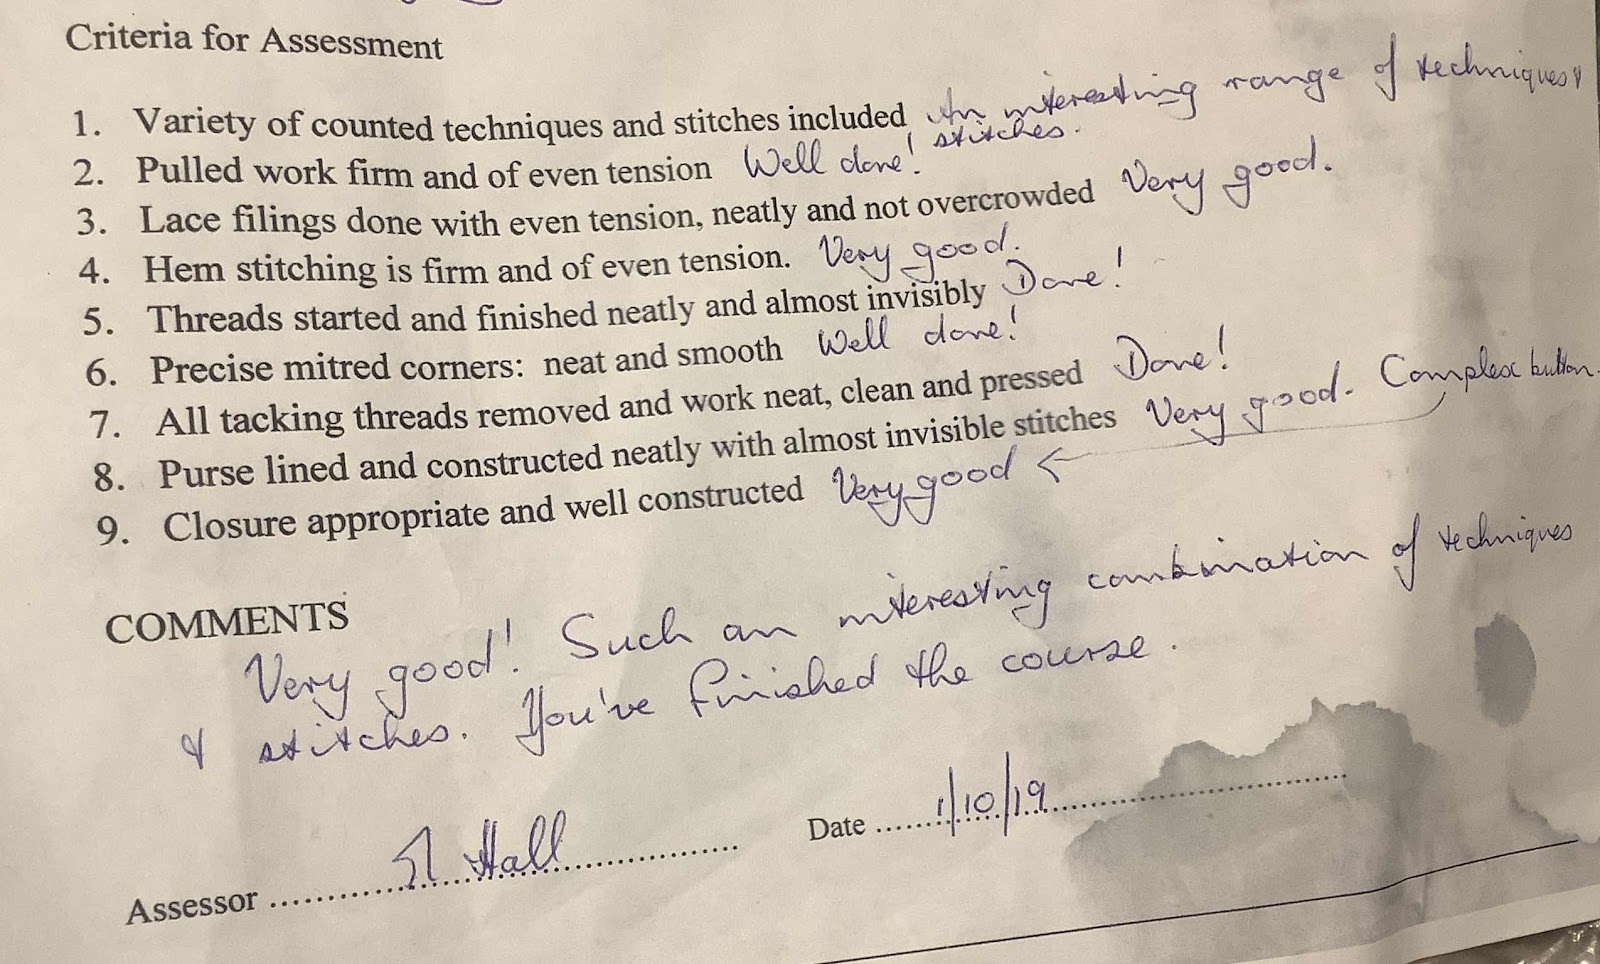
I  listed all my  sources  on the assessment form.


At the September B2B workshop Gay signed the form and I submitted the piece for assessment. This week I collected it.

Success! I have completed the course.

Now, of course, I am faced with the 'Beyond' bit of the class. Do I stay on and do my own thing?
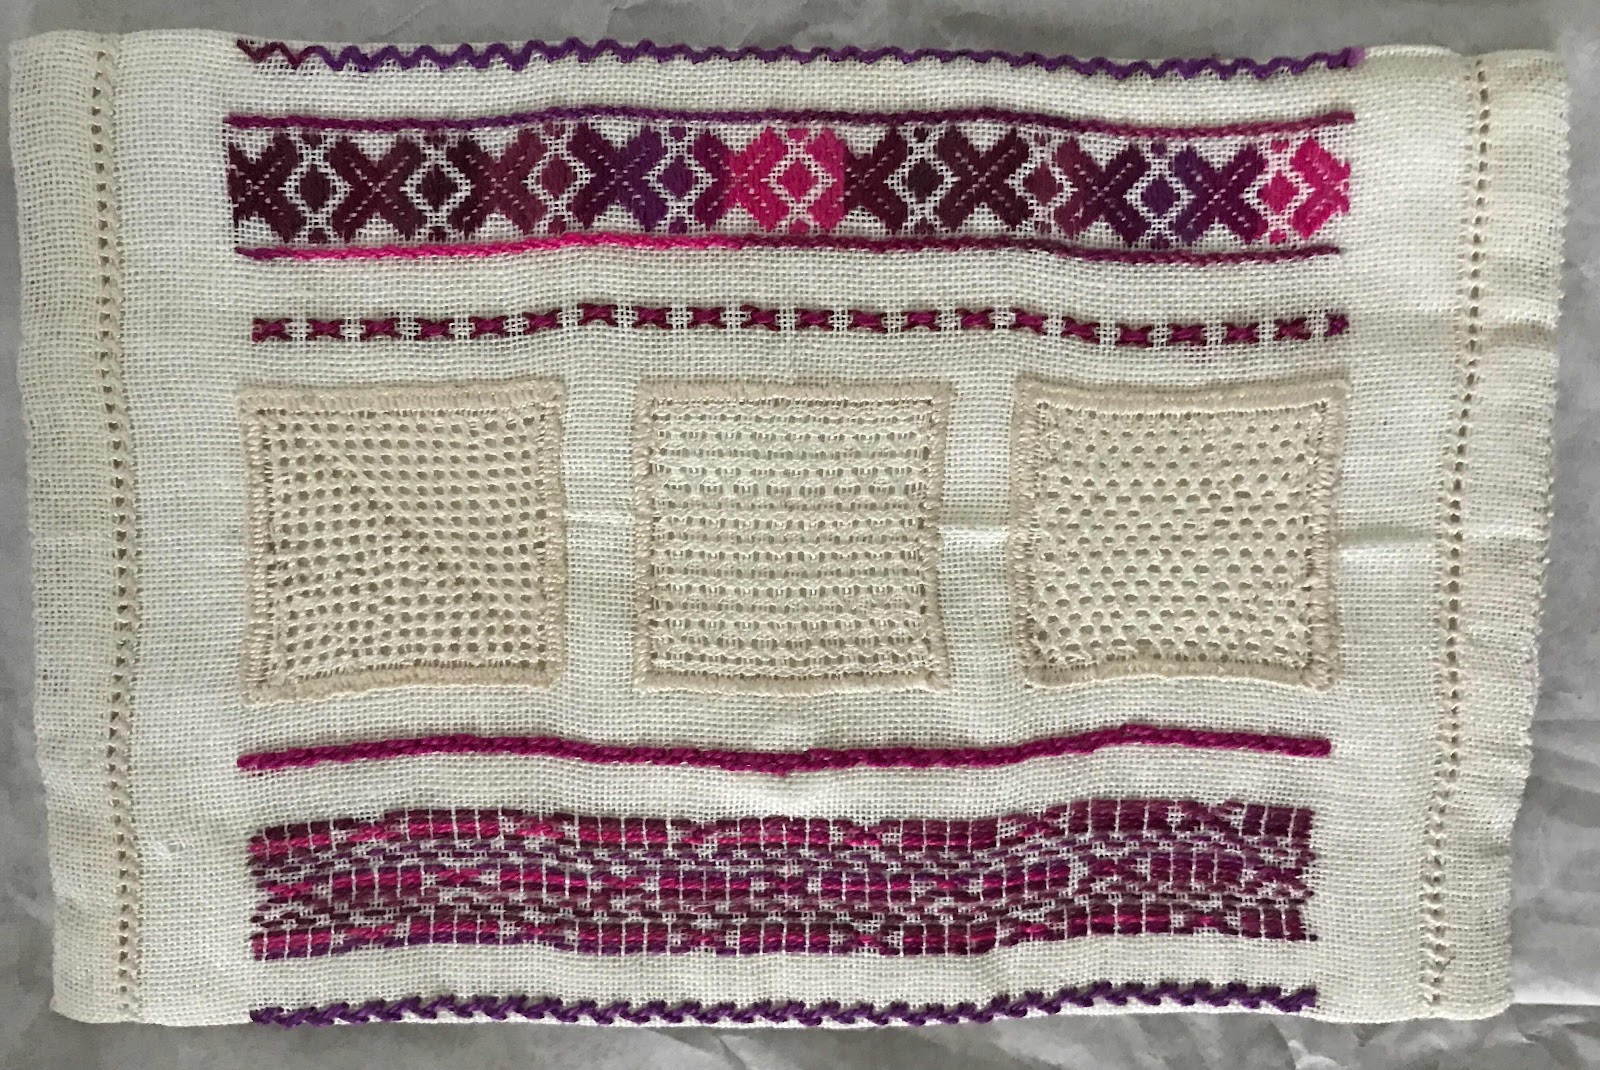
Gay has designed a repeat course focusing on counted thread work -  a course variation which she is still in the process of documenting. I’m tempted but it will put her under pressure to complete the documentation. It's a great group and I want to continue.

I have another idea based on a project I’ve been working on to document some local family collections. More soon!

Monday, January 14, 2019

Embroidery Roll

I should have had an embroidery roll a long time ago, but put it off. The work I've been doing in Basics To Beyond, on a counted thread sampler, reached the stage where I really did need one. I popped into the Guild's shop to buy one at the end of the Members' Exhibition in October 2018, but they had sold out.

There was nothing to do but make one.


I found a cheerful piece of cotton fabric which I had bought 7-8 years ago when my eldest granddaughter was interested in snakes. it was about the right size.


I dug out some gauze as a lining/fabric protector and a cardboard roll that had been the support for a roll of wrapping paper.


It was just a matter of hemming the non-selvage edges of the fabric, laying them together and creating a gusset at one end for the cardboard roll.


The finishing touch was stuffing the open end of the roll with fibre-fill and creating a covering.


A ribbon tie completed the construction and it was ready to roll (literally!).


While looking for fabric to make this, I came across a Japanese cotton panel that my late husband had brought me back from Japan in about 1995. It occurred to me it would make a great roll - and get seen more than it does now.


I repeated the process using the Japanese panel. It is long and thin, meaning that for most pieces of embroidery it does not require a lining fabric to protect the embroidery, but can be folded back over the embroidery. The print is on both sides.


It is a very good size for my Basics to Beyond sampler.


The end on this one is made with a piece of silk ( drat that cotton thread in the photo!).


The larger one was perfect for housing the Crewel panels I had finished for my chair.


So now I have two rolls to keep my embroidery clean and unfolded - I'll make a proper embroiderer yet!


Wednesday, January 9, 2019

B2B - Basics to Beyond with Embroiderers' Guild of SA

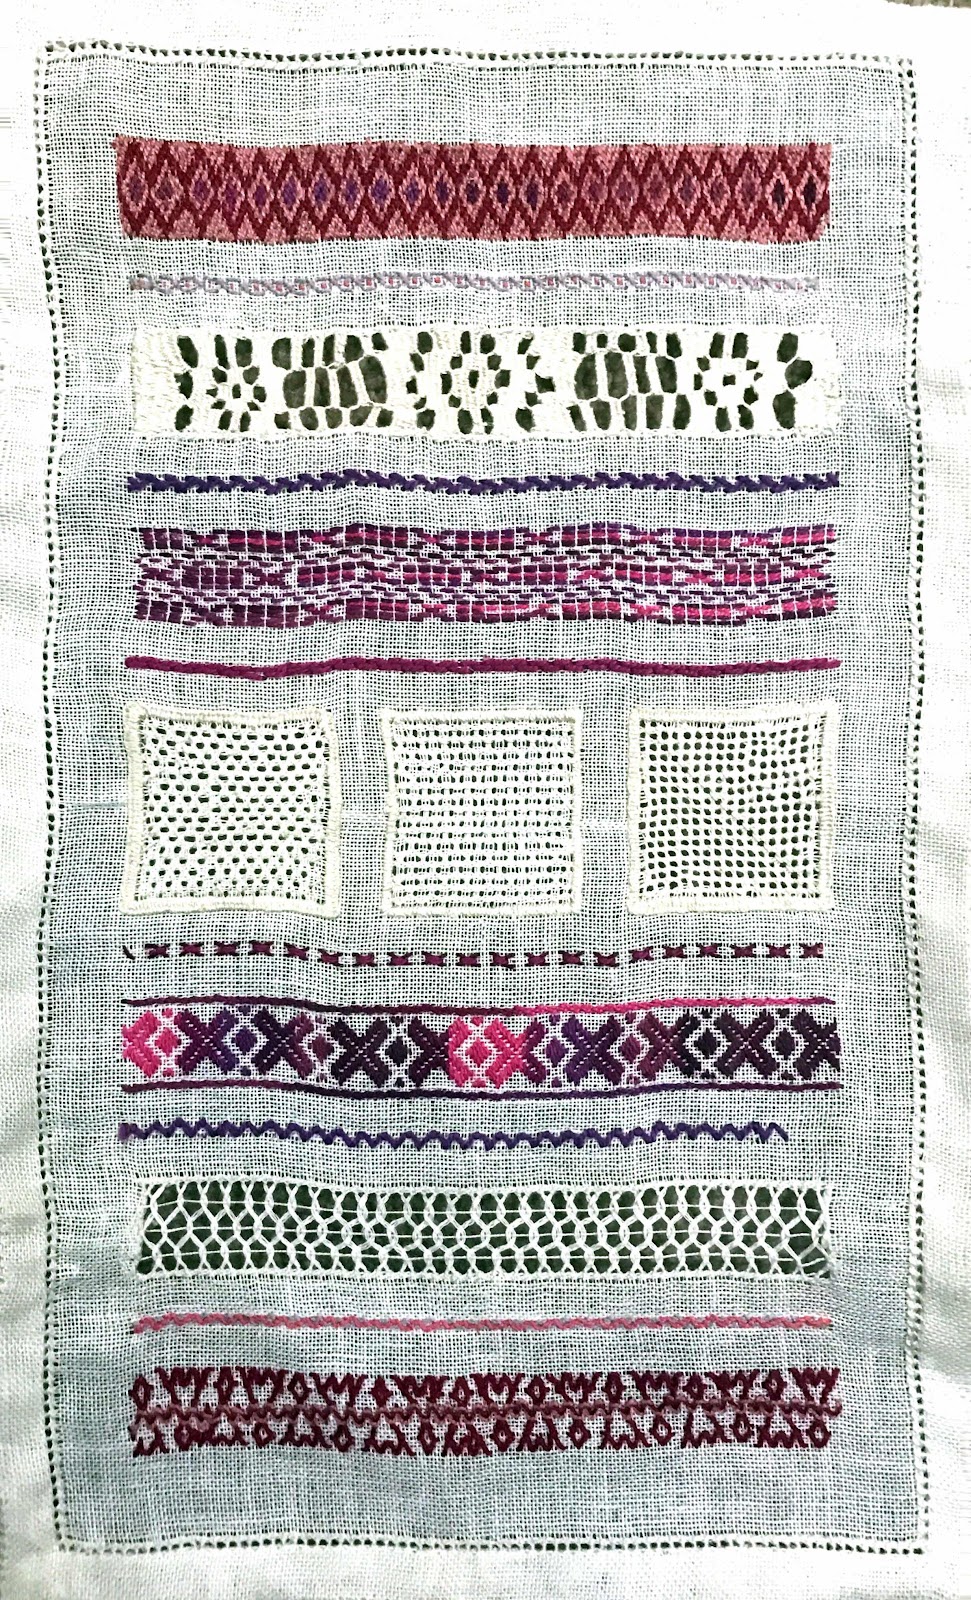
I attended the Embroiderers' Guild monthly Basics to Beyond classes all last year, working on my counted sampler - the fifth project in the B2B course. It has been slow,  rewarding work. Generally speaking, I have worked one row of the sampler each month, getting help to get started during the meeting, then finishing the row at home.

The first three rows to be done were a variety of counted thread patterns. I chose a bargello, a Sollerosom, a pattern darning from Yvette Stanton's Smoyg and a  variation on a Kogin chart from Phyllis Maurer's Techniques of Japanese Kogin.


In between the bands I worked a single row of a variety of stitches, a series of linked horizontal fly stitches, chain stitch. feather stitch and a couple of variations on cross stitch.


The remaining bands were worked in a series of drawn thread.


This one was simple but, I think, effective.


I had a bit more trouble with the needle-weaving but managed in the end to produce a pattern.


In the last class of the year, I began the pulled-thread border around the piece. I have now finished that. It looks predictably scrappy - but will block up nicely when finished.


I have the hem to do. I've decided to leave that until my first class this year, which will not be until April. On the day of the February class I will be boarding a plane for England, and returning just after the March class.

One of the joys of B2B is taking time - progressing at  your own pace and learning as you need.

It's a mindful exercise.

Sunday, August 5, 2018

B2B Project 5

Part of my reason for doing the Hems and Edges counted thread class last year was that I am now on Project 5 at the Guild's Basics to Beyond group. This is the last project in the standard program - a counted thread sampler.

Predictably, the first step in the project is to tack all the boundaries of the work in colour-coded machine thread - three threads under, three over. These provide the boundaries for the various panels required to complete the project for assessment.  It took me a couple of weeks of whenever-I-could stitching to complete this task - and a bit of unpicking. You know, of course, if you have it wrong, as your edges and intersections do not work out.
There are three squares in the centre of the piece. These are to be worked in our own choice of three different pulled thread patterns or stitches. I chose mine from Danish Pulled Thread Embroidery a book I liked so much I sourced and bought my own copy.
These are far from perfect, but I don't plan to undo them. The diagonal line on the one on the left show where I started - then repeated a line when I picked up the other half.

I  worked my first free-choice panel with a bargello stitch over 4 threads, with an off-set of two threads. I started with a stitch over 3 threads, but soon learned that working over three threads meant off-setting by 1 thread only, creating a very tight pattern and considerably more work.  The 4 thread version looks bolder and neater.


As my second counted thread panel, I chose a design from Japanese Kogin.


My third is Swedish Sollerosom.


 For my final counted thread panel I tried a pattern from Yvette Stanton's latest book, Smoyg: Pattern Darning from Norway. It is a simple motif - chosen because, at 21 threads wide, it fits my panel!


This post is a summary of many months work. I have averaged one panel each month on this project. There is no hurry - no pressure to do anything other than learn. It's a lot of fun researching and choosing the stitches.

Now I have to do the drawn thread panels and the numerous edging sections. This needs to wait until I get some help later this month!


Friday, June 16, 2017

Project 5 - B2B- Embroiderers' Guild of SA

It's been a year since I posted about my progress on Project 4 of the Guild's Back to Basics Program. This is because I had not made much progress. The group meets once a month, and closes over the Christmas/January period. Between my knee reconstruction and trips away my progress has been slow. 

The group has even changed it's name since I last wrote about it. There are five projects in the program and members take varying times to finish. Some slow down towards the end, because they do not want to leave the supportive and educative group. So we re-named the group Basics to Beyond. We can keep the B2B abbreviation and members can stay on 'beyond' the basic course.

Much of my time in the group last year was spent getting the layout and dimensions of the Project 4 bag right. The course places a lot of emphasis on construction, including accurate measurement - an area where I need to improve. I've had to re-do my initial attempt at tacking the boundaries of the embroidered panel and the side panels of the bag. I've learned a lot from this process. 

My first attendance this year was in April, and I could finally begin the embroidery. Our designs for this project are based on our initial, and I had planned to use the curves in trees and plants to give me my J.  This project also requires the incorporation of texture to the embroidery.                                                                                                                                                                               I used what I had learned from tree limbs in my Robins quilt to put in my first tree trunk.I then began to add smaller branches, building up the framework of the tree (and incorporating a few more Js!). 
 
Once the framework was in place I added leaves, and whipped some of the branches to get the grey-green colour of many Australian trees, including the red flowering gum that I wanted to construct here. It isn't easy to achieve this in a single colour thread.


One of my daughters had given me a year's subscription to a quarterly thread package and my first package contained a length of red chenille thread, which I cut into pieces to form the flowers. I like the result.

The other side of the embroidered panel is framed by a wattle tree. I found a photo of an interesting wattle tree on the Australian Geographic Flickr site and based my wattle tree on that. This gave me the opportunity to use some  cane toad leather, purchased from Alison Cole and to practise my couching. Once again, I worked the framework of the tree, then added the flowers - using Ghiordes and French knots.

My progress is largely down to a recent trip to Sydney and the NSW Southern Highlands. It was a good 'grab and go' project.  I could work it within the framework I have established without reference to a pattern or charts. It has given me the boost I needed to move the work forward.


This is where I am now.  I intend to put a layer of grasses and Flannel Flowers on the ground but it can wait a bit. I now have the energy - and motivation - to attempt to finish the Whitework project from the March Retreat.