Search This Blog

Tuesday, April 19, 2022

First Beautiful Botanical Embroidery Bag-from-Jeans


I have lost 22 kg over the last 9 months. Mostly I am wearing the same clothes, in some cases modified. One pair of 3/4 length jeans reached a point where they fell down, and a belt didn't work well. I considered giving them to a charity, but decided I'd rather recycle them another way. 

I cut the legs off as tubes and then the body part along the side seams. Folding the back in half along the back seam will give me a bag with pockets, using the waist band as the bag top. The front is then cut into strips to form handles.
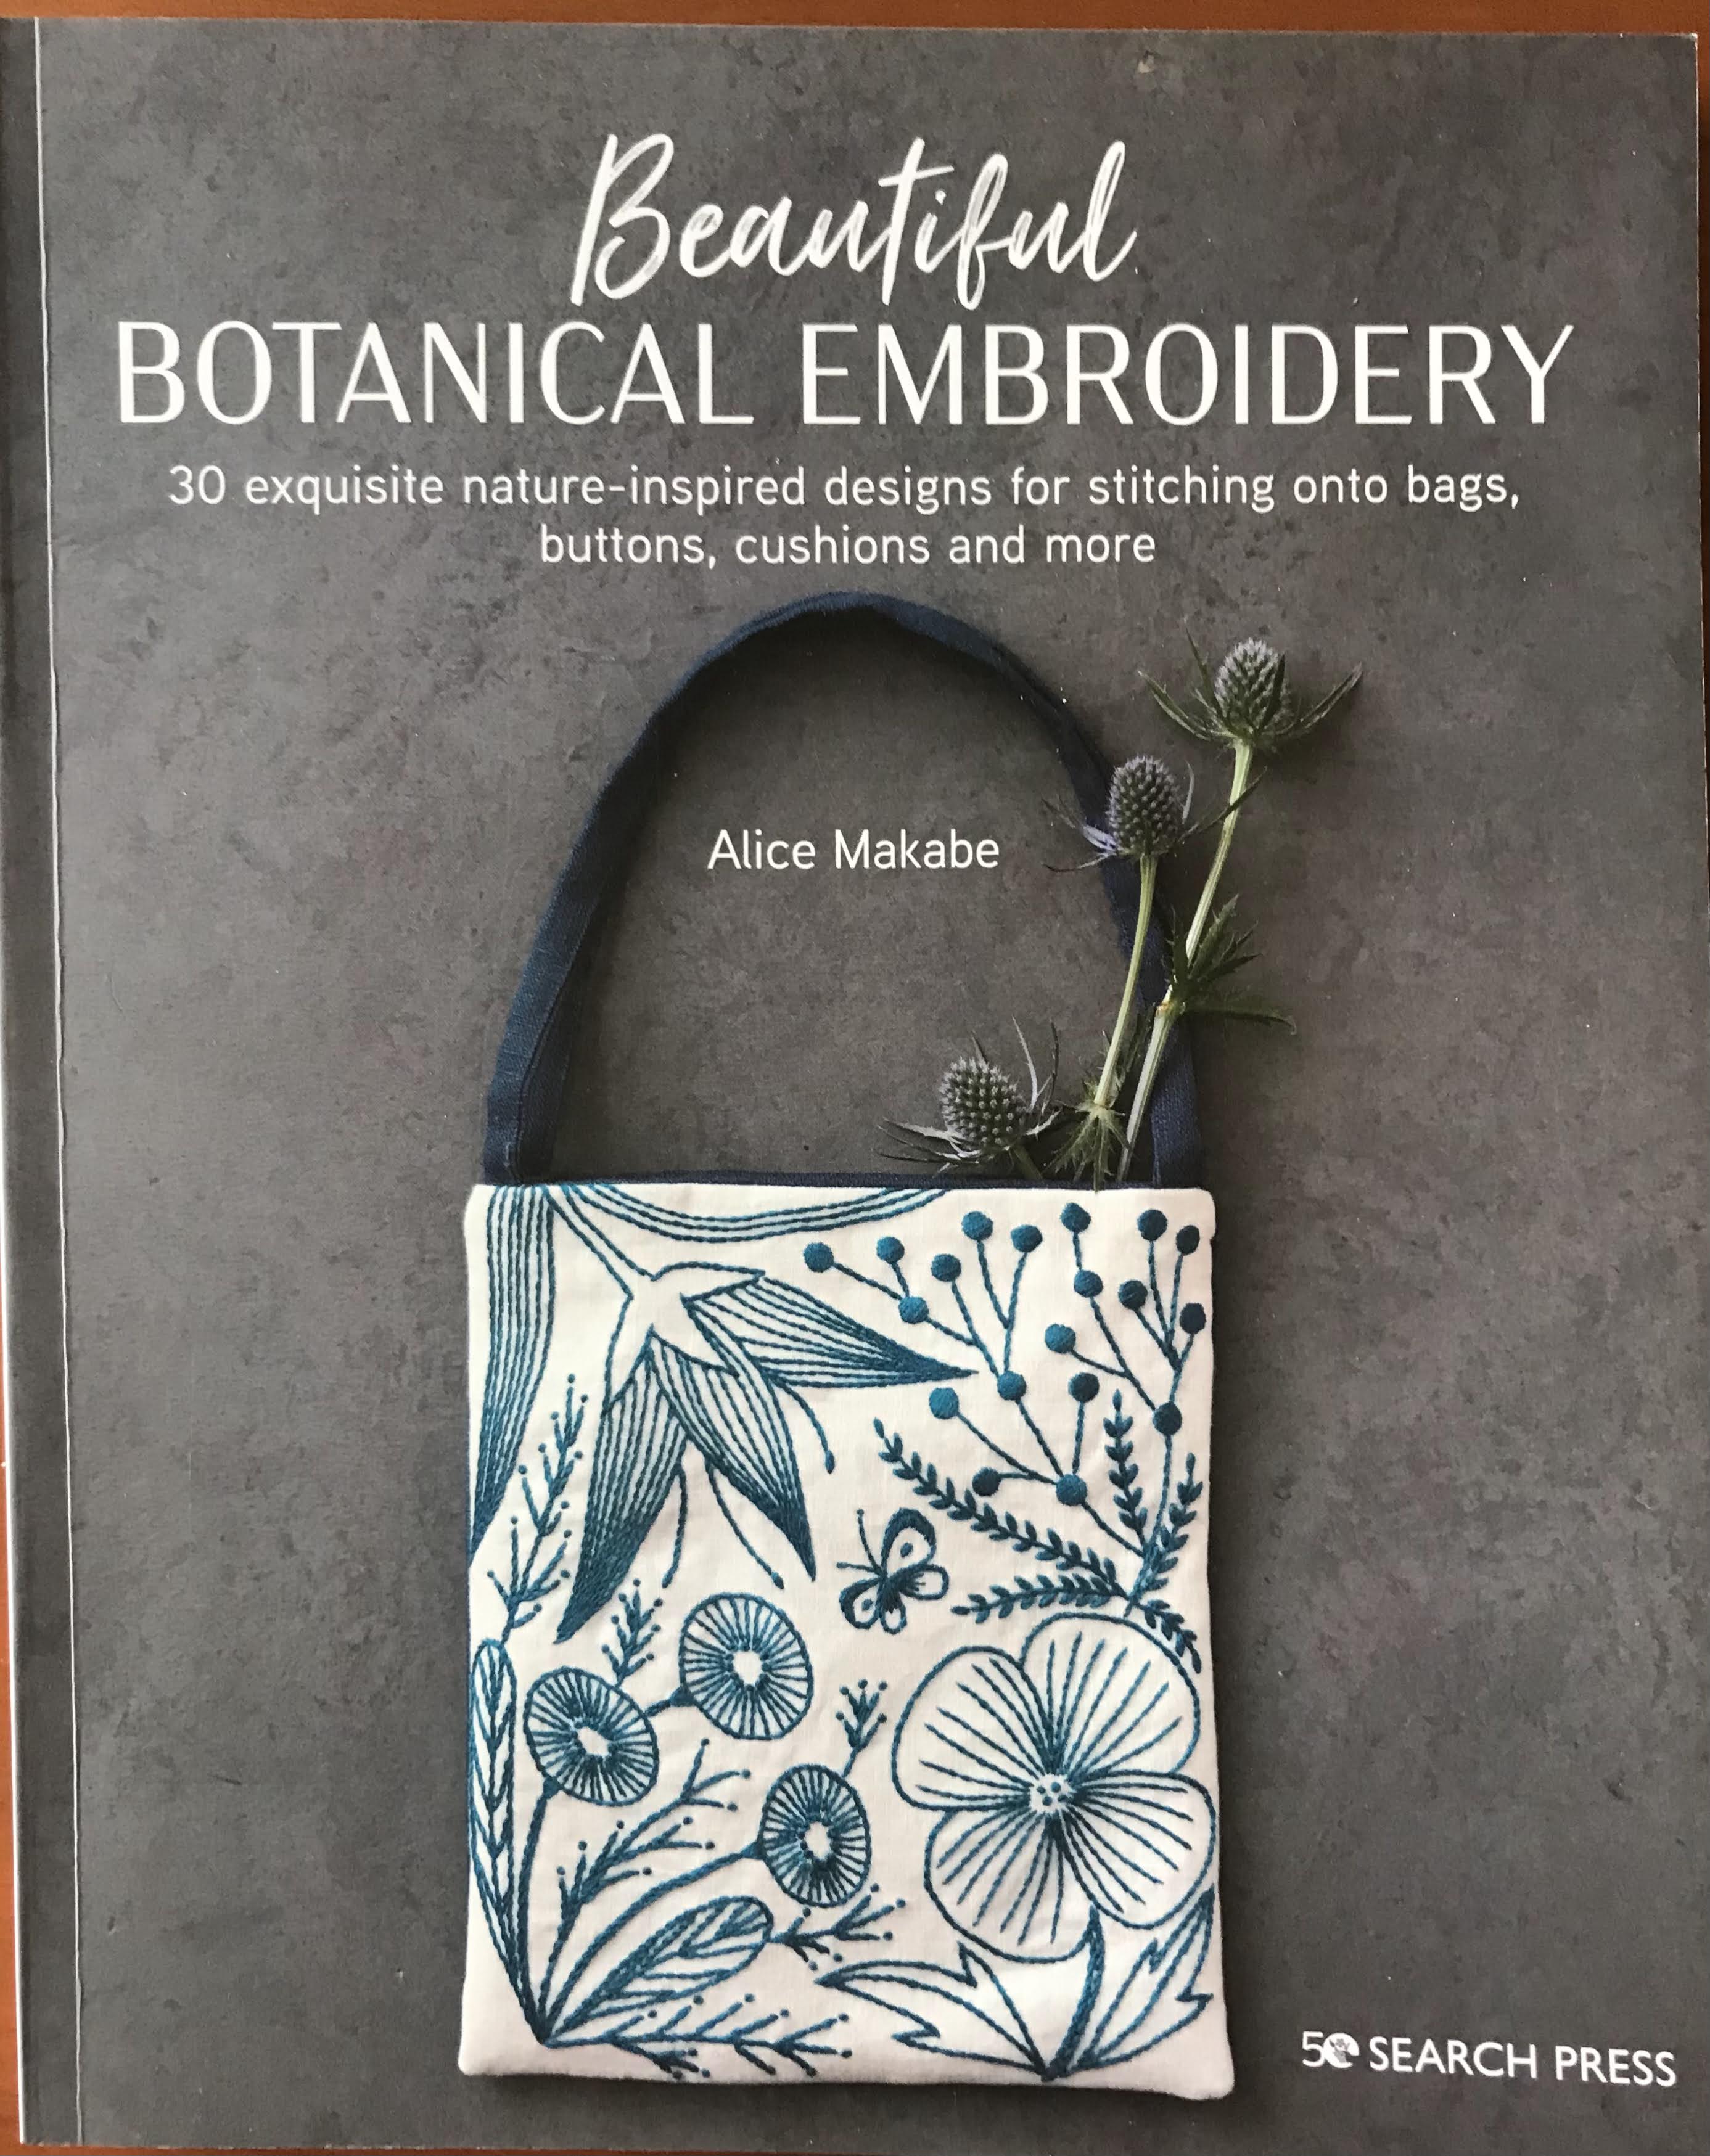
I am going to use adaptations of some of the motifs from this book on all three bags. For the first bag, I'm using a version of the design on the front cover.


Once I was sure I couldn't trace on to this weight of cloth, I tried a couple of different pens, settling in the end for an archive one. I drew them by hand, enlarging them to fit the shape I had. 


I chose my hoop size to fit the large motif on the bottom corner, and assembled a bundle of threads I thought might work.   


I used a  variegated perle 5 thread for the large bloom. I love the opportunity to use acquired specialty threads in projects like this. It used the whole skein.

Here is the finished side. I considered whether to leave the other side plain, but settled on a spray of leaves and blooms, still from the Botanical Embroidery book, in white on the other side. 


I'm using a No 3 Twilley's Stalite cotton, which gives a good coverage and texture.

It took three moves of the hoop and a few touch ups on the edges to finish. The denim has stretch in it which seemed to help in maintaining tension.

A single strap was enough and I lined it with some spotted cotton from my stash. It required a join - but no hassle (believe it or not, it has been ironed, though not with my steam iron. Never was much of an ironer!)

Here's the finished product, back and front. I am delighted with the result and am looking forward to making the next one - this time a night scene with owl.

Sunday, April 10, 2022

My Crewel Work Chair is Finished!

 The Aesop frame is in the crewel chair, which is now finished.

I wasn't looking forward to attaching the Aesop panel as it involved removing the cover from the chair, stitching the panel on and replacing the cover. It's a tight fit, with no zip. It proved, however, easier than I had feared.


I finished the text  using Quaker stitch and blocked the piece for a second time. I was pleased with the text but it blocked a little spiky, I probably could have used a larger font, but it is quite readable.

My faithful little Janome sewing machine was probably not designed for stitching of this weight and shape, but rose to the occasion. The space left on the chair was exactly the size of the Aesop panel, so I folded the linen right to the border of the frame and stitched in the ditch.

I must have improved each time I've removed and returned the cover as it seemed to go on in record time (not easily, but easier). 

The following are photos from various angles to show the final result. 


The chair was originally in my sewing room but I moved it a couple of months ago into my living room where it can be viewed from all sides.


The back view.

There are 21 Crewel Work Company works on the chair (counting the Feathers as one work, although they are distributed separately around the chair), 


some large, 


some small.
I considered adding small pieces to those narrow front panels, but decided it would be overkill.  I like the contrast of the plain linen.


View from the top.


It isn't a large chair.  The one I worked years ago to accommodate Alison Snepp's Men of Skiros is larger and more supportive for longer sitting.


It is nevertheless comfortable and useful. I'm pleased to have done it. It has been a satisfying project to work on - and will remain a tribute to the beautiful historic works produced by Phillipa Turnbull and the Crewel Work Company.

And yes, of course it is for sitting in - it's crewel work after all!

Saturday, April 9, 2022

Aesop Frame Finish - almost


I was very pleased with my finished fox and frog. The brown colour change shows up disappointingly in the photo but much less so on the linen. 

The end of daylight saving gave me an extra hour which I spent working on the owl (and finishing a book, and several other things. It's amazing how far that extra hour can stretch). The owl was fun - although the white Renaissance thread was a bit fluffy to work with and hard to tame. Strange how different colours in the same thread type react differently.

Here's the owl in context


and the bottom of the frame as I moved my hoop. It is quite exciting to see the whole piece coming together like this.

The pied woodpecker was a delicate exercise - all in the fine Renaissance threads.  My challenge is to fill in the tree trunks in ways that blend colour smoothly. I'll go over some of the trunks again at the end with a single thread touch-up.     I was fairly pleased with this result.

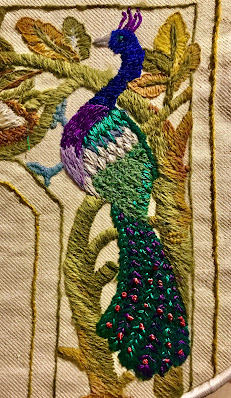
The peacock was a very interesting stitching exercise, with a variety of threads and stitches.  In general I stuck to the colours and threads suggested, but I played a bit within the parameters. It was a great place to finish.   

As this is the last piece of crewel work to go on my chair, I wanted to add text to the centre of the frame and had intended to do so before blocking. 
It was, however too crumpled when I took it out of the hoop so I blocked it overnight while I gave some thought to the lettering. In the end I printed a page on paper, then on Sulky. It is too long and exposed to risk scribing it by hand, even with ruled lines.  I will block it again when I've stitched the text.

I got the start date wrong (took a guess and, fortunately, checked later). I am now stitching it - practising my slow but effective Quaker stitch. I've fixed the date. My next post will show the finished text - and hopefully the piece in situ on the completed chair!

Thursday, March 31, 2022

Aesop Frame half-way point

I began the Aesop Mirror Frame in May 2021, with the wood pigeon,  in the top right hand corner, working left across the top then moving down the left hand side. It's a pleasant, meticulous all-consuming project.  

After the wood pigeon, 


came the squirrel  


and the pea hen before I put the project aside to work on some smaller, more pressing projects. 


I picked it up again in late March this year. After finishing a number of other projects I was ready for a longer project. I had started the woodpecker and finished that relatively quickly.

When I moved the hoop it was quickly evident that I should have taken the linen OUT of the hoop in the months it was idle! I can fix it by blocking - but a lesson nevertheless.


The next corner still went nicely into the hoop and I pressed on.


There will be a few touch-ups at the end but I'm very satisfied with this result. 


It brings me just beyond the half-way point and the end is in my sights. 


I moved into a 12" hoop for the next section, enabling me to fit the whole of the fox in (just). Although the tension is not as good as on an 8" hoop, it's much better to be able to see the whole figure.

I've embroidered the greenery and the frog. All set now to do the fox.

I hope to report soon on the last side and the finished product!

Friday, March 25, 2022

Mosaic Bag - as it was intended

I now have two bags from the Marie Wallin Mosaic Carpet Bag kit! After knitting one without understanding the principle of mosaic knitting (and creating a very useful if non-mosaic bag!) I have now finished the bag as intended. I had to rob a hand-warmer kit of a bit of wool in about three colours, but otherwise there was enough in the Mosaic kit for two bags.

It does look quite different - more compact as well as the texture difference. Here (left) is my progress on the base of the first Mosaic side against the base of the other bag.

Once I had the hang of it, the Mosaic technique was faster to knit - and very satisfying.

It still finished up a decent size and I decided , again, that it needed handles. I had a pair of circular bamboo handles that I decided to try.  I could have left much less of the handle above the bag, but it is sometimes handy to slip it over my shoulder. I'll see how they go and change - or remove - if they don't work.

They do tuck inside out of the way when not in use, so I'm hopeful they might work. I used a remnant of Ink and Spindle linen as lining.
The closure is a gumnut button gift from Tasmania that has been just waiting for this project.


Here are the two bags hanging together, showing something of the difference in overall size and the tightening of the pattern in the Mosaic style. There are about the same number of rows in both bags!

Tuesday, March 22, 2022

Lockdown embroidery- an awareness gained from Design Online

I usually avoid writing about things that involve my family. Sharing what I do is one thing, involving others quite another.  I've chosen to write about the process of this project because it demonstrates clearly what I learned from Barbara Mullan's  Design Online Course with the Guild last year, and others may benefit from that. 
Part of my family was recently in Covid lockdown for 14 days when one family member contracted Covid and the family decided against insisting he isolate alone in his room. This decision doubled the isolation time for family members.

Towards the end of their isolation I had an idea to commemorate their decision and time of trial. I wondered if I could create a hoop embroidery as a memento.

I made a quick sketch late at night, found some linen and threads before I went to bed and the next morning set up my hoop and got stuck in. I also went out and bought a wooden hoop to display the final product.


I sketched it in pencil on to my linen. The hoop provides a manageable space in which to design and the wording defines initial eye movements. I simplified the words as I added them to the hoop.


 As I practised my Quaker stitch on the words, I realised my tense was wrong, so unpicked the 'd' to bring it to the present. As I added figures I also realised that I was projecting separation and isolation, when the essential factor in the length of isolation was the choice to not separate one member from the family, 


so I added 'together' right in the centre of the design ( where, luckily, there was space!).

I was then able to fill in the remaining spaces with small motifs ( like bees and musical notes) relevant to the family. Colour balance similarly emerges as I try things out.  I did quite a bit of unpicking as I didn't like the effect. 


The final adjustment was adding names. This was not an original intention, but it seemed important that the 'we' was not vague and anonymous, but named. 


This is a very personal item that has strong privacy requirements, so I am not going to discuss the content further. 

What I learned from Design Online was that I design as I go from a concept, not from a detailed planning process. I need to keep the concept in my head, see the story emerging, and keep modifying and shaping until the project gets close to the conceptual ideal in my head. It gives me a lot of confidence to know that's a successful way to do things. 

I finished the piece by mounting it in the display frame - gathering and lashing the back of the linen and then adding a backing piece. Green had become the unifying colour so that was my choice of backing fabric.

I've decided that these are the kind of projects I like most - targeted, topical, personal - and applying the skills I've learned over many years, from many knowledgeable women, to tangible, specific, manageable items.   And that's good to know.