Search This Blog

Showing posts with label wool. Show all posts

Friday, June 3, 2022

All the pretty little horses


Some 15 years ago I had an idea to embroider a blanket for Brigid using a drawing she had done of horses. I sent for some cashmere blanketing from the Geelong Blanket Company and it has sat in my stash ever since. 

I've never quite given up the project. When I mentioned this a few weeks ago Brigid said she could use a blanket to wrap around her - so I dug it out and got to work.The concept was to use the words of the lullaby around the edge of the blanket - When you wake, you shall have, all the pretty little horses, dapples and greys, pintos and bays, all the pretty little horses - then to embroider the horses fanning out across the blanket, beginning with somewhat realistic colours, then moving into 'prettier' colours.

I managed to get the wording around the edge using a water-soluble pen and a ruler. The wool isn't great for taking pen.

I made the words a bit larger than I had first envisaged in order to keep them clear - but also to space them right around the blanket . 

(These photos were taken in poor light with limited angles. Apologies for poor quality.)
I began with the intention of using wool thread in shades of blue - even went to Create in Stitch and bought 13 skeins of Cascade House threads in blue through to teal. It was only when I had worked the first side in Quaker stitch during our election weekend that I realised I had picked the colours of a political party and a very successful group of independent candidates. 
This didn't seem appropriate in the heat of an election, so I modified my plan, working the full the next side into greens, then yellows and finally reds. 
In retrospect the colour change seems unnecessary - but it's a better result. While the Quaker stitch does show through on the other side, it was easy to stitch only part-way through the wool using a hoop, not leaving threads on the back.


Unfortunately, this hasn't been possible with the horses.
I figured printable Solvi was the easiest method of transferring the patterns since pen doesn't work so well on the wool. I got two sets of Brigid's drawings on each sheet, and printed 6 sheets. I began with 'dapples and greys' The photograph doesn't show the dapple very well, but it is there.

The Solvi proved a bit tough to stitch through. I also don't like having a barrier between my hands and the fabric. After I'd stitched half a dozen horses I figured I was familiar enough with the shape to try another method.

I glued a paper printout of each horse on to a piece of plastic cut from a milk bottle, then cut each one out.


This gave me three firm templates to trace around. It also means I can reverse the direction of the horse.
While the water-soluble pen doesn't give a fine line on the wool, it is enough for me to follow with the help of the firm template.


This has proved much quicker, easier and more flexible to work with.

The 36 drawings printed on the Solvi sheets have not been wasted. After the initial 9 horses were in place I needed to layout the rest across the blanket and have used the Solvi horses to achieve this.

I could cut them out with the backing on and move them around until I had what I wanted then remove the backing and stick them down. This allows me to remove them one at a time, replace with a drawing and embroider.  I think the adhesive will hold. If not, safety pins.
I'm still contemplating how to treat the back. I will need to cover the back of the embroidered horses. If I back the blanket with fabric I will need to quilt it down. I could do that by hand-stitching around each horse outline. An alternative I am considering is appliqueing a wool-felt piece over the back of each horse.  There's plenty of time to figure this out - I have 26 horses to embroider!

Tuesday, November 26, 2019

Knitting bits

For much of winter I knitted up some yarn my brother bought at an unclaimed post auction late last year. There were two huge boxes of yarn - more than I could ever use, so I chose three modest bags of what I thought most interesting. I've been trying to work my way through it. My new resolution is to use up yarn as far as possible as I buy it, rather than adding to the three drawers I have stashed. I succeeded in knitting up the wool I bought from North Ronaldsay, and some alpaca from Adagio - ands I've been trying to reduce this pile from my brother.

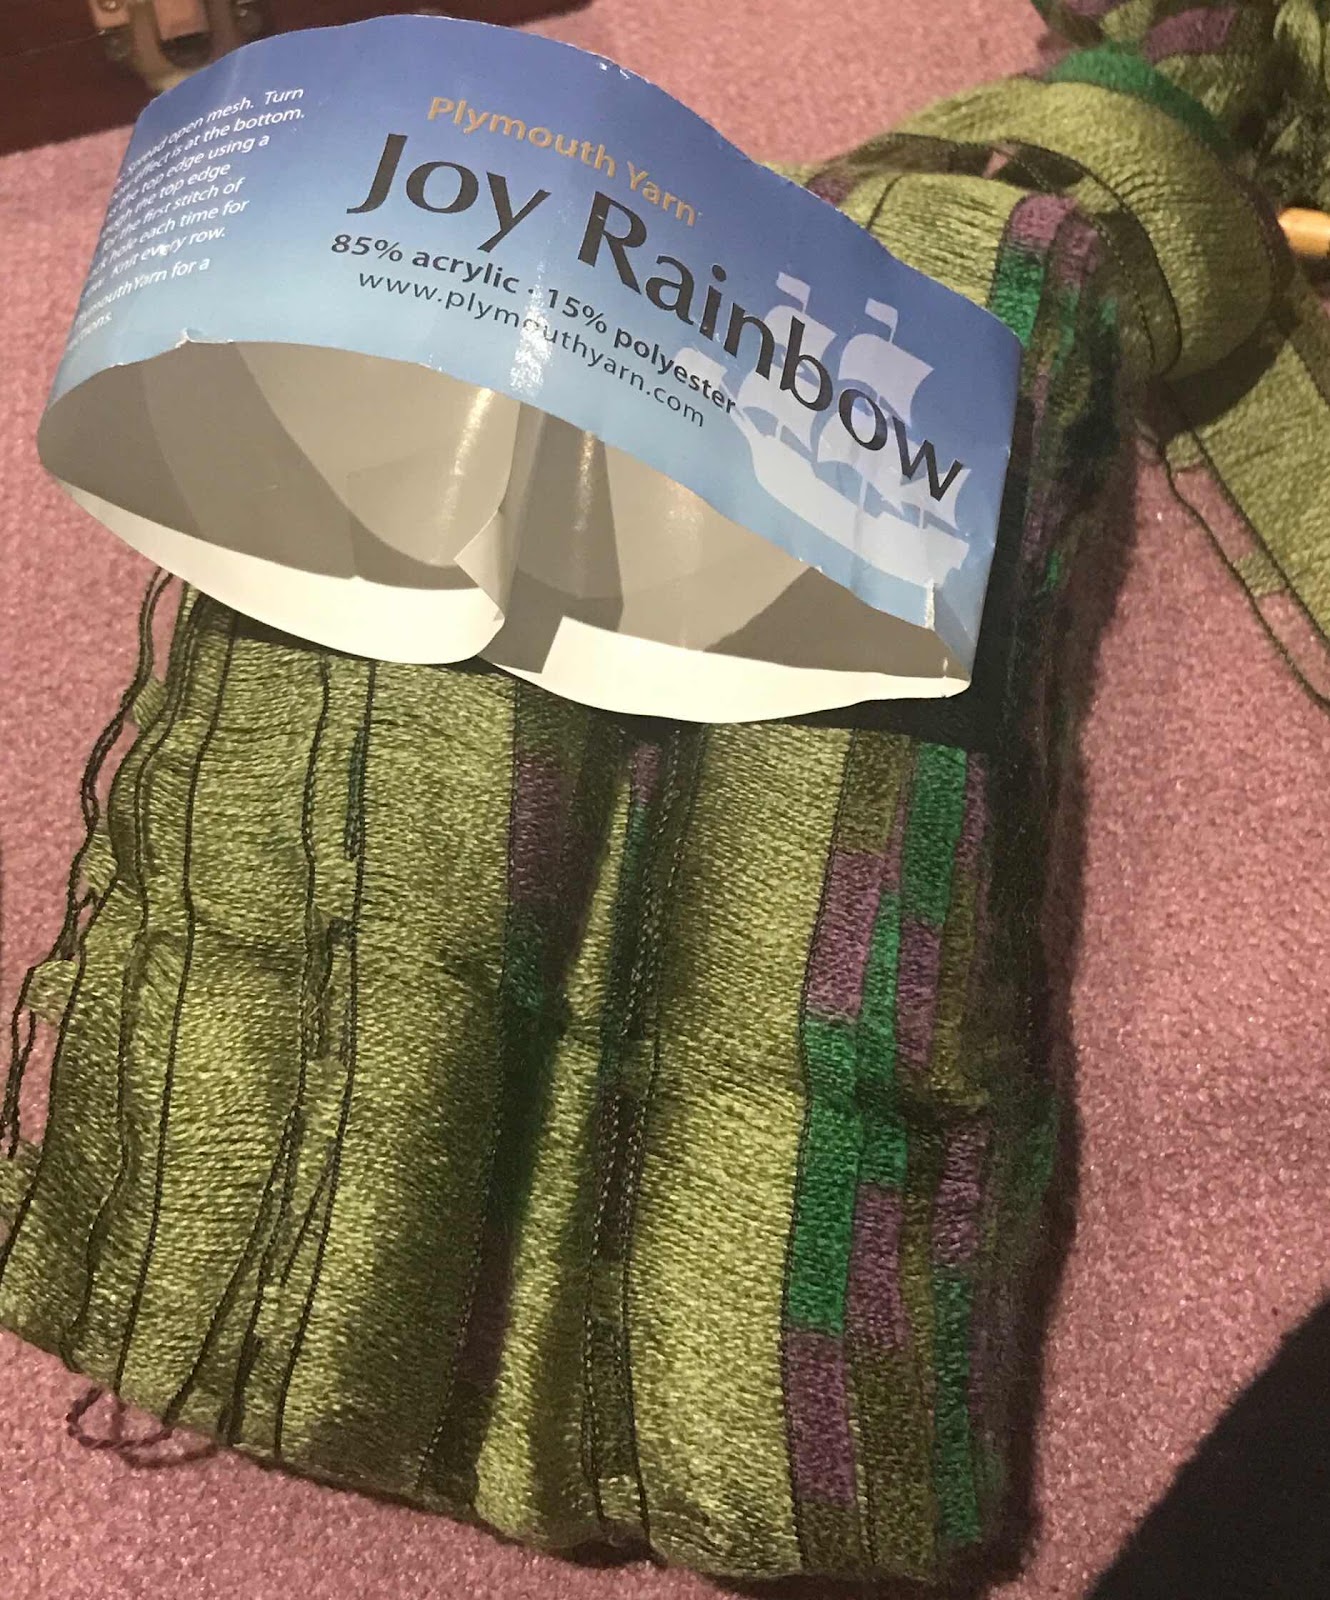
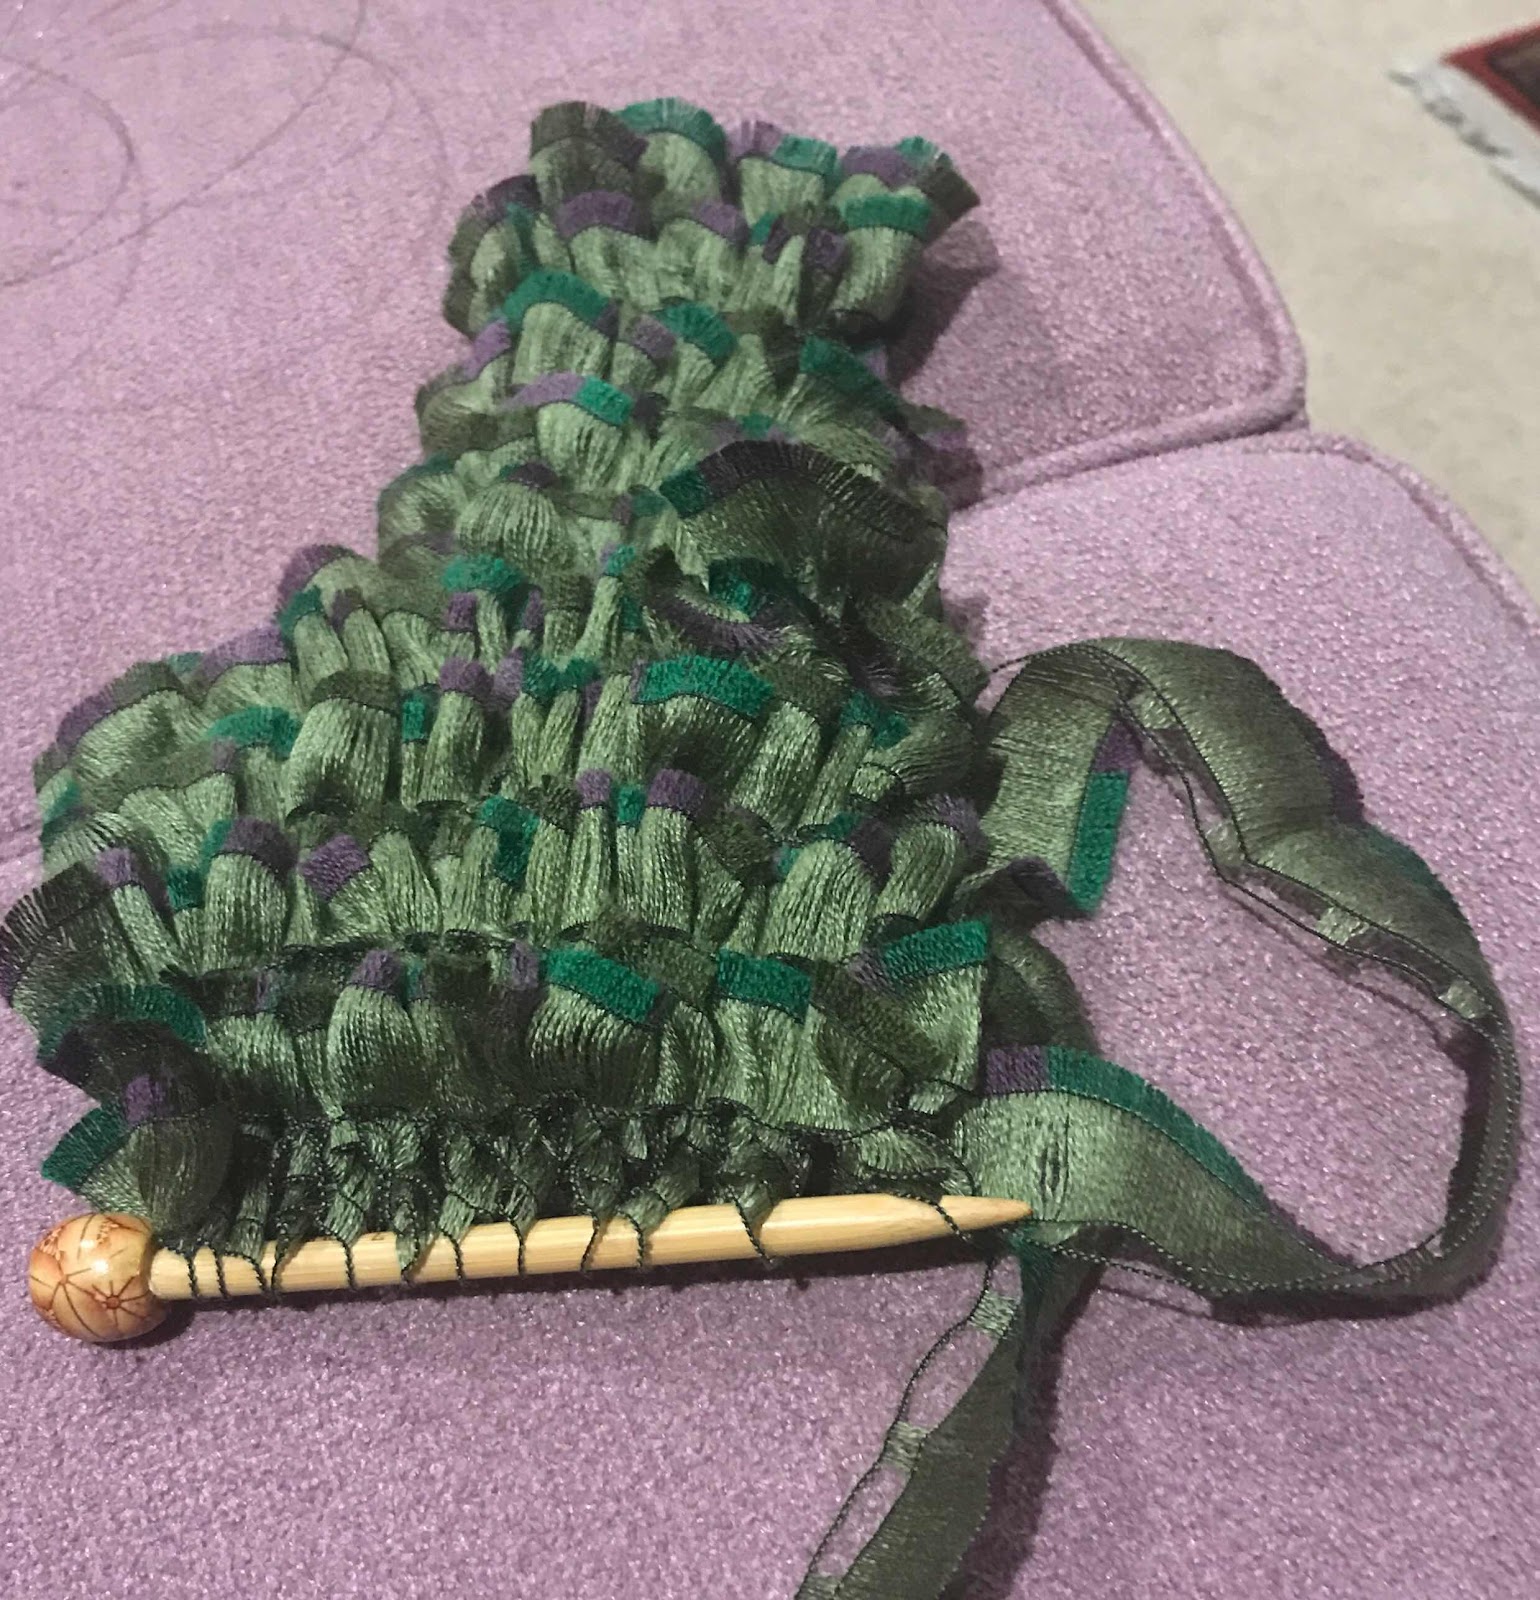
I tackled the easiest one first - a ball of Joy Rainbow tape designed to make a scarf. I adapted a pattern I found online for a scarf, and it knitted up quickly. 


The colours are attractive and the texture interesting. I narrowed the ends and created a loop on one end through which the other end slips.


It's a bit of fun - not really my style, but  someone might enjoy it for a while.


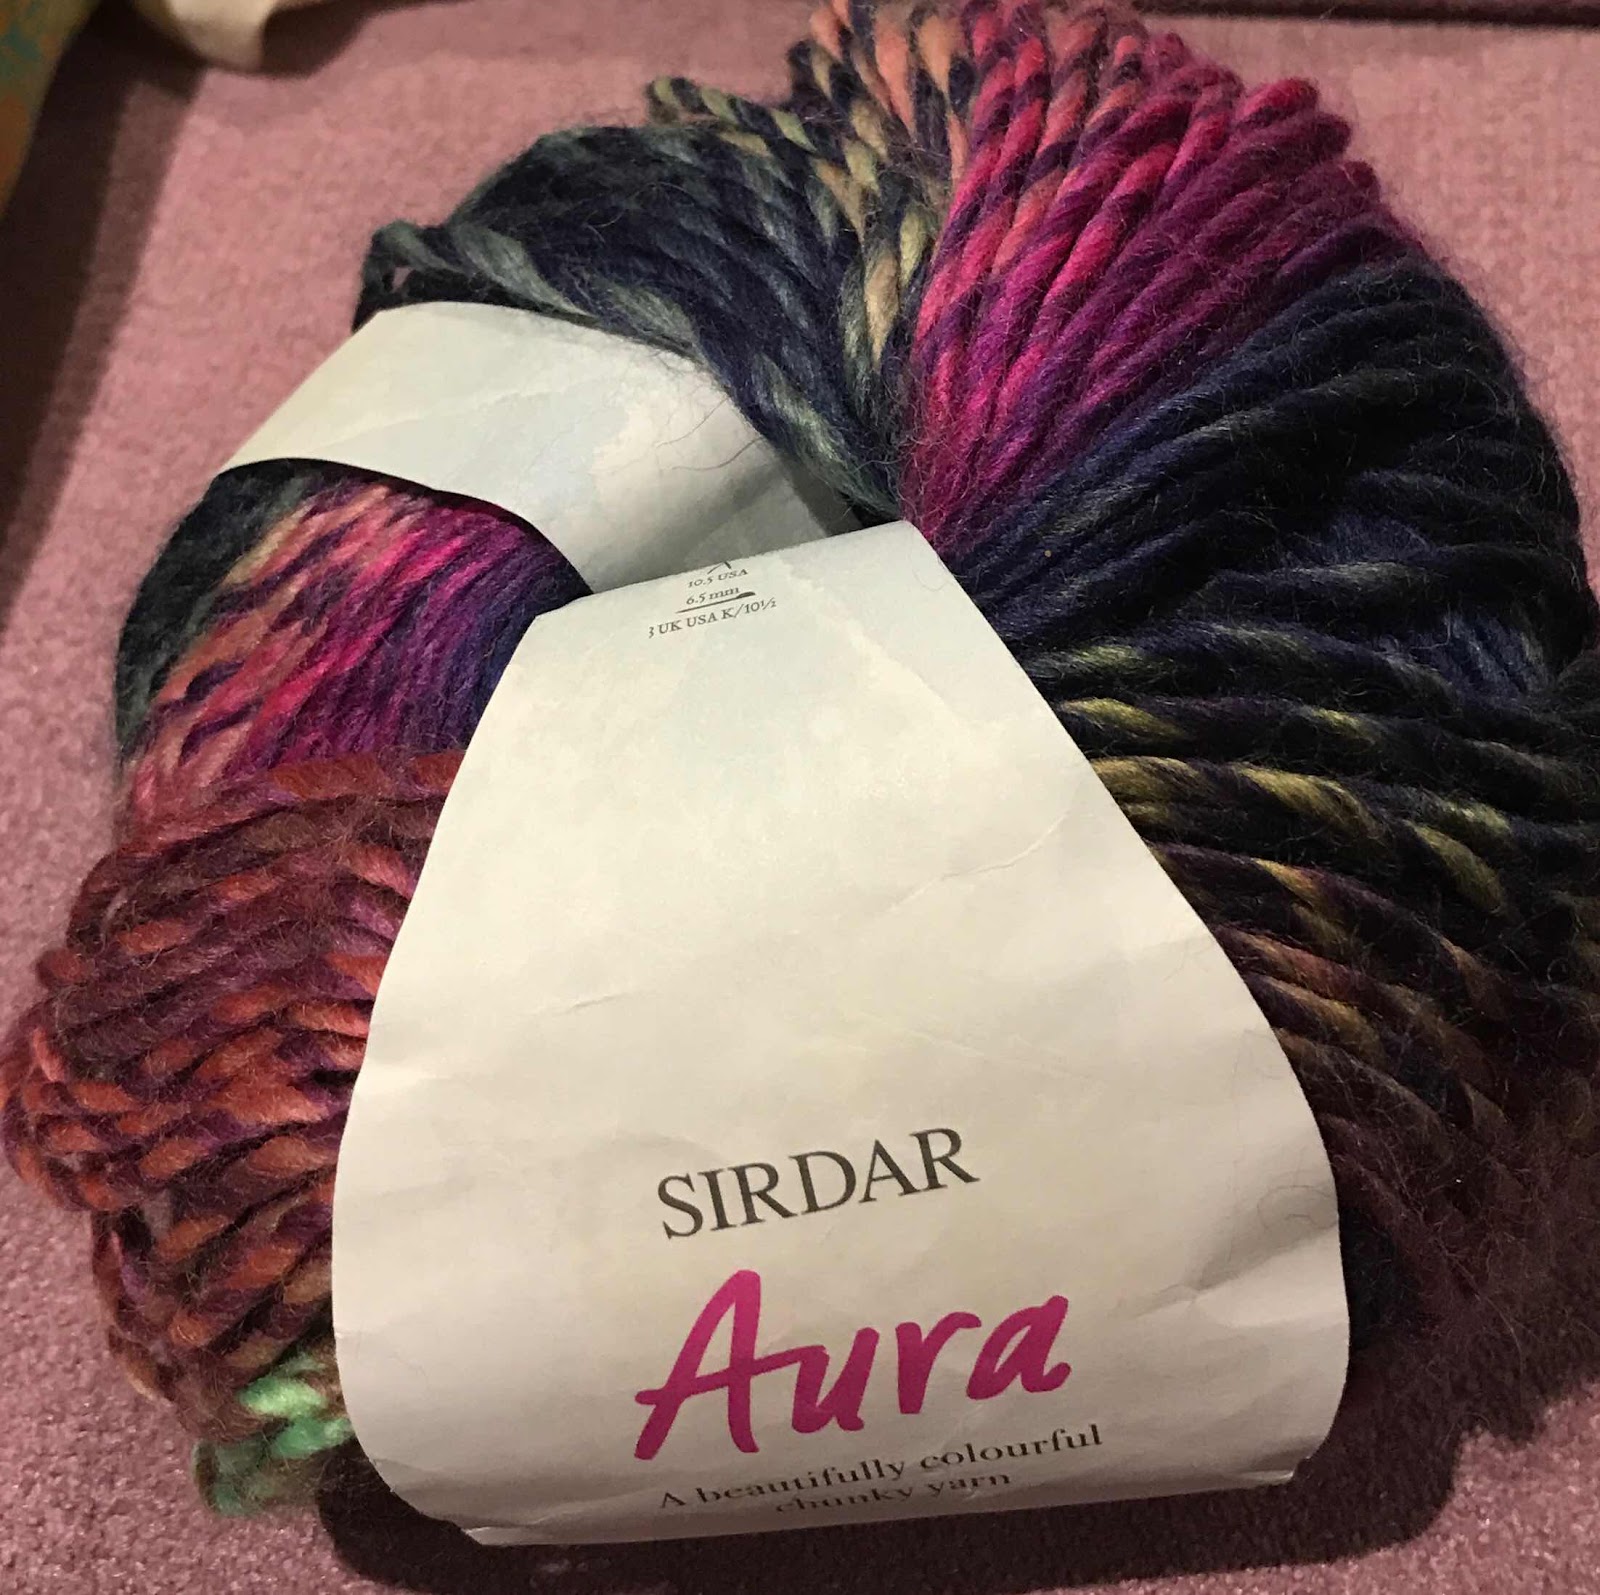
Next I tackled a
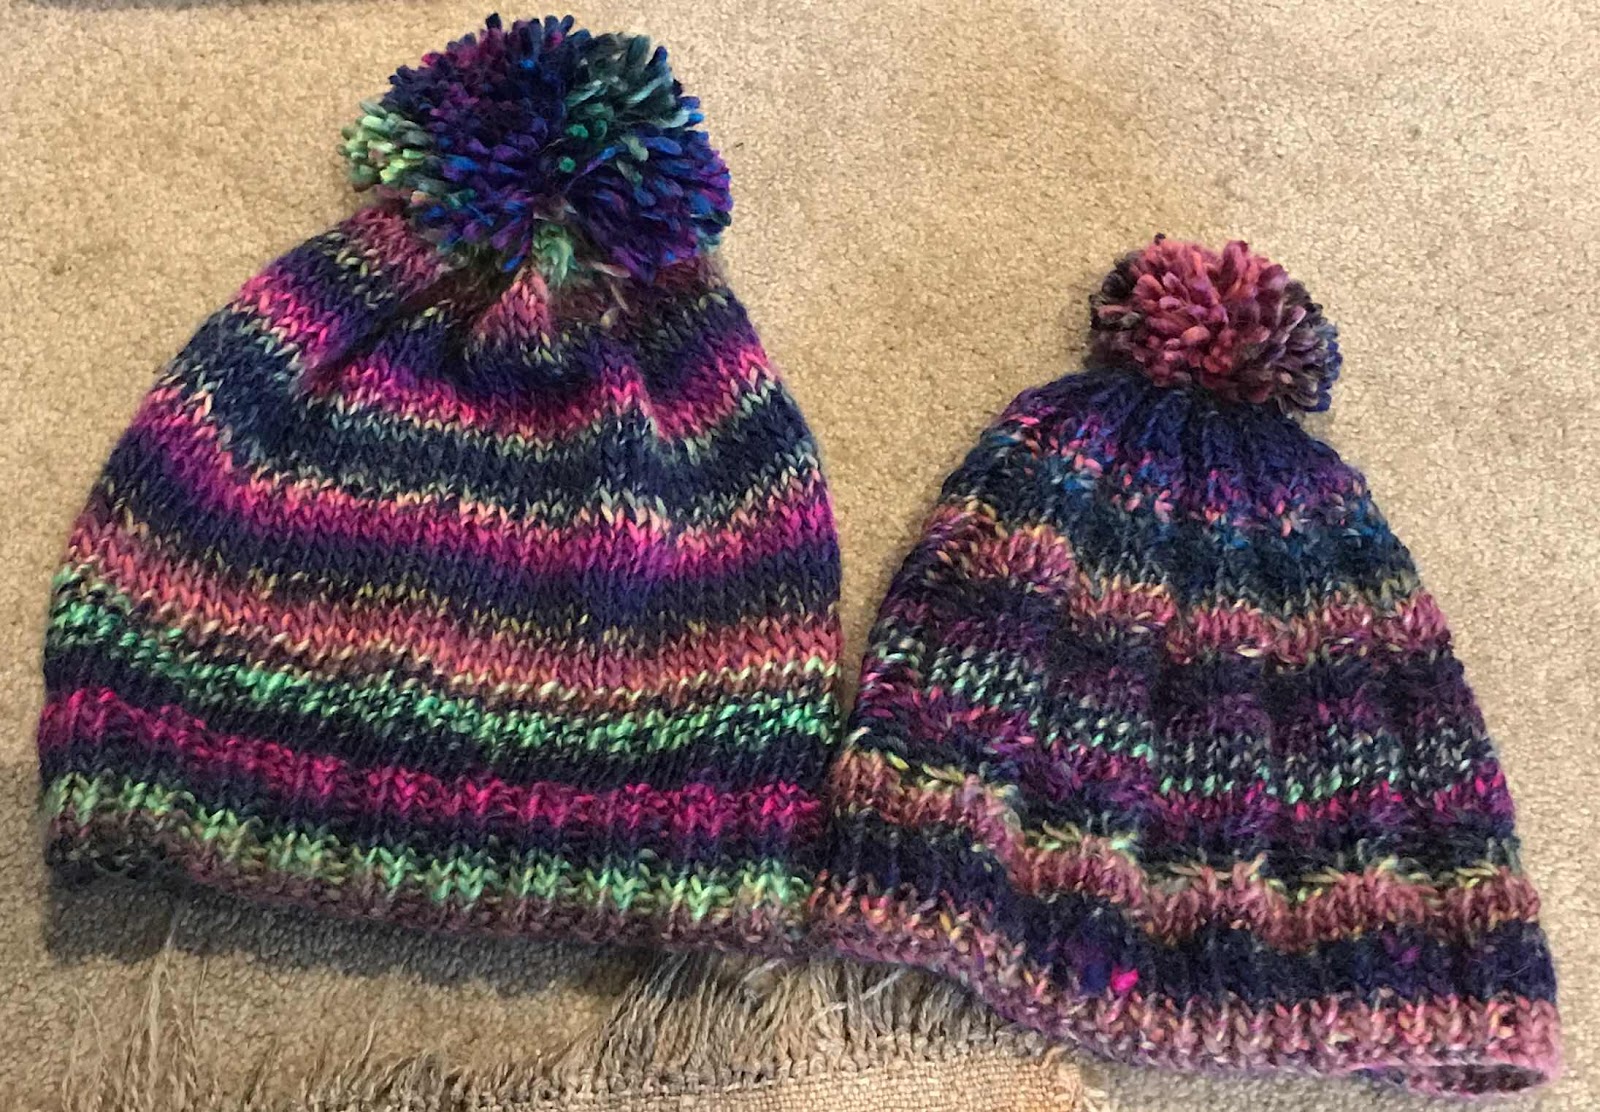
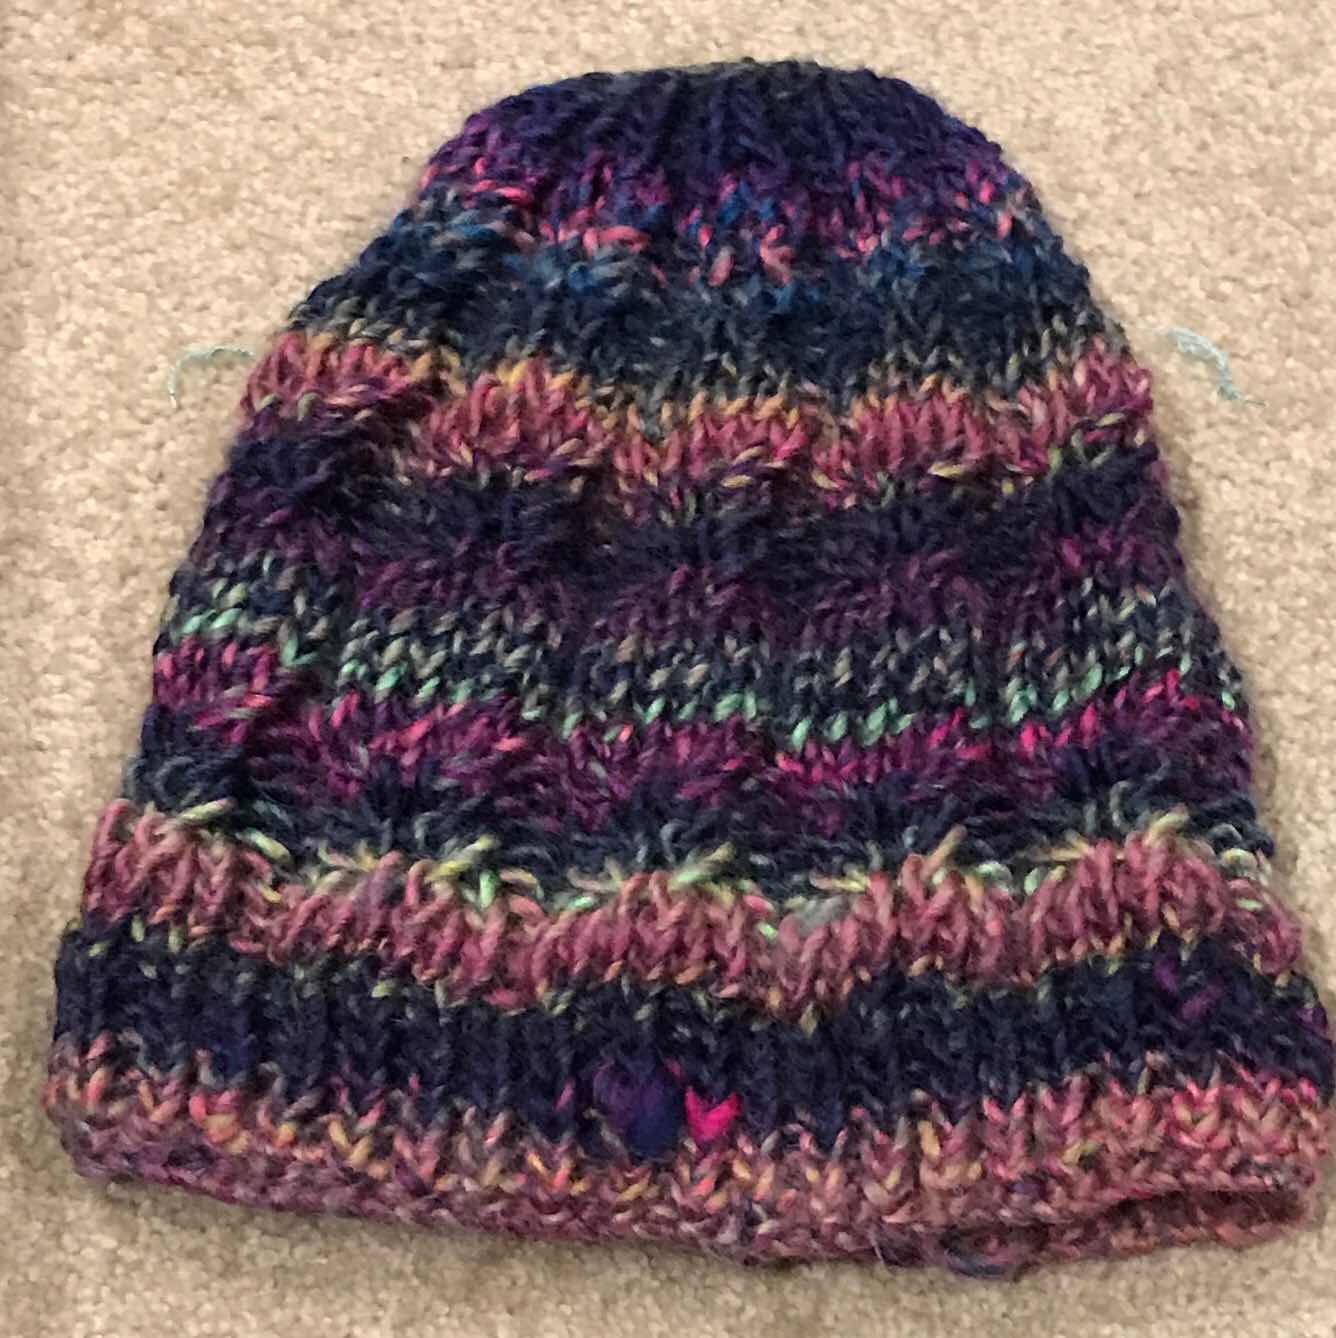
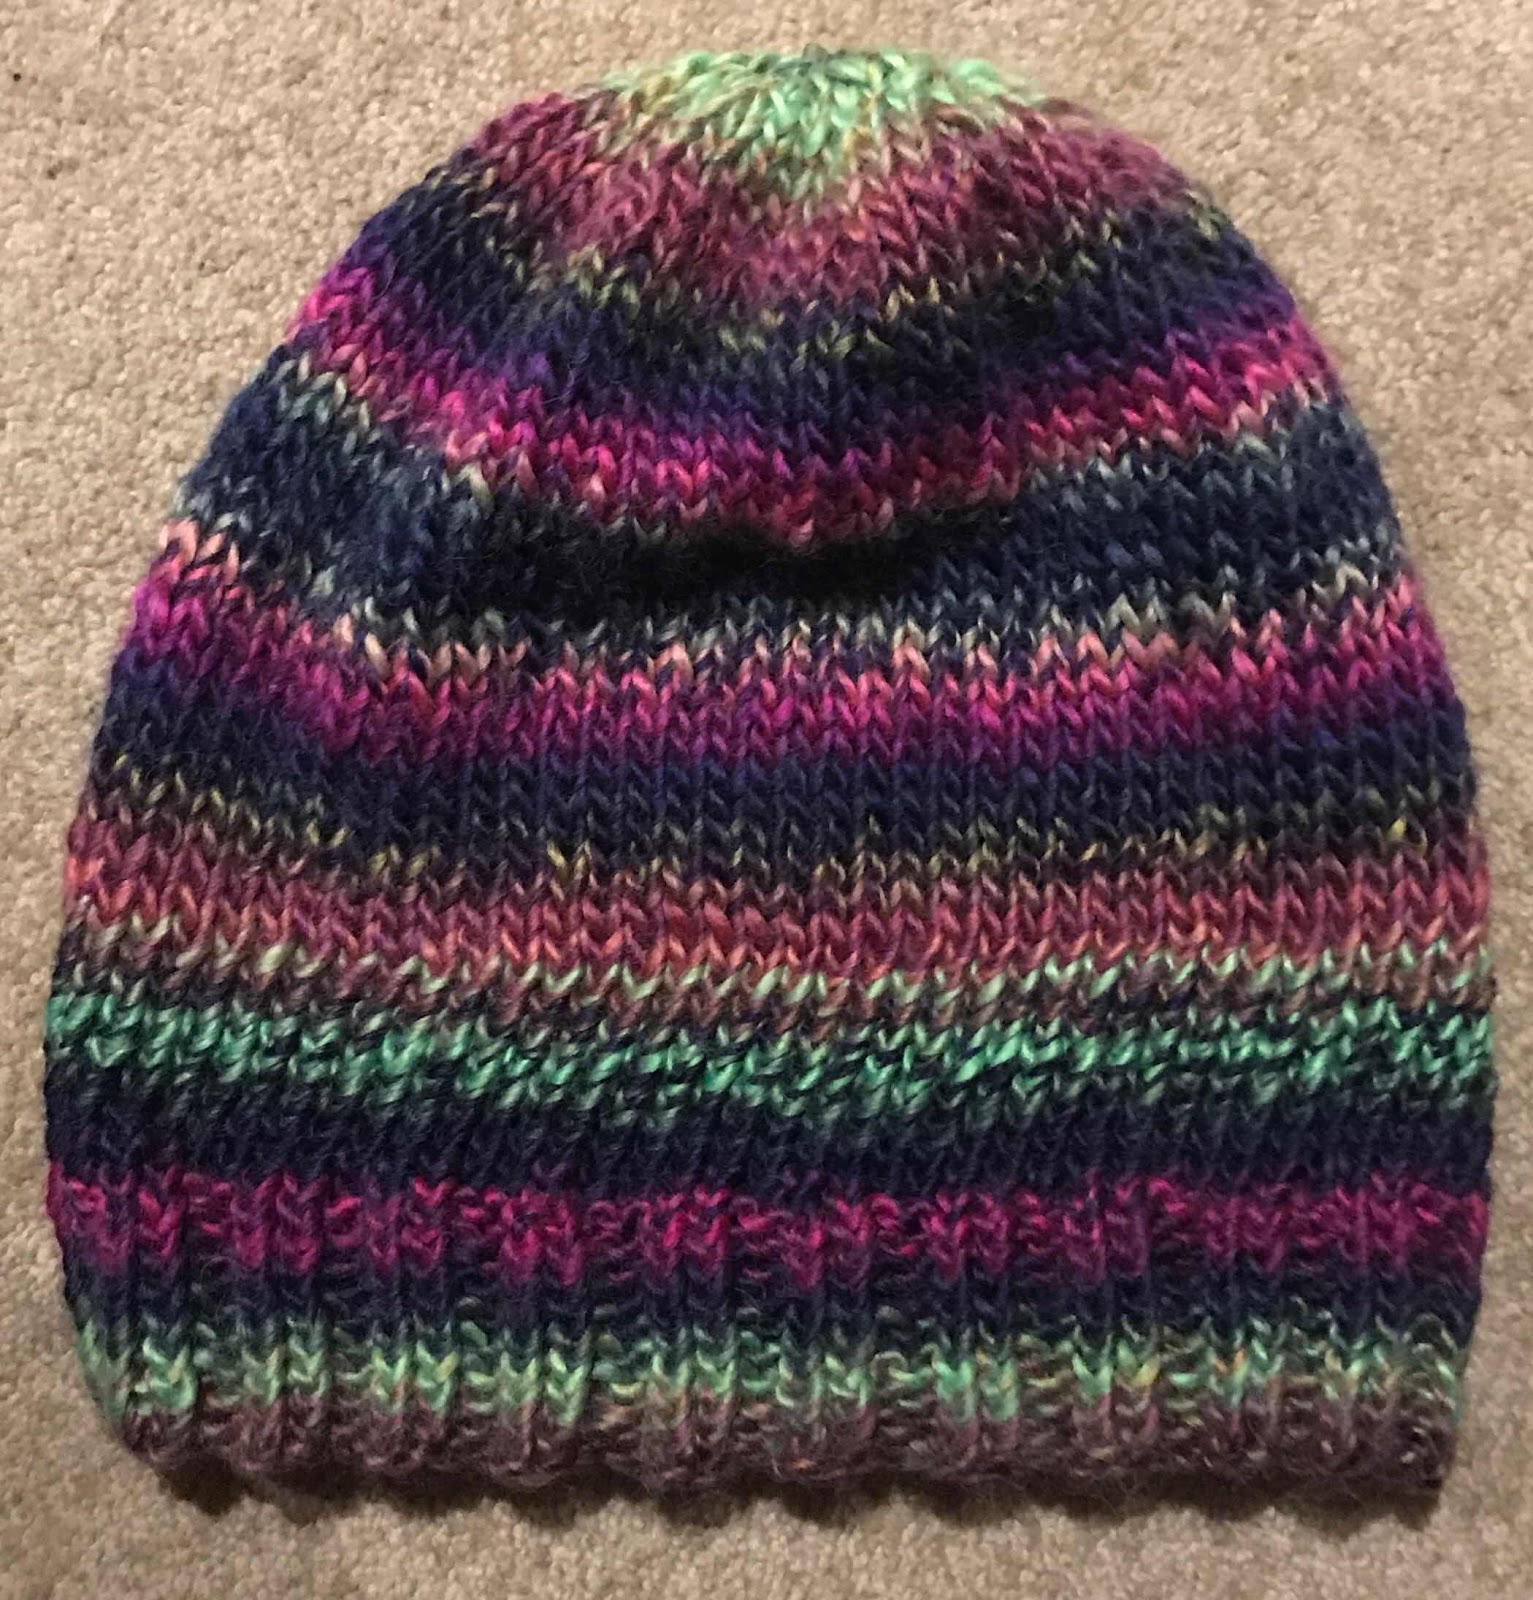
couple of balls of this rather attractive Sirdar Aura. These screamed 'hat' to me, so I tried out a couple of patterns, one for a beanie and one for a slouchy.

I rather like these, although I'm not sure it was a good idea to practice a new elastic cast-off on the slouchy. I think, however, some family members who like bushwalking will get good service from them.


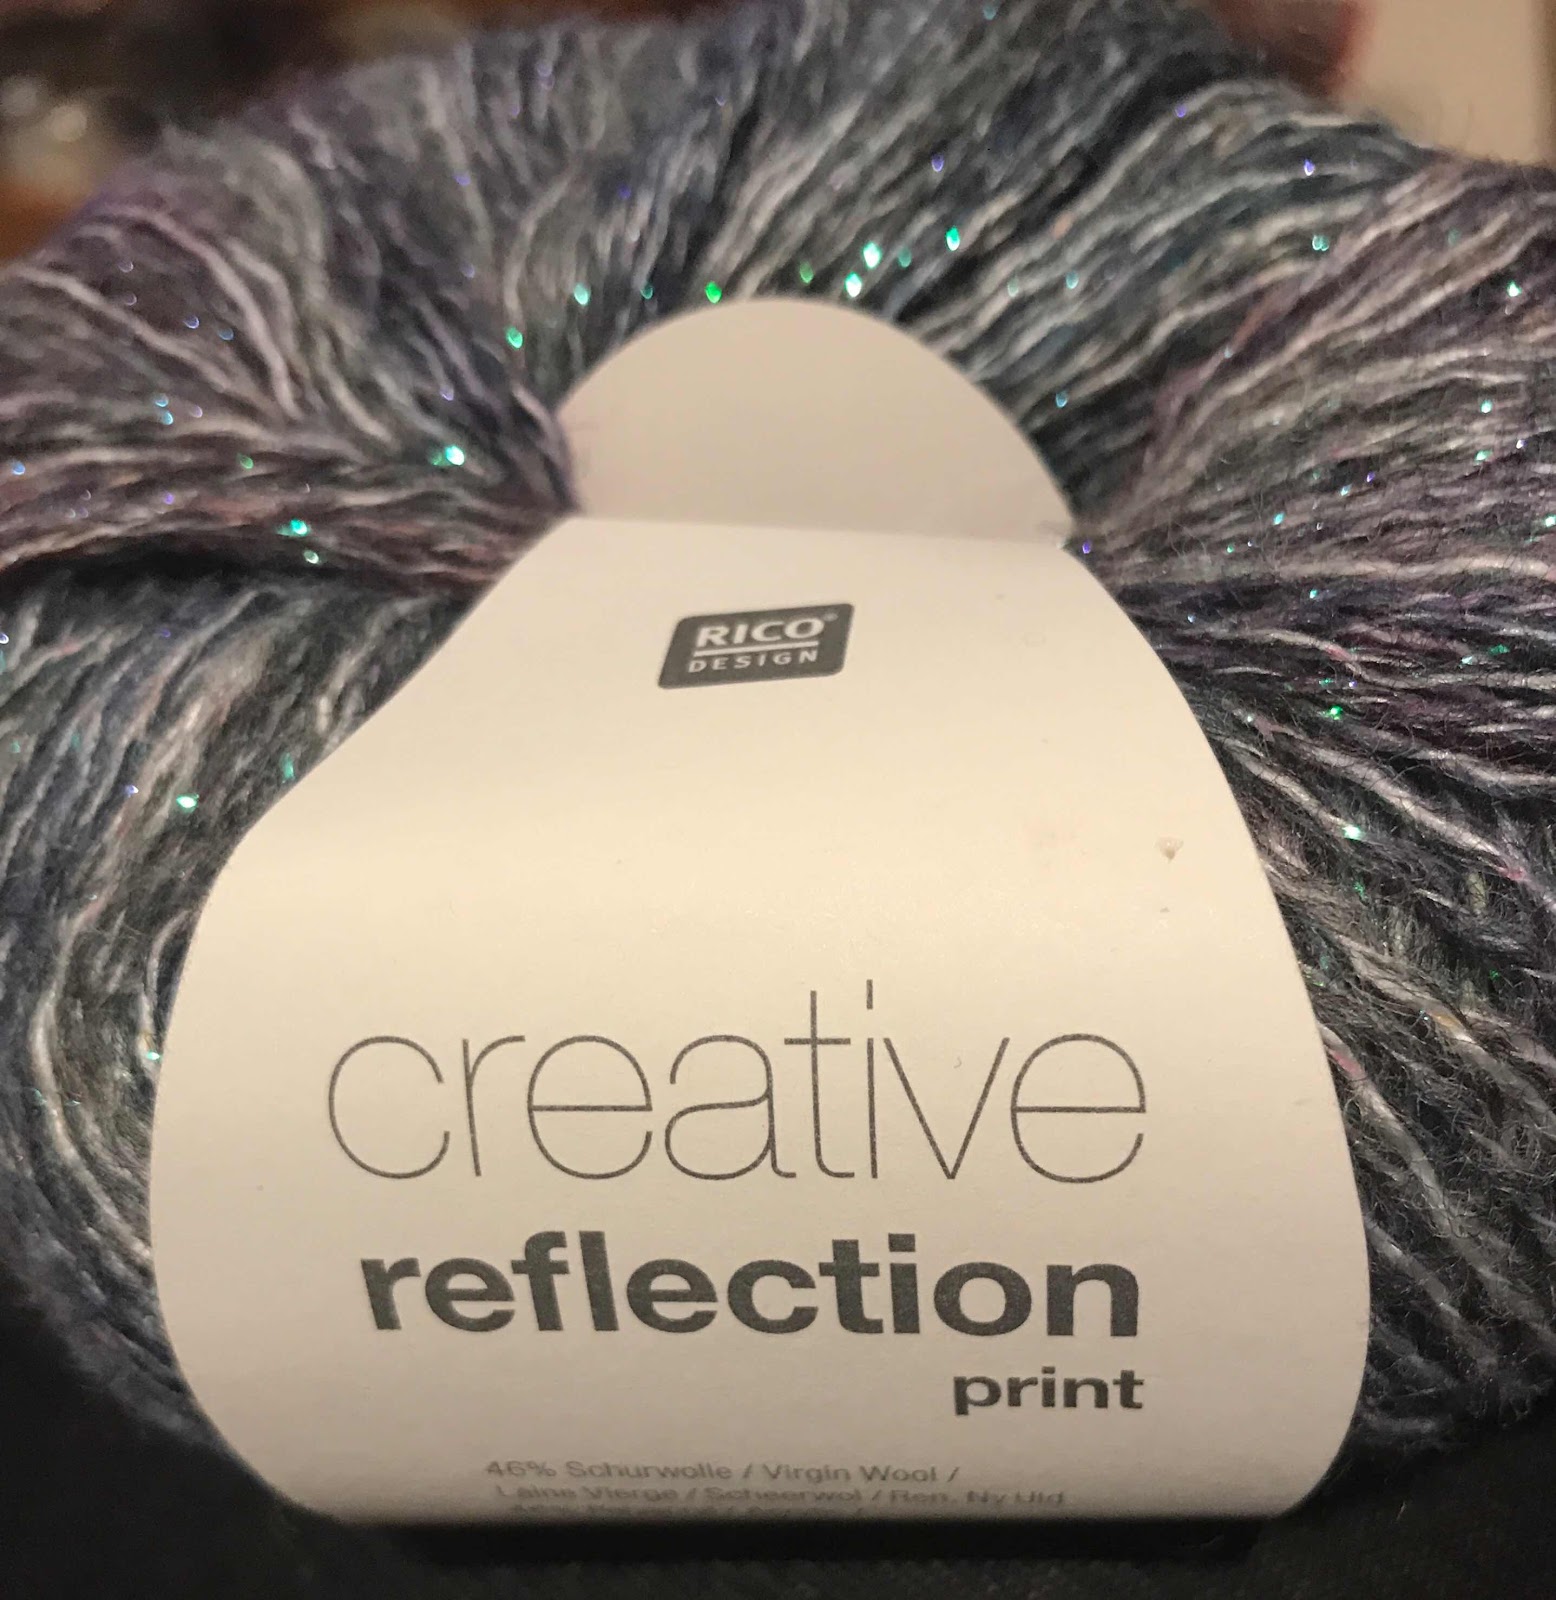
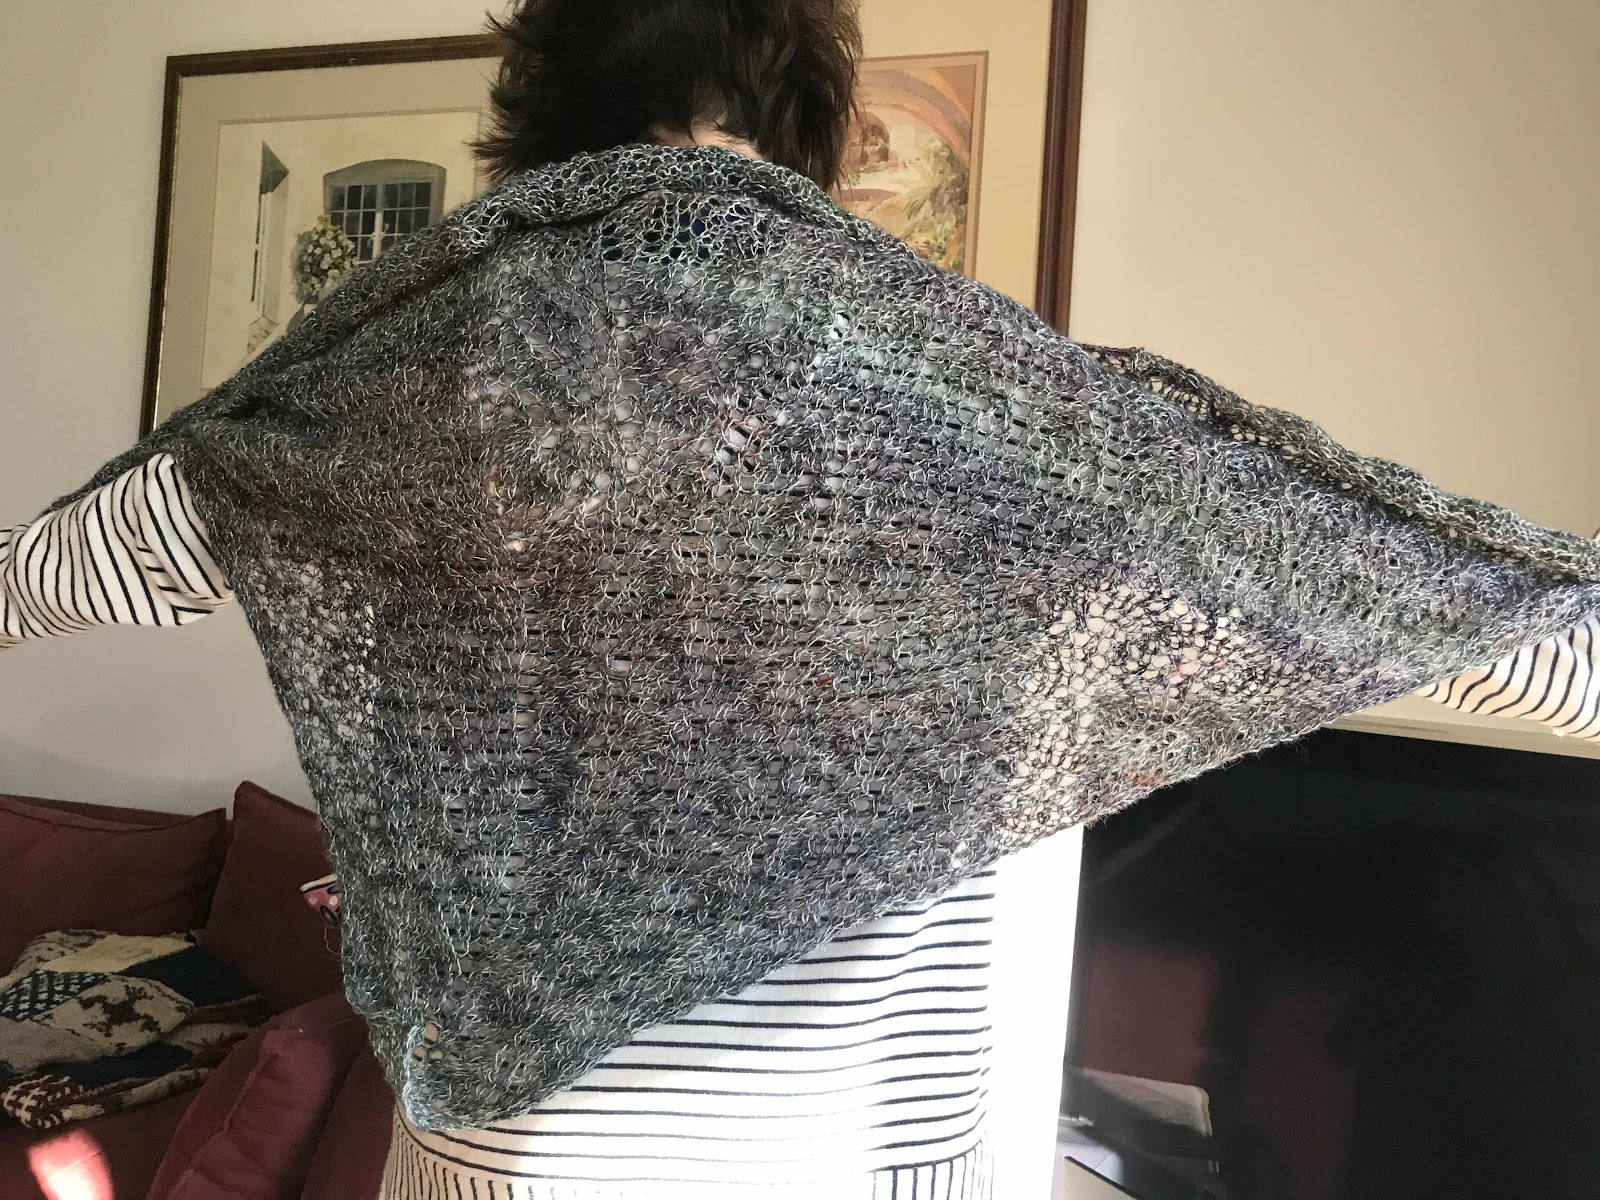
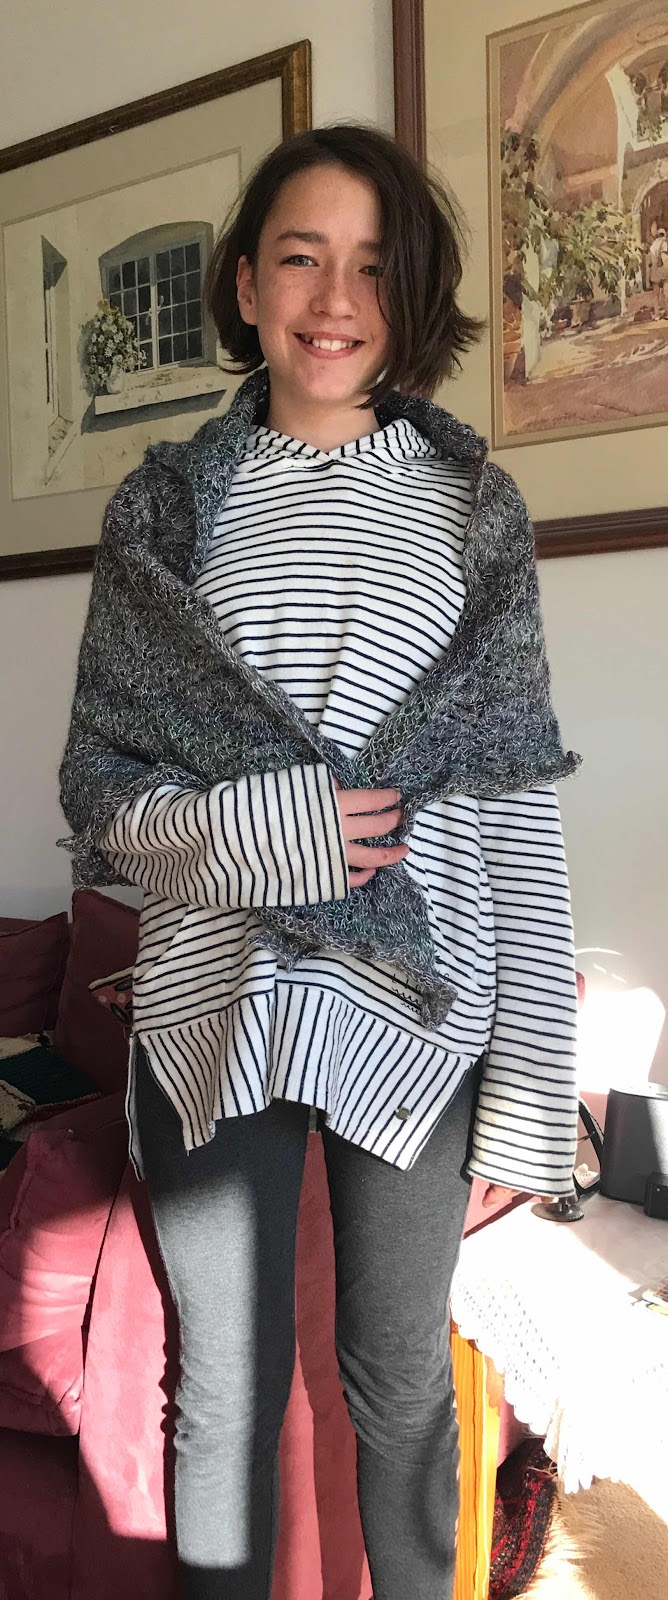
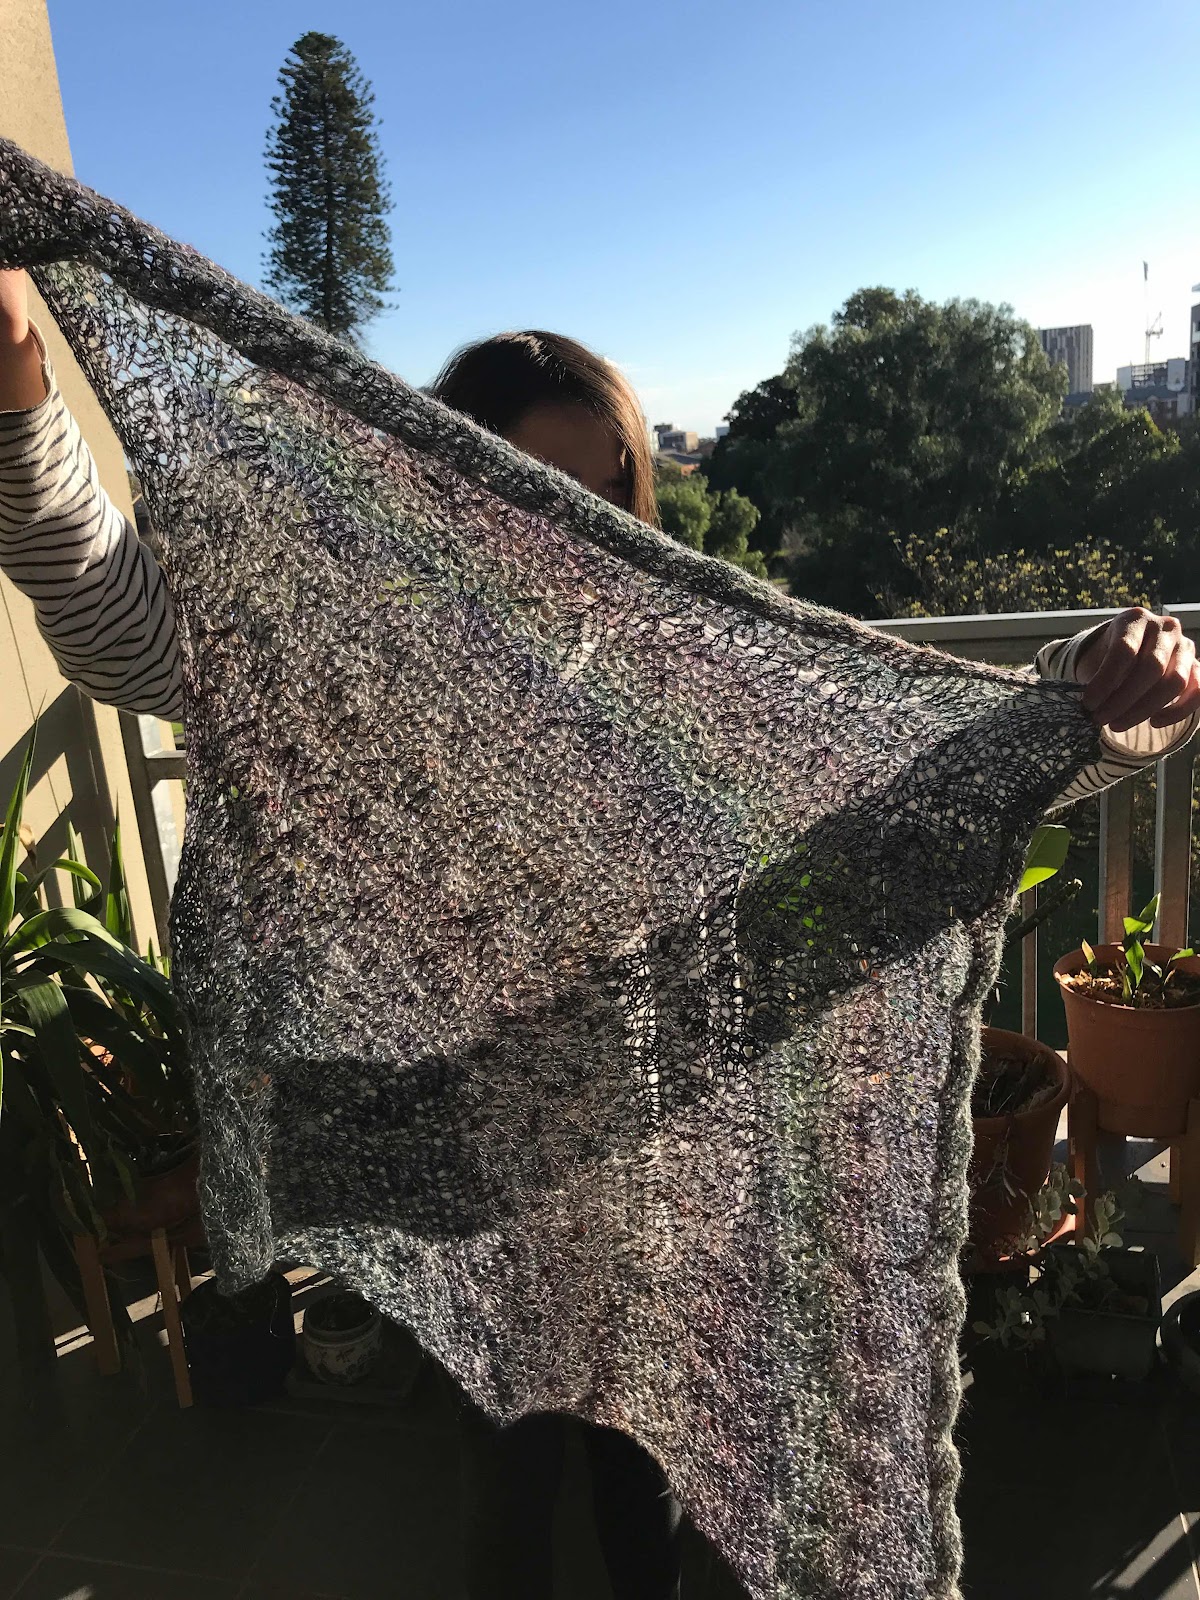
I then turned my attention to some silvery Rico which I knitted up into a triangular shawl.


Once blocked, I got Veronica to model it for me. I think it needs to be blocked again, and stretched out a bit further. The yarn is spectacular but I'm not convinced  it works on its own.


I still had three balls left, so I tried a bit of an experiment, matching it with some fine one-ply mohair and a pattern for a chevron shawl that alternates one-ply mohair with four-ply merino. This is taking me a long time to knit, but is coming along beautifully. I think I might save that one for its own post.
In the meantime,  I bought a bit more Adagio alpaca - because Adagio are needing a bit of support through the drought, and I also bought a kit for a scarf from Marie Wallin - because it was beautiful. I doubt I am half way through my brother's wool - so I'm afraid there is no rest for my needles regardless of the heat!

Sunday, April 7, 2019

Flora, the Herdwick Sheep


This was originally a very short post begun in 2017. While visiting Ruskin Cottage in the Lakes District that year, I bought a single ball of Herdwick wool. It was a natural coloured boucle and I thought it would make a good shawl.
I found a pattern I liked that I thought might do justice to the wool. It was knitted as a rectangle, folded and joined to form a kind of poncho. There was a patterned border along the front edge.

After knitting about 4 inches I decided it was a bad idea. The pattern did not show amongst the boucle and the wool merely looked grubby. I was hoping it might come in useful for one of the projects in the March 2019 Lady Anne's Needlework Retreat in the Lakes District, which focused on the life and work of Beatrix Potter.  This didn't work out either, so the boucle wool is down to experience.
I mention this by way of introduction to Nicola Jarvis's 
Herdwick sheep project from the retreat.                                                                                                                                                                    This is the project as it began. The beginning of the work, conducted in Bowness-on-Windermere last month is outlined in my travel blog.                             
By the end of my travels I had finished the sheep and a little of the dog roses. At the suggestion of one of my daughters, she is now called Flora.


As soon as I arrived home I got to work on the remainder.


I finished embroidering the dog roses


then moved on to foxgloves.


I found these quite tricky.  While I felt confident on light-shade balance on individual flower heads in front and behind each other , I was less convinced I managed the colour change up and down the stem.
The harebells and foxglove leaves were the last to go in.


Finally, I returned to the centres of the dog roses. I varied the stitch a little.


I'm very pleased with this result. I have enjoyed working on this. The texture of the finished piece is marvellous.

I am waiting for my Shaker Box to arrive to mount this piece in the lid. Wendy, from Australian Needle Arts has it ready to mail as soon as she recovers from the flu.


I will post again when the box arrives and I have the embroidery it mounted.


Tuesday, August 14, 2018

Rainbow shawl

The second shawl in my 2018 shawl binge was a feather and fan triangle from a ball of lovely variegated 2 ply I bought a few years ago in New York from a place called Knitty City in the Upper West Side. I saw a shawl in the window one evening and went back when the shop was open to buy the pattern and yarn. I made the shawl for a neighbour but had bought a spare ball. I wanted my neighbour's shawl to be unique, so I've repeated the pattern with different yarn. The spare ball has been waiting for me to find a new pattern for it.

I settled on a feather and fan which worked well. I simply kept knitting until the yarn was used up.


Then I blocked the shawl on the largest towel I could find - my stripy beach towel.


It blocked beautifully - and yes, passes the wedding ring test!


One of my granddaughters says it is a veil for a Gay wedding!


I haven't yet found the recipient for it - but I know that will become clear  - the secret name of the rightful owner will be revealed one day!


Tuesday, May 1, 2018

Wattle scarf


I have. over the last seven years since doing an Ottoman Scarf class with Alison Snepp, embroidered a number of scarves. Most of these were Raffal scarves, purchased as a follow-up to Alison's class. They are woven in India from Australian wool. The Raffal story is worth reading, a successful business established by one woman using the expertise she gained from working for the Australian Wool Board, utilising Australia's fine merino and the expertise of Indian weavers.

I am not sure if Raffal are still making perfectly plain scarves, but I had a couple left from my earlier purchase, and wanted to embroider one of them as a gift for a cousin who had kindly invited me to stay during my recent trip to England. I purchased scarves in colours that reflected the Australian bush, so chose a green one, sketched out some wattle branches and got to work.


It is a little tricky embroidering on these soft, open weave scarves. They resemble original Turkish bath towels - which is why Alison Snepp chose them for her original Ottoman scarf design. This means, however, you need to take great care in stitching, not to separate the fibres.

Back


front

You also need to take care that the back is fairly neat - as scarves don't sit obligingly on one side. These considerations limit the stitches you can use.


I limited myself to French knots, stem stitch and fly stitch.


Rather than adding larger tassels to those already there, as I had done in the past, I added gold beads that sparkle. It's not too over-the-top but adds little glints as the scarf moves.


It worked - and is something that will get some use in England!


Sunday, March 11, 2018

Dorothy Wordsworth's Post bag


I am posting this from Adelaide Airport, about to undertake the first leg of my journey to London, from where I will  once again travel to Windermere, in the English Lakes District, to attend another of the Lady Ann's Needlework Spring Retreats organised by Phillipa Turnbull. When I attended last year's Retreat I had no intention of travelling to England again this year. It was, however, such a great experience and such a great group of people, that I, and most of my fellow students, decided to return in 2018.

When I returned home in mid-January from a beach holiday, there was a parcel waiting for me. It was canvas, wool and a pattern for Dorothy Wordsworth's Postbag, which we had viewed at the Wordsworth Museum in March 2017. Phillipa was inviting us to make something based on the bag in advance of the Retreat. She had also organised for the results to be displayed at the Museum towards the end of our Retreat.

I was mildly panicked.The next day I was to begin the first of my two Summer Week classes at the Embroiderers' Guild and I had an unfinished project from my beach holiday.  As a fanatical finisher, I was even more panicked at the end of my Summer School Classes.

Even though I have published blog posts on the Summer Week Classes, I prioritised Dorothy Wordsworth's bag over finishing those projects. I have been working on this in the background and only returned to Opus Anglicanum and Australian Bush once I had finished the work on this bag.

The story, however, has had to wait a bit to be told.

So panicked was I, that I began work immediately, using only the notes that came in the package. I decided, however, to approach it differently to Phillipa's suggestion.

The original bag is roughly A4 size. If I reproduced that size I would need to back the bag with something.  I decided instead to make the piece longer, so I could fold it in half to make a smaller bag embroidered on both sides.


I began by embroidering a set of diagonal lines delineating the different colours in the original.


I initially used cross-stitch in a single thread on the diagonals but soon decided that the coverage was a bit thin, and that cross-stitch was going to take me too long. After some experimenting, I settled for tent stitch using a double thread.


Once I had the diagonals in place I began to add the skeletons of the little trees, using a silk thread in my needle along with the two strands of wool.  This was a bit tricky, but I got into a rhythm of pulling the wool into place before pulling the silk into place - not perfect, but allowing the silk to dominate.

I completed a corner to make sure it was going to work. I  used the dark red and dark blue as my backgrounds, rather than their lighter versions - hoping I had enough thread.

I then went ahead and outlined the whole piece, filling in the tree skeletons.

It was about at this point that I got a link to Phillipa's tutorial . If I had waited, I may well have, as Phillipa suggests, started in the middle and worked out, working the skeletons in wool first, using the silk to form a cross over the wool stitch!

As it was I was too far in where Angels fear to tread!

I  kept going.


By now my panic had subsided and I was having fun. I had forgotten how addictive canvas work can be. This is especially so when the pattern repeats itself as it does here. I love being able to work from an outline without referring to a pattern.


While I am telling this story in a single blog post, it took me about three weeks of not doing much else to finish the embroidery. I'm very grateful to my family and friends at the Embroiderers' Guild who encourage me and dampened the panic!


The thread in the needle in the canvas is all I had left of the dark blue!

My stash yielded several options for lining fabric, but this printed linen seemed the natural choice.


A maroon zip, side seams and a neat, useful bag emerged.
The finished bag was slightly twisted, so I blocked it. It took a while to dry.
The bag has, of course, one side where the trees face the zip and one facing the other way. That's fine by me. There are inconsistencies and imperfections in my stitching. That's also OK by me. I'm not after perfection - but serviceability, harmony & tribute to Dorothy Wordsworth.


I really like the result. It will be useful and I'm happy to share it with my fellow students and the Wordsworth Museum. It is safely packed in my suitcase which is now booked all the way to London.


I will continue to post to this blog while I'm away but most of my travel adventures, for anyone interested, will be found at https://jillianengland2018.blogspot.com.au/. The first post should be there within 7 hours of this post.