Search This Blog

Showing posts with label crewel. Show all posts

Monday, June 6, 2022

Crewel Battlement Couching Certificate Course Workshop

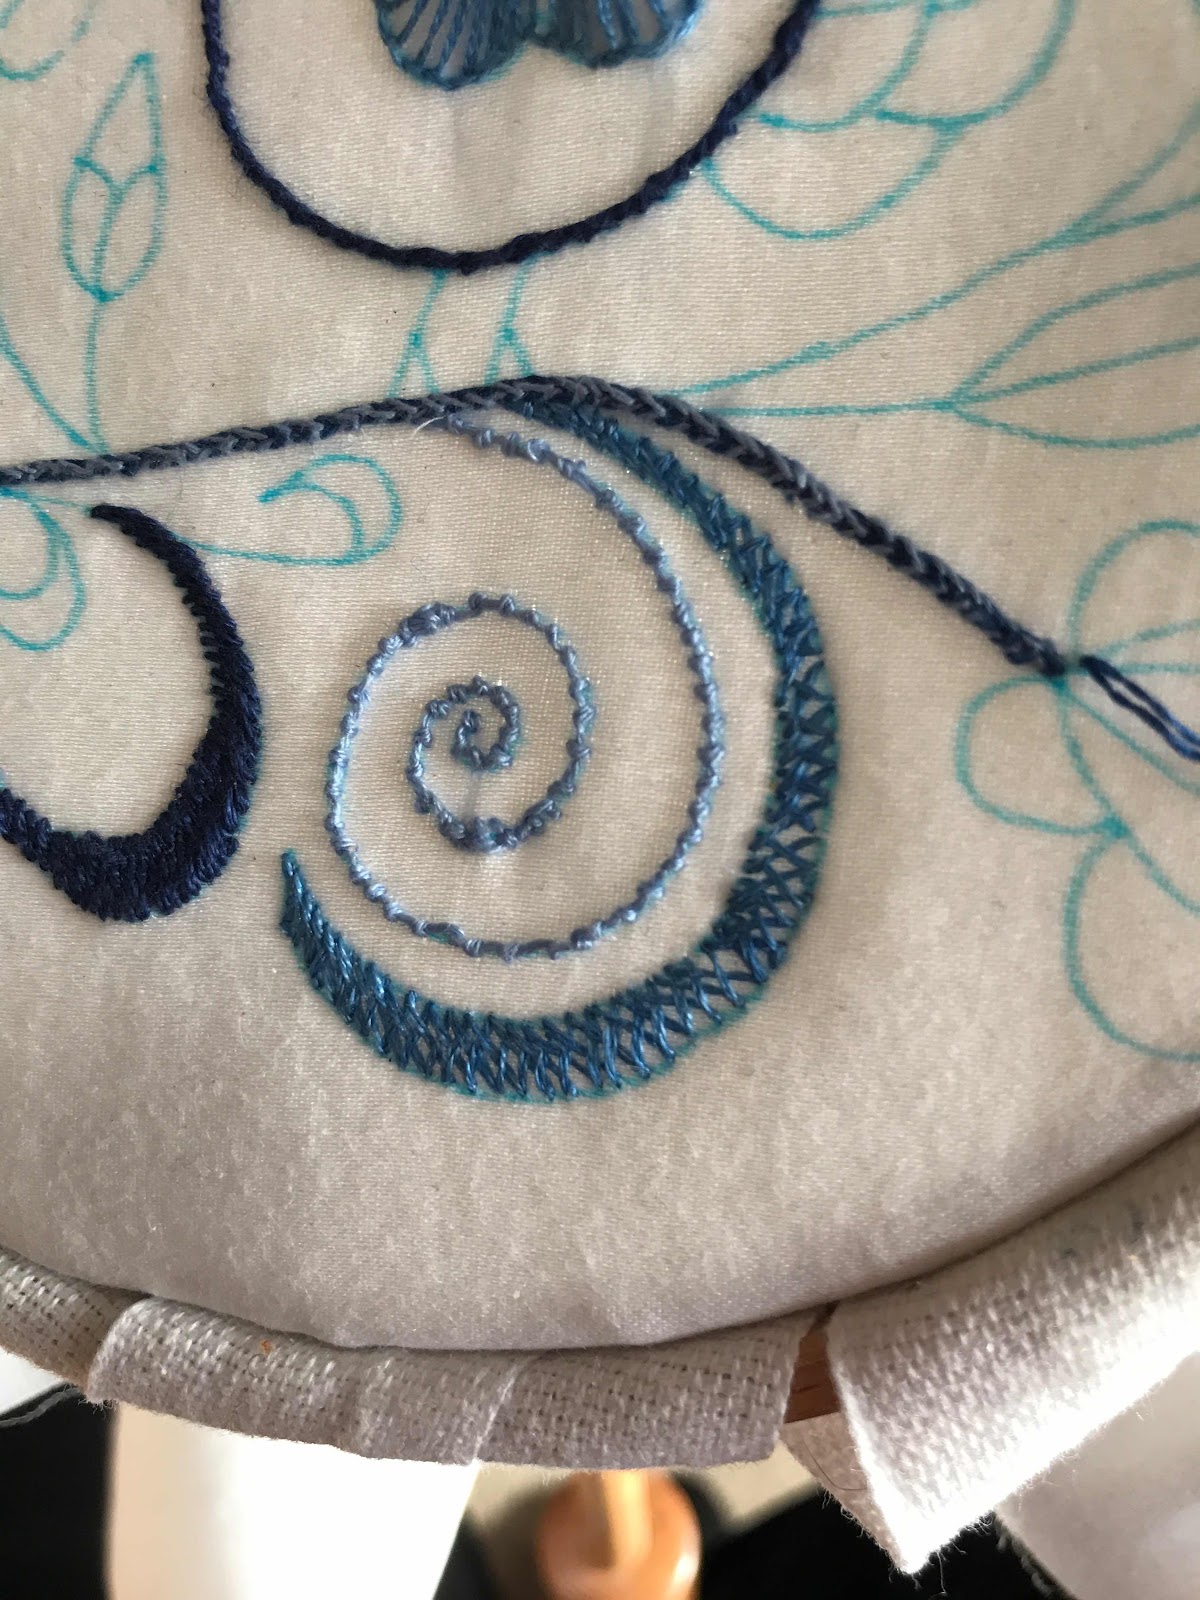
On the last Saturday in May I went to the Guild's Certificate Course Workshop given by Di Kirshner on  battlement couching. Di provided some basic template shapes for us to  work with, but encouraged us to innovate. I took the circle shape and tried to create a tri-moon design. 

I worked the left hand crescent in 5 gradients of blue, beginning with the darkest on the bottom. On Di's suggestion I worked the right hand crescent with the same colours in the opposite direction. That worked well too, but my first attempt to fill the centre in a single middle colour was a disaster - and I took it out.

The less-ambitious replacement with 5 mid-colour layers and alternating dark and light French knots was much more successful.

At this point I began playing with a contextualising design. I was trying to keep within the stylised Jacobean crewel  and the moon goddess traditions. It took a few days and rejected drawings before I came up with one I liked.
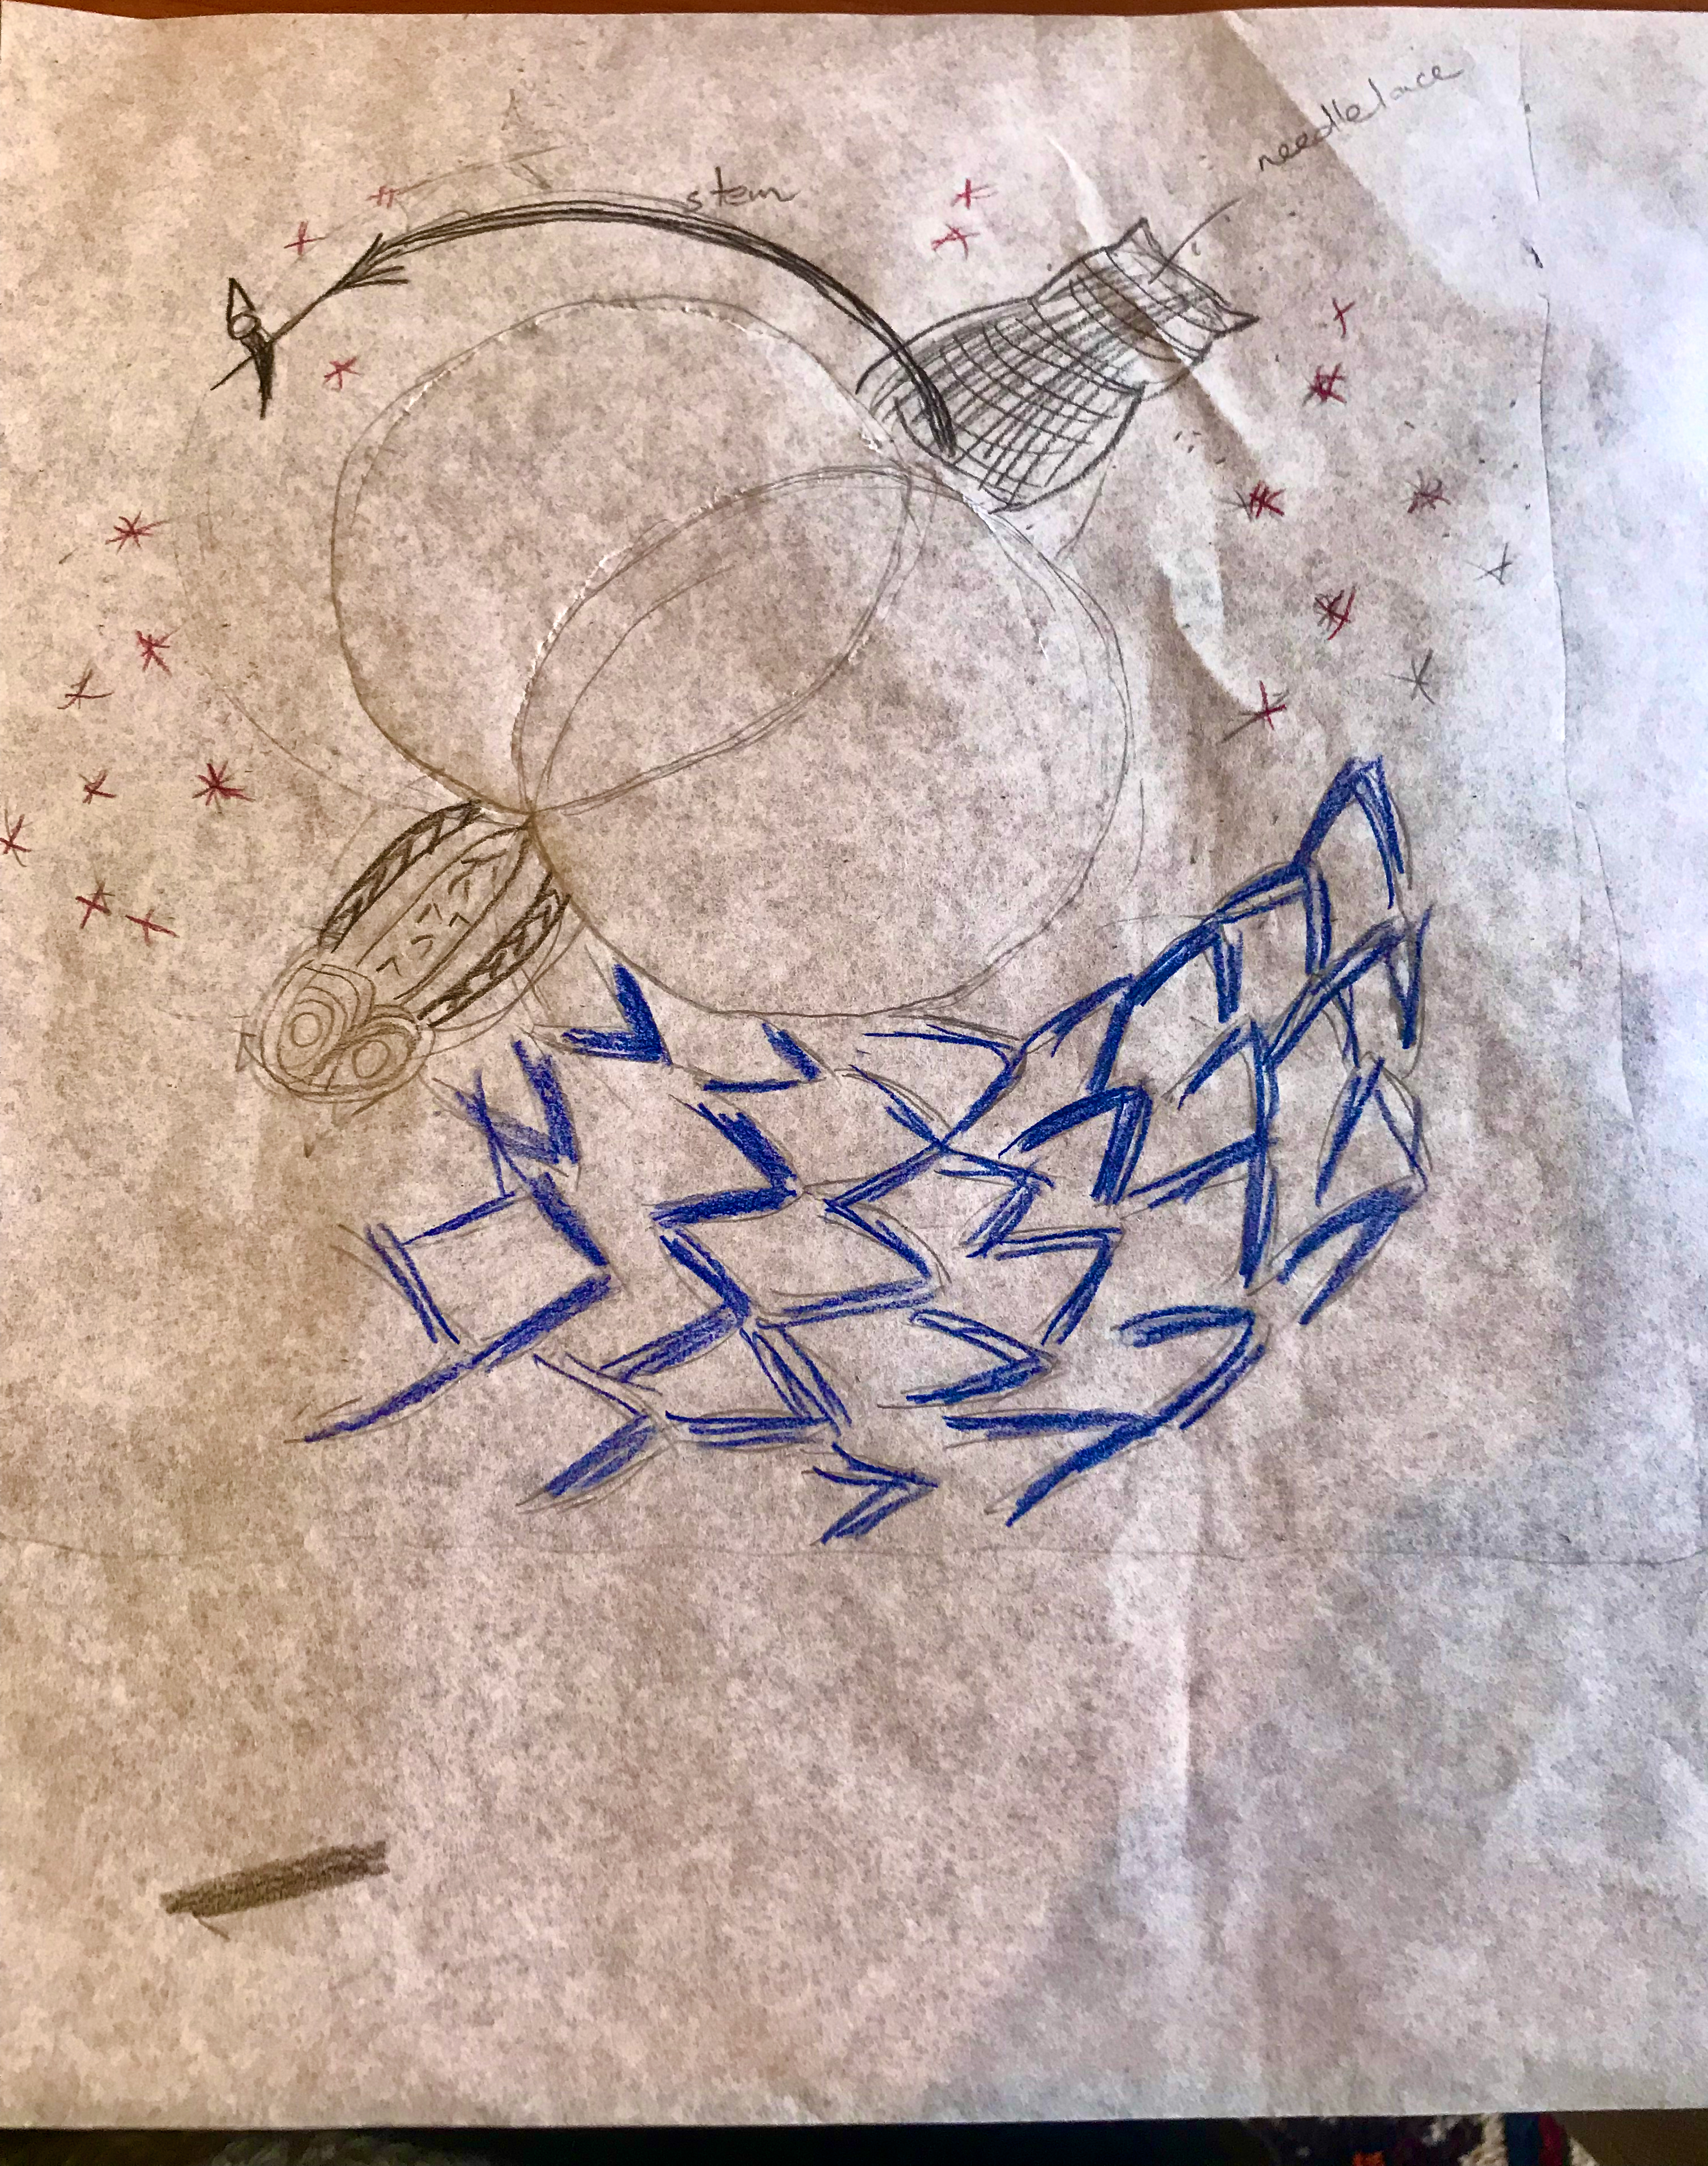
I came up with the shapes of an owl, the back of a cat, a flight of birds and the tail of the cat morphing into a broomstick. Plus stars. I'm hoping I can embroider these in a recognisably crewel style. It's an eclectic mix - birds from northern goddess traditions and the cat from Egypt and Greece.
The owl was easy. I've done it before. The stitches chose themselves. Tatiana Popova has one in her Crewel Embroidery  book against which I could test my choices. The cat silhouette I thought I'd do in needlelace. I spent an evening on it but couldn't get it even (left). I think the area to be covered is too large. I tried, but cut it all out once I got everything else done.

I replaced it with a layer of closely couched black thread held in place by a grid, also in black. Much better.  

It is not really stylised enough for traditional crewel work but it might, as my mother used to say, pass with a push. I rather like the flock of birds and the stars, and it does have the witchy feeling I was after, and a bit of a tilt to goddess embroidery.
I've had fun with it, but fear it's a bit indulgent. Nevertheless, it has been shaped by Barbara's Design Online course and I like the result. I went through my stash looking for suitable fabrics to help turn it into something useful. 

After a few tries I settled on what was sold as a Christmas fabric, blue stars, silver moons with a bit of sparkle. 
I planned a pouch with a zip closure - until I figured this one really would be better displayed at eye level and dug out a large hoop I had bought from the Guild trading table to use for displaying something. I needed to join the fabric but the join is under the applique - and it worked a treat.
I gathered the fabric over the hoop, and backed it with calico.  I have left the rectangular background fabric  underneath in case I decide I've had enough display in which case I can remake it as a pouch!


I considered cutting the embroidery to a circle, but I think the points fit quite well with the stars.

I don't have a lot of display space left in my apartment. I tried it in a couple of places. There's a spot in the kitchen that would work. 

For the moment I've hung it on the door into my apartment, underneath the Alison Cole stumpwork piece 


I hesitated to hang it here. It seems a provocative thing to do, hanging a moon goddess image with witch associations on a front door would once have led to persecution and death. The stigma and fear lingers. 

Which, of course, is a reason to hang it there. I offer it as a tribute to those women who served - and serve - their communities as healers and interpreters, against the odds. It's also a tribute to the confidence I acquired to trust my judgement through Barbara Mullan's Design Online Course through the Guild.


Saturday, April 9, 2022

Aesop Frame Finish - almost


I was very pleased with my finished fox and frog. The brown colour change shows up disappointingly in the photo but much less so on the linen. 

The end of daylight saving gave me an extra hour which I spent working on the owl (and finishing a book, and several other things. It's amazing how far that extra hour can stretch). The owl was fun - although the white Renaissance thread was a bit fluffy to work with and hard to tame. Strange how different colours in the same thread type react differently.

Here's the owl in context


and the bottom of the frame as I moved my hoop. It is quite exciting to see the whole piece coming together like this.

The pied woodpecker was a delicate exercise - all in the fine Renaissance threads.  My challenge is to fill in the tree trunks in ways that blend colour smoothly. I'll go over some of the trunks again at the end with a single thread touch-up.     I was fairly pleased with this result.

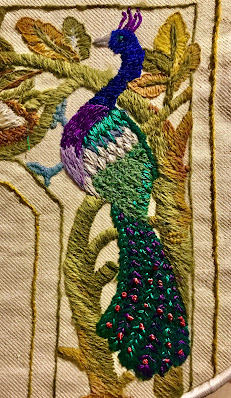
The peacock was a very interesting stitching exercise, with a variety of threads and stitches.  In general I stuck to the colours and threads suggested, but I played a bit within the parameters. It was a great place to finish.   

As this is the last piece of crewel work to go on my chair, I wanted to add text to the centre of the frame and had intended to do so before blocking. 
It was, however too crumpled when I took it out of the hoop so I blocked it overnight while I gave some thought to the lettering. In the end I printed a page on paper, then on Sulky. It is too long and exposed to risk scribing it by hand, even with ruled lines.  I will block it again when I've stitched the text.

I got the start date wrong (took a guess and, fortunately, checked later). I am now stitching it - practising my slow but effective Quaker stitch. I've fixed the date. My next post will show the finished text - and hopefully the piece in situ on the completed chair!

Sunday, October 11, 2020

October 2020 Update


Much has happened since I last posted here in July. Many places have had second waves of Covid and various degrees of restrictions or lockdowns have been imposed. Here in Adelaide we currently have no known community transmission for several weeks. We are still, however, cautious, observing distance, hand hygiene and restrictions on numbers gathering. 

In that time, Blogger has altered its tools and coding for blogposts and I have struggled with the new text wrapping tool. Sometimes it works and sometimes it doesn't.  Apologies in advance for much less than perfect layout.
I am still posting my daily blog which has included the embroidery I have been working on since I last posted an update here in July. It is still my intention to continue the daily blog for a year - until 24 February 2021. It's a kind of Journal of a Covid Year. Once that year is over, I intend to return to more or less weekly posts here.                                                                                                                  I made some progress on my crewel chair adding a Jacobean flower, an acorn and  redwork rabbit.
Once I got these pieces on the chair, I realised I needed much more to fill the gaps, so ordered a series of printed linens that I thought would do the job from The Crewel Work Company. I have just finished two sets of Rabbits at Dawn to put in front of the tree of life on the seat.
  The embroidery is finished, blocked and ready to add. I am now working on a series of feathers to go along the top edge.
One of my daughters suggested I make some Covid masks, which were being mandated in some parts of Australia and recommended in others, so I spent a couple of weeks finding recommended designs, fabrics and patterns and made, in the end, about 45 masks.


I completed this alpaca shawl with a pattern and yarn from Adagio Mills in Orange NSW. Blocking was a challenge!                                                                                                            


This bag and the tools that go in it were also a challenge, the result of a class with Christine Bishop at the Embroiderer’s Guild. Surprisingly, I enjoyed doing it. I learned a lot, the bag has proved very useful and it has been much admired.
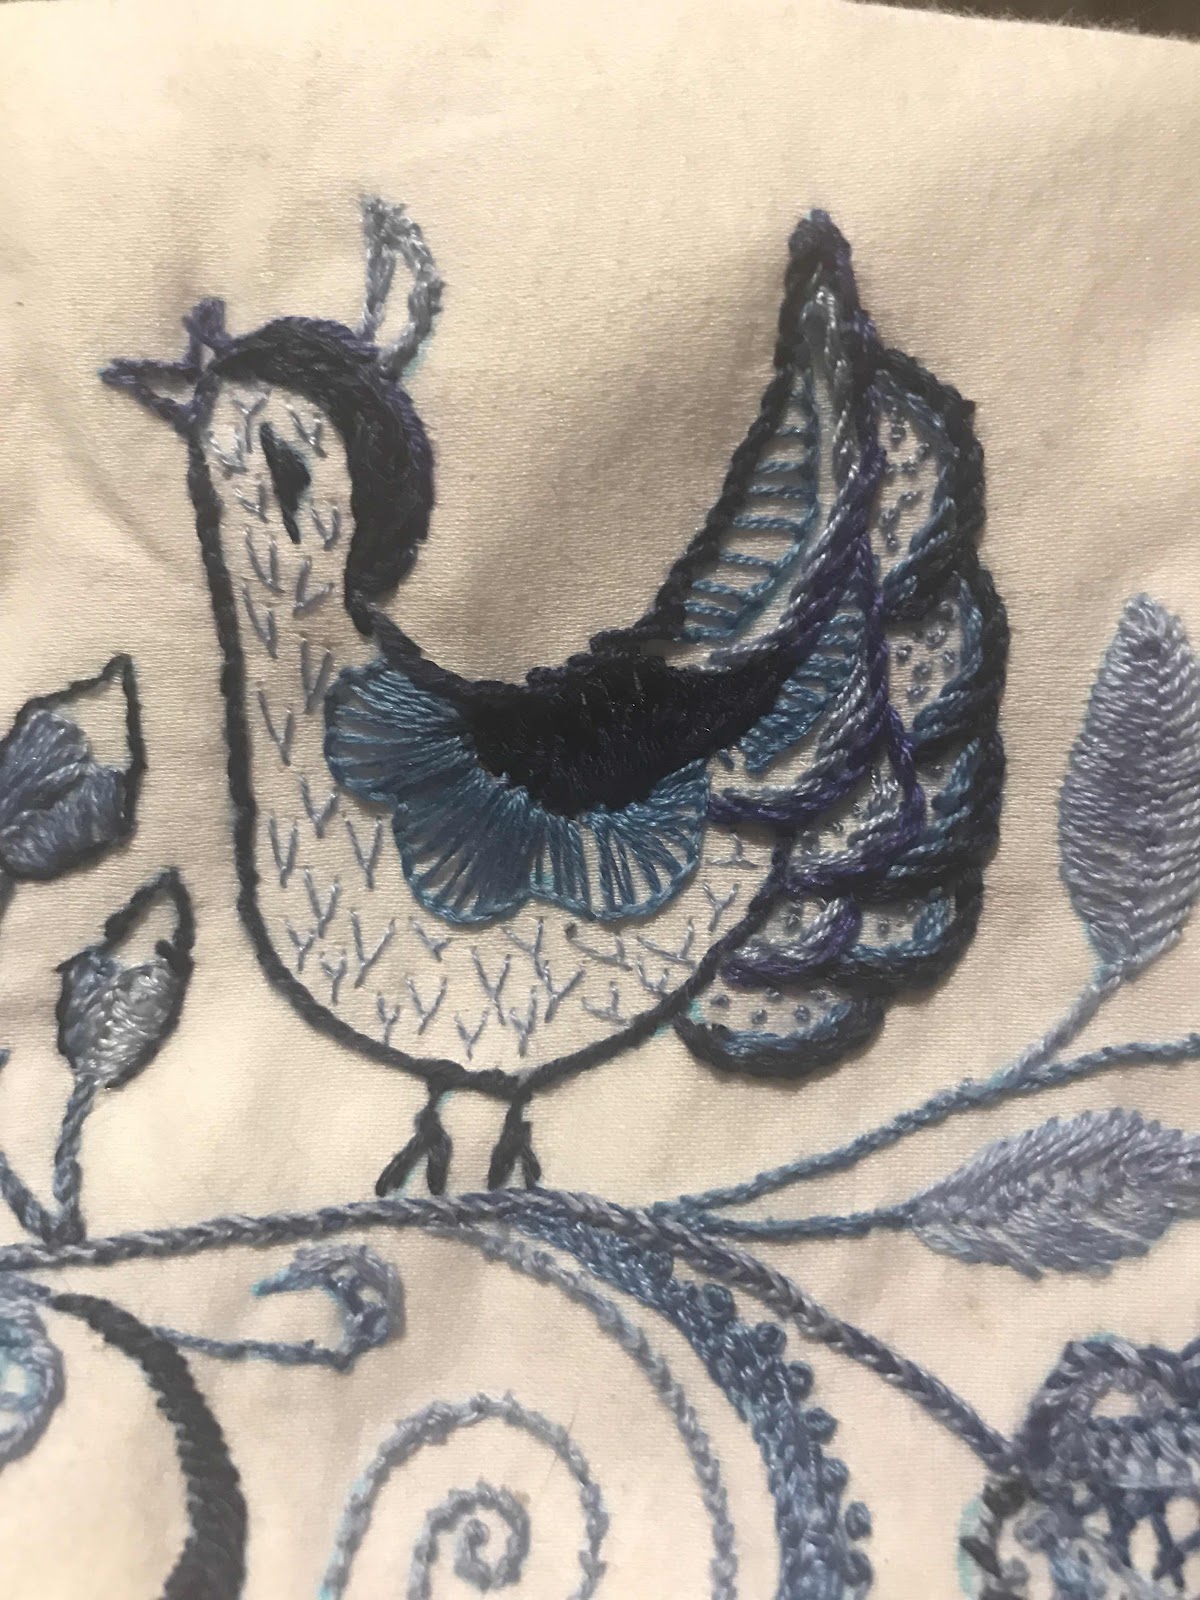


The bag in the composite photo above is the result of a study of Icelandic Embroidery undertaken by the World Embroidery Study Group of the Guild, which I convene. We don’t often undertake a stitching project, but a few of us tried this design published in Piecework Magazine. It uses long-armed cross stitch which I had never done and really enjoyed. I of course, turned it into a bag, working worked a runic pattern on the closure side.


I couldn’t resist the Italian Caterina project in Inspirations 107. The Catherine de Medici stitch on 8 thread count linen was a definite challenge, as were the tassels with, I think, 380 knots in each.

A Certificate Course workshop at the Guild in September with Barbara Mullan on Mola Reverse Appliqué resulted in my producing this little bag for holding tools.


I have also worked, on and off (more off than on as you can see) on a shawl from a ball of lovely 2 ply wool brought back from New Zealand for me by a friend.

Hopefully the shawl will be finished when I post my next update here around Christmas time.

Stay safe.

Sunday, July 5, 2020

Catch up

It is a long time since I posted to this blog. In the last post, on 19 April,  I explained that I was posting daily to what began as my travel blog,  https://jillian-england2020.blogspot.com.  I continued the daily posts in order to provide a bit of a record of my Coronavirus lockdown, and then living under the post-covid restrictions. 

I have no idea how long I will continue the daily blog. I have assumed that there will be a point when the end of the Covid restrictions will bring the blog to a natural conclusion. If this is not the case I will need to reassess. When the daily blog concludes, I will return to more-or-less weekly posts here.

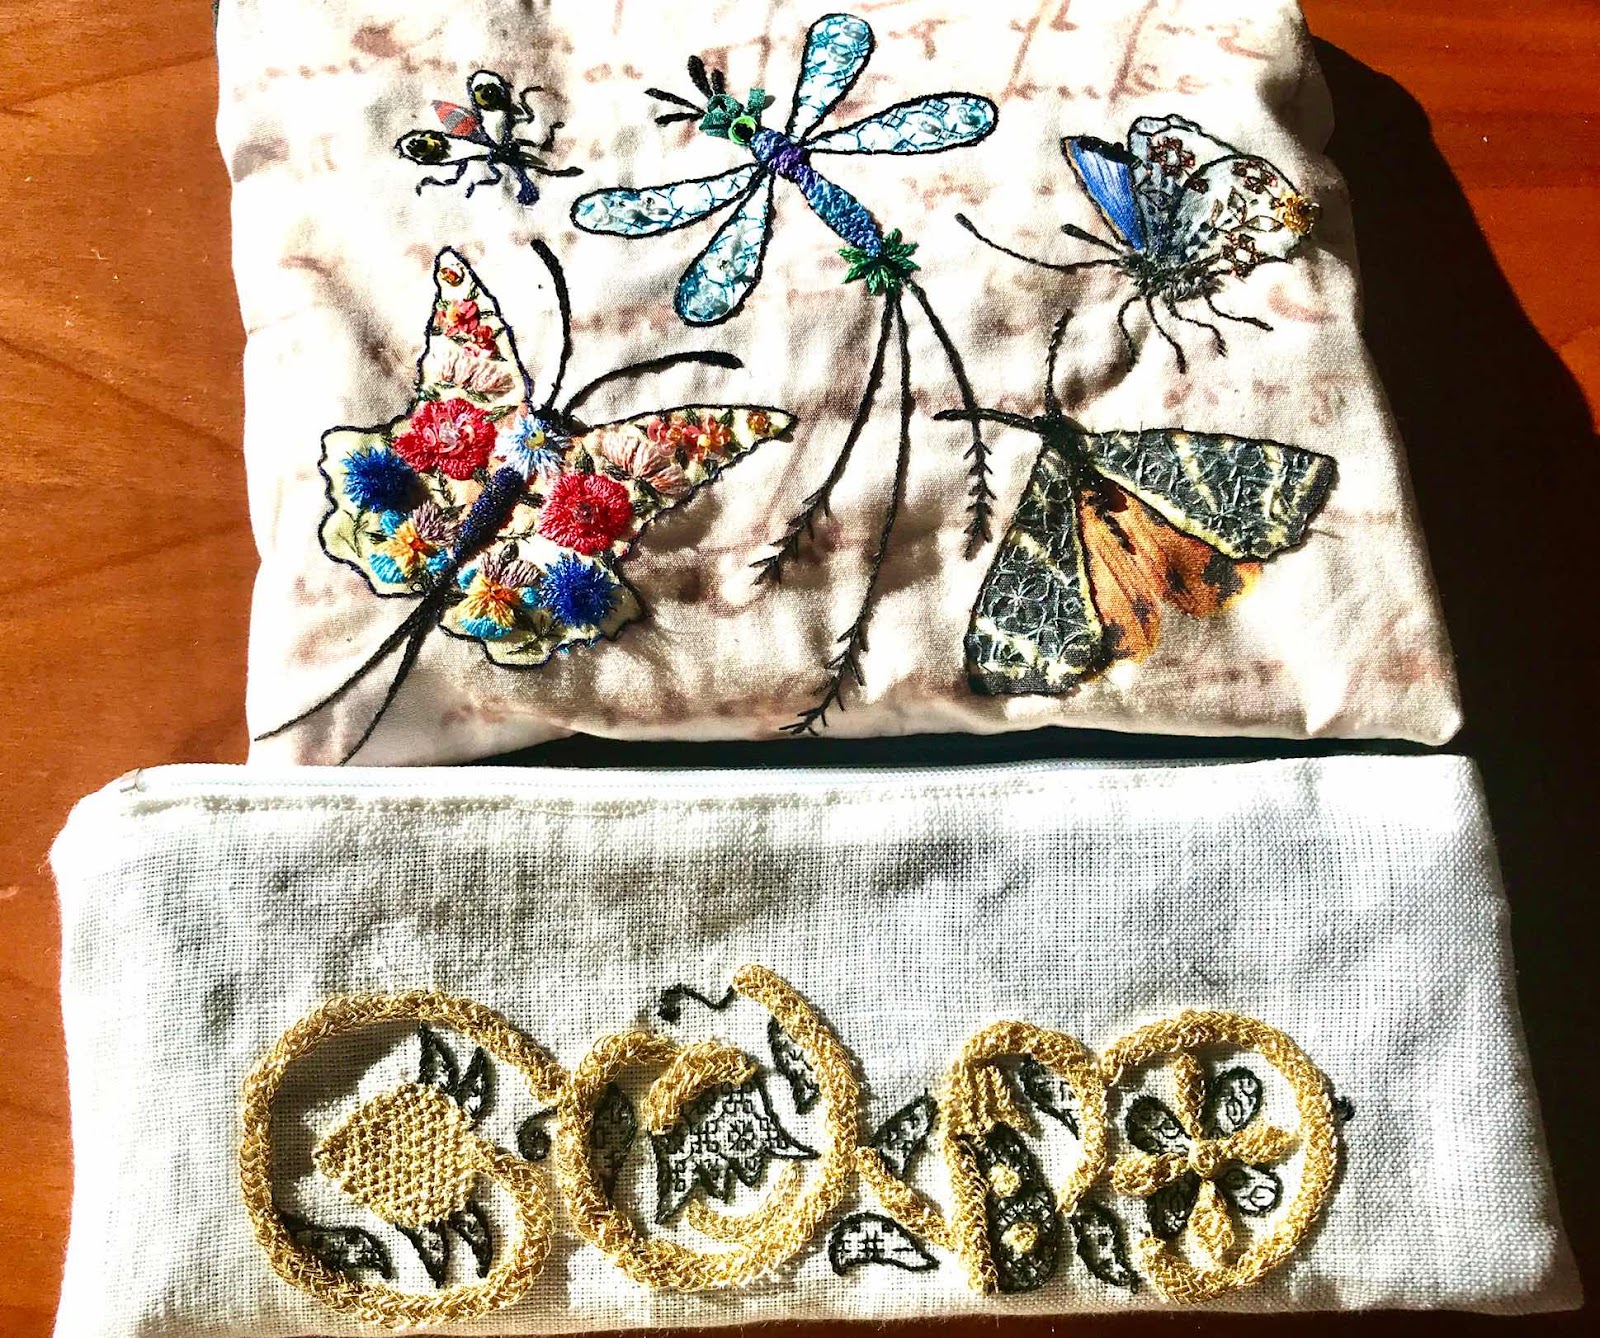
Two projects completed from the Crewel Work Company Retreat in March.
In the meantime, this is a summary of the embroidery projects I have finished in the last couple of months and discussed in the other place. I will continue to summarise every month or so.

The top piece is from Nicola Jarvis's class and the lower one from Kate Barlow's class.


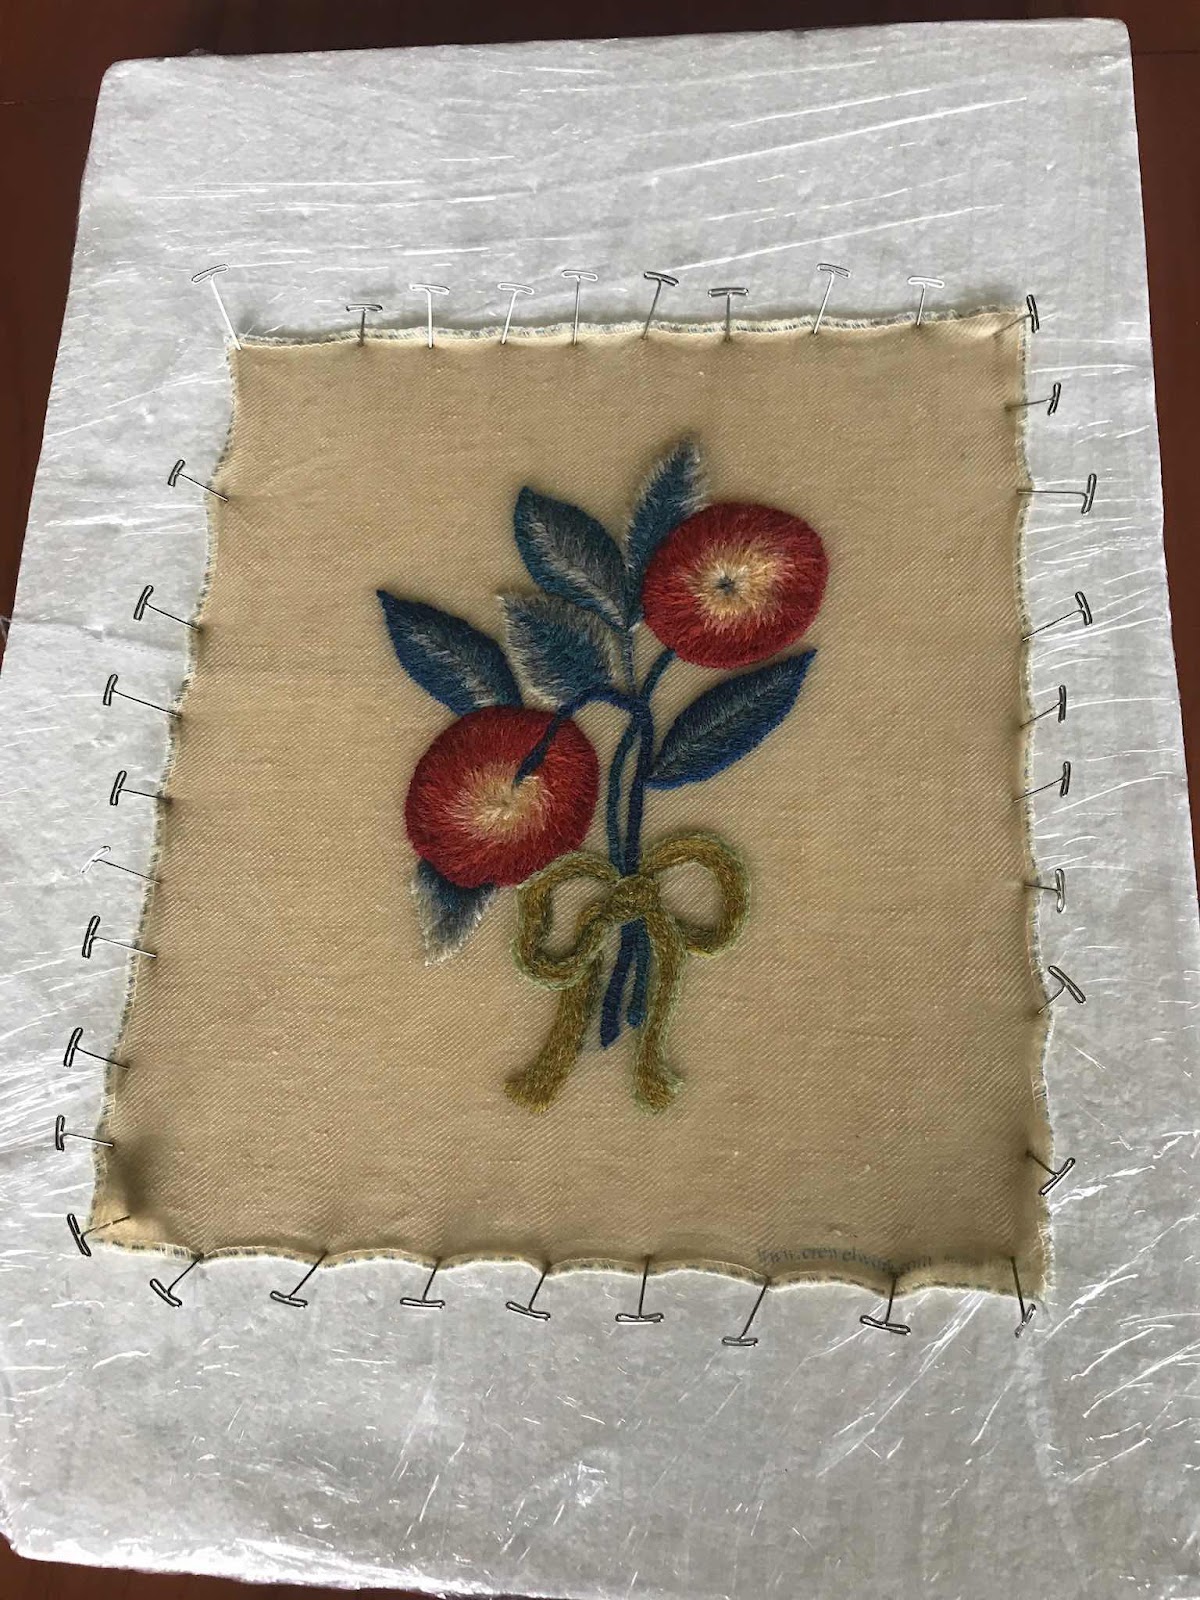
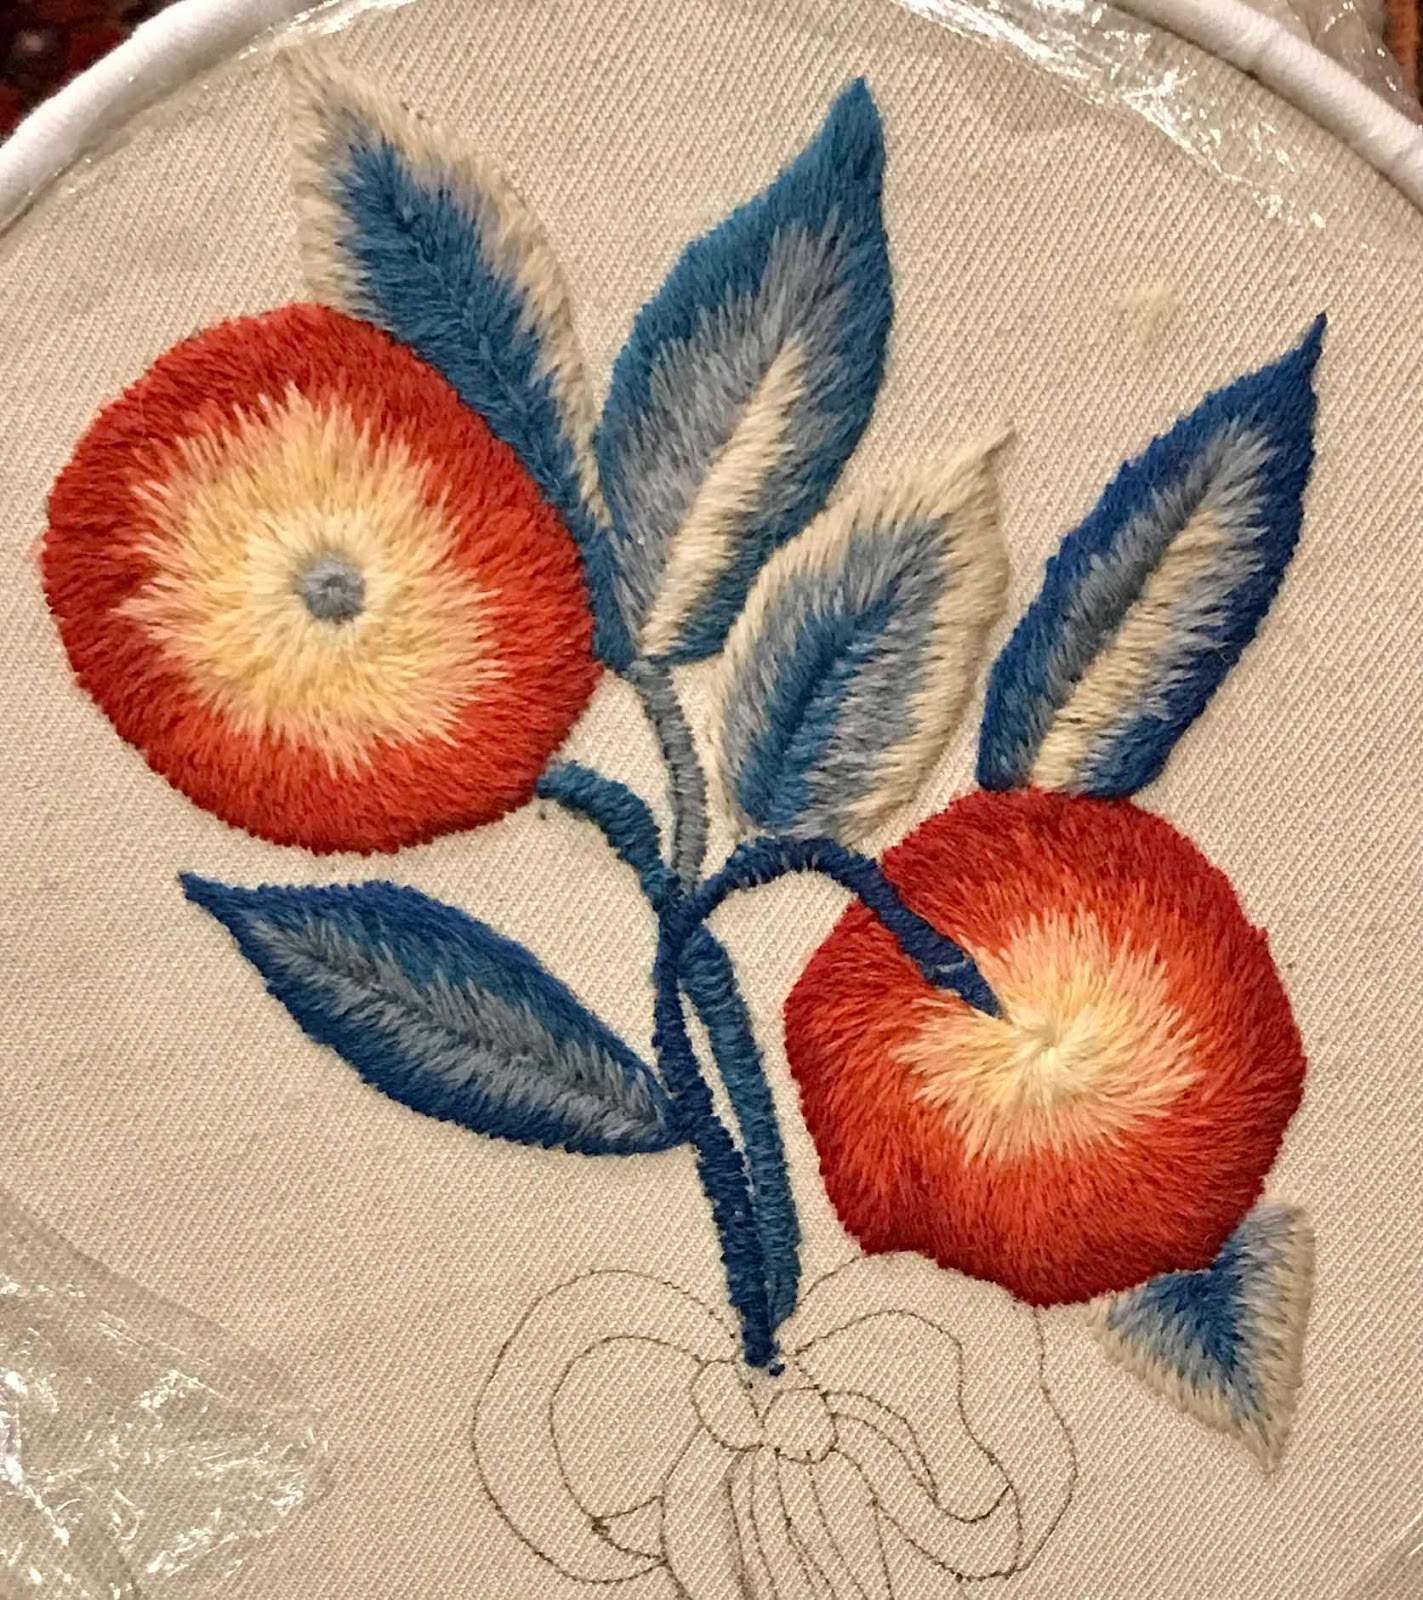
The Muncaster Orange shown here being blocked, was begun in a class with Phillipa Turnbull at the March retreat.

The Muncaster Orange was added to my crewel chair, along with the Mellerstain Screen panel which I worked once I had returned home.


This bag is based on a design from the family collection of a friend of Italian-Australian background. An account of that collection can be found at https://www.jdellit.com.au/wp-content/uploads/2020/06/TheEmbroideryLegacyofMariaGraziaCarminaandherFamily-1.pdf


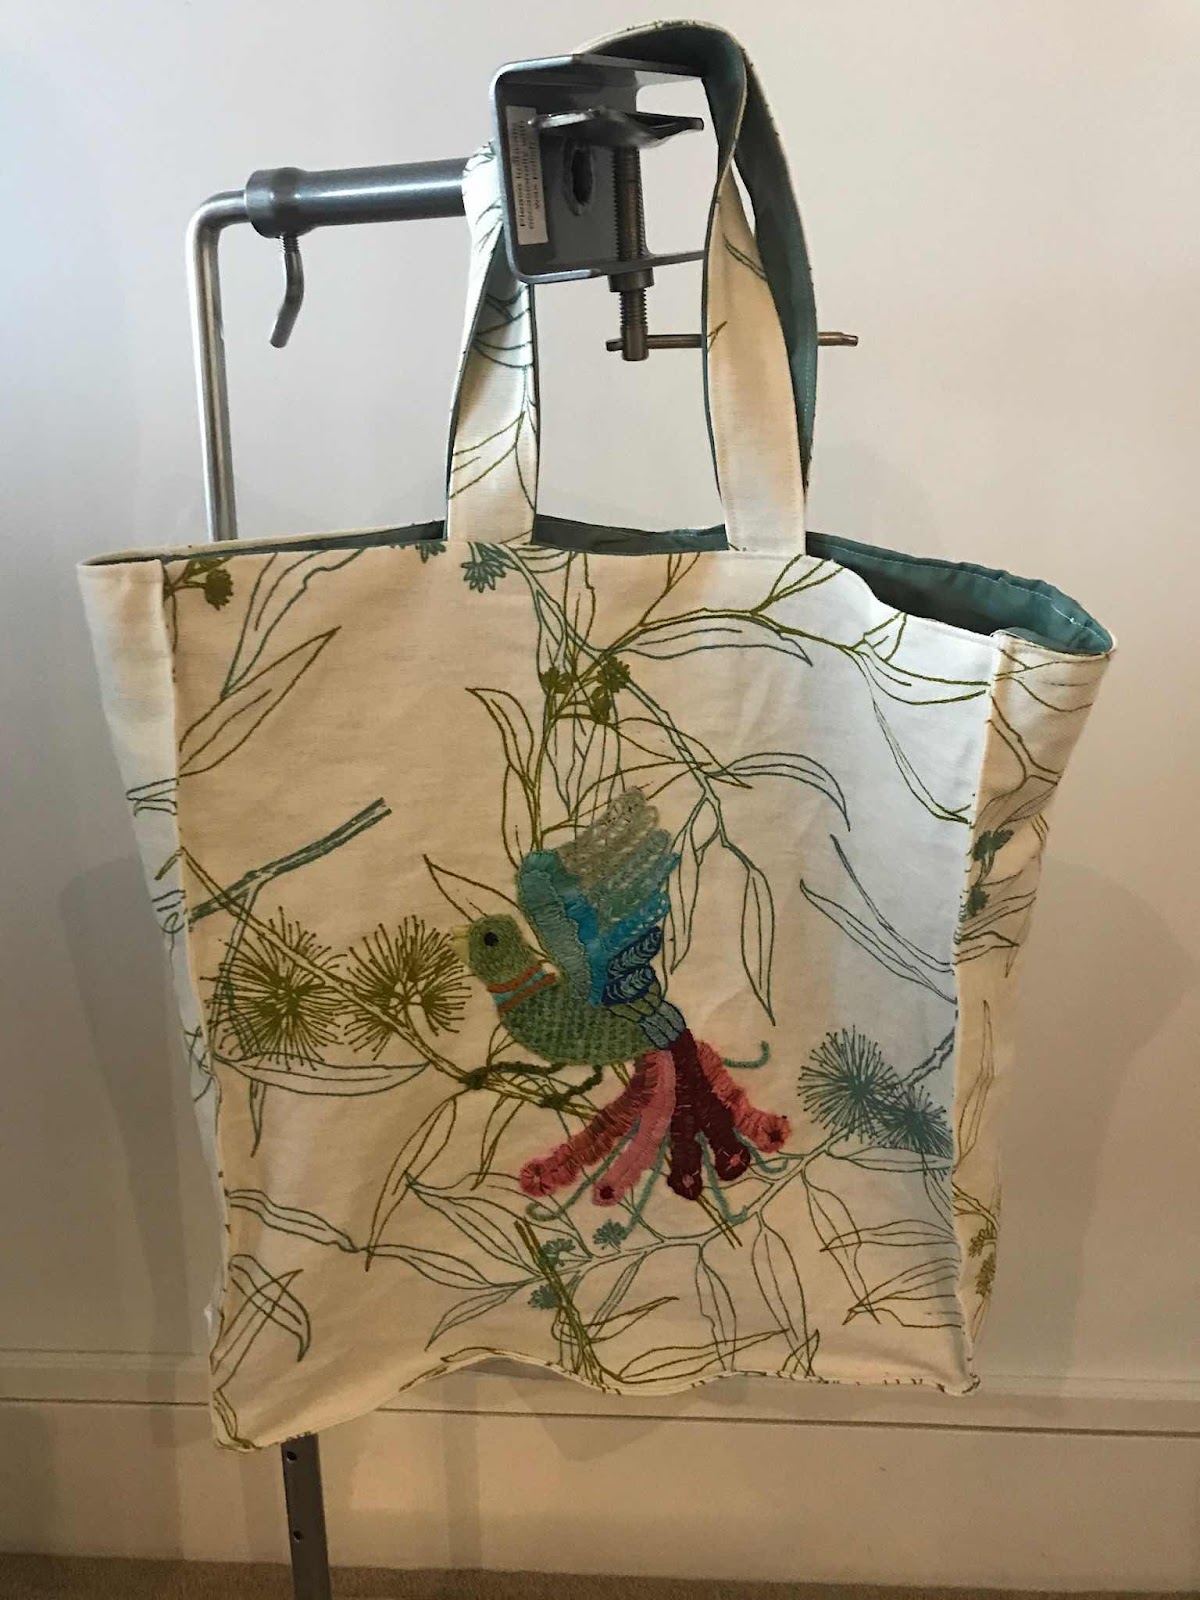
I completed this songbird design by Anna Scott from Inspirations magazine Issue 106 and appliqued it on to a bag I made from fabric from Ink and Spindle.


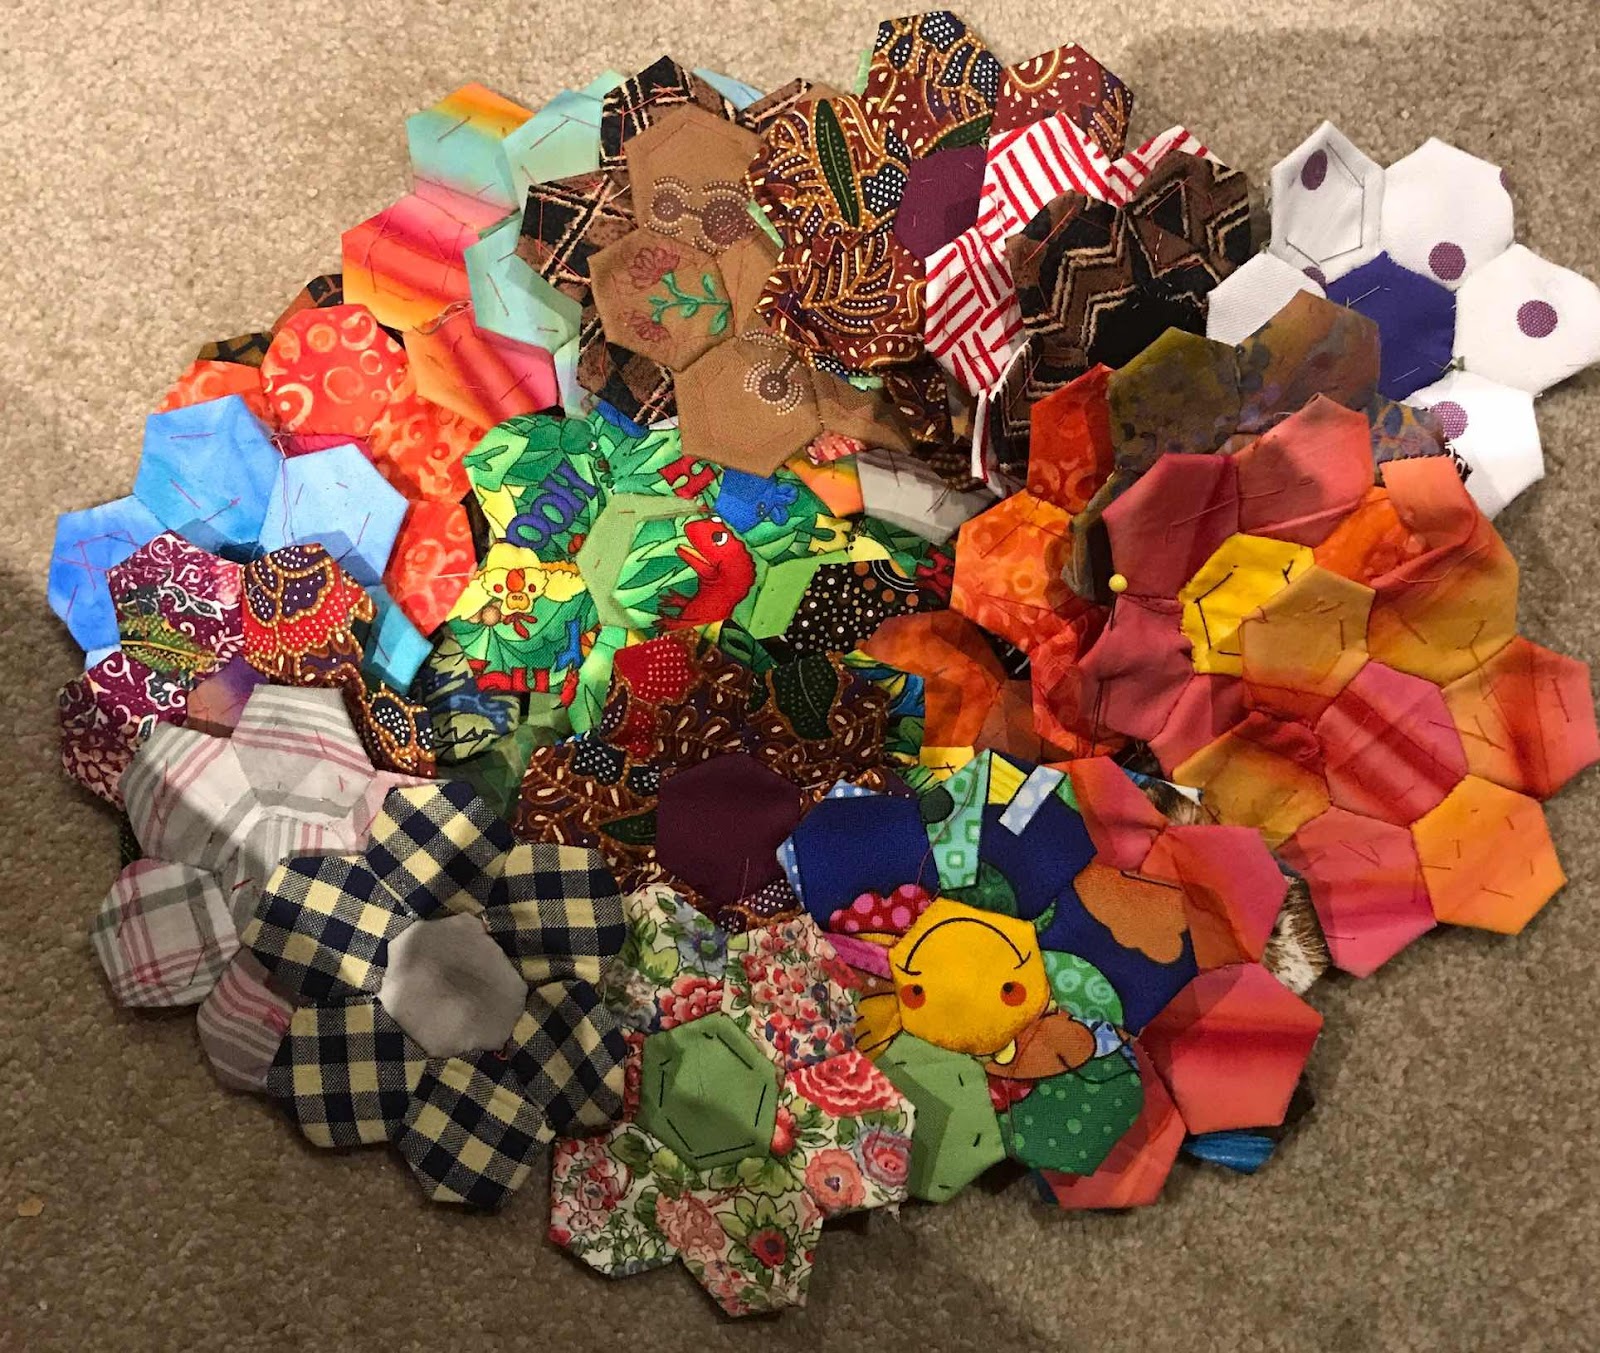
These 78 hexies are ready to add to to plain black edges of my winter quilt when it comes off my bed as outlined in my 24 March post.


These two birds are designs printed on linen by Nicola Jarvis. I embroidered them using colours of Australian birds and appliqued them on to another bag made from Ink and Spindle fabric.


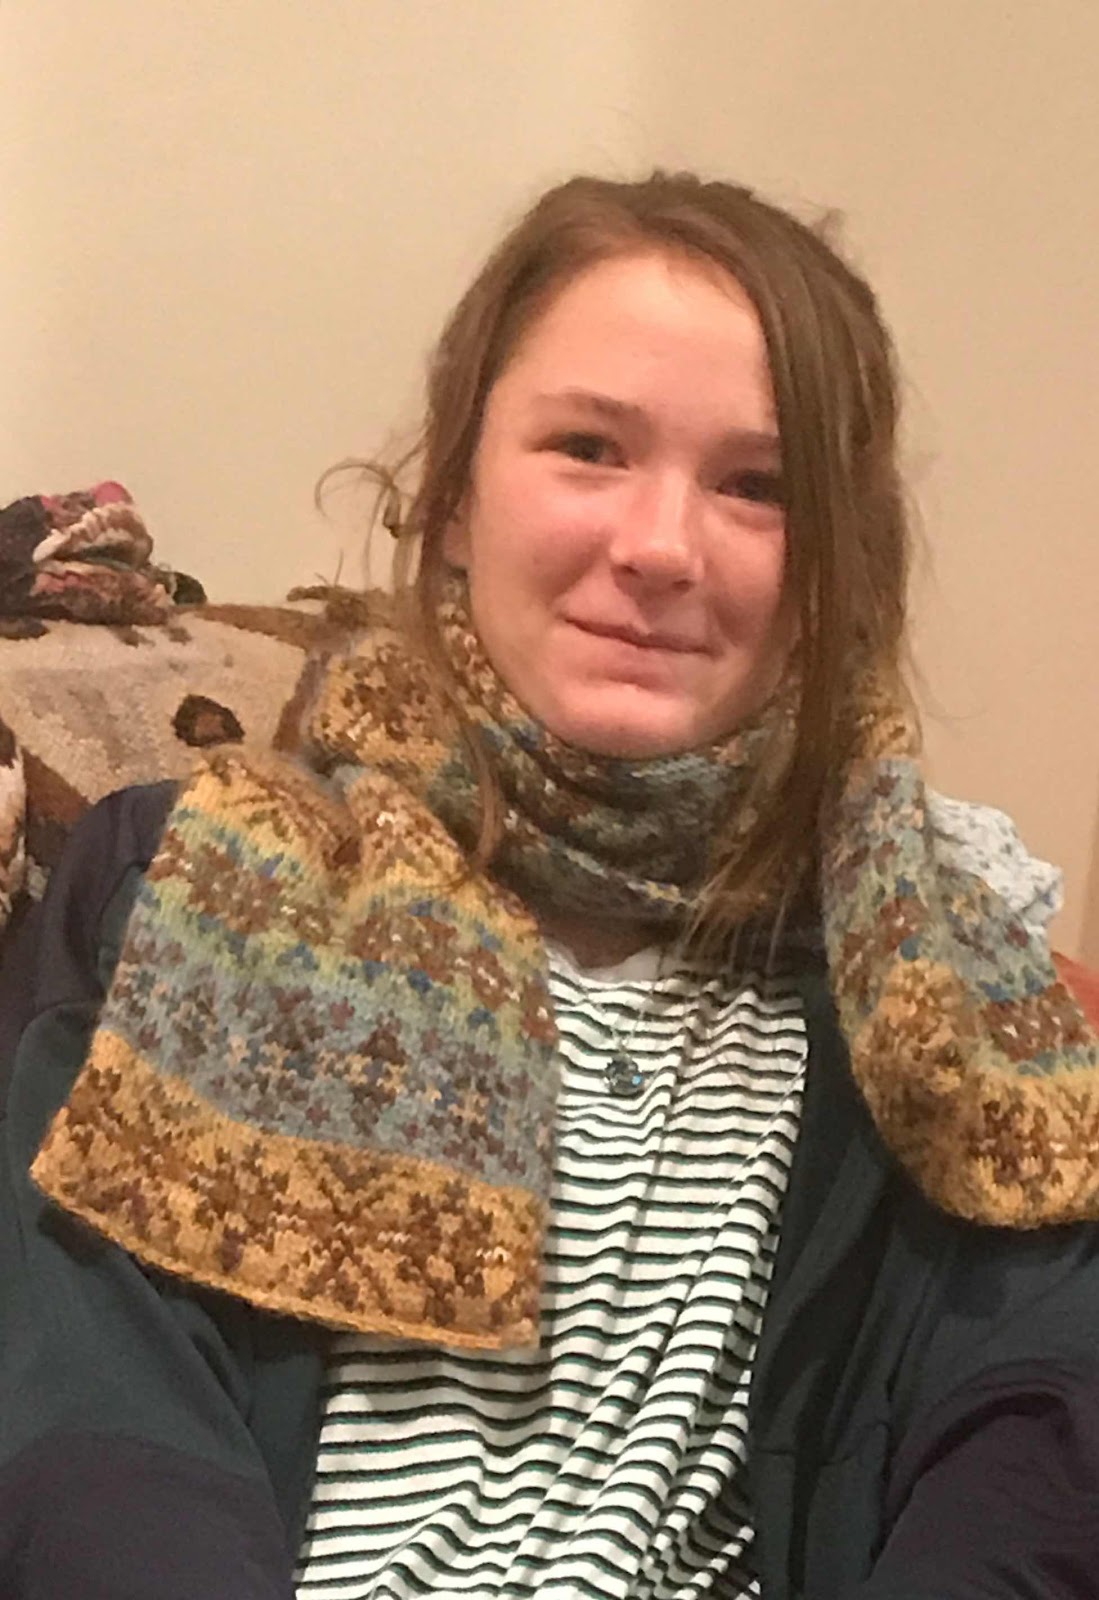
Niamh is modelling a Fair Isle scarf I made for one of my daughters,


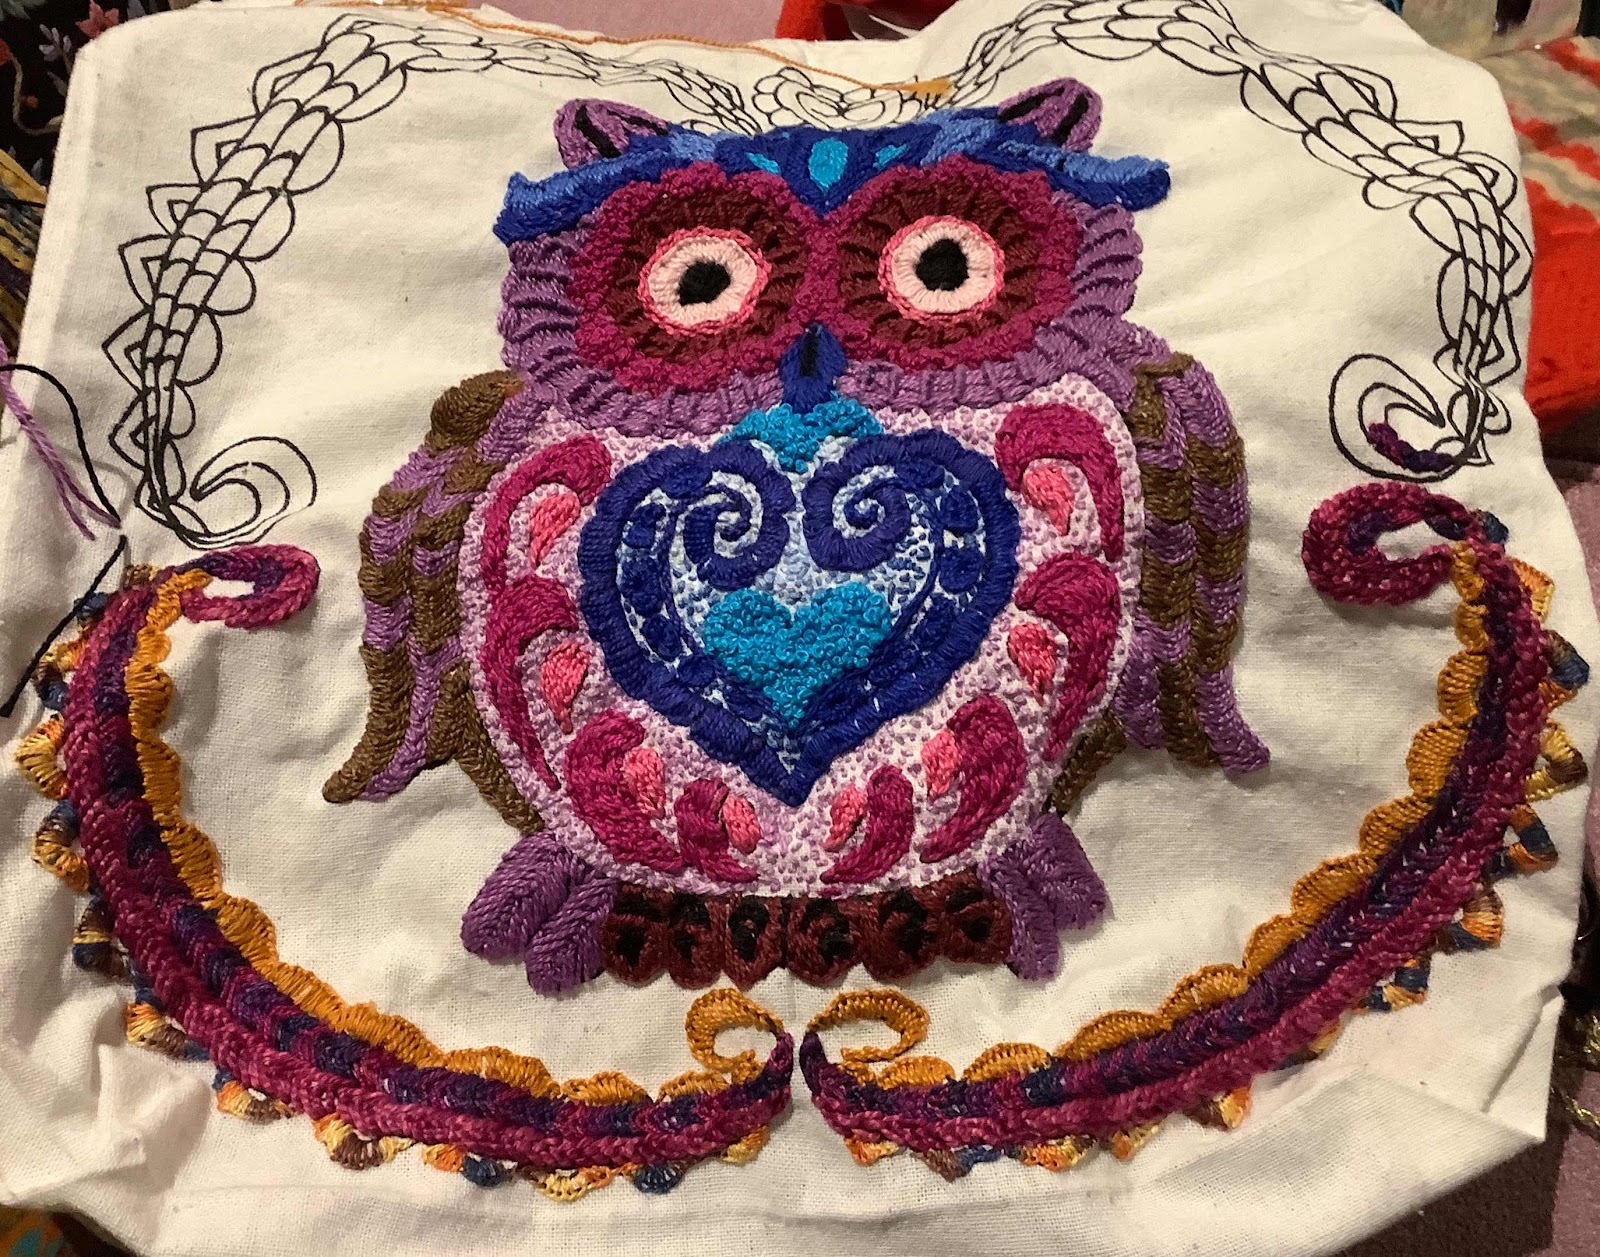
The owl bag was my travel project. It has progressed, but isn't finished.


This Muncaster Orange is a reverse of the one above, to fit on the chair in a complementary position. This is what I am working on at the moment.

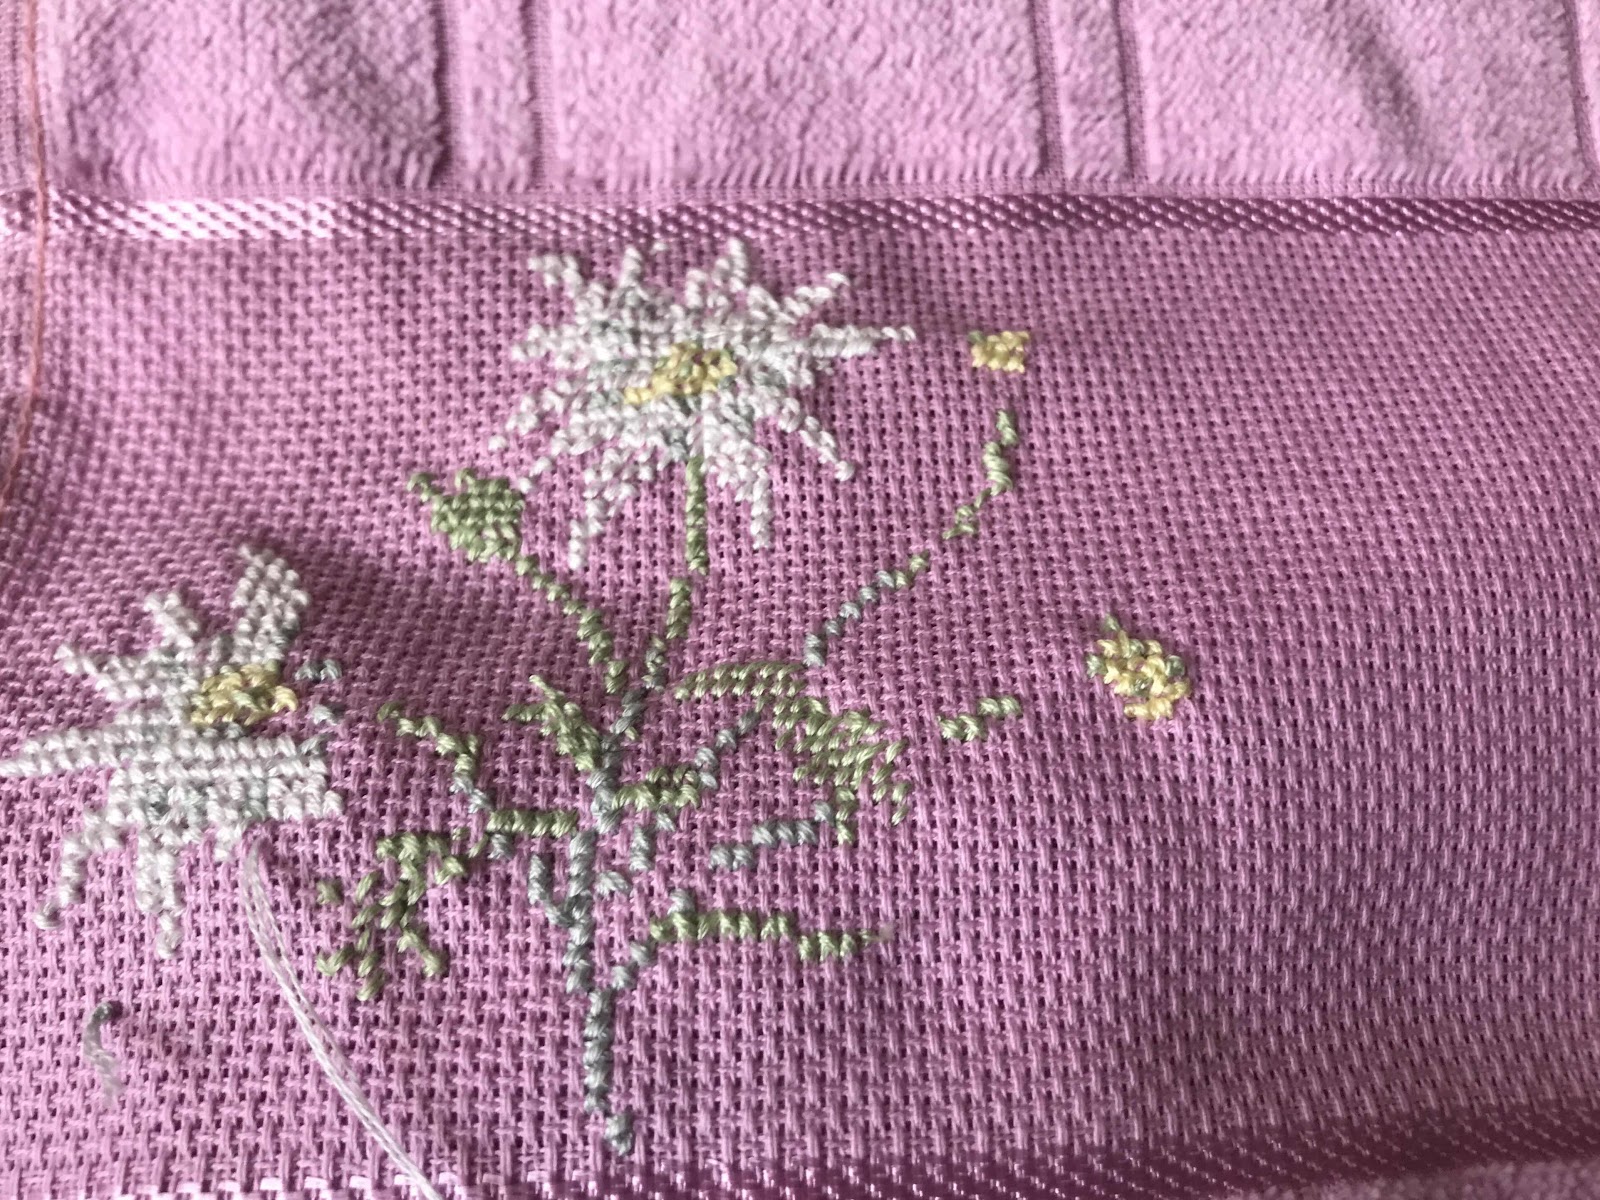
The hand-towel below has not been part of the daily blog. It was a birthday gift for a friend whose birthday is today. I would not have normally picked pink, but I wasn't able to source another colour in a timeline I could rely on.


We are both fond of flannel flowers-Actinotis Helianthi.


This brings us up to date.  I will continue to update this blog on an irregular basis until I reach a point where daily post-Covid posts are not needed.

Tuesday, November 5, 2019

Deerfield Class

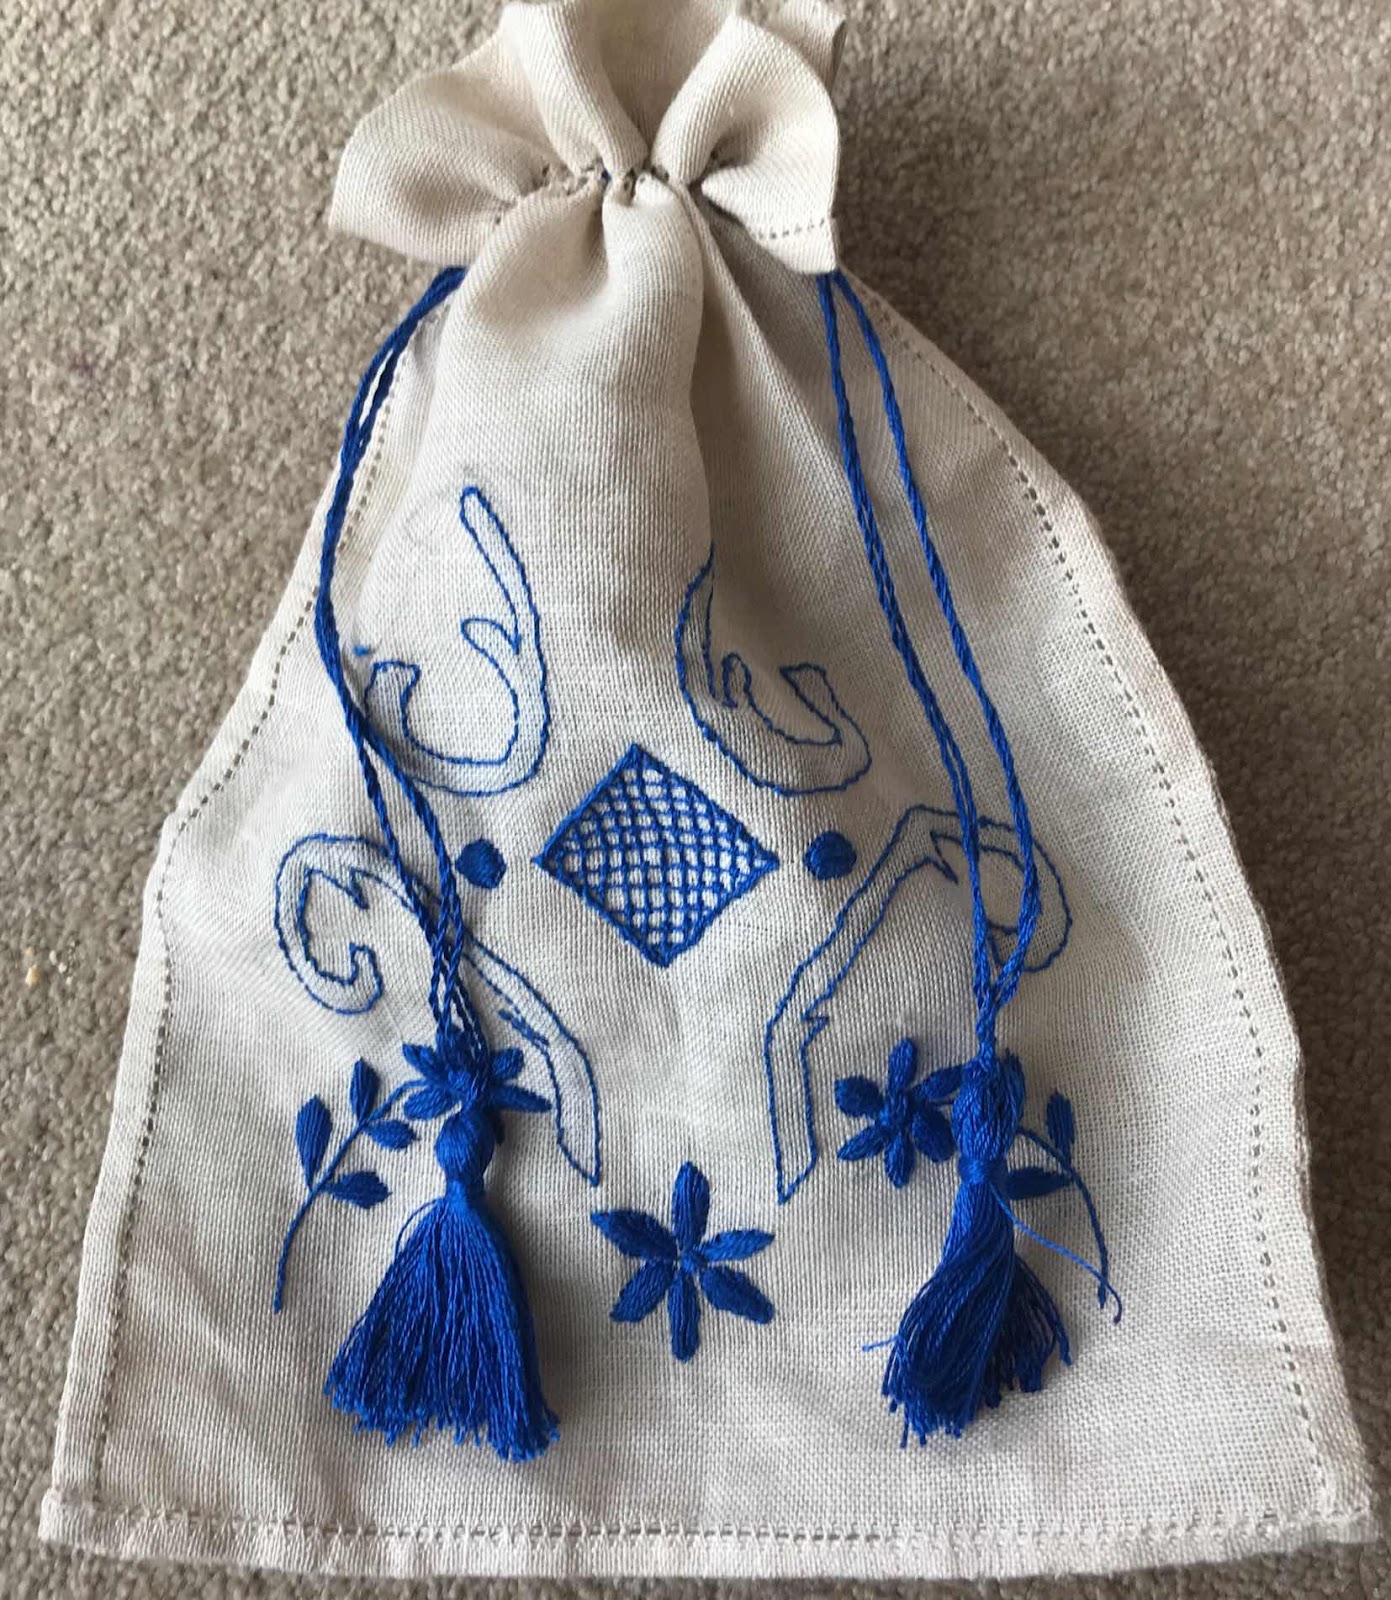
Deb Richardson's Pouch 
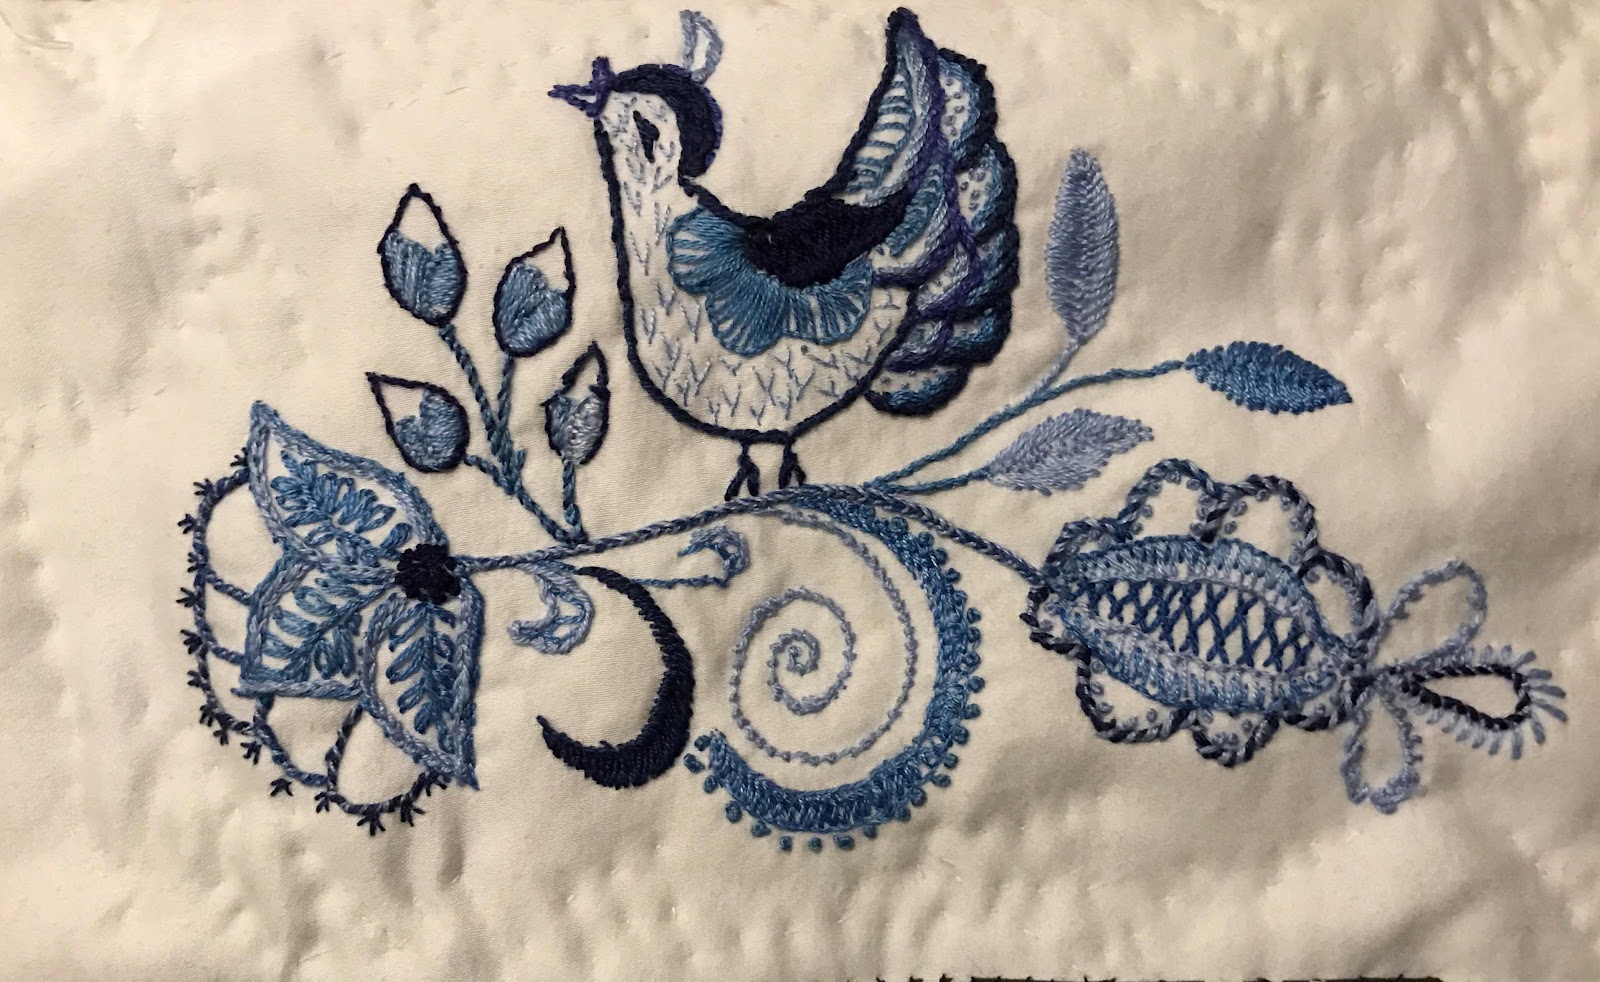
In October I attended a one day class on Deerfield Embroidery, taken by Deb Richardson. I had done a very similar class with Deb two years ago . I had enjoyed the class and the embroidery style so much I was keen to repeat it.

Deerfield is, of course, a derivative of Crewel - with all the ensuing advantages.

This time, Deb supplied a kit, with the design (same as last time) already drawn on the fabric - enough to make this pouch. 


The fabric - 1200 thread-count sheeting, was lovely to work with. There were 20 of us in the class - large by Guild standards but no trouble at all for Deb who is a great teacher. She demonstrates to small groups and constantly circulates, helping and advising individuals. She teaches the students - not the content, focusing on where each student is up to and taking them forward.

There was a great atmosphere in the group, plenty of energy, enthusiasm and consideration.


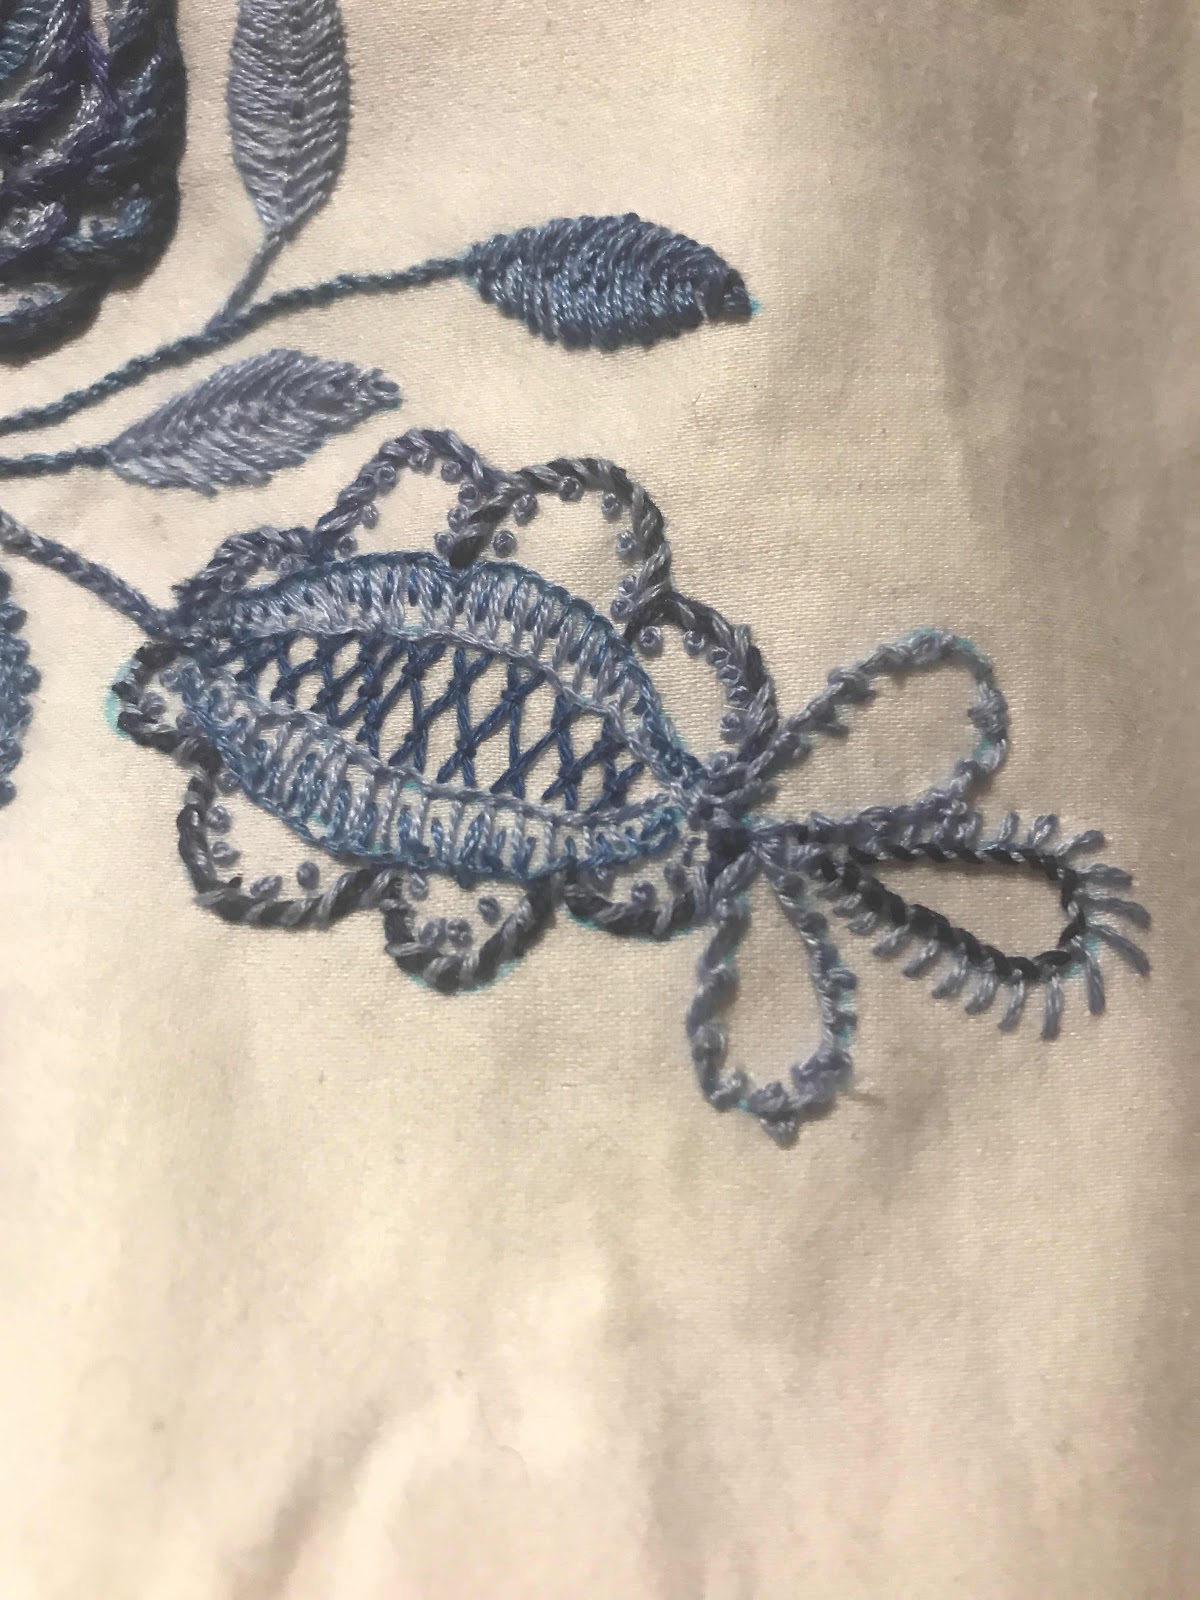
This time I worked with the suggested stitches - a good variety. I love working like this. I had a range of stranded thread in shades of blue and just picked the shades as I went, working my way through the design. Because I was familiar with both the design and the style and because Deb is an accomplished, relaxed teacher, I could indulge my preference for finishing each element before moving on.


Although we didn't get anywhere near finished in a one day class, I could continue at home and finished the stitching within a week.


It was hugely enjoyable.

Although I had been drawn to the class by the elegance of the constructed pouch, during the class Deb showed us a version created by one of her students, which squared off the design and added some quilting.

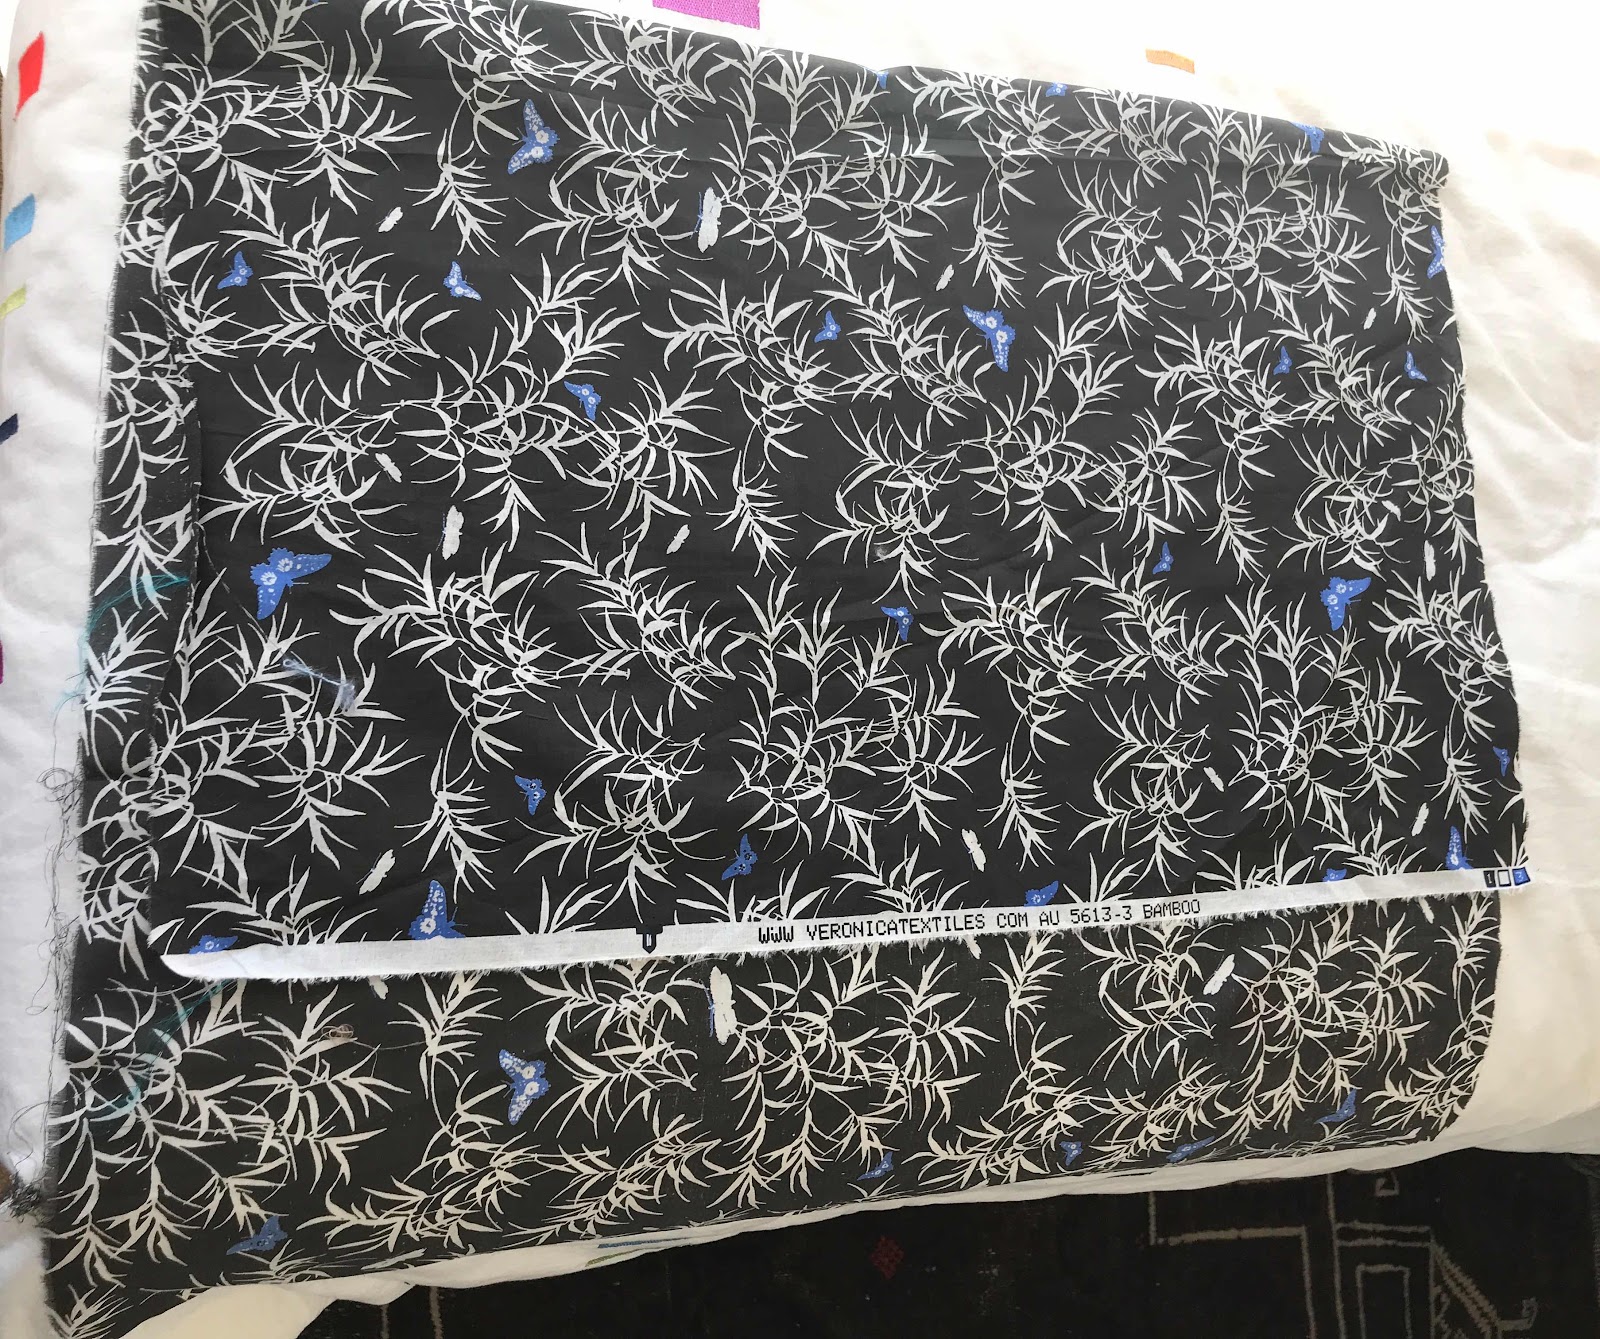
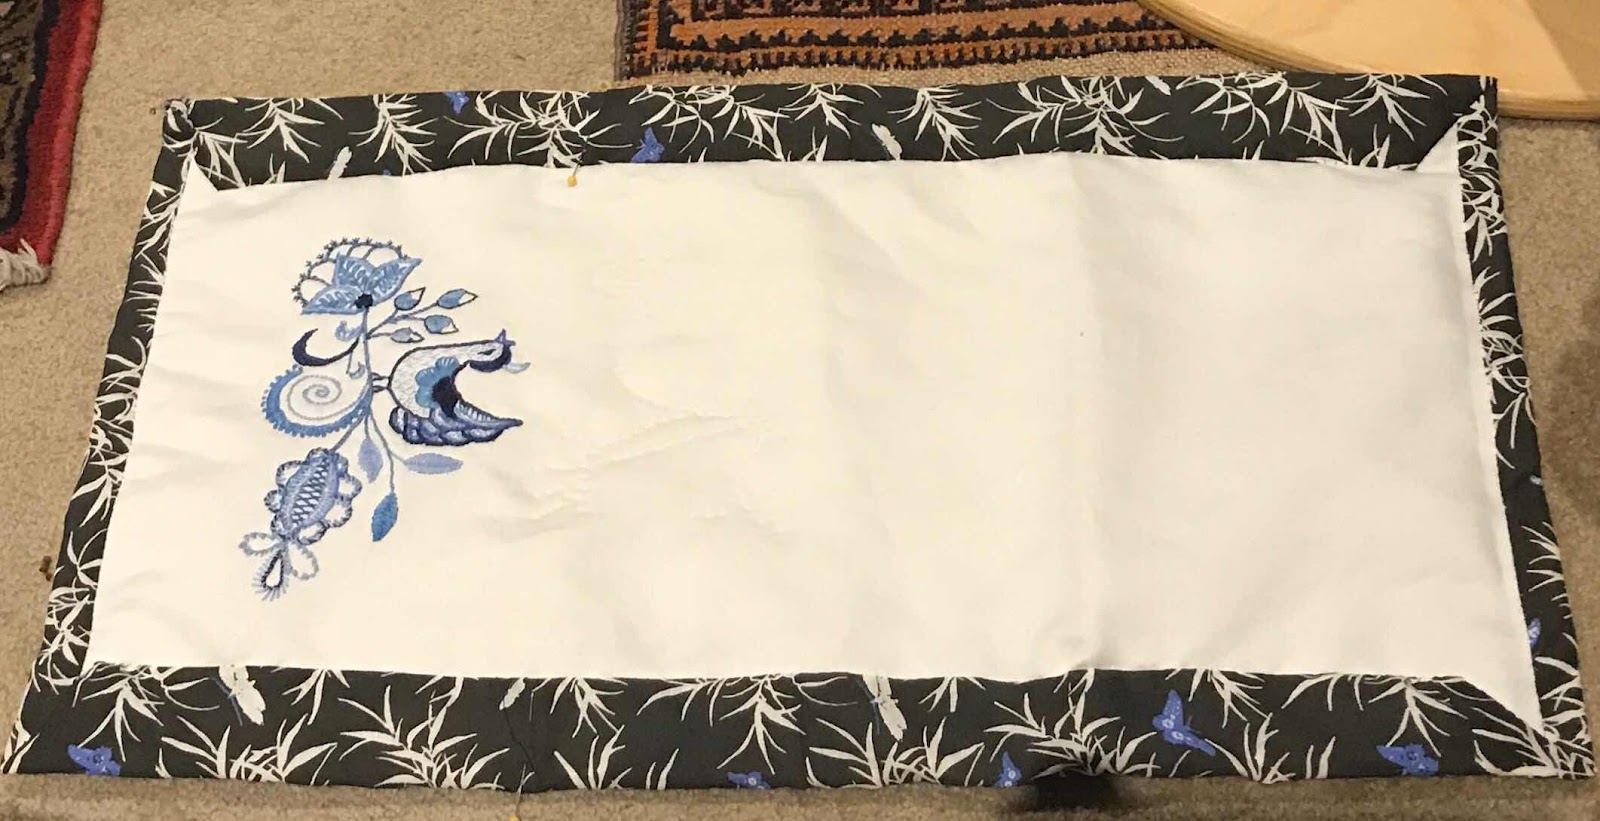
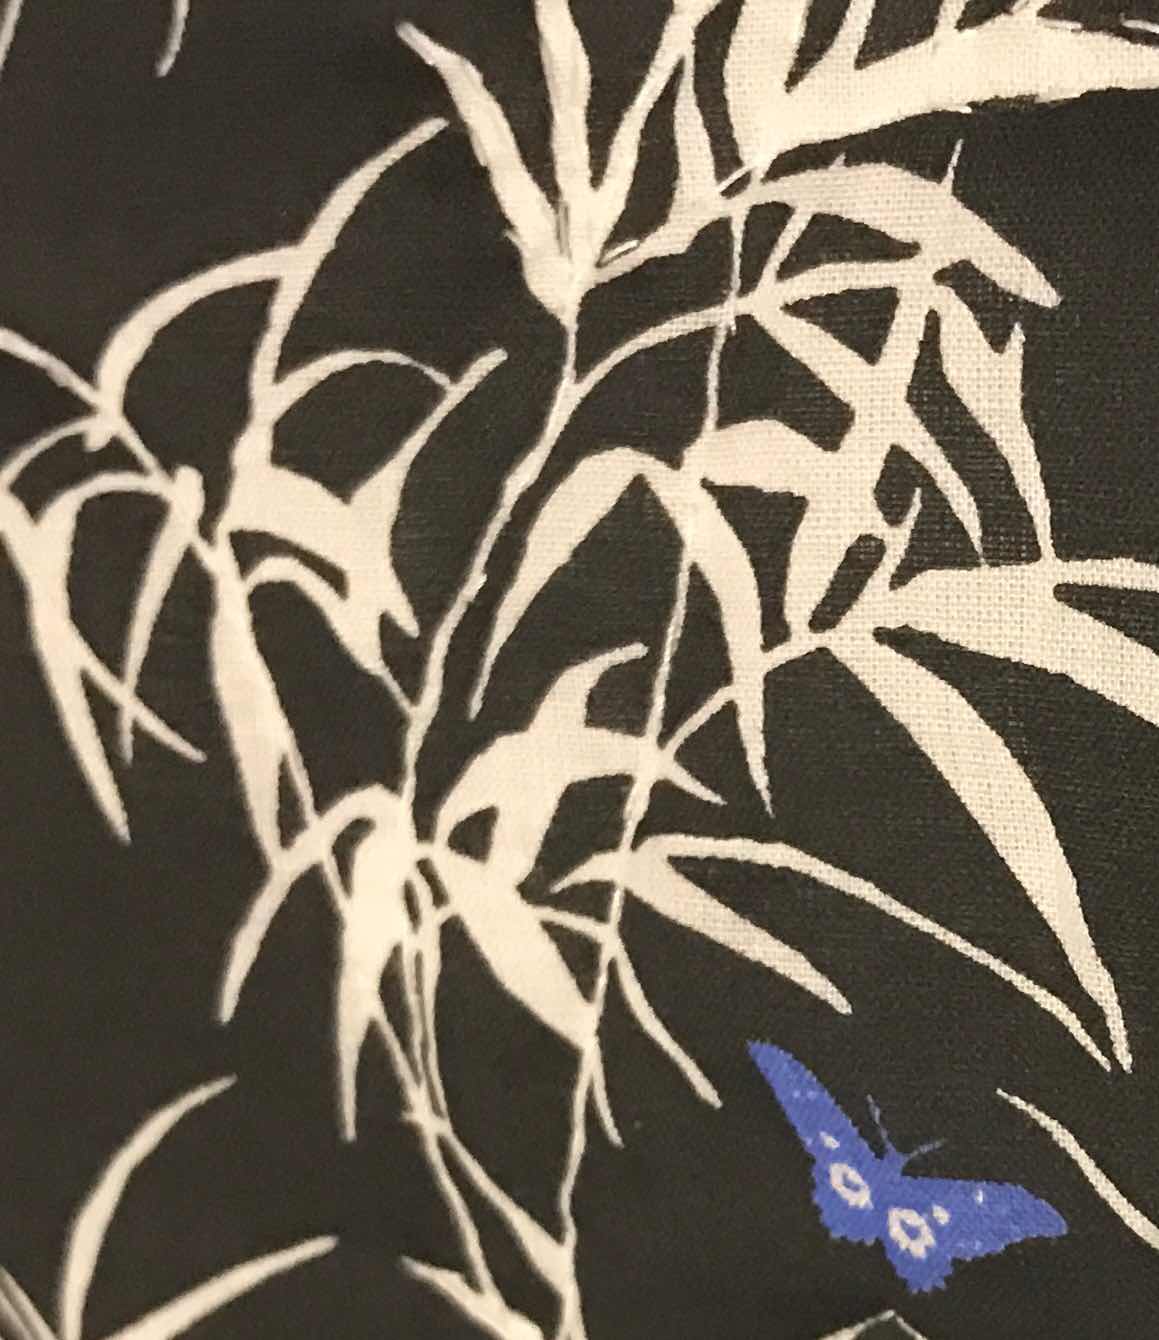
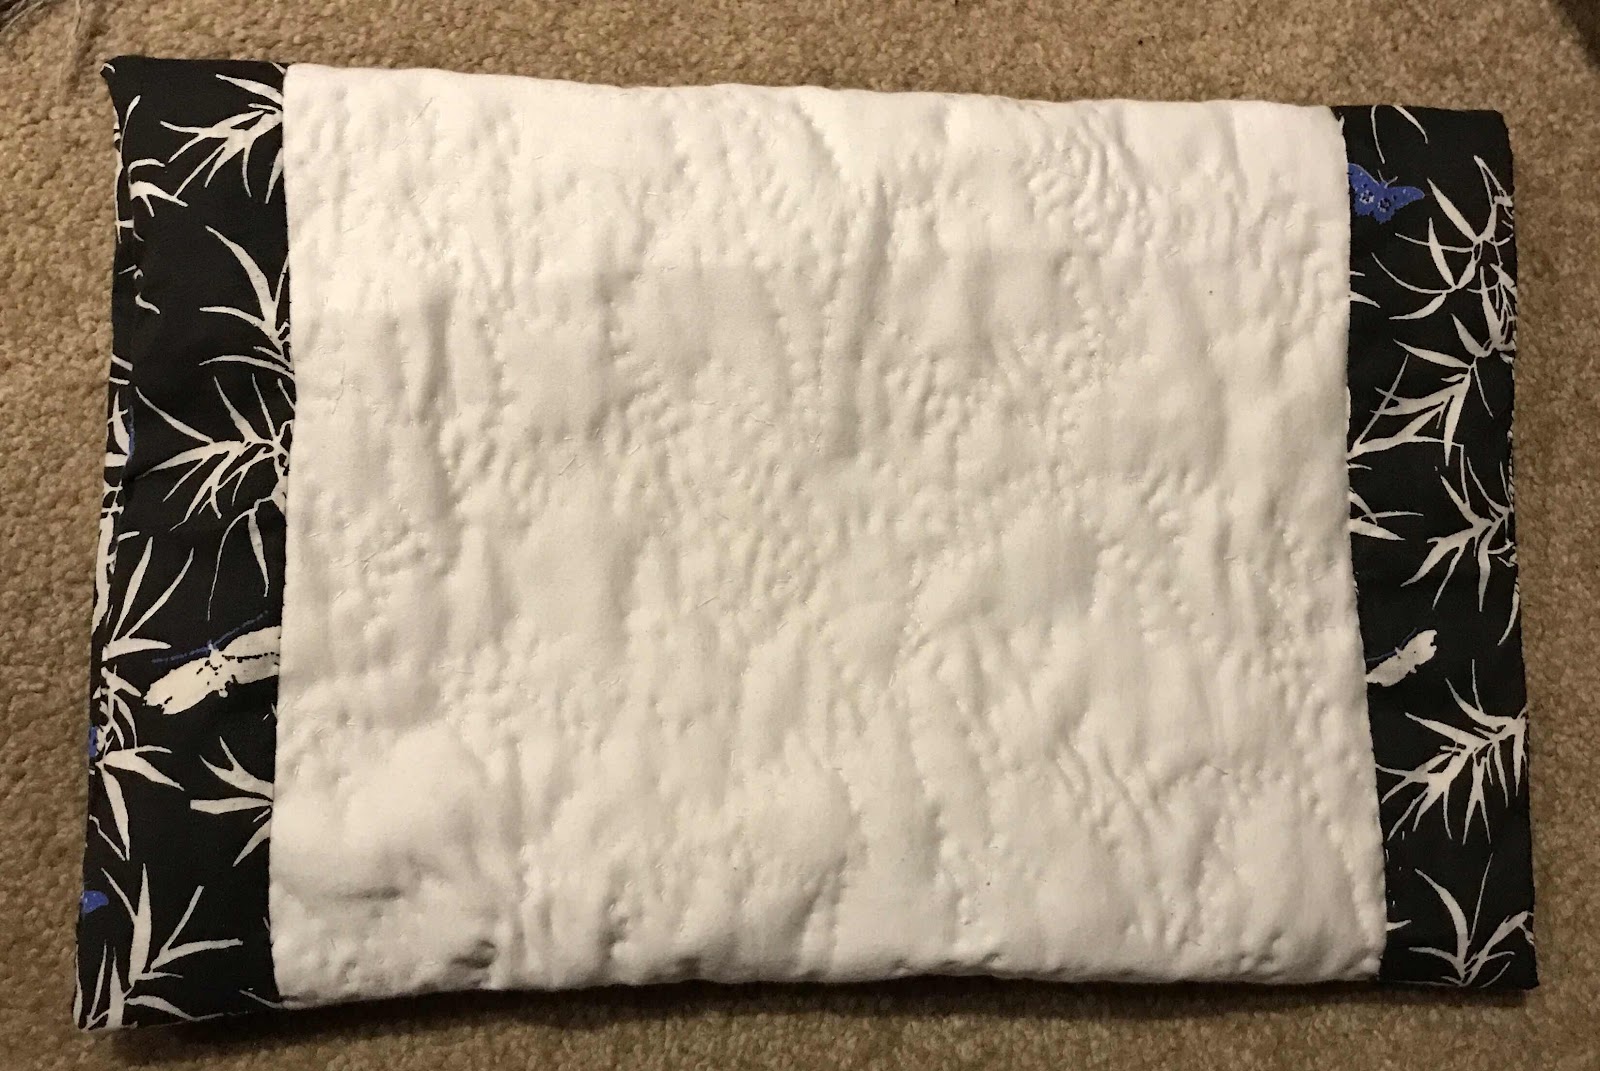
This got me thinking and mining my fabric stash for blue toned fabric. After trying 7-8 pieces, I unexpectedly settled on this predominantly black Japanese fabric with white bamboo leaves and the odd blue butterfly. It's a bit of a culture clash - but then,  it's bound to be an adaptation.

I put wadding between the two layers. The width of the fabric gave me enough to line the embroidery and put a narrow edge on the length - stitching by hand.


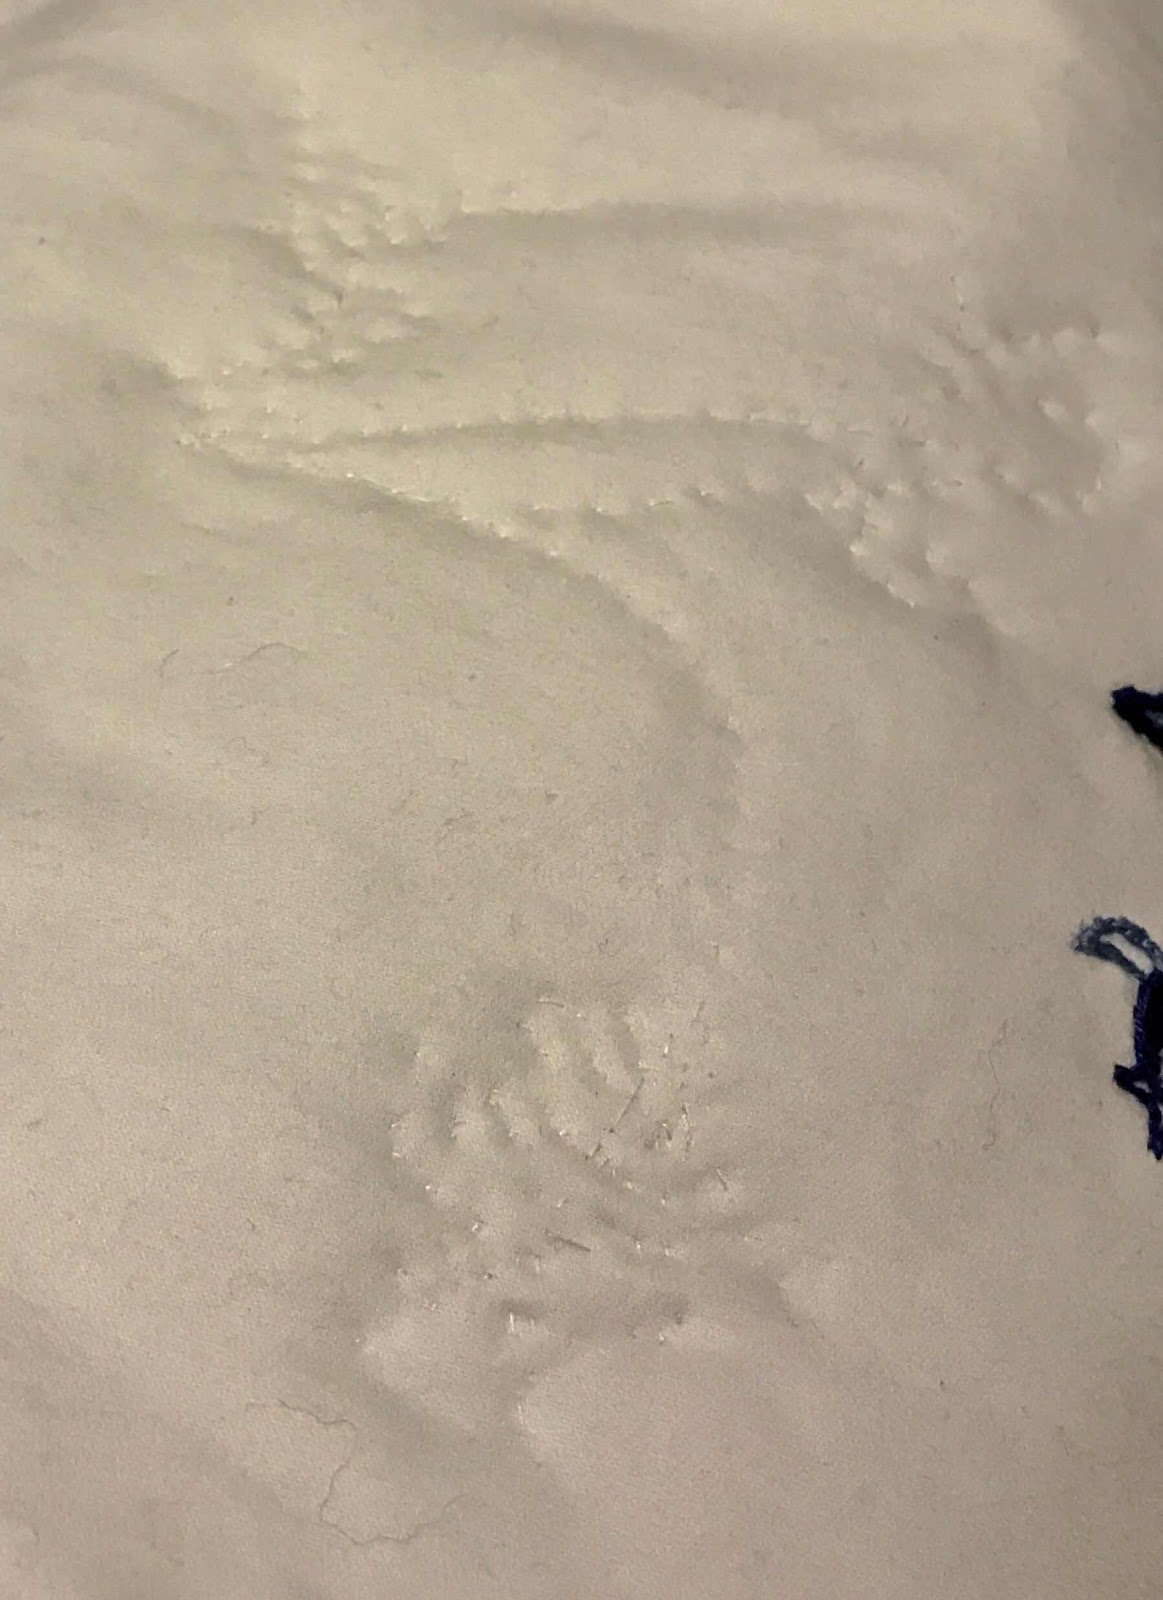
By hand-stitching around the bamboo leaves on the printed lining I could quilt the three layers together.


It gave me effect I was after, however,  I decided the edging needed to be a similar width all around, so cut a bit more fabric to create a wider edge on the short sides.


I'm pretty happy with the result. It does not have the elegance of Deb's pouch, but it works in a rustic kind of way.

I'm not sure what use I will put it to - but then a bag lady can never have too many bags!