Search This Blog

Showing posts with label Christine Bishop. Show all posts

Sunday, June 29, 2025

Certificate Course Workshop:Sue Spargo Style Applique

This month's Certificate workshop was taken by Christine Bishop and focused on a basic design from Sue Spargo's Creative Stitches 2nd Edition in the suggested form of a sampler and pincushion. I had a piece of hand-dyed fine wool felt in a lovely purple colourway, which I used as the background fabric. I took a range of felt pieces for the flower and leaves. I enlarged the outer flower a little .The original design had four leaves. I experimented with various colour green for leaves. 

I had a very small piece of felt with silver spots printed on it, which I thought might provide a lift. In the end, after consulting with others, I added another four leaves, five in the spotted dark green and three in a lighter colour. 
I found a fine metallic and used one strand of gold together with one strand of red for the single chain stitch edge on the dark leaf, and a variegated stranded cotton for the lighter leaves.

I had expected to use the same variegated thread for the buttonhole loops around the inner circle, but rejected it.  In the end I settled for a blue cotton, left over from Evil Eye embroideries. I added gold chip beads (also left from Evil Eye embroideries) to the centre.
When I chose the background felt I did so thinking it would be a shame to cut it for a pincushion, and it might be folded into a pouch. 

Christine gave us a bee button and I had identified a butterfly brooch from my tin of bits of bling. I decided to connect them to a flight path using gimp and the full length of the fabric.


I folded it in half, stitched the edges down on the machine, and added a zip at the back, using bias binding between the zip and the felt in case the edge catches.
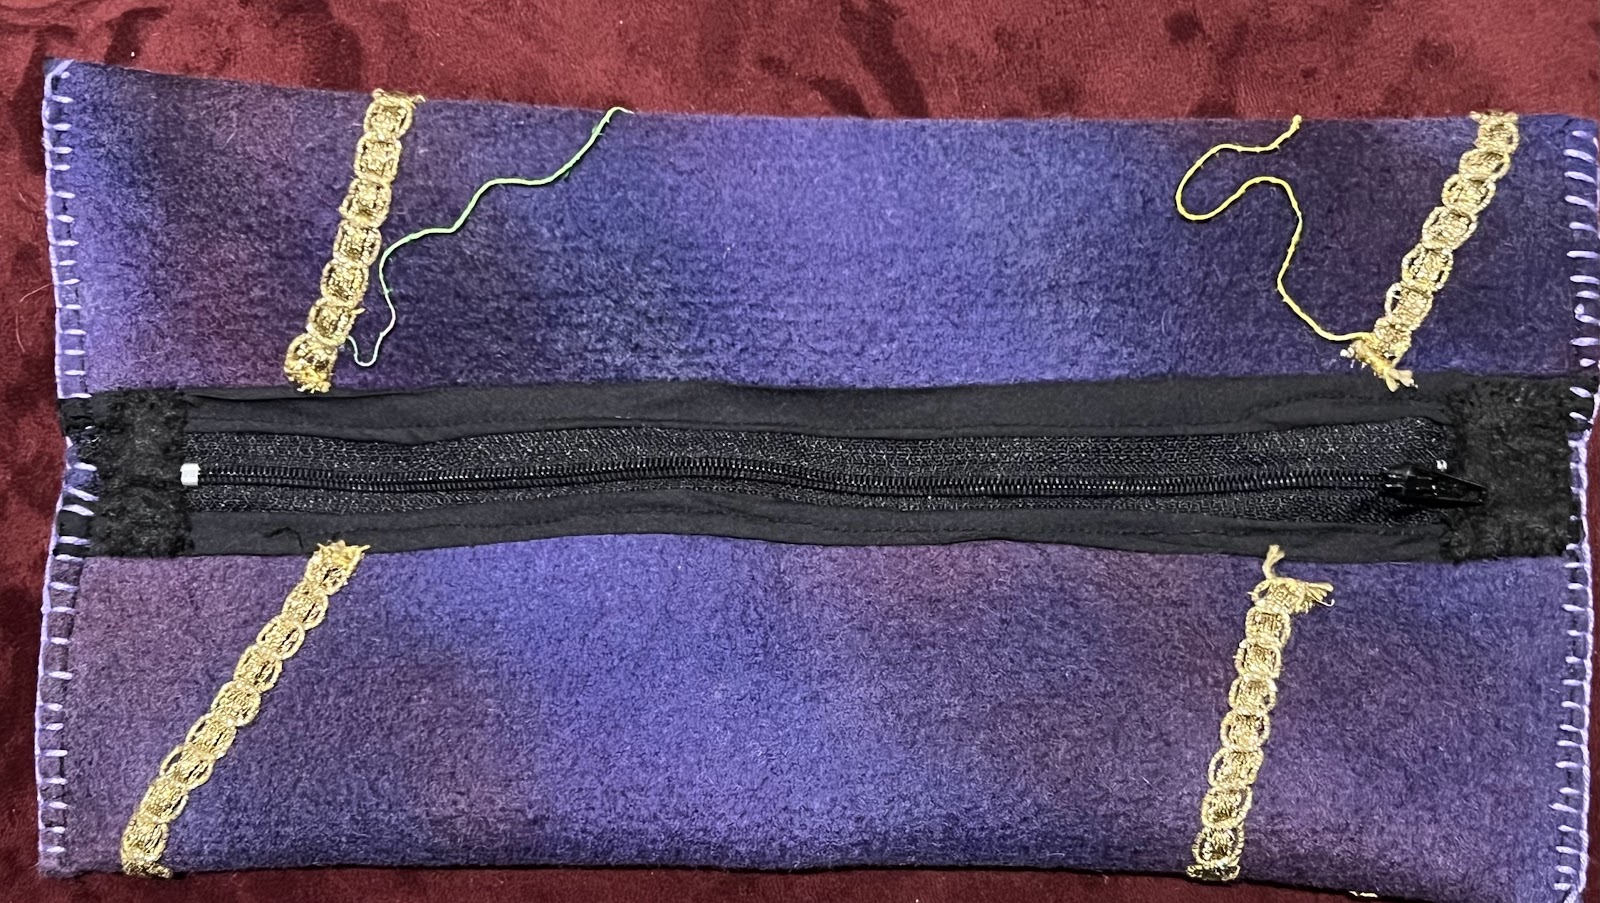


The side edges needed a finishing touch of blanket stitch in mauve. Finally, I added a couple of small felt squares to cover the end of the zip.
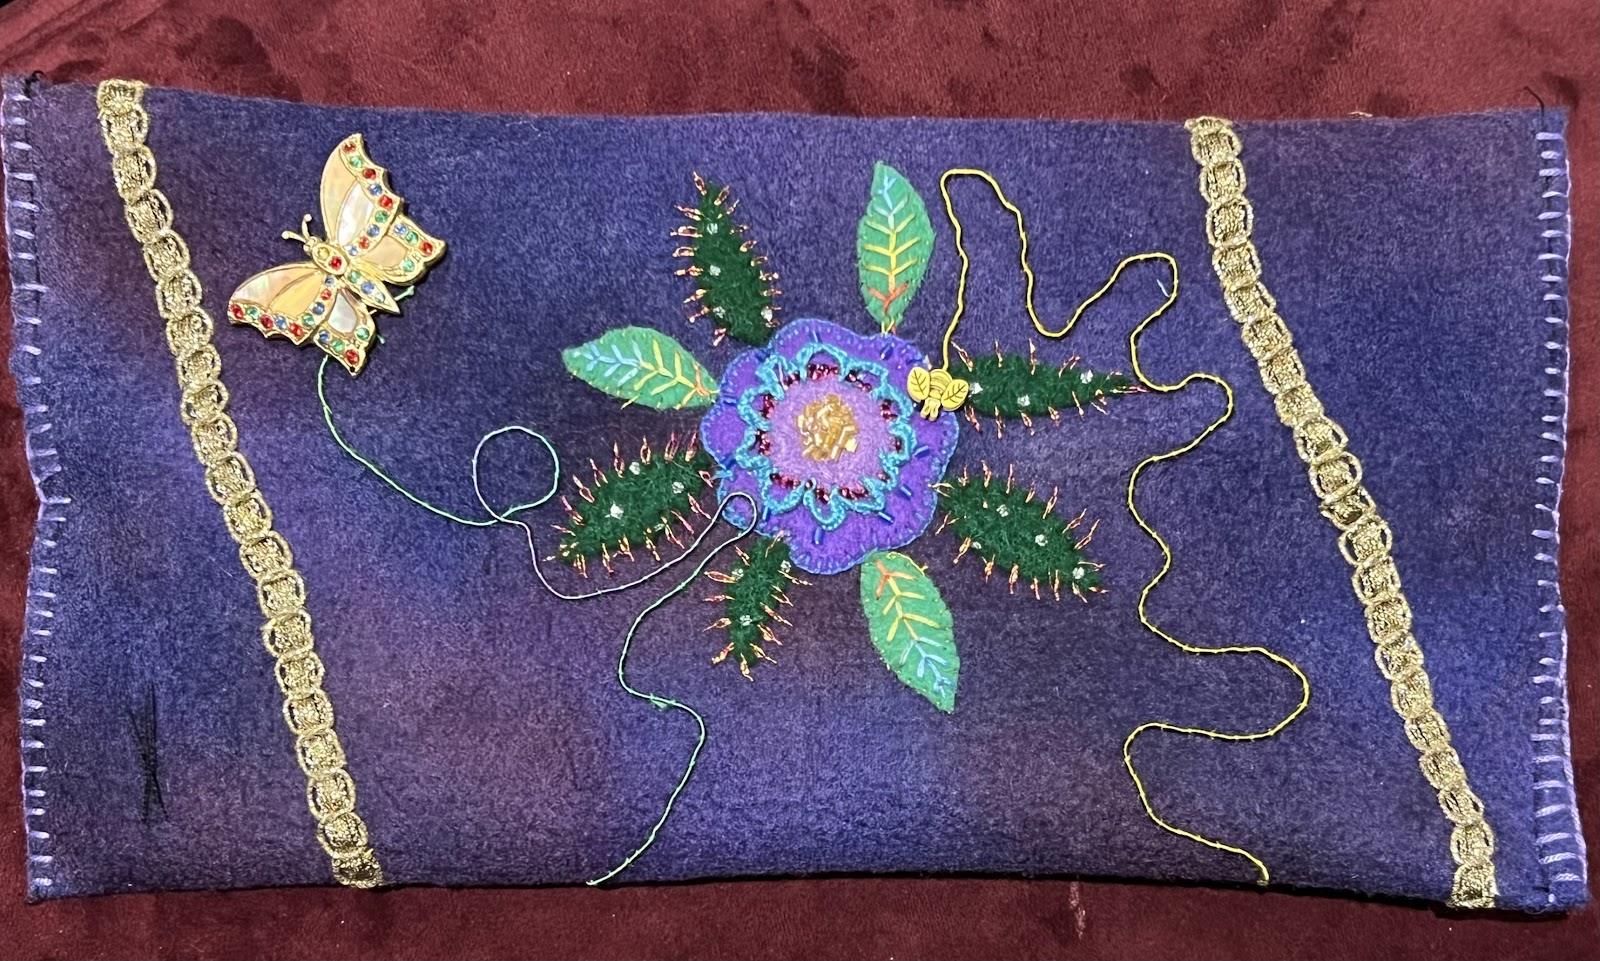

It looks nothing like the pincushion template, and I have more pouches than I can use, but I'm very pleased with this one. I have enjoyed two days of simply messing about with colours, fabric, threads, bling and ideas. And I really like the result.
Great workshop.

Wednesday, November 2, 2022

Rococo Pouch, scissor fob and, well, name tag!

This is the scissor fob I made in the recent class with  Christine Bishop at the Guild. It is part of a set - pouch, pincushion and fob. The stitches and basic design are the same for all pieces, so we could learn on the smallest piece.

It was a good exercise. I made simple mistakes on my initial rococo stitch (all in orientation) but had the hang of it by the time I'd worked the fob. 

Just as well, because there was a lot of rococo stitch!

I decided to vary the set a little. Originally, I intended to use the pouch to store jewellery, but changed my mind along the way. I added a few pins to the sides of the fob, to free up the pincushion for another purpose.

My granddaughter Niamh keeps me supplied with pincushions to prevent me using the arm of a lounge chair - so I didn't want to make another for myself.

I have a long saga of Guild name tags. Three of them are in safe places where I put them while travelling overseas in 2017, 2018 and 2019. I kept them pinned to the lining of my handbag, which I emptied before travelling. Each time I returned, I couldn't find the name tag and finally bought another. Twice the inevitable happened and the old ones turned up. The last time that didn't happen AND the pin on the new one was only attached by double sided tape and fell off. When superglue failed I abandoned it and haven't ordered another. 


As I didn't need a pincushion I formed the idea of making a name tag, bored holes in the corners of the plastic using a hot skewer and attached it. I had thought to alter the shape to a rectangle, but Christine suggested the diagonal.

I lined it and created a pocket.

For the moment I have found a packed of various size crewel needles to fit inside. I might, at a future date. add a couple of tapestries as well. The packet folds nicely to fit inside, with no sharp points exposed.


I then moved on to finish the pouch, which is lined in silk. I found a tiny blue button for closure.

This gives me a neat little set of scissors, pins, needles and name tag to take to the Guild - 


as long as I keep it in a safe place!

Tuesday, August 2, 2022

Shisha Workshop at the Guild

Last Saturday was a Certificate Course Workshop on Shisha Mirror Embroidery taken by Christine Bishop. 

The project was a tiny purse - of the folded-in corners variety. The starting square was 10cm. Christine, who often goes for pastels, argued strongly that this should be in bright colours. I had brought along strong colours, but she kept advising me to go brighter. I adjusted a bit when I got home, but I'm satisfied. 
 
I've used shisha mirrors before on several projects, but I'm not convinced I got this one in absolutely securely. Time will tell!

To line it I found a piece of silk left from a dress I made in the 70s and a partial cowrie shell as a catch.


I  spent a few hours more on it at home and I'm happy with the result. I love this pouch design. It works regardless of the size of the pouch. This is about 7cm square.


It's a cute little pouch that will come in useful to hold a gift of jewellery. 


A good, fun workshop and end product.


Monday, February 3, 2020

Shadow Box Class

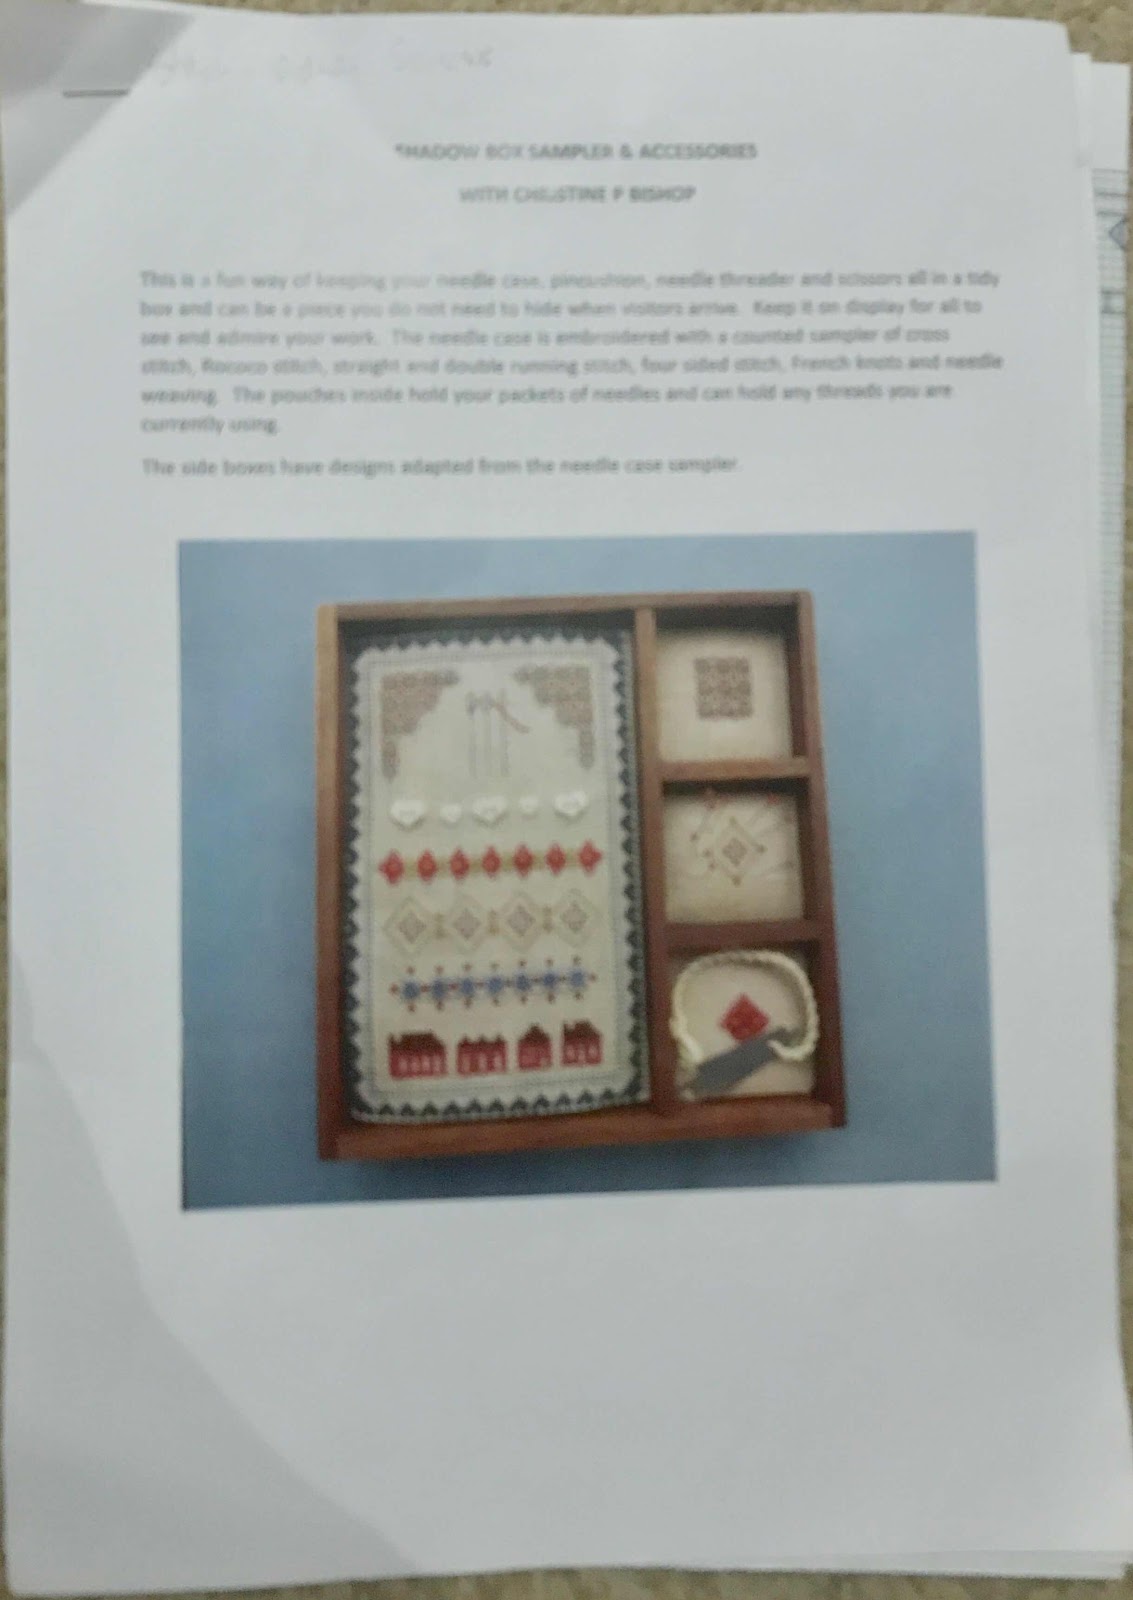
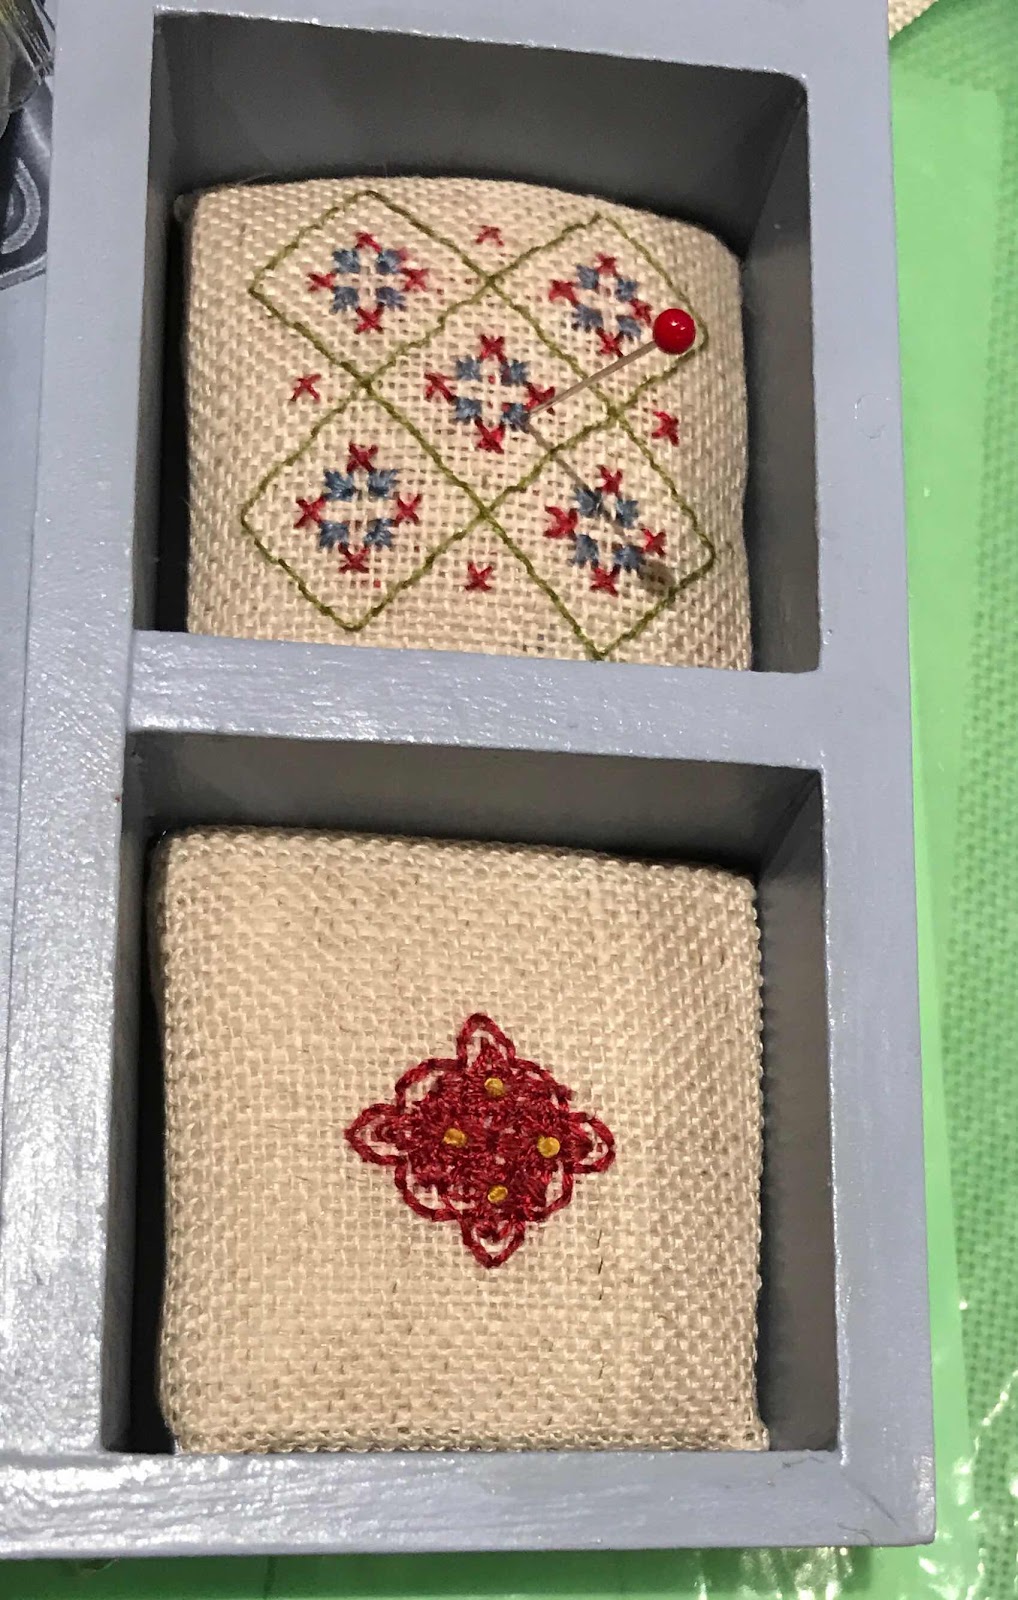
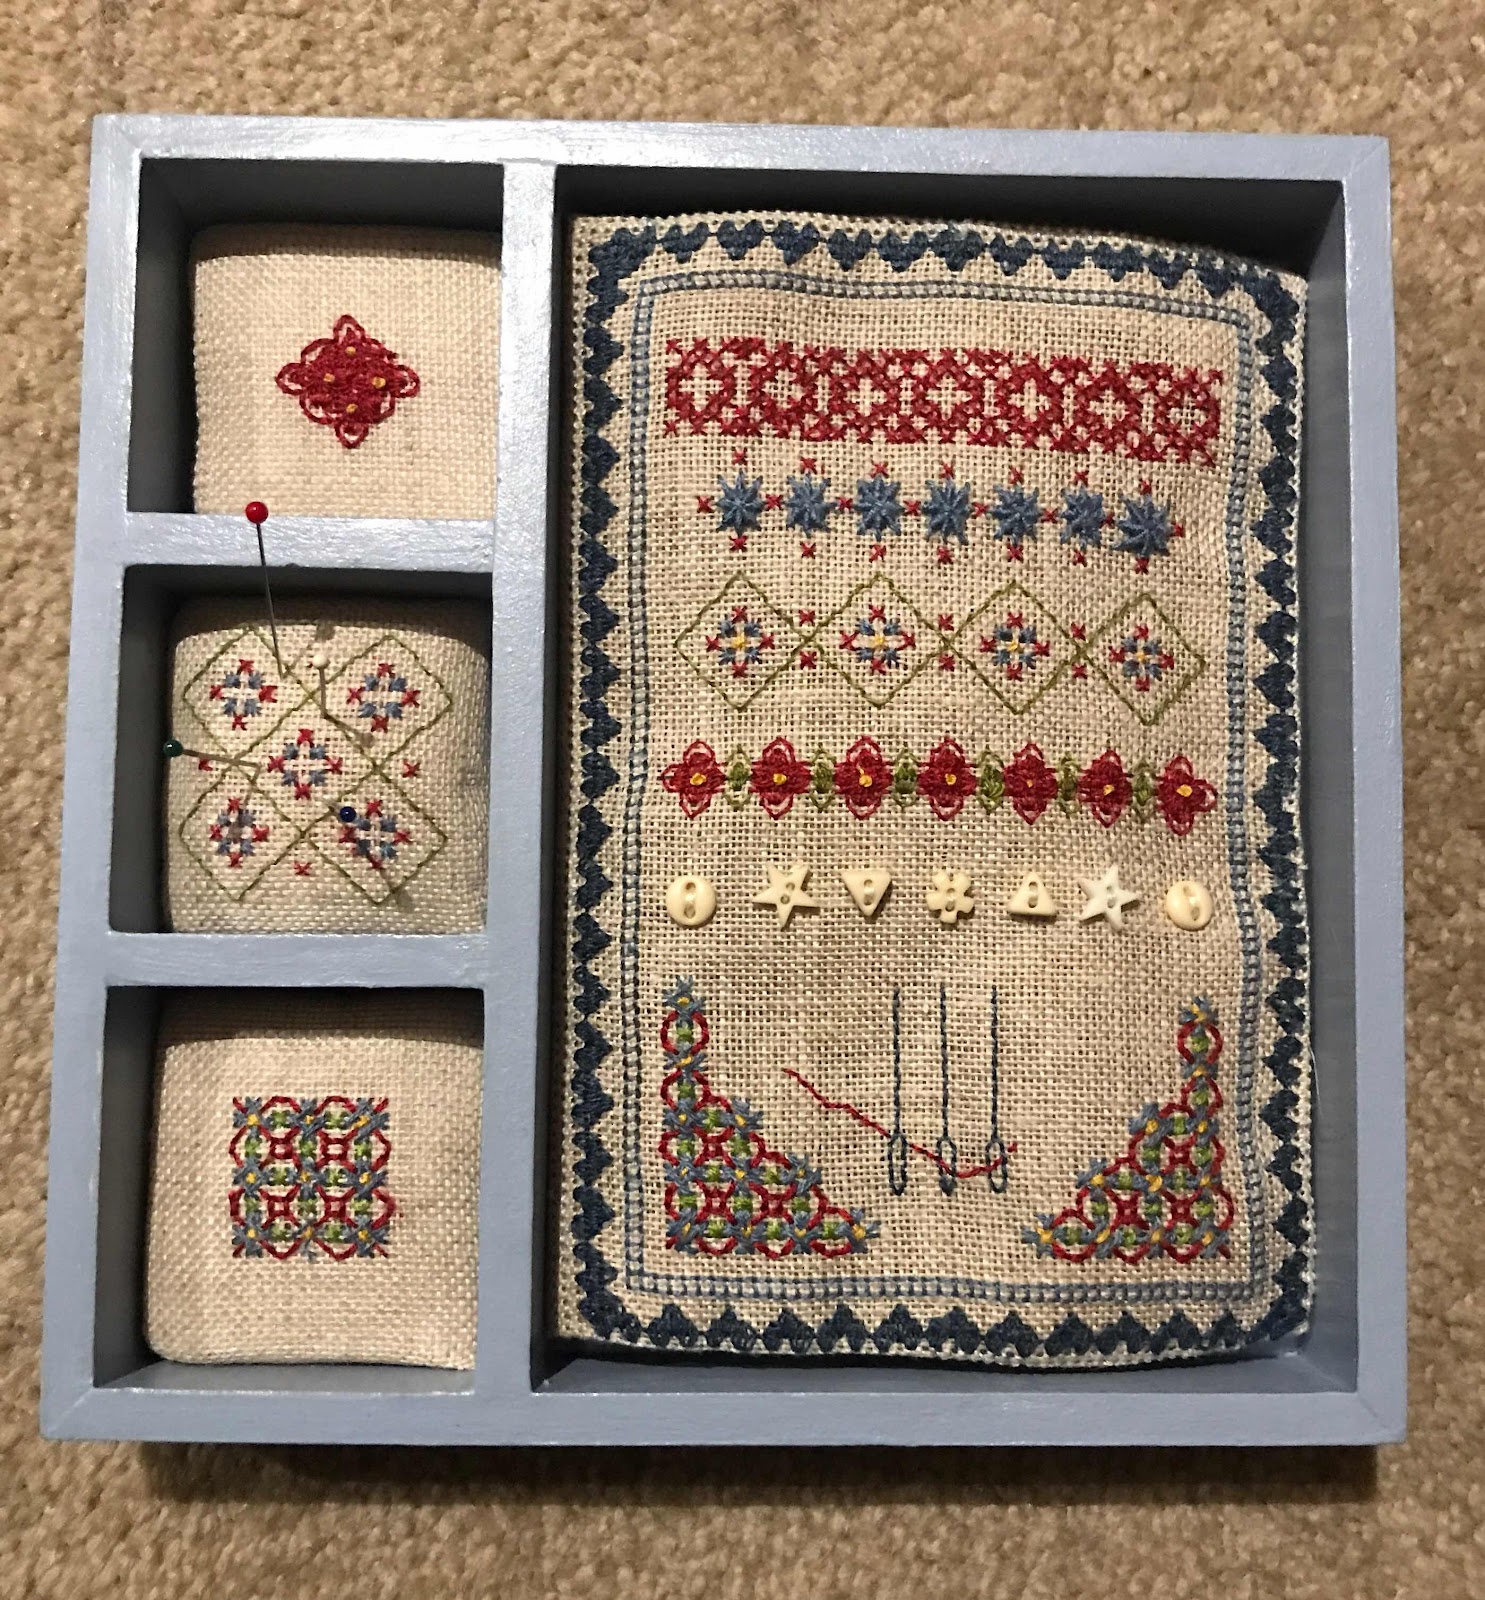
Late last year the Embroiderers' Guild of SA offered a two day class with Christine Bishop to populate a Shadow Box with a needle-case,  scissors, pincushion and needle threader. I wasn't convinced I needed another box in my workspace, but I did like the box, the embroidery and concept. I could also see that something solid to hold embroidery necessities might mean they were always in the same place - and there's sense in that. I notice Christine is teaching this project at Beating Around the Bush this year.

It was a fun class, over two Sundays. A great group of enthusiastic embroiderers . I knew when I enrolled that I would only be able to attend for half the second Sunday, as I had a subscription concert. Christine was OK with this, so I went ahead.

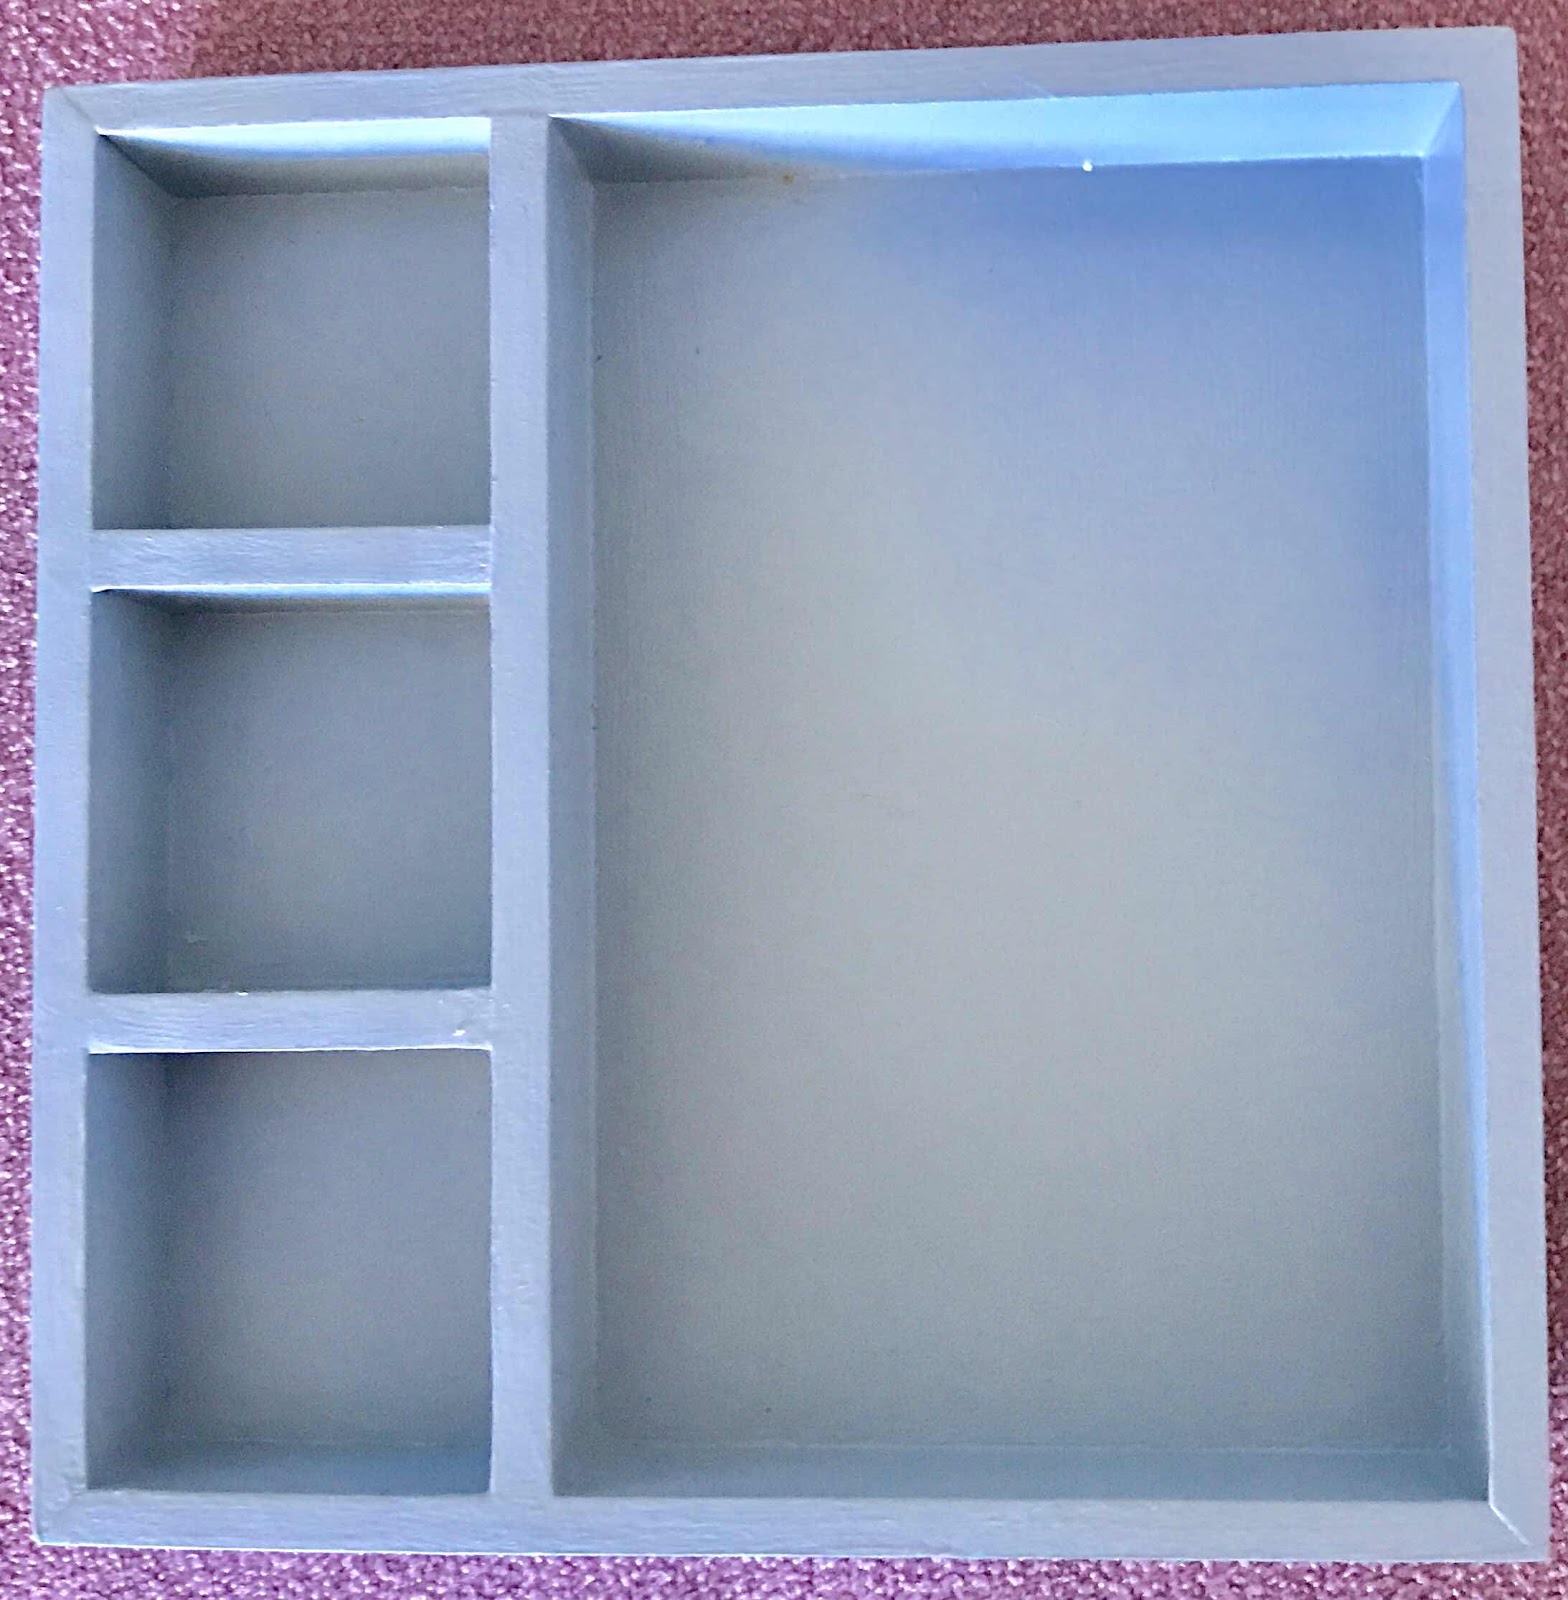
We got to choose our box, which Christine had had made for us - there was a choice of white, red or blue. I chose the blue.

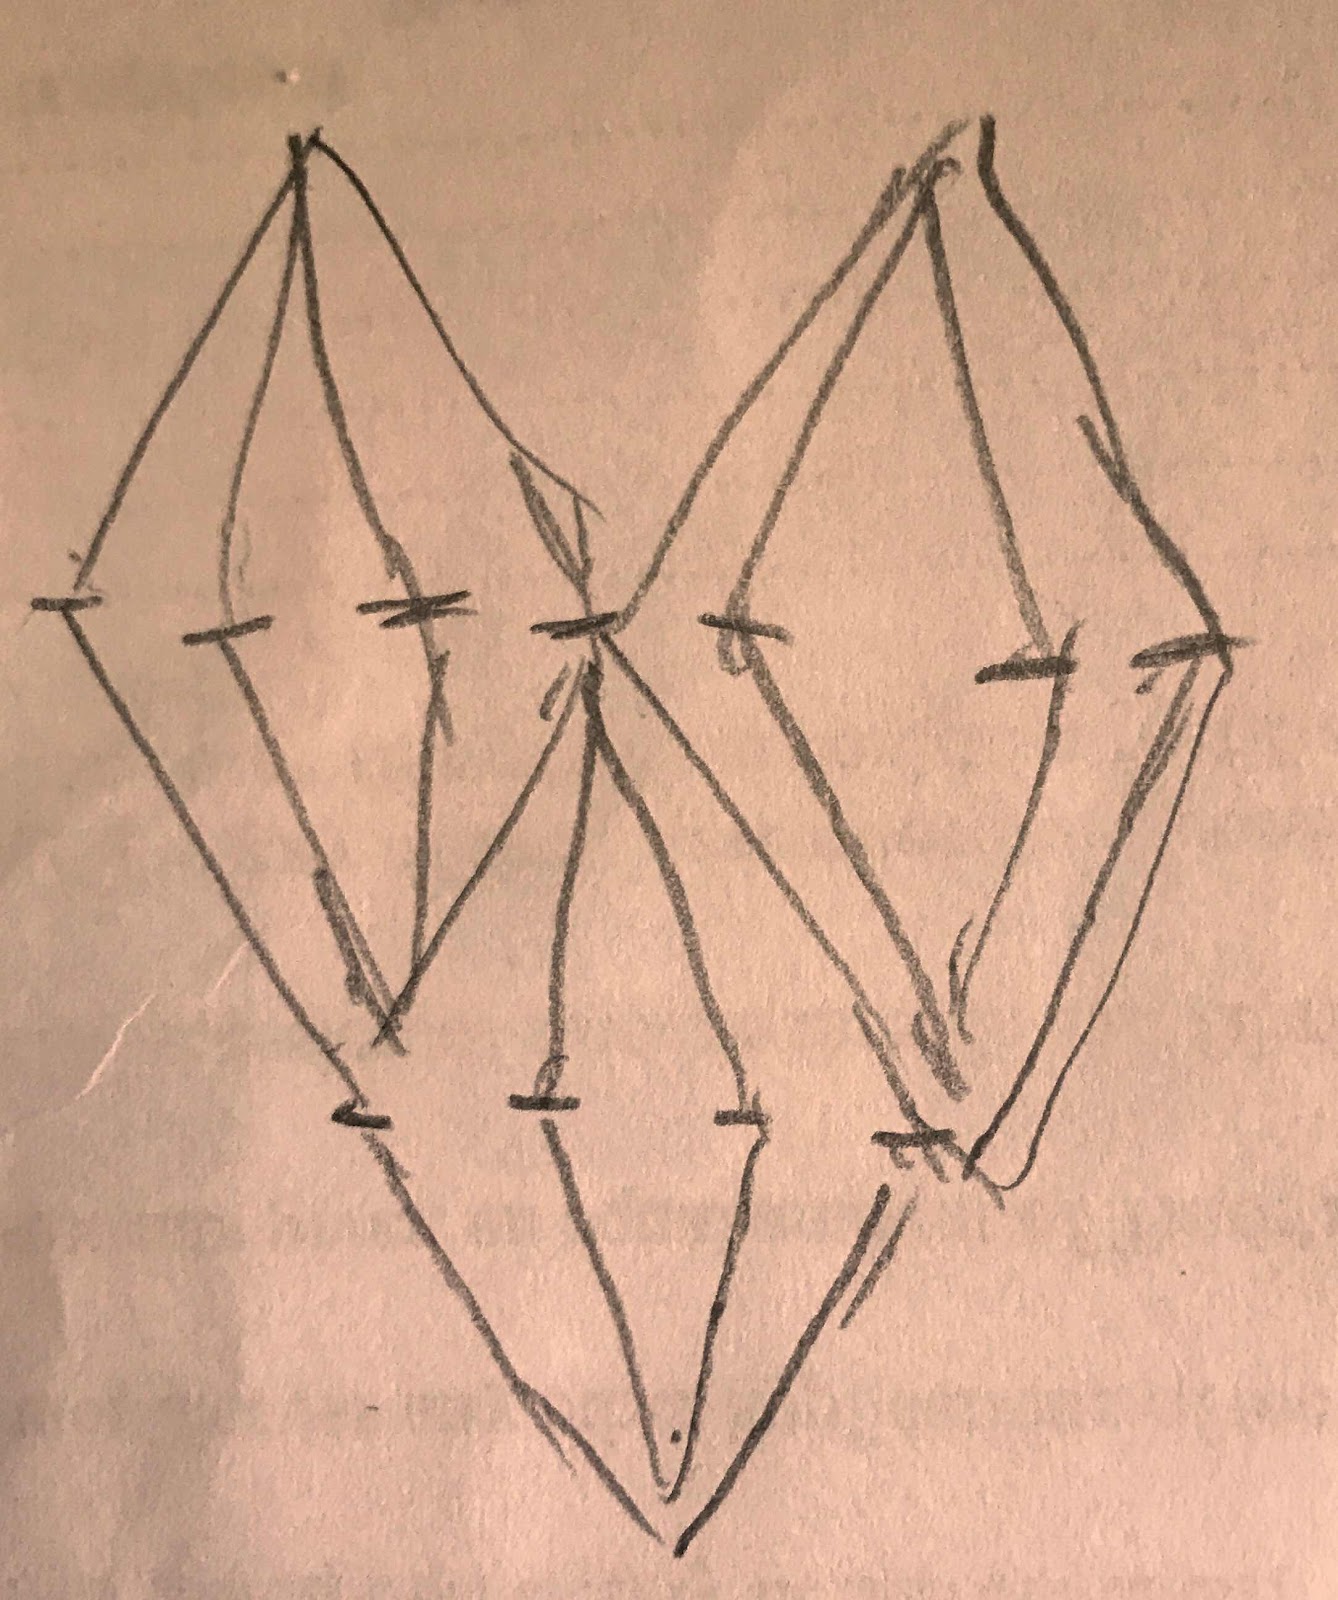
We began stitching the needle book, Christine demonstrating the stitches to get us started and then more or less on demand. We began with Rococo stitch - new to me. It took me a while to get the hang of the way the stitches fit together. Once I did, I was hooked. I hope I can use it again.

Because I knew I would miss the last few hours of the second day, I put in quite a bit of time between classes to finish as much stitching as I could, so I could have some help with construction on the second morning.

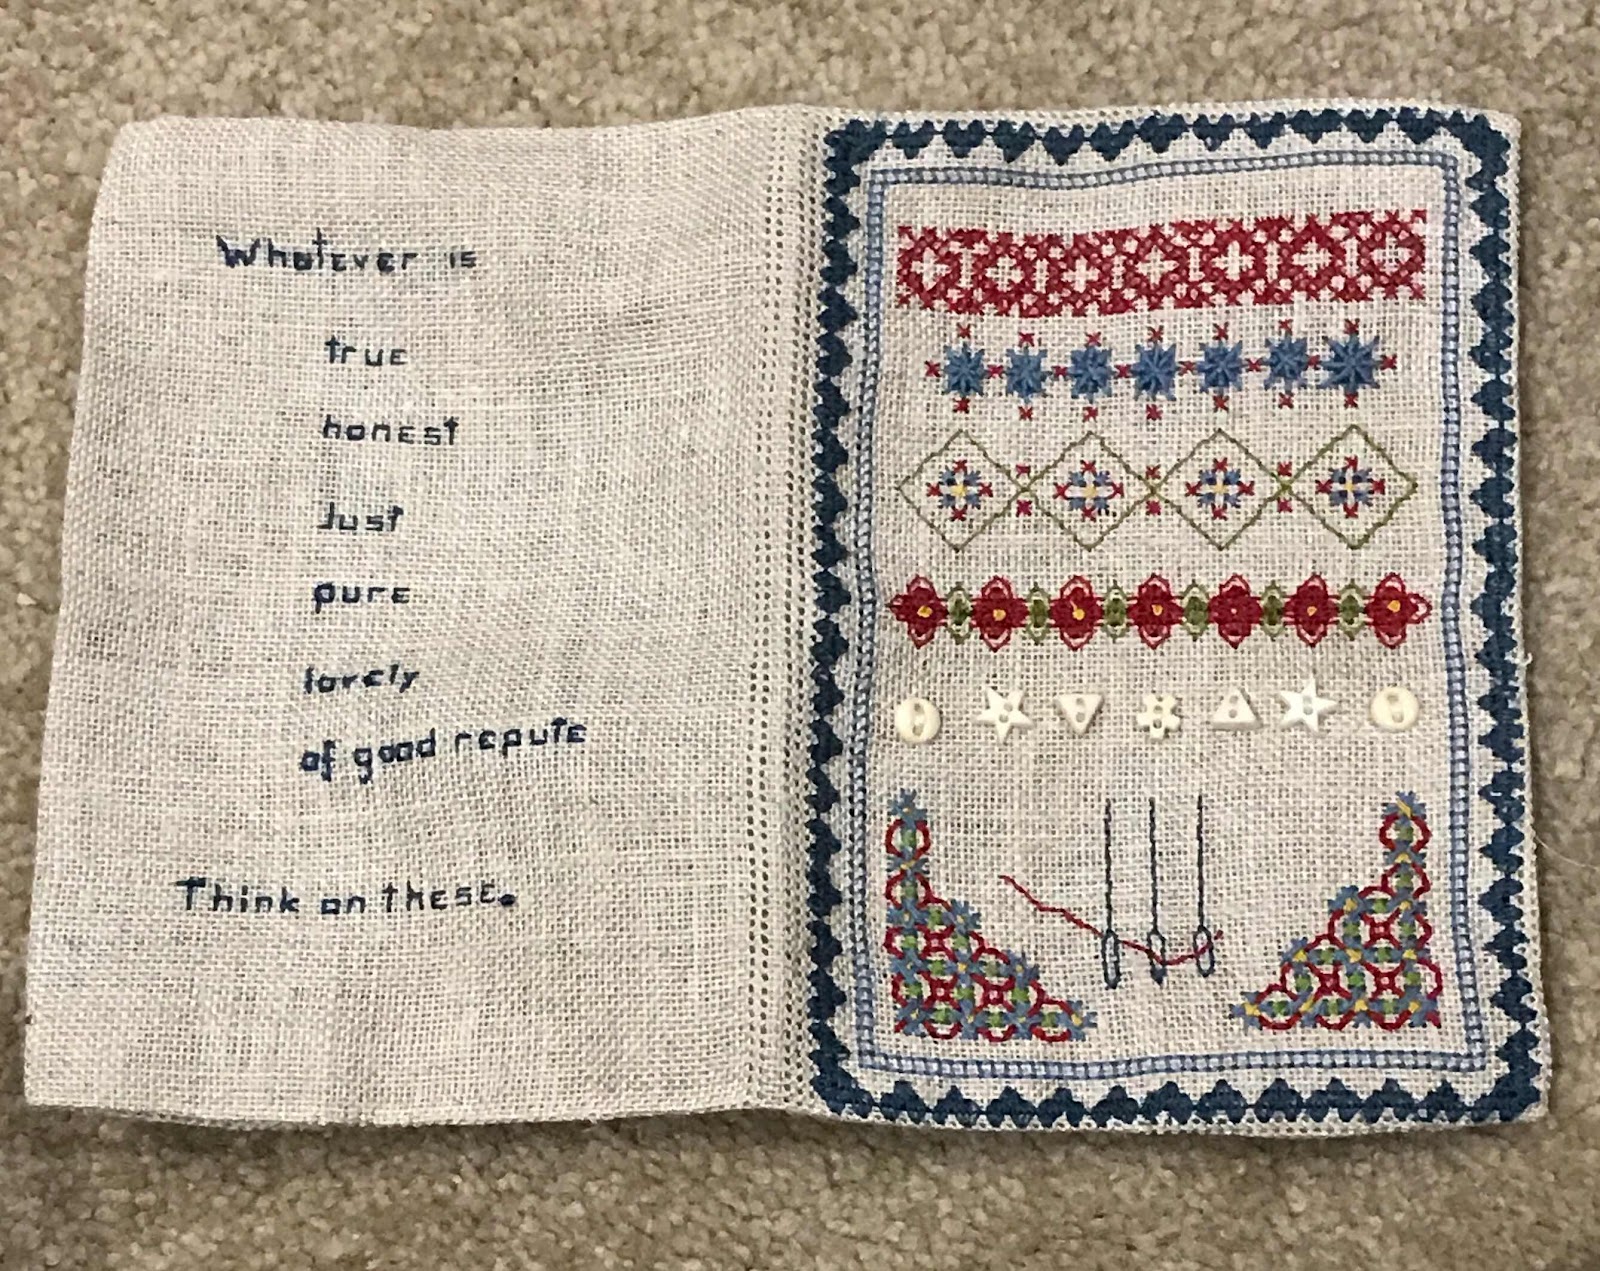
Like a few others in the class, I played a bit with the designs. I altered the row of houses at the bottom of the needle book cover to a symmetrical design, so it would not matter which way the book was lying in the box. I'm going to use this, and I can see I won't be careful about how I place the book!

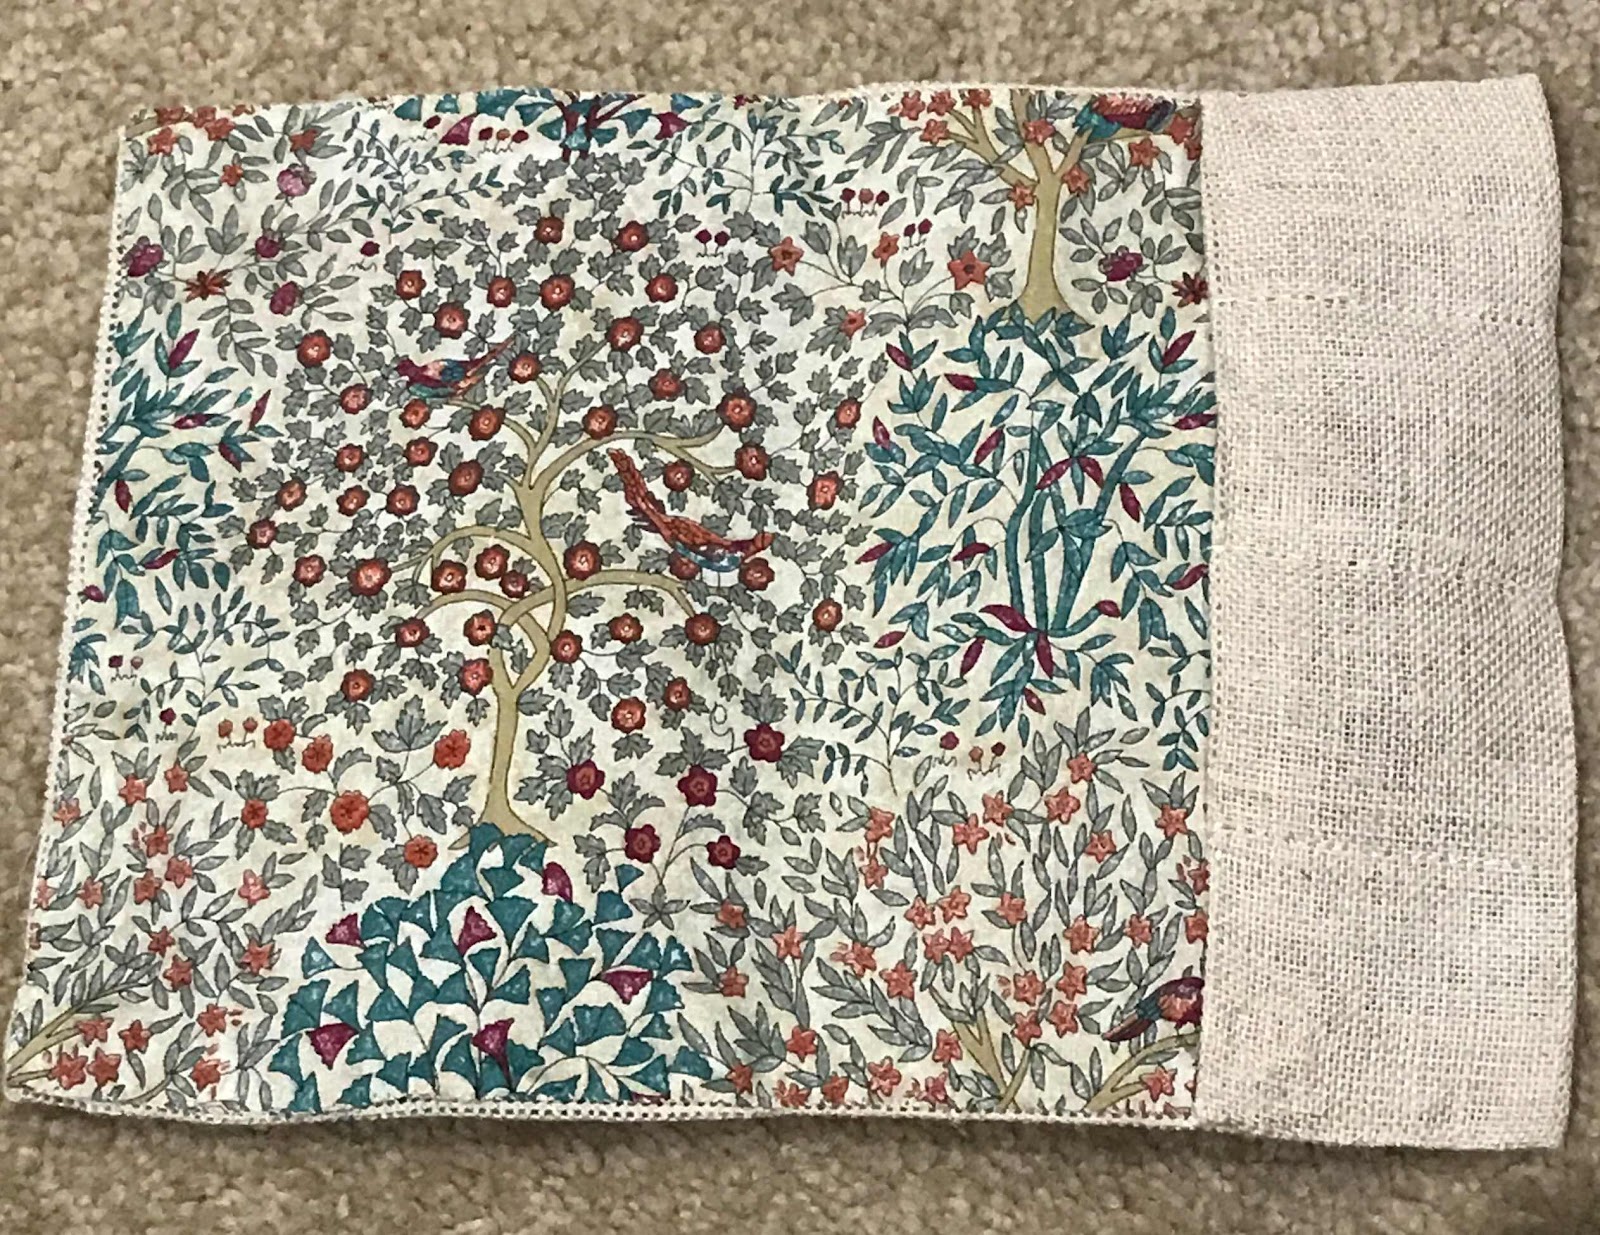
My strategy worked well. The kit came with a lovely piece of Liberty cotton for the lining of the needle book.  Christine went through the construction steps and I was able to complete the construction fairly quickly after the class.

The book is designed to hold needle packets. rather than loose needles. There are a few options, however, to accommodate both.

I opted to add little squares of doctor's flannel.

One of the other students embroidered quotes on the linen pockets.


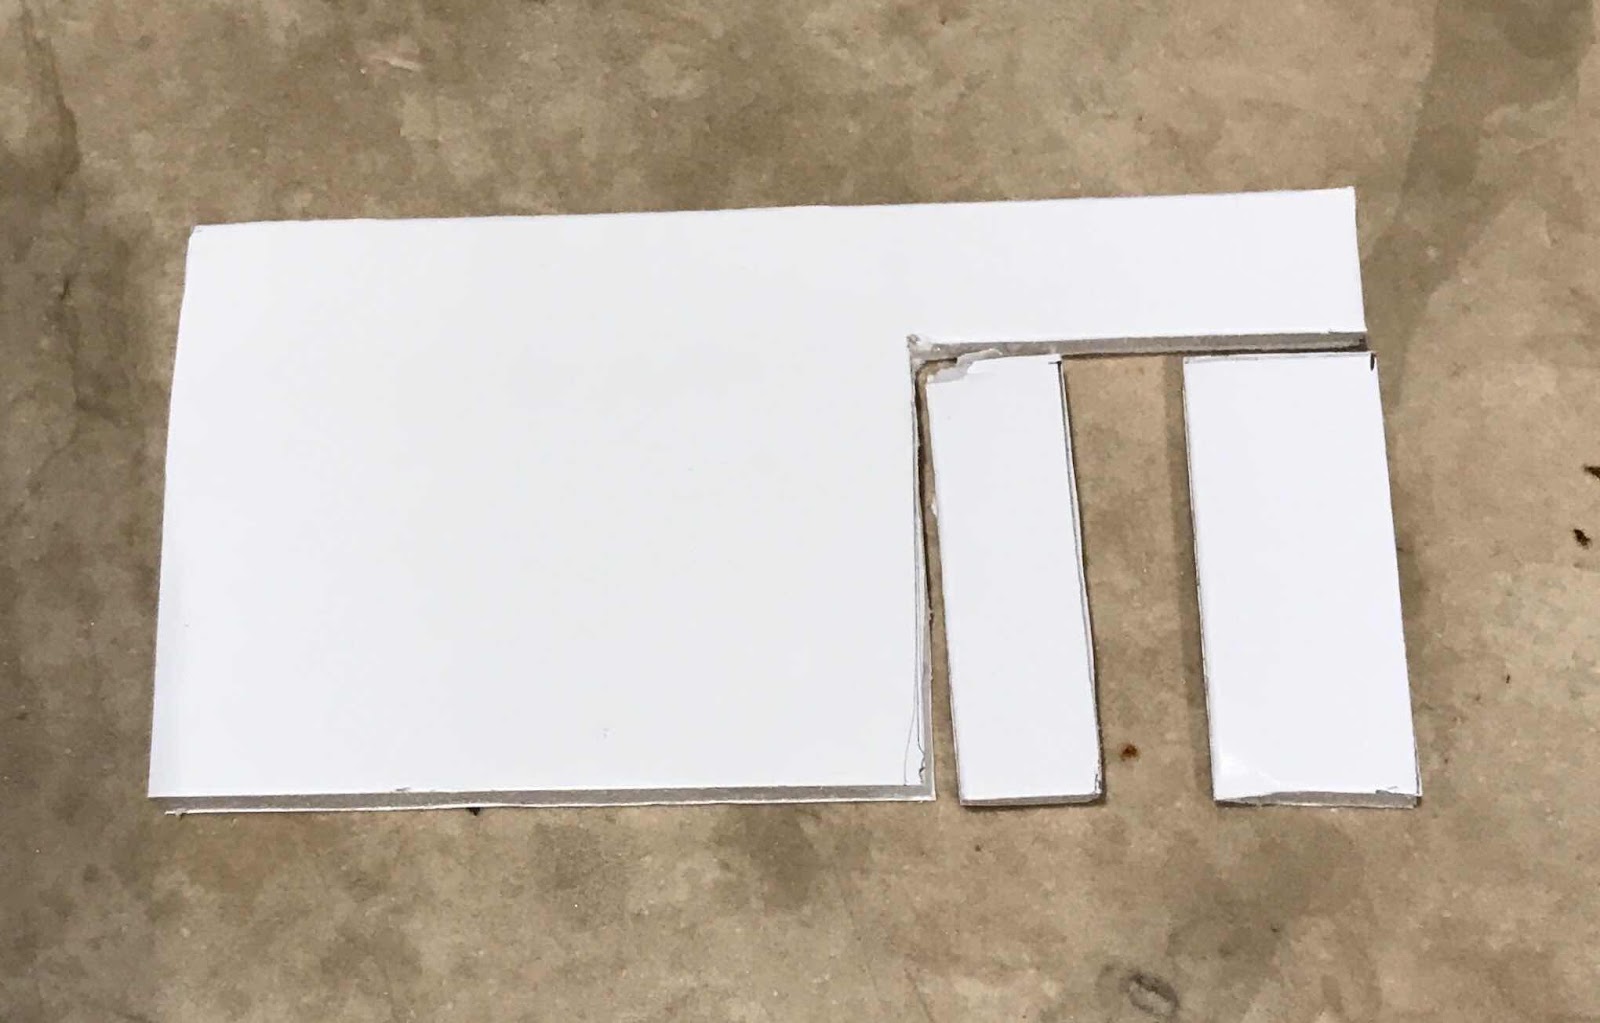
I found some off-cuts of acid-free mounting board left over from a previous task


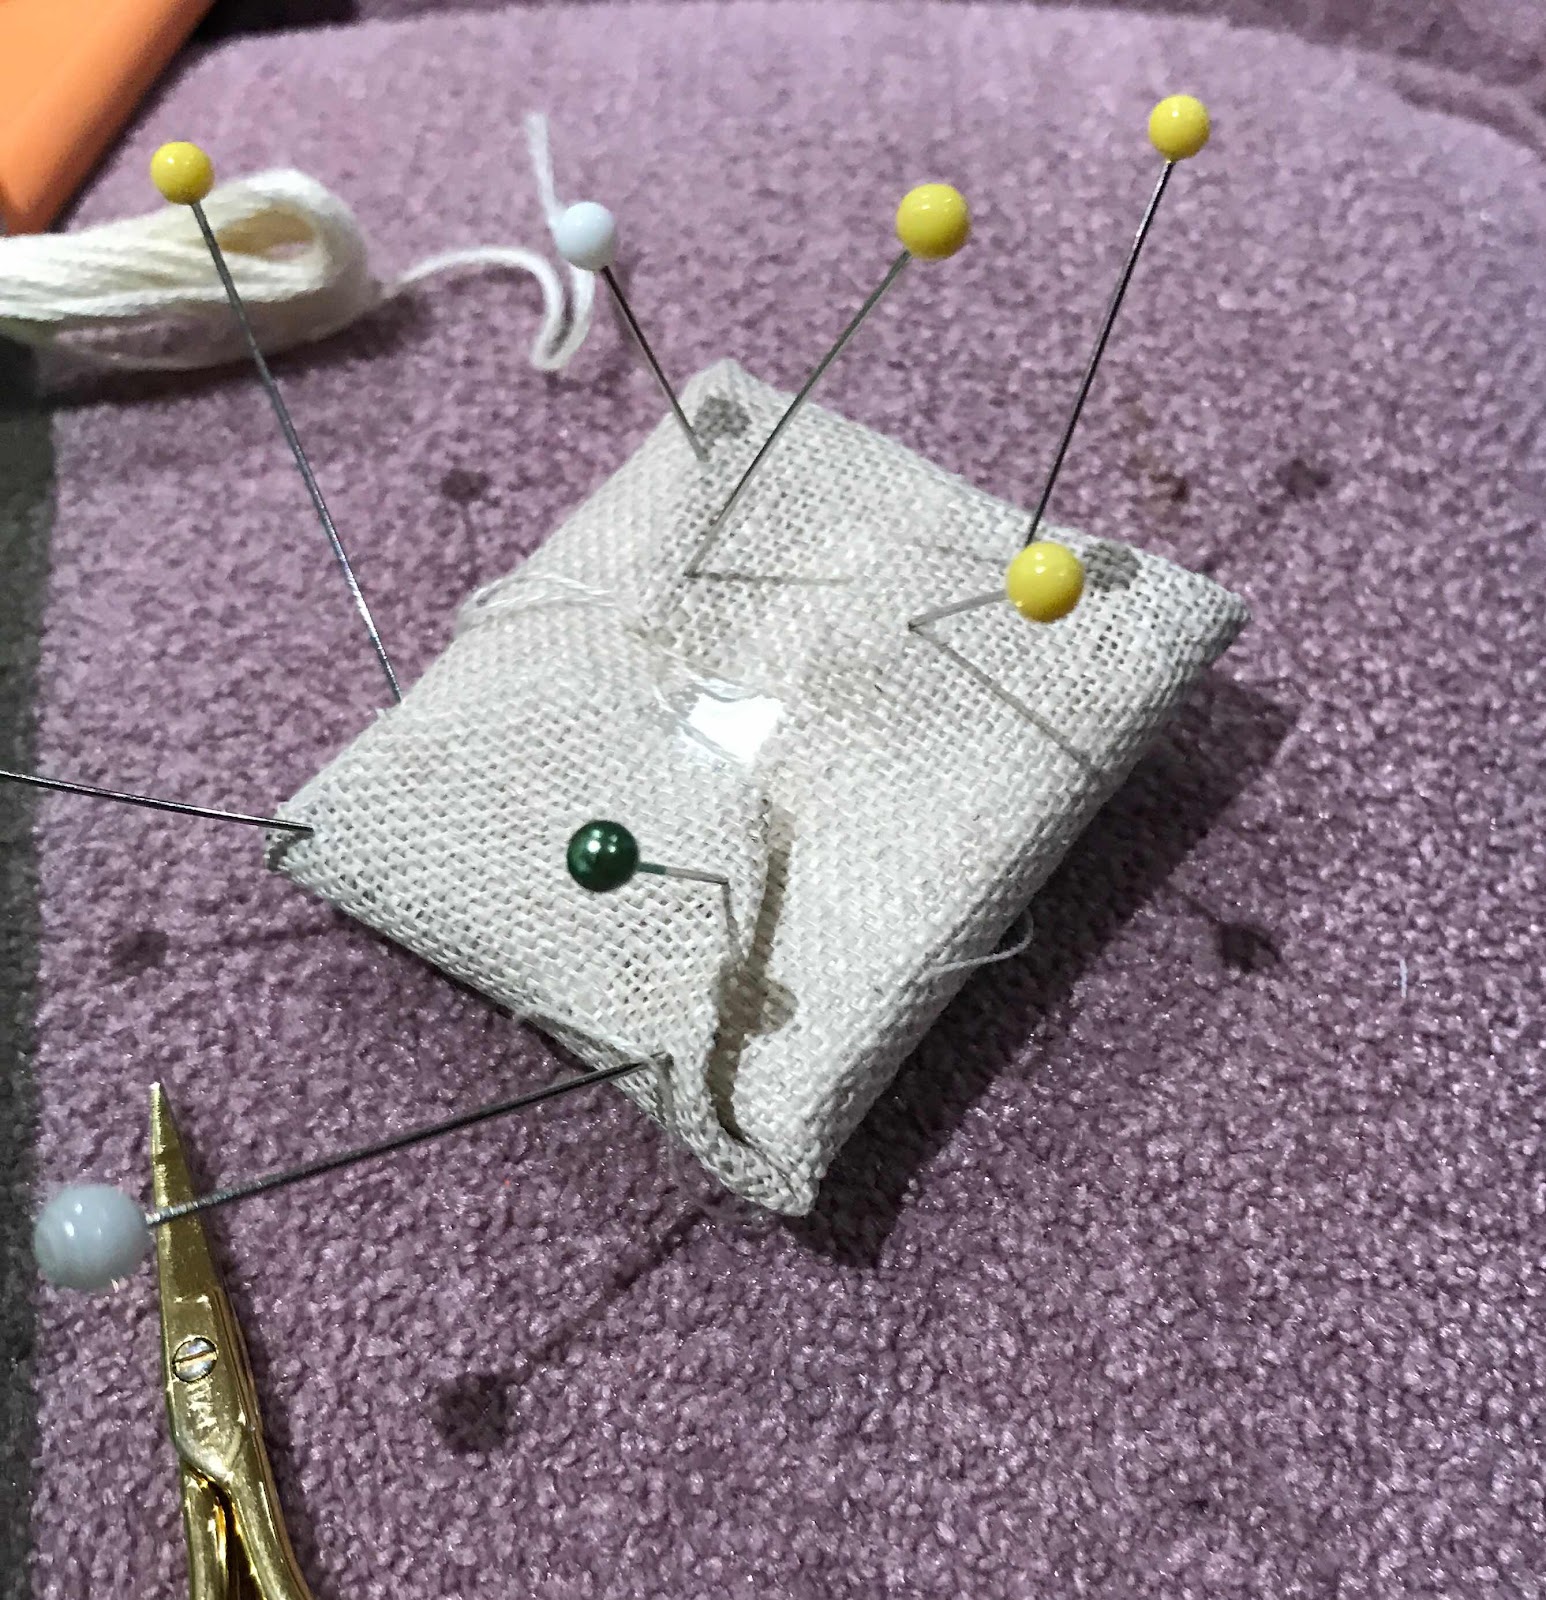
and used these to back the pin-cushion, scissor keep and holder for the needle threader.


The box made a handy holder for the bits required throughout the process!


Gay's quotations on the linen pockets gave me an idea when I realised that the back of the needle book was blank.


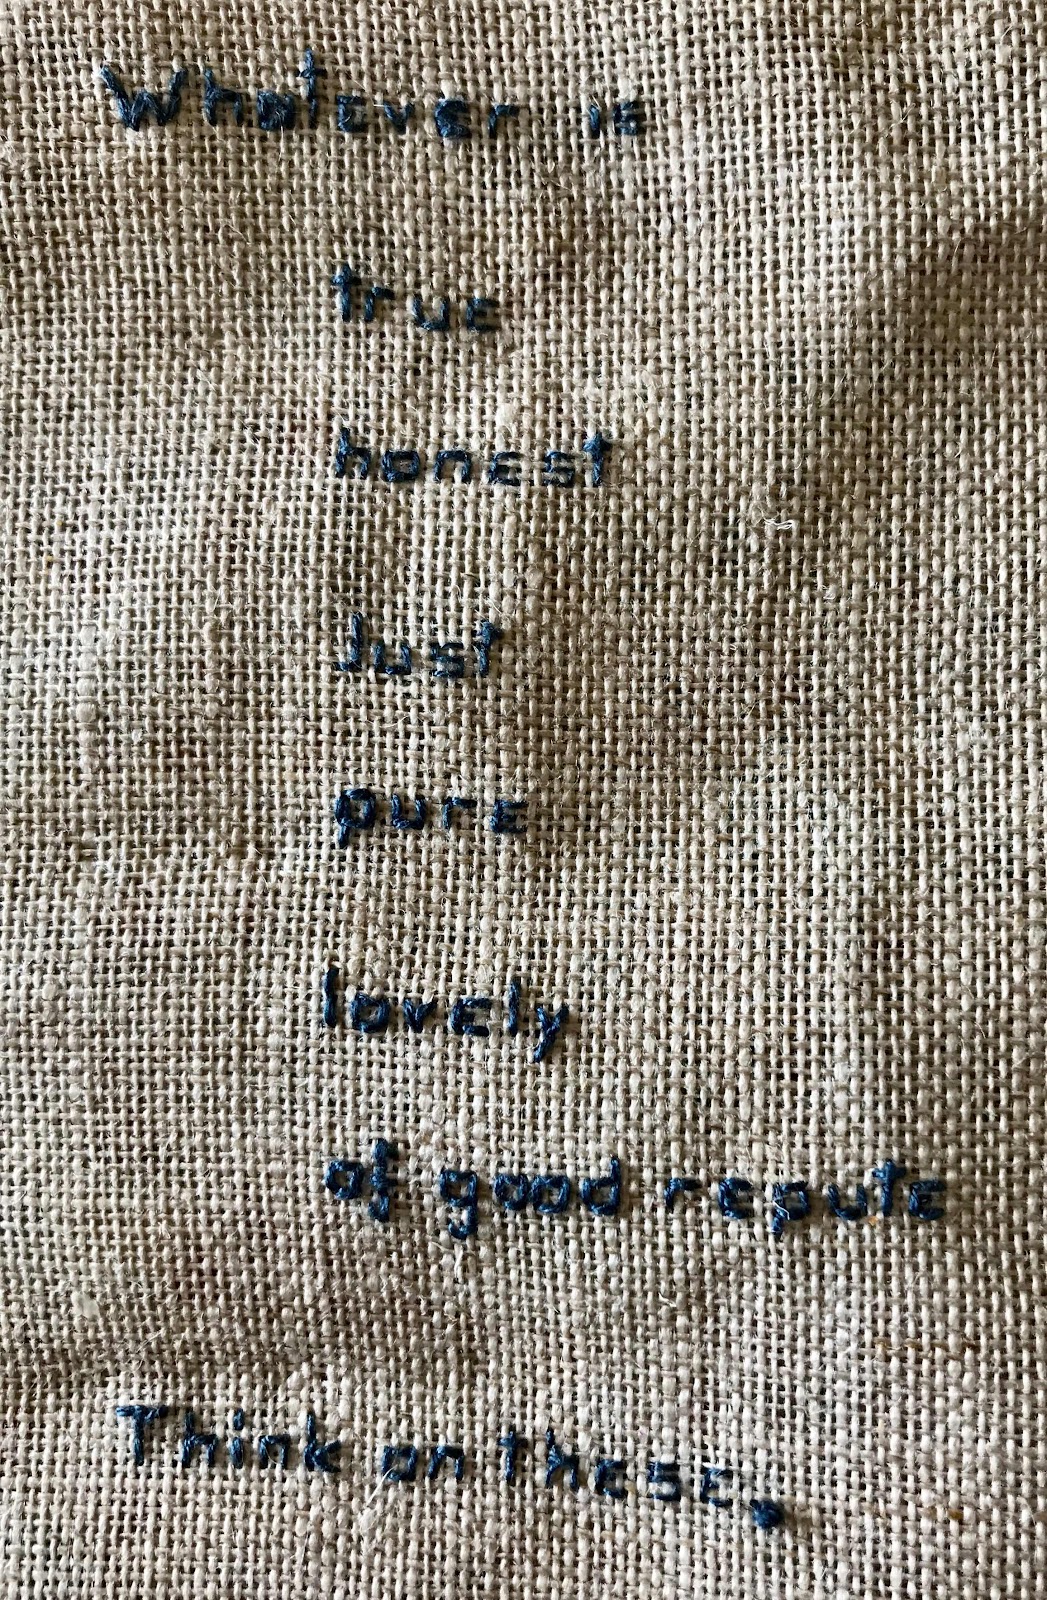
I embroidered a paraphrased version of Philippians 4:8. This is a principle I try to live by and a mantra that helps to keep depression at bay in the face of so much bad news. It will be reassuring to have it always there when I am stitching.


It took a little bit of adjustment to get the small pieces fitting snuggly as the spaces are not the same size - but it was not a drama.

The scissor keep is designed to fit Kelmscot Little Gems scissors.

I found an online Australian supplier, StitchWOT and ordered both blue and red. In the end I used the red.  I experimented with a few needle threaders and eventually added this little bird with a threader beak. It has the advantage of a hole that accommodates a cord. I reckon an unattached needle threader is not going to survive my use!

Altogether this has been a thoroughly enjoyable project. It had a few mild challenges, looks good and will be a tool set that does not leave my coffee table - so always there when I need it.

What more could I want?

Saturday, May 18, 2019

Fool-proof bag


I attended Christine Bishop's Fool-proof Bag class at the Embroiderers' Guild in February this year. The concept is a linen bag, put together using counted thread embroidery techniques, and adaptable in size, colour and decoration.  The class teaches the basic construction and foundation stitches.

While I have done a little basic counted thread work, it is not my strength, and this year I wanted to improve my counted thread skills. The two-day course was a lot of fun.

Between the two days of the course I dug out a book with a design for a cross-stitched flannel flower and added it to my bag at the crucial stage - before the sides were sewn together.


I was very happy with the result.


Christine pointed out that the bag lends itself to using up off-cuts of linen - or left over bits and pieces.I didn't need to be told twice! I made straight for my stash of left-over linen oddments and tried it out.


With the help of some silk scraps for lining I made another bag in which to store jewellery and preserve lustre.


I then followed Christine's advice, and tacked the hems on a range of off-cuts, putting them into a bag for those rainy days when I need a quick project.


Some of the linen is fine and some fairly course.  Each piece, however, has potential to make an attractive and useful bag.


I confess to taking these to England in the bottom of my suitcase but not progressing any. That's because, as I travelled, I was able to continue work on the projects from the embroidery retreat.  The linen bag pieces did not take up much room - and would have come into their own had I run out of stitching while away (Heaven forbid!).

It's another great idea from Christine. I owe a lot of my growth as a needlewoman to her.

Thursday, February 21, 2019

Morocco Projects-Certificate Course


On the last Saturday in January there was a large gathering for the first of the SA Embroiderers' Guild's Certificate Workshops.

One of the convenors of the Certificate Course, Barbara Mullan, takes embroidery tours to India and Morocco. A number of Guild members, including Christine Bishop, the other Certificate Course Convenor, accompanied her to Morocco in 2018.

This workshop presented information about Morocco and taught three aspects of Moroccan embroidery.

No wonder so many attended the workshop!

Our first project was making a Djellaba button. A djellaba (the purple garment on display to the left) is a garment worn outside, over other clothes, by Moroccan men. It resembles a kaftan, and is secured all the way down the front by tiny hand-made buttons.


Fortunately for us, Phyllis Coxhill, who taught this segment of the workshop, had prepared a much larger teaching tool!

I'm sure, once you have the hang of it, this becomes quite rhythmical and practised. It will take me a while to reach that point!

Our second project of the day was Fes Embroidery, taught by Christine.

This is counted thread work, in double running stitch, on linen, usually two-toned, and often blue.  It usually follows a border and corner pattern. Some Moroccan women seem to do this work by eye, without actually counting.

Christine charted two edging motifs for us.

The third stitching session for the day was on design, using Berber symbols. We were asked to design a carpet, or more accurately, a rectangle, which we could stitch, using running and weaving stitches found on Berber carpets.
My effort was certainly not complicated, but I have ideas for it!


At home I got carried away with Fes stitch. This is going to be a year of improving my counted work.

The fact that Moroccan women often do this work by eye, rather than counting, gives me encouragement. I did count, but when my eye-sight lets me down I am not going to stress!


I took this work with me when I visited Sydney for a few days the week following the workshop. It worked well as a grab-and-go.

On my return home, I was inclined to leave the piece in one colour, rather than filling in the shapes with light blue. I was encouraged by several Guild members to leave it as is, so I did.

I found a piece of Japanese cotton in my stash (yes, a bit of cultural impurity) with which to line it, pulled some threads and worked a gusset with loops.


I then made a twisted cord.


I had intended to make djellaba buttons for the ends of the cord.

After a bit I gave up, and covered the plastic tubing with needlelace.


I am delighted with week's work and my bag.


I also have a plan for my carpet design - but that's another story!