Search This Blog

Showing posts with label Barbara Mullan. Show all posts

Monday, June 27, 2022

Boro Pocket - Guild Certificate Course

This month's certificate course workshop was taken by Barbara Mullan, focusing on Japanese Boro Embroidery.  It was a lot of fun. 9 of us met with Barbara, all armed with scraps of fabric and some sturdy cotton threads. I had a pair of jeans with me, just in case I was moved to cut them up. They are in good condition, but are now a size too big for me. I've run elastic around the waist so they are wearable. As it happened, Barbara had strips of denim for us, and others had brought along various bits of usable denim. 

It was very much a design-you-own piece workshop although Barbara had included a design for a pocket in the notes. I worked on a pocket to fit my mobile phone using one of Barbara's denim strips and my own patches. Some worked on larger pieces for bags. There was a lot of sharing and ideas flying. I love these workshops.

I was very pleased with mine.
When I got home I tried it on three summer dresses that don't have pockets, which really limits my use of them, since carrying my phone on my person is a high priority for me. I have managed to insert a small pocket into the side seam of the dress on the left, but it won't fit my new phone.  It isn't a bad blend, but I preferred the pocket on the ikat dress on the left - the red in the pocket picked up some colour from the dress. The third dress is black and white so doesn't work at all.
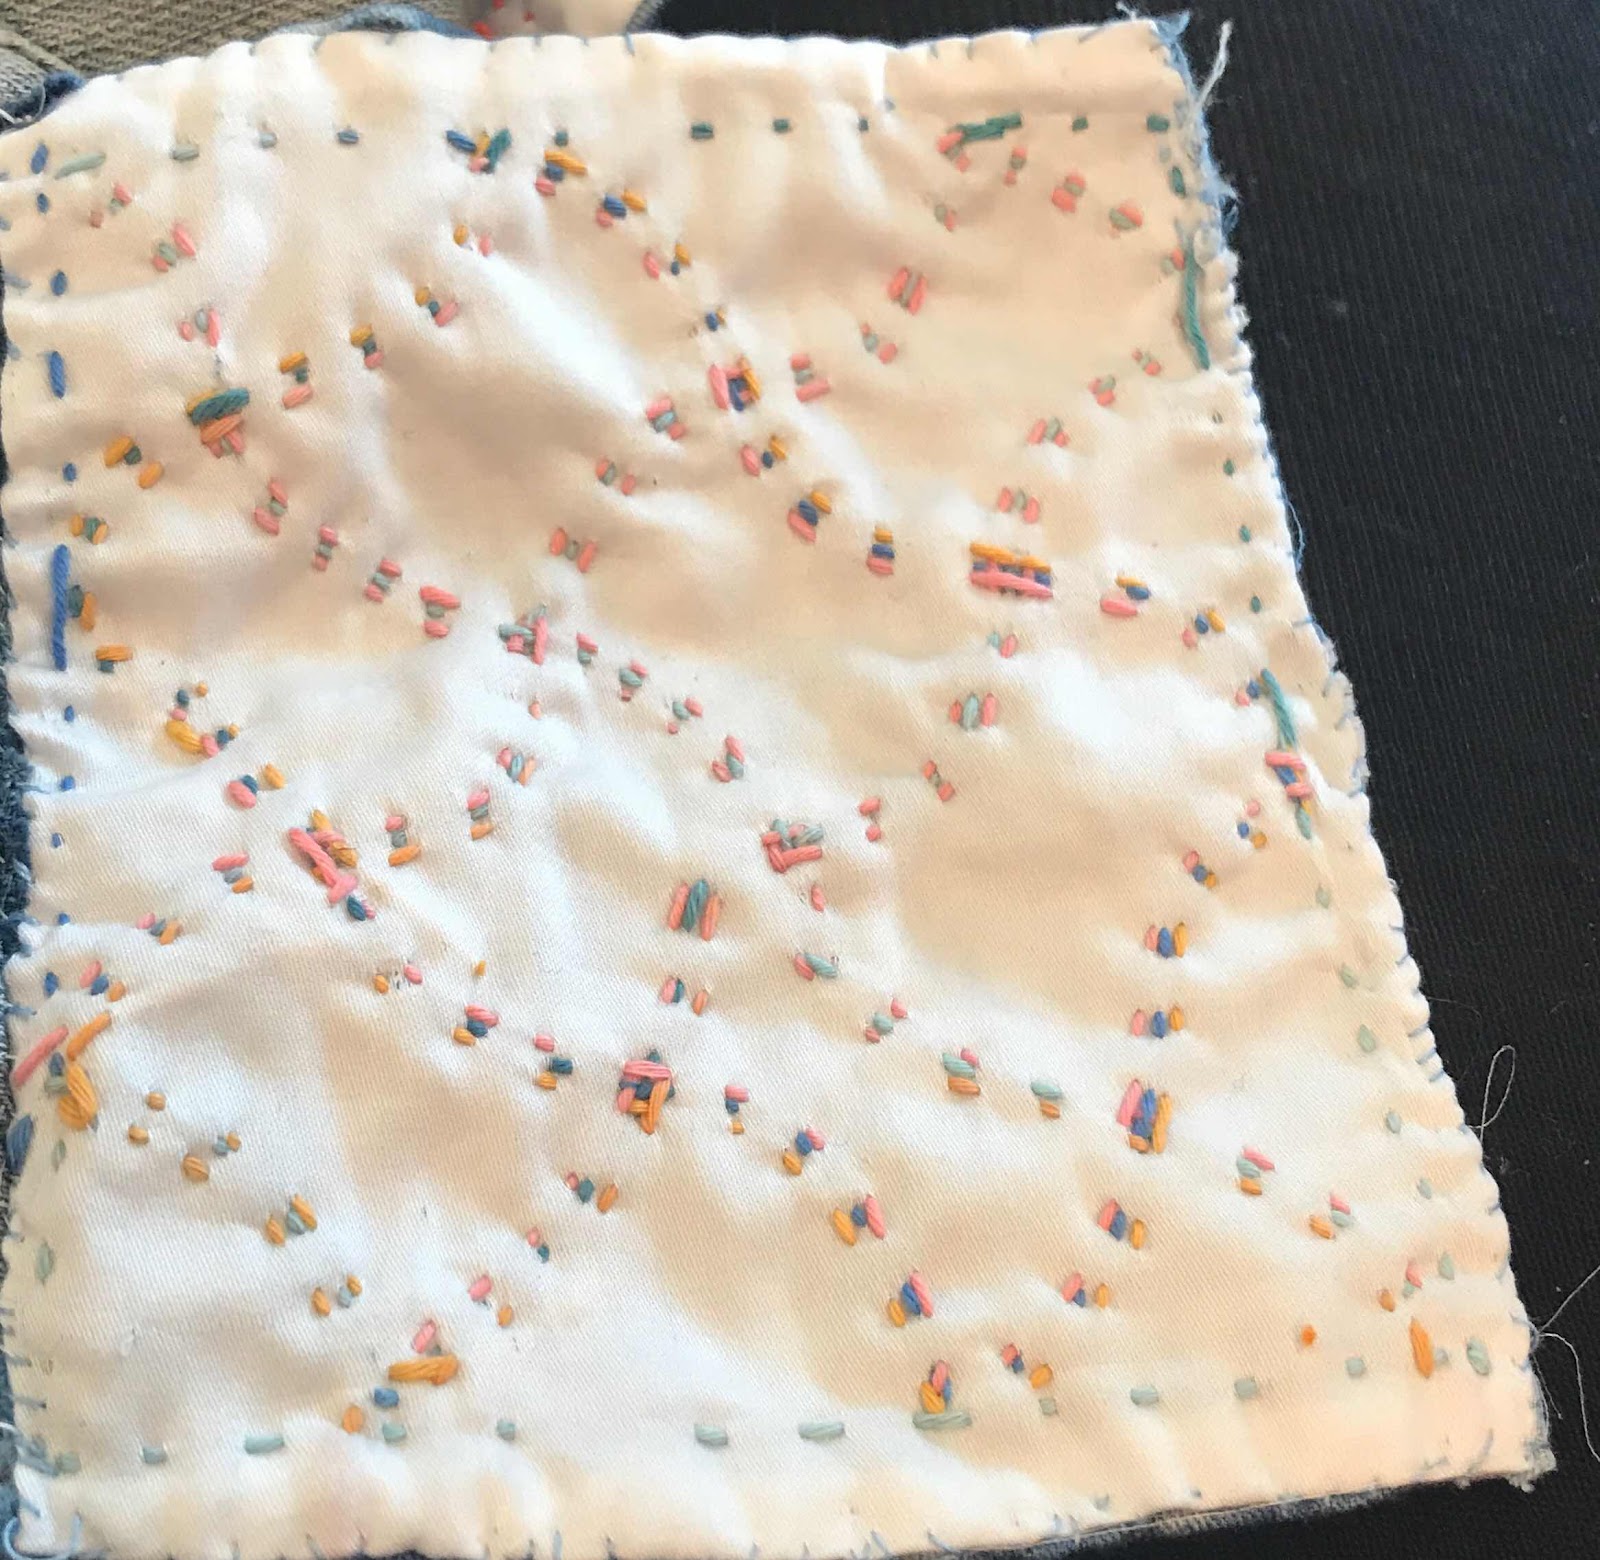
I had originally intended to line the Boro piece with denim, and use the dress fabric as the back of the pocket, but decided the ikat cotton may not be strong enough, so made a pouch from the denim fabric and lined it with some Japanese indigo fabric I had.                                                                                                    This gave me a fully lined pouch that I could attach to the dress along the seamline to give it strength.                               The back is plain   

However, after attaching it by machine, I realised that washing would present a problem. The thickness of the pocket and the dyes of the threads would not work with a dress requiring regular washing.  So I removed it.


I measured the pouch up against the ones I already have for buttoning on to leggings and pants without pockets and added loops in the same place, so I can use it on the same buttons.

As I was adding this after I'd lined the bag, I covered the loop ends with a bit more fabric.This is now the completed pocket.


It's not quite the end of the story. Since I had begun and failed to add a pocket to the dress ( and the dress fabric is not strong enough to take the button solution), I went hunting for any left-over fabric from when I had made it. I didn't find any of the ikat, but I did find the plain maroon. So I now have a pocket on the dress ready for summer!

I've also found just enough fabric to add one to the black and white dress I have without pockets. The third dress was bought, so I don't have that fabric. I'm sure, however, I can find something suitable. One day.

This is quite enough from one Boro workshop!

Tuesday, March 22, 2022

Lockdown embroidery- an awareness gained from Design Online

I usually avoid writing about things that involve my family. Sharing what I do is one thing, involving others quite another.  I've chosen to write about the process of this project because it demonstrates clearly what I learned from Barbara Mullan's  Design Online Course with the Guild last year, and others may benefit from that. 
Part of my family was recently in Covid lockdown for 14 days when one family member contracted Covid and the family decided against insisting he isolate alone in his room. This decision doubled the isolation time for family members.

Towards the end of their isolation I had an idea to commemorate their decision and time of trial. I wondered if I could create a hoop embroidery as a memento.

I made a quick sketch late at night, found some linen and threads before I went to bed and the next morning set up my hoop and got stuck in. I also went out and bought a wooden hoop to display the final product.


I sketched it in pencil on to my linen. The hoop provides a manageable space in which to design and the wording defines initial eye movements. I simplified the words as I added them to the hoop.


 As I practised my Quaker stitch on the words, I realised my tense was wrong, so unpicked the 'd' to bring it to the present. As I added figures I also realised that I was projecting separation and isolation, when the essential factor in the length of isolation was the choice to not separate one member from the family, 


so I added 'together' right in the centre of the design ( where, luckily, there was space!).

I was then able to fill in the remaining spaces with small motifs ( like bees and musical notes) relevant to the family. Colour balance similarly emerges as I try things out.  I did quite a bit of unpicking as I didn't like the effect. 


The final adjustment was adding names. This was not an original intention, but it seemed important that the 'we' was not vague and anonymous, but named. 


This is a very personal item that has strong privacy requirements, so I am not going to discuss the content further. 

What I learned from Design Online was that I design as I go from a concept, not from a detailed planning process. I need to keep the concept in my head, see the story emerging, and keep modifying and shaping until the project gets close to the conceptual ideal in my head. It gives me a lot of confidence to know that's a successful way to do things. 

I finished the piece by mounting it in the display frame - gathering and lashing the back of the linen and then adding a backing piece. Green had become the unifying colour so that was my choice of backing fabric.

I've decided that these are the kind of projects I like most - targeted, topical, personal - and applying the skills I've learned over many years, from many knowledgeable women, to tangible, specific, manageable items.   And that's good to know.

Sunday, July 7, 2019

Sashiko Workshop


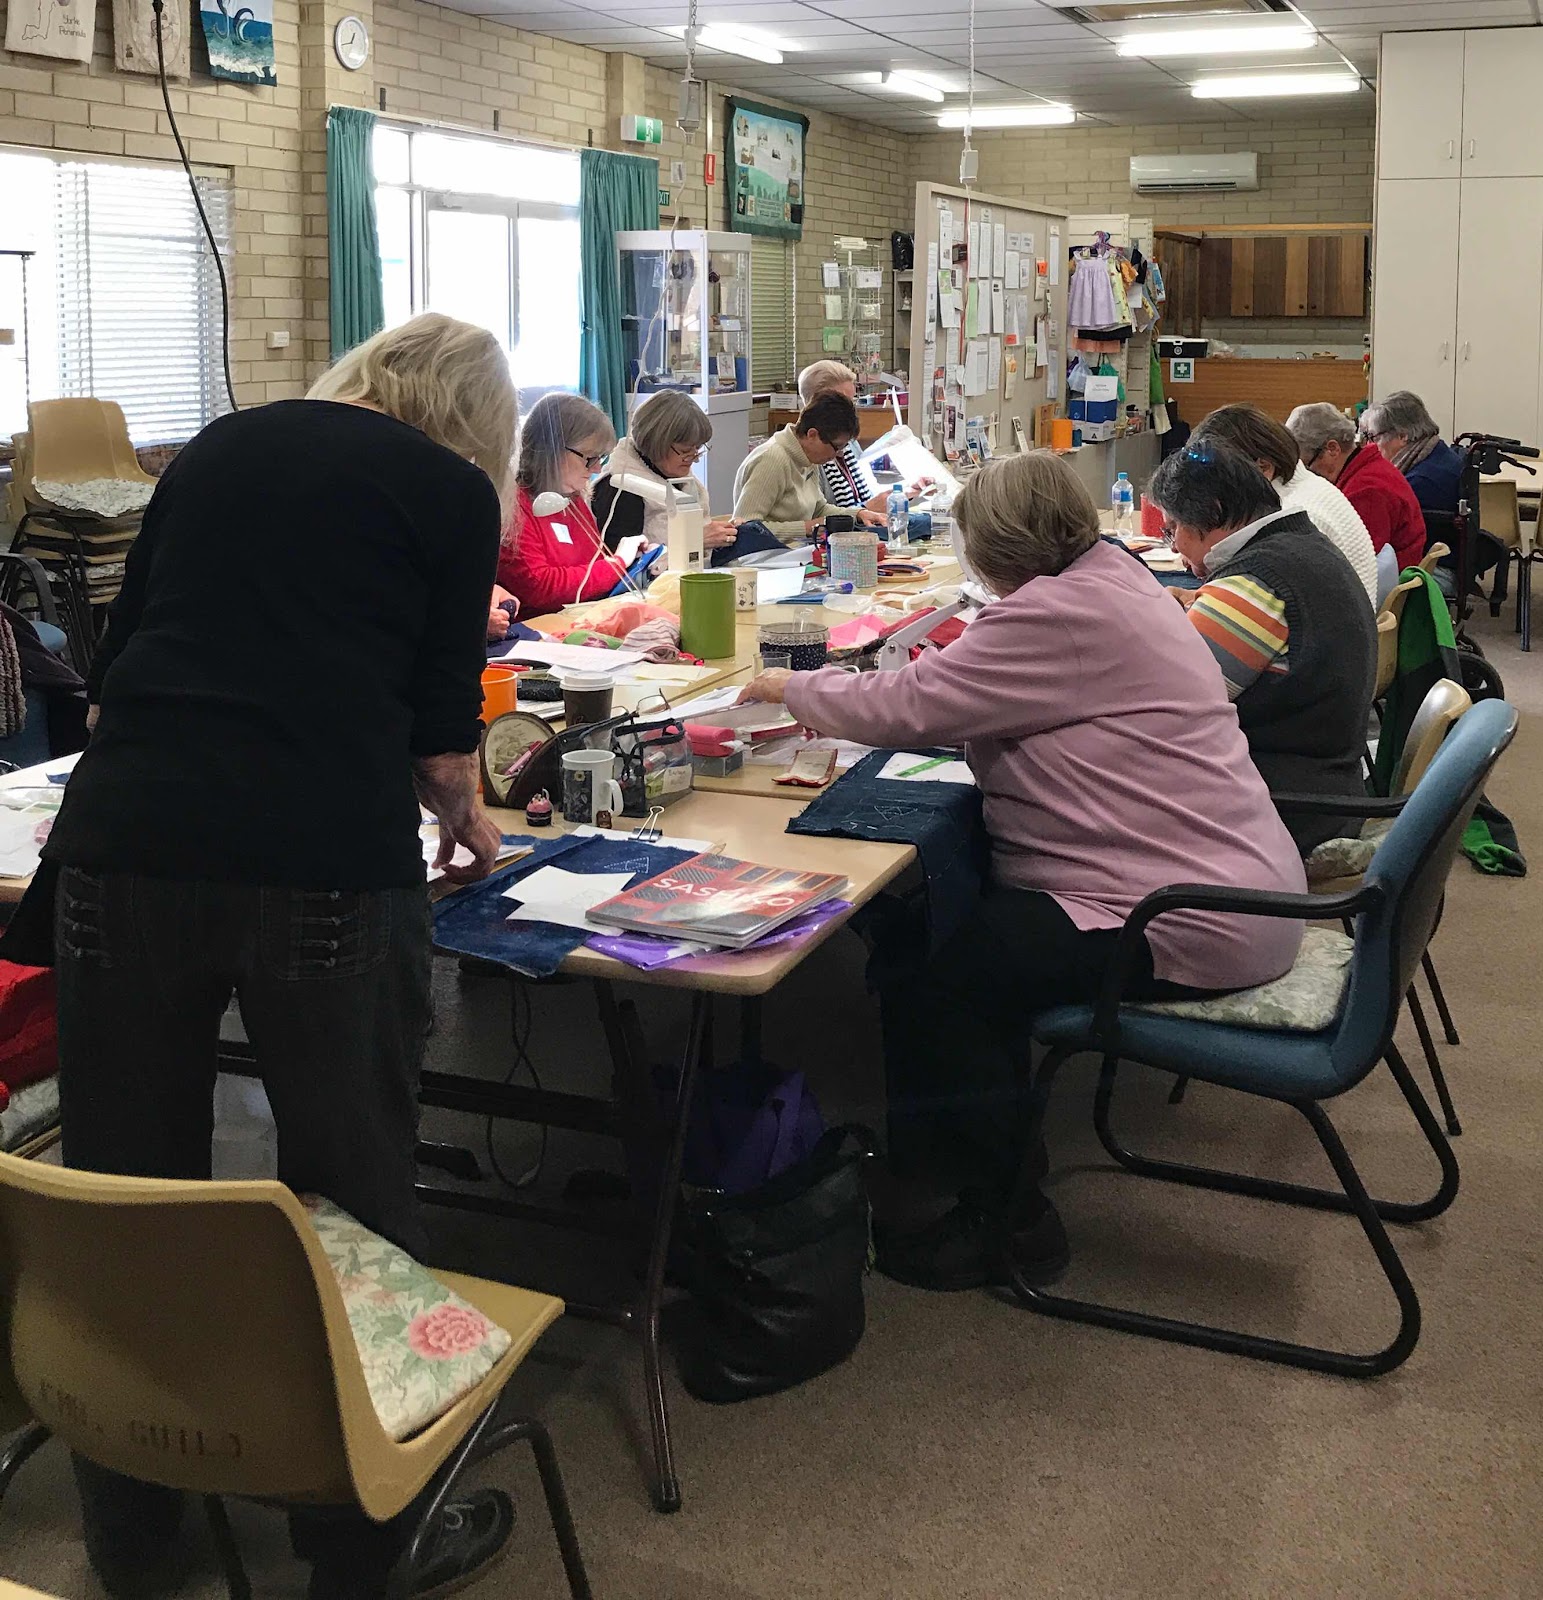
I have a number of printed Sashiko cloths in my stash, so when Barbara Mullan offered a Sashiko workshop at the Guild, I jumped at the chance to enrol, even changing tickets I had for a Voces8 concert at Ukaria in order to go!

I didn't regret my decision.

An enthusiastic and eager group of us gathered on the day. Barbara had thoughtfully reorganised the tables so we could see and hear each other.

I had read my preparation instructions carefully and assembled a bag with the items. The day before the class I bought myself the last item - a fat quarter of blue fabric. My mind not being what it once was, I did not immediately put the fat quarter into the bag I had prepared, so found myself at the class without my fabric! 
Barbara, of course, came to the rescue, with some fabric she had 
indigo-dyed some time ago at a class at Marden TAFE. It was lovely, and I only used the minimum I needed.
.
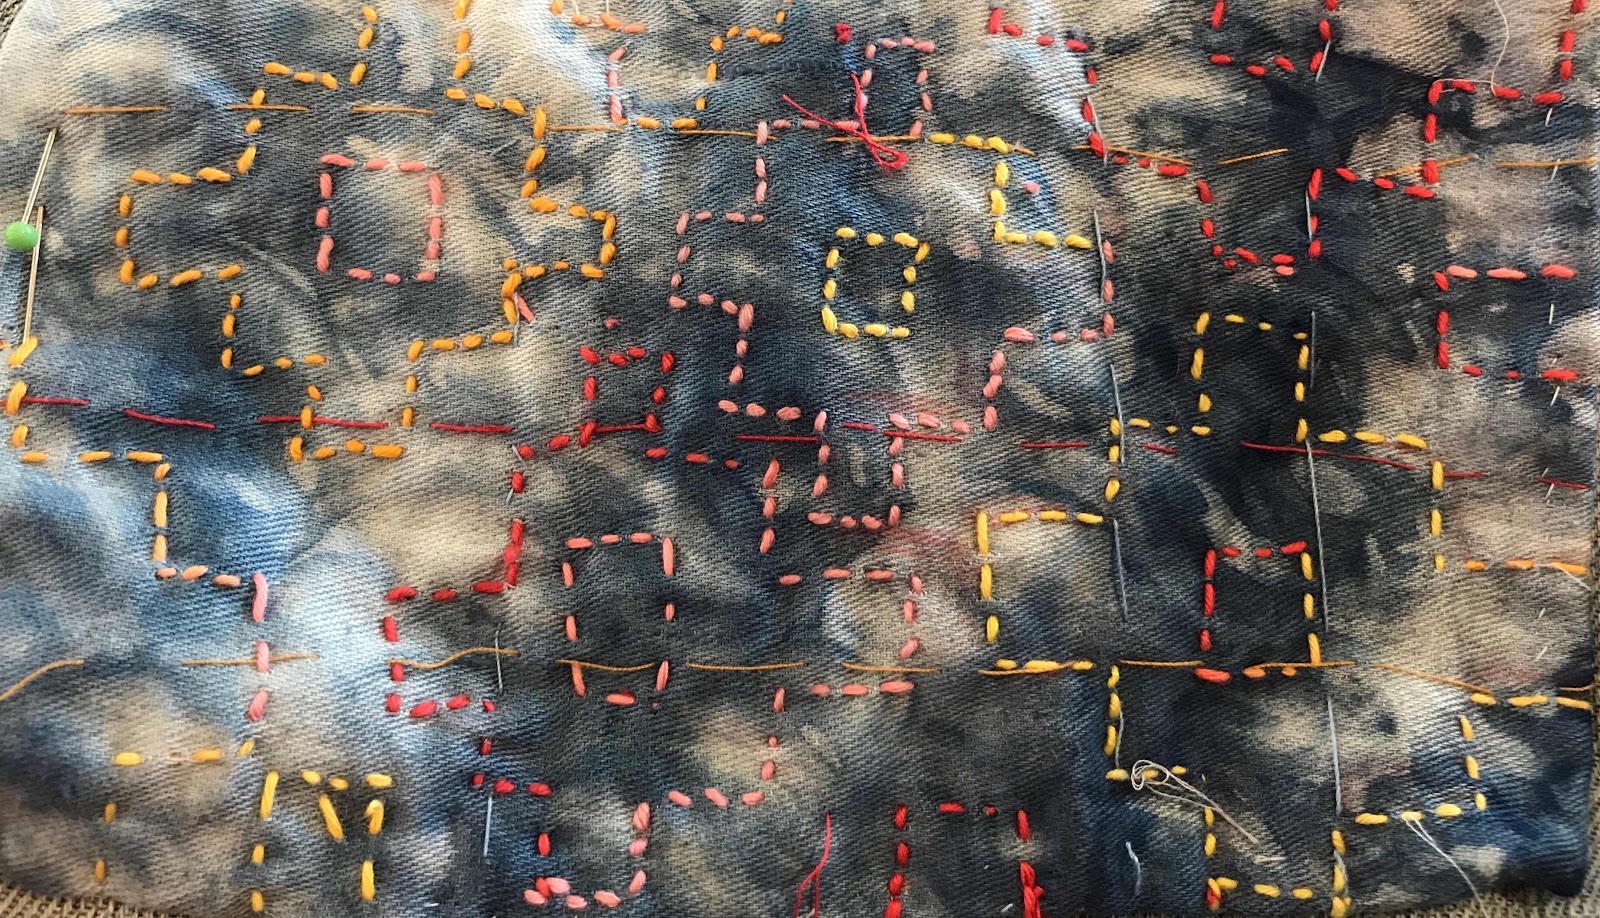
Barbara had prepared templates of some Sashiko patterns. The suggestion was that we choose 4 of these and work them on four squares of fabric, backed with cotton.

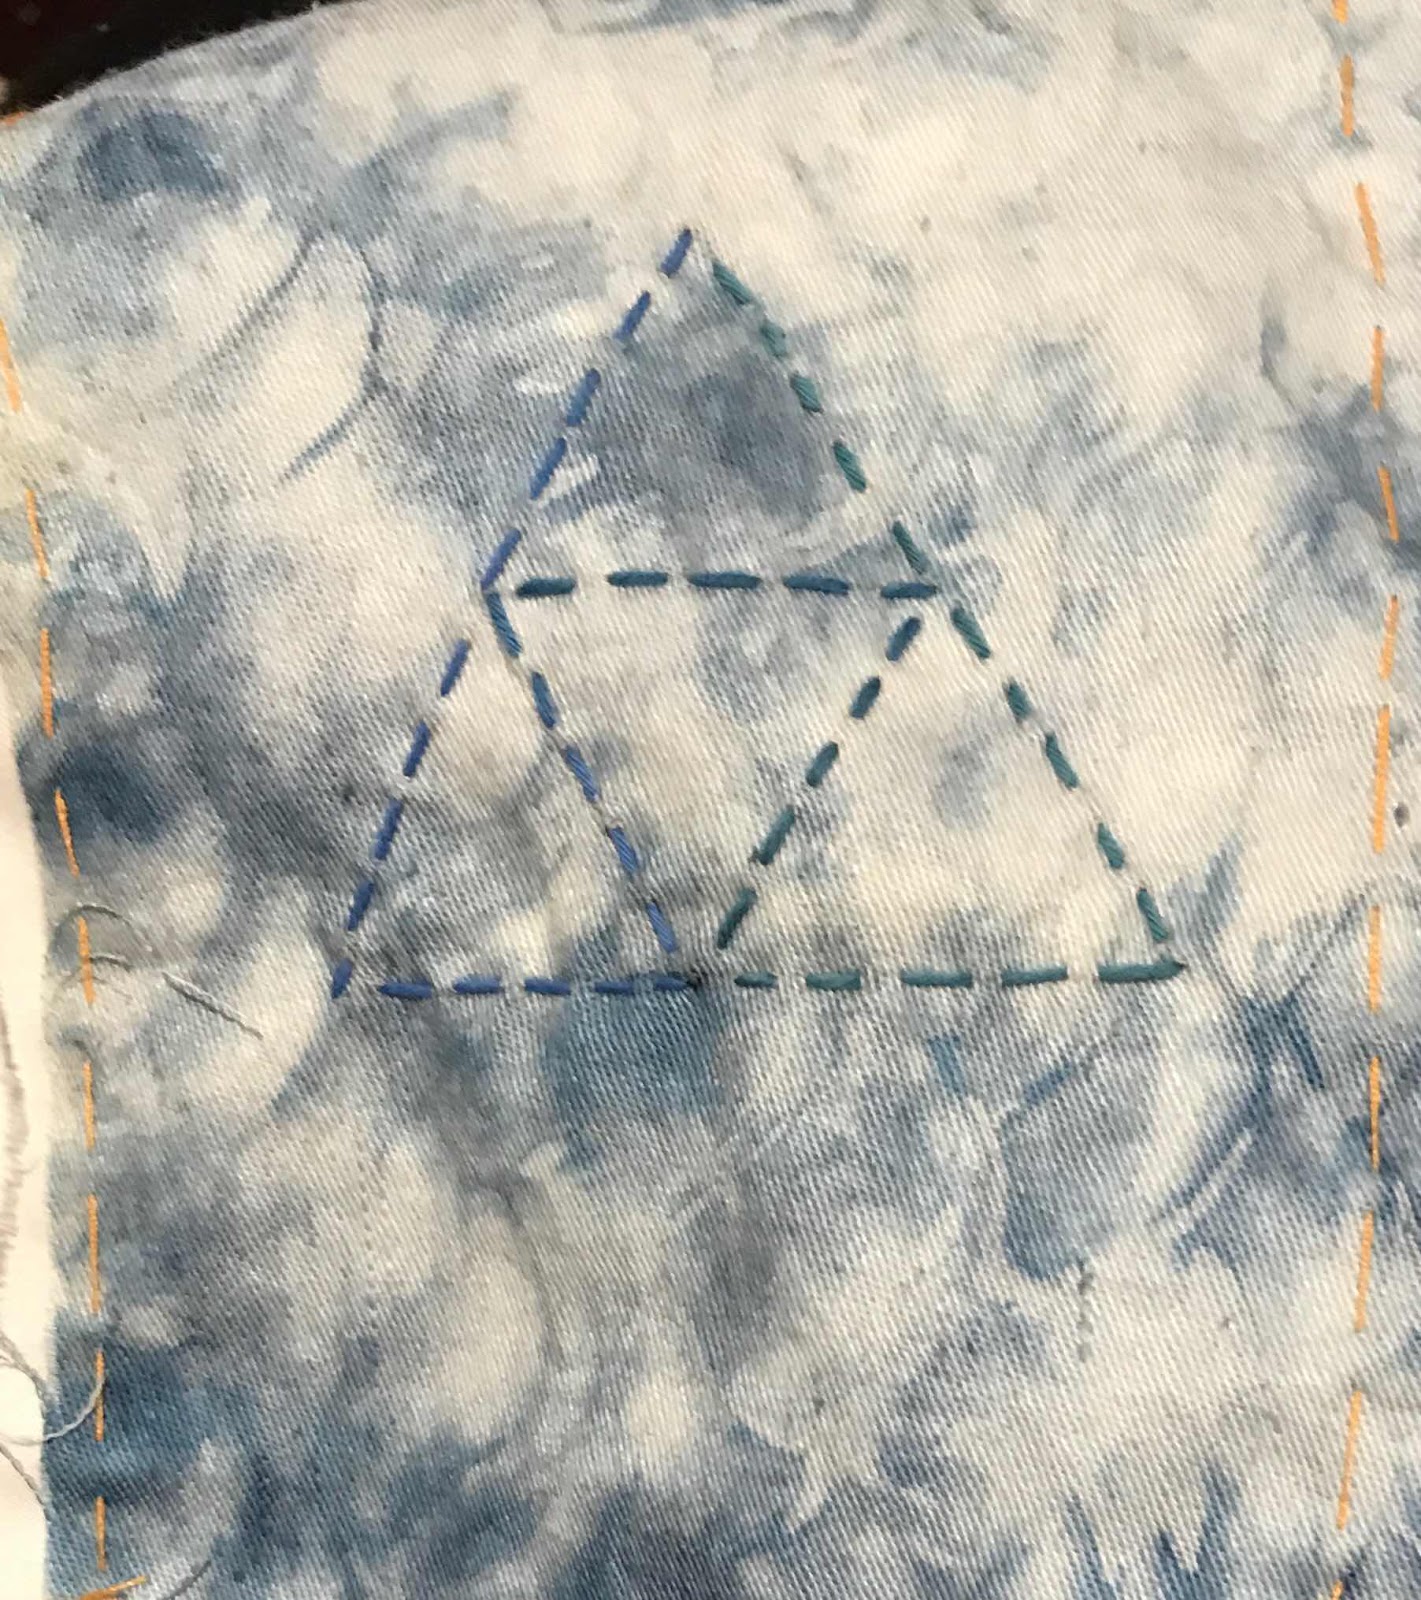
I had my cotton, so tacked it on to my four squares (well, rectangles, anyway) and began with a very simple triangle.


We learned the conventions (rules?) of evenness of stitch, even numbers of stitches and dealing with corners. All these were new to me and invaluable in doing anything with the printed pieces I have.

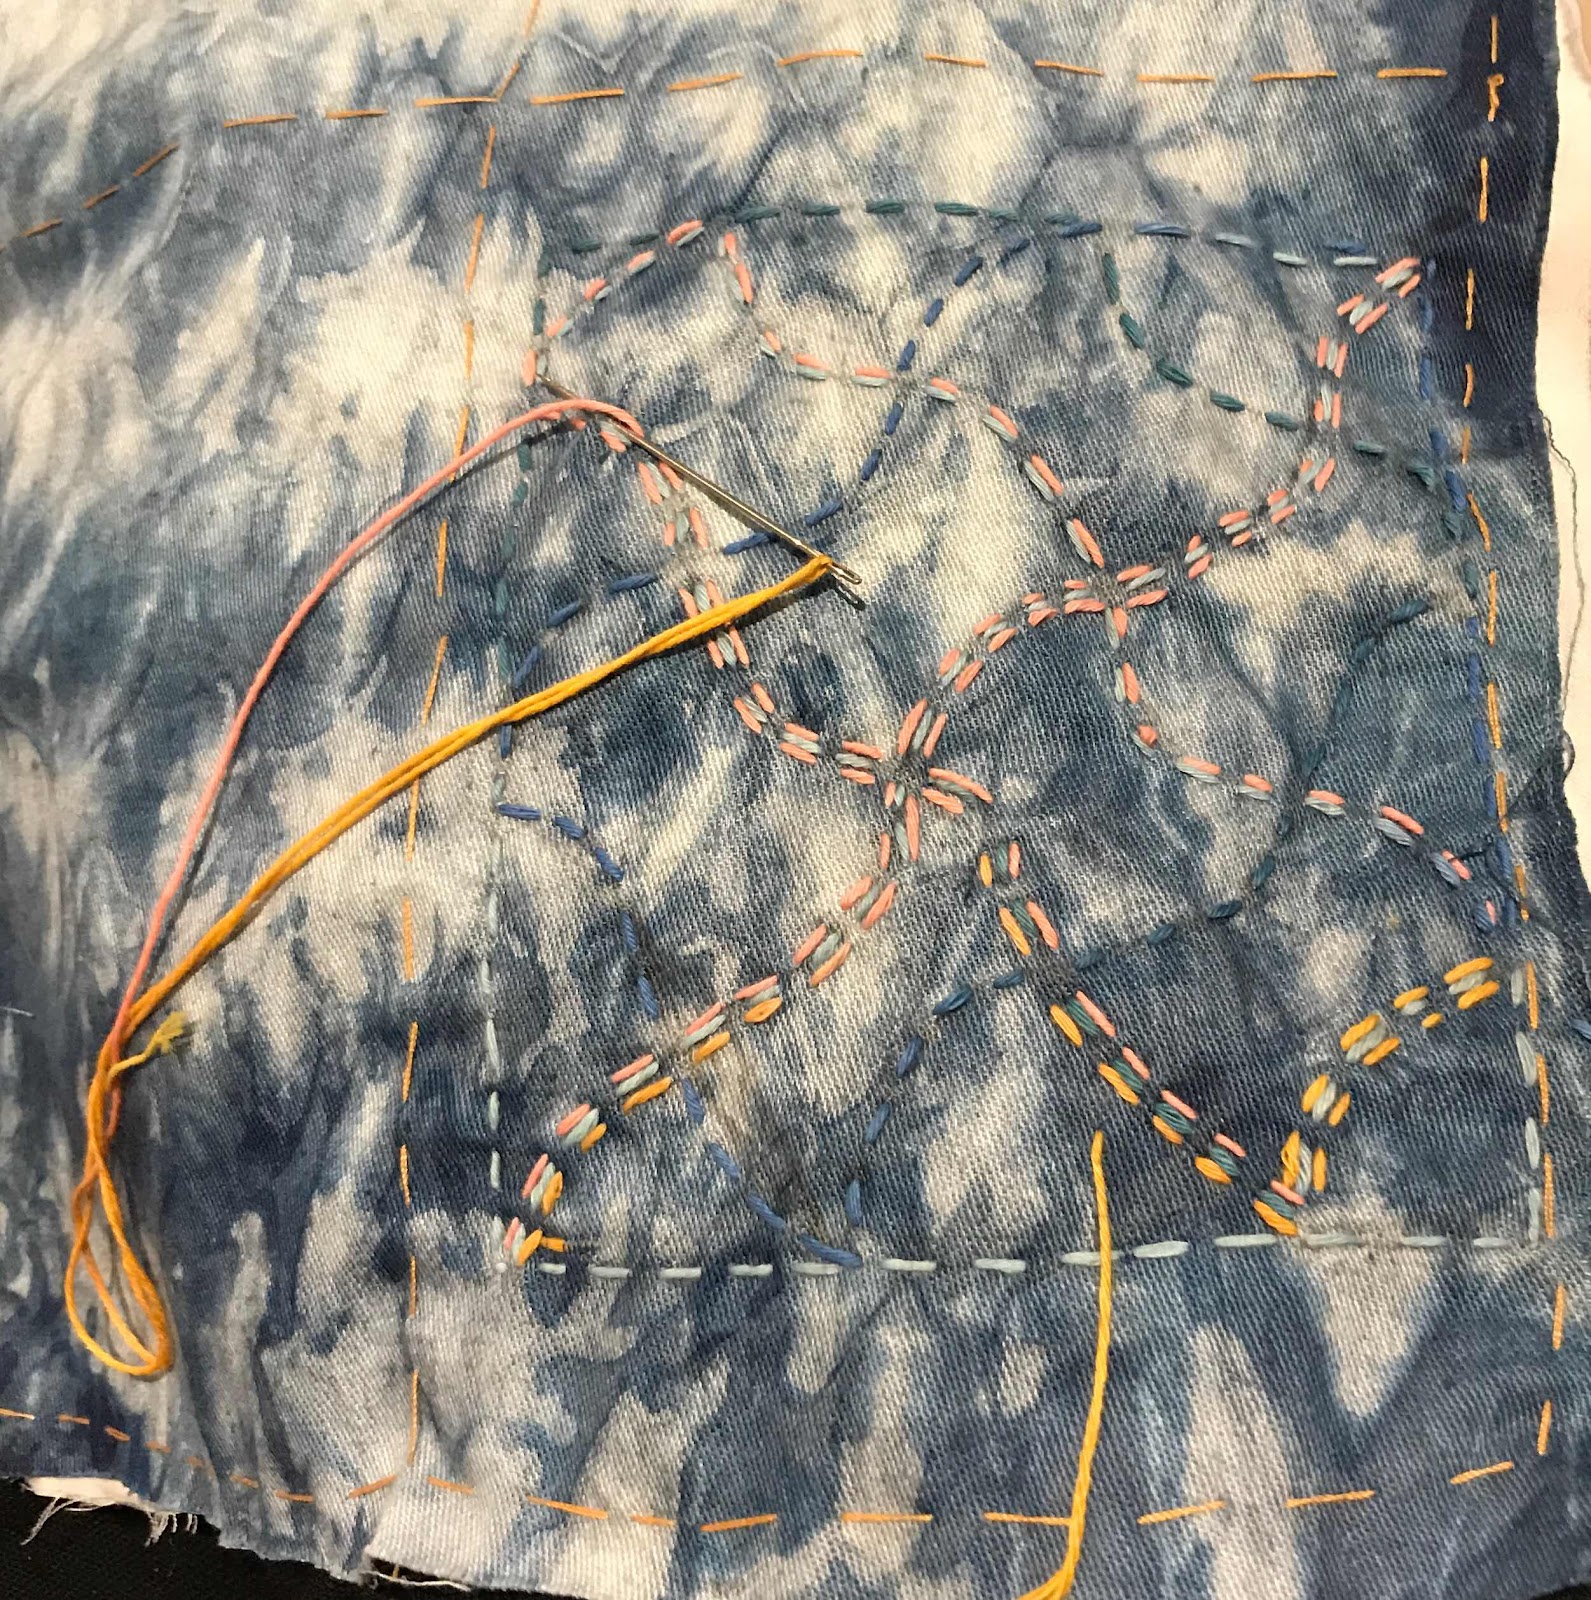
I tried to move from simple to more complex. I had variegated Sashiko thread in blues and yellow/orange/red as well as white. I had thought to use the blue, but it didn't show up well on Barbara's lovely hand-dyed cloth so I went around the original blue, 


which worked, I thought, quite well. 


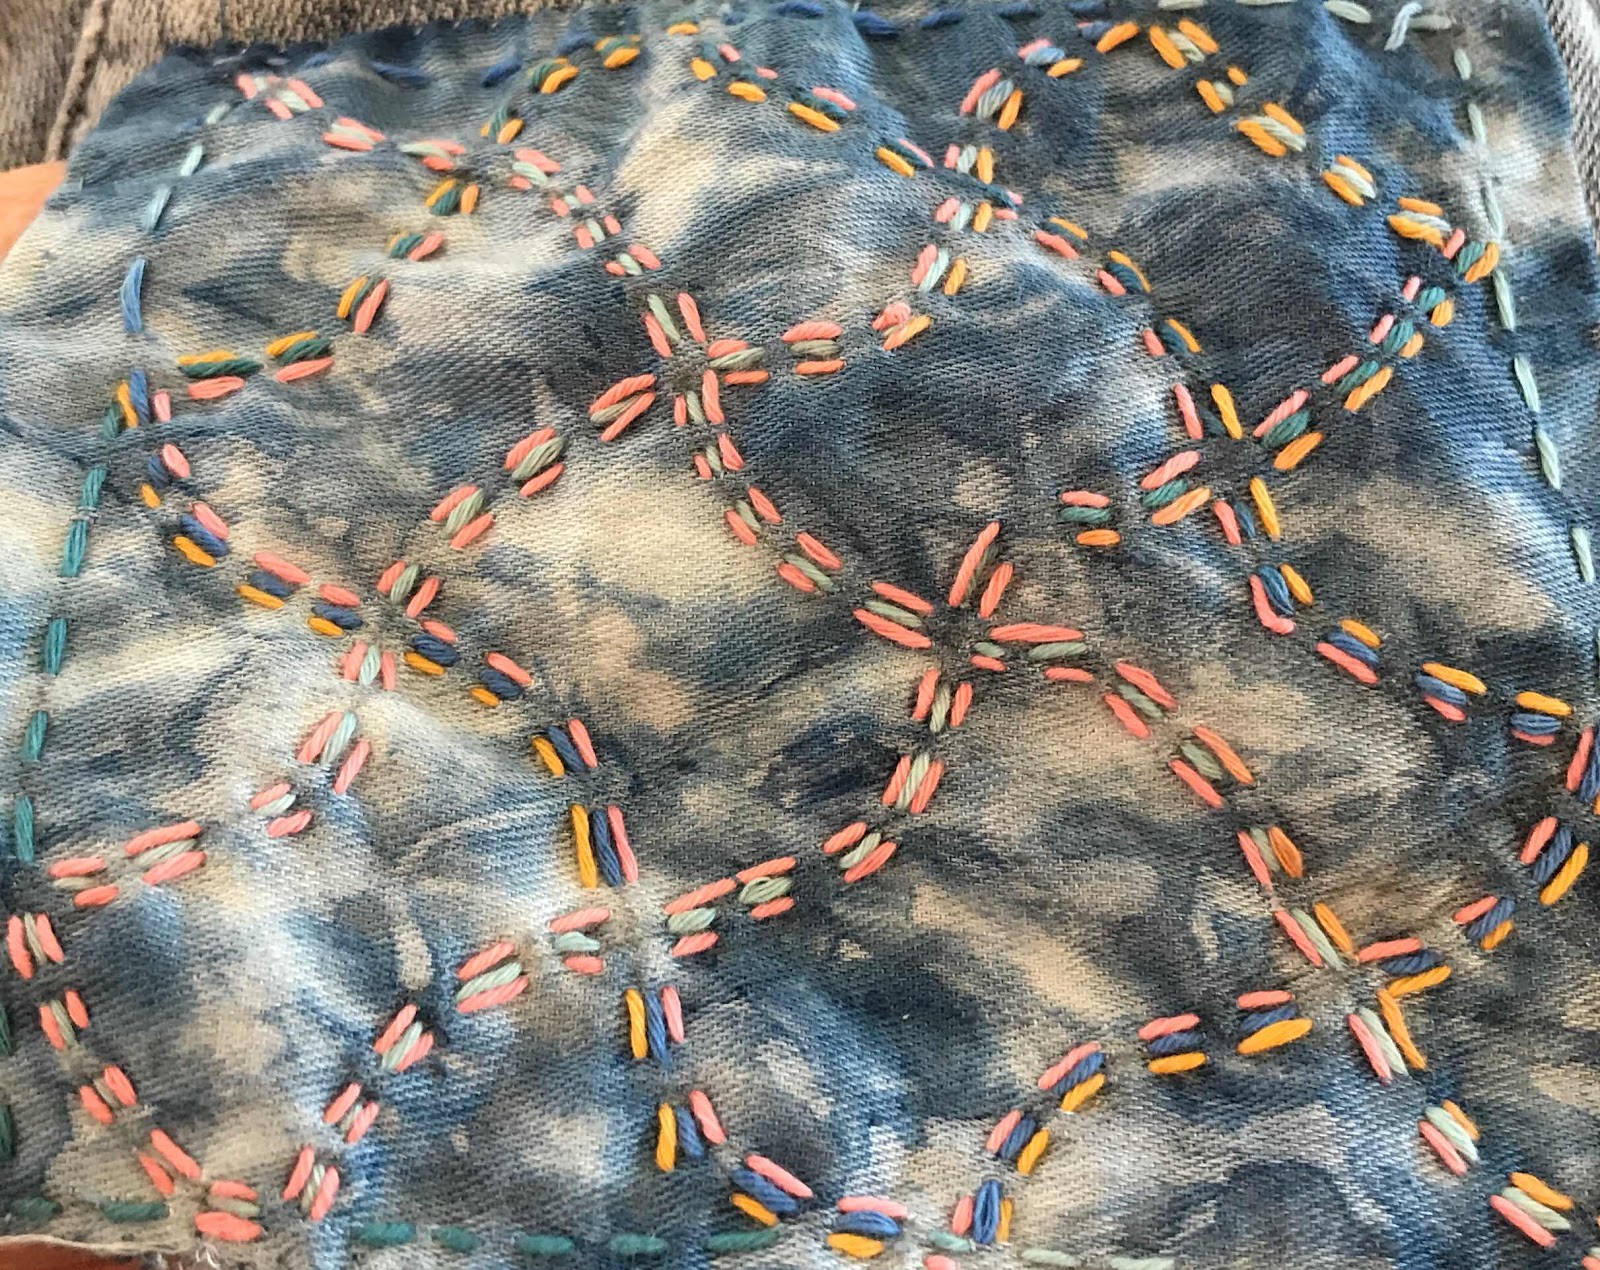
I then switched entirely to yellow/orange/red for the last two pieces.


We learned too, how to finish the edges off with slip-stitch so that the backing did not show. Miss Monk, who first taught me slip stitch, would not be happy with my work here. I had, however, by now the germ of an idea of what I would do with these pieces, and it didn't require invisible slip stitch!


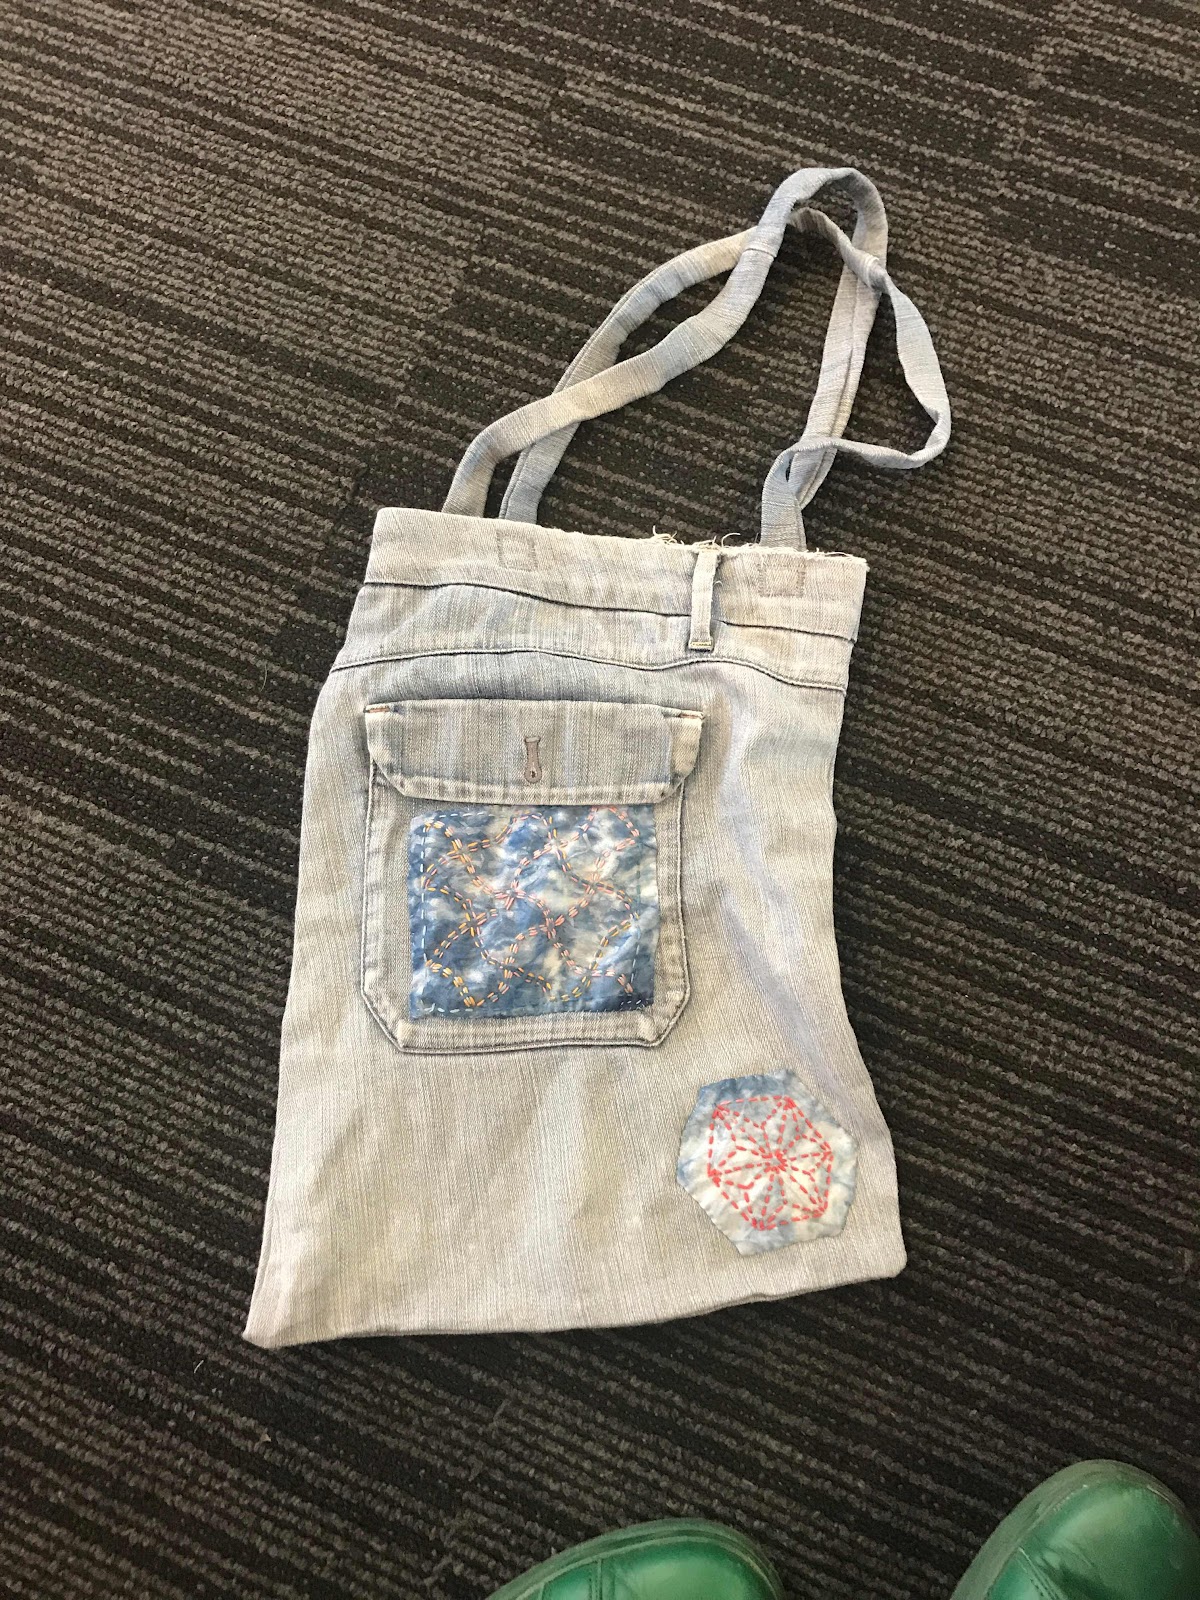
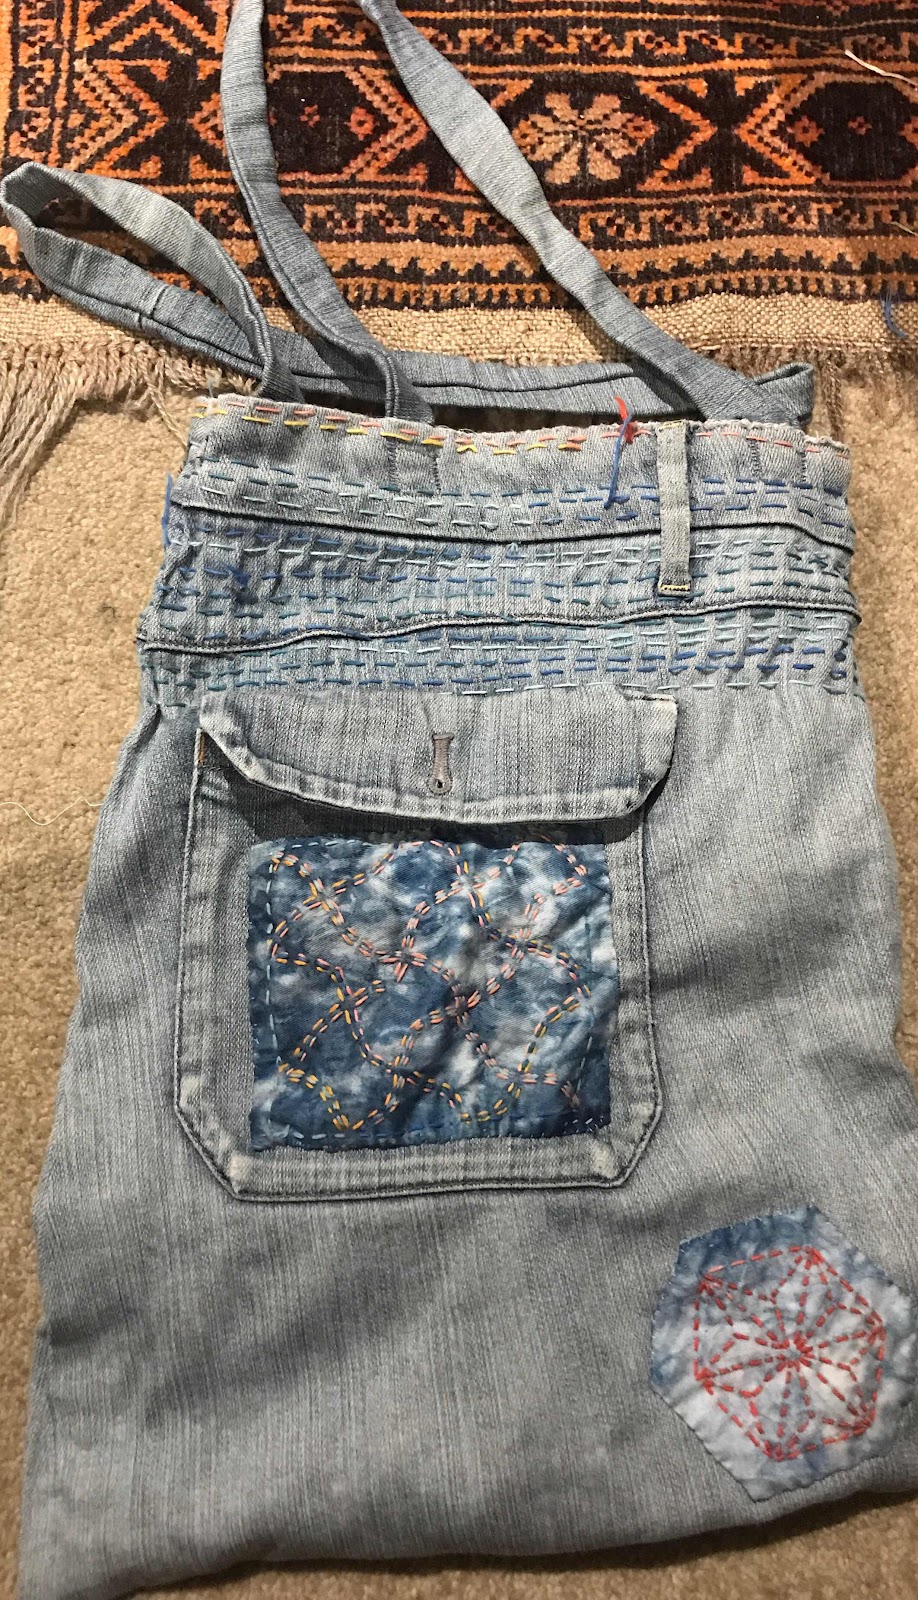
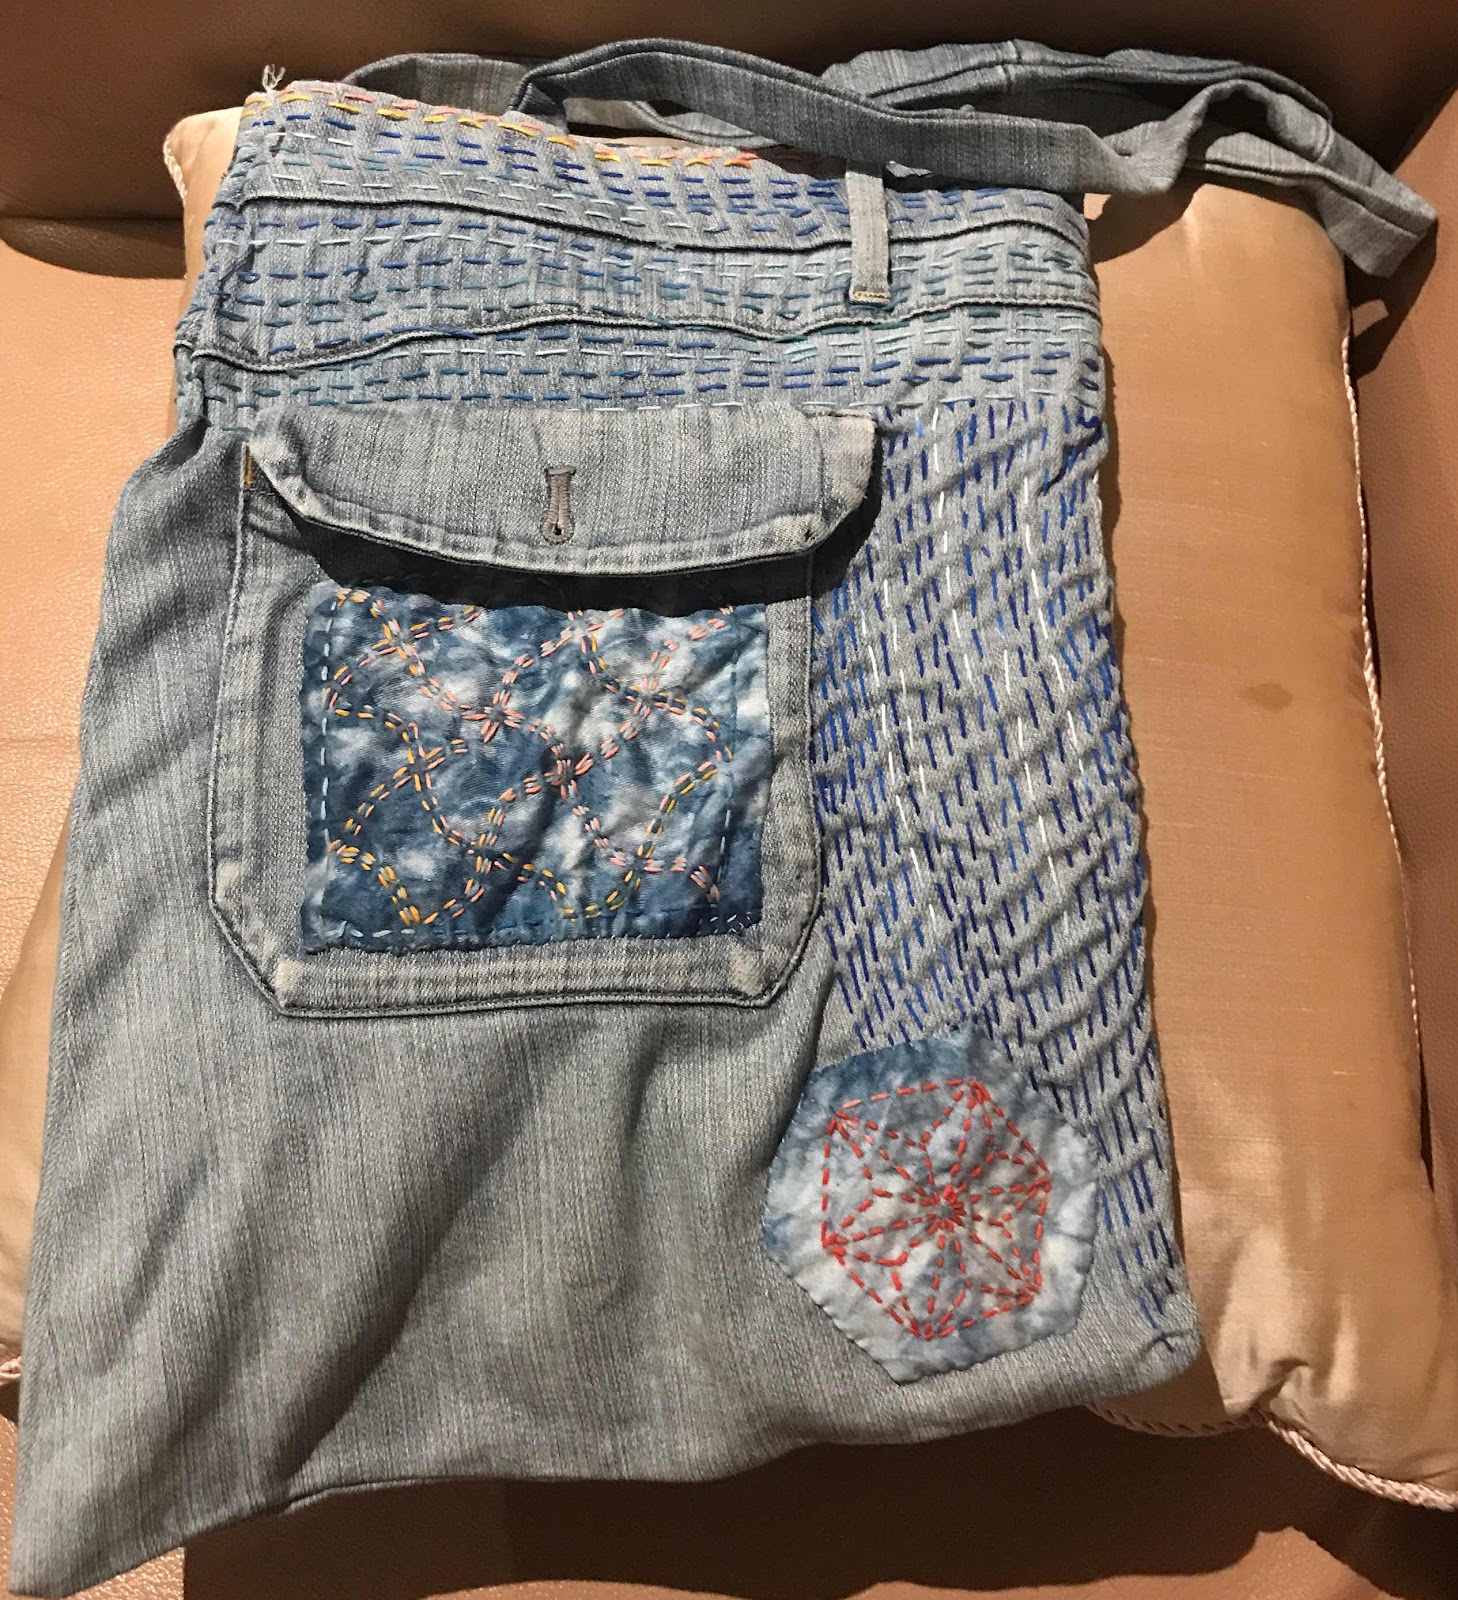
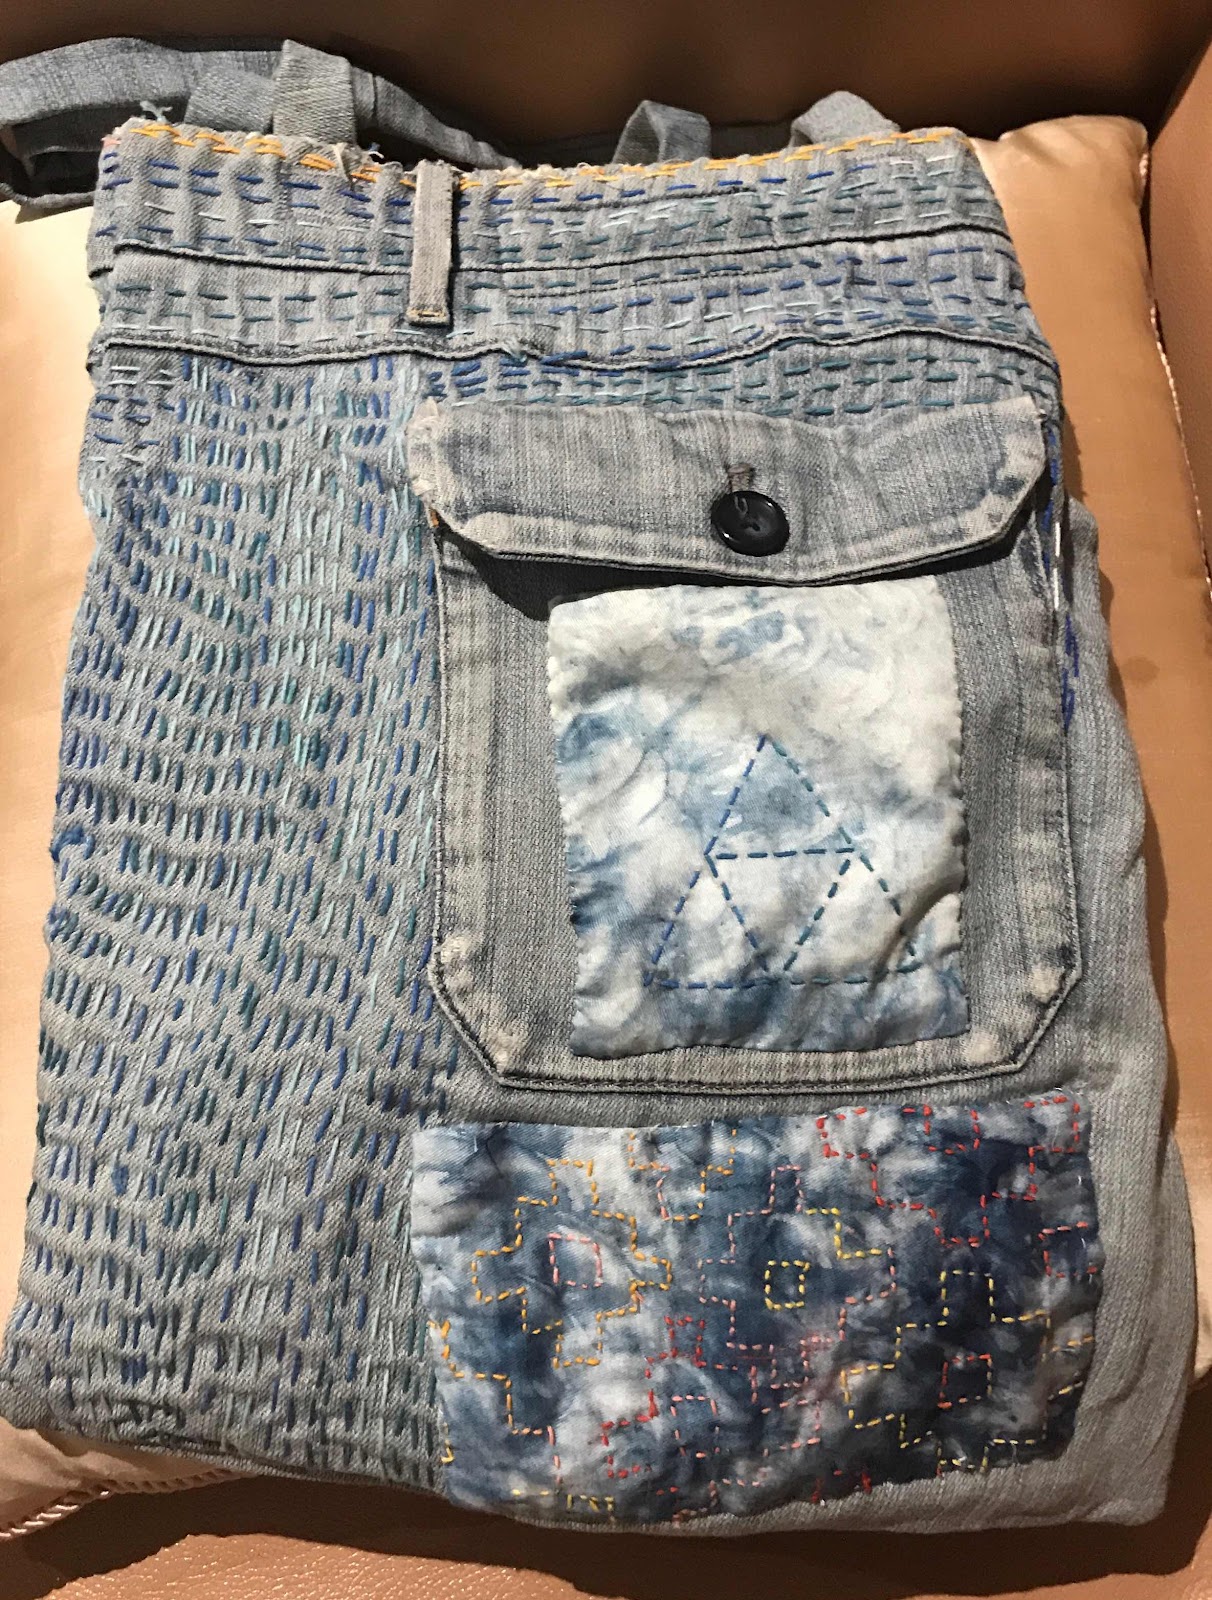
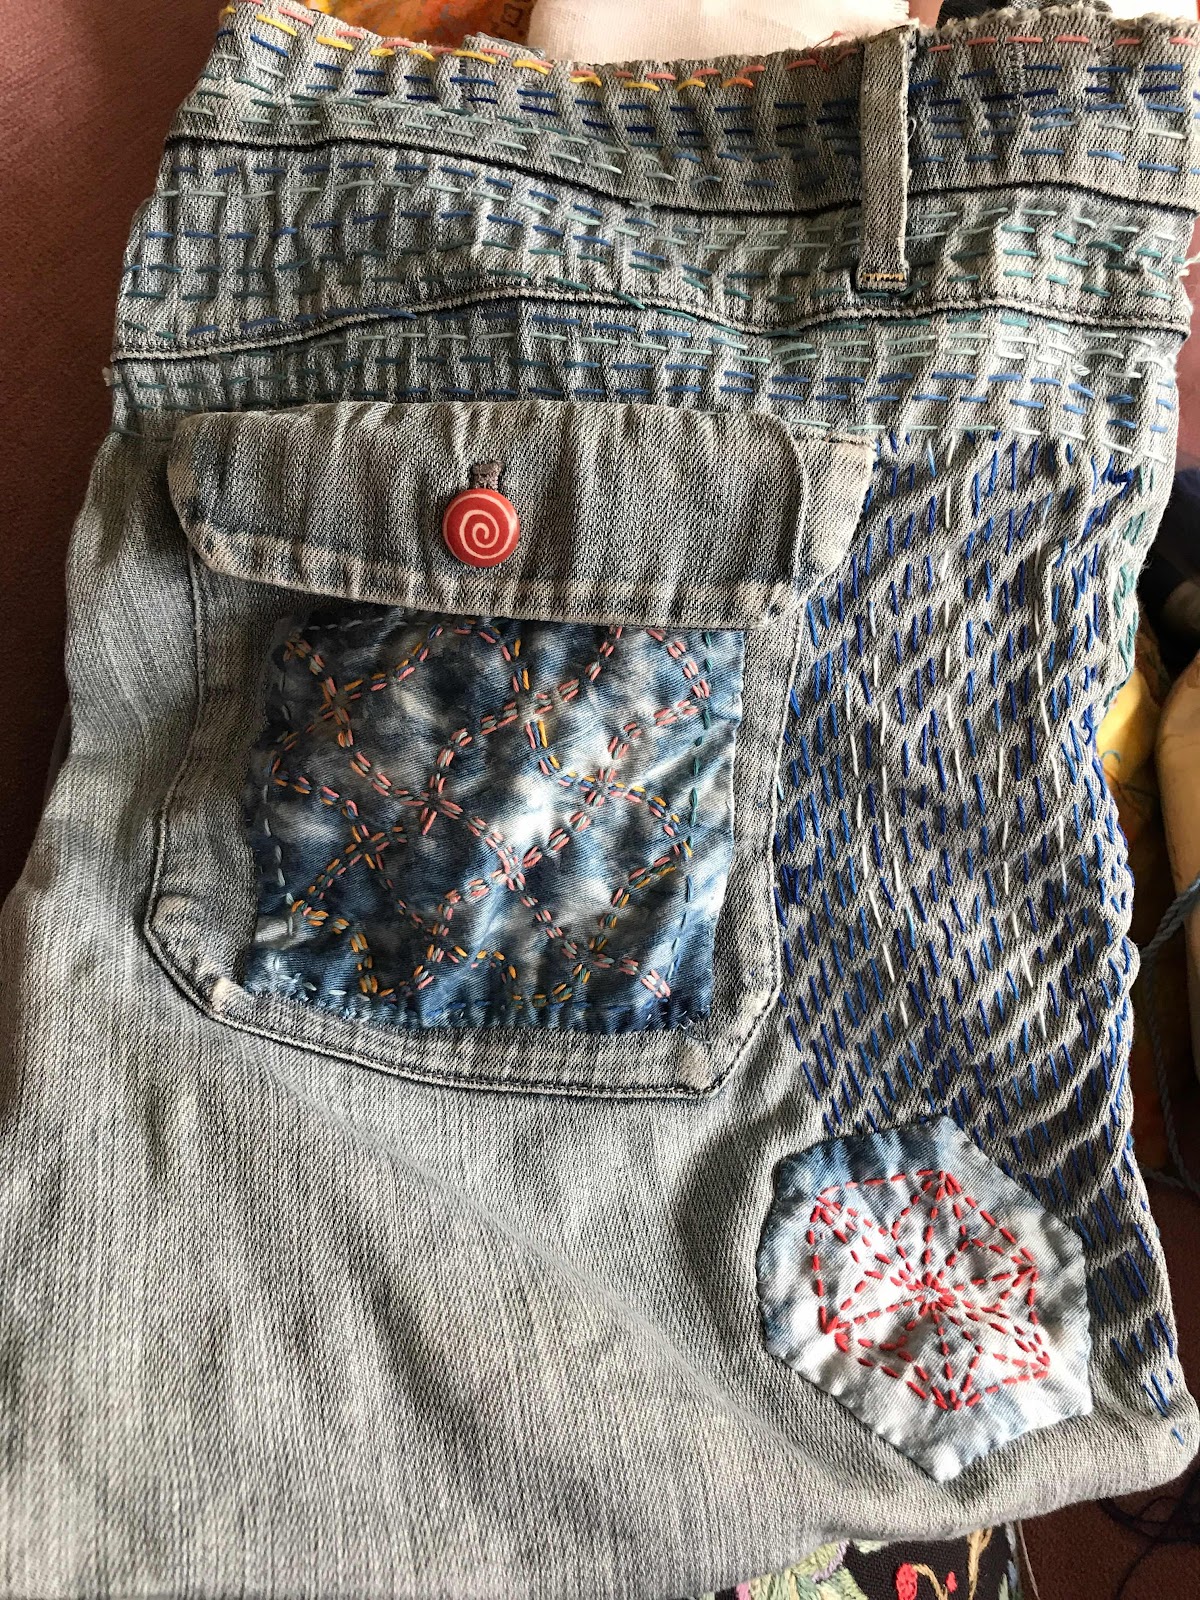
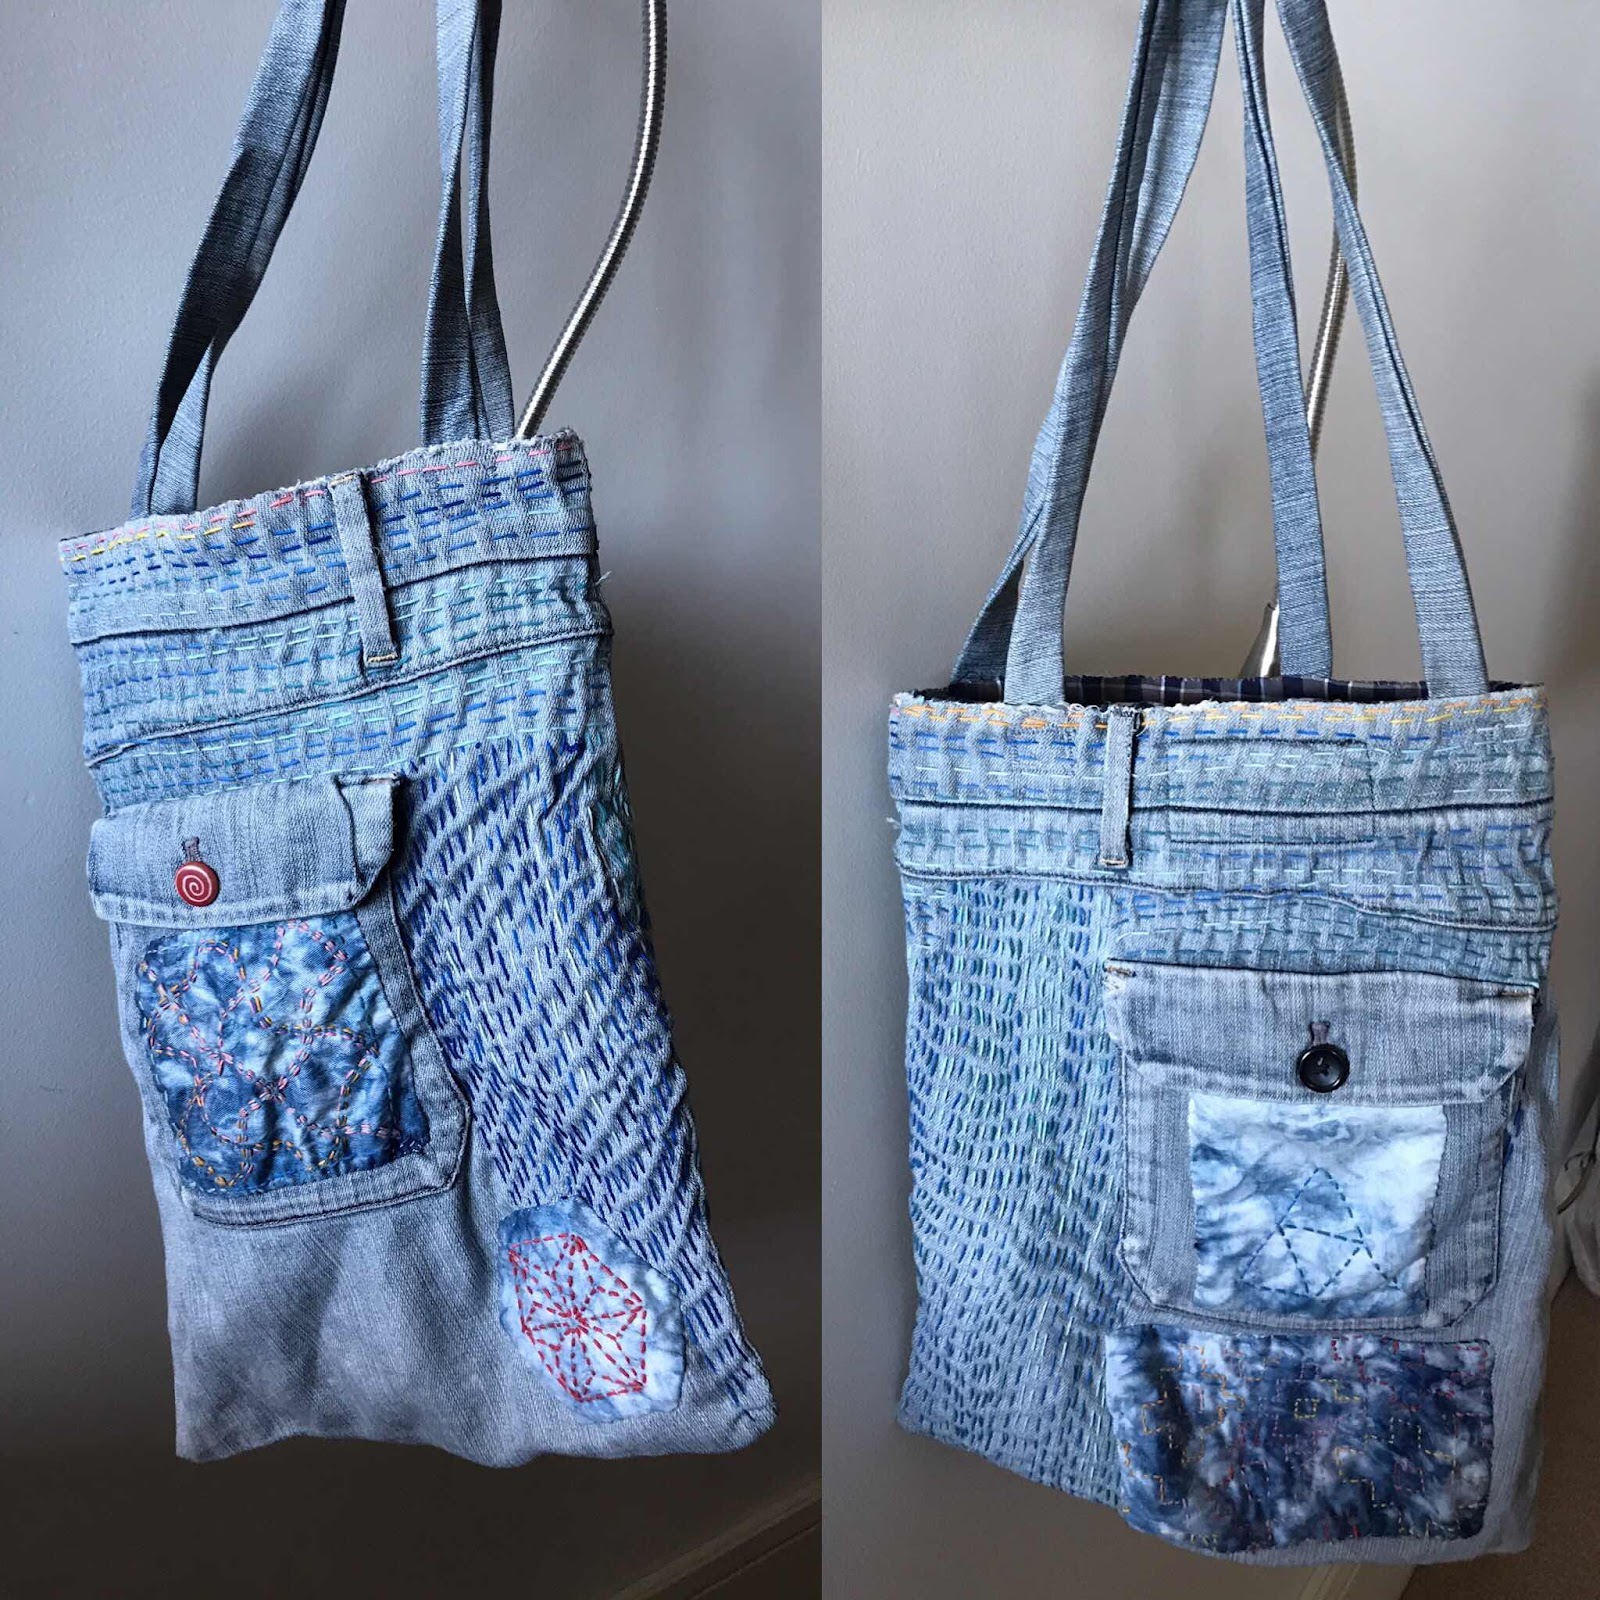
I dug out a bag I had made ages ago (can it really have been 2011? Afraid so!) from an old pair of jeans and applied the patches.


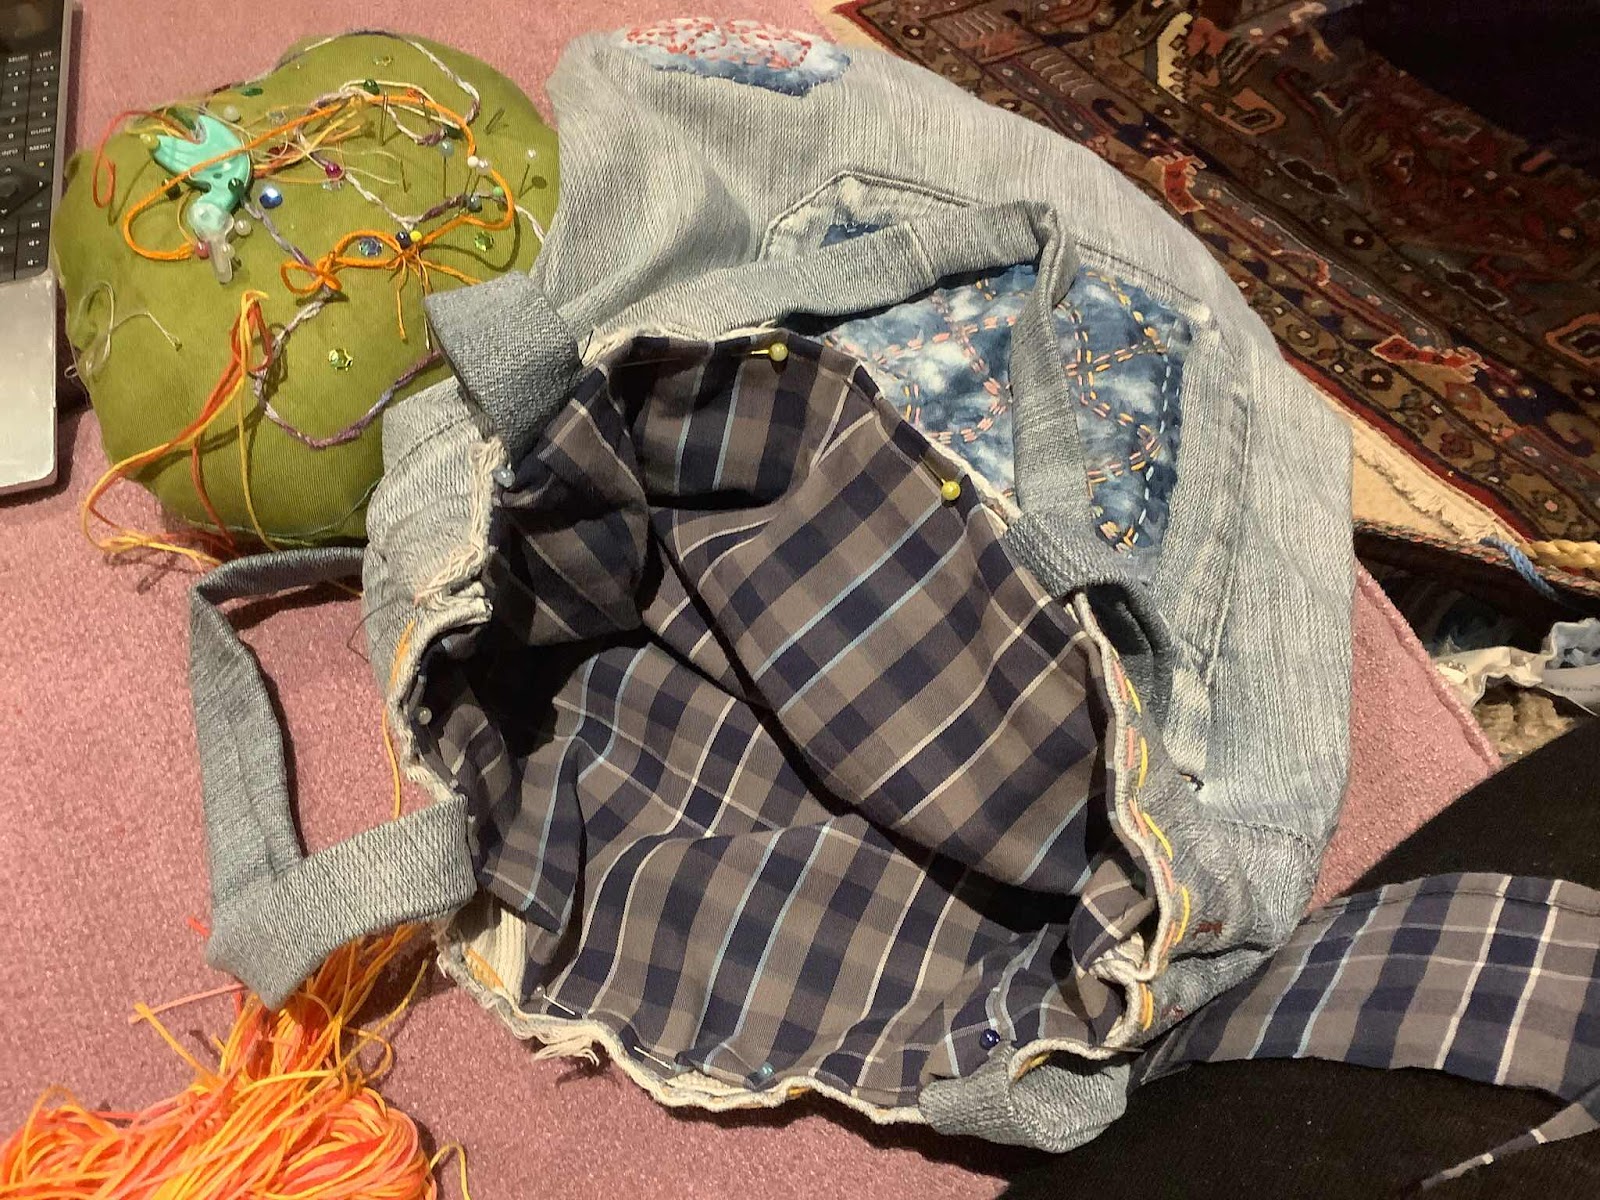
From my fabric stash I retrieved a shirt of Jim's that I had kept because I knew he would have wanted to be part of future projects.

The two fronts were a perfect shape for cutting a lining for this odd shaped bag and the colour was just right.

The original idea stopped here - but the bag cried out for more - so off I went, using, after an initial experiment, the blue thread.


I kept going


and going.


I attempted to cover the whole bag with running stitch, but beyond this point the bag twisted out of shape, so I stopped. I added a button to the pocket where one was missing.


I'm not sure how and where this bag will end up being used, but I've had a lot of fun and learning making it.


Thursday, February 21, 2019

Morocco Projects-Certificate Course


On the last Saturday in January there was a large gathering for the first of the SA Embroiderers' Guild's Certificate Workshops.

One of the convenors of the Certificate Course, Barbara Mullan, takes embroidery tours to India and Morocco. A number of Guild members, including Christine Bishop, the other Certificate Course Convenor, accompanied her to Morocco in 2018.

This workshop presented information about Morocco and taught three aspects of Moroccan embroidery.

No wonder so many attended the workshop!

Our first project was making a Djellaba button. A djellaba (the purple garment on display to the left) is a garment worn outside, over other clothes, by Moroccan men. It resembles a kaftan, and is secured all the way down the front by tiny hand-made buttons.


Fortunately for us, Phyllis Coxhill, who taught this segment of the workshop, had prepared a much larger teaching tool!

I'm sure, once you have the hang of it, this becomes quite rhythmical and practised. It will take me a while to reach that point!

Our second project of the day was Fes Embroidery, taught by Christine.

This is counted thread work, in double running stitch, on linen, usually two-toned, and often blue.  It usually follows a border and corner pattern. Some Moroccan women seem to do this work by eye, without actually counting.

Christine charted two edging motifs for us.

The third stitching session for the day was on design, using Berber symbols. We were asked to design a carpet, or more accurately, a rectangle, which we could stitch, using running and weaving stitches found on Berber carpets.
My effort was certainly not complicated, but I have ideas for it!


At home I got carried away with Fes stitch. This is going to be a year of improving my counted work.

The fact that Moroccan women often do this work by eye, rather than counting, gives me encouragement. I did count, but when my eye-sight lets me down I am not going to stress!


I took this work with me when I visited Sydney for a few days the week following the workshop. It worked well as a grab-and-go.

On my return home, I was inclined to leave the piece in one colour, rather than filling in the shapes with light blue. I was encouraged by several Guild members to leave it as is, so I did.

I found a piece of Japanese cotton in my stash (yes, a bit of cultural impurity) with which to line it, pulled some threads and worked a gusset with loops.


I then made a twisted cord.


I had intended to make djellaba buttons for the ends of the cord.

After a bit I gave up, and covered the plastic tubing with needlelace.


I am delighted with week's work and my bag.


I also have a plan for my carpet design - but that's another story!


Tuesday, August 29, 2017

Certificate Course WorkshopJuly: Asian Appliqué

The Certificate course workshop for July was on Asian Appliqué, most specifically, Thai appliqué, taught by Barbara Mullan. Barbara bought in a number of examples for us to look at, some of her own, and some from the Guild Museum.


We worked two designs in the Workshop. The first was an elegant, seemingly simple motif worked in reverse applique on two layers of fabric.


 The trick was working the curves. Turning under the fabric edge on the curved  parts required patience and there was a bit of figuring out to do where the two lines touched at the bottom.

It was interesting to see how the addition of a simple row of back stitch in the exposed under-layer made a big difference in the impact of the design.
In my eagerness to use even sample pieces that I work, I decided to add it as a pocket to a linen shirt I have had for at least a decade.
It's not spectacular, but useful - and a bit of a talking point!


The other piece we began to work was a bit more complicated. This one, also based on some of the examples we examined on the day, has a series of layered strips as well as the addition of a reverse Appliquéd strip - and the traditional appliqueing of the pieces cut from that strip.


It was good to play with this. I'm not inspired to finish it - this really was a working piece - but the concept is great and could be put to good use on something substantial in the future.

These workshops are great learning opportunities - full of friendships, ideas and techniques.