Search This Blog

Showing posts with label running stitch. Show all posts

Tuesday, February 11, 2020

Another chicken scratch apron

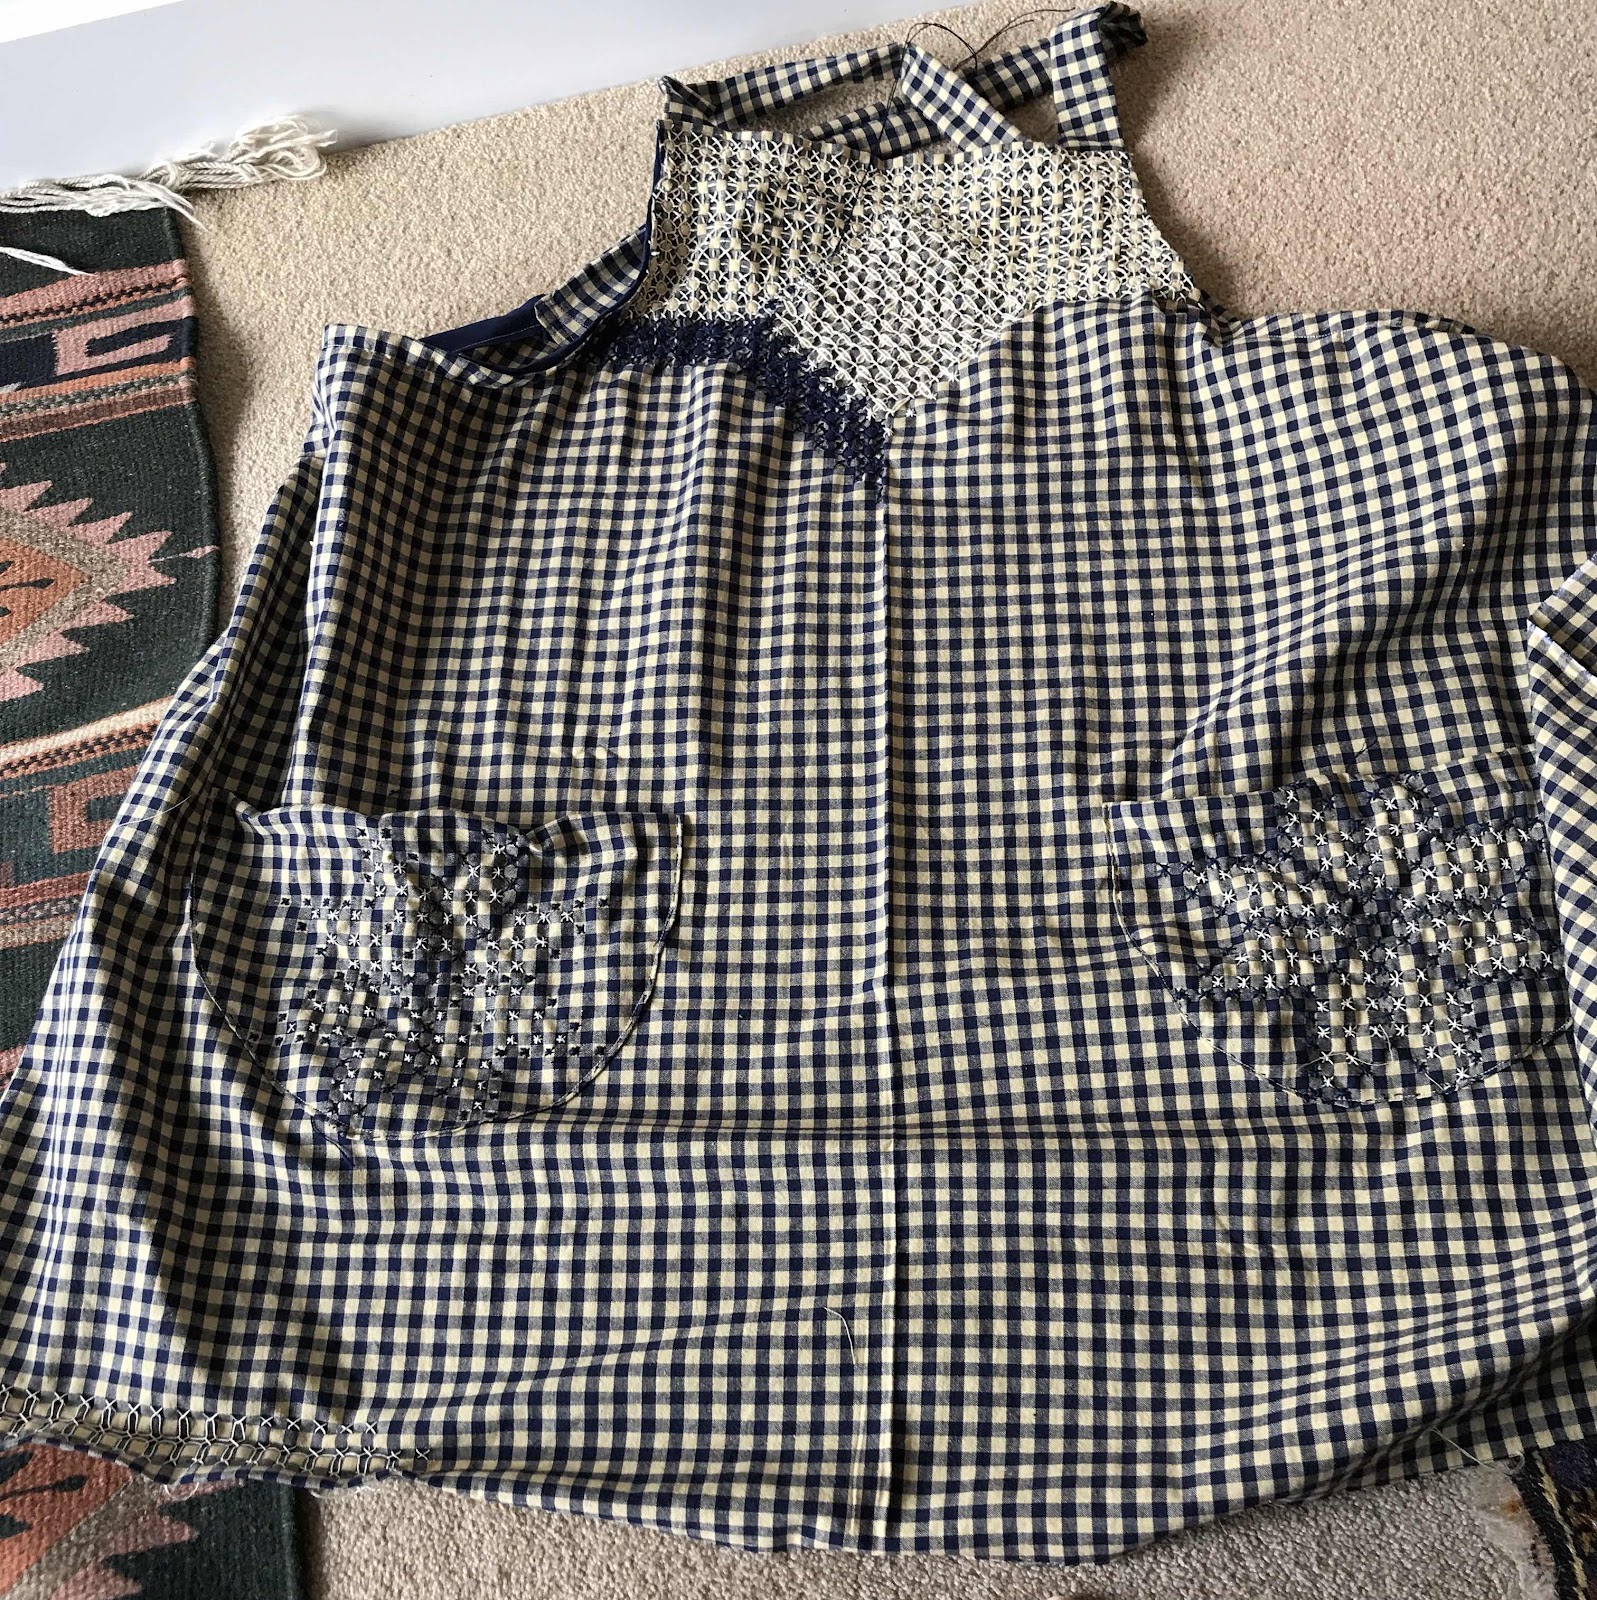
I was well and truly on a roll with chicken scratch aprons. The other two pieces of fabric I had were both ginghams - one in dark blue and one in a dark red. Both had an ecru rather than white contrast.

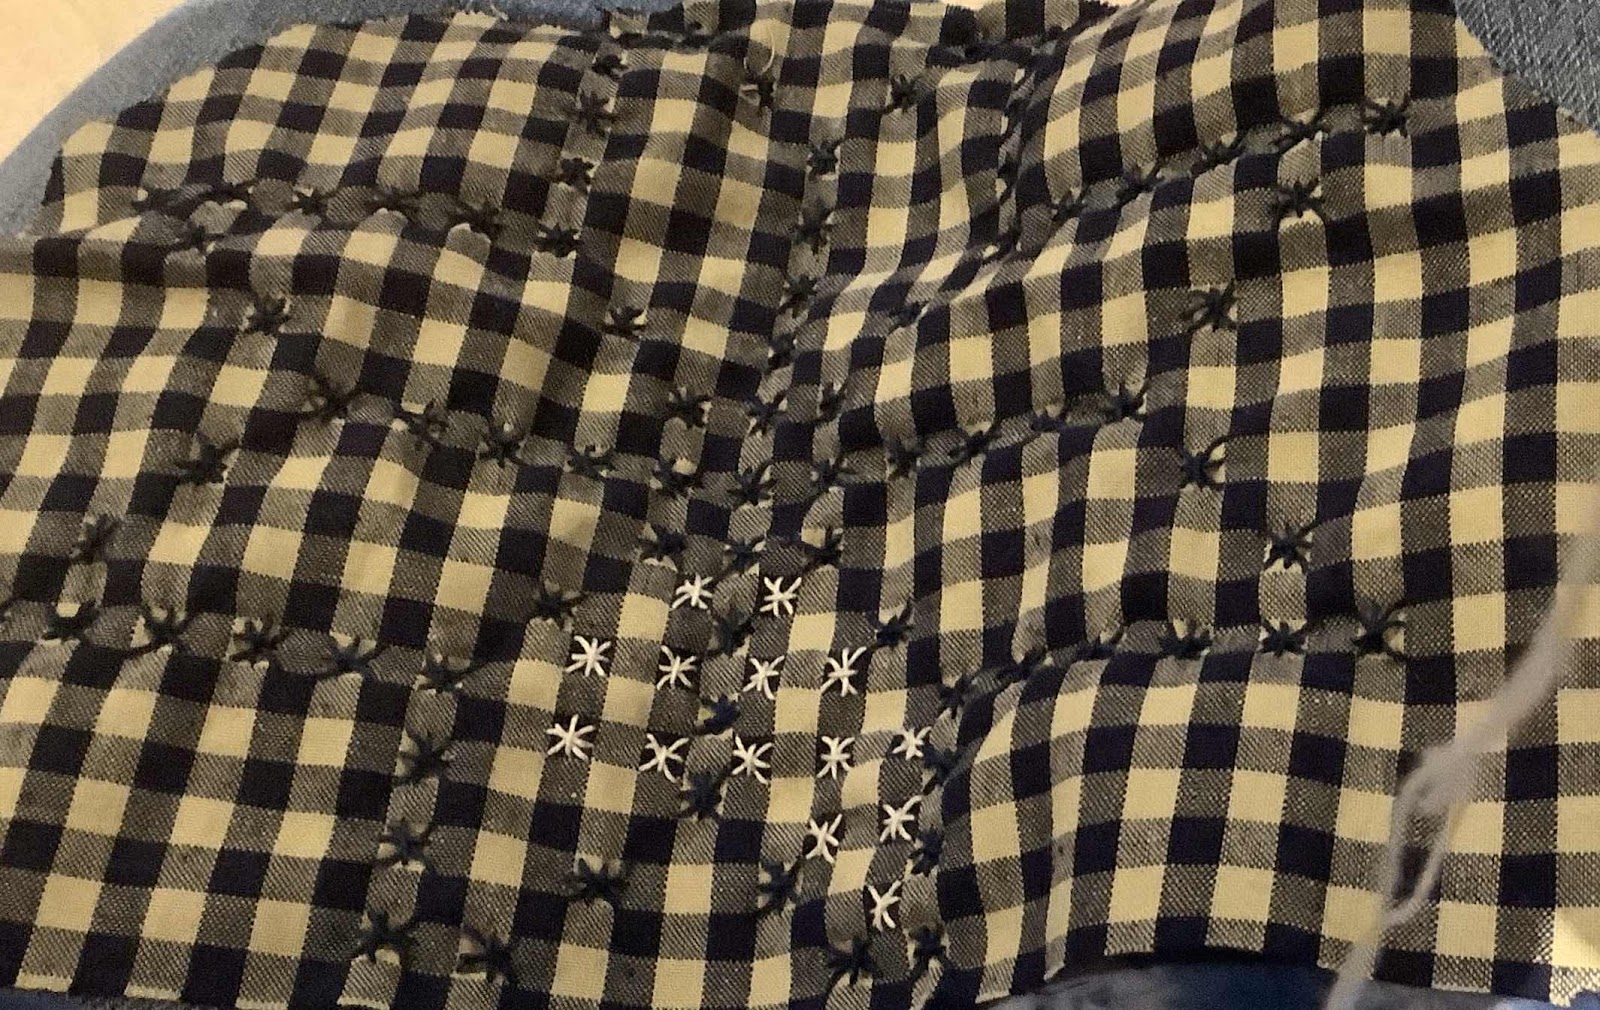
I cut both of them out to the same template as the previous one. I began stitching the blue pockets with stars, using perle 8 thread.


While I was pleased with the effect, I thought I needed more thread coverage on the edge and bodice to achieve a lacy look, so I switched to a perle 5 ecru thread.


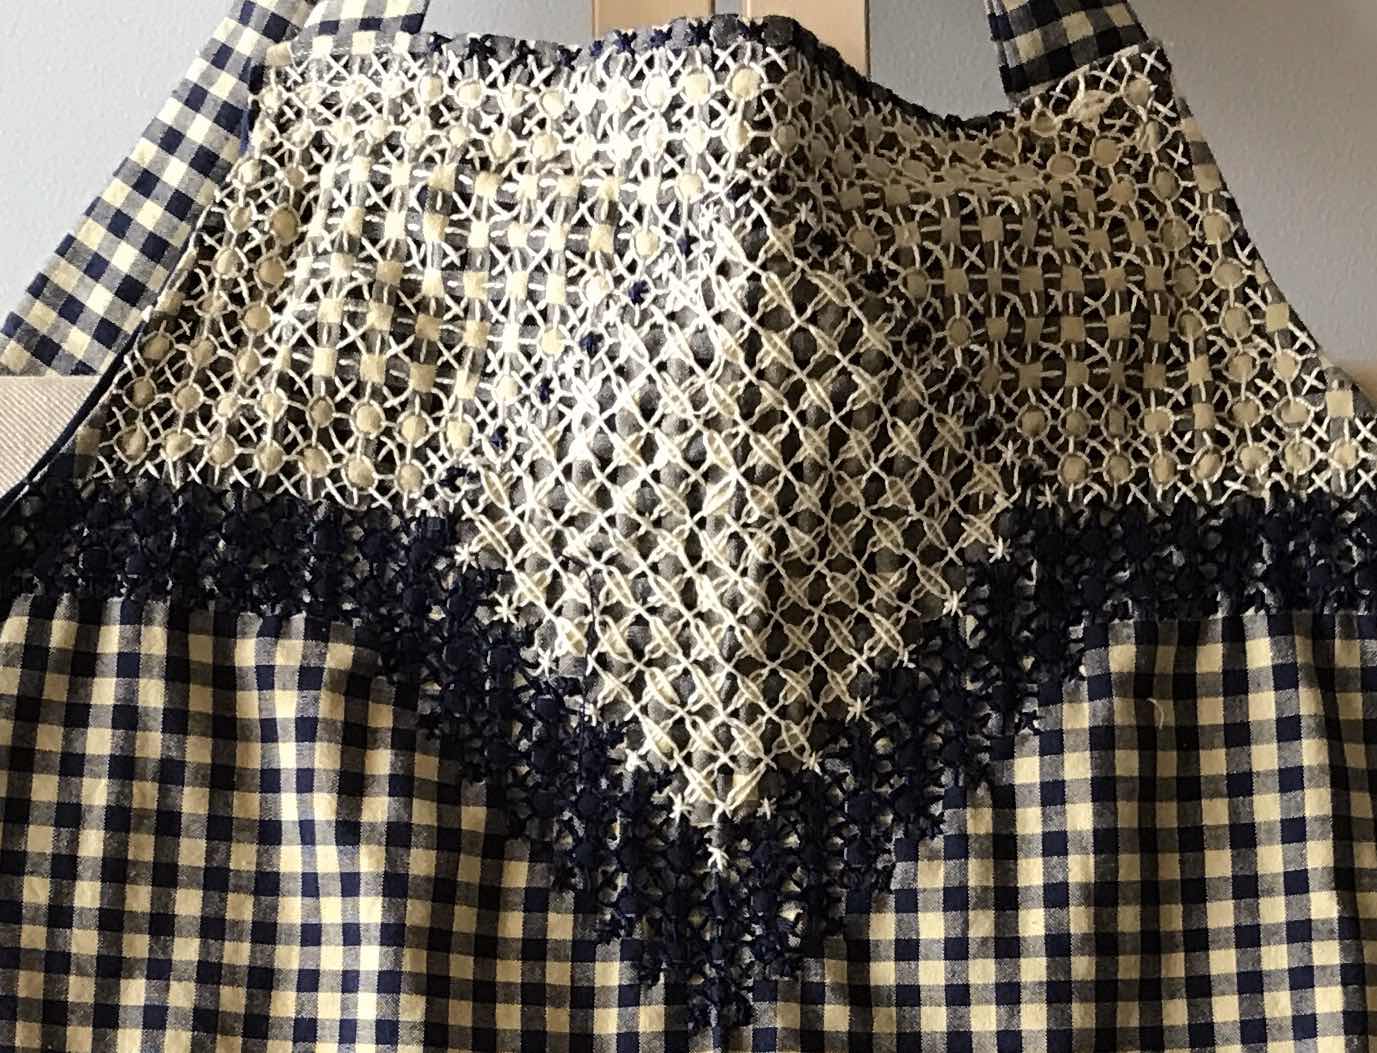
This gave me the coverage I was after and I could work it in rows of running stitch - first one diagonal, then the other, then verticals and horizontals.
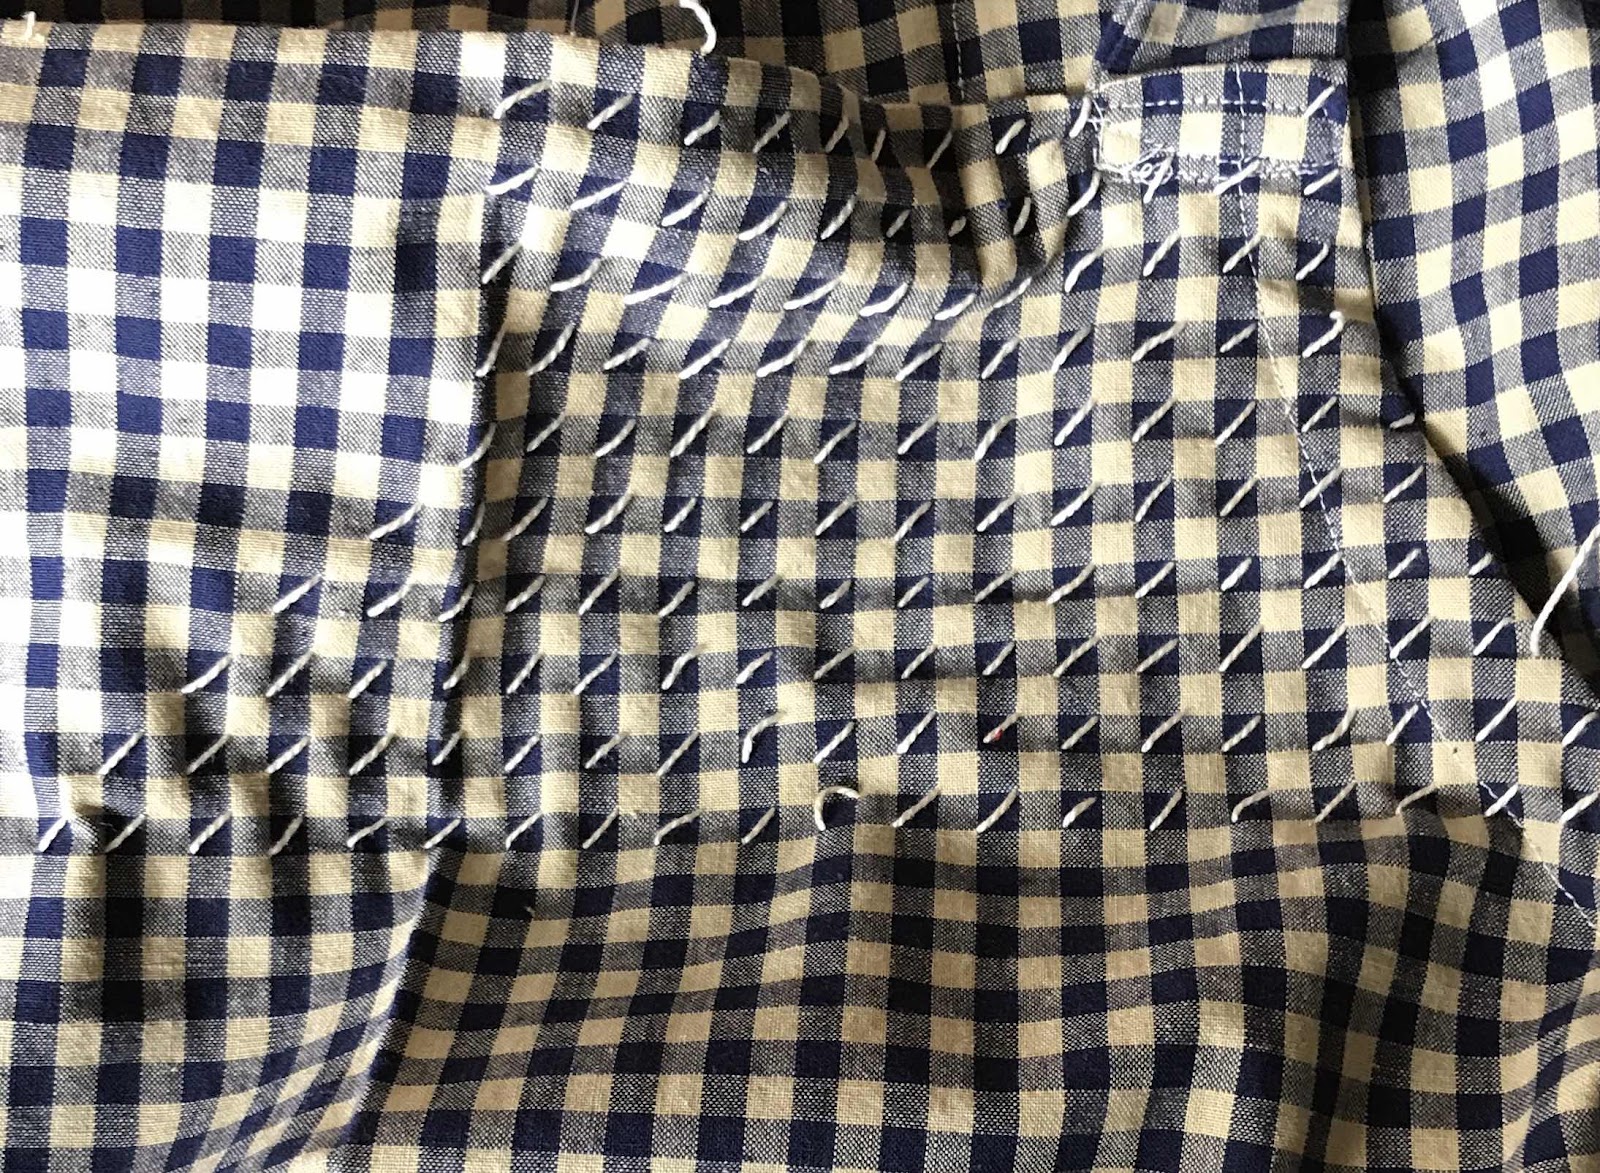
It's rythmic and easy work, but you need to be very careful with tension.

I worked a dense pattern with an embedded  diamond shape on the bodice
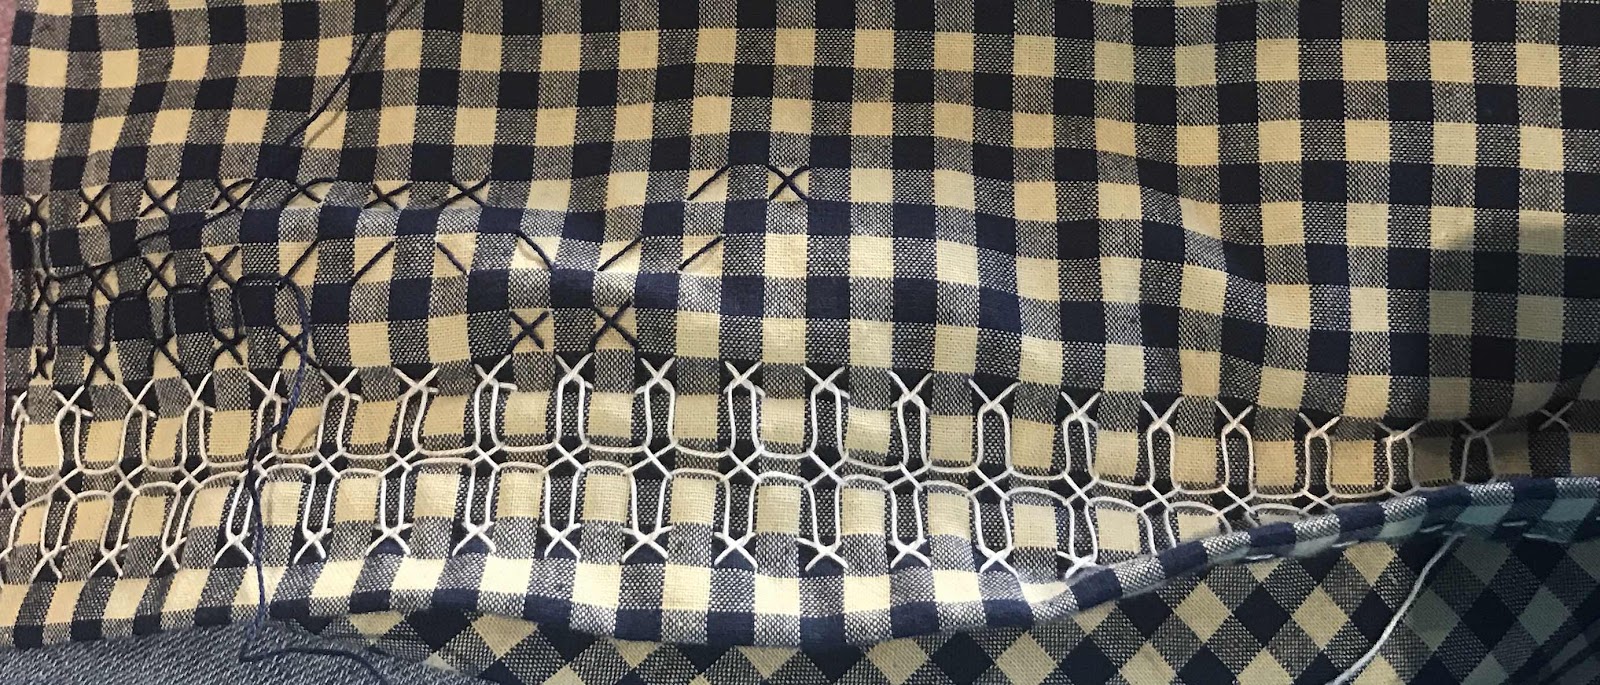


and an outline pattern around the hemline.


I then decided the bodice needed an outline in dark blue. I had no dark blue in perle 5, and all local shops that sold perle 5 were closed for Christmas-New Year, so I used the perle 8 in a close pattern.


I was very pleased with this result.


I had no particular recipient in mind, but one of my stitching buddies, who also loves cooking, fell in love with it, so I was delighted to give it to her.

She agreed to model it, provided I didn't show her face!


Sunday, July 7, 2019

Sashiko Workshop


I have a number of printed Sashiko cloths in my stash, so when Barbara Mullan offered a Sashiko workshop at the Guild, I jumped at the chance to enrol, even changing tickets I had for a Voces8 concert at Ukaria in order to go!

I didn't regret my decision.

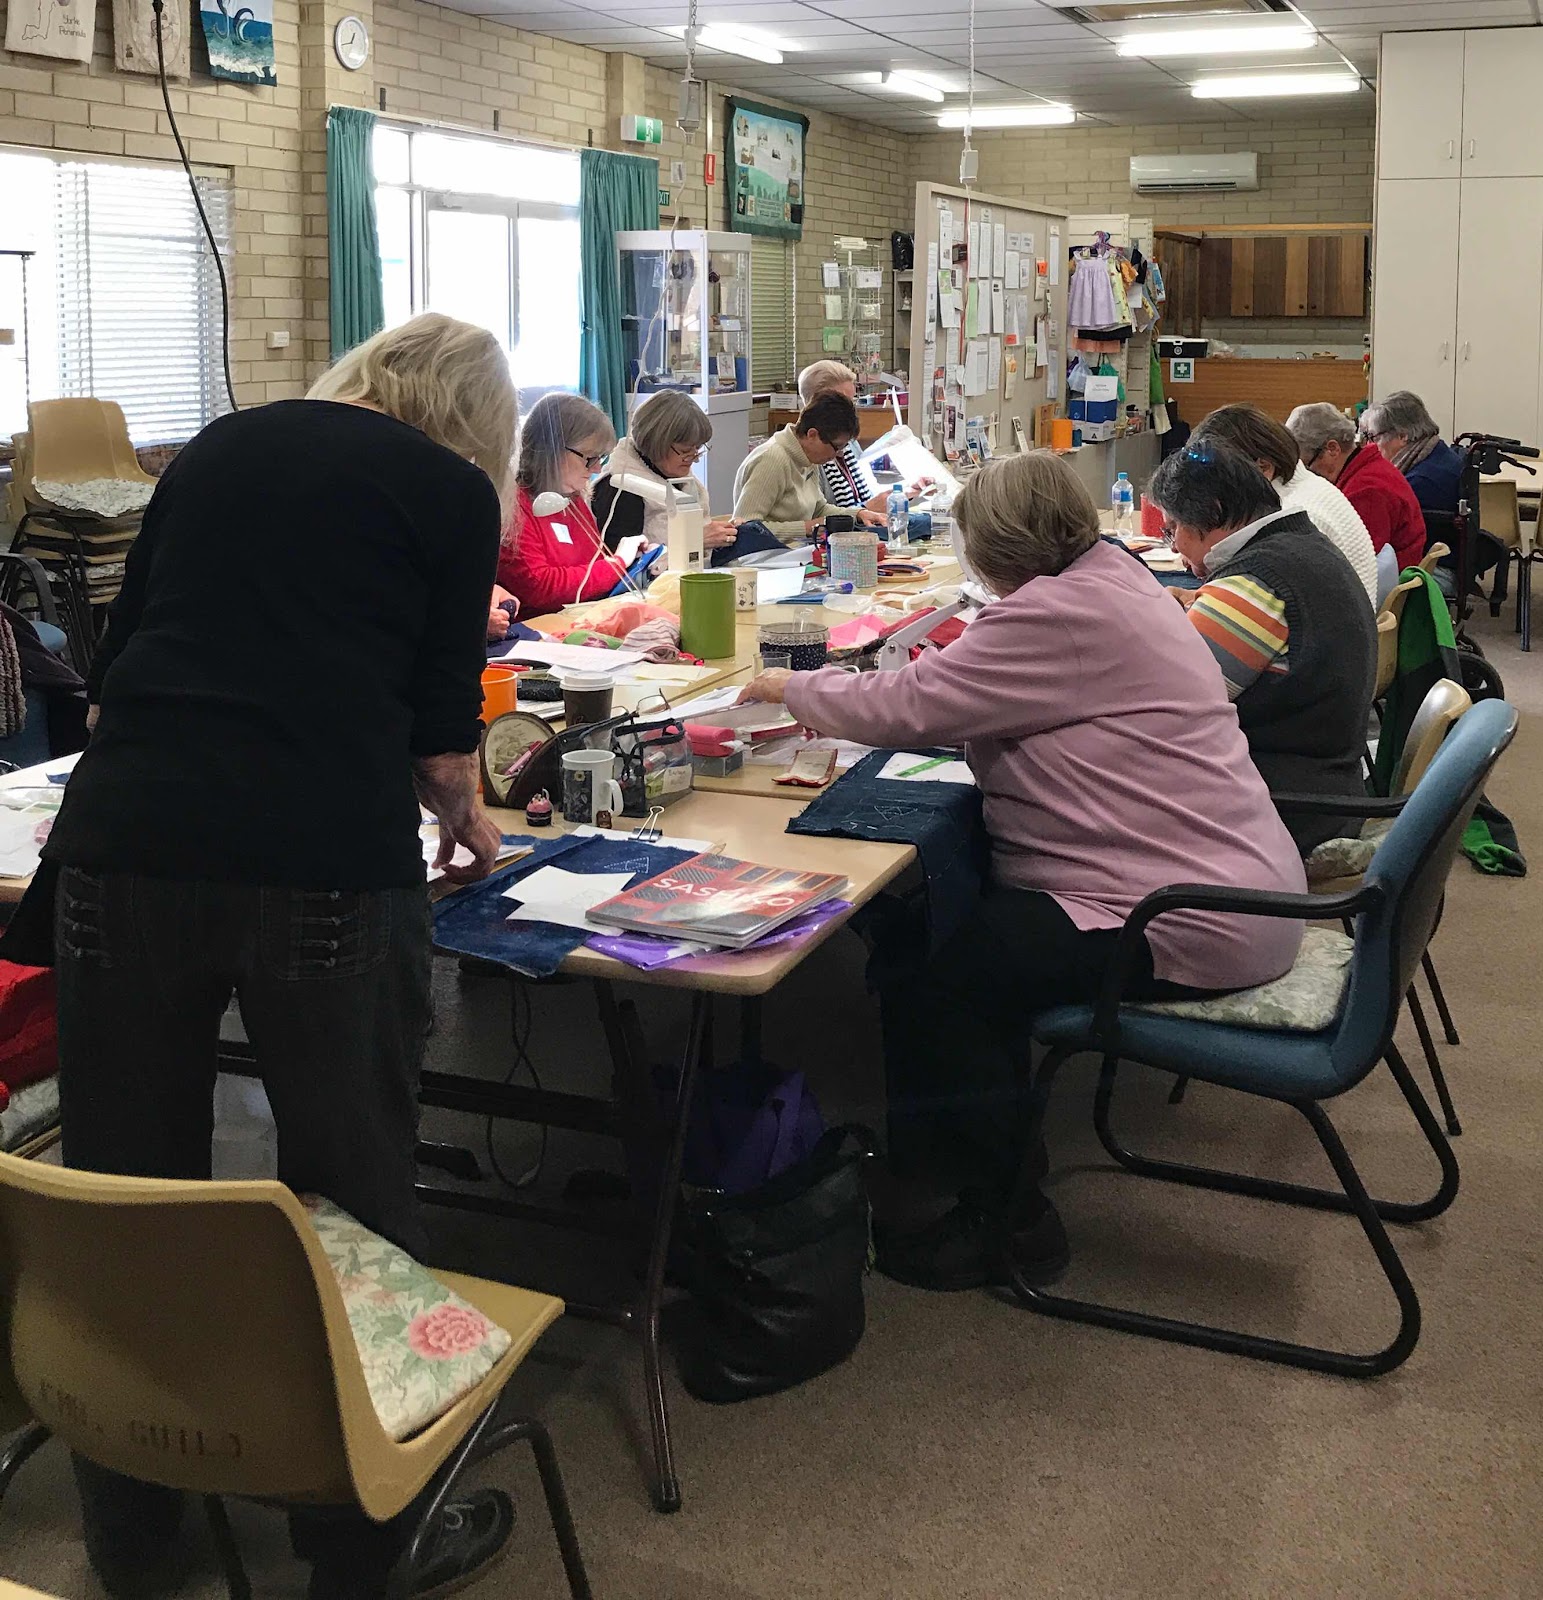
An enthusiastic and eager group of us gathered on the day. Barbara had thoughtfully reorganised the tables so we could see and hear each other.

I had read my preparation instructions carefully and assembled a bag with the items. The day before the class I bought myself the last item - a fat quarter of blue fabric. My mind not being what it once was, I did not immediately put the fat quarter into the bag I had prepared, so found myself at the class without my fabric! 
Barbara, of course, came to the rescue, with some fabric she had 
indigo-dyed some time ago at a class at Marden TAFE. It was lovely, and I only used the minimum I needed.
.
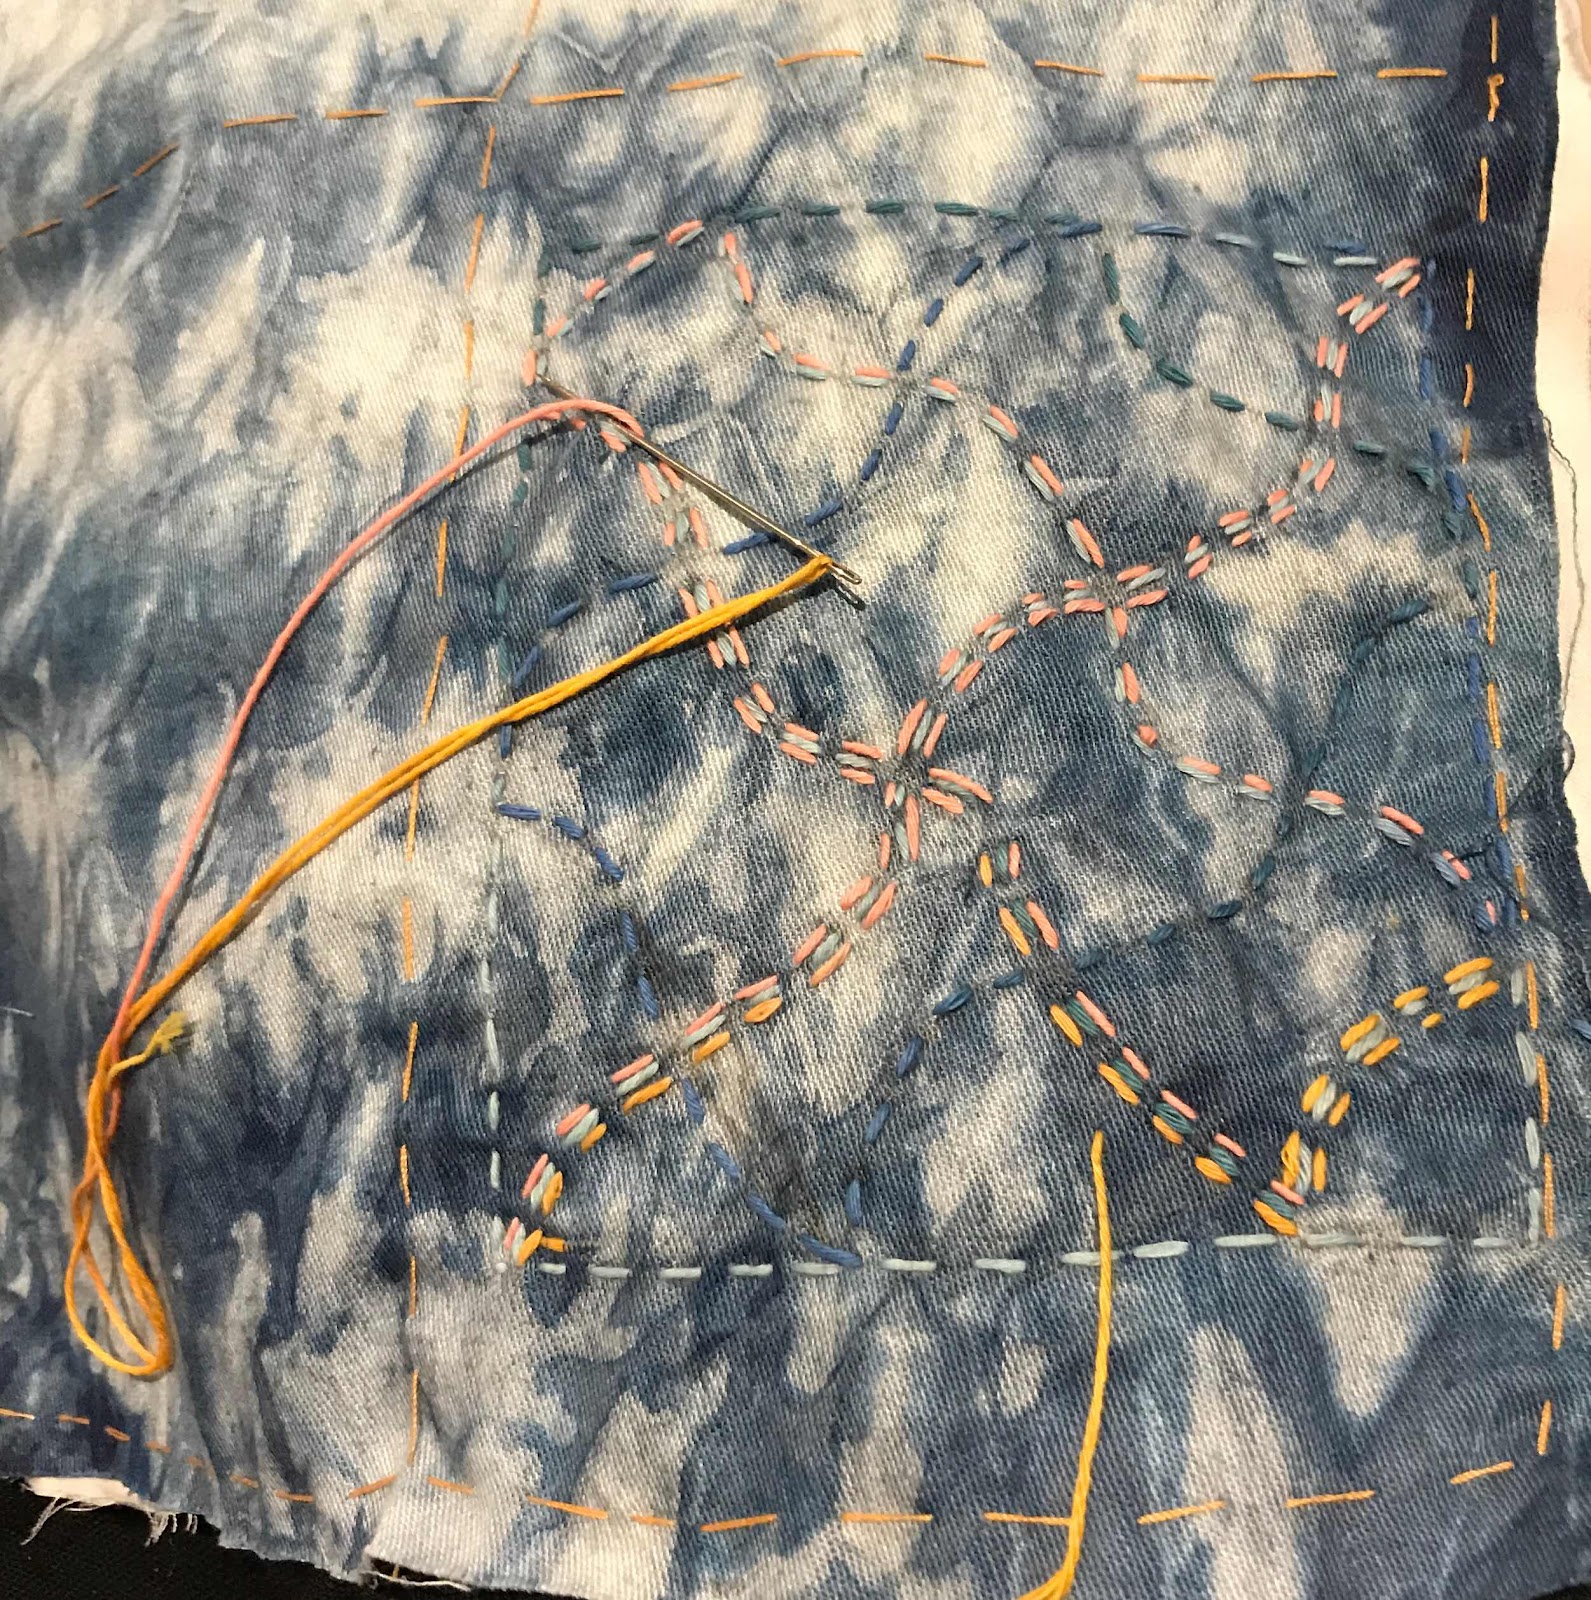
Barbara had prepared templates of some Sashiko patterns. The suggestion was that we choose 4 of these and work them on four squares of fabric, backed with cotton.

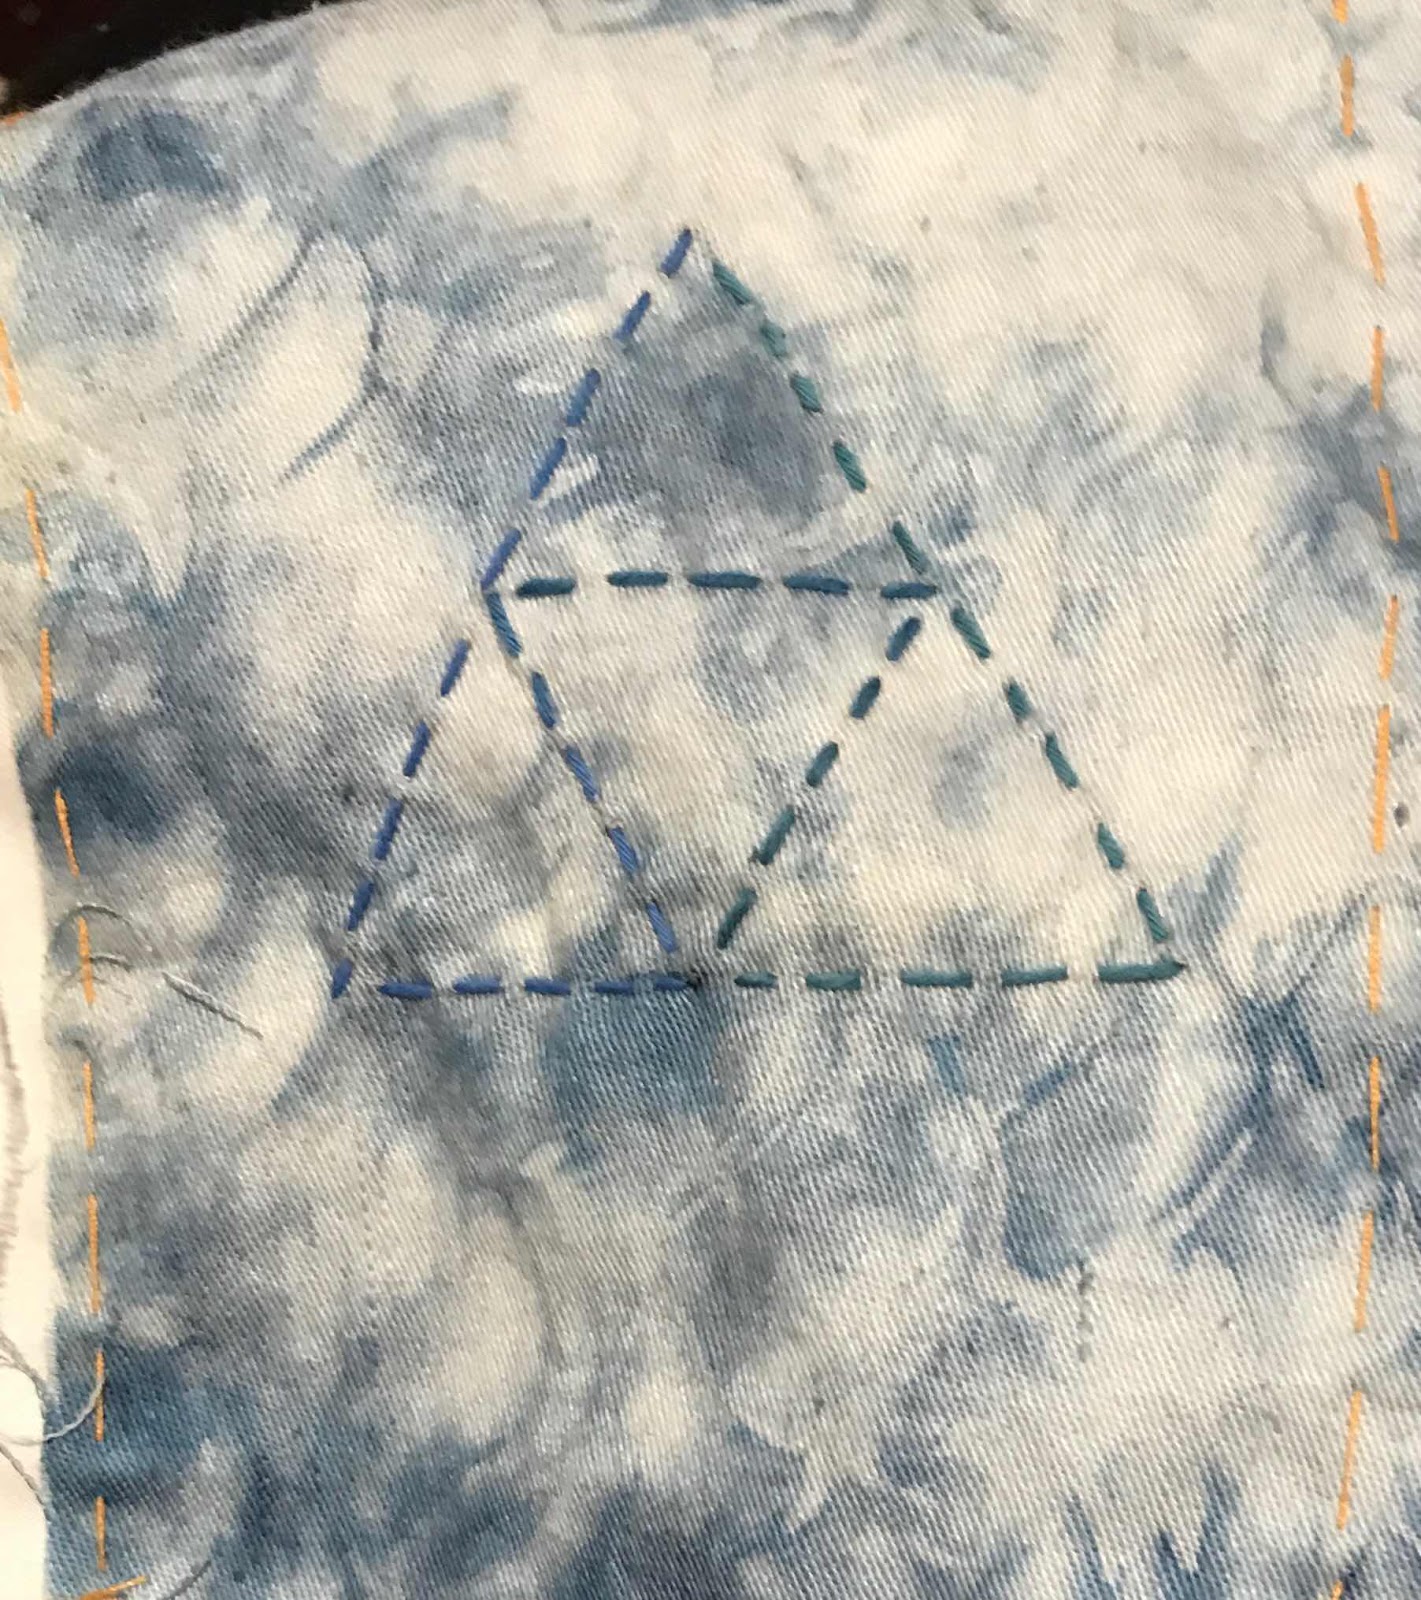
I had my cotton, so tacked it on to my four squares (well, rectangles, anyway) and began with a very simple triangle.


We learned the conventions (rules?) of evenness of stitch, even numbers of stitches and dealing with corners. All these were new to me and invaluable in doing anything with the printed pieces I have.

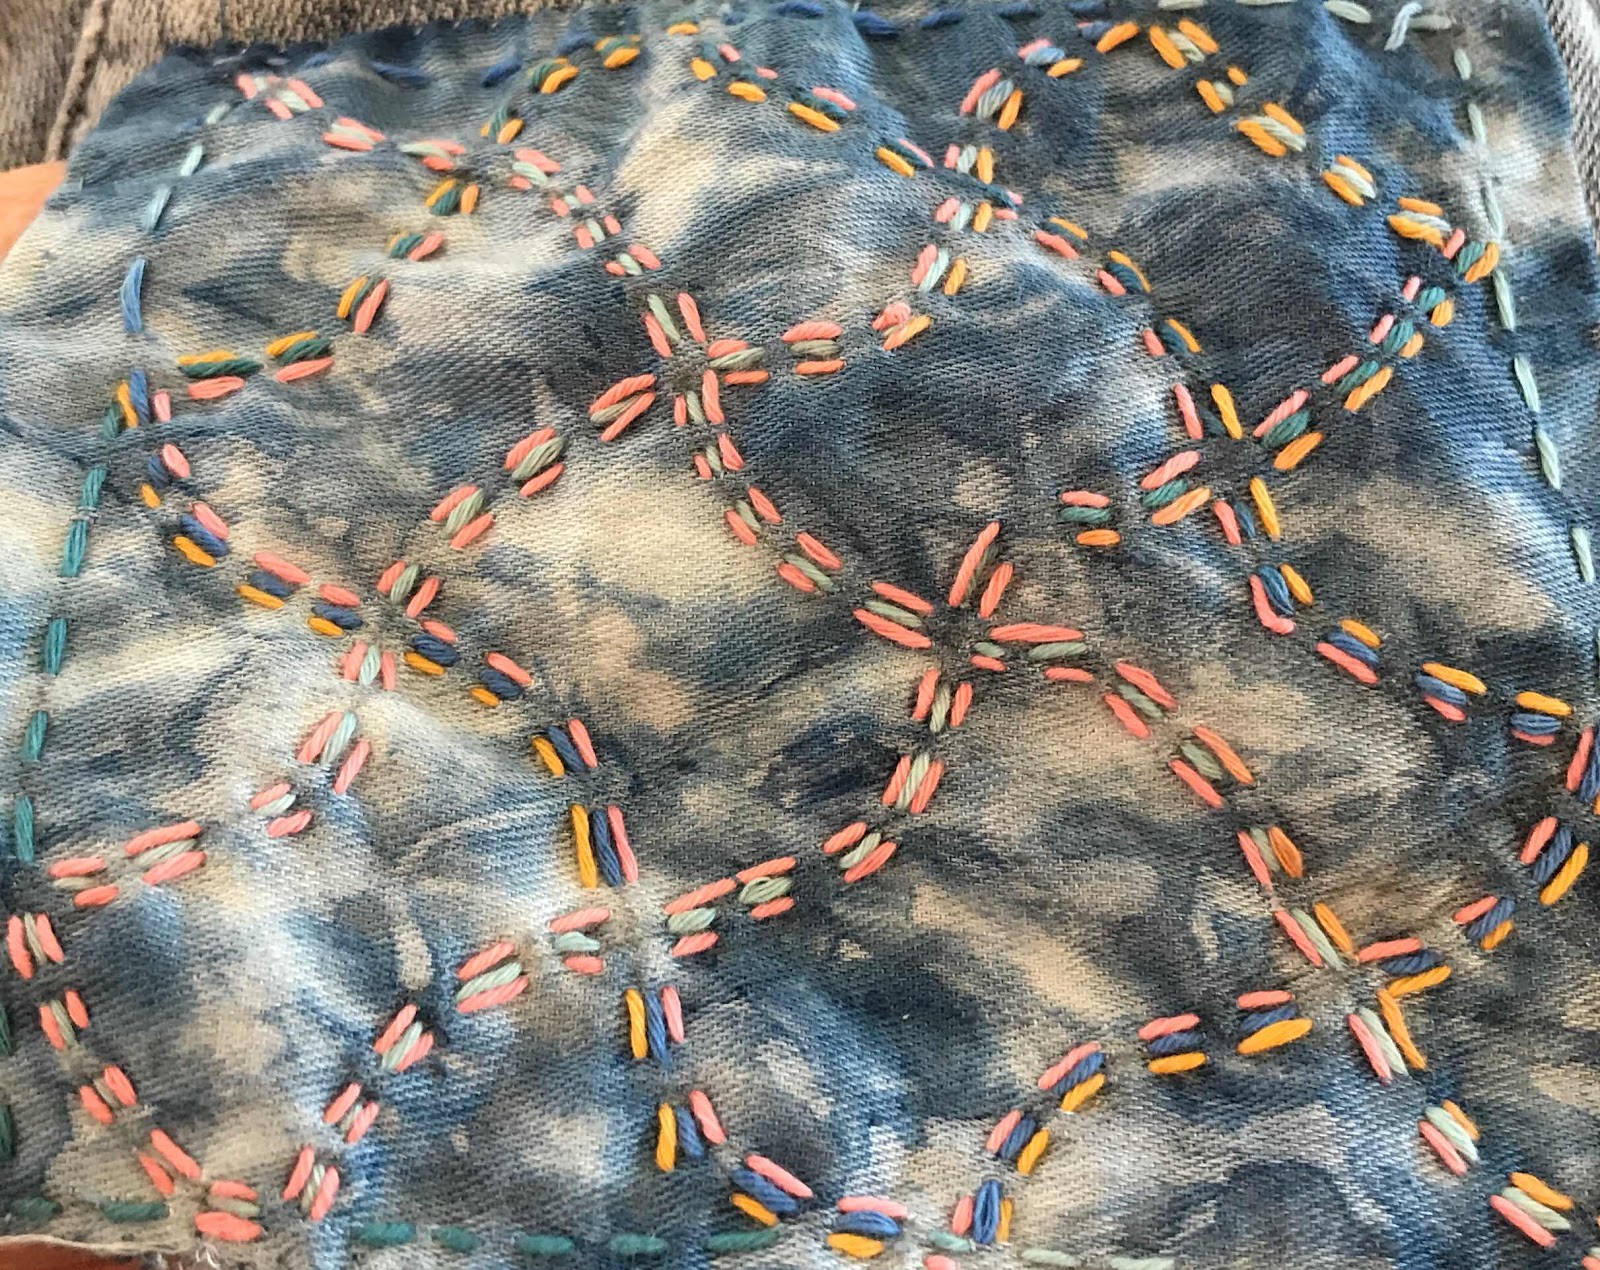
I tried to move from simple to more complex. I had variegated Sashiko thread in blues and yellow/orange/red as well as white. I had thought to use the blue, but it didn't show up well on Barbara's lovely hand-dyed cloth so I went around the original blue, 


which worked, I thought, quite well. 


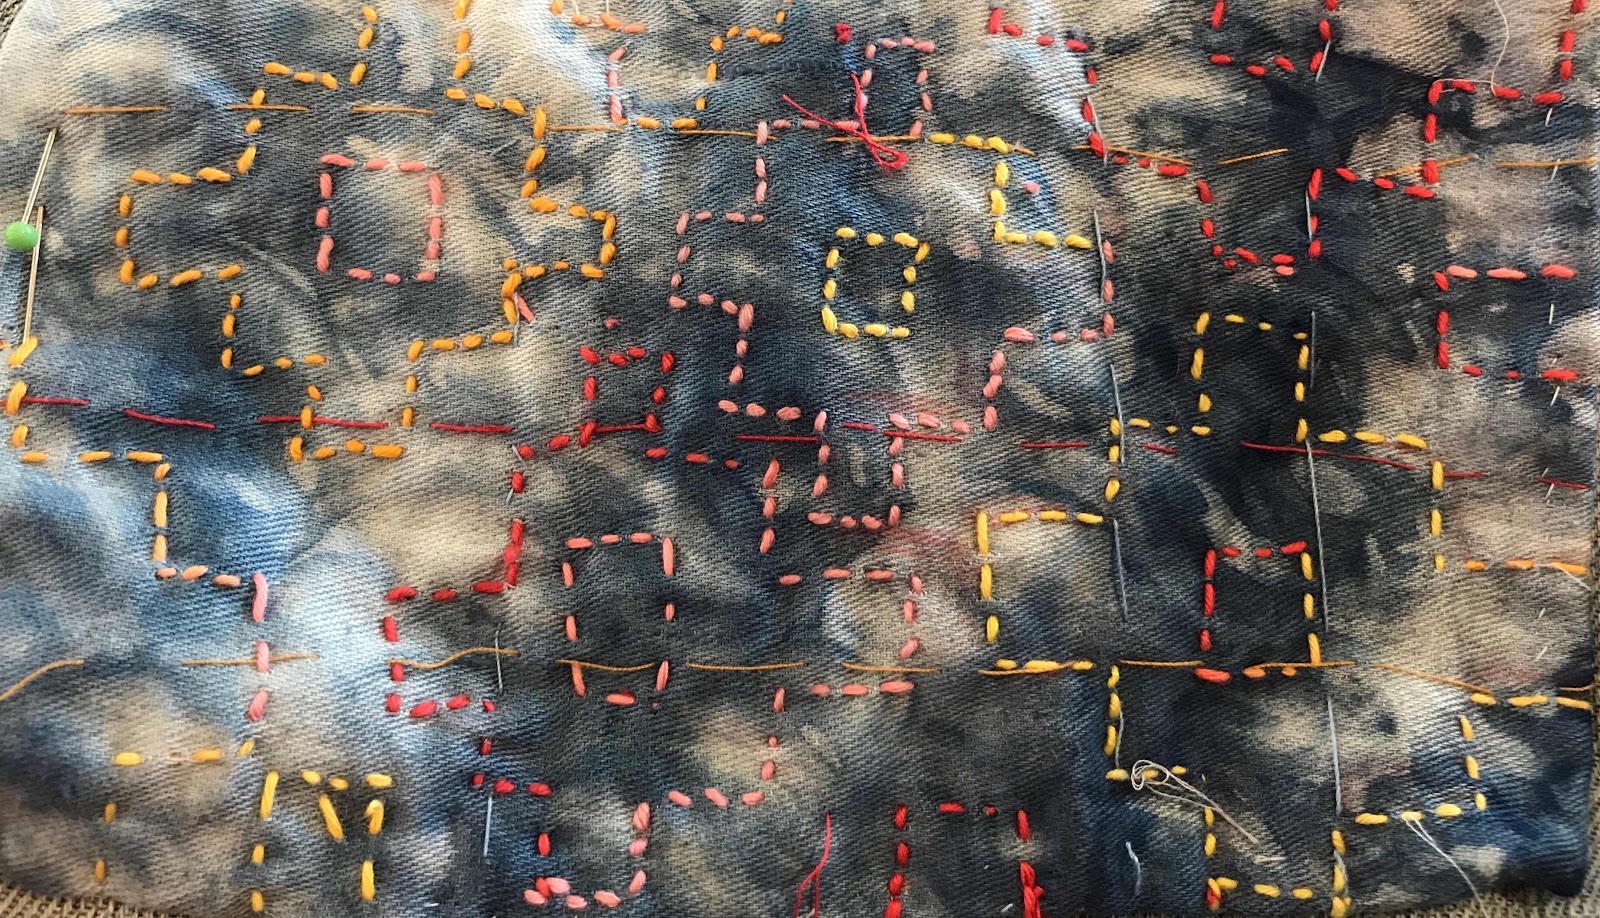
I then switched entirely to yellow/orange/red for the last two pieces.


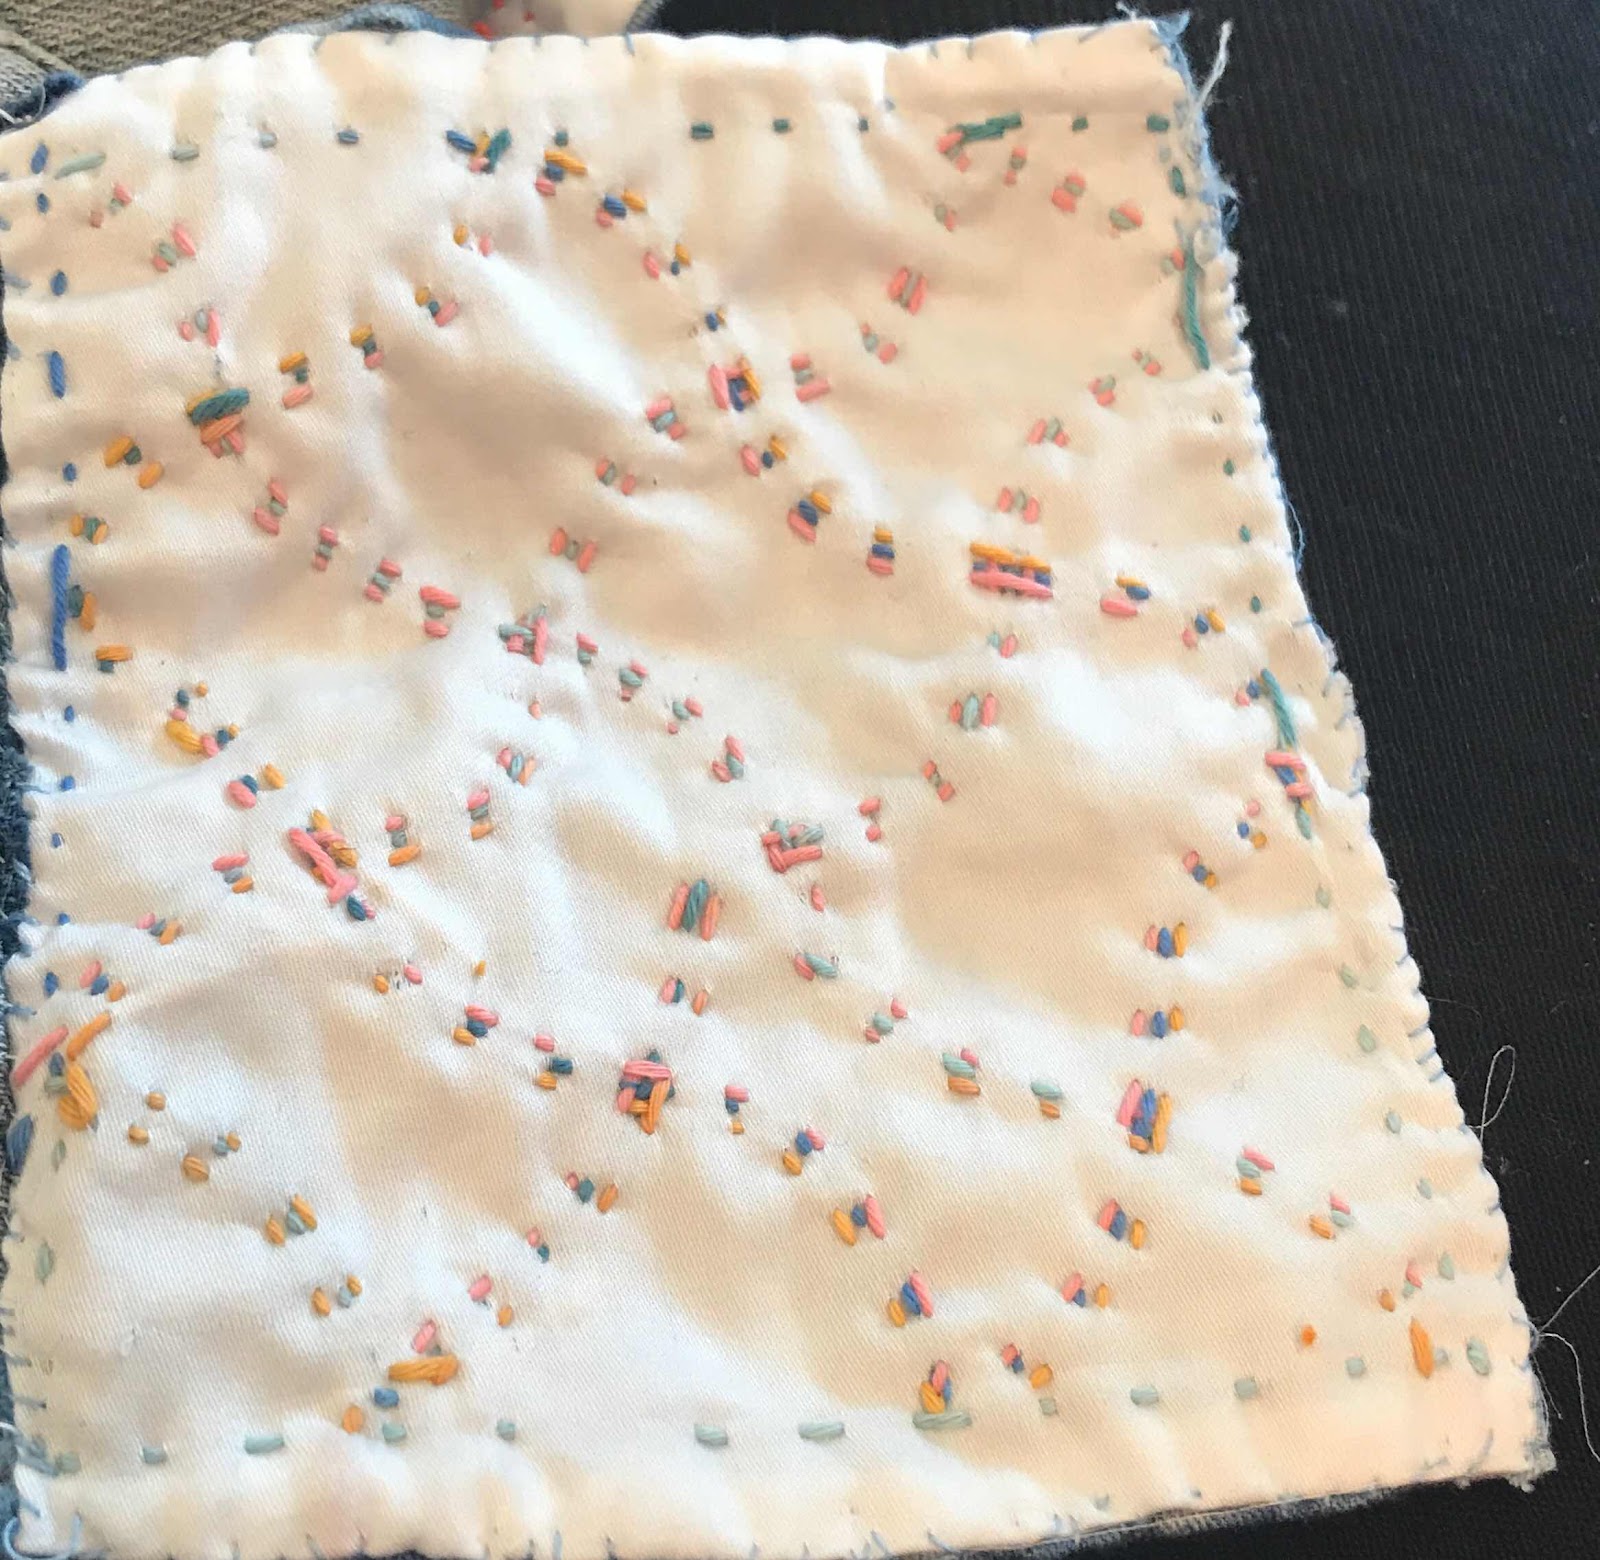
We learned too, how to finish the edges off with slip-stitch so that the backing did not show. Miss Monk, who first taught me slip stitch, would not be happy with my work here. I had, however, by now the germ of an idea of what I would do with these pieces, and it didn't require invisible slip stitch!


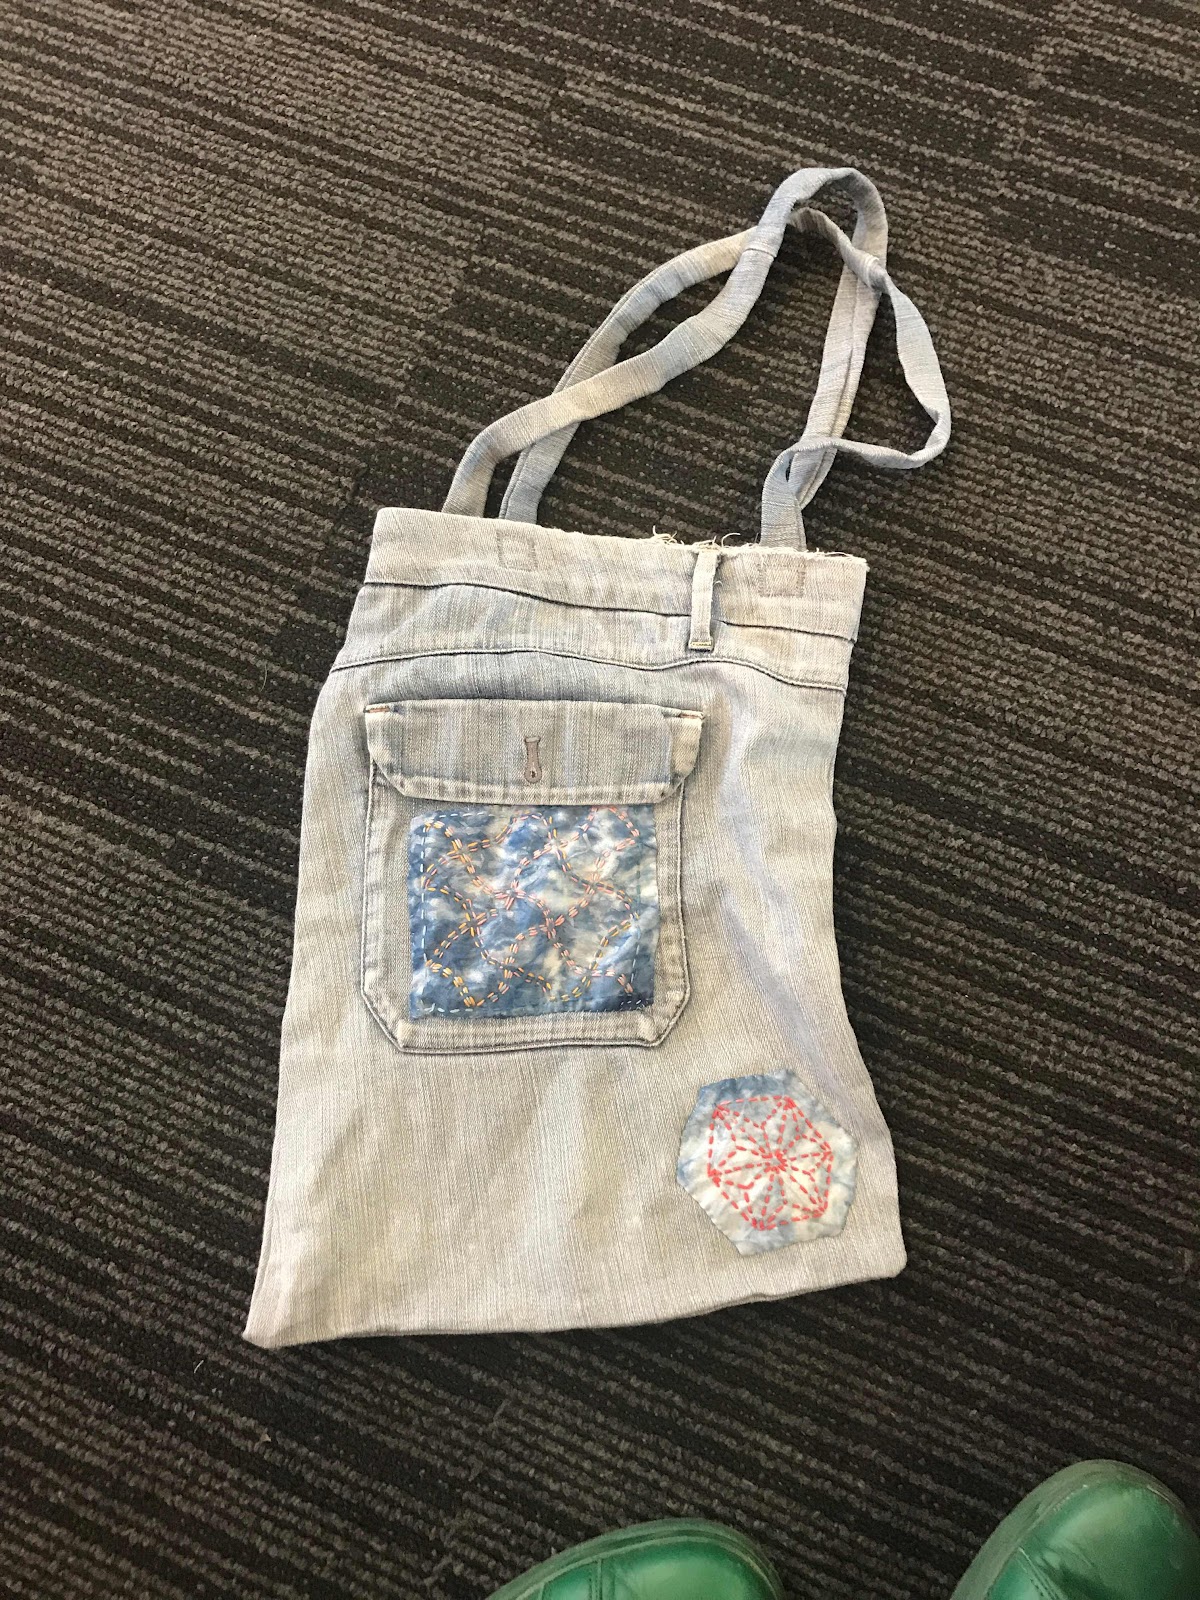
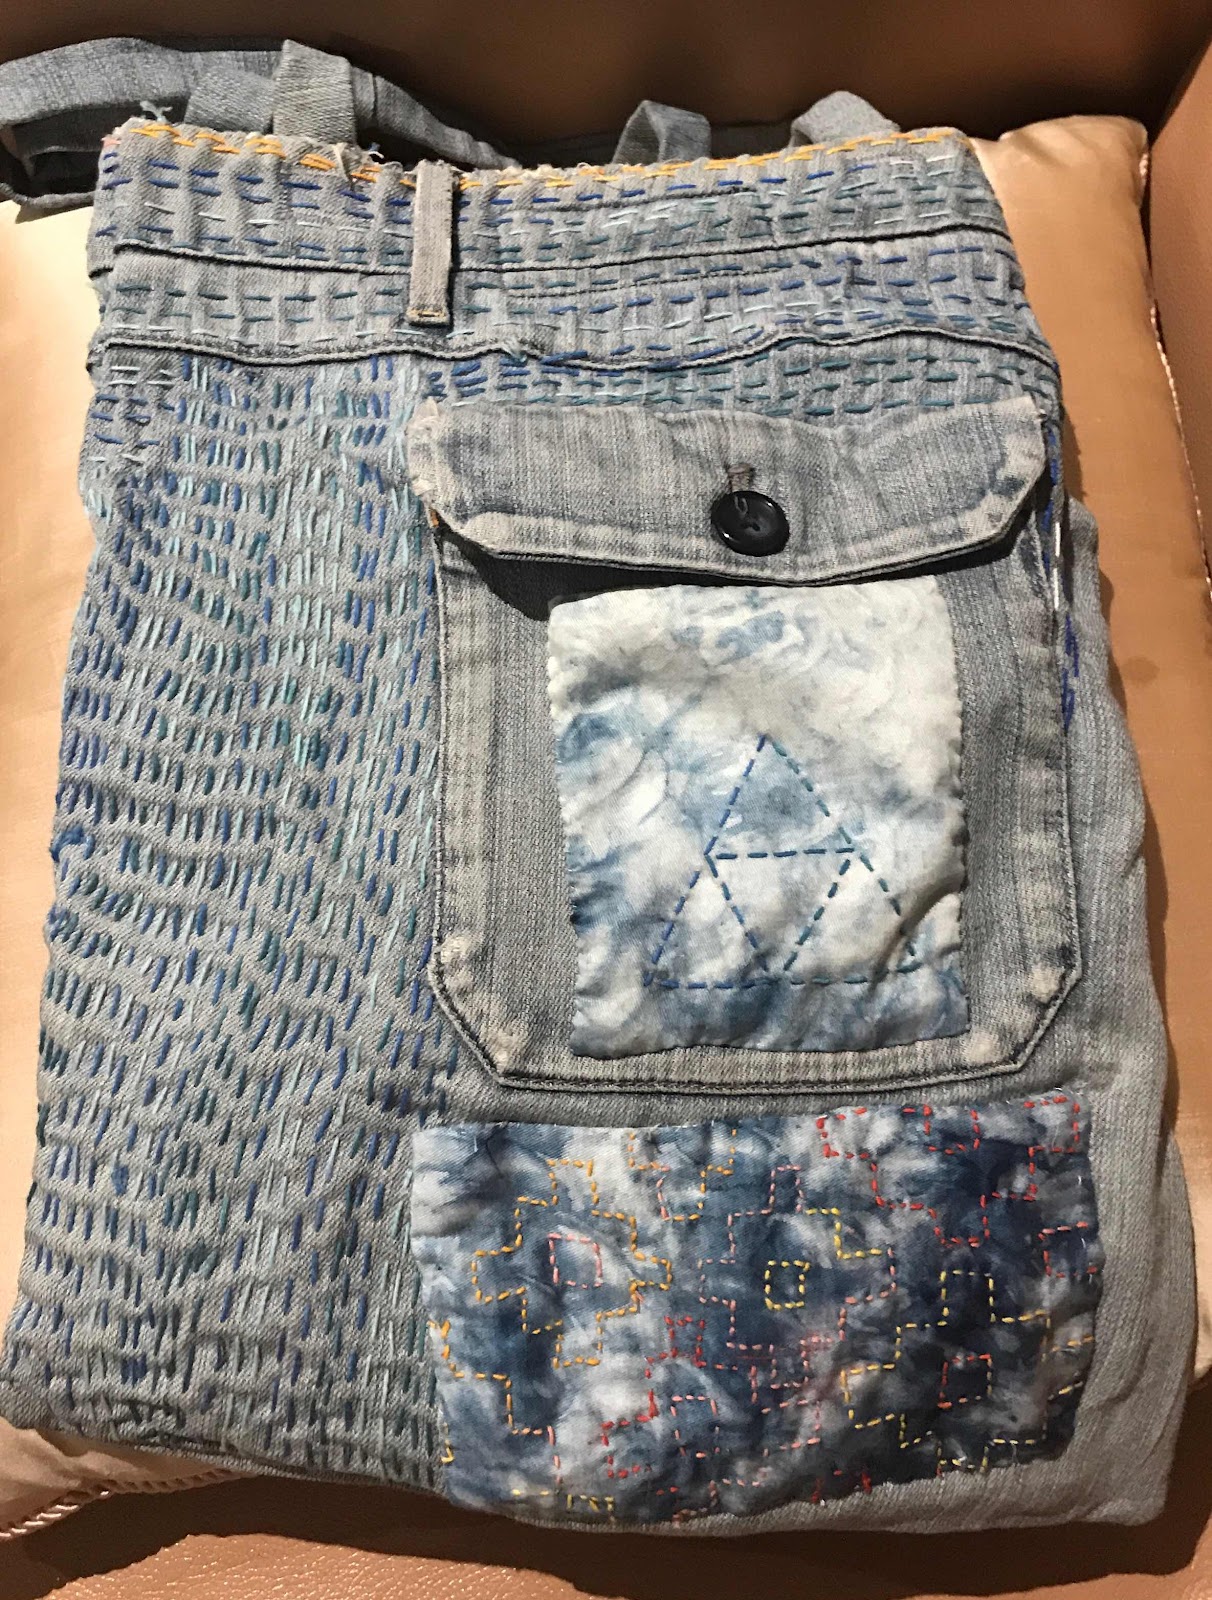
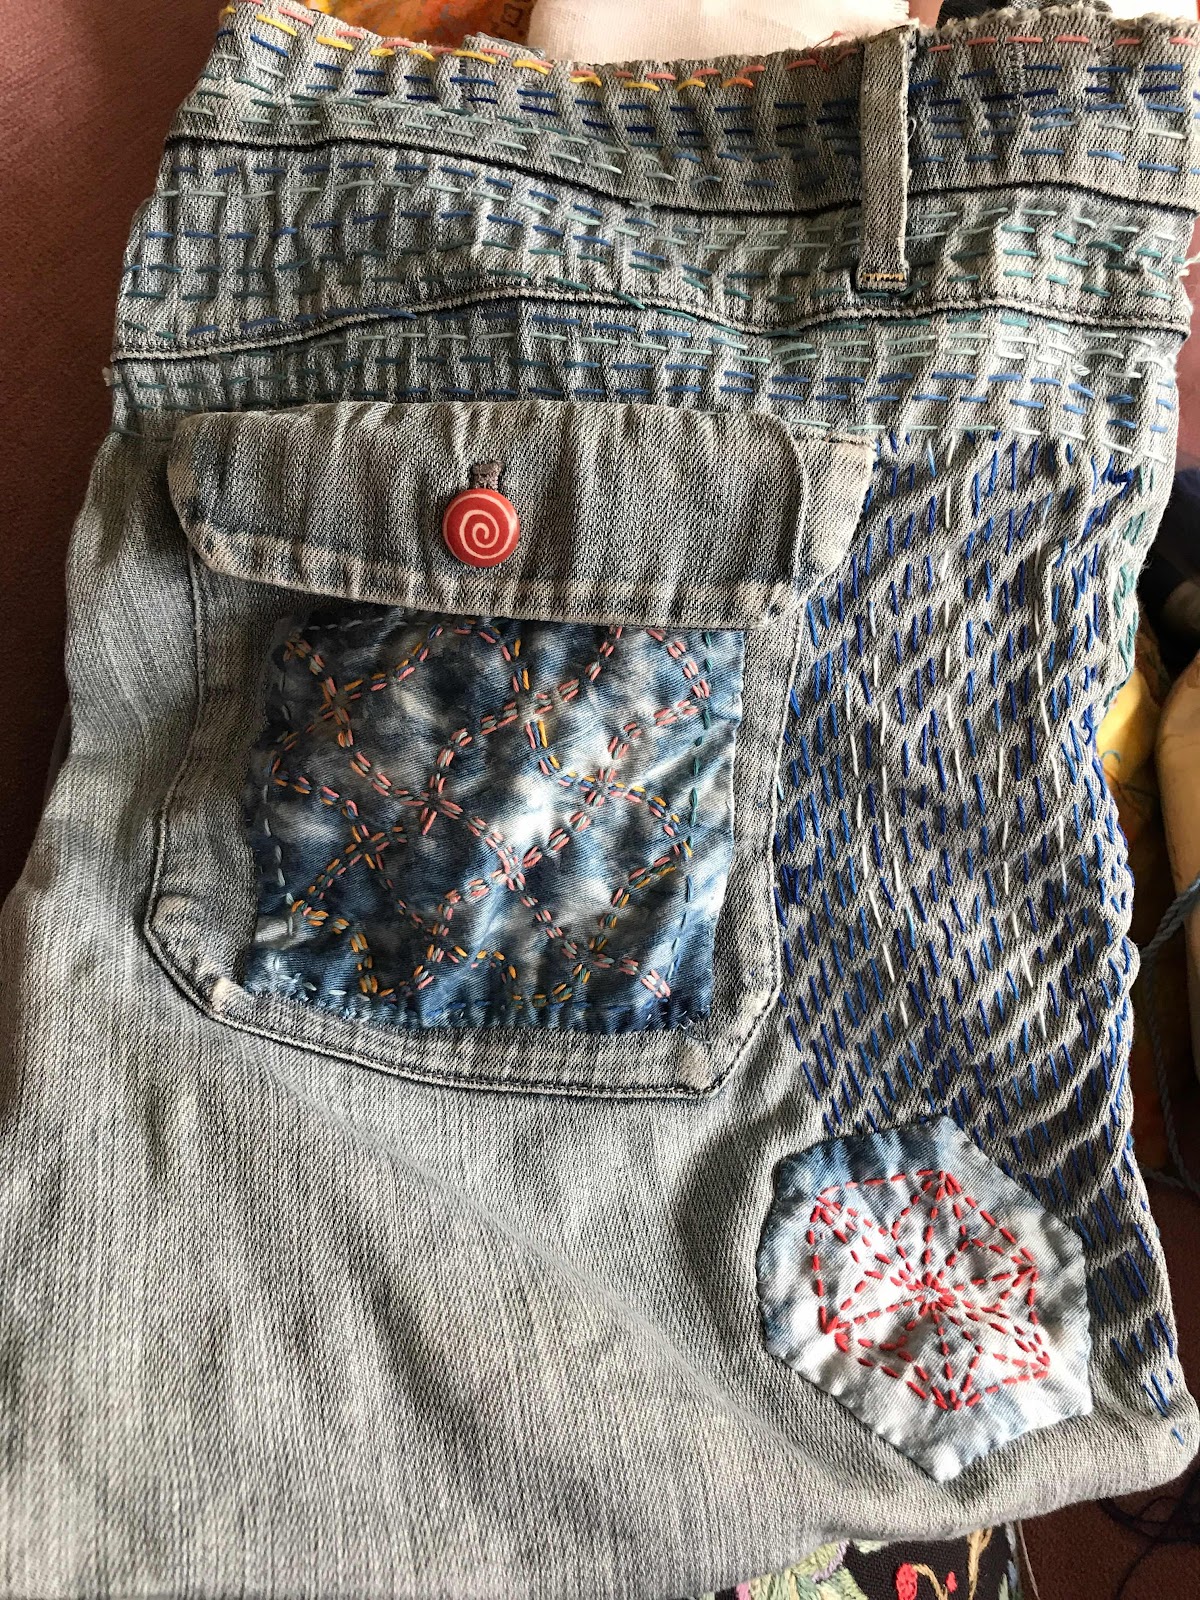
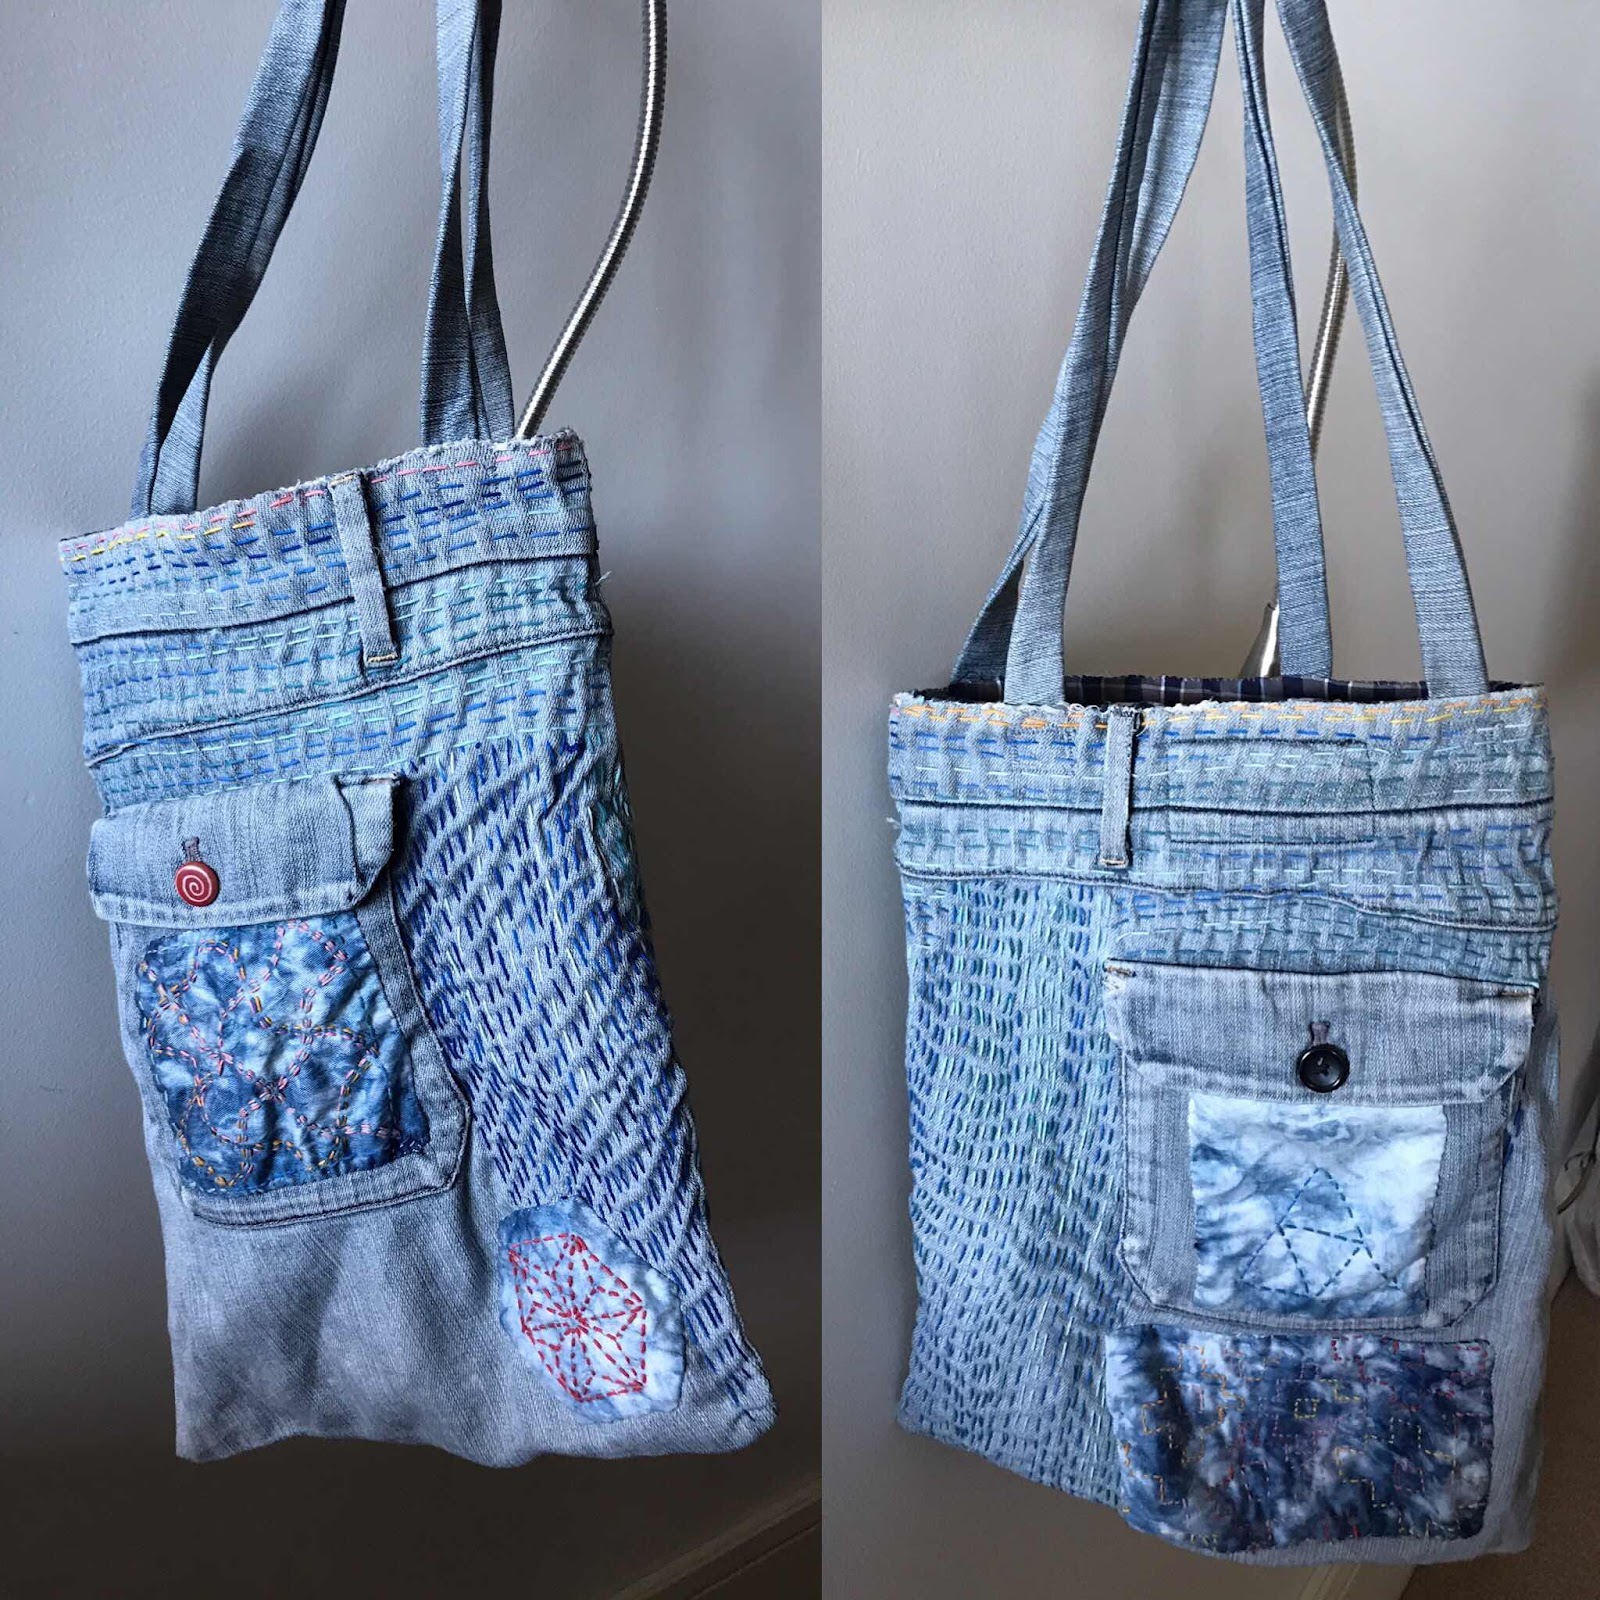
I dug out a bag I had made ages ago (can it really have been 2011? Afraid so!) from an old pair of jeans and applied the patches.


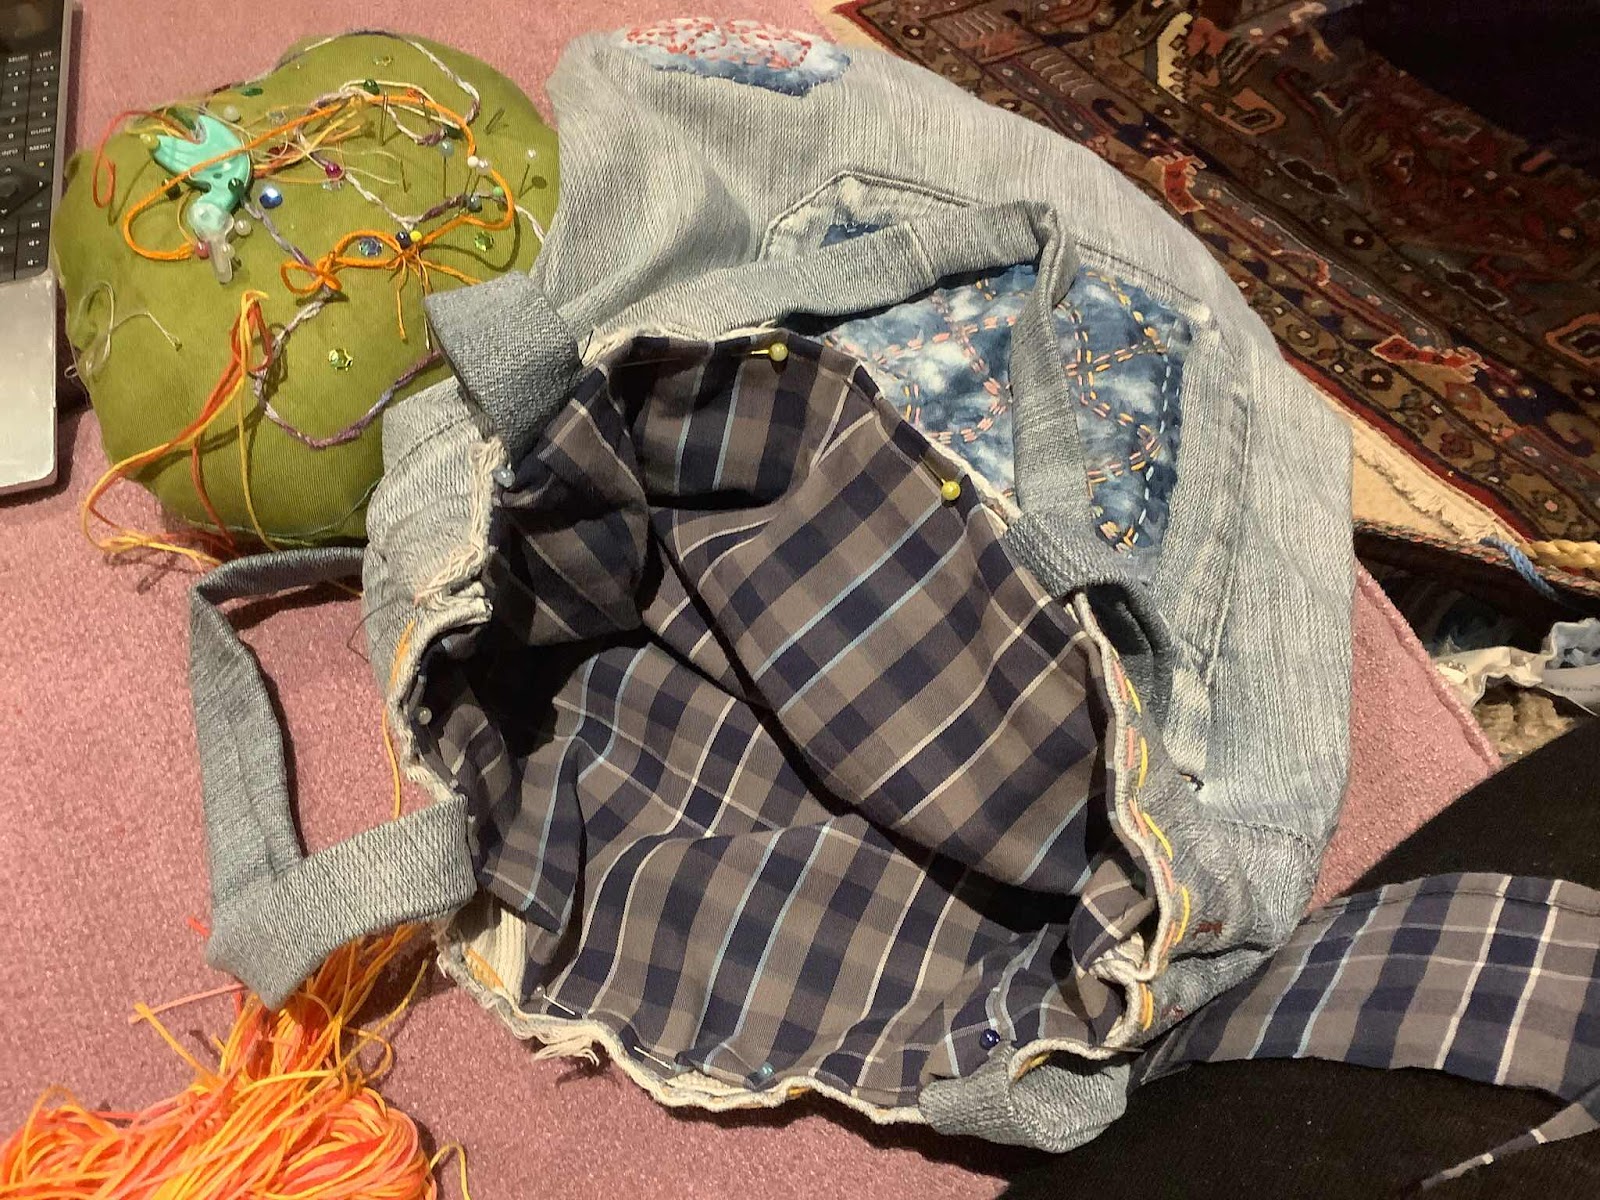
From my fabric stash I retrieved a shirt of Jim's that I had kept because I knew he would have wanted to be part of future projects.

The two fronts were a perfect shape for cutting a lining for this odd shaped bag and the colour was just right.

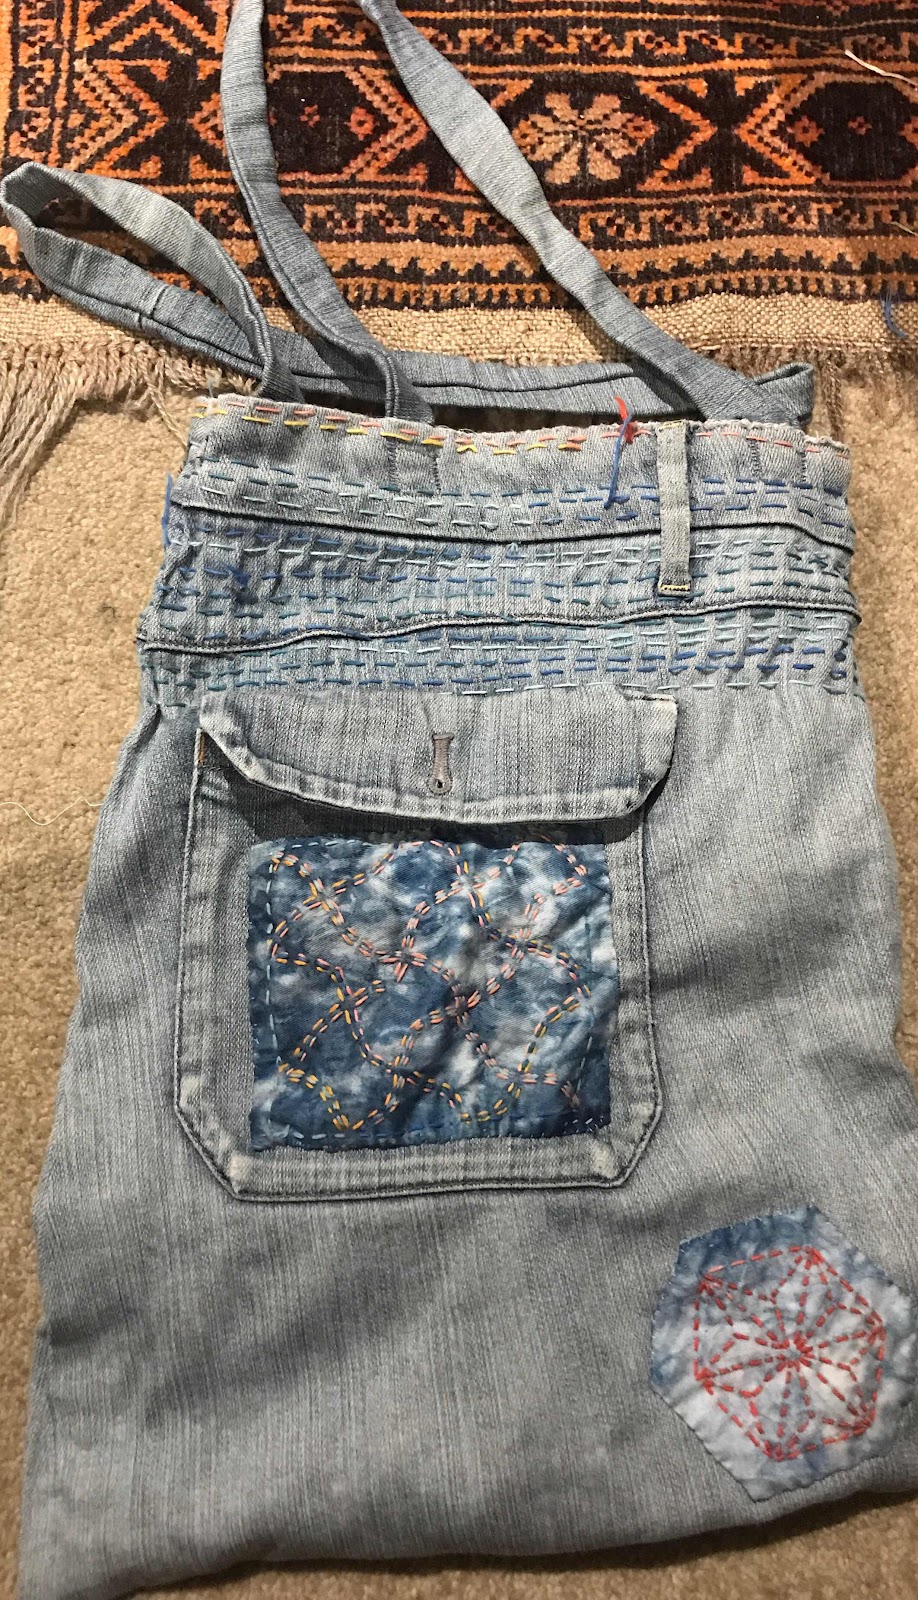
The original idea stopped here - but the bag cried out for more - so off I went, using, after an initial experiment, the blue thread.


I kept going


and going.


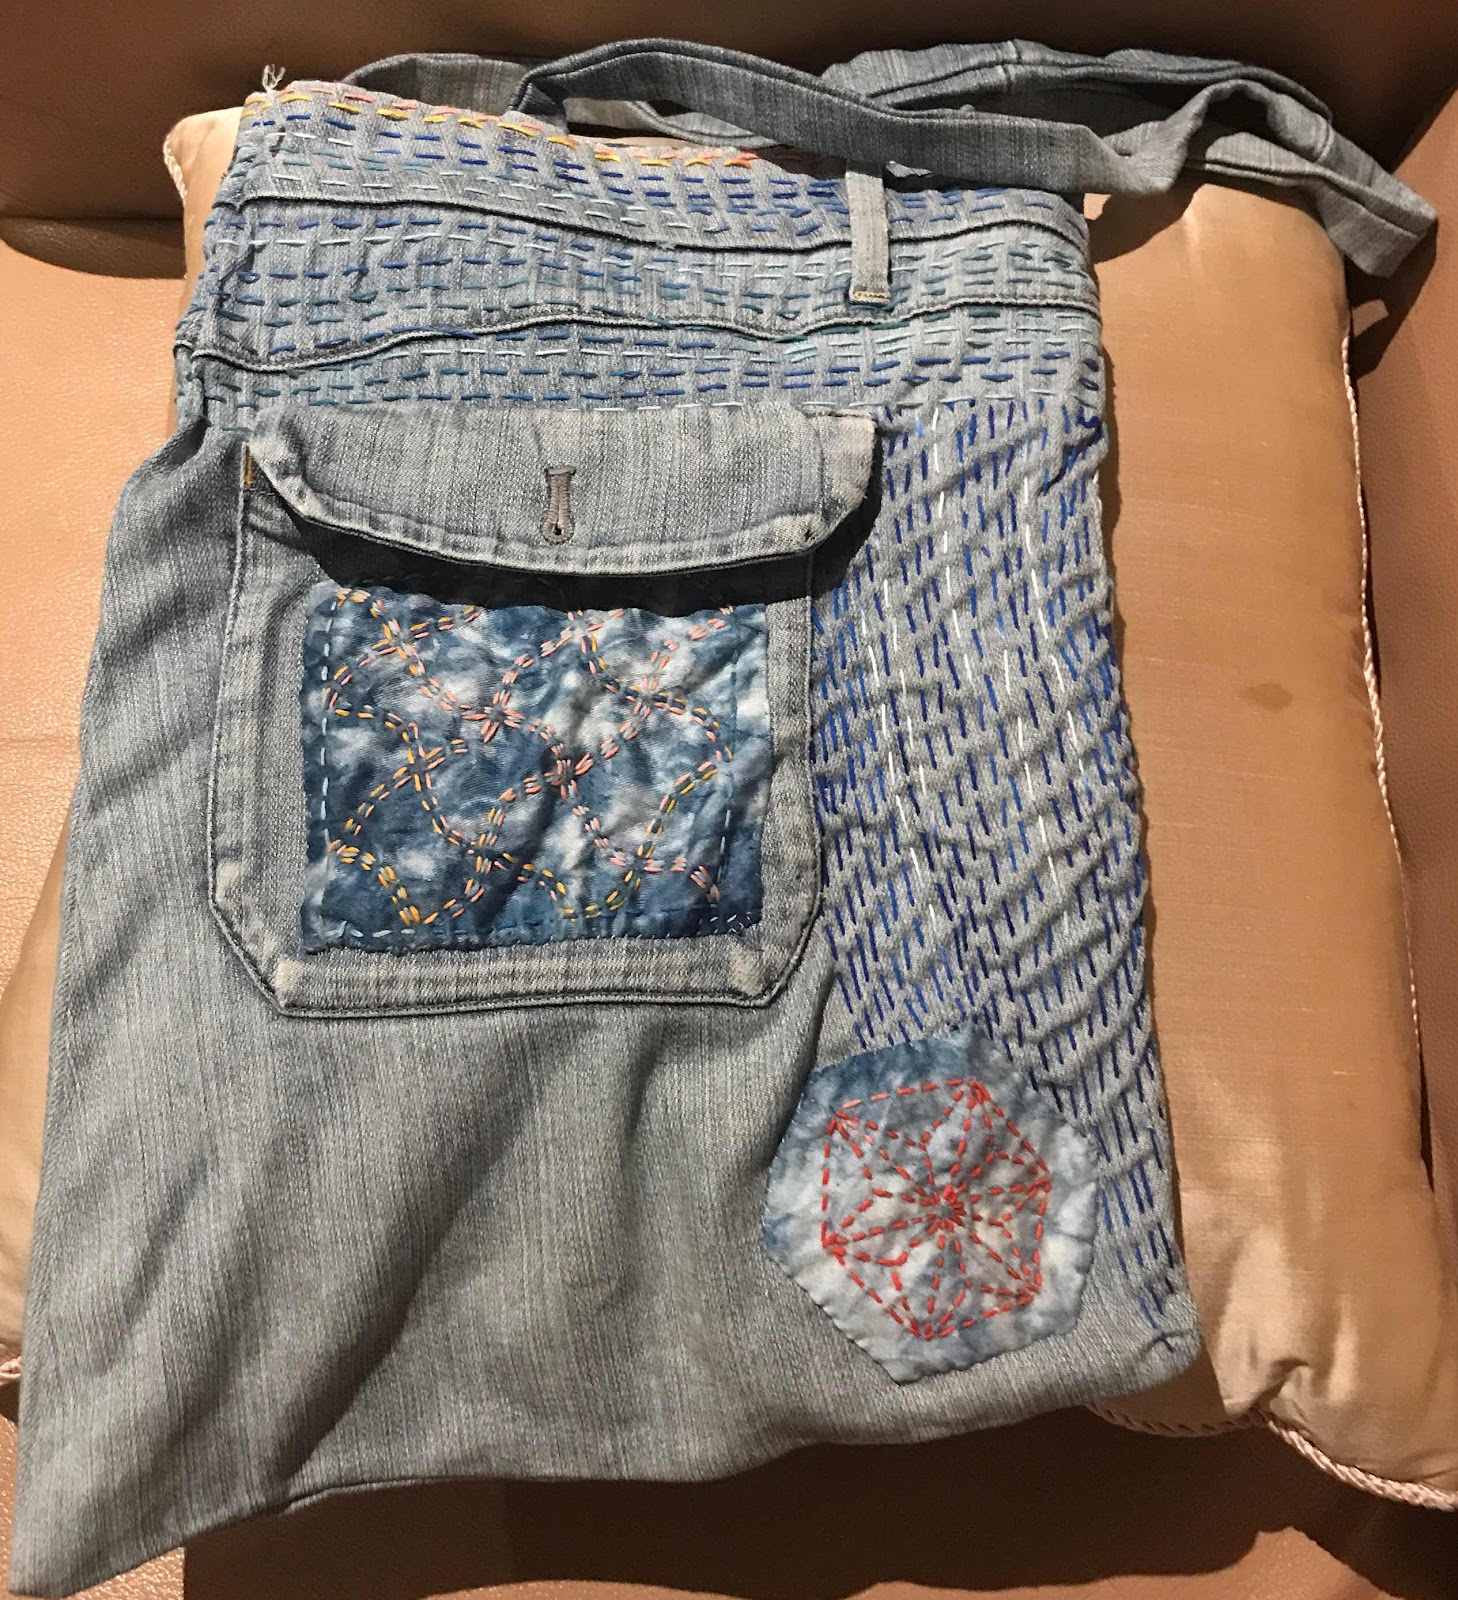
I attempted to cover the whole bag with running stitch, but beyond this point the bag twisted out of shape, so I stopped. I added a button to the pocket where one was missing.


I'm not sure how and where this bag will end up being used, but I've had a lot of fun and learning making it.


Saturday, January 7, 2017

Robin Panel 4: Cheer up, the sun is red, live, love, laugh and be happy

I began my Robin's Quilt embroidery with the first panel I had bought, now panel 4 in the redesigned, monster project. This was the panel that gave me the Big Idea and the one I was most clear about.
I did some research into Australian robins and decided mine will be the Scarlet Robin that inhabits the South and East of Australia. They are endangered, nest in the tops of trees in bushland, feed on the ground and venture into towns and houses as feed becomes scarce in Winter. The males are black with white markings and a white crest above the beak, a red breast and white underbelly. The females are brown with light red to orange breast,  white crest above the beak and whitish underbelly.  The red breast did not show up well on this red panel but I shall fix with an outline.                                                                                                                                            
I wanted to make the most of the dyed panel which suggests a sun to me. I embroidered some lines of figures dancing on sunbeams

then added a bunch of happy emojis below. I'm hoping I can tell this story in the symbols of our time. (There is a certain irony at the time of posting when it is 40C in Adelaide and the sun is not something in which I am rejoicing!)


I also stitched over the words on the upper border. I had not pressed hard enough on the iron in transferring the words and music and I was afraid the words would lift.


At this point I added the back to the panel - a square of the same batik fabric with a light wadding attached - and hand quilted the borders using a variegated machine thread and running stitch in straight lines.


I stitched around the robin in the same thread. I may yet go over the breast outline in black.  I used stranded cotton and mostly stem stitch in filling the robin - it is a robust stitch that can be adjusted to suggest feathers.


This is the back. It's not a bad start. I will now return to Panel No.1 - can't wait, a woman driven by an idea and the pleasure of seeing it unfold!

Saturday, August 20, 2016

Kantha design progress

While recuperating from my knee operation I have been working on the Kantha design I began in the Barbara Mullan Embroiderers' Guild workshop in June.  In my last post on the topic I had a design on paper. I transferred the centre motif and the four large corner motifs to the fabric using a combination of sketching and tracing. I worked these before adding the other motifs.
The central motif is from a marine photograph of a star-fish-like creature.
Two corners have crabs.
The other two corners have octopuses. In between, jellyfish swim around and a variety of shell fish nestle.


For the smaller shells and the jellyfish I sketched the basic shape with pencil then improvised with thread.


Once I had the basic design stitched, I began the process of background stitching. I began with the piece in a hoop to maintain tension in the running stitch, but soon abandoned it as too slow. It is much more efficient to work the running stitch with a scooping, rather than a stabbing, technique and the mantra from my class last year at the RSN was 'never scoop in a hoop'!

Without the hoop I progressed more quickly. I worked a swirling circle around the central motif - a current taking the jellyfish around in a whirlpool and washing other creatures off to the edges.


This process took several days of stitching. When it was finished I did a little bit of padding to give dimension to a few of the creatures. I was a bit ambitious with scallop shell, distorting the fabric - creating the need to block the finished piece.


I was able to successfully block it overnight. I am pleased with this result. I've decided to make this into a very large floor-cushion. I've ordered some dark green batik with which to back the cushion and mount a border. The border embroidery and construction will be my next post.


Friday, March 20, 2015

Maharani Fishpond finish

The final stages of the Maharani's Fishpond project involved stuffing and embroidering the central motif and finding a use for the finished piece.

The stuffing involved filling the little lotus leaves with stuffing - I used polyester - and cording the outlines of the leaves - I used 8 ply knitting cotton.

I pierced the back of the spaces to be stuffed with my very fine stiletto, then used a bone laying-tool to push the stuffing in.  It was amazing how much went in!


Having finished that, I decided the outer leaves shouldn't have been padded, so removed the padding from those, corded the outer edges and then embroidered the leaves.


I had tried several different stitches in the centre but was unhappy with all of them, so dug out a stash of small shells with holes for threading, selected a tiny operculum and stitched it in the centre.


Finally happy, I blocked the piece overnight.


In the morning I hand-appliqued it to the bag we were given on enrolment in the Guild's Summer School. These were shopping bag size, of maroon cotton and lined.

On the back I appliqued the 20cm sampler I made last year under Barbara's tutelage.

In South Australia we pay a deposit on all plastic carry bags at supermarkets - so we all carry reusable shopping bags.I know I will use this bag for quite a while to come.


The colour of the bag is less red than shows here. I have taken the photo many times, but have not yet succeeded in taking one I am happy with.

The bag, however, pleases me no end!