Search This Blog

Showing posts with label Carol Mullan. Show all posts

Wednesday, October 29, 2025

Canvaswork Needlecase Sampler with Carol Mullan

This was a two-day class at the Guild. Carol is a great teacher, totally focused on students, always working to enable them to create for themselves. We were asked to bring blending threads and a contrast, and to try plain and variegated.

I began with blending, but then grabbed a set of variegated I had bought and forgotten about years ago. What a good idea!
At the class, all the sensible students are busy making colour harmony, while I am being carried away with my newly recovered colour possibilities.  

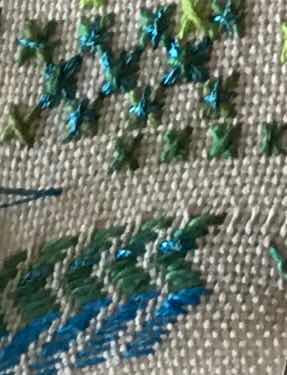
The design is Carol’s and I shalln’t discuss it. Obviously, it consists of squares in a grid. Mine is not accurate.  By the end of Day One I had stitched myself into a kind of colour gridlock (above) with only a vague idea of how I was going to escape.
Very few of the Guild chairs are comfortable for a full day class, but I didn’t do too badly. However, at the end of the second day, as I was trying to finish the first side, my eyes would not cooperate and I stopped half an hour early.

I had a few other higher priority projects on the go, and had  intended to finish the last corrner then put this aside until after Christmas. However, my mind kept playing. It occurred to me that I did not have to work the grid again. As the ideas kept coming, I decided to keep going. 

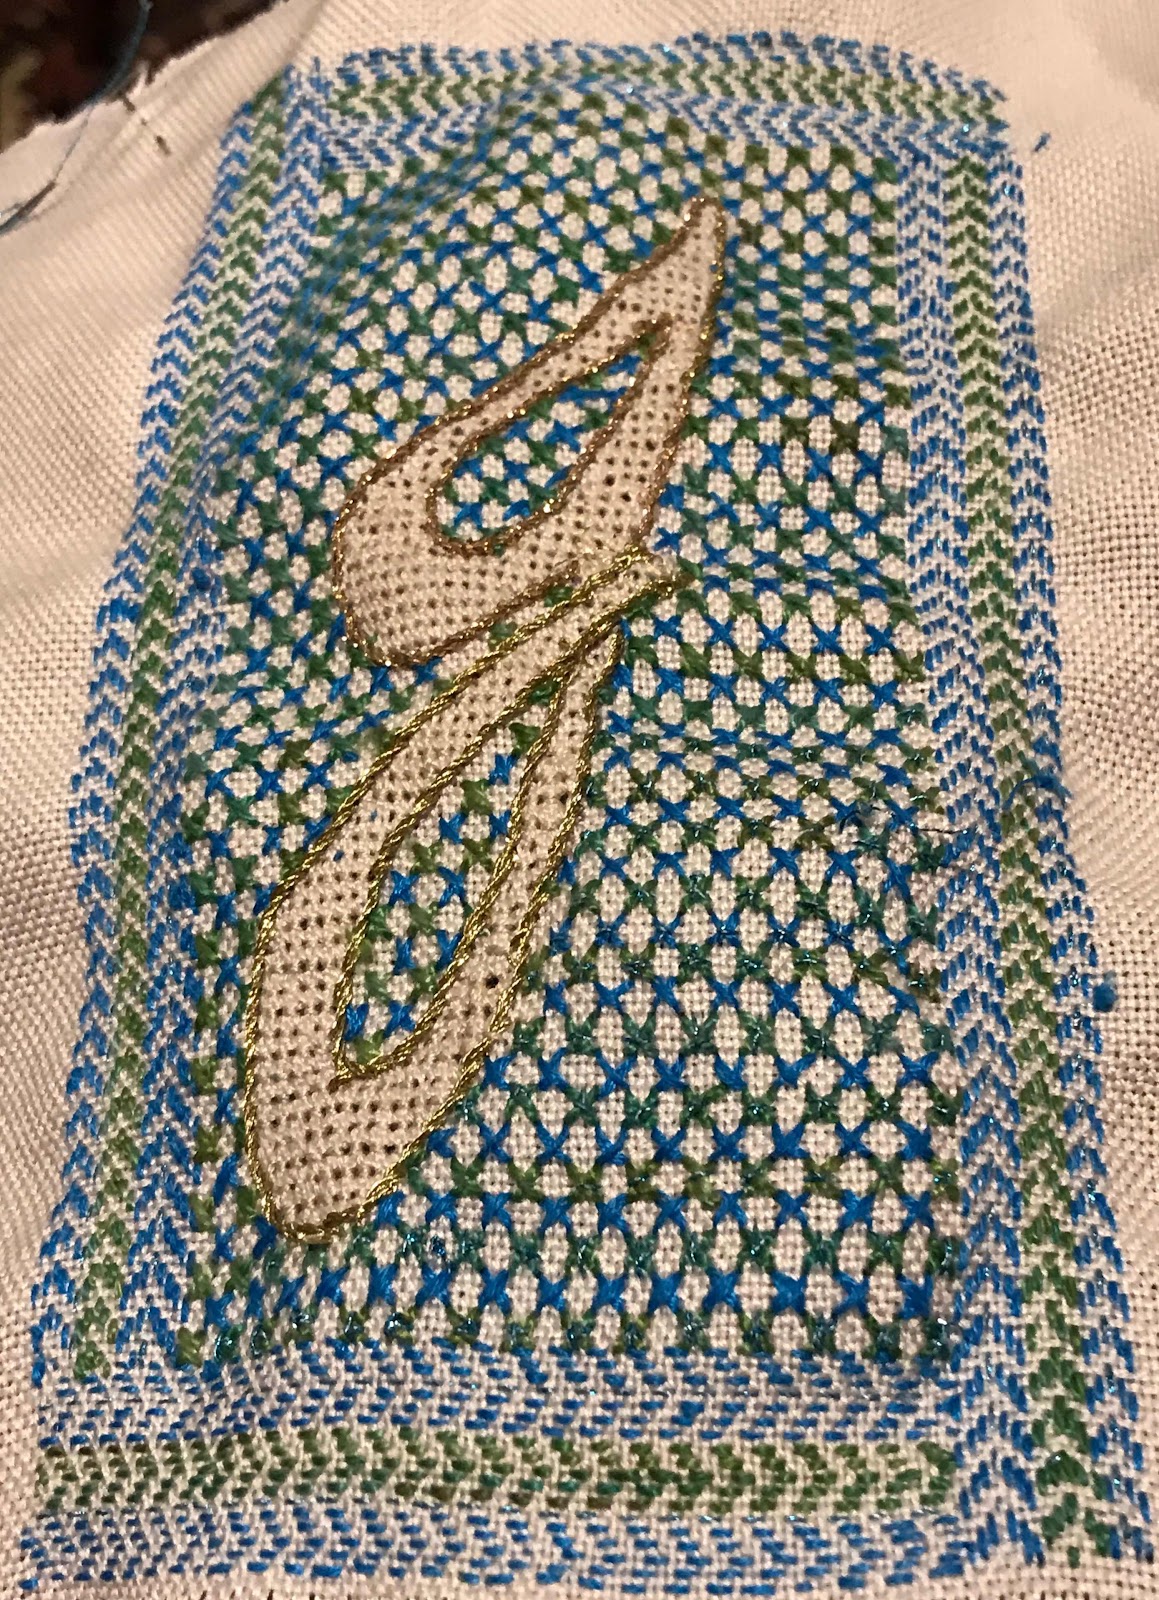
I worked a central set of squares to colour-match the spine, then the date and my initials. From there I worked designs all the way around the edges, choosing the colours to blend and merge.


I focused on colour and overall pattern rather than variety of stitches. By now I was so focused on finishing that I forget to edge it before cutting it out - forcing me to work the edge with very little leeway.


The back is certainly not pretty, but it does provide strength! I've tidied the initials so they are readable but not dominant.

I found an appropriate scrap of poplin to line it before adding doctor's flannel, a button and a loop. It came out surprisingly well.
  I hadn't expected to end up so quickly with a useful and attractive needlecase. Thanks Carol.


Thursday, February 25, 2021

Four months on I resume with a catch up

 I last posted to this blog in October, when I summarised the embroidery I had completed over the previous three months.  This had been reported in a haphazard way in the daily blog posts I undertook in https://jillian-england2020.blogspot.com/ which I began as a travel blog during my visit to the UK in March 2020 but continued when I returned to lock-down and then Covid restrictions. Friends encouraged me to keep that blog going as a record of Covid experience in Adelaide, Australia. I kept it going on a daily basis for a full year. As of 25 February I intend to keep it going on a weekly basis until our borders open up - probably the end of this year.

The weekly posts will summarise what I've been doing. This will include embroidery, but without a lot of detail. I'm planning therefore, to return to posting detail about my embroidery adventures here on Jillian-AlwaysStitching.

This post is a quick summary of completed embroidery projects since my post here in October last year.

1. Crewel Feathers

This series of feathers is from a cushion by The Crewel Work Company. I have worked the feathers as separate additions to my Crewel chair. Rather than ostrich feathers, which the design reflects historically, I worked them in the colours of native Australian birds that I see regularly.


 2. Inuit embroidery
This odd-looking piece is a result of a World Embroidery Study Group meeting to look at Inuit embroidery.  We used some templates from a book on the subject to try out common stitches and figures (mostly worked on hide). This is a hunter and bear (yes, others have commented it looks like a meerkat!)


We plan to put these together as an entry into the Guild Exhibition next month.
3. Shawl
This is the shawl I was working on when I last posted here. It was finished in time for my daughter to wear it to a wedding in November.
4. I worked a number of crewel pieces from The Crewel Work Company   

  and added them to the chair, along with the feathers discussed above.

This leaves one space on the back of the chair for the Aesop Fables Frame which I am working on at the moment. 
.
 5. Before Christmas I worked a couple of Sashiko panels and turned them into a pouch and a zip bag respectively.

6. This hussif was the product of a Counted Sashiko  class with Carol Mullan at the Guild in November.
7.  Embroidered tote bags - four of these are Nicola Jarvis birds, embroidered on linen and appliqued on to bags I made from fabric from Ink and Spindle. The fifth (lower right) is an Anna Scott design from Inspirations Magazine, embroidered directly on to the bag. These are entries in the Guild exhibition and will be mostly gifts when the exhibition is over. 
8.I have just finished working this quote from Alan Garner's The Owl Service.

We are now more or less caught up. I will try to post here more regularly from now on.  

Monday, January 27, 2020

SA Embroiderers' Guild Certificate Course Colbert workshop

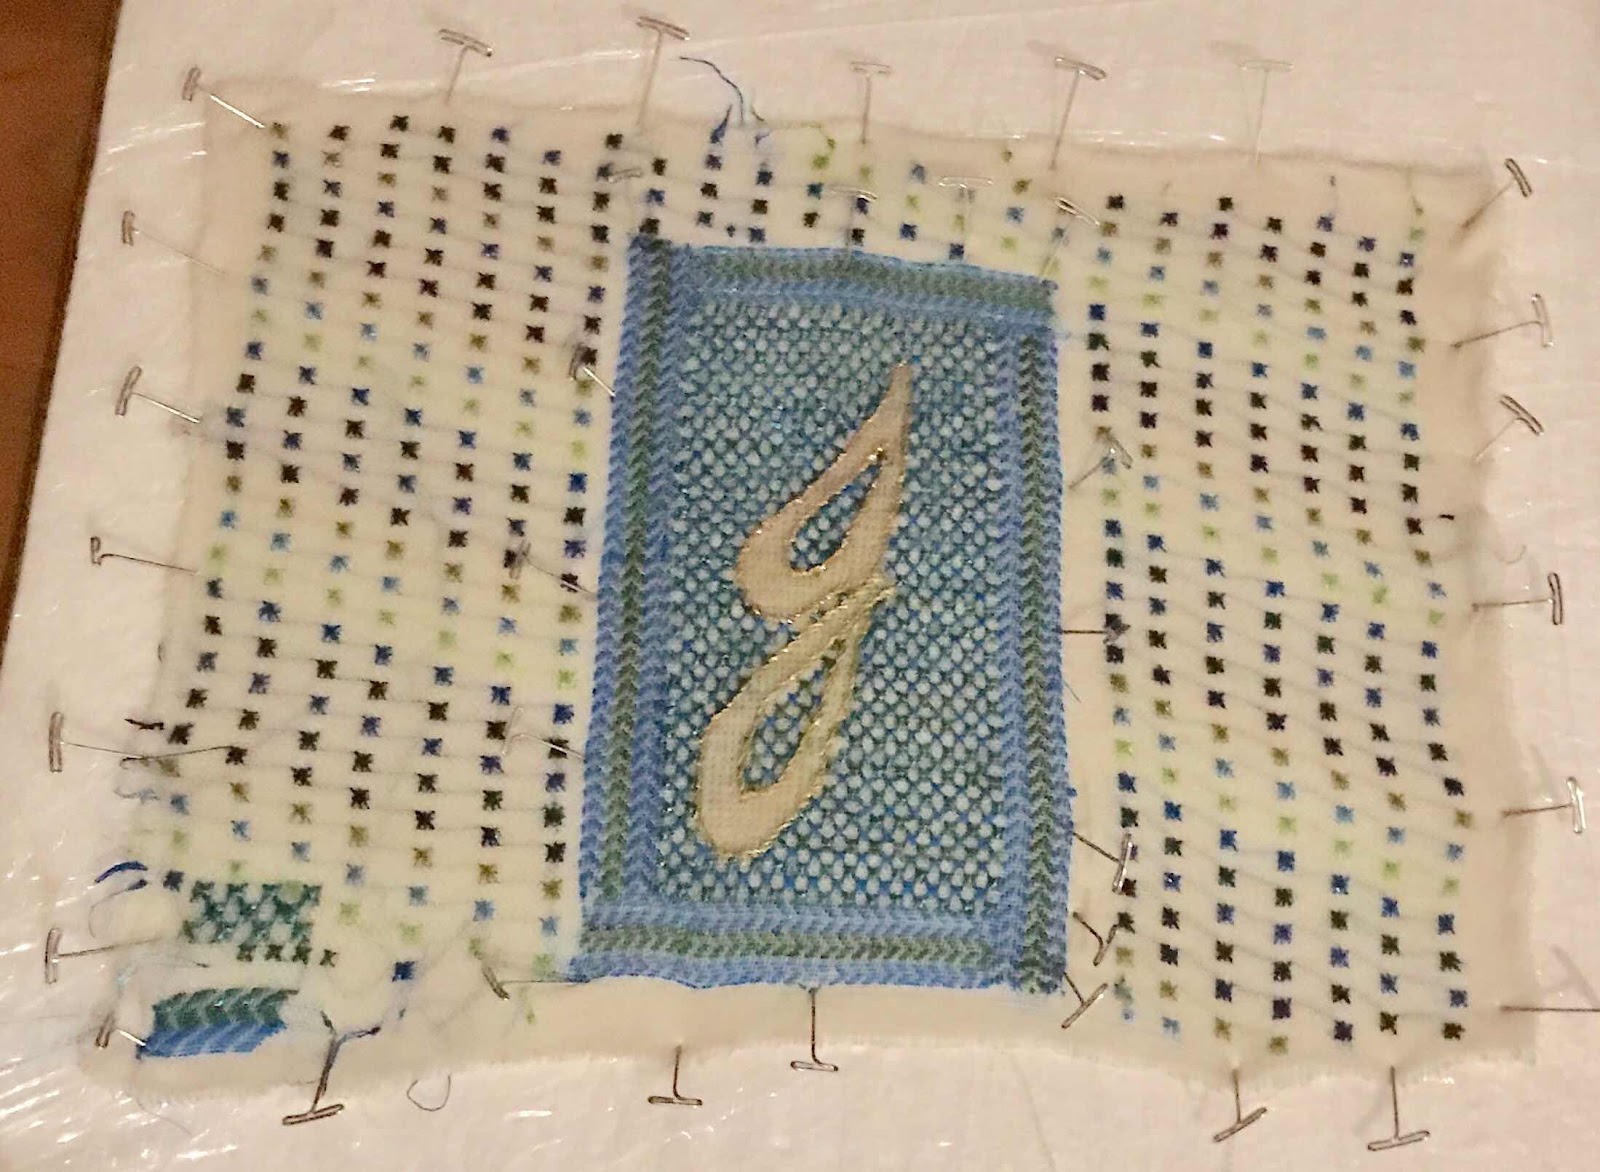
The November Certificate Workshop focussed on Colbert embroidery, named for Jean Baptise Colbert, Finance Minister to Louis XIV, who introduced a lace making to France in the 17th Century in an attempt to kick-start an industry. Colbert is an embroidery style based on lace designs. Like Assisi work, it is a voided style, but encourages more elaborate backgrounds and combines both counted and surface stitchery.

The workshop was prepared by Carol Mullan, but unfortunately,  Carol was ill on the day. We had her notes, and Mary Hall, who was attending as a student and had attended an earlier Colbert Workshop by Carol, stepped up and walked us through the workshop.


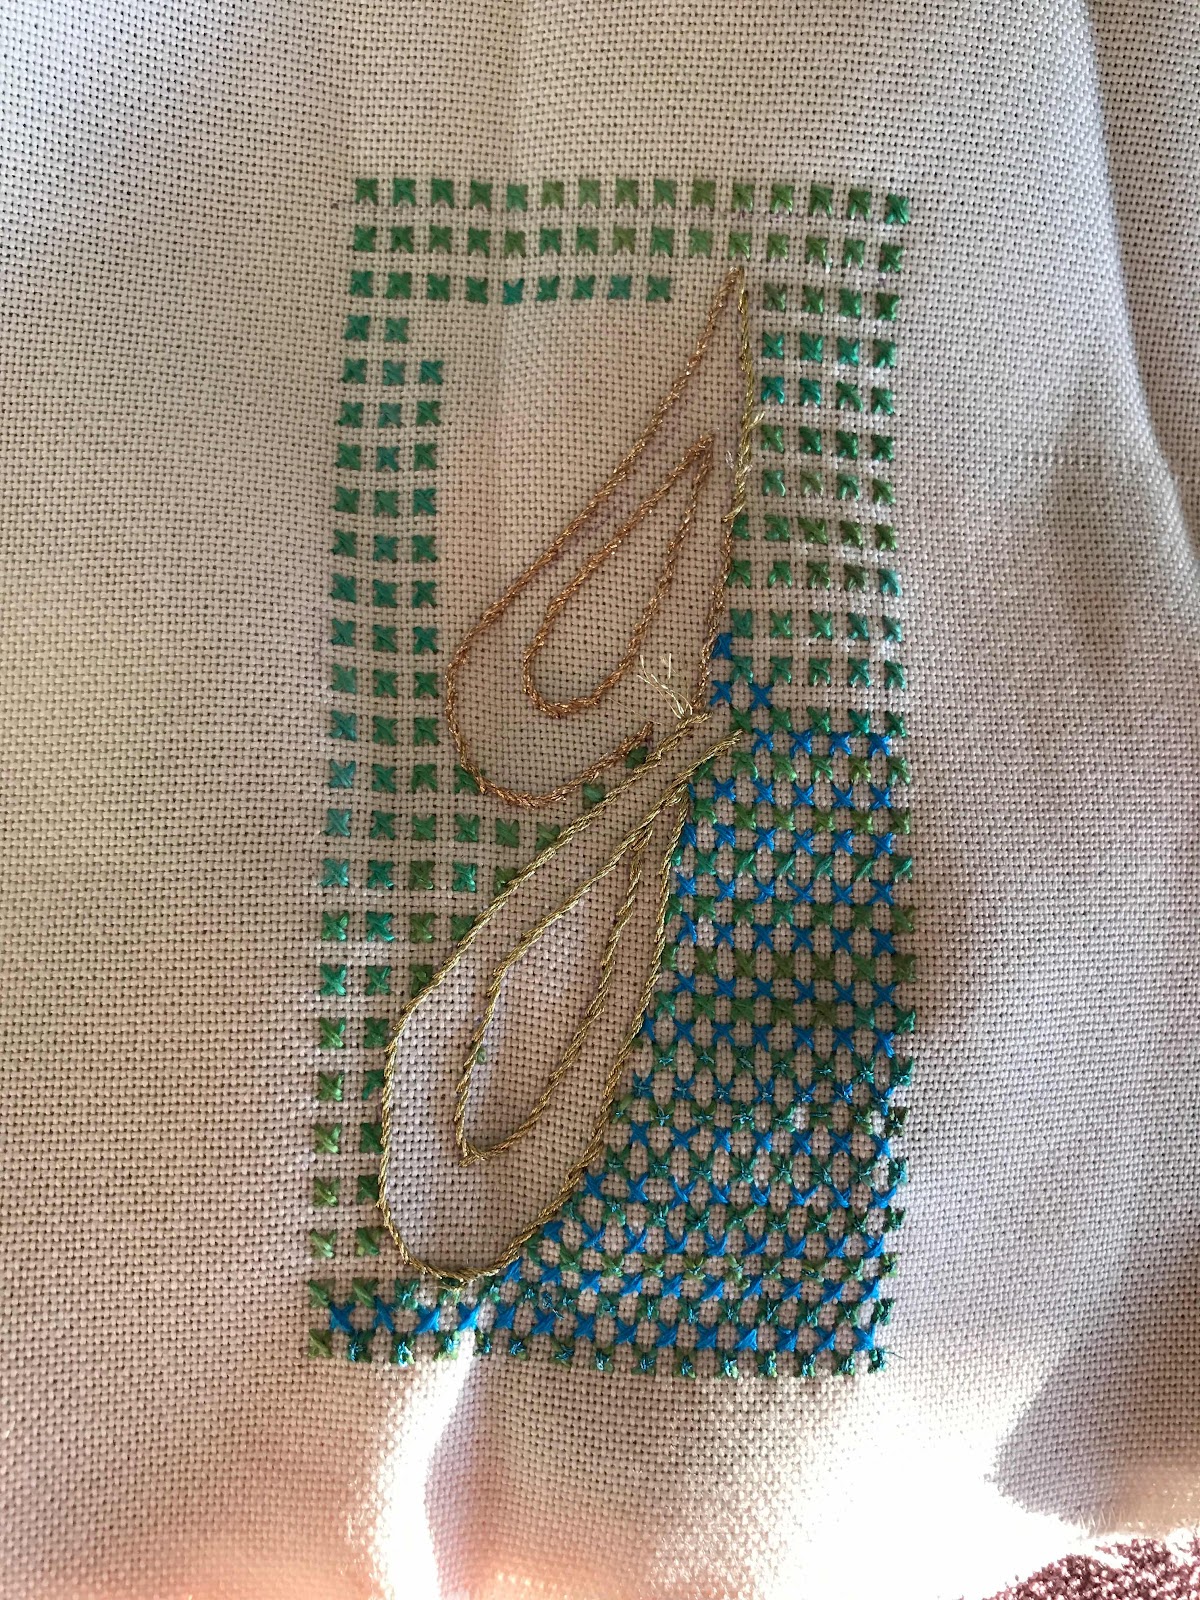
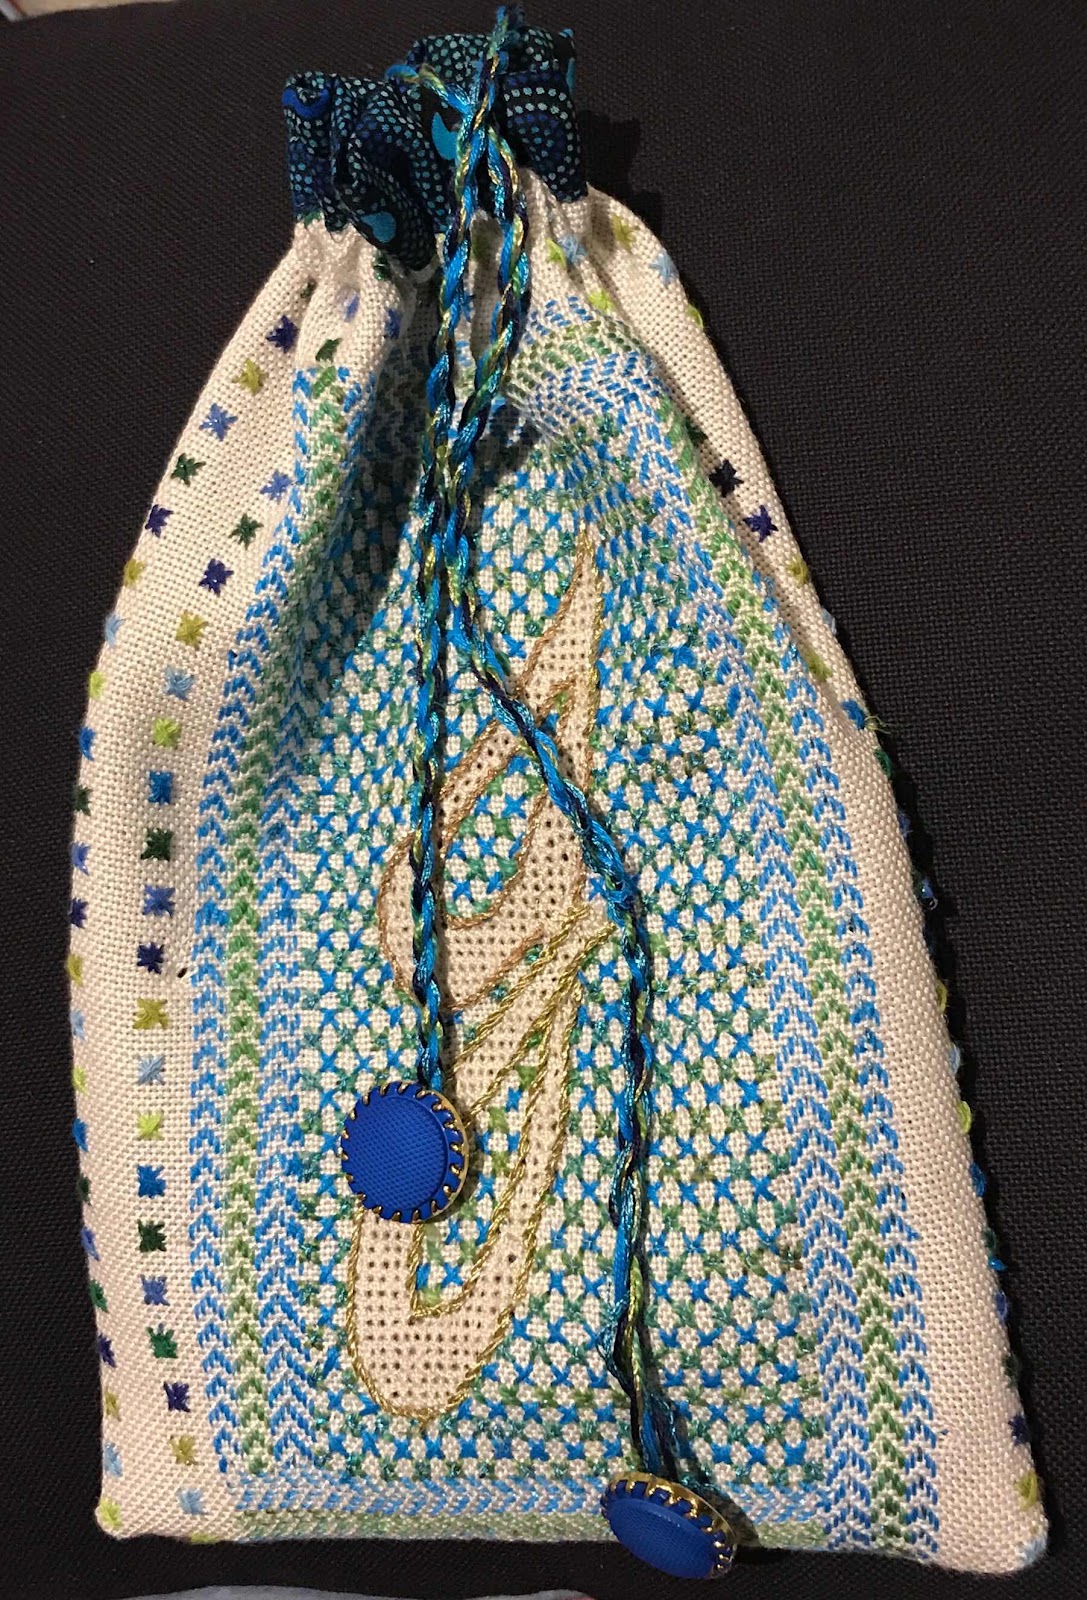
We began by sketching a curved shape which would become the void. I decided to use my initial. I was working on very open weave Lugana, about 25 count. From the threads I had brought along, chose a green perle 5, a stranded electric blue, a matching stranded metallic and a gold poly metallic.

I worked a tiny sample in a corner of the fabric. I was pleased to go against the Blue and green should never be seen without a colour in between mantra of my childhood!


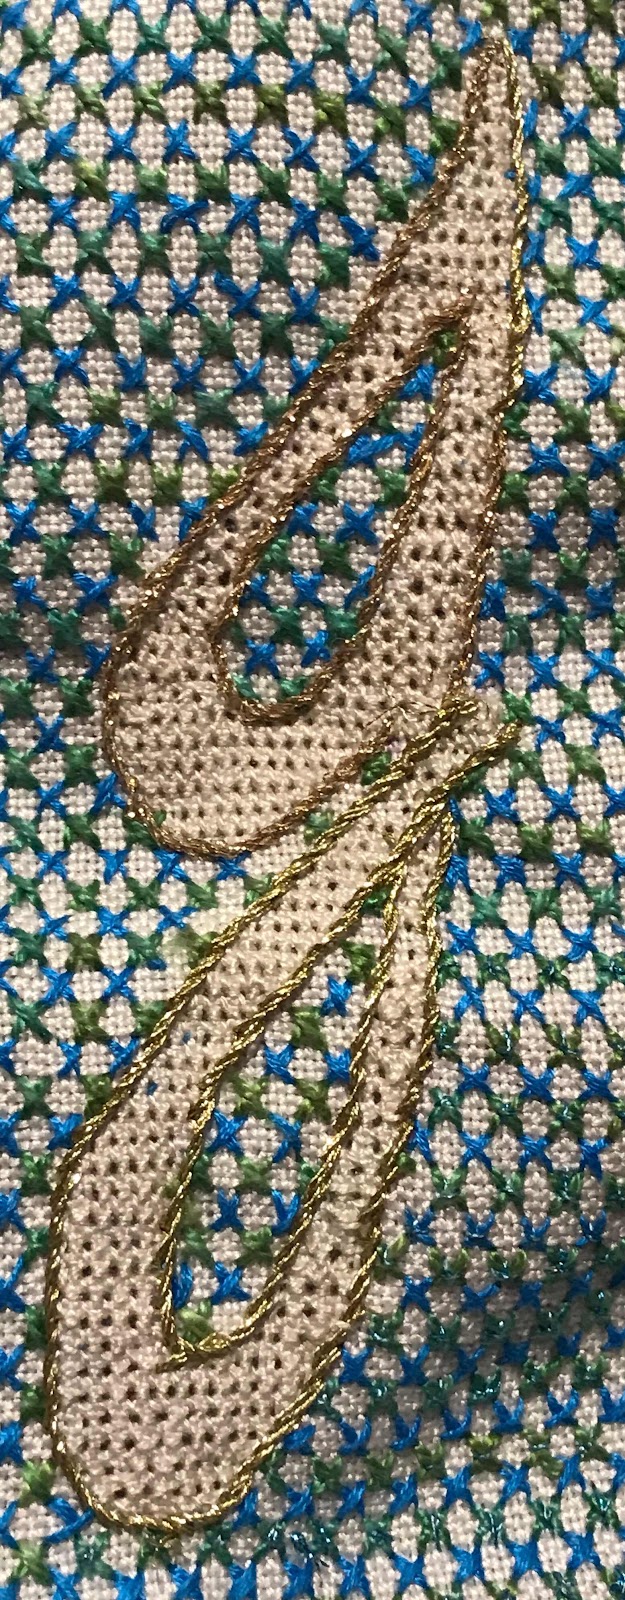
I outlined my initial in the gold,  then began to fill in the background using one of the stitch samples Carol had provided.


It was a great workshop. Everyone rose to the challenge of making it work without Carol. It was bad enough that she was sick - we owed it to her to use what she'd provided to manage our own learning. Mary did an amazing job of helping us as did the Course coordinators.

At home I filled the curved void with four-sided stitch. Around the first layer of background I put a border of running stitch arrow heads. There were challenges with tension. Most of these stitches are done by scooping rather than stabbing, which means holding in the hand rather than a hoop.


I had by now decided, of course, that I might as well use the whole piece of fabric to make a bag. I therefore worked another variety of the background stitches to cover the whole piece. For this I used some of my set of DMC Etoile thread - a soft stranded cotton with a touch of sparkle.

At this stage I blocked the piece to remove the bagginess created by the differing tensions.

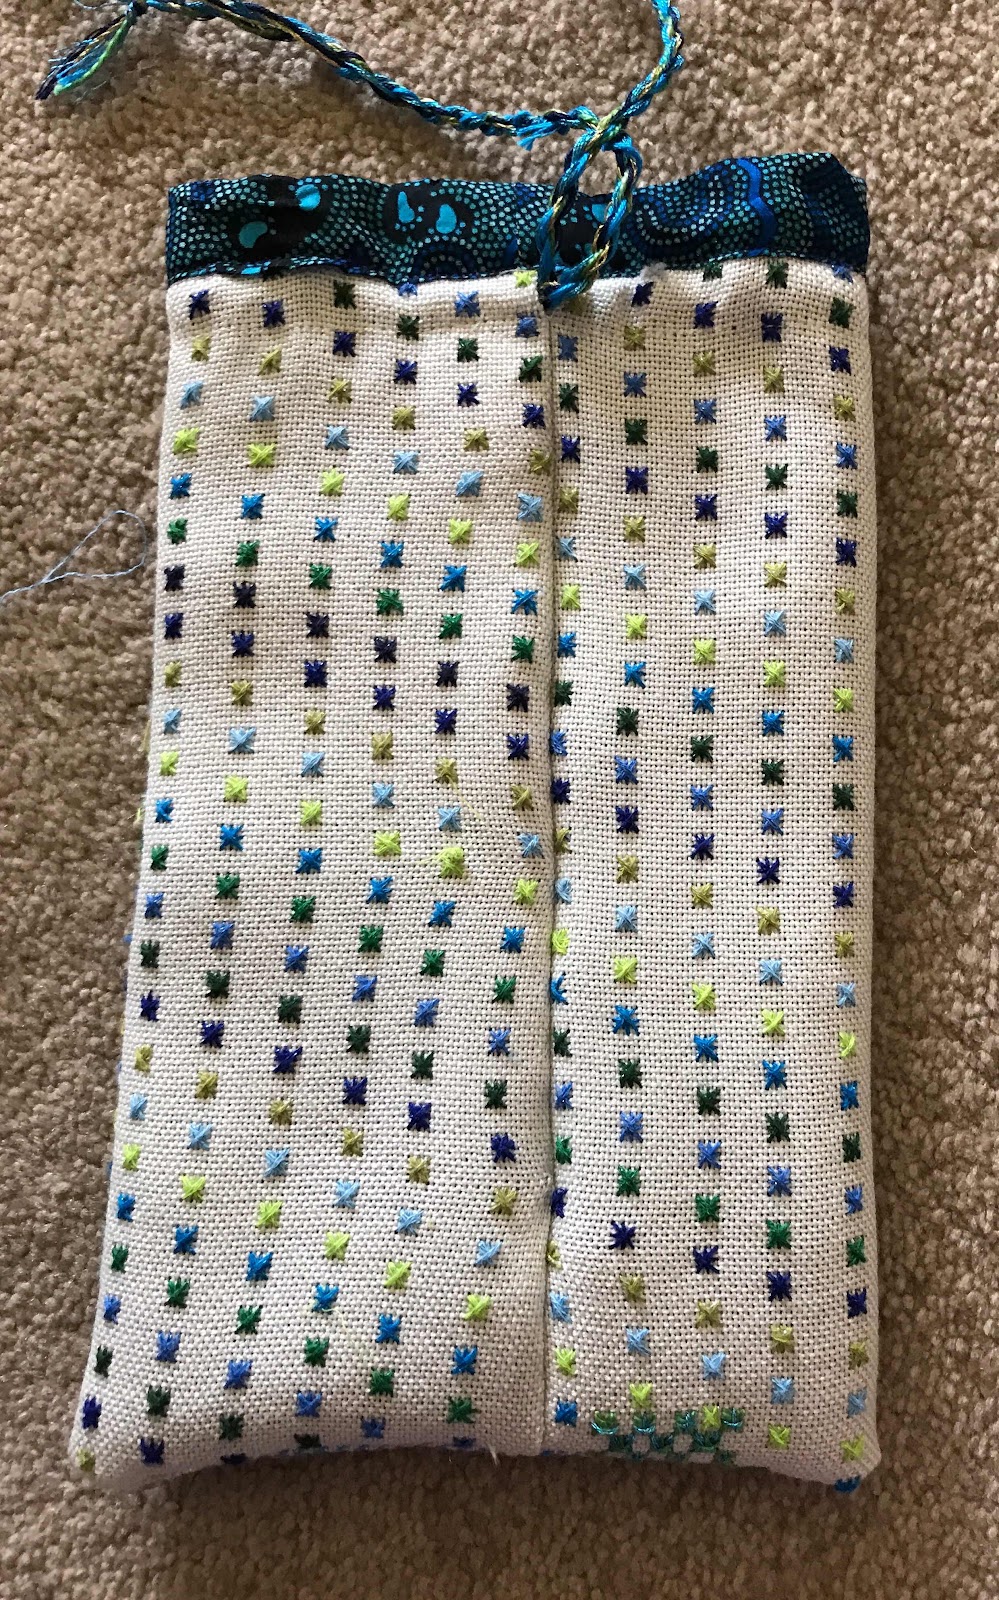
I folded the piece, stitched a back seam and the bottom.  I added a lining from some of the fabric I had left from my River Matters project . It's a mix of cultures, but the colours work well.


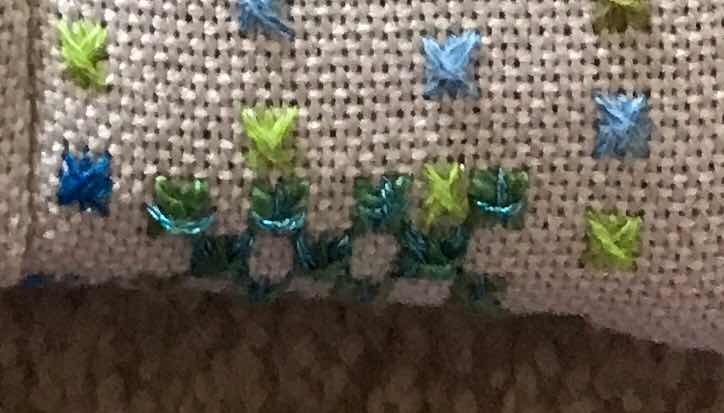
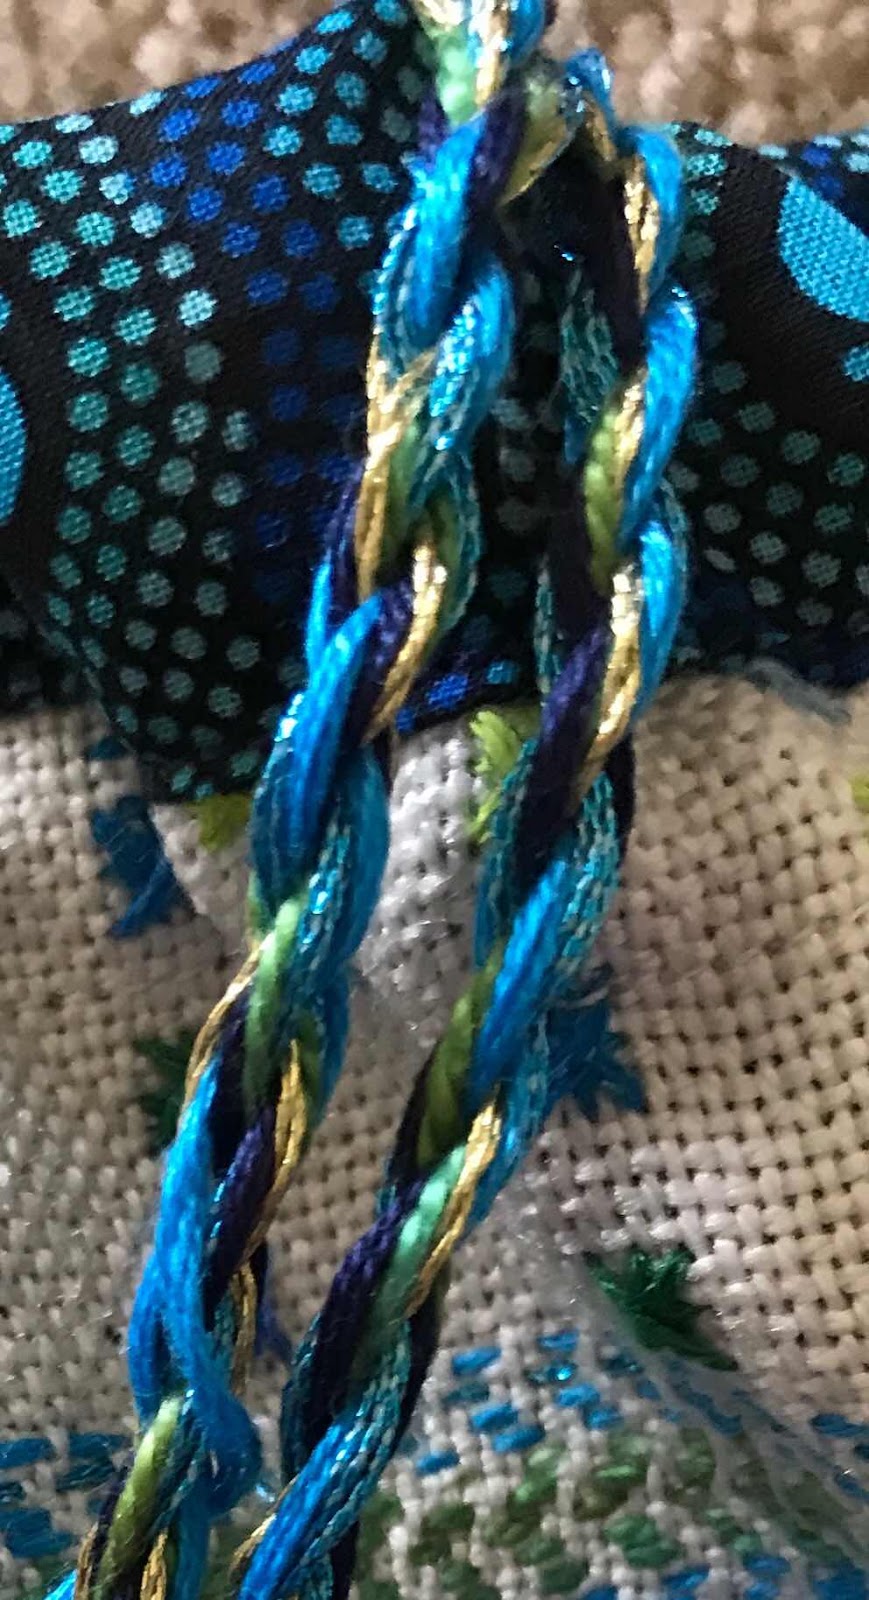
Notice that part of my initial sample stitches survives at the bottom seam. The twisted cord is made from strands of the basic threads used (without the Etoile).


As a final touch I added cord endings  from my button stash.

I'm not sure yet, what I will keep in this bag - but I'm very pleased with it and I'm sure something will turn up!


It is such a privilege to take part in these workshops. Thanks to all who made it possible.


Saturday, April 18, 2015

Pouch from Ottoman Double Running piece

I used double running stitch to applique the Ottoman Double running linen piece to the square I had constructed from the blue denim and maroon batik.

I experimented with a couple of stitches to join the envelope flap pieces together, but ended up using a version to blanket stitch bars used in the original Alison Snepp design.

I kept my bars in ecru only and made them a bit larger than the original. I intended the denim to be undecorated and the focus to be on the batik and linen.

It is evident from the photo that my envelope did not match up perfectly. I initially compensated for this by adjusting the shape of the inset piece.

As I stitched I decided that (1) the denim needed embellishment and (2) I could get a better, and more interesting effect by inserting  a whole additional strip of fabric to make the envelope more symmetrical.

The embellishment would, of course, have been better done before construction, but was not too difficult.


As with the original, I added a two-colour chain stitch border around the opening.

I also constructed a tri-colour cord for the edge.

then decided to add an appliquéd strip to the right hand side to imitate the left.
While this reads as a lot of messing around rather than a planned, designed approach, I really enjoy working in this way - the peasant approach. I have added a blue tassel and one of the needle lace buttons from the Italian Tassels class will come into its own when I get home in a few days time (I'm currently visiting in Canberra).i will also be able to block and iron the bag!


Thursday, April 9, 2015

Ottoman double running progress

It is a long time since I wrote about my progress on the vase of flowers piece I started with Carol Mullan at the SA Embroiderers' Guild Summer School. The Maharani's Fishpond rather took over!

I did eventually finish the piece - not without some difficulties, mostly derived from lack of concentration.

Much of the design is worked using double running in steps. I enjoyed learning that technique. The artichoke-like motifs afforded me some challenges. I needed good magnification and a lot of concentration to count


 I struggled a little with getting strong enough colour on the linen, which is Permin lambs wool (colour description, not fabric). The single strand colour, although dark, did not make a solid impression on the linen.
One of the techniques outlined in our notes was to overlay the double running stepped grid with double running stitch on the diagonals. Although this does not look as ordered and geometric as the outlined grid, it does afford a sense of solid colour, so I worked this in the larger blocks of the design.                                                                                 While stitching this, I  pondered what to do with the finished piece. Framing does not appeal to me. I've been carrying the piece around in the Ottoman pouch I made from Alison Snepp's design and it occurred to me that this might be a good way to use the piece of linen.

I found a piece of denim and lined it with some batik that had served as a tablecloth for many years until it fell into holes. I salvaged some of it. Although pairing it with the Ottoman double running piece creates a mix of ethnicities, the colours work.

It was tricky to get the size and layout right, so the linen would end up on the back of the pouch and right way up (apologies for the horrible colour of the denim in the photo!).

I didn't succeed in getting it perfectly geometrical, but this is a piece of folk craft and I will adapt as I stitch. 


More on the construction soon.