Search This Blog

Showing posts with label cable.. Show all posts

Monday, May 1, 2023

St Brigid progress. Warning: a lot of knitting detail.

Since my last post I have made some progress, and further changes in my tools for this project.

First, I decided the plastic, grooved cable needles I was using were holding me back, so visited The Yarn Trader to buy some metal ones. I bought a pack of aluminium ones, and two steel ones, one slightly curved and one a J curve.   I'm now using the slight curve steel one.               

I've also changed my chart management. I removed the charts I now remember -  2 edges and 3 regular cables. 

That leaves the centre panel and a complex panel on either side. I taped these charts together, matching the rows, and placed them on a magnetic board, so I can mark the row. The board is a bit clumsy, but, with my row counter, keeps me on track.
It is certainly a complex pattern and requires quite sophisticated charting. I  finally worked out the logic of the symbolism used.

The vertical lines represent knit stitches on the right side, and the horizontal lines represent purl stitches. The bent lines represent cable direction. A line underneath signals cable needle in front of work. Line above signals cable needle to the back.The stitch symbol is the one you end up with, not the one you start with So, reading from right to left, the red circle marks an instruction to place two stitches on a cable needle in front of your work, purl one from the left hand needle, then knit the two from cable needle. The green marks an instruction to place two stitches on a cable needle at the back of your work, knit two from the left hand needle, then purl two from the cable needle. 

It made sense if I considered the stitch instruction as separate to the cable position instruction. There may be a better way of explaining it, but I am now able to read this from the chart without constantly looking up the codes. It is still slow knitting, but not as slow as it was. I finally did a bit of a search on knitting symbols, and found an equivalent symbol system on Stitch Maps. While other systems work on integrated symbols, this one works on using two separate symbol systems in combination. I'm relieved I worked it out.

Last night I finished the back. It is quite long - 65cm.
I am very pleased with it. It looks lovely.  At the top of the photo is the remainder of the fifth ball of wool - almost spot on my calculation.
I have now started on a sleeve. If that takes no more than 3 balls, I have enough.  I'm hopeful.
I have made up another chart for the sleeve. While it looks simpler, the instructions are more complex. As you add stitches to shape the sleeve, you need to adjust the pattern and charts. I'm taking it one step at a time.

I'm gaining in confidence and can now imagine it finished - which helps.


Sunday, June 30, 2019

More knitting

I've been on a bit of a knitting binge of late.

I had the best part of a ball of wool left from the jacket and hat I knitted for myself. It was  Bendigo Woollen Mills Bloom - a heavy 8 ply and very warm. (It is now on special until the end of the financial year -tonight!)
As I am trying to use up wool as I go and there were a couple of simple things I had wanted to try for a while now, I used up the left-over wool to knit, first, a headband for Veronica.

I was well into the swing of cables, so stuck with that, measured her head and knitted this simple headband, secured by a button.

I'm not sure she will ever wear it, but I have at least tried it out - and used a bit of wool!
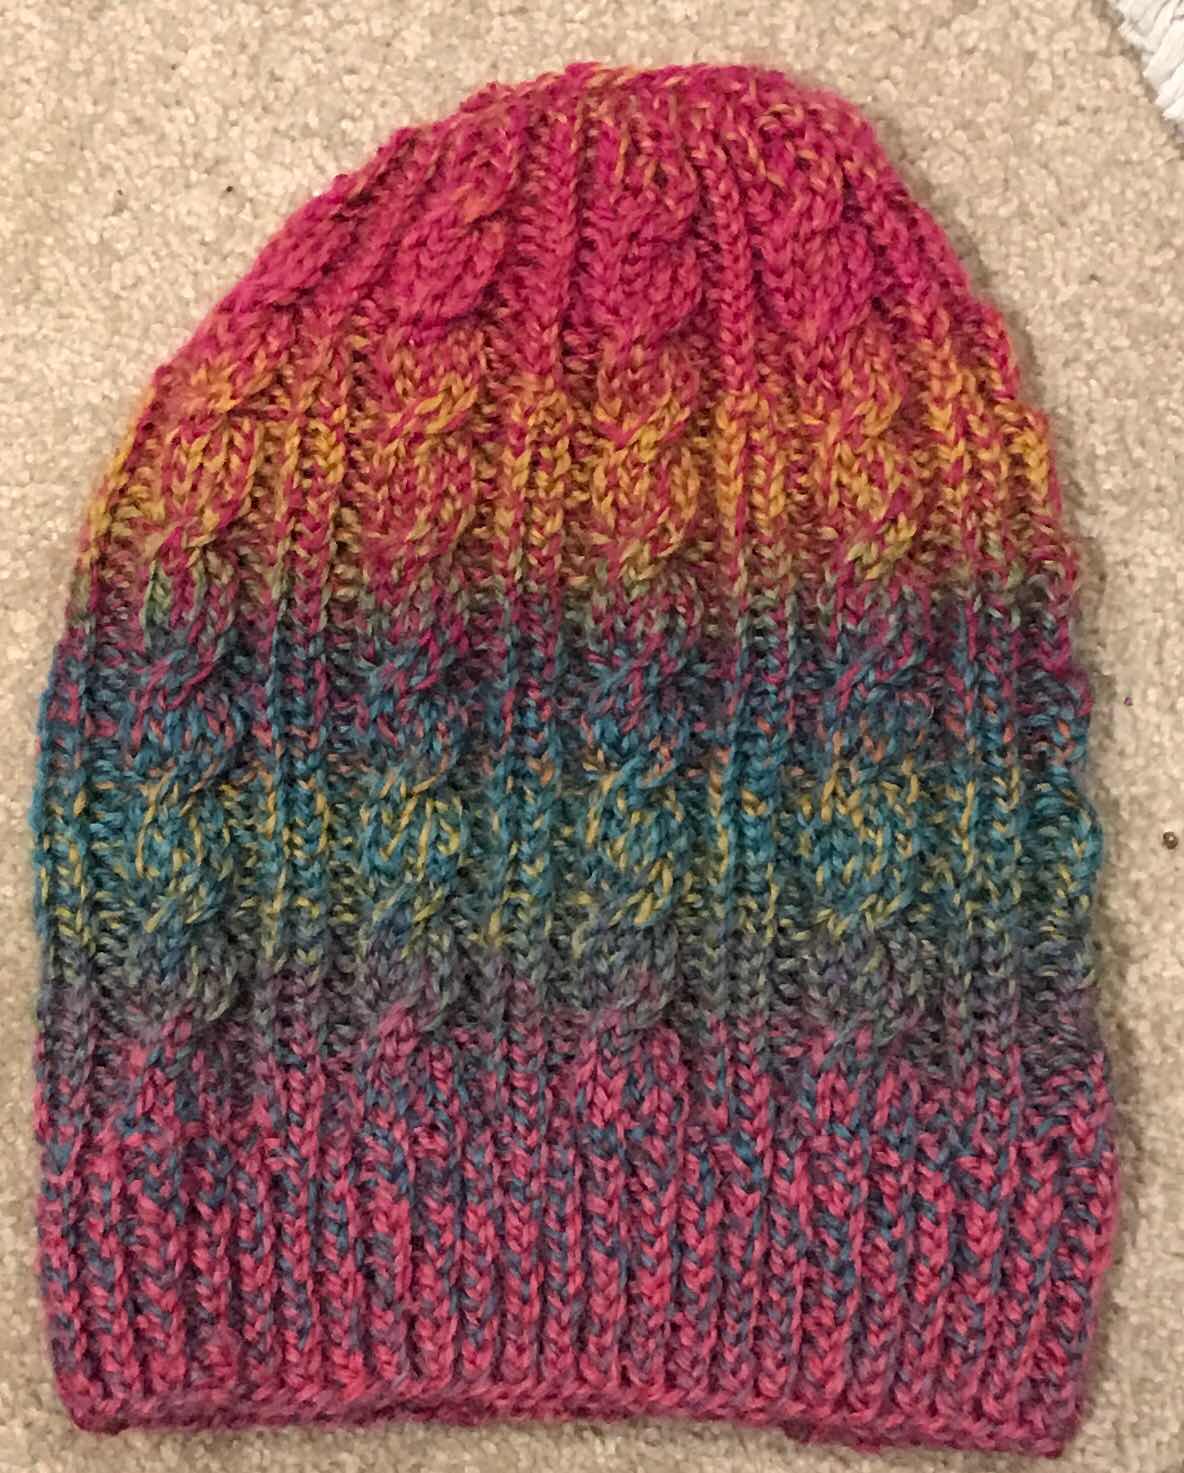
My second project was a messy-bun hat for Niamh. I have always wanted to try one of these too. Again, I stuck to the cables. This was harder to get right.

Before I congratulated myself, the hat turned out to be much too long, so I undid the last rows and shortened it. I think I am more enamoured of messy-bun hats than Niamh, but again, I've made one, satisfied my curiosity, learned a bit - and used up all the wool!


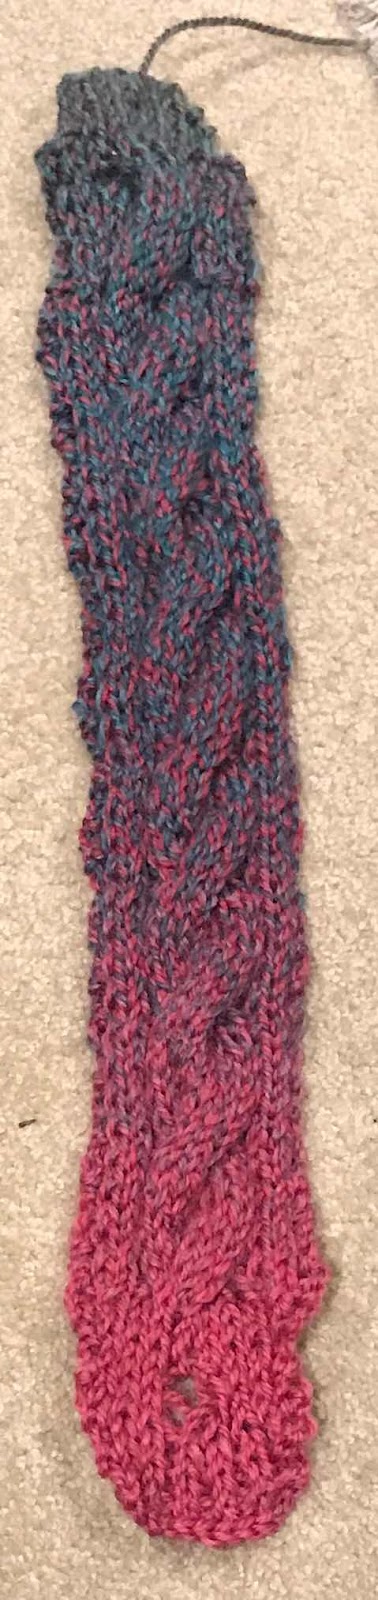
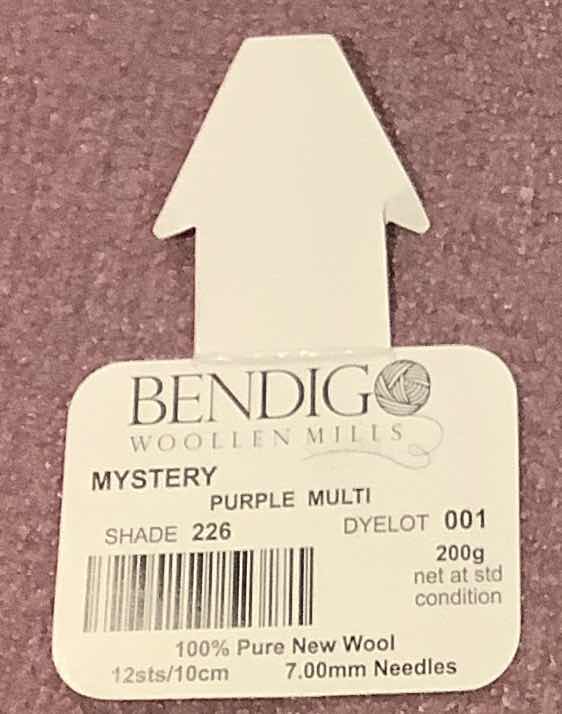
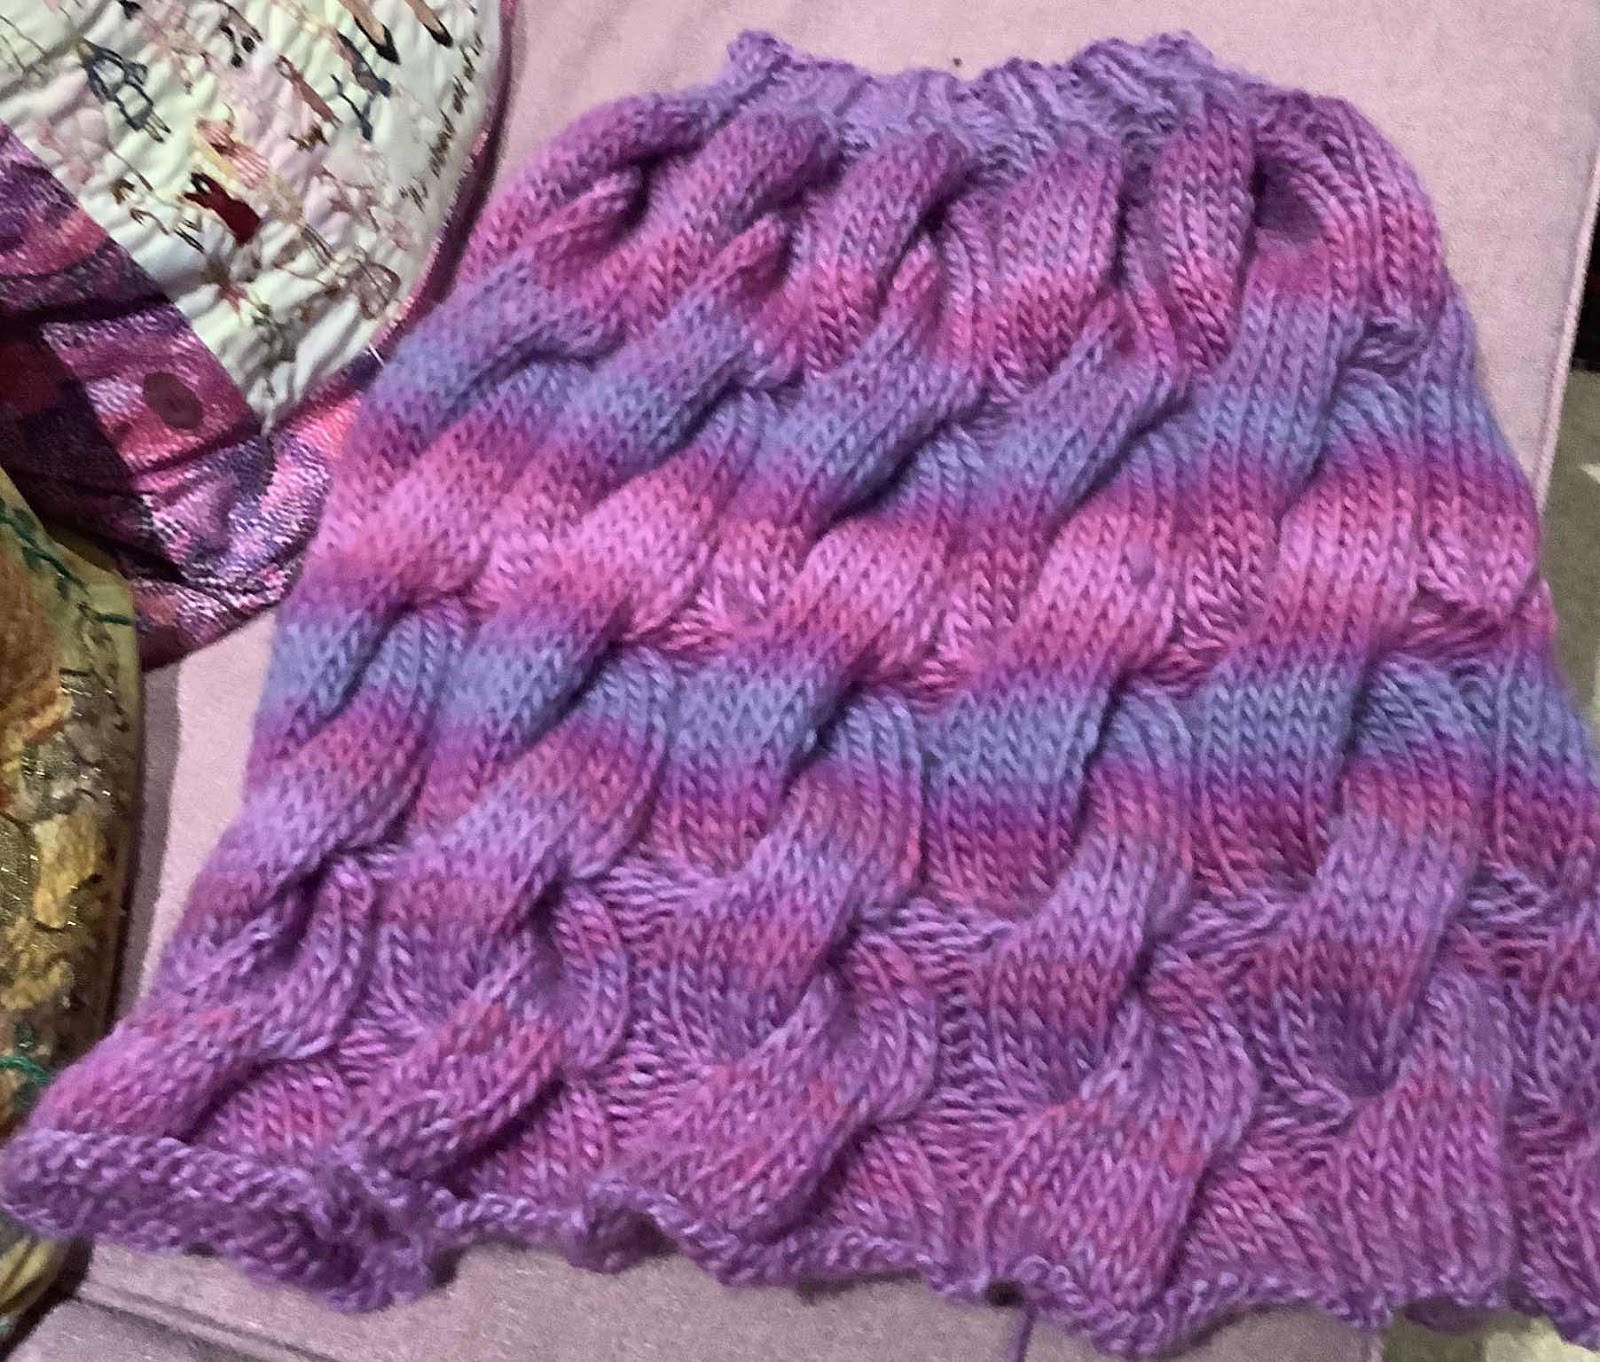
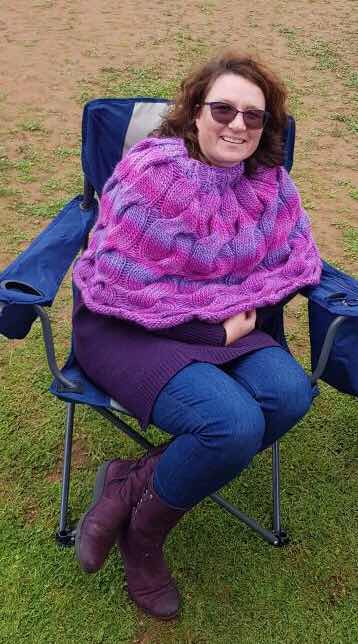
I then launched into using up some of Bendigo's Mystery (no longer available) with a pattern for the Brindabella Cowl from Australian Alpaca Yarn. It's more a poncho than a cowl, and I could see it in this wool, so thought I'd try it out before buying any more alpaca.


Even though Mystery was listed as 8ply and I had 100gm more than the pattern recommends, it felt more like 10 ply and did not reach the length needed to pull over the head as a hood.

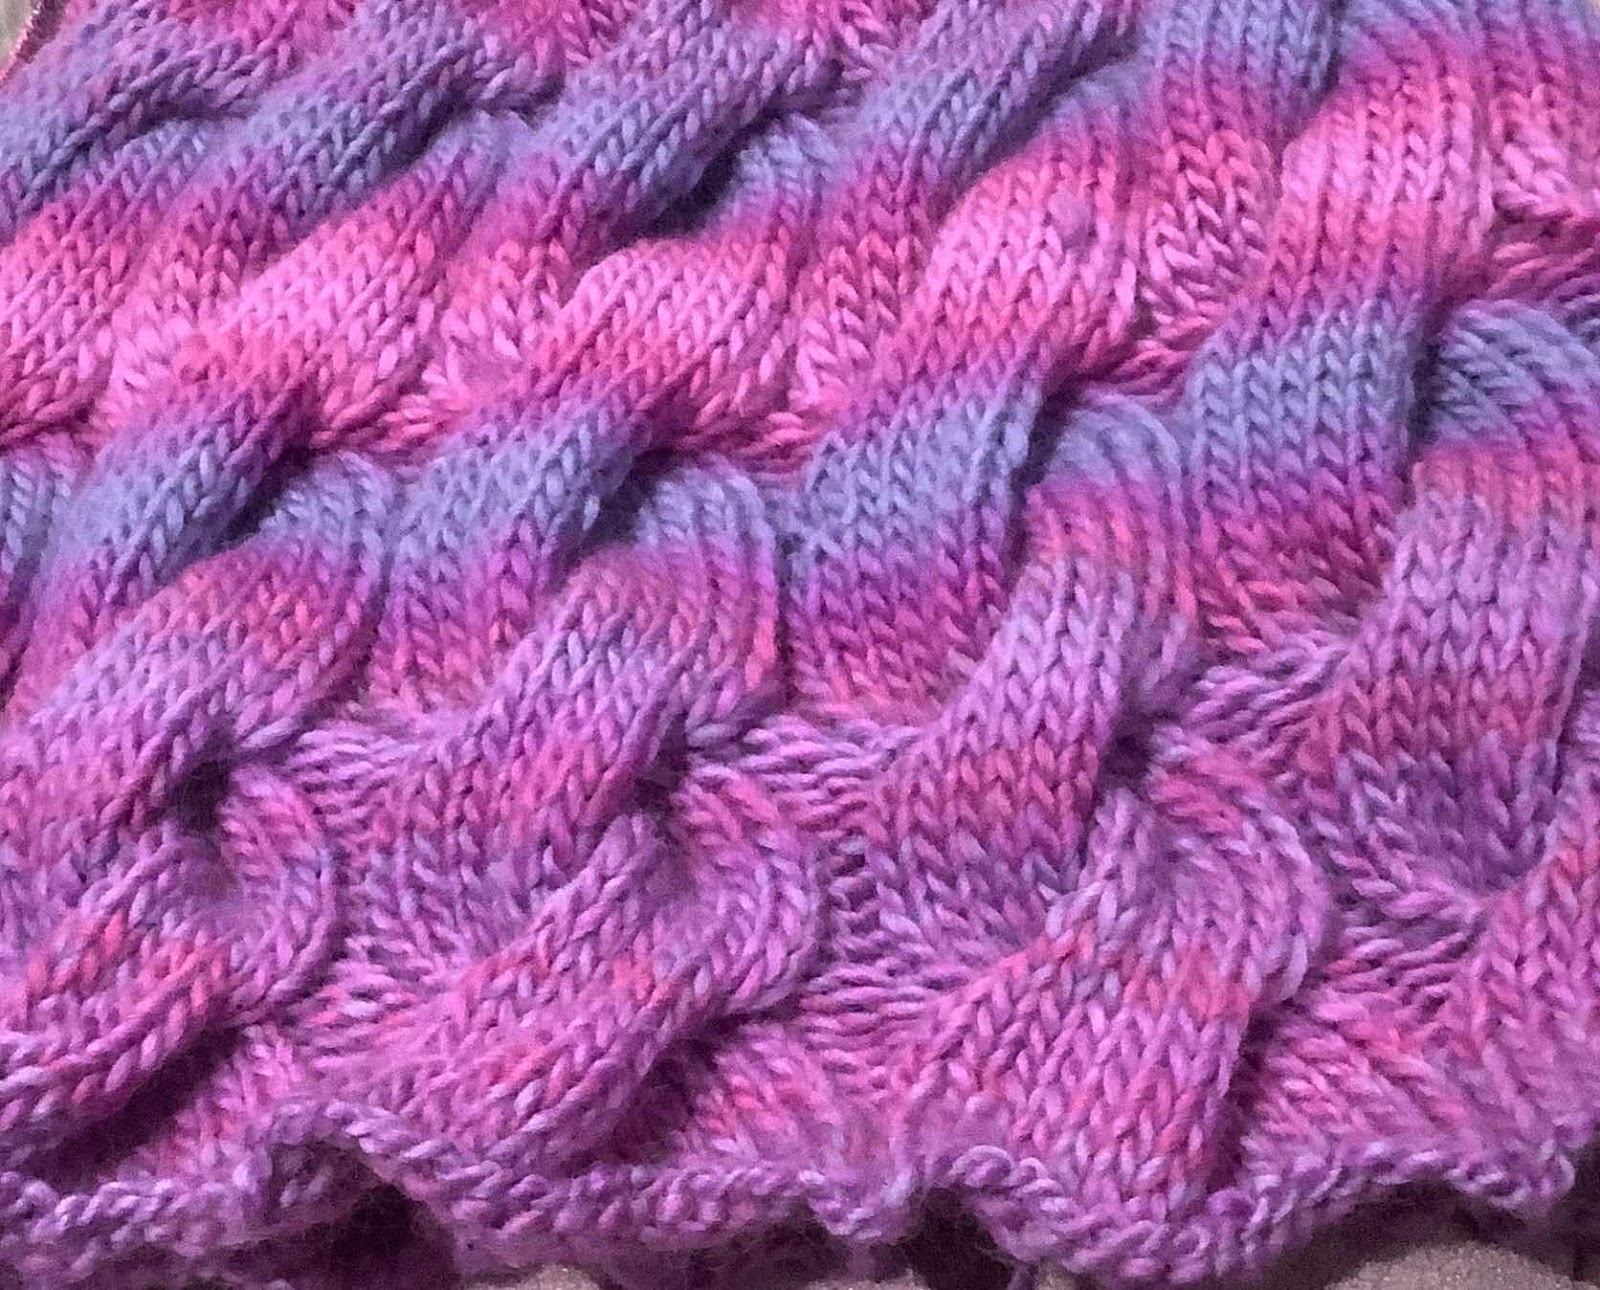
It nevertheless looked fabulous - such great texture. I love the really chunky cables and it knitted up quickly in the round.


After some consultation with, and modelling by, family I brought it in at the top to keep it snug around the neck and shoulders.
It is very warm.


I'm so pleased it proved to be useful for Katherine at the Netball carnival this morning - and the girls are through to the semi-final!


Tuesday, May 22, 2018

Celtic Knots and Cables: Kathryn Gunn

In late April I attended a class organised by the Embroiderers' Guild of SA on Celtic Knots and Cables. It is a venture into a slightly different stitching world to the one the Guild usually inhabits. I went along, partly for that reason, and partly because I like knitting cables and I was interested in learning a bit more.

Kathryn had prepared an enticing kit with notes, two balls of cream wool, embroidery thread and two prepared iCords. She also had a range of coloured wools for which we could swap our cream balls. I chose a blue.

We were also able to browse her selection of relevant books.

We began by looking at a range of knots, prepared by Kathryn, from simple to complex. We then used one of our iCords to make a fairly complex knot, following a diagram. It was moderately difficult but informative. The knots  have lots of potential for three dimensional embroidery.


We then got stuck into knitting cables. We were all keen to get knitting - perhaps,in retrospect, I might have benefitted from examining the cables before I plunged in. I ended with a much improved understanding - mostly from making mistakes!

The bag which was our sample project had 6 cables, all different.

I chose to knit in the round - a decision I'm pleased I made. I knitted the circle base on 5 double-pointed needles then changed to a circular needle and followed the cable pattern. This got me started, but didn't help me to understand the cables. It was only when I stopped following the chart and began following the row below that I was forced to work out how each cable was working.


Cleverly, the cables were designed mostly with a one-stitch cross-over, so they could be worked without a cable needle. It was a great way to demonstrate - by feel as well as diagram - how cables worked.


As well as the obvious contrast of left-over-right versus right-over-left cables, we saw the effect of adjacent single-stitch cables going both the same and opposite ways - also a three-stitch plait.


The designing of the cable exercise into a bag was especially clever - and pleasing to my practical soul. I finished the bag quite quickly at home. I also added a knitted handle.


Because I had chosen to change my cream wool for coloured, the iCord that Kathryn had so generously provided did not work with the bag, so I made another in the same wool. I chose to do this by French knitting (what my South Australian-born colleagues call Tomboy) rather than knitting.


It's a long time since I did French knitting, but it worked up quite quickly.

The resulting bag has errors in the cabling - but records my learning and is really useful for holding my current knitting project!

Thanks to the Kathryn, my fellow students and the Guild for the workshop.

Thursday, August 8, 2013

Blue Vest

In the evenings of the days I have worked on Men of Skyros, I  knitted a sleeveless pullover for my grandson, using some Bendigo Woollen Mills' Harmony that I had in my stash. It is lovely to knit and will be comfortable worn against the skin, as well as over other clothes.

I had about 300 grams of Wisteria - a suitable blue colour, but not quite enough if I wanted to knit it long (as I did). I ran the risk on dye lot, and ordered another two balls to be safe.

I chose a pattern from Patons book 1253- Zhivago Kids  - a simple cable.

It has been a great knitting project. I find cable quite soothing and requiring just enough concentration to prevent the knitting from being on automatic pilot.

This is the first time I have tried plastic cable needles. I tried both the hooked ones and the 'kinked' ones. I settled on the 'kinked' ones as a bit easier to manipulate. I really like the little ridges in the plastic that prevent them falling off the stitches - quite an improvement on the straight metal ones I have always used.


It has knitted up well and been very soft to handle. The new dye lot has blended well. I can pick the change, but it is not obvious to the wearer or the casual observer -  a keen-eyed knitter would, however, spot it!

I needed less than 100 grams of the additional 400 I bought, so while using up 300 grams I had in hand, I have created another 350 grams or so of yarn for another project!

My habit of making children's garments a size larger than their age paid off in this case.